Learn how to install plantation shutters on your windows for both style and functionality. These window treatments are beautiful!
Want more home improvement projects? Learn how to install easy craftsman window trim, how to install removable wallpaper, and how to build a modern barn door.

This post contains affiliate links for your convenience. For more information, see my disclosures here.
My home office is in the basement level of our home. We live in a townhome, so what we consider the basement is actually the first floor of the house. The main living area is on the second floor.
Because my home office is on the ground floor with windows facing out to the neighborhood sidewalks, I wanted to add some privacy blinds. But, I didn’t want to completely cover the windows with shades so that it was dark and gloomy.

To make sure I had privacy while also keeping the office light and bright, I decided to add plantation shutters to the basement windows.
I have always loved the look of plantation shutters. But, it’s no secret that they can be expensive.
I did a lot of research before deciding on the perfect shutters for my office. I ultimately decided on these composite shutters. They are faux wood, but they don’t look cheap or fake at all. They are also some of the least expensive plantation shutters that I have found that are still great quality.
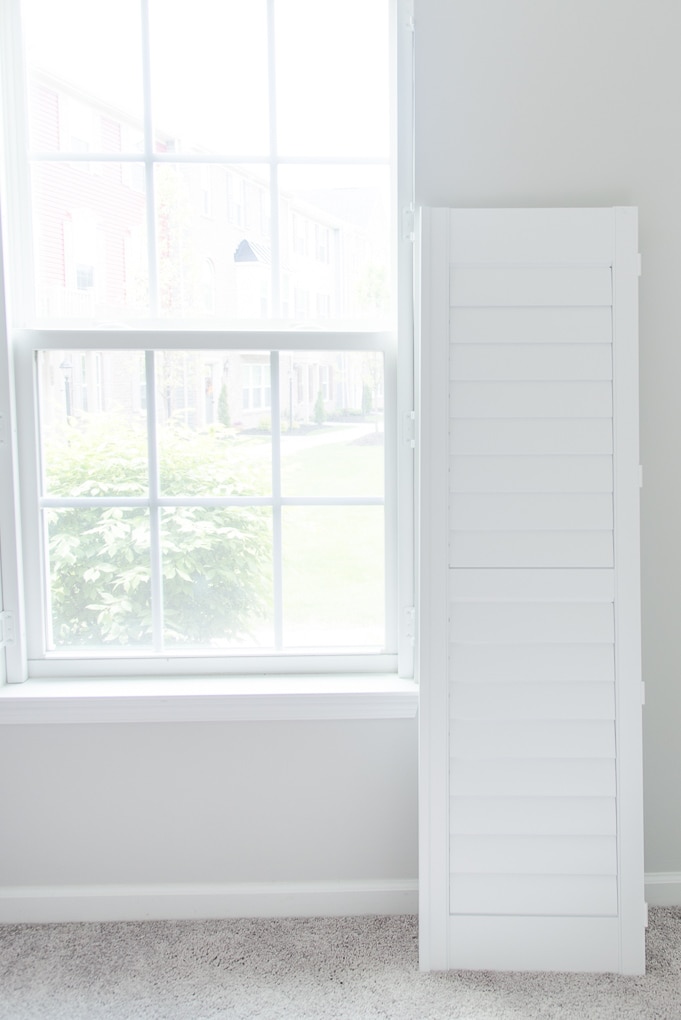
Ordering and installing plantation shutters can sometimes be confusing. I thought I would walk you through the process of ordering and installing these shutters in my office.
How to Install Plantation Shutters
Choosing Mounting Options
First, we needed to decide on how the shutters would be mounted to the window. You have the option of either an inside or outside mount.
Personally, I think the inside mount option looks cleaner. It also gives you the option to trim your window at a later time without interfering with the shutters.

Related: DIY Modern Craftsman Window Trim
Since I decided to do an inside mount, I’ll only be sharing the process of measuring and installing that type of shutter.
Before you order shutters, make sure you read all of the descriptions and specifications. There are different requirements that you will need to check and make sure that your window is able to have plantation shutters installed.
Measuring
My office has two windows that we were going to add shutters to. We named these windows “left: and “right” for reference.
It’s important to give each window you are measuring a unique name. The measurements may be slightly different for each window. And you will want to be able to identify which window the shutters belong to once they arrive.

First, take three horizontal measurements and write each one down. These are your width measurements. Measure horizontally at the top, middle, and bottom of the window.
Next, take three vertical measurements and write each one down. These are your height measurements. Measure vertically at the left, middle, and right of the window.
Once you have all of these measurements written down, you will need to find the smallest dimension for the width and the height.
Plantation shutters also have louvers that allow you to block light or let light in. You will need to choose a louver size based on the depth of your window.
Measure the depth of the window. The louvers are centered on the shutters themselves, so they will stick out half on the inside of the window frame and half on the outside of the window frame. So, the depth of your window will tell you how large half of the louver size can be for your shutters.

Take the depth measurement and multiply by 2 to determine which size louver your window can accommodate.
Once you have the smallest width, the smallest height, and the louver size, you will be able to place your order.
Installing
When the shutters arrive, they will be labeled according to how you named them when you submitted the original order. My shutters were labeled “left” and “right.”

When the boxes arrived, we first unpacked everything and laid out all of the parts. We made sure to keep each window’s parts separate so we wouldn’t get anything mixed up. Afterall, they were custom made based on the measurements for each individual window.
We started by attaching the side rails of the shutters to the inside window frame. The only tools that we needed were a cordless drill with a 1/16” drill bit and a Phillips head bit. The side rails have hinges on them where the shutters will attach.
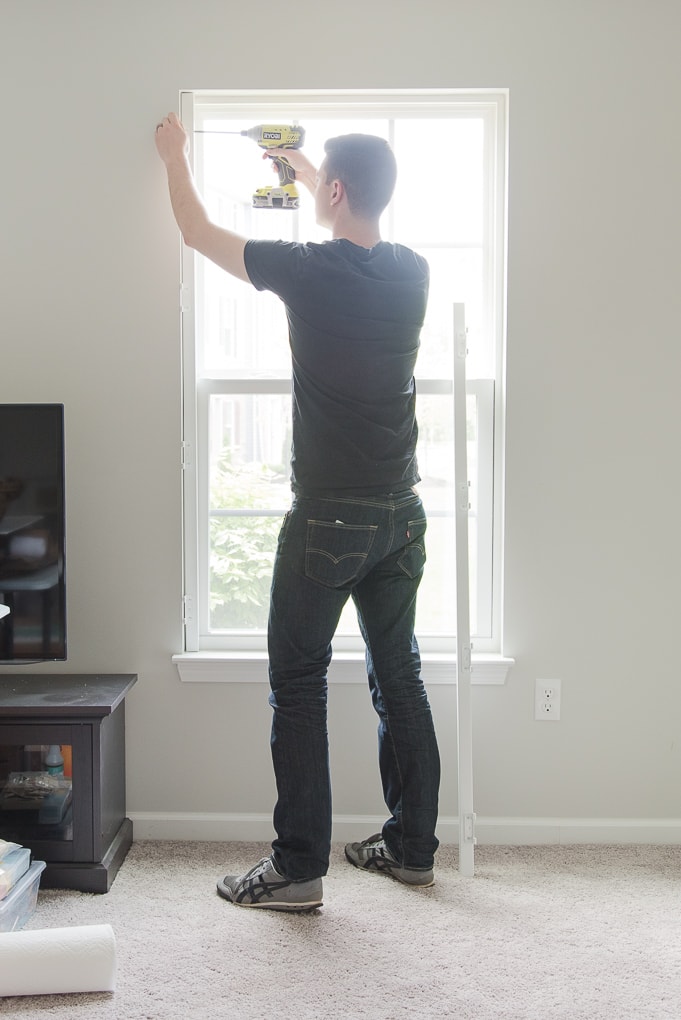
After the rails were secured in place, we lifted each shutter onto the hinges and attached them.


Finally, we installed the top rail which has little magnets on it. These magnets match up to magnets on the shutters and help keep them closed.

Window Features
Since the windows in our basement are over 72” tall, the shutters came with a divider rail in the center.
Any shutter that is over 72” will come with this center divider rail which creates top and bottom louver sections. The louvers in each section can be moved independently.
I really love this feature because you can close the lower louvers for privacy and leave the upper louvers open for light.

If your windows are shorter than 72”, you can still request a center divider if you want this option.
Another feature that you can add to the shutters is something called a t-post. The t-post is a small vertical piece that is attached to the louvers. It allows you to tilt all of the louvers together by moving the post.
But, you don’t have to have a t-post for the louvers to tilt all together. These shutters are designed so that by tilting one louver in a section, they will all tilt together. So, the t-post is basically a decorative element.
I prefer the look of the shutters without the t-post. I think they look more modern and clean with just the louvers and no vertical piece.

The plantation shutters look so great in the basement and fit in perfectly with my office design. I think they look beautiful, and the quality is so great for the price point. I love that I can let a ton of light into the space while still having privacy.
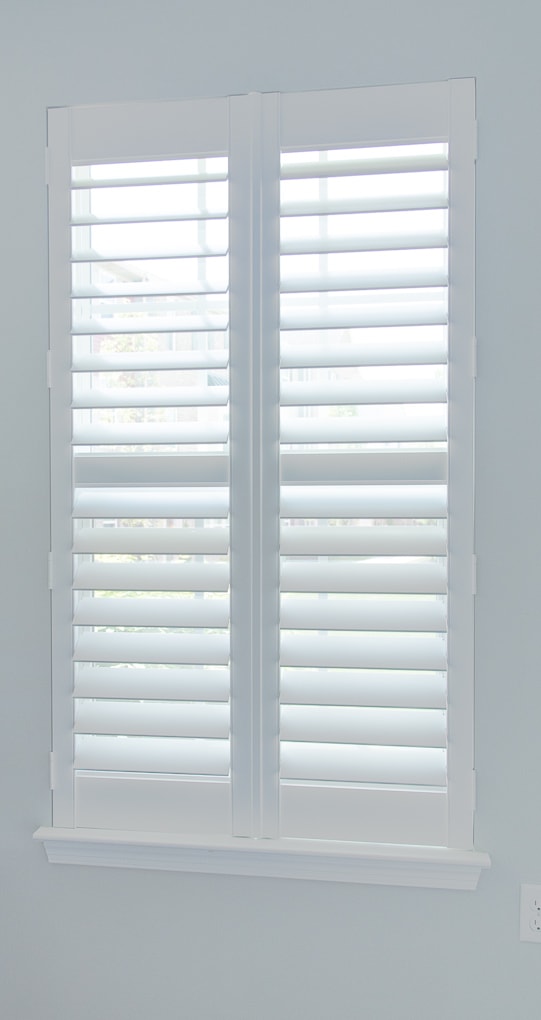
They really help to pull together the basement office design and make the room look a lot more polished and finished.
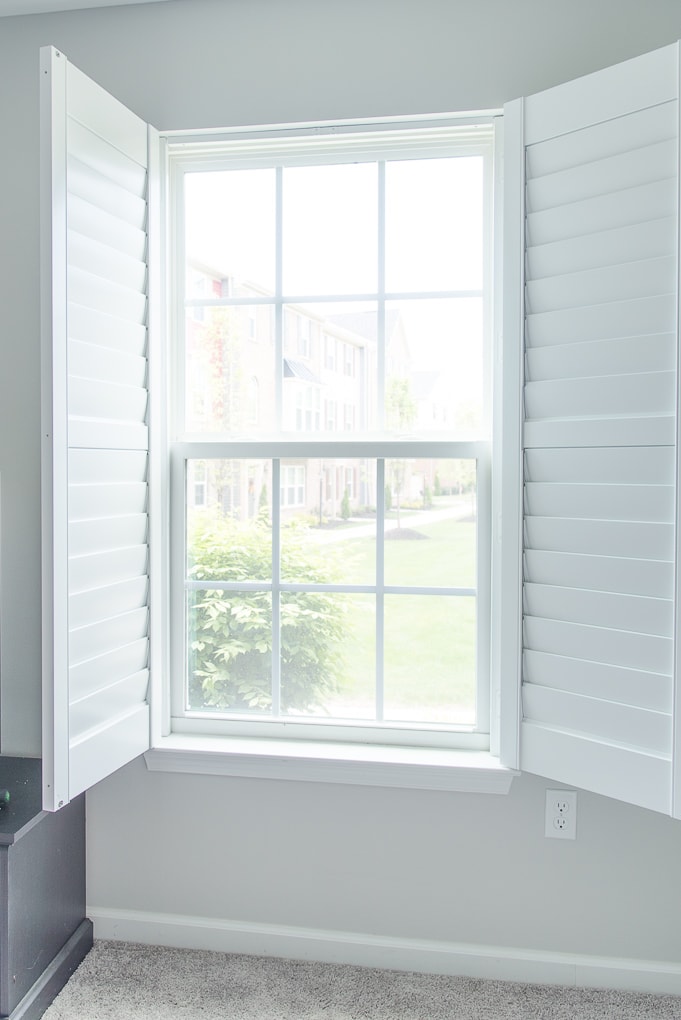
Plantation shutters are a great option for any home and fit in with many different design styles.
You can follow along as we transform (a section of ) our basement into my comfortable and organized creative home office via the links below:
Planning a Comfortable and Organized Creative Home Office
The Best Modern Accent Lamp {and Giveaway}
The Most Comfortable Oversized Chair
How to Install Plantation Shutters (You’re Here)
How to Create a Simple Modern Gallery Wall



These are amazing! Great tutorial! Have you installed trim around the window since the shutters have been installed? Would you but the trim right up to the hinges? I guess I’m curious how it all looks and if the shutters open ok with all the trim work
Hi Stephanie,
Sadly we still haven’t gotten around to trimming the windows in the basement. I think we want to try and but it right up to the hinges, but we would have to test out how the window opens and make sure that it works. The hinges do stick out from the wall slightly, so maybe we can fit the trim behind it.
Hopefully we will get to that project soon and I can let you know.
>> Christene