Lately I’ve been working on getting my pantry cleaned out and organized. So far, I’ve made a plan and am working on it one step at a time. It’s still a work in progress, but I’ve made a few upgrades that have already helped make it feel more organized.
This post contains affiliate links. For more information, see my disclosures here.
As part of this plan, I decided to buy these glass containers as a way to neatly store all of my pantry staples. Before, I used to keep all of these items in their store-bought containers and bags. This ended up looking messy and there was no good way to keep everything organized. Once everything was in the new containers (that I labeled using my Cricut Explore) it was so much easier to see everything that I had in the pantry and find what I needed when cooking.

Even though the boxes and bags that the pantry staples came in weren’t the most organized storage items, they did have one advantage; the cooking instructions were on the side of the package. I don’t know about you, but I don’t have all of these cooking instructions memorized. I always rely on the packaging for clear instruction on how to prepare these staple foods. After I got rid of these packages and put everything in the glass containers, I would frequently have to Google things like “how to make white rice” in the middle of preparing dinners. I needed a better system.
Since these are basic staple foods and not multi-step meals, I decided the best solution was a simple recipe card. Don’t get me wrong, I still love using Paprika, but for these items, I thought it would be the most helpful to have actual recipe cards.
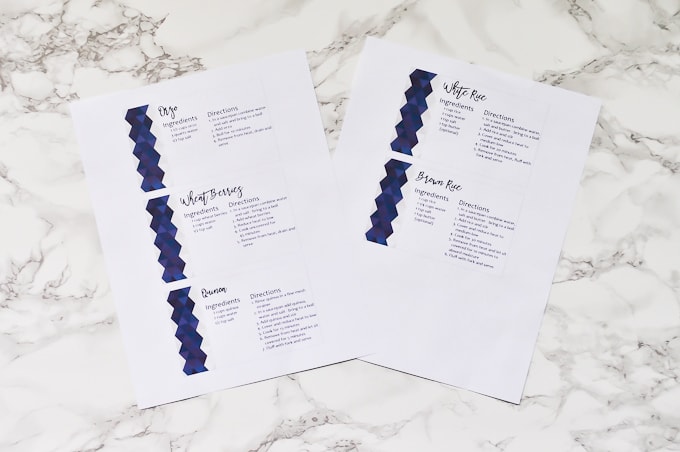
Using my computer, I quickly created these geometric recipe cards for each item. On each card I included the item name, ingredients and cooking directions. I ended up with 5 cards for our most used items that require cooking: White Rice, Brown Rice, Quinoa, Wheat Berries, and Orzo.
>> Download the Free Printable Pantry Staple Recipe Cards here <<
Using my home printer, I printed these sheets out on basic printer paper. You could also use card stock if you want to be a little fancier but I opted for the basic paper because I knew I was going laminated them.
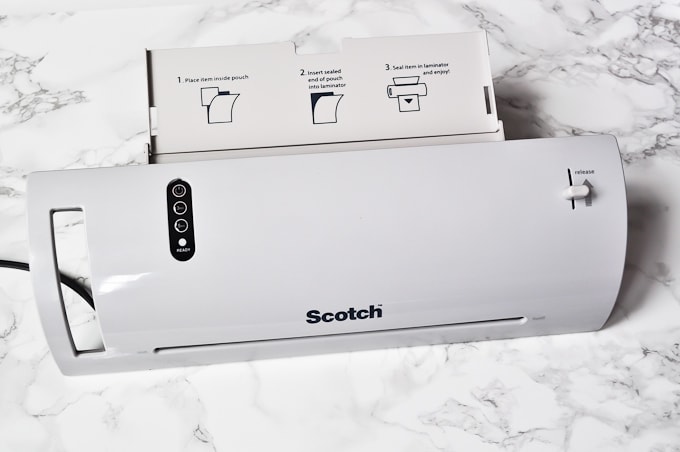
You may remember this laminator from my Christmas gifts roundup. I was really excited to finally have one because they are so useful when creating all sorts of home organization labels and printables. I covered each sheet with a laminating pouch and into the laminator they went.
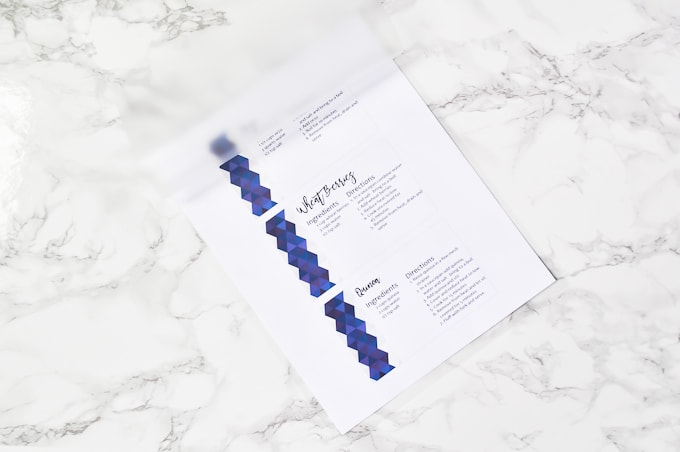
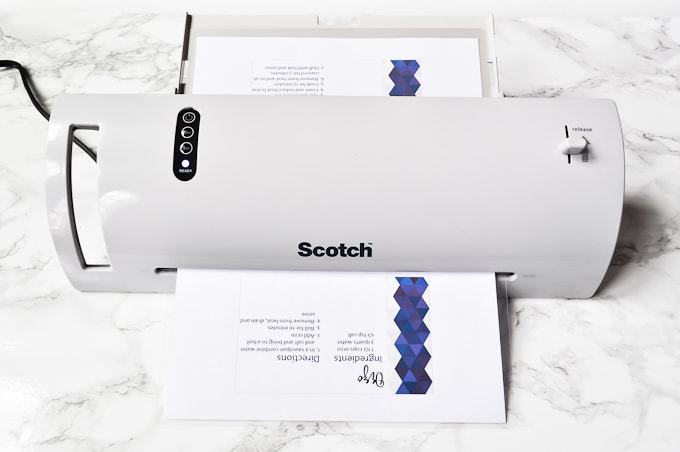

Then I cut out each recipe card. If you wanted to make sure these were extra sealed, you could run each card through the laminator again once they are cut. That way, the edges would be less likely to come apart. I decided not to because mine seemed pretty secure.
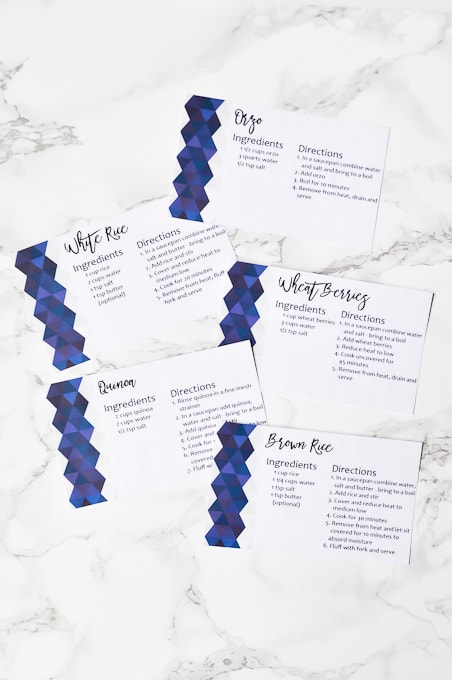
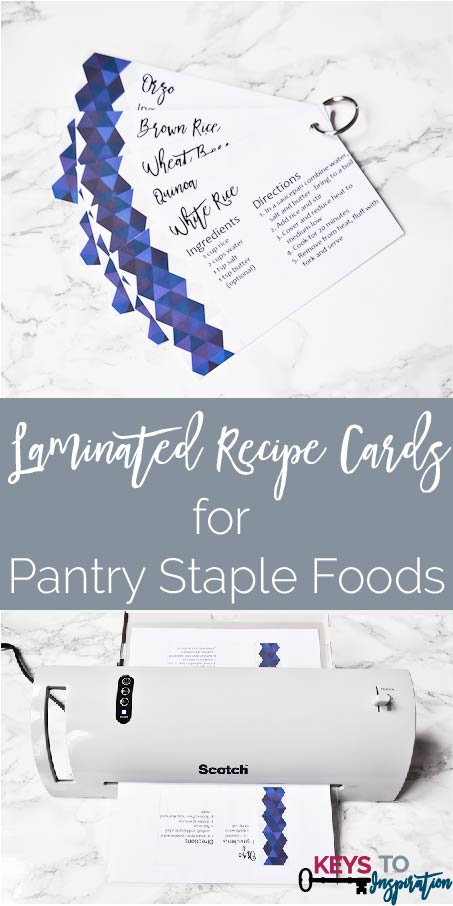
To make my recipe cards easily accessible, I decided the best location for them was inside the pantry near my glass containers. Using a hole punch, I made a single hole in the corner of each card.
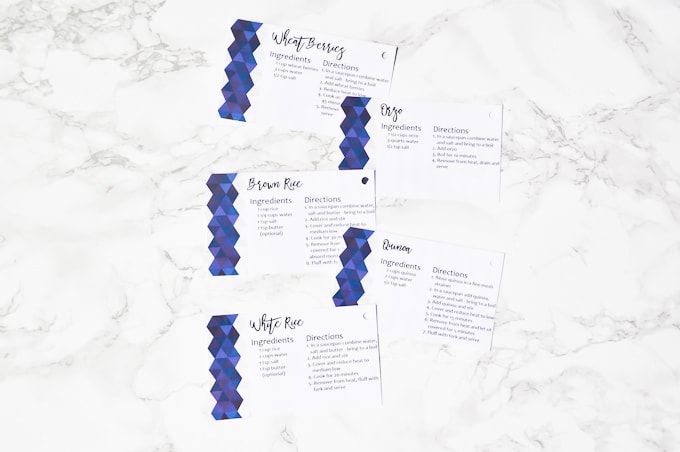
Then I attached the cards together using a small key ring.
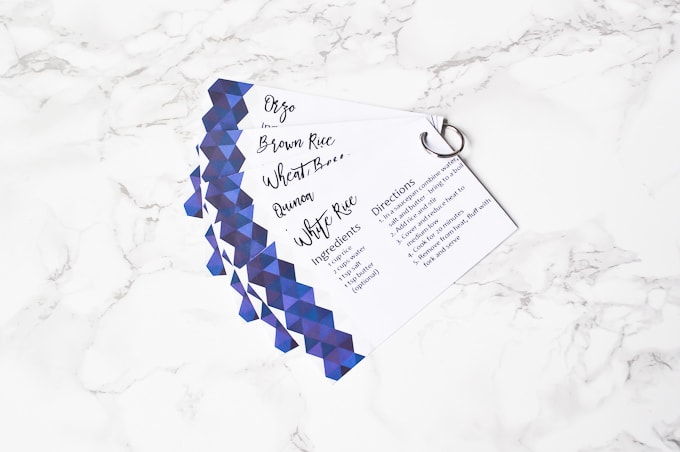
I put a small 3M hook inside of the pantry door and hung my recipe card bundle near my containers. Now anytime I need to make one of my staple foods, I just grab the container and grab the recipe card bundle off the hook.
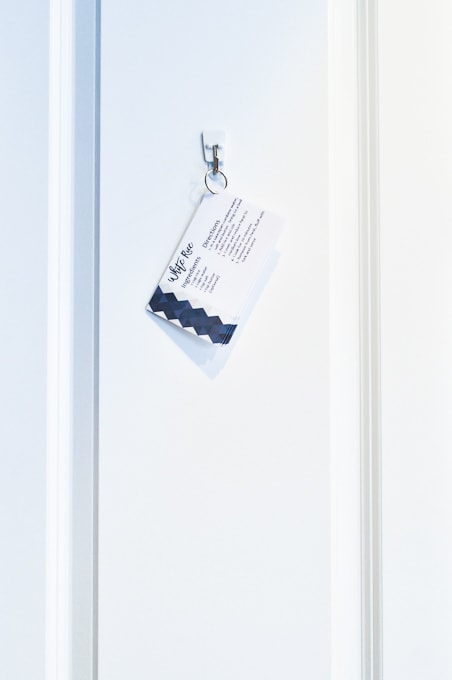
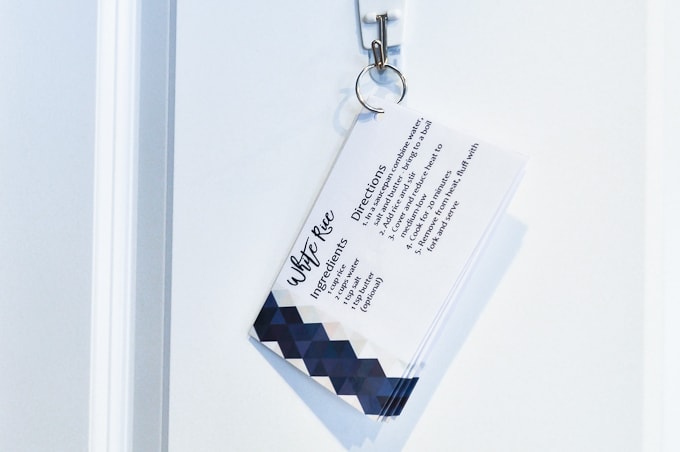
This was a pretty small project, but a much-needed simple solution for staying organized. Now all of my cooking instructions are right there when I need them.
Sometimes a small, annoying problem can be solved with an easy organizing project. I should have done this much sooner because it would have saved me tons of Google searches on my phone in the middle of cooking dinner. I hope this project inspires you to tackle a small problem in your own home.




What a great idea. I love the navy blue graphic.
Thanks! I like geometric patterns and I thought it would be a nice addition to the card 🙂
>> Christene