Hi everyone! Now that spring is in underway I’m so excited to start making some fun and colorful DIY projects. Today I want to share with you this super easy technique for creating beautiful watercolor mugs. These mugs are completely one of a kind and would make the perfect gift. The best part about this project is that all of the supplies were found at the Dollar Tree! So basically you can make this cute set of mugs for under $10! How awesome is that? All right, let’s get started.
To make this project you will need the following supplies. Like I said before, all of my supplies were purchased at the Dollar Tree.
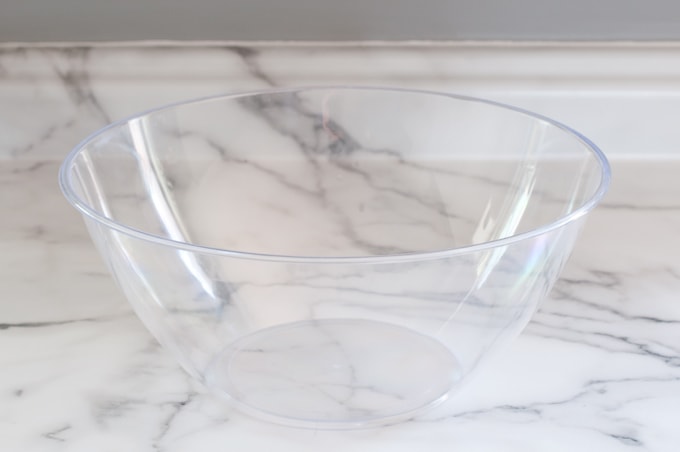
Disposable Bowl
Mugs

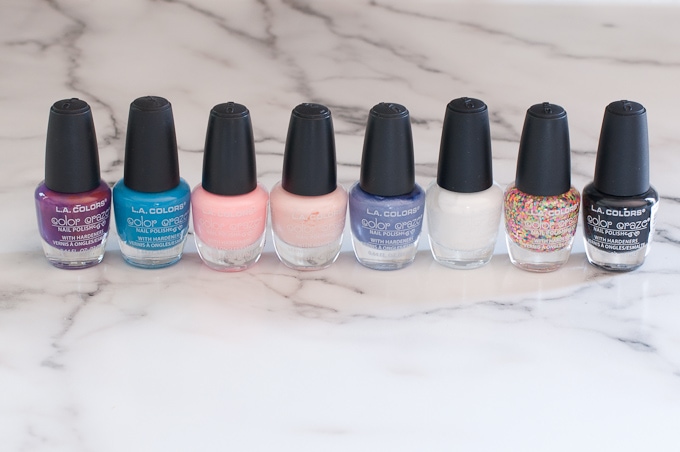
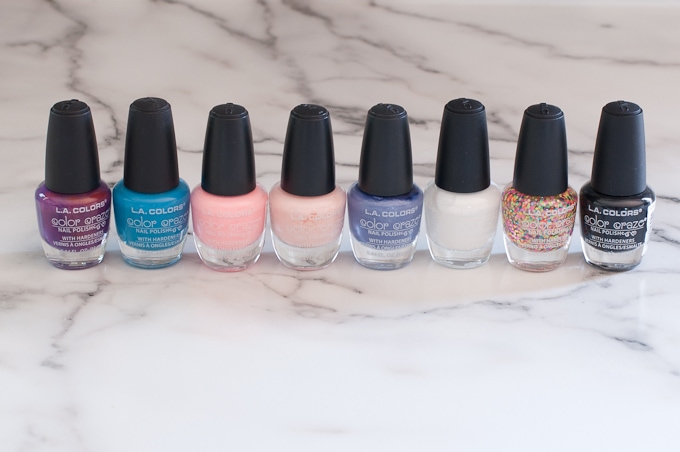
Assorted colors of Nail Polish
Paper Towels
Toothpicks (optional)
Clear Acrylic Sealant Spray (optional) – not found at Dollar Tree
First, fill your bowl with warm water. The water doesn’t have to be super hot, but just make sure it’s warm and not freezing cold. Choose a color combination for your first mug design. I wanted my mugs to have a simple color scheme so I paired a single color with white for each mug.
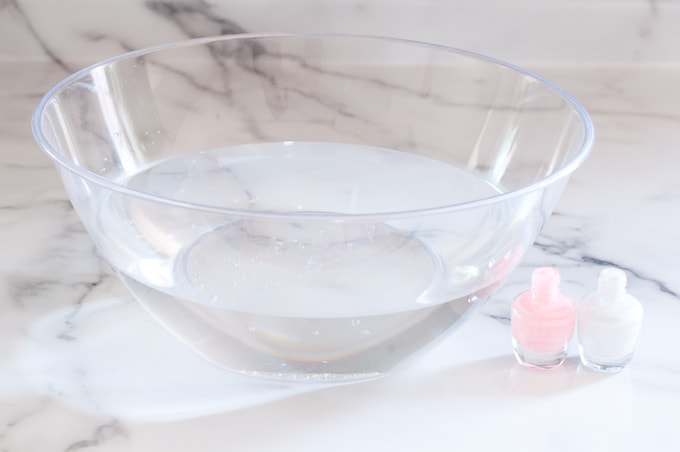
For each color design, you need to move quickly because the nail polish starts to set on the surface of the water if you leave it for too long. If that happens, it won’t stick properly to the mug.
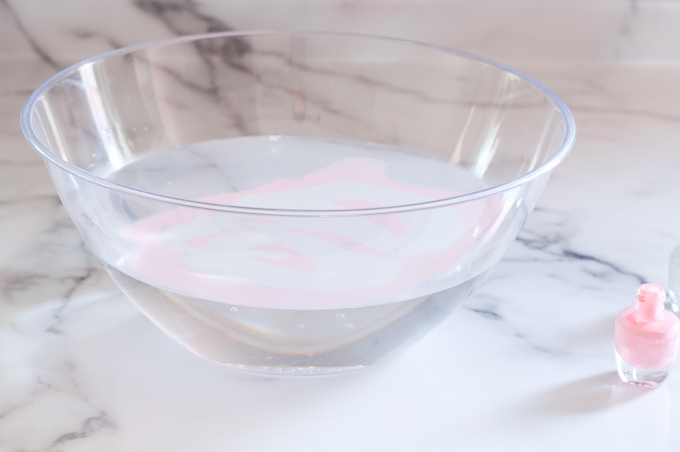
Pour the first color slowly into the water. You don’t need to use a ton because the nail polish will spread out on the surface of the water.


Next, pour the second color into the water. For me this was the white nail polish. Let the colors spread out slightly on the surface of the water and mix together. If you want you can use a toothpick to mix or marble the colors together.
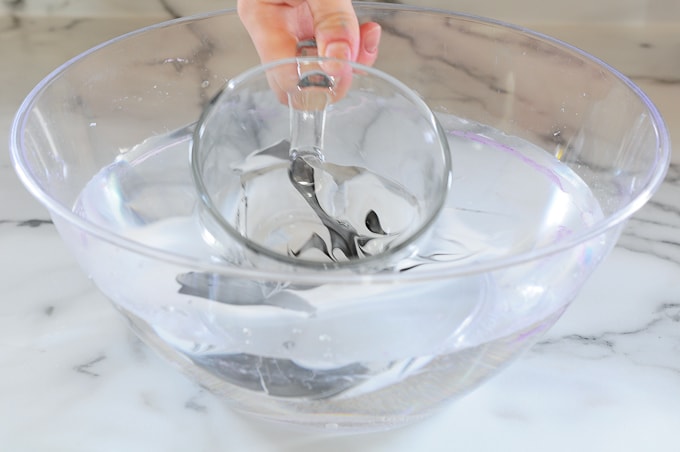
Take the mug by the handle and slowly dip a section of it into the water through the design. Be careful not to dip the rim of the mug into the nail polish because that’s the part your mouth will touch if you drink out of these mugs. You also don’t want the nail polish to get inside of the mug.

Hold the mug still in the water and do not move it around. After a few seconds, slowly remove the mug from the water. The nail polish design will stick to the side of the mug. Make sure to not pull the mug too fast or excess nail polish will gather together and make a thicker design on the side of your mug. If you notice some excess nail polish gathering, you can take another toothpick and guide it away from your mug as you remove it from the water.
Set the mug upside down on a paper towel and let it dry for at least a half hour to allow the nail polish to completely set. Once the mug has dried completely, you will have a beautiful watercolor design!
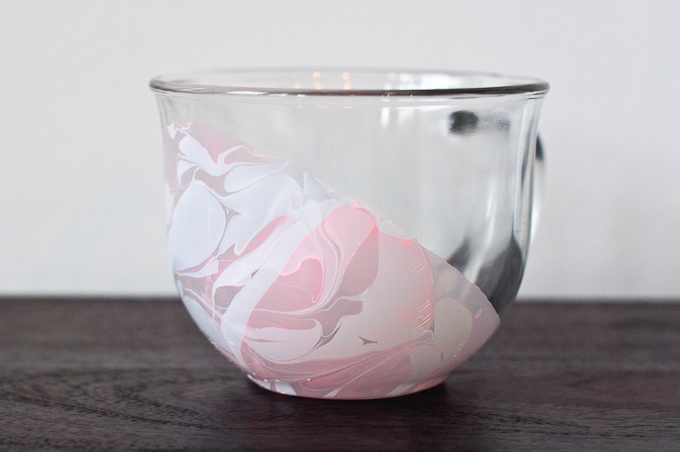
As an optional last step, you can seal the design using a clear acrylic sealant spray. To preserve your design, these mugs should be hand-washed and should not be used in the microwave.
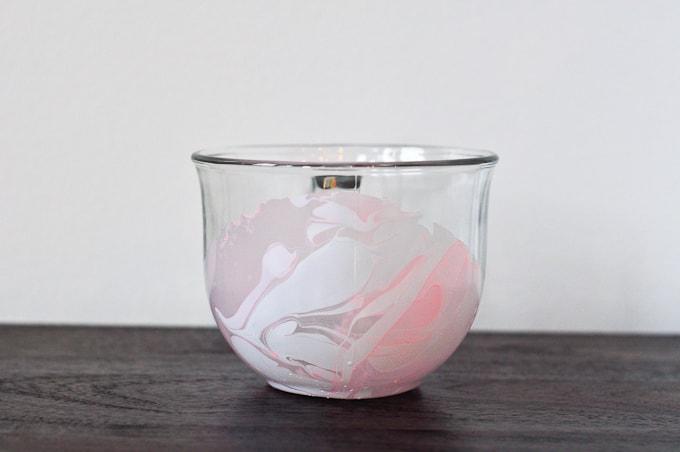
This pink mug was my first attempt, and amazingly it came out great! My next few attempts did not go as smooth. Thankfully, because this project is made with nail polish, you can use nail polish remover to completely erase the design if you mess up or if you just don’t like how the design came out. Just make sure you completely wash and dry the mug before you re-dip it into a new nail polish design.

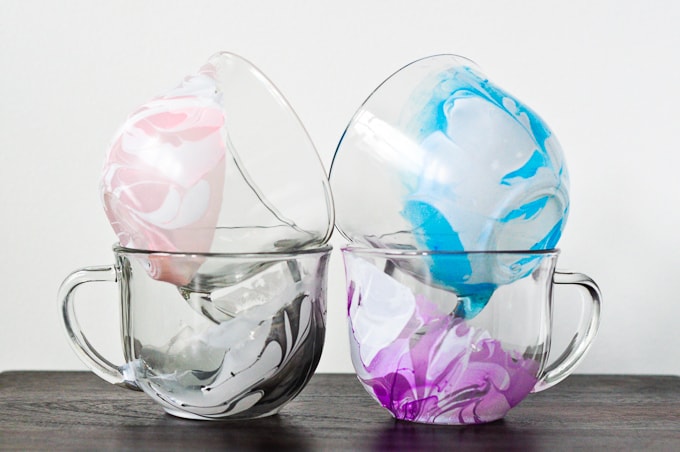
After a few extra tries, I created 4 mugs that I absolutely love!
Here’s some extra tips I discovered along the way:
Let the nail polish completely spread out
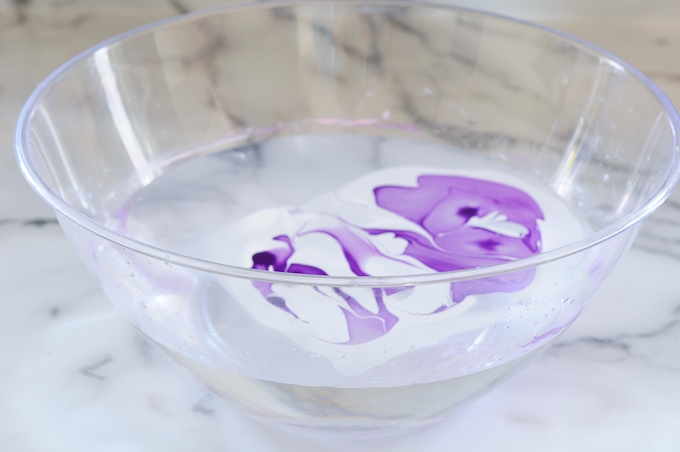
See those dark spots on the water? Before dipping your mug into the nail polish, make sure any darker spot completely spread out or you won’t get the watercolor look that we are going for.

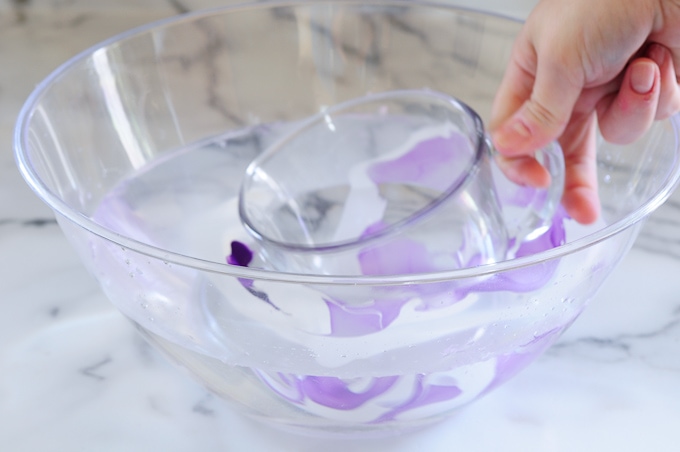

Use a toothpick to create designs
A toothpick can be used to make some marbling in your design or mix the colors together better. Just make sure you don’t move the design around too much or the nail polish will gather around your toothpick and start to come off of the surface of the water. That will ruin your design and you will have to start over.

If you do have to star over, don’t worry. Just take a paper towel and skim the surface of the water to collect all the nail polish. This should also be done between designs to clean the nail polish out of the water so the next colors can be poured.
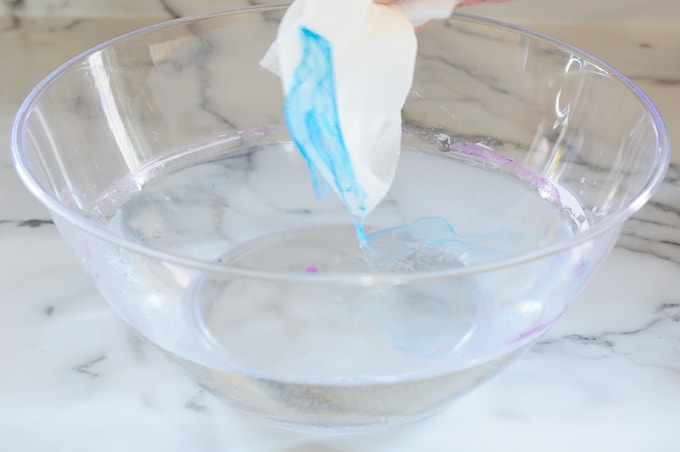

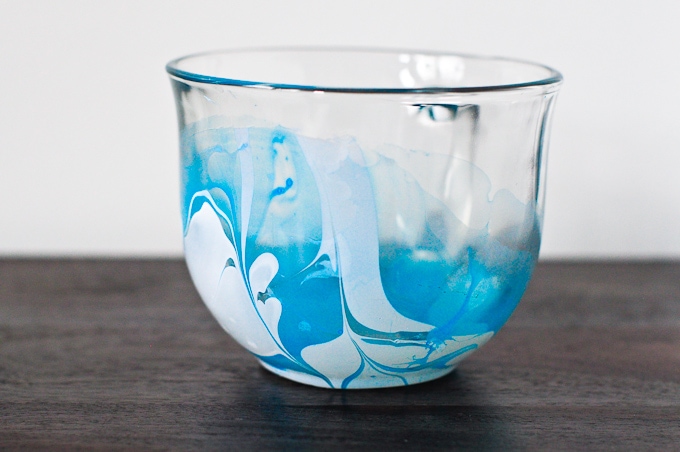
Angle the mug for the best design placement
Before dipping the mug into the water, look at the design and think about the placement of your mug. You might have to angle the mug a certain way to get the best part of your design onto your mug.
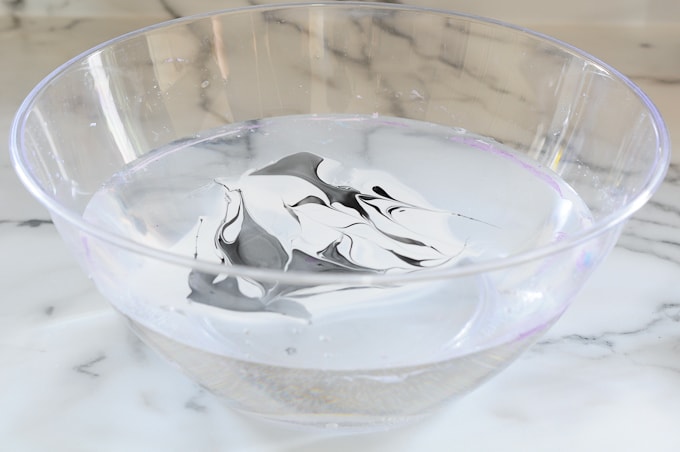

Glitter nail polish does not work for this project. I bought a bunch of different colors to try for this project and one of those “colors” was a multi-colored glitter nail polish. When I poured this nail polish into the water, the glitter particles were too heavy and sank to the bottom of the bowl. Also, since the base “color” of glitter nail polish is basically clear, you won’t be able to see a design.
Use a white or clear mug
White mugs would be perfect for this project, but a solid color or patterned mug won’t work very well. It would look too busy. I choose clear mugs for this project because I liked that the watercolor design could be seen on the inside and outside of the mug. Also, you could use any type of dish with this technique and create unique décor for your home. I’m thinking about creating some small watercolor bowls to use as organizing containers for my jewelry.

This project was really simple and the results are so pretty! I love how the different colors mixed with white create a watercolor effect on the clear mugs. I can’t wait to use these outside on our porch this summer for my morning coffee!


Let me know in the comments below which color combination is your favorite?
This Project was Featured on Made By You Monday, Creativity Unleashed, Meet Up Monday









I love the pink and blue. I think small bowls would look perfect.
Thanks! I want to get a few more dishes and other things and try this technique some more.
>> Christene
These are so pretty! I have to try them, my daughter would have a blast mixing colors. Thanks for sharing at the Wednesday Showcase party.
Thanks so much Kati! Have a great week!
>> Christene
These turned out so cute. Thanks for sharing at the Monday Funday Party!!
Thanks Emily! Have a great week 🙂
>> Christene
I absolutely LOVE the mugs you used! The design really pops on clear mugs. Thanks for sharing at Merry Monday this week!
Thanks Marie! I think the clear mugs really give the design that light airy watercolor effect 🙂 Hope you have a great week – I can’t wait to link up again.
>> Christene
These are super cute! I would have never thought that nail polish could be used in such a way! And it makes good use of the Dollar Tree nail polish – they have some great colors from time to time, but that stuff ruins my fingernails!
Thanks Jessica! Yea Dollar Tree nail polish isn’t the best but it’s perfect for a project like this. I would never want to use my nicer nail polish for a craft project, so $1 a bottle is perfect!
>> Christene
These mugs are awesome! I love the pink one! I just wanted to let you know this project was my pick for Rockstar of the week over at the Creativity Unleashed link party; thanks for sharing it with us! Voting is now open for MEGA Rockstar of the week, so stop by and vote and tell your friends to come vote for you too, I really hope you win!
Thanks Jessi! Ahh I’m so excited that you picked me as a rockstar for this week!!!!
Thanks for featuring me! Definitely stopping by to vote 🙂
>> Christene
After the mugs are watercolored, do you have to cure them or use any type of sealant so the colour does not scrape off with usage? Also, the would only be hand wash safe, right? Not dishwasher proof?
I would definitely hand wash only for these. I think you can buy like a clear spray sealer for food products at places like Michaels if you wanted to add something more to really seal/ finish it.
>> Christene
After the mugs are watercolored, do you have to cure them or use any type of sealant so the colour does not scrape off with usage? Also, the would only be hand wash safe, right? Not dishwasher proof?
Question, once you dip do you have to reset the bowl all over again. Reason I ask I would like to do something like that with a theme I have. Which obviously couldn’t 16 of them I couldn’t do all in the same bowl of water and nail polish. However, I was wondering if you can one or two or more out of it? Thank you.,
Hi Diane!
You do have to “reset” the bowl for each one. Most of the polish adheres to the mug so there isn’t enough left on the surface to dip another mug. There is a small amount left though that you don’t want to get on your next mug. I just used a paper towel to skim off the rest of the excess polish and I left the water in. Then I just poured some more polish into that same water. So you don’t need to replace the water, just clear off the polish. You should be able to get a decent number of mugs out of a bottle of nail polish. You don’t need a lot for it to spread out on the surface of the water.
I hope that makes sense 🙂 For me it didn’t take too long to “reset” the bowl to get ready for the next mug.
>> Christene
Christene thank you very much.
What happens if you microwave it?
Hi Nicky,
I’m not sure what would happen if you tried to microwave it, but I would lean to the safe side and not put it in the microwave.
>> Christene
How do you seal them so they can last forever? Have you ever tried baking them after or used a sealant. as well?
Hi Carol,
I didn’t try baking them or using a sealant. I think there are spray sealants out there that you might be able to use to help the design be “sealed” and last longer. I haven’t had problems, but I don’t put them in the dishwasher or anything.
>> Christene
This was such a great idea!!! We had so much fun making them.. The ONLY downfall… i did use the sealant and it is very potent. I only used it on the bottom half if the mugs i am trying to wash them and leave them outside hoping the smell will dissipate but other than that they are beautiful!
Hey Tayla! So glad that you loved the project! That’s such a good thing to know. I didn’t use a sealant because I mostly use my mugs for decoration only. Hopefully, that strong smell will go away. I think this technique is so fun because each mug is unique and beautiful 🙂
>> Christene
I made these mugs as Christmas gifts left sit a couple days upside down to dry completely then covered marbling with DISHWASHER safe MODPODGE which has to cure for 28 days after application & then they are dishwasher safe. I used 2 coats & make sure you bottle says DISHWASHER safe. Also make sure none of the marbeling or the modpodge is in the area where your lips would touch. I have checked with everyone I gave the cups to & they say the cups are fine after washing them.
Hey Roberta! Thanks so much for sharing! I love that idea and I didn’t even know they made Dishwasher safe Modpodge! That’s amazing. I can’t wait to try these again and use that. They would make the best gifts.
>> Christene
I am so inspired by this project. I have ONE clear mug that I absolutely love and KNEW that one day, I would KNOW how to decorate it. Thanks to you, I KNOW! Can’t wait to try this out.
I love the soft pink one and the blue one that you made, but all of them are beautiful!
YAY! Thanks Lucie – I hope you have fun crafting.
>> Christene
You can seal them with modge podge, dishwasher safe , and then there top rack dishwasher safe. I’be used it on a glass and it doesn’t change the color at all.
Can you use stemless wine glasses for this project or any type of glass will work
I haven’t personally tried, but I think it would work with pretty much any glass
>> Christene
mercic’est trop beau