I’m not sure if you noticed in my post about the new abstract art, but we have some new furniture in the living room! I’ve been hunting for the perfect end tables to go with our new couch, and I finally have the winners! Until recently, we were using an old end table from my apartment that really wasn’t our style.
When I was looking for inspiration for the living room, I was drawn to pictures of mixed material end tables and coffee tables. They all had metal bases and wooden tops. I love that mix of modern industrial and a little bit of rustic. The wooden tops add so much warmth and texture to modern décor.

This post contains affiliate links for your convenience. For more information, see my disclosures here.
I thought about buying a pair of these end tables but couldn’t find ones that I loved. Luckily, when we were cleaning out our garage, we stumbled across some metal end table frames that Ben had in his old apartment. These tables originally had removable glass tops.
I had completely forgotten about these end tables and was so glad that I didn’t throw them away. Without the glass in them, I realized they would be the perfect base to DIY our own versions of the mixed material end tables!
Here’s how we turned the old metal frames into my new amazing living room end tables.
DIY Mixed Material End Tables
Materials
- 1 x 4 Premium Pine Boards (.75” x 3.5” nominal”)
- Metal Base or Legs
- Stain
- we used Weathered Oak
- Polyurethane
- Titebond II Wood Glue
- ½” Plywood
Tools
- Miter Saw
- Circular Saw
- Tape Measure
- Combination Square
- Quick Clamps
- 220 Grit Sandpaper
- #0000 Steel Wool
- Pencil
- Paper Towels
Before we could even make a plan for our mixed material end tables, we had to assemble the table frames and take some measurements. Once assembled, the tops of the metal frames measured 19” x 22.5.”
Ben created a quick plan for the table top layouts in Google SketchUp. If you have never used SketchUp, it is a free 3D CAD software. That sounds like it’s really complex but don’t worry, it’s pretty easy to learn and great for planning out home DIY projects. Here’s the plan that we came up with.
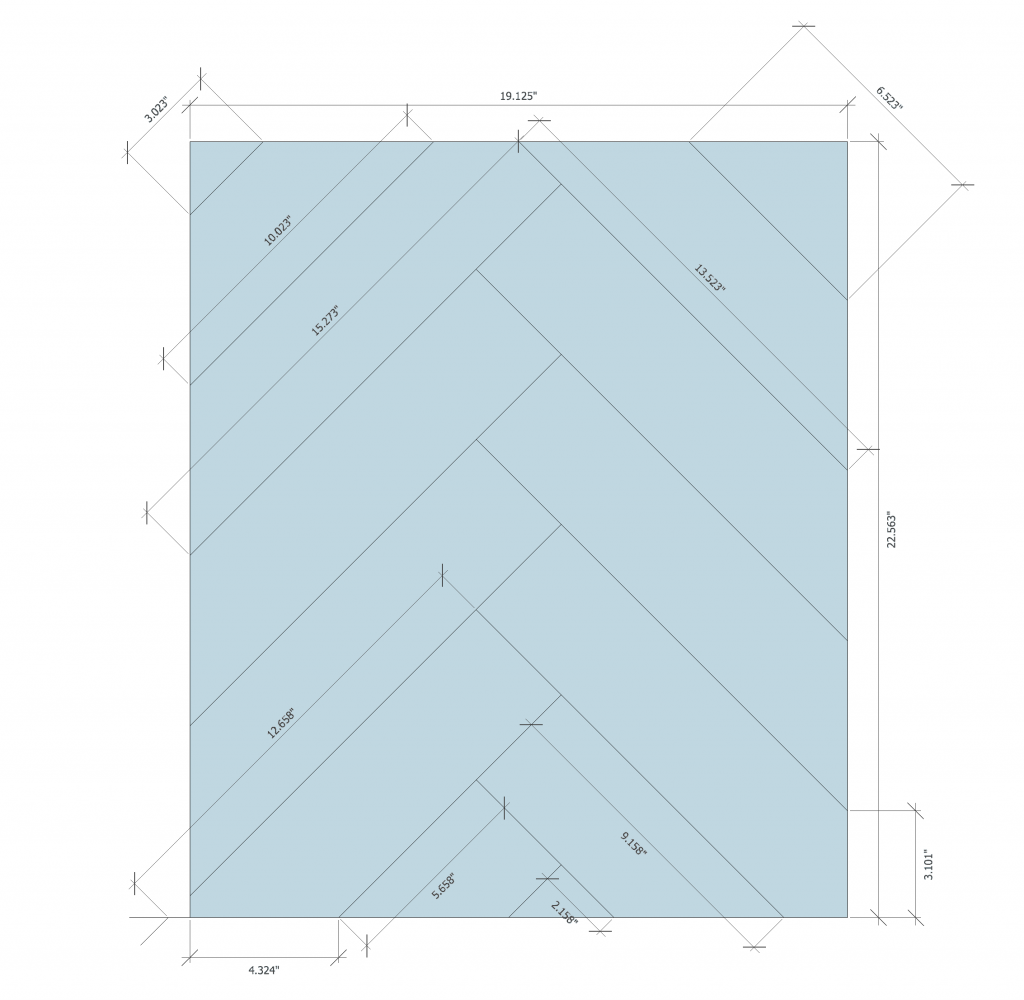
Instead of just doing a basic wood paneling, we decided to create a herringbone design for the table tops. We wanted them to have a little bit more interest and feel modern.
With our plan sketched out, we had enough information to purchase our materials. Because our tables measured 19” x 22.5” and we have two of them, we needed 855 square inches of wood for the table surfaces. The boards we chose were 3.5” wide, so dividing 855 by 3.5, we got just over 244 inches or 20.33 feet of board length. With those calculations in mind, we ended up buying four 6’ boards.

Since the main design of the table tops was going to be made out of 1×4 boards, we needed some way to secure the wood so that it wouldn’t slide around in the metal frame. We decided to use rough plywood for this because it is cheap and easy to work with. The plywood was going to be invisible in the end, so we didn’t worry about it looking nice. We picked up two 24”x24” sheets of plywood.
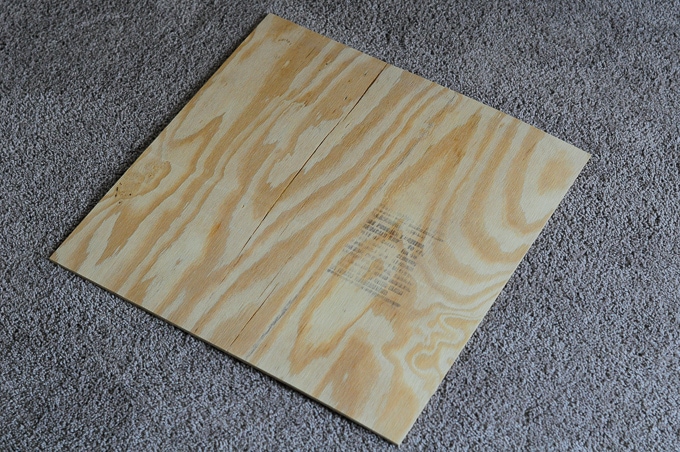
Once we had our materials, we got to work cutting all the pieces. This was the most tedious part of the project. It was a little difficult to cut all of the boards to the correct lengths according to our plan.
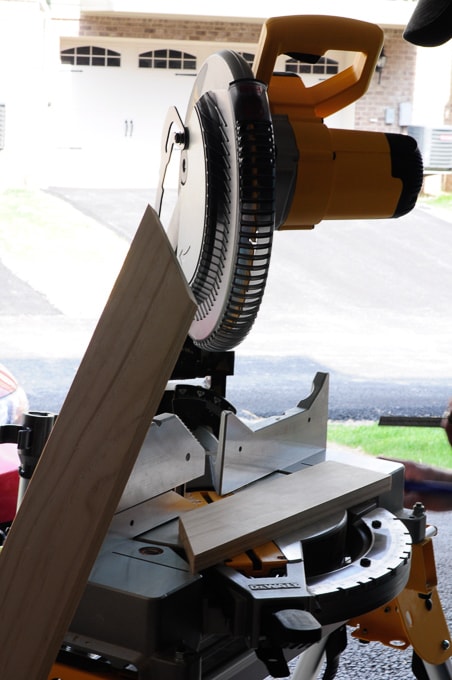
Ben ended up taking a few incorrect measurements, but he was able to recut and reuse those boards for a different part of the design. Even though we messed up a few times, we still ended up having enough material. Taking this part slow was the key to making sure our design came out the way we planned.

We followed the plan as much as possible, starting with the longest 15.273 boards. A “.273” measurement is kind of impossible to read on a tape measure, so Ben rounded to 15.25” on these, and it ended up working fine.

All of the angles in the pattern are 45 degrees, so the Miter saw was our best friend during this project! All we had to do was set the angle on the saw and cut at the marks on the boards.
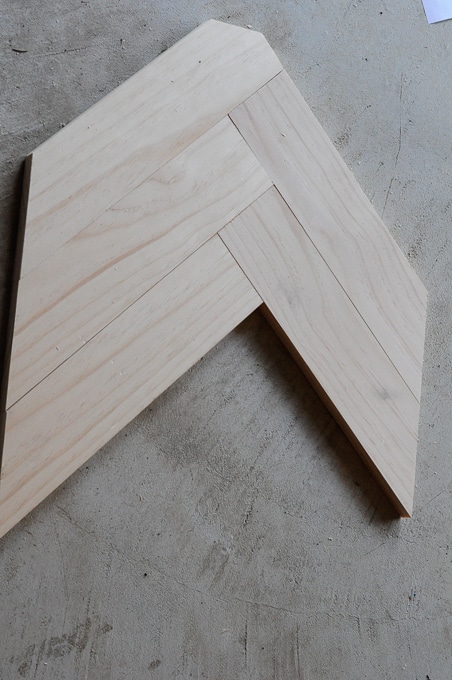
Once the long boards were cut and laid out in a pattern on the floor, we started working on the more complex shorter boards in the pattern. At first, we tried to use exact measurements from the drawing, but the boards weren’t fitting together perfectly. We struggled with that for a while, but I think some of the little differences between the boards we had already cut were adding together and making the small boards not fit properly.
After figuring out that the exact measurements weren’t going to work, we decided that it would be so much easier to hold each board up to the pattern and mark where it should be cut with a pencil.
When we switched to marking each board based on the pieces we had already cut, we didn’t have any more issues with boards fitting together.

Once all the boards were cut, it was time to glue them together. When we looked at the dry-fit pattern, it was difficult to see that pretty herringbone pattern. To make it stand out more, we decided to chamfer the edges of each board. Chamfering is basically just sanding down the long edges of the boards so they aren’t as sharp and are more rounded. This creates a nice groove indentation between each board, which shows the pattern of a final design better.

For strength, we glued each edge of the boards together. Gluing along the edges helped us to keep the boards perfectly flat. If we had tried to glue the pattern to the plywood backboard, it would have been difficult to keep everything from warping.

First, we took the two pieces from either side of the pattern and glued those boards together. We left off the very tiny end pieces at first. We used clamps to compress the joint and a paint can to hold the boards flat as they dried.

Once the boards were clamped, we wiped off the excess glue with a wet paper towel. We didn’t want the glue to dry on the table top surface because that would stop the wood from absorbing stain, and create weird splotches.
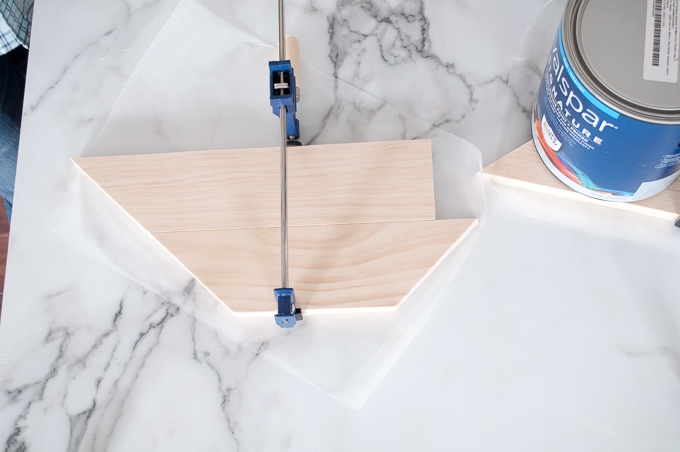
After the first two boards for either side of the table top were glued, we added the third board. We repeated the same glue, clamp, and hold with paint can method.

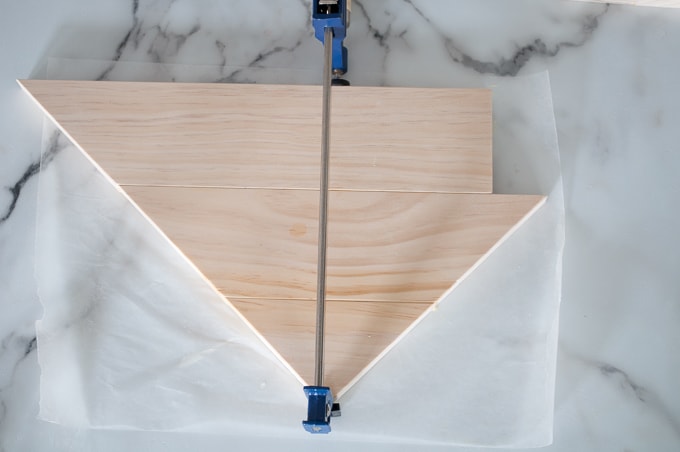
Once each bottom corner of the pattern had three boards glued solidly, it was time to start the herringbone pattern. We used the same glue and clamp method to attach the three left and three right boards together on the center seam. This is when we really start to see the pattern forming!
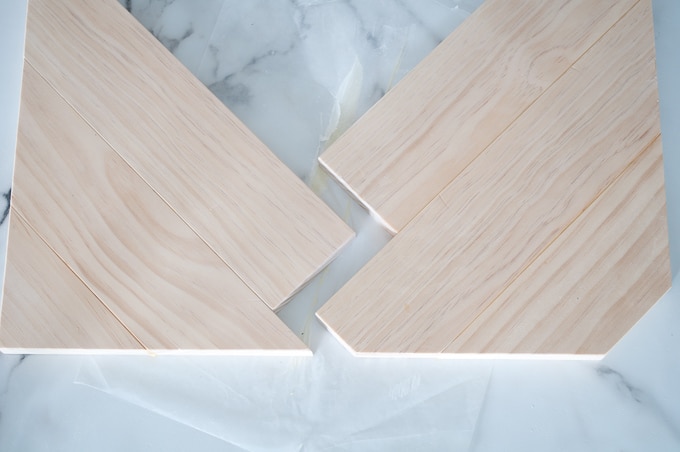
Once that joint was dry, we added boards one by one to the pattern until we reached the top.
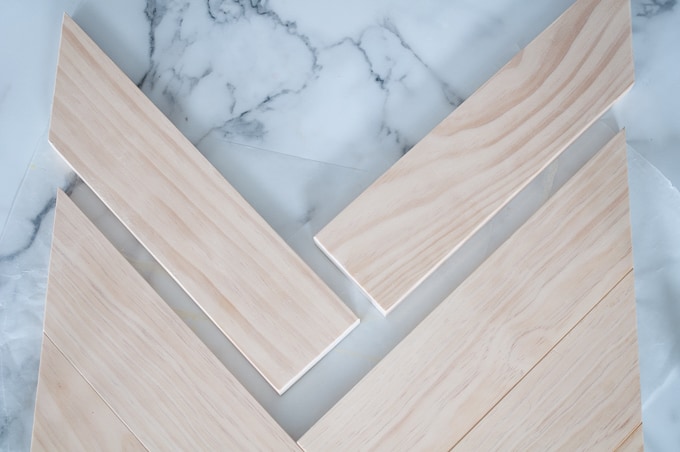
It was helpful at times to use some scrap material to compress the glue joints together.

Once the glue was completely dry, we sanded the whole thing down with 220 grit sandpaper to make it smooth and flat.
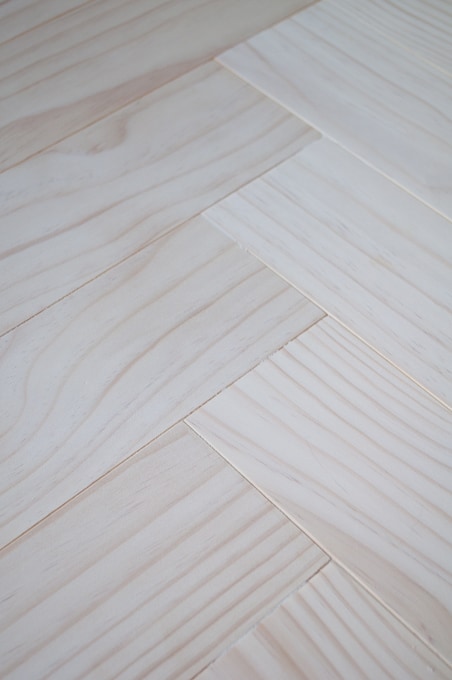
I love how that pattern turned out! It was exactly what I was envisioning for these tables!
The final step before stain and finish was to cut the plywood base to size for the frame.
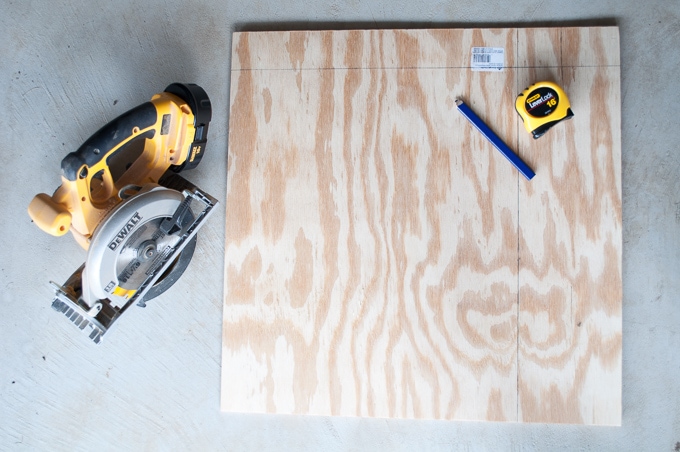
We measured the inside dimensions of our table frame and cut the two pieces of plywood with the circular saw.

The legs stick through the frame on our tables, so we had to cut each corner off of the plywood to clear this area.
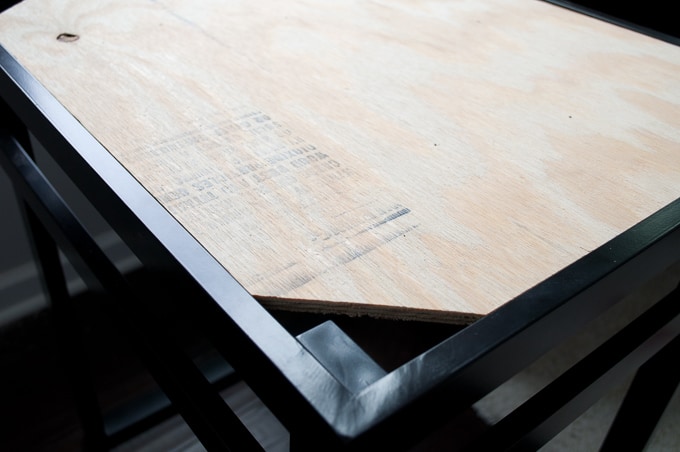
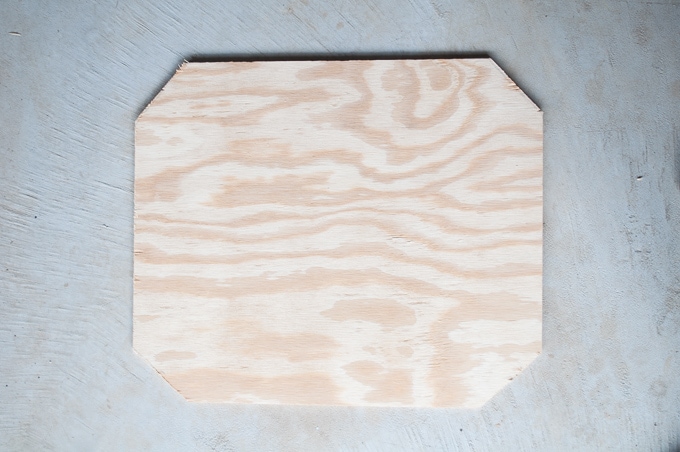
Once cut, we carefully centered the plywood on the back side of the table top, aligning it with the square. We marked the line and glued the plywood to the top, weighing it down with what we had available (mostly just paint cans).


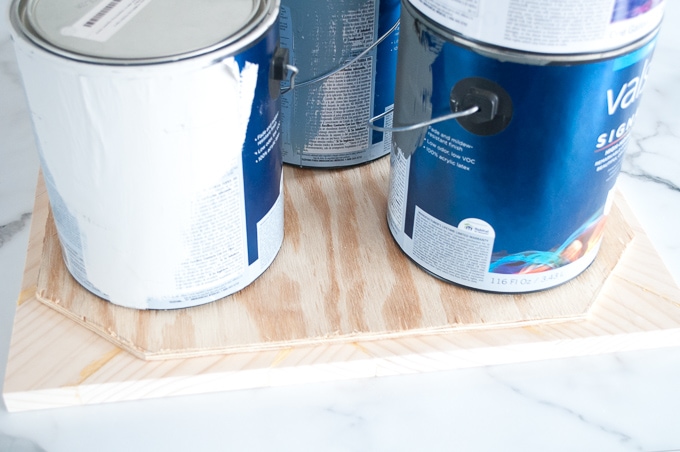
Once the glue was dry, the whole table top got a final sanding and test fit.
We tested a ton of different stains, but ultimately we decided on Weathered Oak. I wanted the table tops to contrast with the dark metal bases, so I was looking for something a little lighter. Weathered Oak brings out the natural wood tones without being too dark.

Ben gave each table top a coat of stain, wiped it off, and let it dry. The next day, we applied two coats of satin polyurethane to seal everything. We sanded lightly between each coat to ensure a smooth final finish. To keep everything from looking too glossy we buffed the table tops with #0000 steel wool.
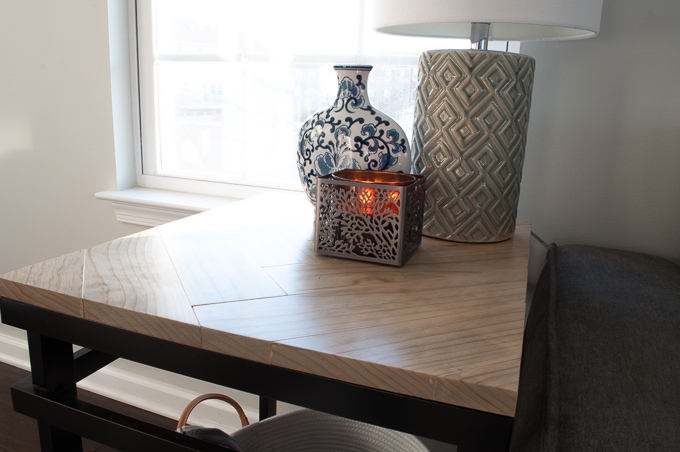
Then we were done! I absolutely LOVE how these turned out. They look exactly like the mixed material end tables that I saw in all my inspiration photos.
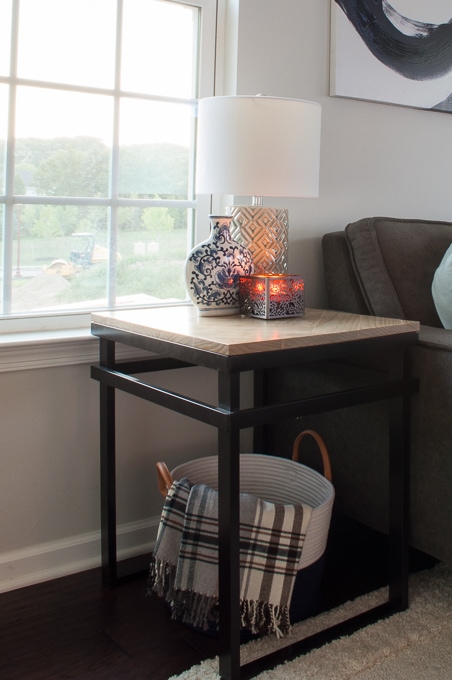
The best part is we were able to make them with just a few materials and table bases that we already had.

The herringbone pattern is really subtle and so pretty! It creates a nice interest to a basic wood and metal table.

These are perfect for the living room. The metal bases are light and keep the tables from looking too bulky. And the wood tops add so much warmth and texture.

I think these end tables are my new favorite pieces of furniture in our house!
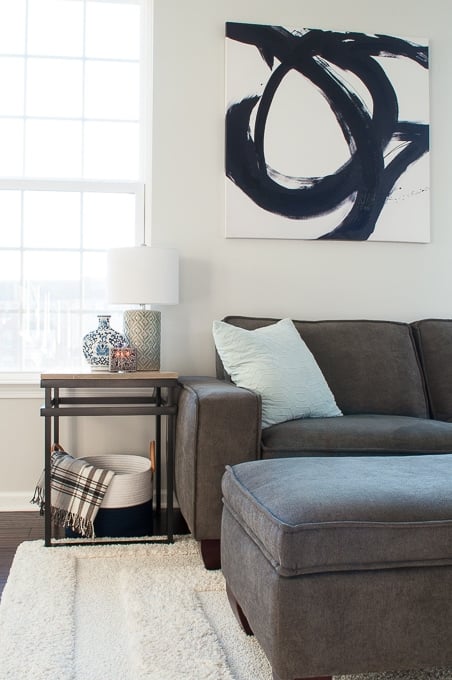
Oh, and there’s a second end table on the other side of the couch. I didn’t get any pictures of both tables! Oops!
Here’s one picture from the abstract art post, you can kind of see the second table in the background.
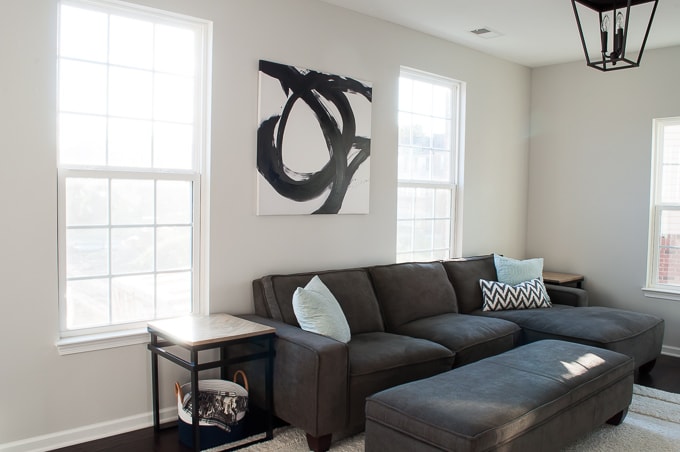
So, what do you think? Do you love these in our living room as much as I do? Let me know in the comments if you’ve got any more suggestions for our living room.



You really have an awesome blog, the articles are really informative and original. Me and hubby are planning to have our own apartment by next year. And reading all of your tips and guides makes me excited to personalize our home. Keep up the good job and you have a really lovely blog! keep it up! <3
Thanks so much Esther for your kind words! That means so much to me 🙂
That’s so exciting that you will be getting your own apartment! It’s so fun to make a “space” into a home. We lived in two different apartments before our current home and I think it’s definitely worth personalizing even if you won’t be there forever. Apartments are so fun to decorate!
Thanks for stopping by the blog, I’m so glad to have you here.
>> Christene
Such a great idea! The end tables look so expensive and classy with just a bit of work!