I’ve been in a crafting mood lately, so this past weekend I decided to create a really simple autumn-inspired project.
This post contains affiliate links for your convenience. For more information, see my disclosures here.
I love autumn leaves! One of my favorite parts about fall is when the trees turn gorgeous colors. It’s amazing to one day see bright green trees and the next day, a spectrum of different colors.
The only problem is at some point, the leaves actually fall off the trees! And then I’m sad because I have to wait a whole year for the pretty colors to come back.
As an attempt to capture the colorful spectrum of leaves, I decided to create an autumn banner. It’s my way of bringing nature indoors.
This banner was so easy to make that there’s really not much of a tutorial. I thought I would share it with you anyways in case you are in the crafting mood too. This is one of the projects that’s so easy to make, you definitely can’t mess it up.
Autumn Leaves Banner
Materials
- Autumn Leaves Cutout Shape
- Scissors
- Cardstock in Autumn Colors
- Jute or Cord
- Glue Gun
- Hot Glue
- Cricut Explore
- Regular Cutting Mat
First things first, you will need to download the template for the autumn leaves cutout shape.
Get the Free Autumn Leaves Cutout Shape

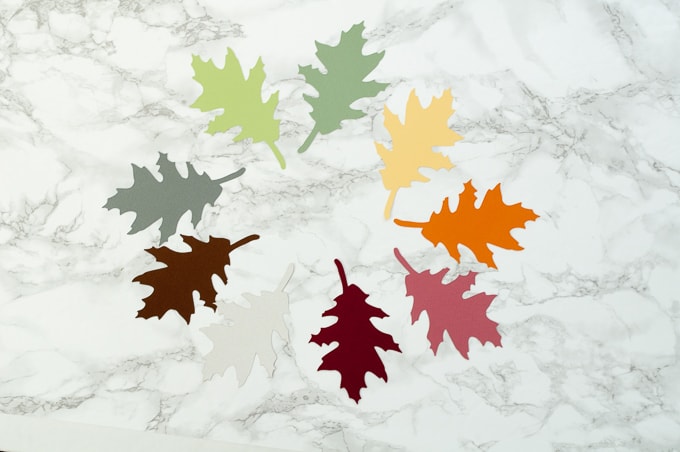
Step 1: Cut out a Ton of Leaves
For this banner, you’re going to need a ton of leaves. I cut out about 80 leaves, but that number will be different depending on how long you want your banner to be.
There are two ways to cut out all the leaves. The first way is much more time consuming and that’s cutting the leaves out by hand with scissors. You can use the autumn leaves cutout shape as a template on your cardstock to make as many leaves as you need for your banner.
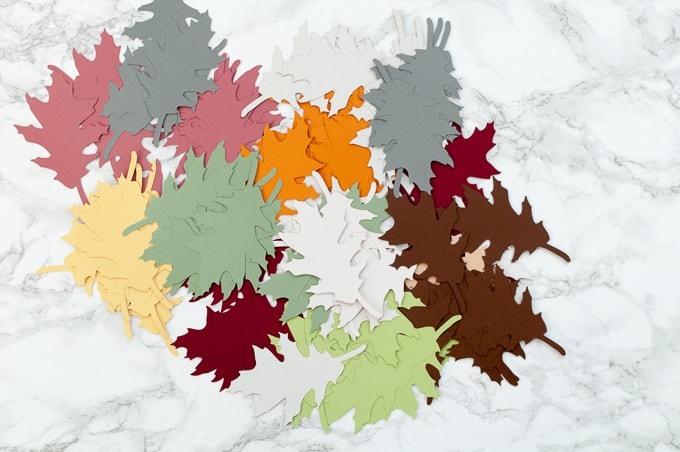
The second way is so much easier! Use the Cricut Explore to cut out all of your leaves. All you need to do is upload the leaf image into the Cricut Design Space software. Once your image is uploaded, create a new project and have the Cricut Explore cut out as many leaves as you need.
I used my Cricut Explore to cut out all of the leaves in 9 different autumn colors. You can cut out multiple different sizes if you want, but I went simple for this project and made all my leaves the same size. Each of my leaves was about 4” wide.
Step 2: Cut your Cord to Length
The base of a banner is some sort of cord to hold everything together. I decided that I wanted a more rustic look for my banner, so I went with a 4 ply jute as my cord. My measuring process was very scientific 😉 – I held the jute up to my staircase and measured a general length for my banner. I told you, super scientific.
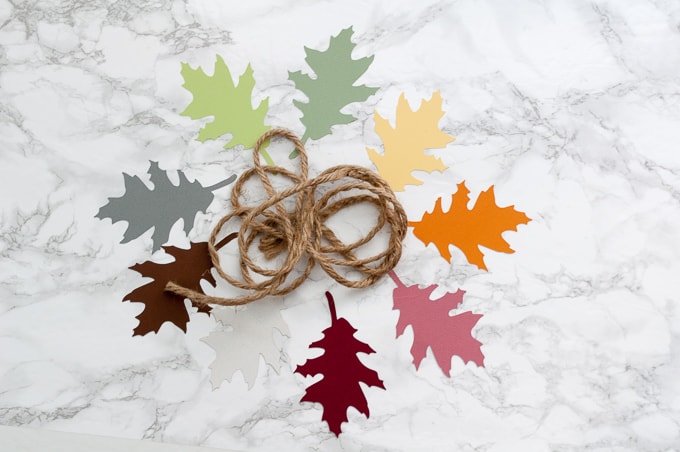
Step 3: Attach the Leaves to the Cord
Now, all you need to do is attach all the leaves to your cord. I tied my jute between two chairs so that I could place the leaves while the banner was hanging. Then, I used a glue gun to add a small amount of hot glue to the back of each leaf stem and stuck them to the jute cord.
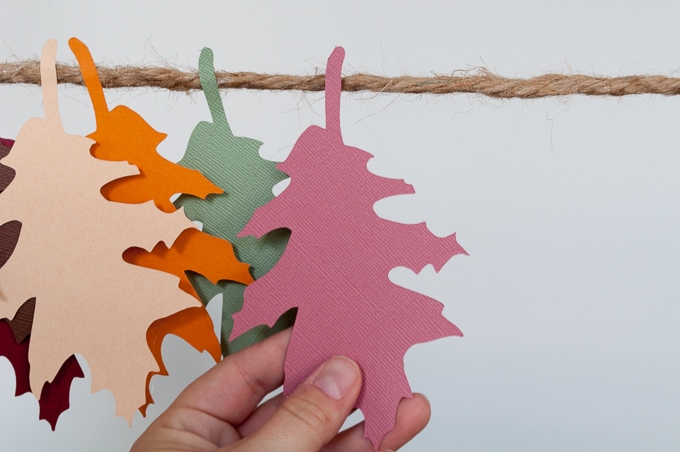
To make the banner look natural, I tried to alternate the angle of the leaves. This kept the banner from looking too uniform. I also flipped the leaves over so that they weren’t always pointing in the same direction.
I filled up my banner so that is was somewhat dense but not too crowded. Basically, until I thought it looked good. Then I was done!
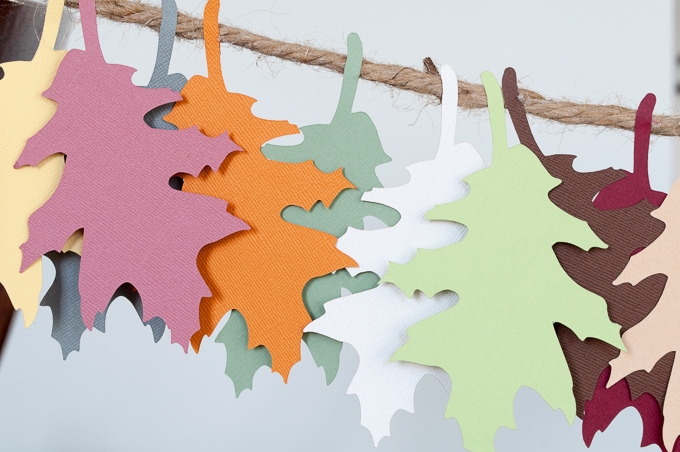
Then, I just tied the cord to my banister and I had a gorgeous autumn leaves banner. Literally, easiest craft project ever!
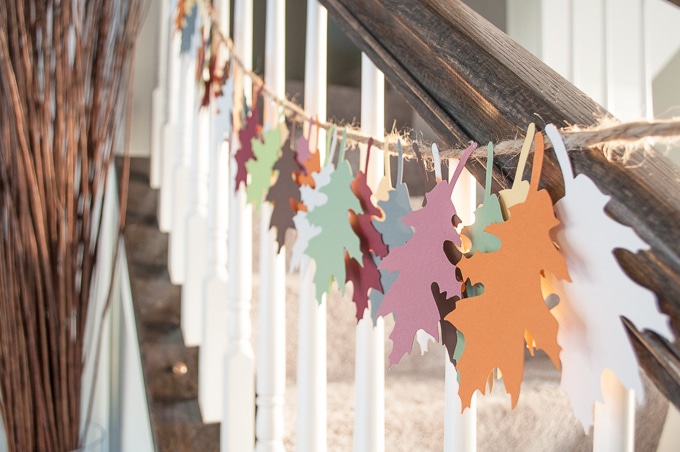
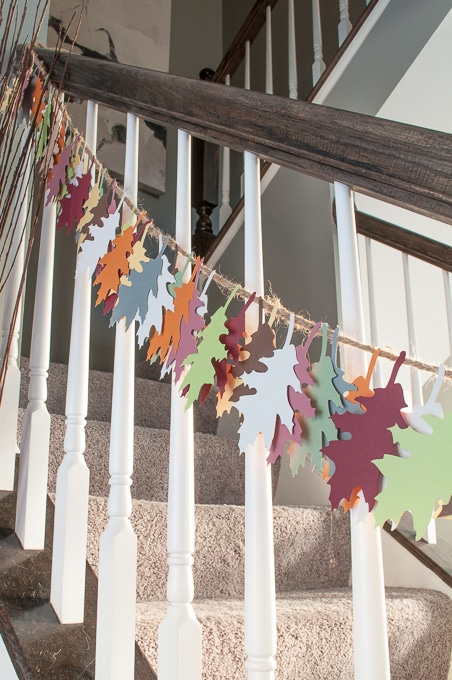
Aren’t these colors making you so excited for the leaves to change colors?
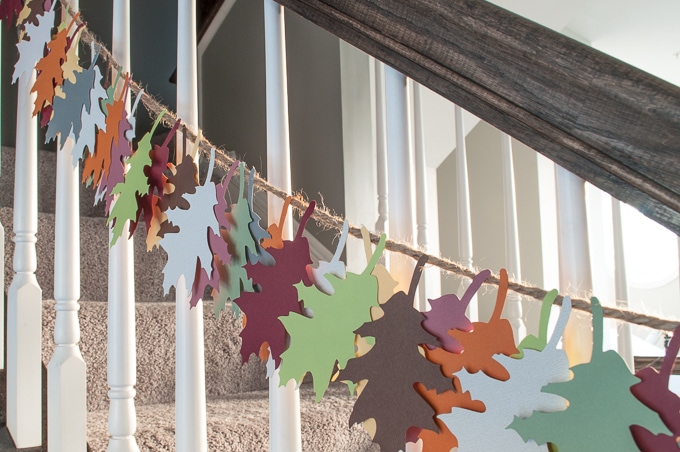
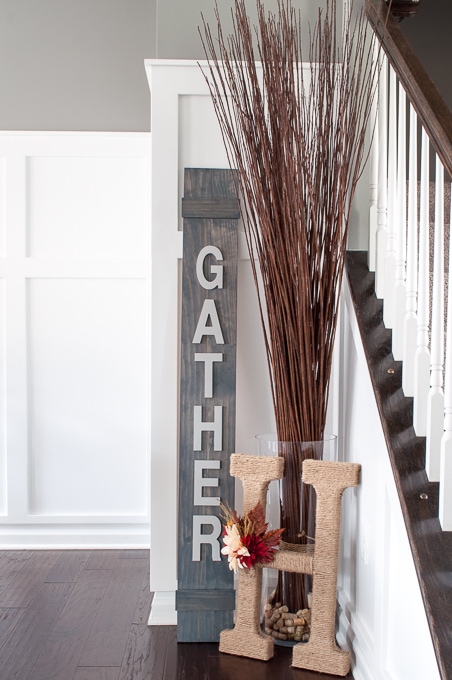
I think this autumn leaves banner fits in perfectly with the rest of my fall décor in the dining room. I love how the colors play off the neutral gray of my gather wooden sign. It just feels so cozy to me!
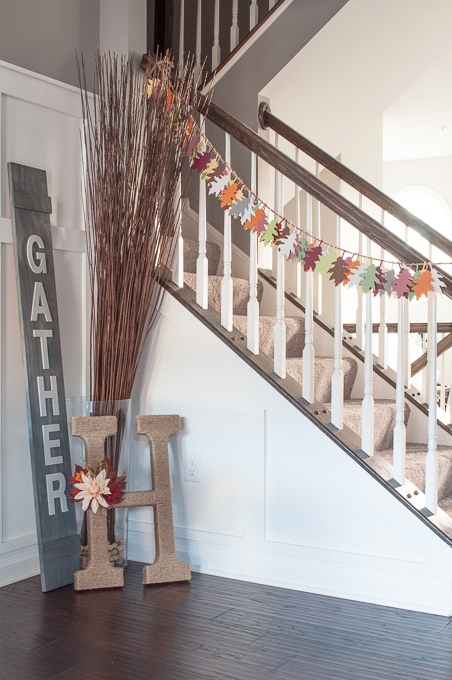
If you’re looking for an easy craft project, you can make this beautiful banner for your home in no time. Time to get crafting!
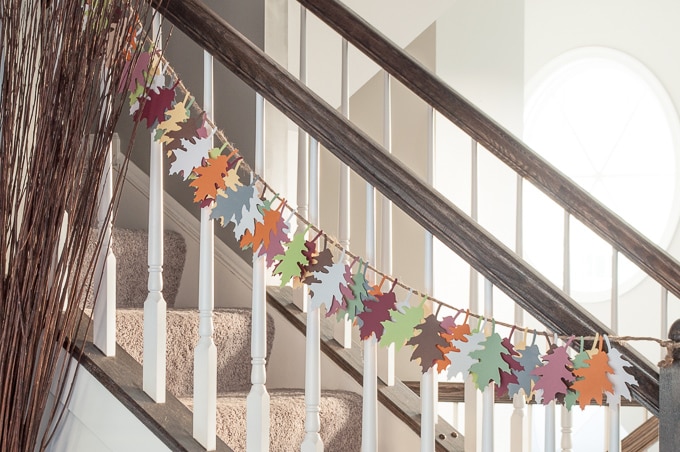
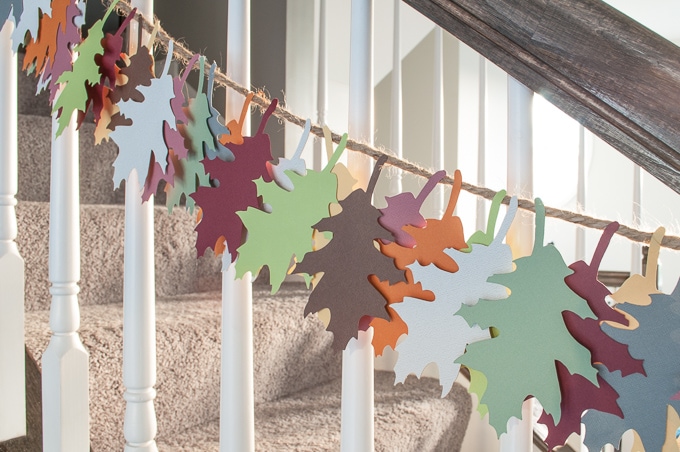
I hope you enjoyed this simple tutorial. Let me know in the comments if you make your own autumn leaves banner.
I’ll leave you with one last colorful pretty shot! So cozy!
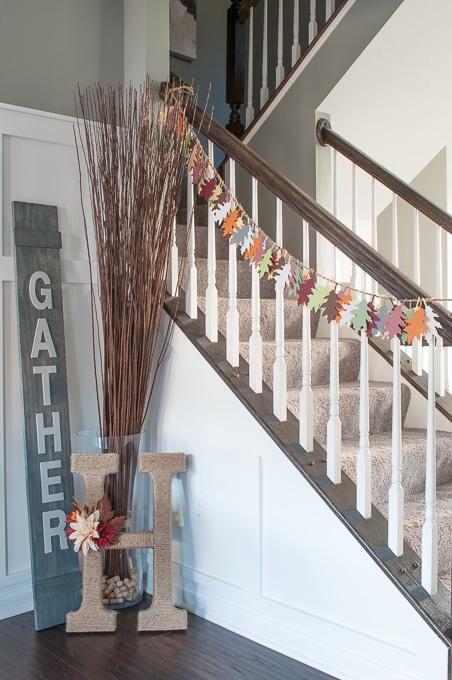
Happy Fall!






Such a warm look. Simple but elegant home decor project for my favorite season. Thank you Christene for this great post.
Thanks Dee!! And thanks so much for stopping by 🙂
>> Christene
i was so super excited to find your autumn leaf to cut out using my cricket. i know you said it was easy and i haven’t had a cricket for too long but i downloaded the image fine and then went to make it and all it did was print the image on my printer. i just want to cut the image and have the image just print on cardstock on my cricket. any help would be appreciated. thanks
Hi Mary,
When you upload the image into Cricut Design Space, you will want to save it as a “Cut Image” and not as a “Print then Cut Image.” This will tell the Cricut that you want to cut it out and not print and then cut it. Once you add that image to your Design Canvas, it will have a linetype of “Cutting” only.
Hopefully this helps. Let me know if you have any other questions.
>> Christene