It’s February and Valentine’s Day is right around the corner. So, I thought it was time for a fun Valentine’s Day craft project!
This post contains affiliate links for your convenience. For more information, see my disclosures here.
I’ve always thought that conversation hearts were cute for Valentine’s Day, but I can’t stand how they taste!
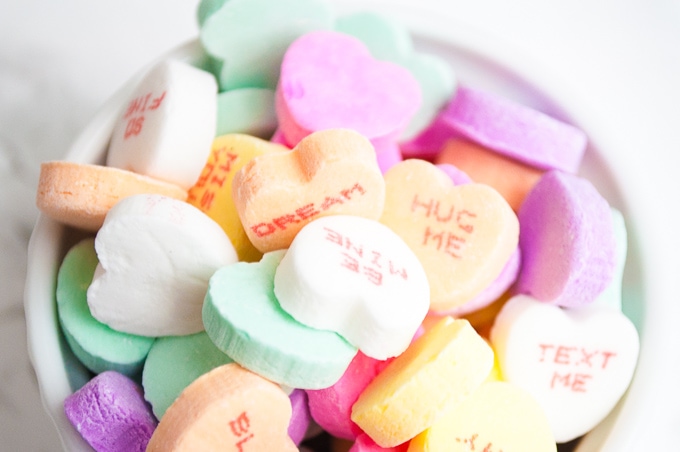
I don’t know if it’s the flavors or the texture, but they are pretty much at the bottom of my list of favorite candies. I’m pretty sure I’m not alone in saying that I definitely won’t be eating them this Valentine’s Day. Bring me the boxes of chocolates instead!

Even though they don’t taste very good, I always ended up grabbing a bag of conversation hearts to use for decoration! The little colorful hearts are just too cute to pass up.
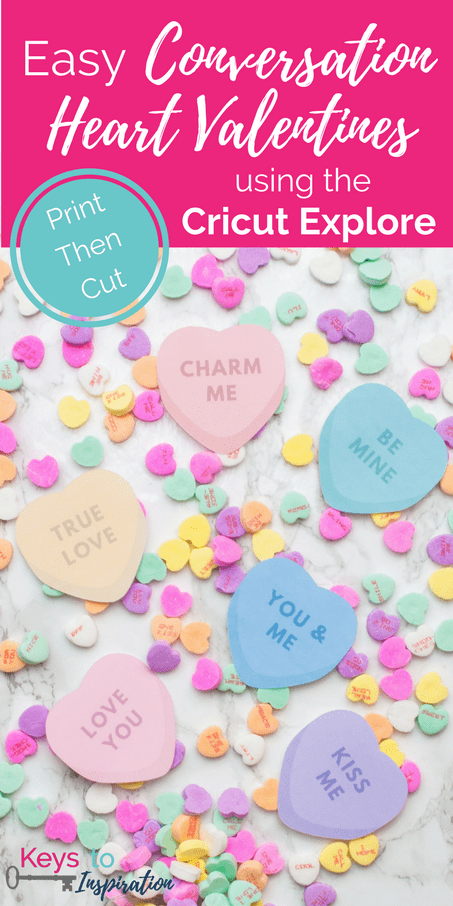
Conversation Hearts also make cute Valentine’s Day cards. Today I thought I would share a quick Cricut Explore tutorial with you and show you how to make these fun Valentine’s Day cards.
Easy Conversation Heart Valentines using the Cricut Explore
Materials
- Cricut Explore
- Regular Standard Grip Cutting Mat
- Home Printer
- Card Stock
- Conversation Heart Valentines Printable
First things first, you’ll need to download the Conversation Heart Valentines Printable.
Get the Free Conversation Heart Valentines

Let’s create some cute valentines! Start by creating a new project in Cricut Design Space.
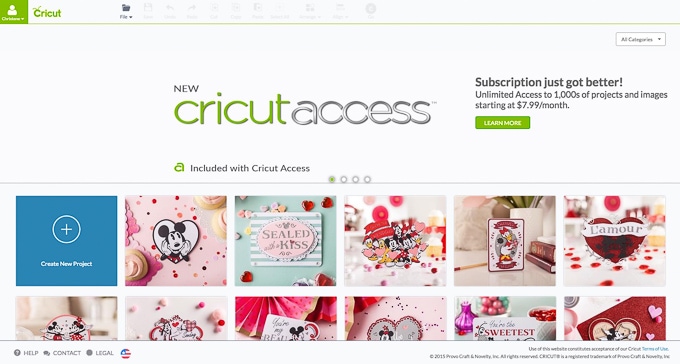
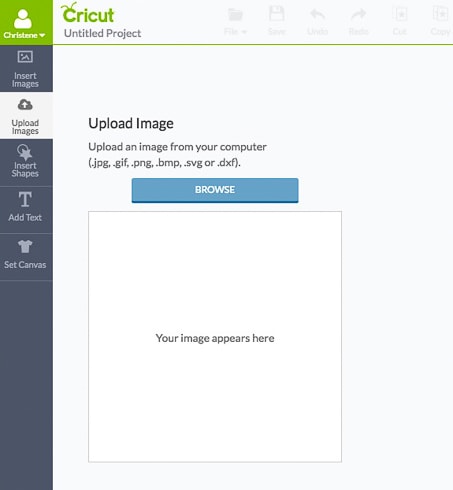
In the side menu, select the Upload Images button to open the upload menu. Then, select Upload Image.
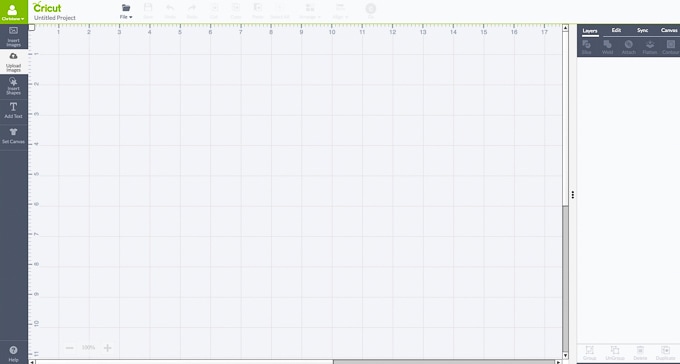

Since you’ve already saved the Conversation Heart Valentines Printable to your computer, select the browse button and navigate to where you saved the file. Click on the file to upload the image into Cricut Design Space.
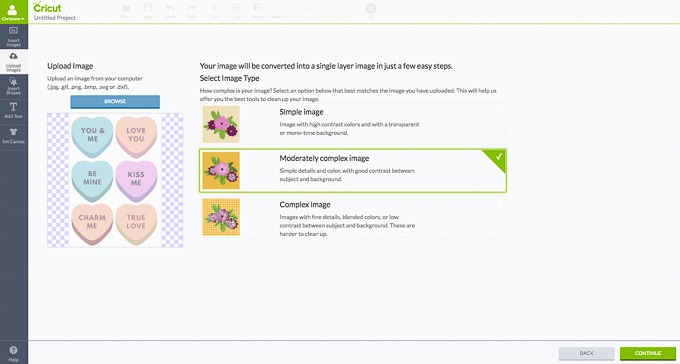
Now you need to choose what type of image it is. Since the hearts are more than one or two colors, but not super complicated, select Moderately Complex Image. Then select the Continue button in the lower right-hand side of the screen.
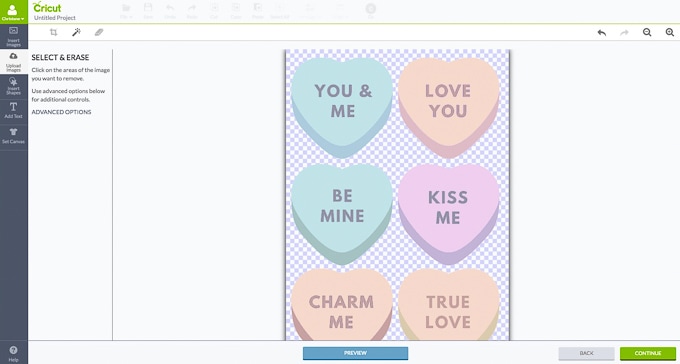
Now you need to remove the background from the image. In this menu, you can see that the magic wand is already selected from the toolbar.
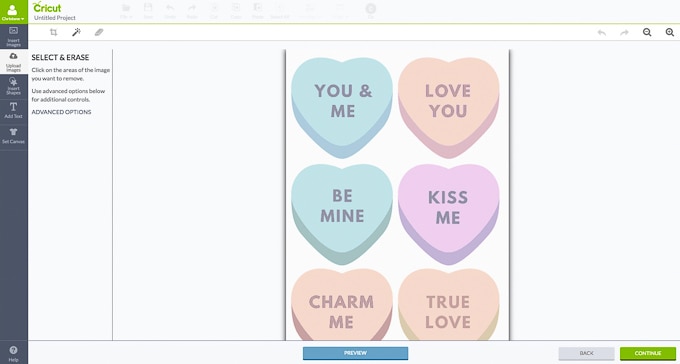
Click on any part of the white background of the image. Once you click, the background will change to the blue and white checkered background. This means that it’s now transparent. Select the Continue button.
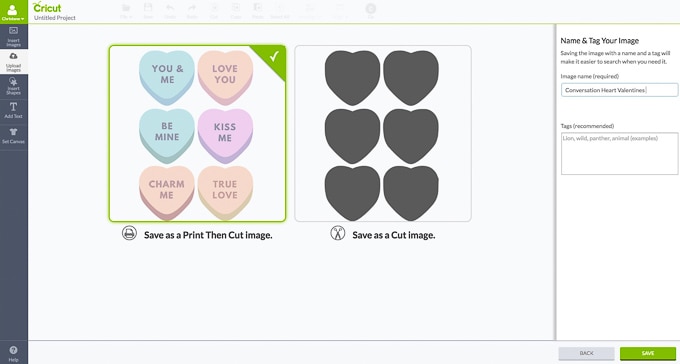
To finish the upload, you just need to select which type of image this is. Since we are going to be printing out these Valentines using our home printer and then using the Cricut Explore to cut them out, select the Print Then Cut option. Then, select Save.
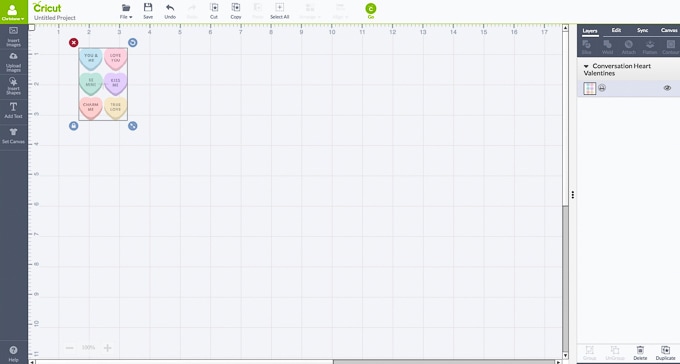
In the upload images menu, select the Conversation Hearts Valentines images that you just uploaded and select insert images. When the image is first inserted into the main design area, the sizing will be a little off. I designed these Valentines to be just the right size for printing and cutting using the Cricut Explore, so we just need to resize them to the designed dimensions.
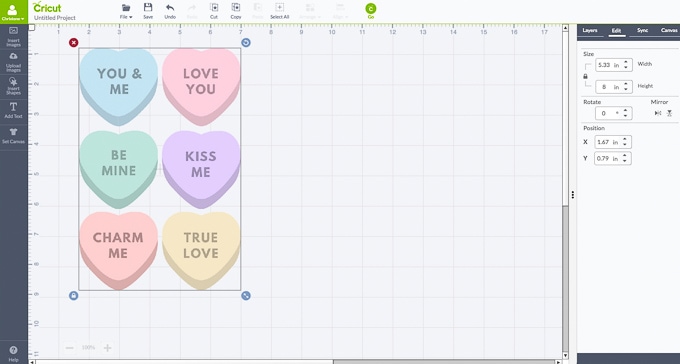
Select the image. Then using the Edit Panel, resize the image by typing the dimension of 8” into the box next to the word “height.” The width will scale accordingly. Now your Valentines are properly sized and ready to be printed and cut out.
Select the Go button at the top of the screen to start the cut process. In the preview menu, select Go and follow the instructions to print out your Valentines on card stock paper using your home printer.
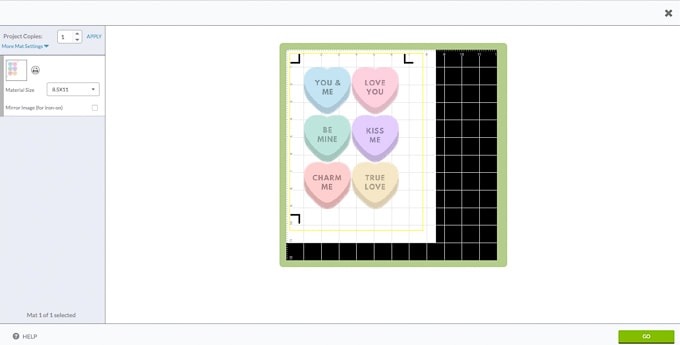
Cricut Design Space puts these black registration marks on all print then cut designs. The marks help the Cricut Explore figure out where your design is on the cutting mat. That way it can cut out your design perfectly.
Once your design is printed, place your card stock onto the cutting mat and load it into the machine. Press the flashing Go button on the Cricut Explore (it has a “C” on it) and watch as it cuts out your Valentines!
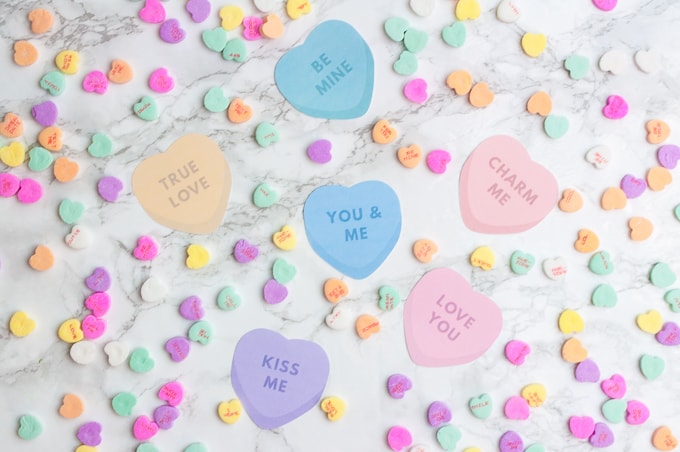
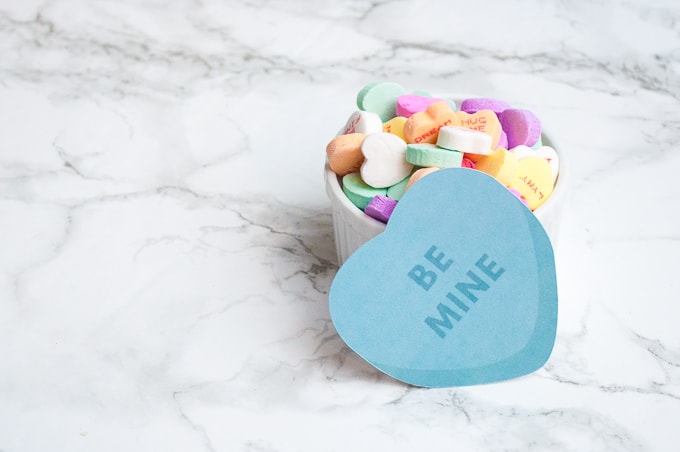
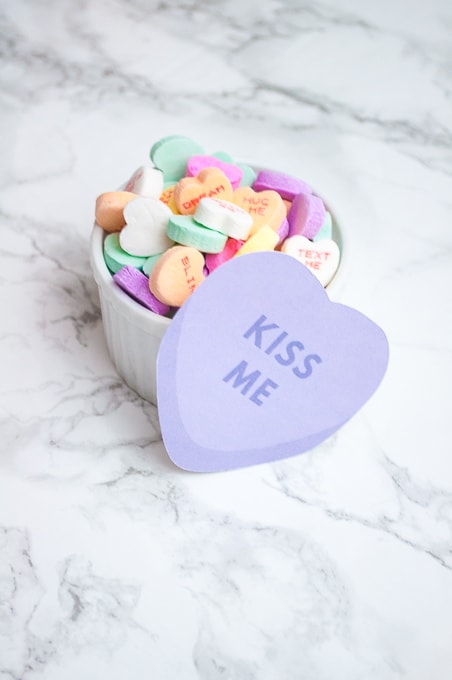
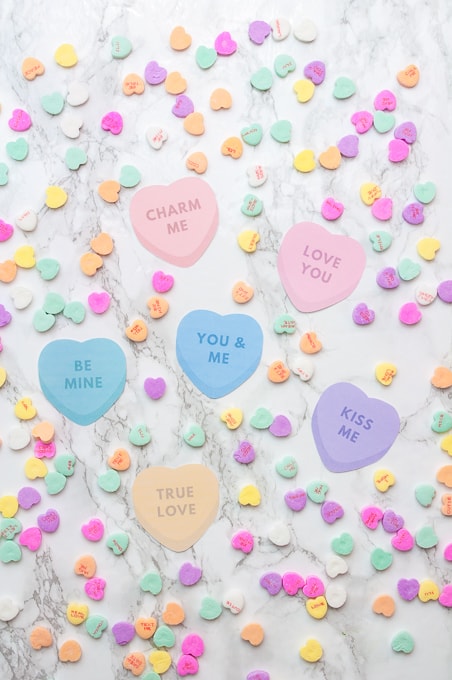
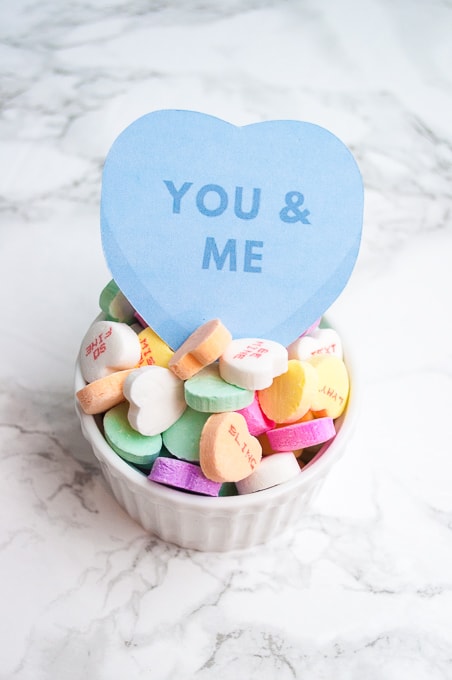
I love how adorable these valentines look! Exactly like the little conversation heart candies.
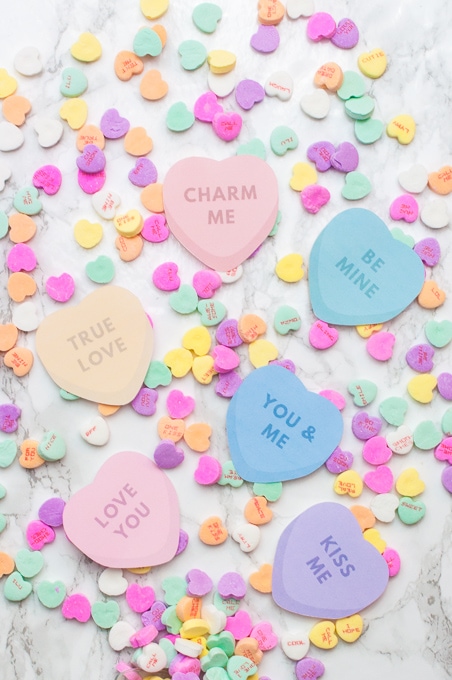
You can print and cut out as many valentines as you need. The back is blank so that’s where you can write out cute little phrases and sign your name.

These cards can be shared all by themselves or attached to a goodie bag of treats using a hole punch and some ribbon. They’re the perfect size for kids valentines.
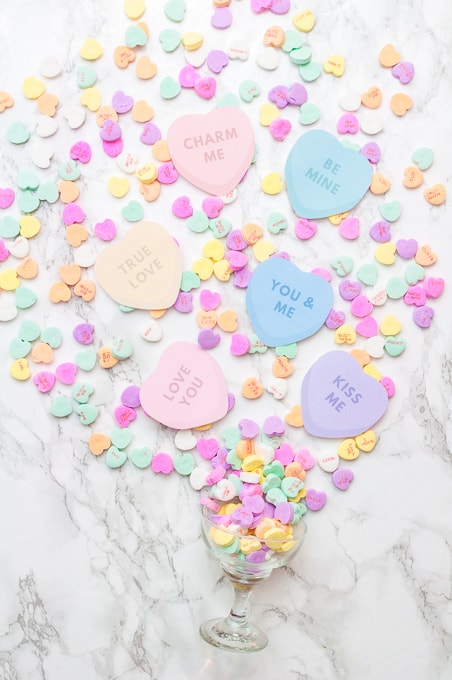
I hope that you give this easy Cricut Explore project a try. There are so many ways you can use your Cricut and the print then cut feature is one of my favorites!
Happy Valentine’s Day!




Very cute. I am going to make some for the church potluck table decorations.
Thanks! I’m glad that you liked them!
>> Christene