One room in our home that I’ve never had the chance to show you is the garage. The garage is actually the first “room” that we see when we get home and the first “room” that guests see when they come over. To say that it’s a bad first impression is an understatement.
The garage has been acting as a storage room ever since we move into our house. But recently, the storage situation was getting out of hand.
It was a mess, and it was an embarrassing entryway into our home. Because of the layout of our home, when guests come over, they almost never go around to our front door. They always come into our home through the garage.
Both Ben and I were getting tired of having a messy, unfinished garage. So, we decided that it was time for a makeover! We needed a better storage system and we wanted to have a workshop area for all the tools and things we use to work on projects around the house.

We have all kinds of ideas and plans for the garage, but first, we need to turn the unfinished garage into an actual room.
I didn’t have many pictures of the garage in it’s full before stage. Let’s just say it was filled with storage boxes and miscellaneous house things. These pictures were taken after we moved all the storage boxes into the basement.
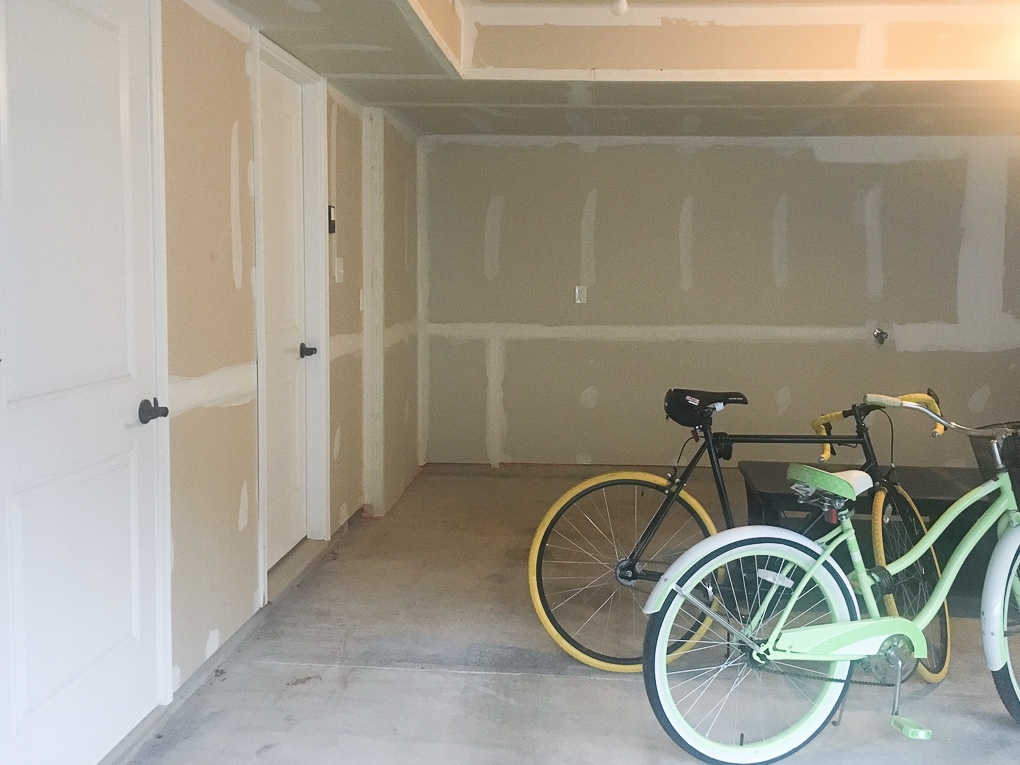

When our home was being built, the builders left the drywall in the garage unfinished. It was just taped and mudded, but never finished.
To finish the walls, we hired one of our friends who has professional experience finishing drywall. There’s a technique to mudding drywall that we found just a little too difficult and time-consuming to do on our own. So, we decided it would be beneficial for our sanity to hire it out.
After the walls were finished, we sanded and painted them. At this point, it was starting the actually look like a real room!
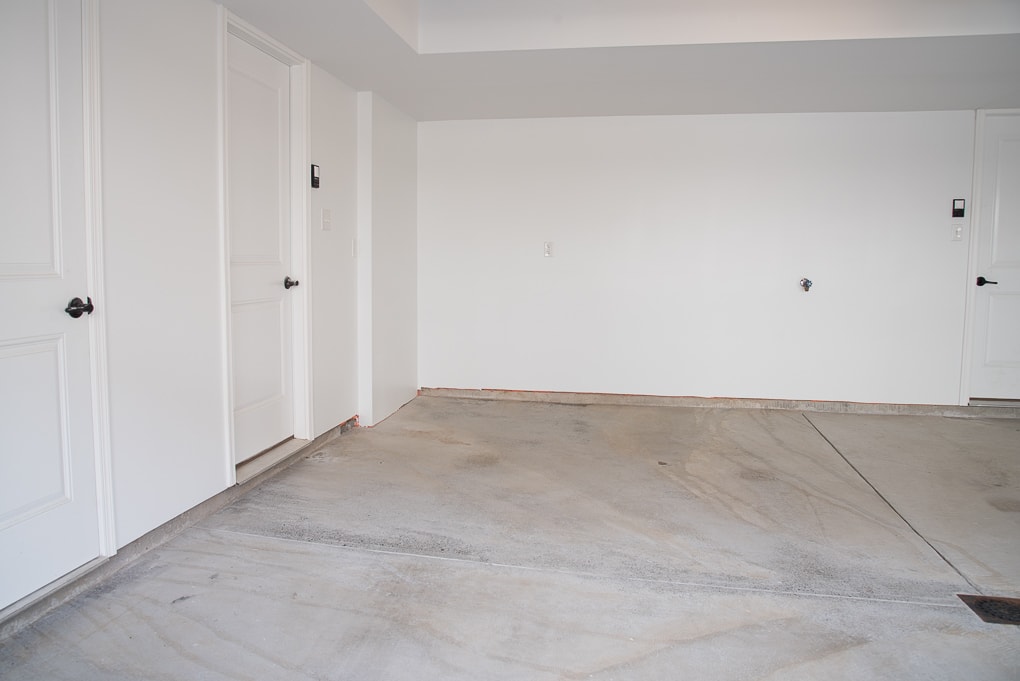

Next, it was time to tackle the floor.
How to Refinish a Garage Floor with Rust-Oleum EpoxyShield
A huge thanks to Rust-Oleum for providing product for this post! My favorable opinion of the amazing garage floor epoxy coating is 100% my own. For more information, see my disclosures here.
Our garage floor is a cement floor that isn’t sealed. After two years of living in our home, the floor was looking pretty gross. It was stained, discolored, and basically not the finished look we were going for.
At Haven this year, I had the opportunity to check out Rust-Oleum’s garage floor coating products. After seeing some pictures and samples, I decided that the Rust-Oleum EpoxyShield was exactly the look we were going for. It has a uniform, matte finish and it comes in gray. Perfect!

Now, before I get into the full tutorial, I have to admit that I was a little intimidated by this DIY project. I was really nervous that I would mess it up and totally ruin our garage floors. Or, at least create a ton of work for myself by having to redo everything. But, I wanted to let you know that this project was definitely not difficult! It may look a little difficult from the outside, but once you get going, it’s basically as easy as painting your walls.
Let’s get into the tutorial:
This post contains affiliate links for your convenience. For more information, see my disclosures here.
Part 1: Cleaning the Floor
Tools:
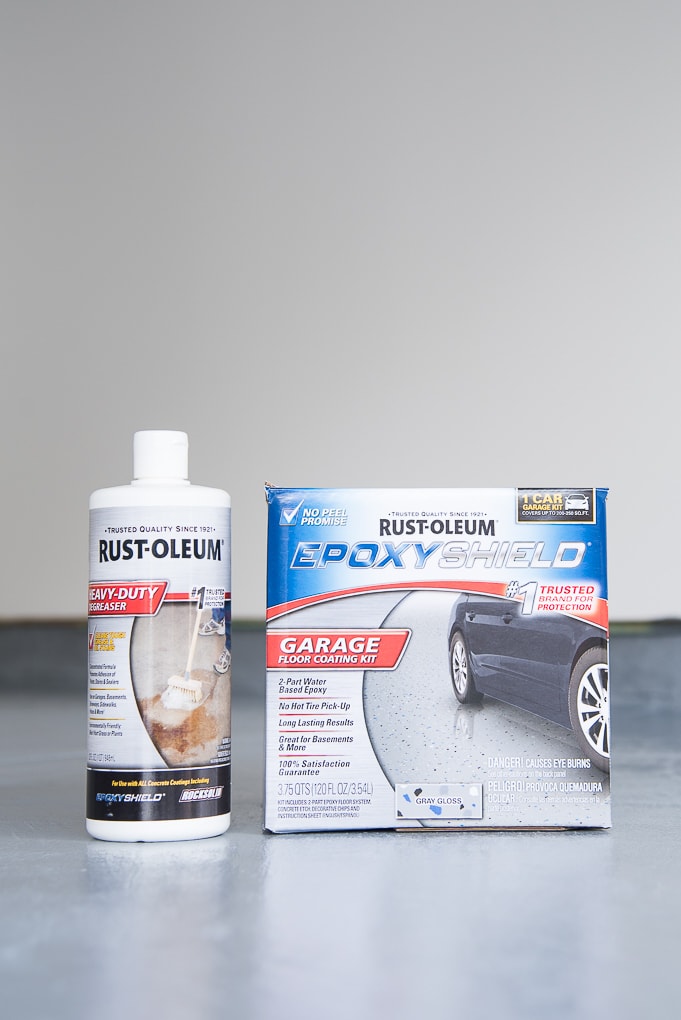
- Rust-Oleum Heavy-Duty Degreaser — we used 2 bottles for our two car garage
- Bucket
- Stiff Bristle Scrub Broom
- Hose
First, we needed to prepare our garage floor by cleaning it really well. We decided to use the Rust-Oleum Heavy-Duty Degreaser.
This cleaner is made specifically for cleaning off garage floors and getting all the grease and gunk off the concrete. Thankfully, our garage floor wasn’t covered with grease or heavy oil stains. But, we still wanted to give the whole floor a good, thorough clean to prep it for painting.
The degreaser comes in a small bottle and needs to be diluted with water. First, grab a large bucket and fill with 1 gallon of water. Our bucket was a 3-gallon bucket, so we filled it about ⅓ of the way full. Then, pour in the entire 32 oz bottle of degreaser.
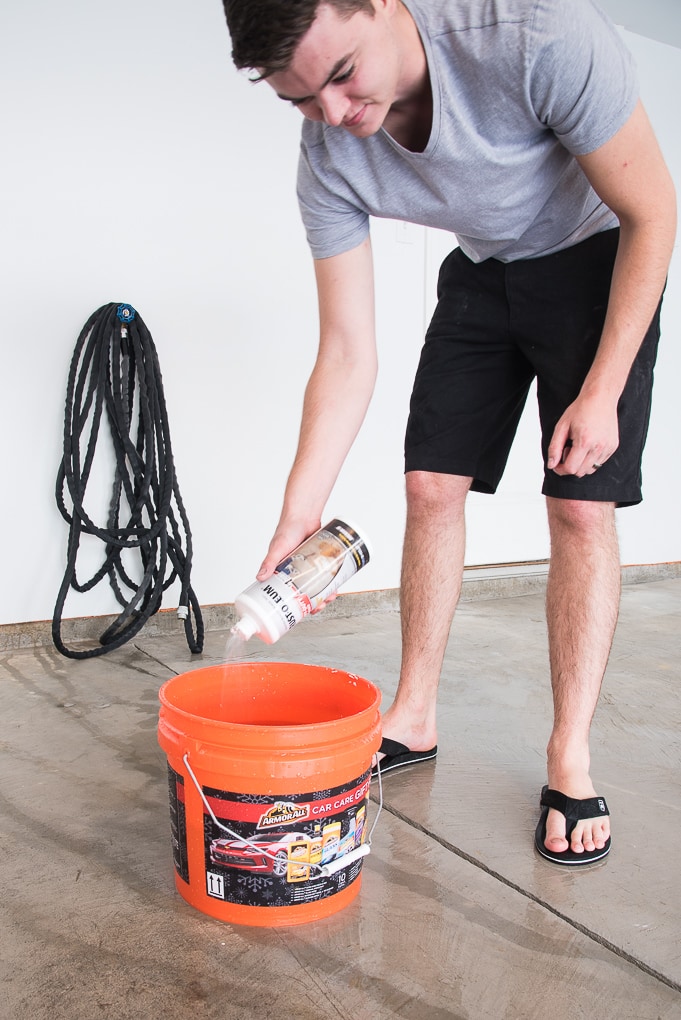
Next, spray down your entire garage floor with water.

Then, working in sections of your garage, pour the degreaser cleaning solution onto the concrete and scrub the floor using a stiff bristle scrub broom.
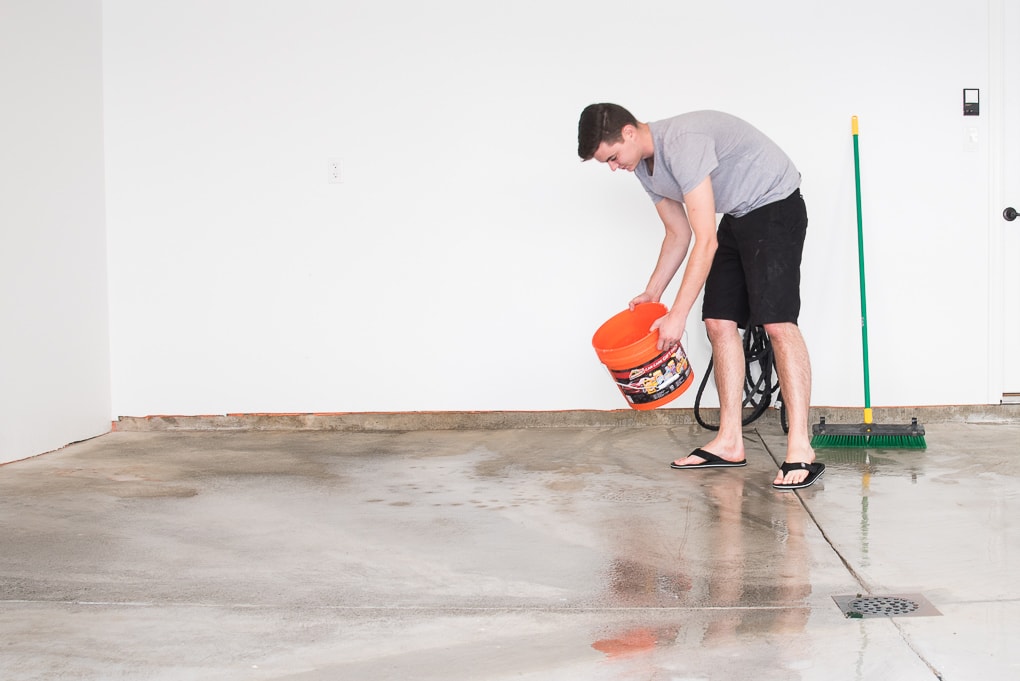

Our garage is a two car garage split into 4 concrete sections. To cover the entire garage, we needed two bottles of the degreaser. We worked on one section at a time, pouring the cleaning solution onto the floor and scrubbing off the dirt and grime.

After you get a good lather of the cleaning solution on your floor, use a hose to rinse down the entire garage floor. Nice and clean!

Part 2: Etching the Floor
Tools:
- Rust-Oleum EpoxyShield Concrete Etch (comes in the kit) — we used two kits for our two car garage
- Bucket
- Stiff Bristle Scrub Broom
- Paint Stirrer
- Watering Can
- Hose
- Scissors
Once the floor was clean, it was time to prep the concrete for painting by etching it. Each Rust-Oleum ExoxyShield kit comes with concrete etch. The etch helps to rough up the concrete surface a little and give the paint something to stick to.
The concrete etch comes in a small pouch and needs to be mixed with water. Grab a large bucket and fill with 2 gallons of water. Our bucket was a 3-gallon bucket, so we filled it about ⅔ of the way full. Then, pour in the entire packet of concrete etch and mix with a paint stirrer until it’s dissolved.
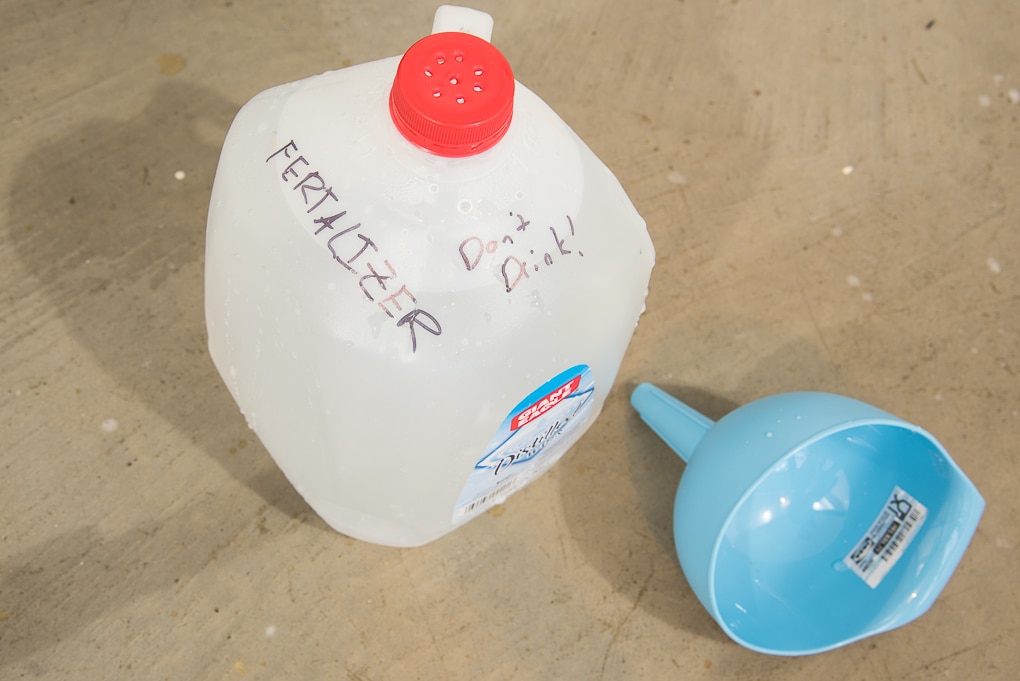
The instructions recommend using a watering can to evenly distribute the etching solution on the floor, but we didn’t have a watering can available. Instead, we used a milk jug that we had in our garage that we previously used for fertilizer. We just put some holes into the top to create a DIY watering can.
Working one section at a time, use a hose to wet the garage floor. Then, pour on the etching solution and scrub the floors using a stiff bristle scrub broom.

We used two packets of concrete etch for our garage. Again, we worked one section at a time pouring the etching solution onto the garage floor and scrubbing using the broom. We found it best to move the scrub broom in multiple directions to help the etching solution loosen up the thin top layer of concrete.
After we finished one section, we used the hose to completely rinse off the floor and etching solution. Then we moved onto the next section.
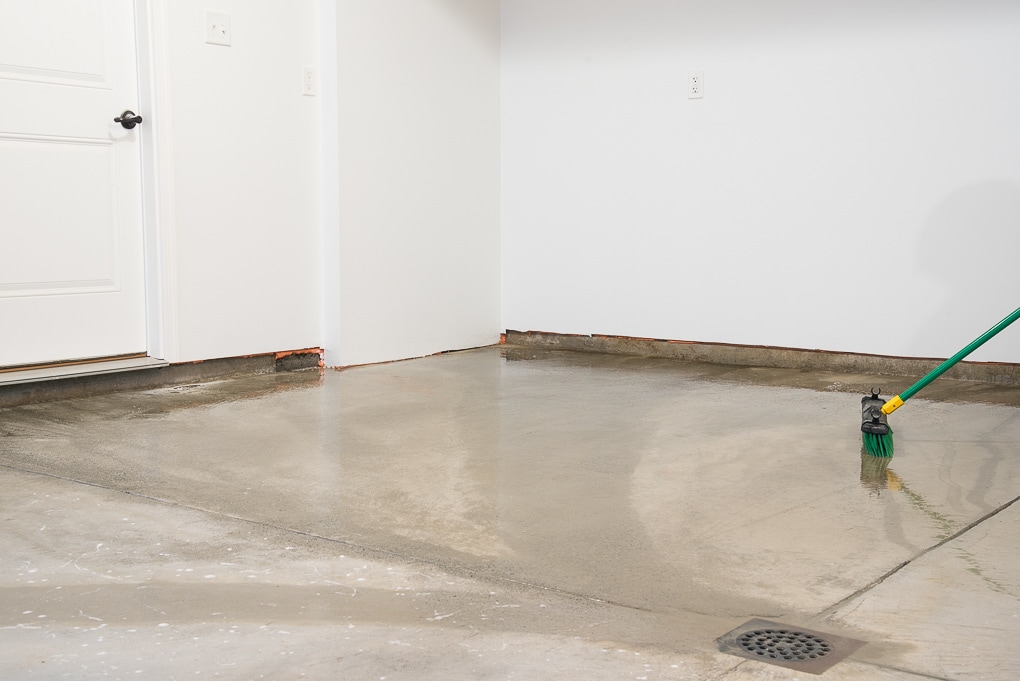
Once the floor was completely etched and rinsed, we rinsed down the entire garage floor to make sure all the etching solution was gone. Then, we used the broom to push any pooling water towards the drain. You want to get rid of any excess water on the floor.
Let the floor completely dry overnight after etching. We left a fan in our garage all night to move air through the space and help the drying process.
Part 3: Painting the Floor
Tools:
- Rust-Oleum EpoxyShield Kit — we used two kits for our two car garage
- Small Broom
- Paint Tray
- Paint Roller and Extension Pole
- Paint Roller Cover
- Paintbrush
- Scissors
The next day, when our garage floor was completely dry, it was time to paint!
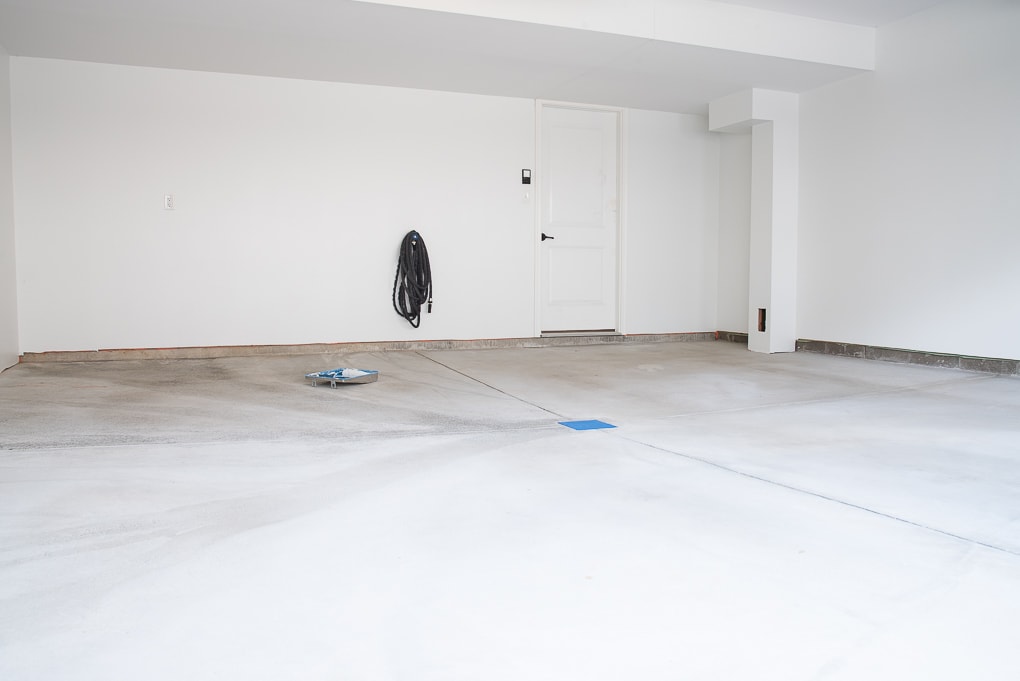
Now, before you start, you’ll need to pay attention to the weather. Rust-Oleum recommends that the temperature be between 60-85 degrees F and the humidity must be below 80%. This is to make sure that the epoxy is applied properly and adheres.
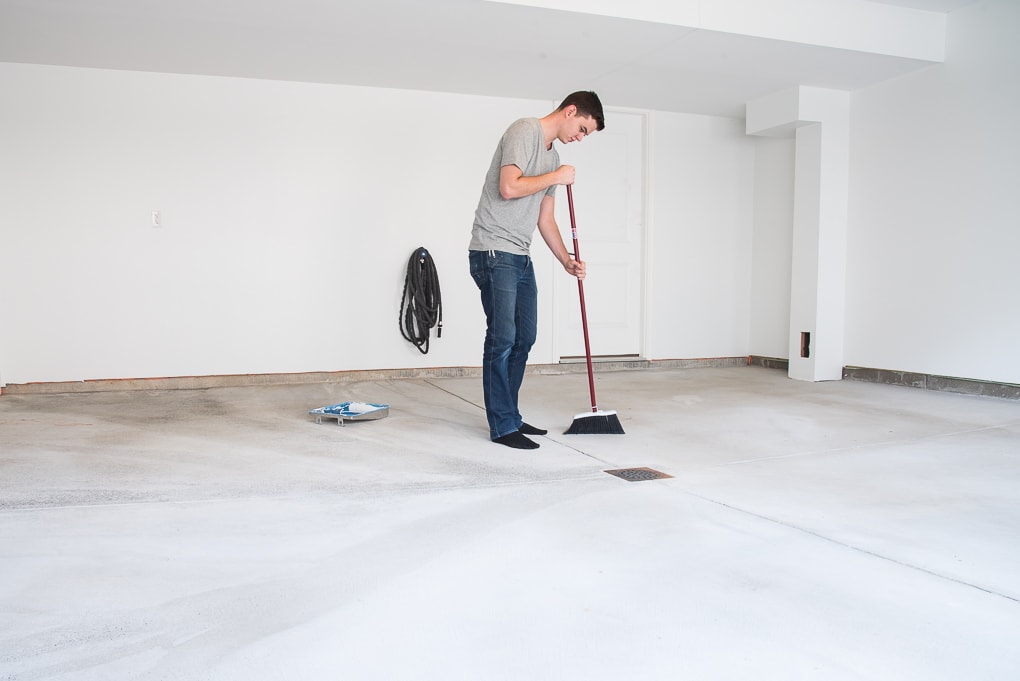
Start by using a broom to brush off any dust or dirt that is left on the floor. You want the floor to be as clean, and dry as possible in order to apply the epoxy.
Next, take the epoxy bag out of the box. The bag is made up of two separate pouches divided and labeled as Part A and Part B.
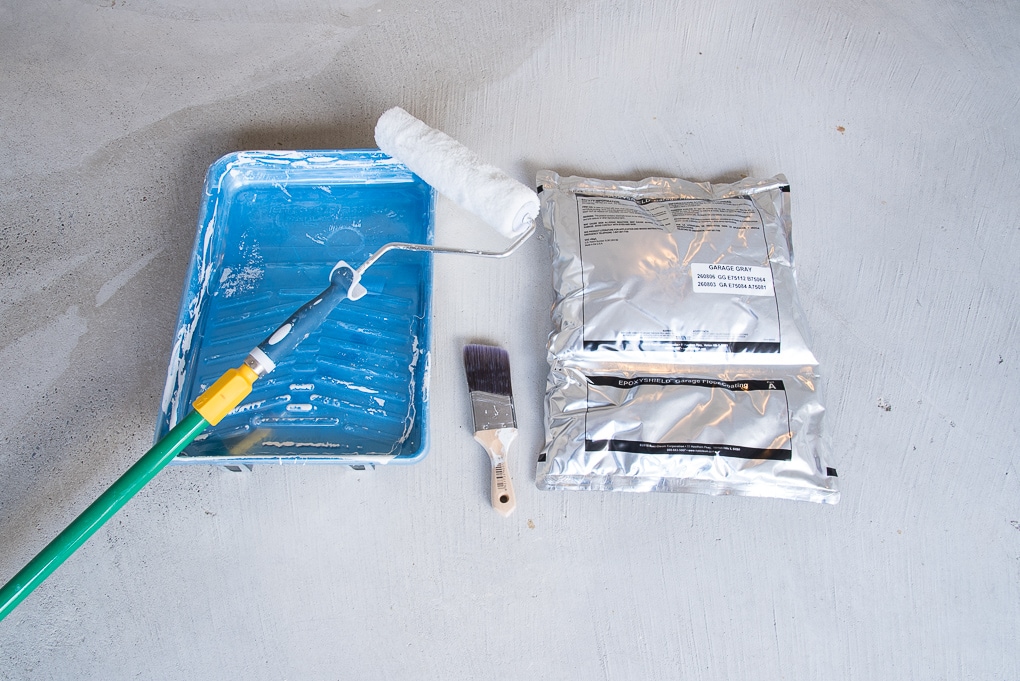
Shake the bag back and forth for about two minutes to thoroughly mix each pouch separately. Then, place the bag on the ground and roll the Part B pouch towards the Part A pouch.
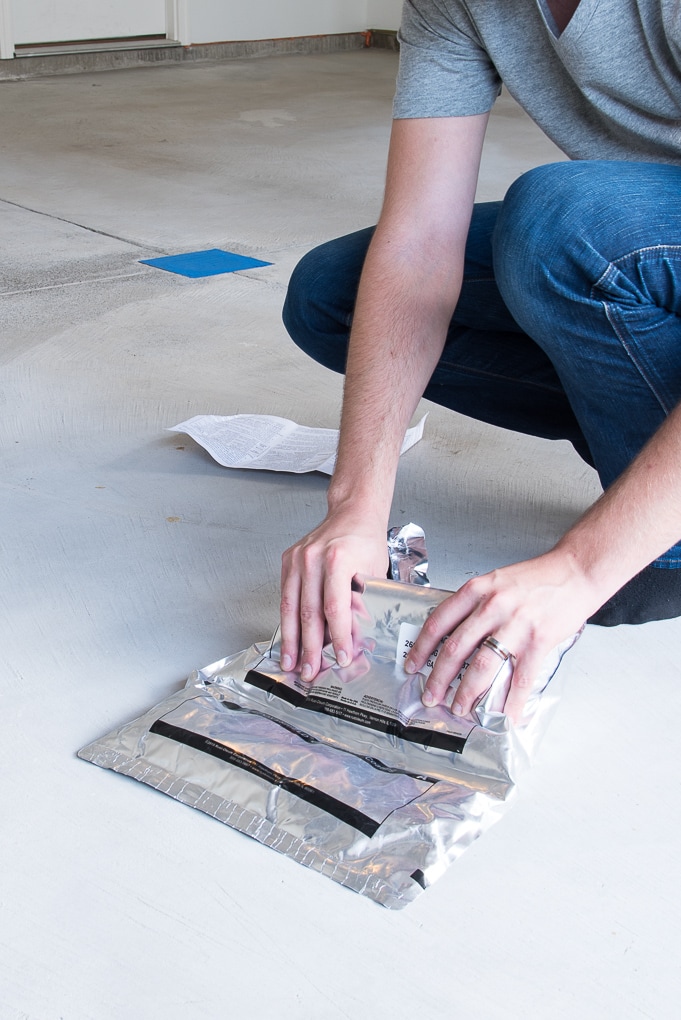
As you start rolling, the pressure you create will break the seal in the middle between pouches and will mix the two components together.

I was a little nervous that I would break the entire bag apart, but it’s designed to only break on the inside at the middle seal.
Once the middle seal is broken, mix the epoxy by massaging the bag and shaking it back and forth for about 3 minutes.
The day that we coated our garage floor, the temperature was 75 degrees F and the humidity was low. Based on these conditions, we looked at the Application Chart that came with the instruction packet in the kit. After mixing our epoxy, we could start brushing 10 minutes later and start rolling 15 min later. We also had 1.5 hours to complete the application using one kit before the epoxy was no longer good.
After the epoxy has been activated, pour it into a paint tray.
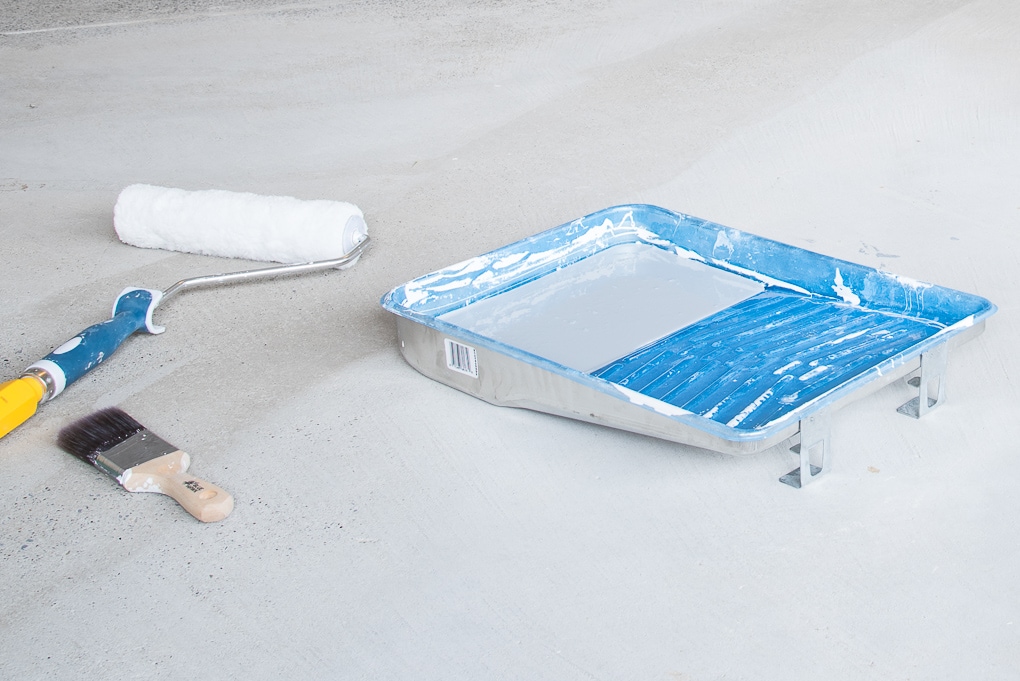
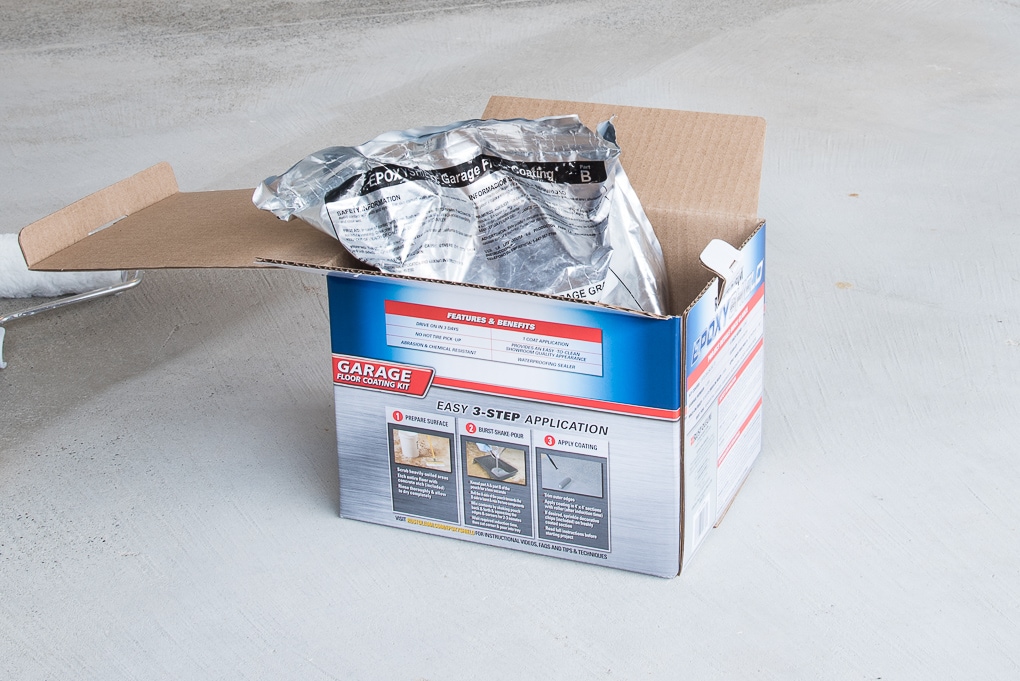
There is a lot of epoxy in one bag, more than can fit into a single paint tray. Don’t overfill your paint tray. We used the box to hold the bag of remaining epoxy upright so it wouldn’t spill.
Start by using a paintbrush to edge the section you want to cover first.
We decided that we were going to cover the floors and the small lip of concrete between the bottom of the drywall and the floor. That way we would have a uniform look to the entire garage. We used a paintbrush to brush the epoxy onto the concrete lip first and then edged the section we were working on.

We found it best to work in small segments of each section. After edging, we then used a paint roller on an extension pole to start rolling the epoxy onto the floor.
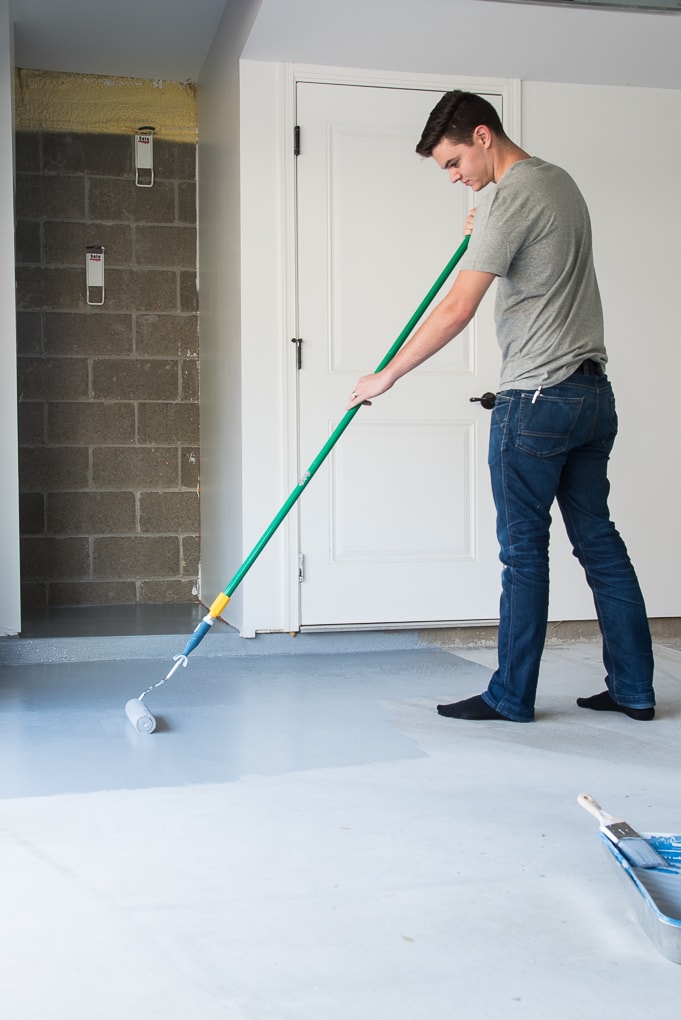
Just like painting, you want to keep a wet edge to prevent roller marks and get an even coverage. The epoxy is somewhat thin, so it’s really easy to apply. Even though it’s thin, it covers really well and only requires one coat.
After you finish a section of floor, you can add the decorative chips that come with the kit. We decided to not use the chips on our floor because we wanted an even look.
Move onto the next section and repeat the process. Start by edging using a paintbrush and then roll the epoxy on the floor using a paint roller.
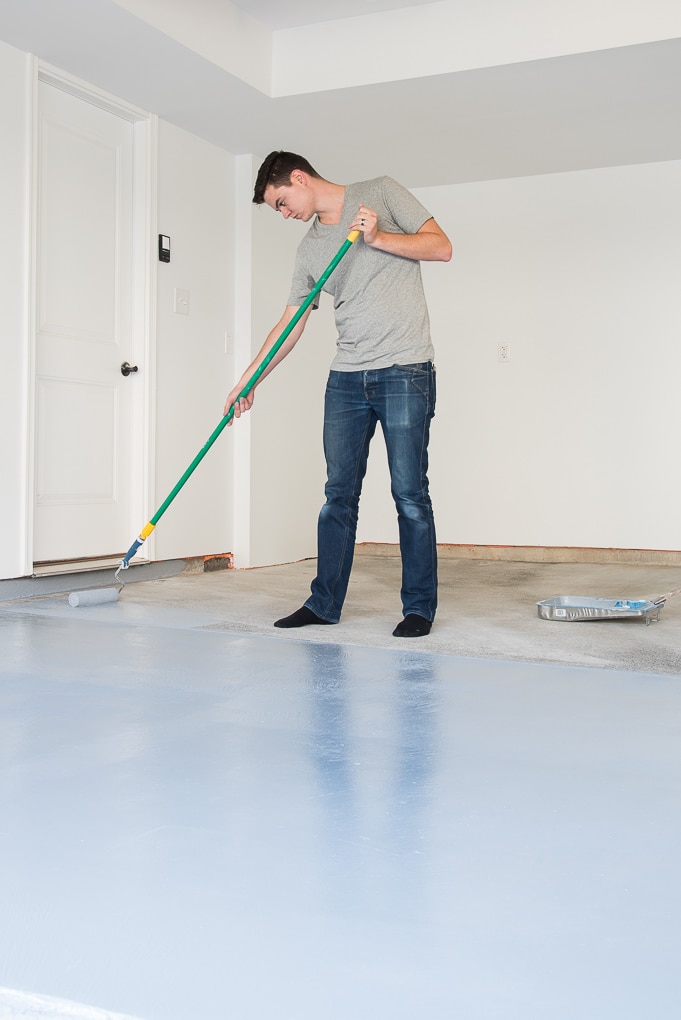
While we used two smaller kits for the garage, we only used one epoxy bag at a time. That’s because once it’s activated, it’s only good for a certain amount of time. Once we ran out of the first bag of epoxy, we activated the second bag.
After your entire garage floor is coated, let the epoxy dry for 12-16 hours. After this timeframe, it will be ok to walk on. Let it dry completely for 3 days before you drive on it.
We closed the garage door and let everything dry for 24 hours. Then, before walking on it, I touched the floor with my hand and make sure it wasn’t still wet. Once we were able to walk on it, we opened up the garage door and got to see the whole room with it’s new finished look.

Isn’t it beautiful?! It looks so much better now that the floor has been coated and is no longer that uneven, discolored concrete look. The epoxy really makes the garage look like an actual room now.
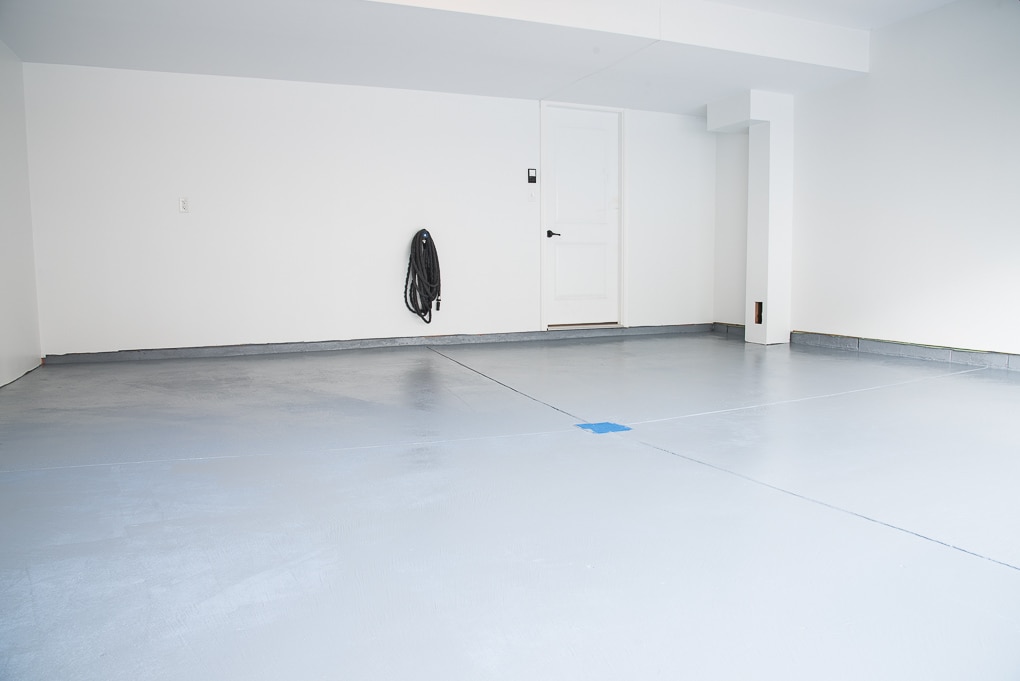
The epoxy coating is a thin layer on top of the concrete. If you look really close, you can still see the variations in the concrete under the coating. It’s kind of like paint where you can see any imperfections on your wall through the paint. This doesn’t really bother me because the floor as a whole looks even and smooth.

If you are really concerned about hiding the imperfections in your concrete, I think that the decorative chips would help mask some of that in the coating.
Overall, I’m so happy with how our garage floor turned out!
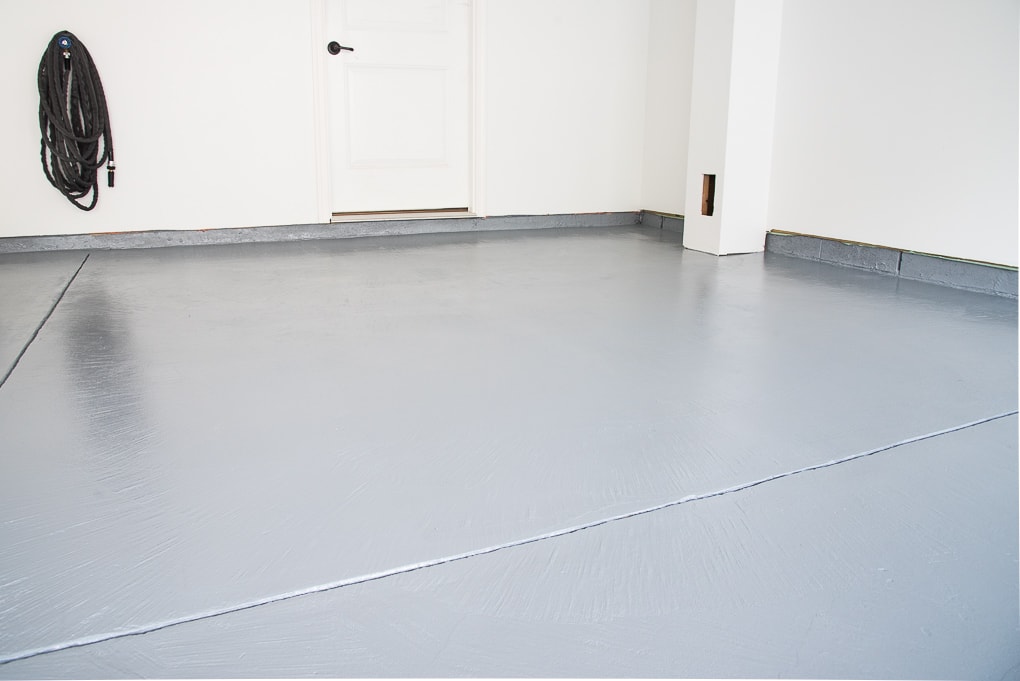
The Rust-Oleum EpoxyShield coating looks incredible and is the perfect color! The floor feels so much better now and doesn’t have the rough, concrete texture that it had before.
If you are thinking about refinishing your garage floors I would highly recommend this epoxy. It was a much easier DIY project than I was expecting and the results are amazing.
Now we are one step closer to creating a beautiful, finished garage. I’ll be sharing more of the plans for our makeover in a future post, so be on the lookout for that!
I hope that you have a great week!





What a great product and what an amazing transformation! Such a great “clean slate” to start with now!!
Thank you so much Morgan! I love the clean slate look that it created too. Thanks for stopping by the blog 🙂
>> Christene
This looks great! I’ve always wondered about the process with this, but it doesn’t look too difficult. We have a detached garage/workshop that we painted the floors with regular garage floor paint, but maybe we’ll give this a shot!
Yes! It was so much easier than I thought it would be. I was really nervous that I would mess it up, but it was pretty straight forward. You just need to prep the floors. But the whole process isn’t hard at all.
This would be perfect for your detached garage workshop.
Thanks for visiting the blog 🙂
>> Christene
Looks,great! We recoated our garage floors earlier this year and it looks so much better. Love the color you picked too.
Thank you! I can’t believe how different it looks from the plain cement. So much better! I love the gray color too! #grayeverything is the motto of my home HAHA
Thanks for visiting the blog 🙂
>> Christene
Wow it looks great! You have given me confidence to attempt a bigger DIY project like this. Thanks for the thorough walk through!
Thanks Chris! I’m glad you enjoyed the tutorial! It’s much easier than it looks 🙂
>> Christene