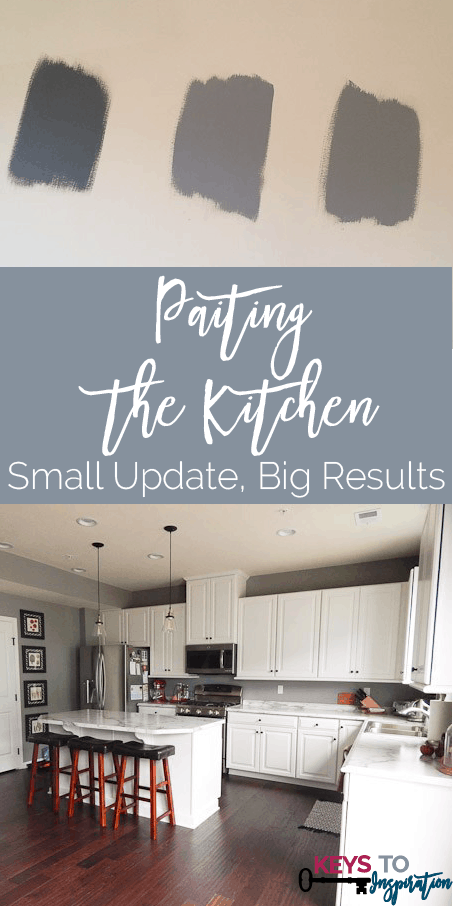
Ever since we moved in, I have waited for the day when we can finally get rid of the yellow walls. For the kitchen, that day was finally here. The kitchen is really the room that needed to be painted the most. The white cabinets did not really look the greatest next to a sea of yellow walls and it was making me second-guess my white kitchen ideas (crazy!! because I love white kitchens).
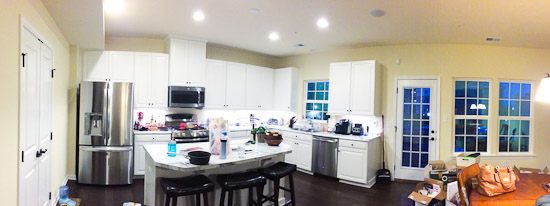
Here is a photo that I snapped with my phone of the messy kitchen in it’s before state.
As you can see, the yellow is very overpowering and was making the room feel like it was more on the warm side of the color scale. That was definitely NOT what we were going for.
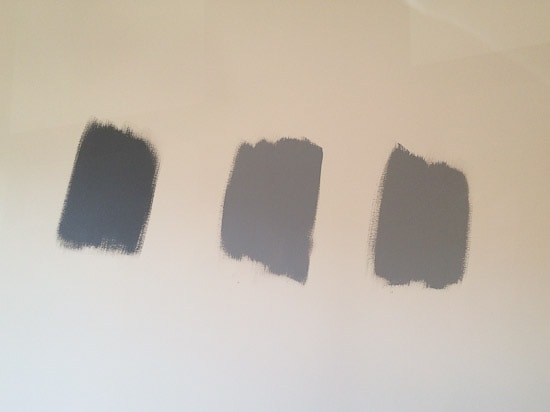
We went to Lowe’s and after looking at a ton of paint chips, we settled on a few colors. We got some samples made and brought them home to test out. We knew that we wanted gray walls, but we weren’t sure how dark we wanted the walls to be.
The three colors above are all Valspar gray paints. From left to right they are Mark Twain House Ombra Gray, Hazy Stratus, and Wet Pavement.
We decided on the middle color, Hazy Stratus for the kitchen. It was a good middle gray that the white cabinets would stand out nicely against and wasn’t too dark that it would make the kitchen feel like a cave.
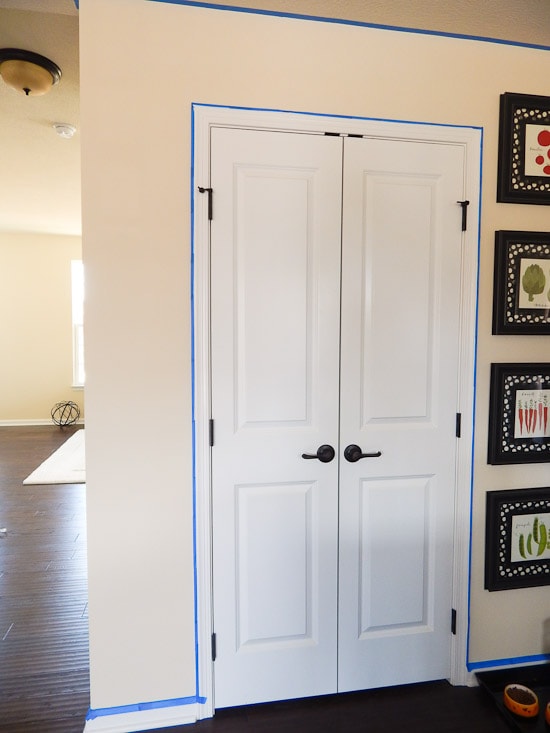
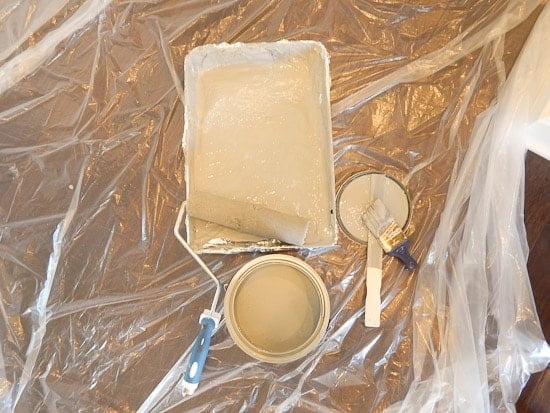
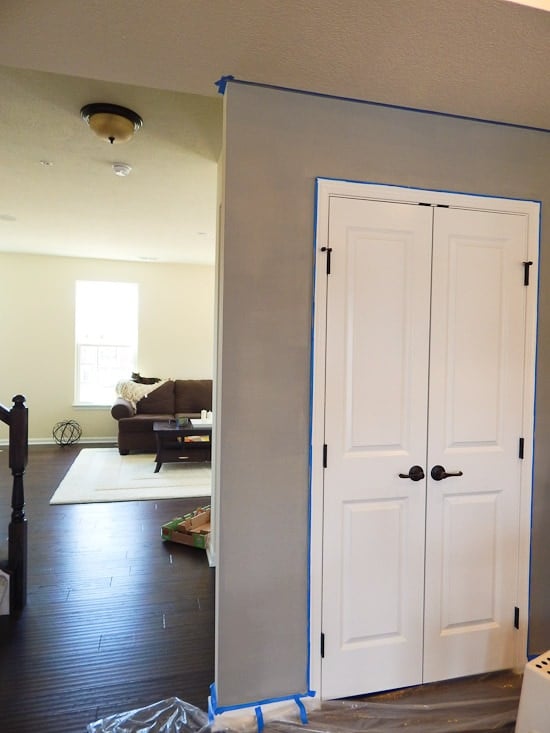
Before we started, we taped off the walls and put tarps over the wood floors. I was really paranoid about getting paint on our brand new floors.
Then we got to work painting. The kitchen didn’t really require a lot of paint it just took us a decent amount of time to paint all the small areas.
One tip that I read about online was to line the paint tray with aluminum foil to make clean up easier. We tried this out and while it worked well at first, we got some breaks in the foil and the paint ended up leaking anyways. Also, the foil got loose and was kind of a pain to deal with. Since then, I have come up with my own tip for the paint tray after painting many other areas of the house.
My best tip for paint clean up is to line the paint tray beforehand with Glad Press ‘N’ Seal. This stuff is my go-to because it honestly works so well for a variety of different things, but for painting it’s a must. The sticky edges create a seal so no paint can get through. It also doesn’t move around when you are rolling because it doesn’t come loose. It’s the same general idea for clean up, but I found that this stuff works SO much better.
Once the paint dried and we pulled off the tape, we found out that the tape wasn’t really the best idea either. The paint had leaked through onto the baseboards so we had to go back and touch those up after the fact. After taping and painting the kitchen, we decided that for future paint projects we would just “cut-in” with a small angled brush first. It requires a little extra patience and a steady hand, but it takes so much less time than taping off an entire room. Also, it will save time in touch ups later.
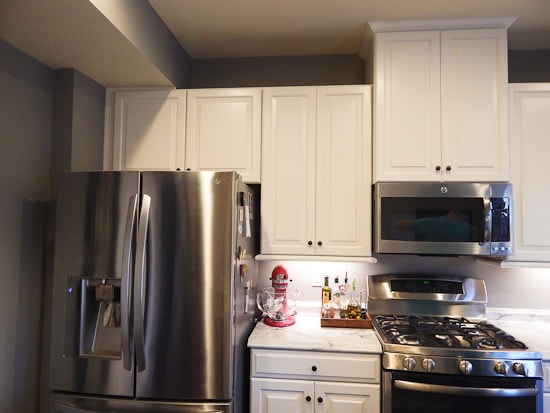
Once we finished, the kitchen looked SO much better than before. The gray really made the cabinets stand out! We ended up only using a gallon of paint for the entire space so the whole project cost us only around $35.
This was a small update that really made big results in the way this room looked and felt.
We are so happy with how it turned out. I love that my white kitchen plans are finally coming together! I can’t wait to keep working on this space.
Have you ever done a project that was small but had a huge impact? Let me know in the comments below.










Great tips and suggestions! Thank you for sharing!