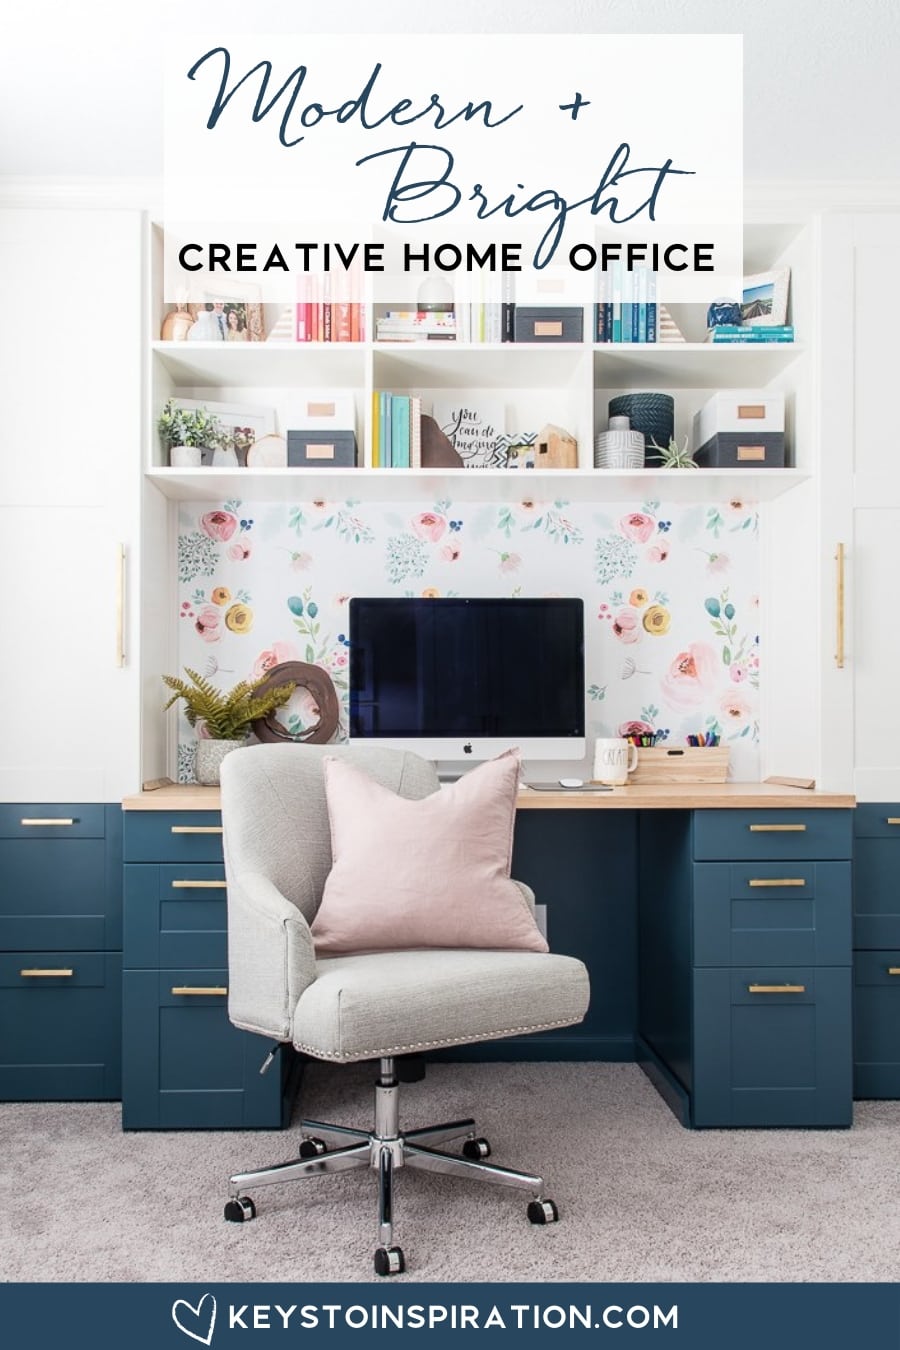
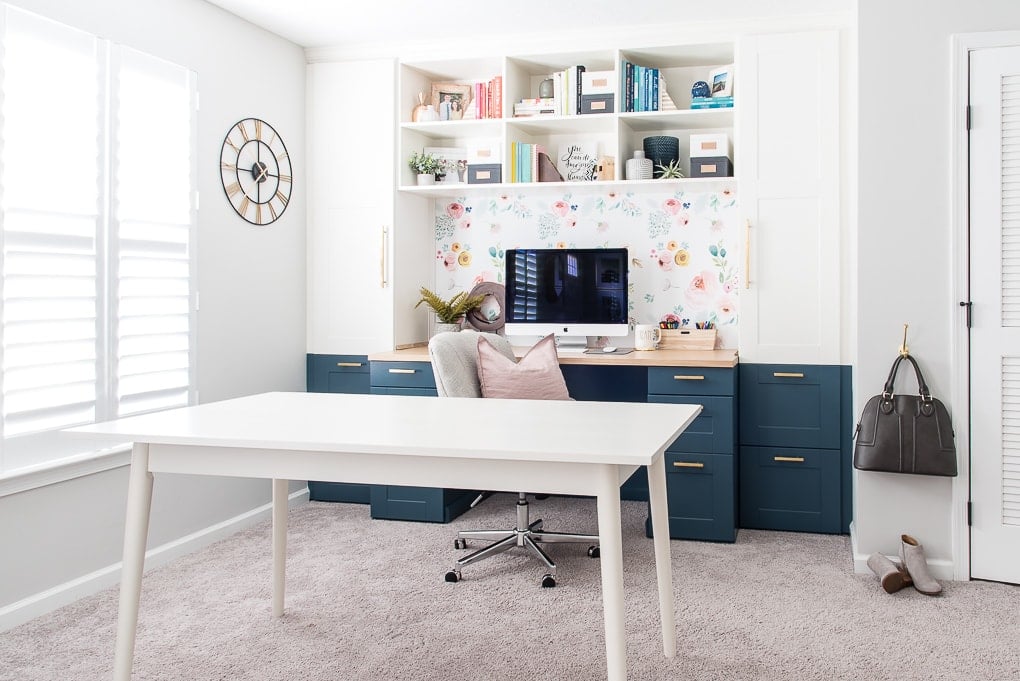
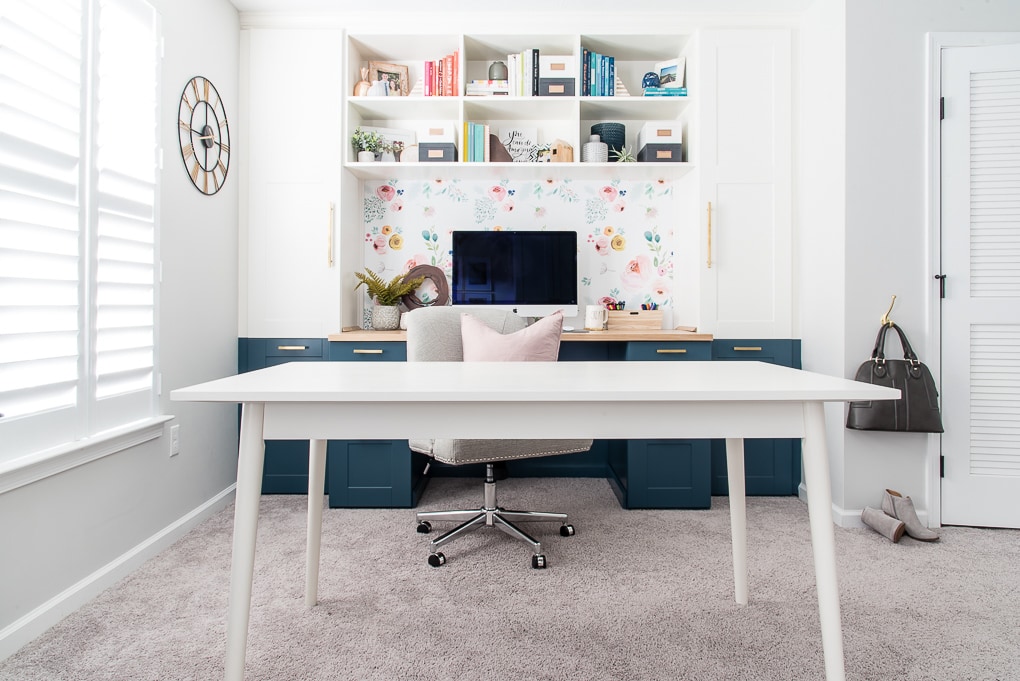
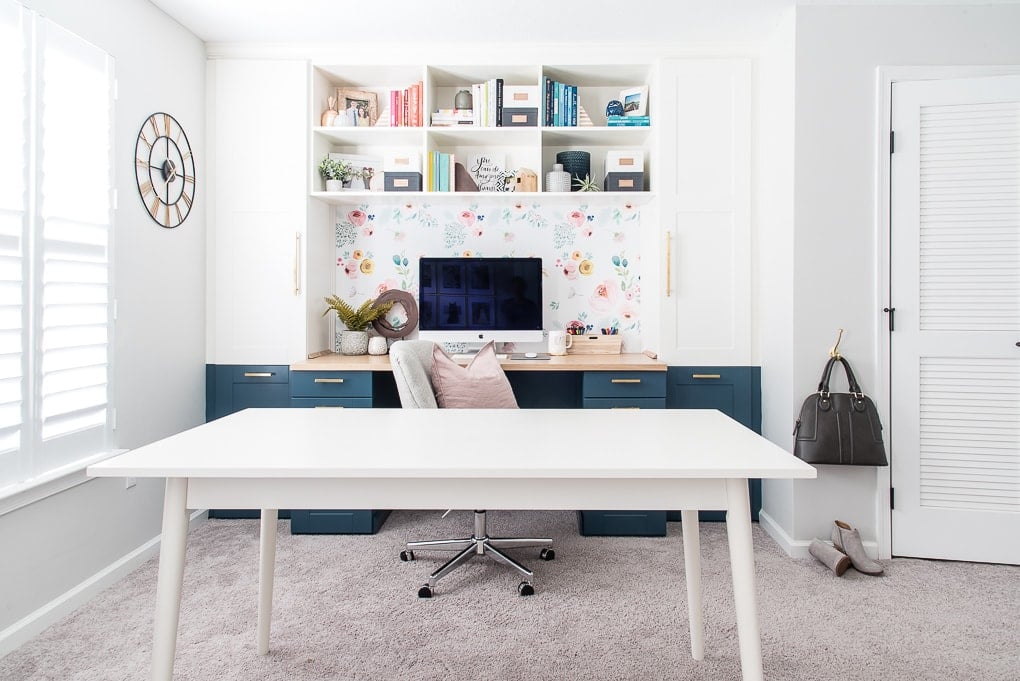
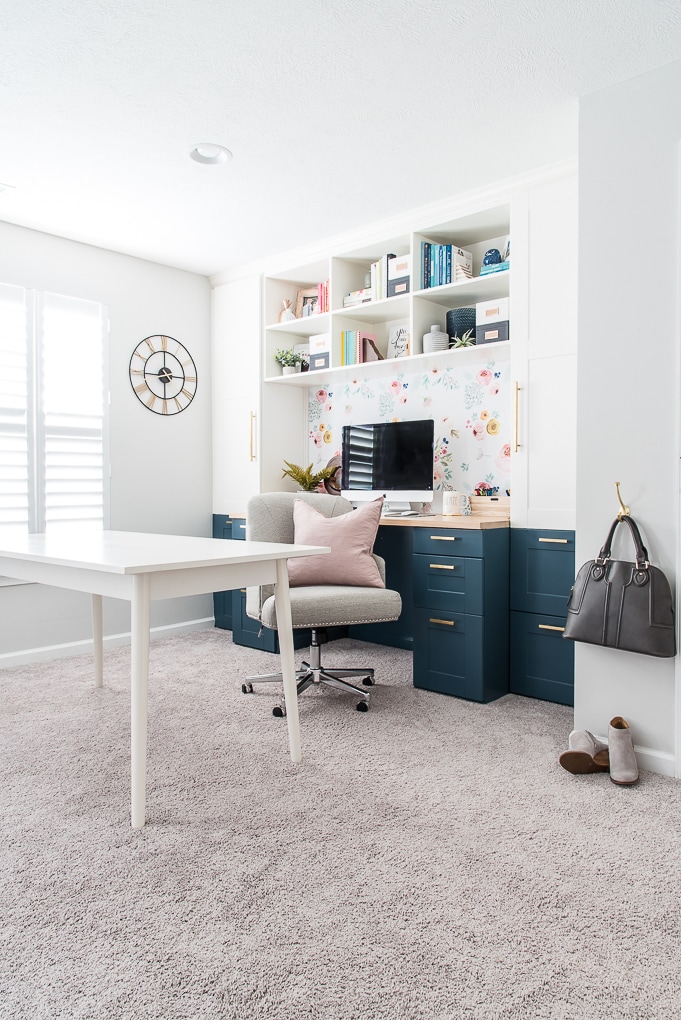
My modern and bright creative home office is finally finished! Come take a tour of this space that we transformed for the One Room Challenge. I hope you love the built-in desk and all of the styling I’ve done to make this a home office that’s completely my style!
Want more room reveals? Check out our fresh and modern powder room reveal, our modern classic master bedroom reveal, and our relaxing retreat porch reveal.
Welcome to week 6 of the One Room Challenge. It’s reveal day!!!
If you missed the past few posts, I’m joining in with a group of other bloggers on a room makeover challenge.
I’m working on my modern and bright creative home office, and you can see my design plan here.
Last week I shared how to build DIY bookshelves to complete the built-in desk.
This week, I’m finally revealing my modern and bright creative home office! I can’t wait to show you around.
This post contains affiliate links for your convenience. For more information, see my disclosures here.
If you are interested in any of the sources for the items I used to decorate my home office, you can find them all at the end of the post.
I’ve been dreaming of having an actual office space where I could work on my blog and also work on all of my creative projects. I wanted a sort of hybrid office craft room.
If you aren’t familiar with our home (or if you are new, and joining me for this ORC reveal — HI!), we live in a townhome. You can take a quick tour of our home here.
I’ve never actually had a dedicated creative space in our townhome where I could work on projects and not worry about having my supplies all over our main living spaces.
I decided that our basement, which is actually the first floor of our house, would be the perfect space for my new office. Mostly because of this “nook” area on the one side of the room.
Here’s a “before” photo. This was after I painted the whole room in preparation for an eventual room makeover.
The minute I saw the nook, I knew it would be perfect for a built-in desk. I’m so thrilled with how this built-in desk came together! It’s exactly what I wanted, and honestly, I think it’s even better than I expected.
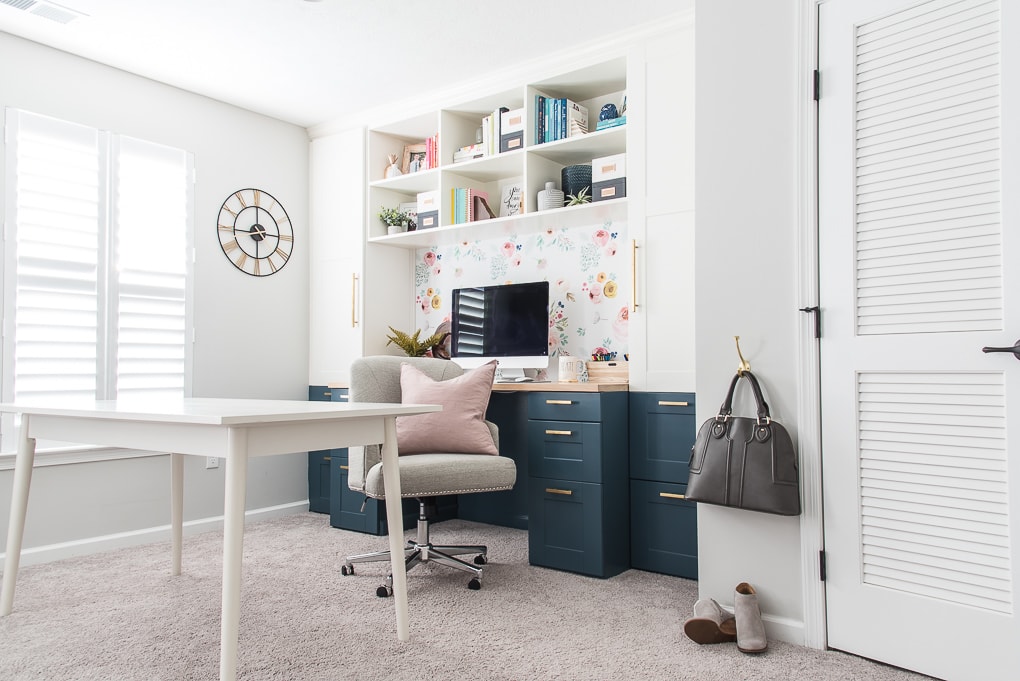
Let me give you a tour of my new modern and bright creative home office!
I designed my office to function as both an office workspace and a craft room. So, having multiple work surfaces was an essential part of this design.
The first thing you’ll notice is the large craft table. I wanted something simple that wouldn’t take away from the desk itself.
This white table with a minimal design is perfect for the space. It’s large enough that I can spread out and work on craft projects without running out of space. But it’s also small enough to fit in the basement room without overwhelming everything.
Right now the table is completely clean, but that’s just for the photos. I bought this craft mat to put on the top of it that will almost always be out while I’m crafting.
I also like to have my Cricut Explore machine out and close by so I can easily use it. So, in general, there will probably always be an in-process craft project on this craft table.
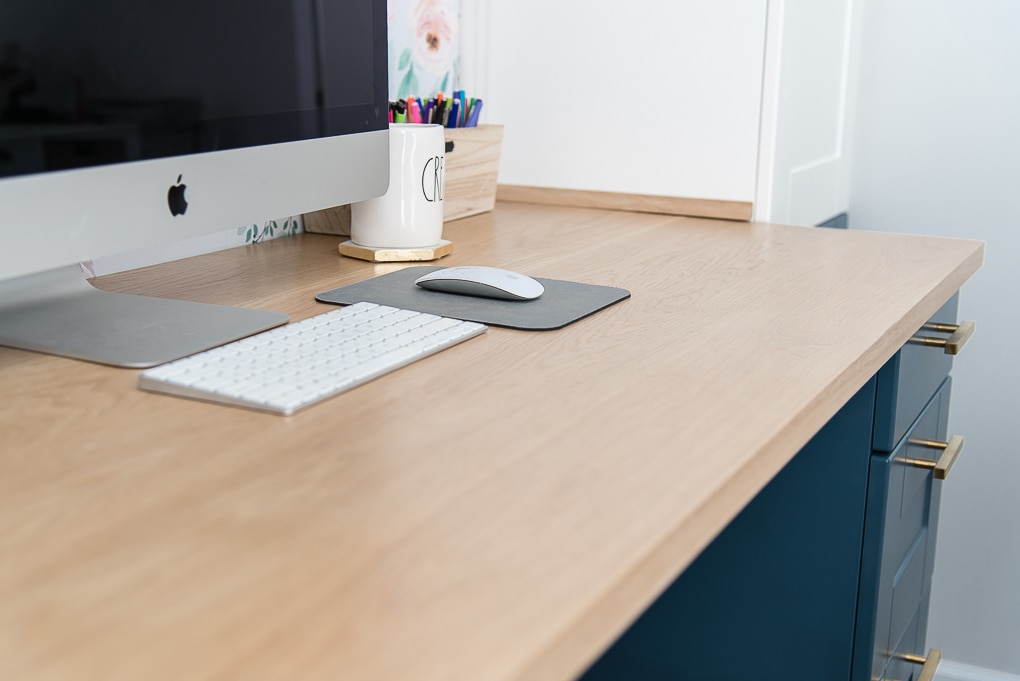
The built-in desk has a countertop made out of white oak wood.
We were going to buy a premade countertop for this desk, but then Ben said he would make me one instead! He loves woodworking and actually has a whole workshop out in our garage.
Someday I will do a full tour of that space, because it’s a pretty impressive setup for our small townhome garage space.
We bought unfinished white oak planks and Ben joined them together to create a countertop.
To seal the surface, I didn’t want anything that would completely change the color of the wood. I really loved the natural color of white oak.
So, we used a water-based poly to seal everything. It just enhanced the natural color and grain without changing the color.
I LOVE the countertop and am so happy with how it turned out. Thanks, Ben!!! ❤️
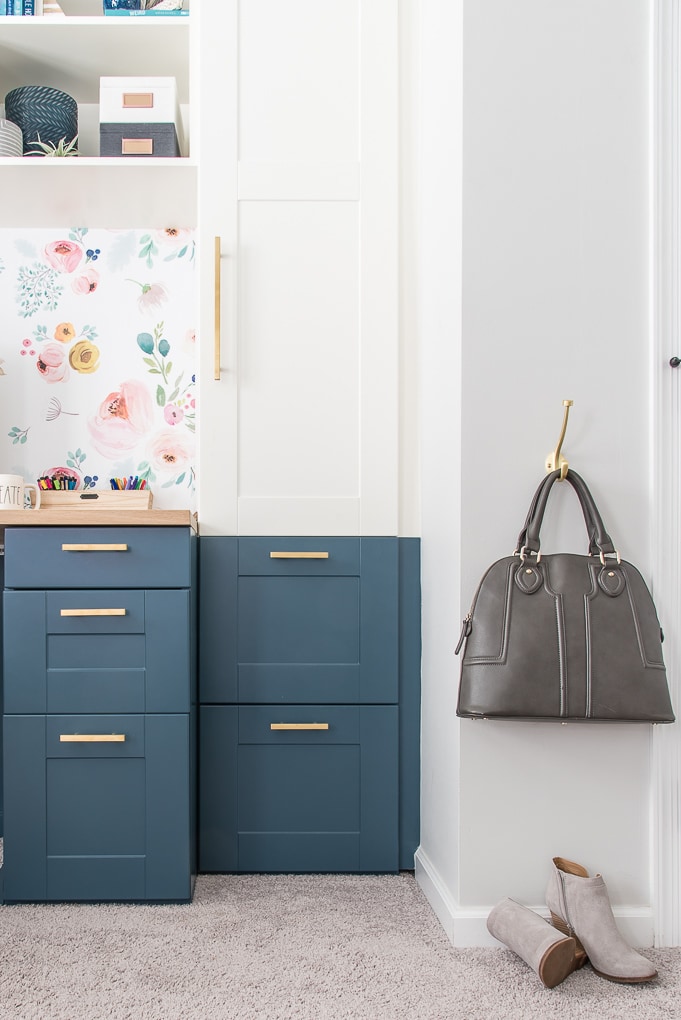
The desk itself is was built in a completely DIY way. The main cabinets are actually IKEA SEKTION kitchen cabinets. I designed the entire built-in myself and then we modified the cabinets to make them desk height.
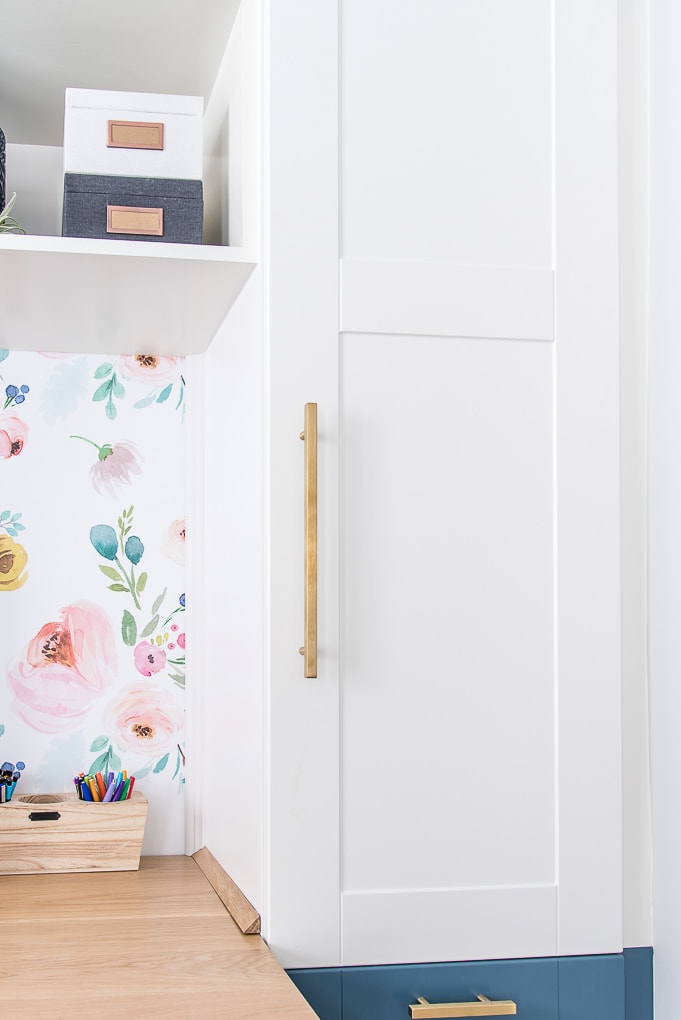
I decided to paint the lower cabinets a navy blue to add some contrast and really ground the design. We used BEHR Marquee paint in the color Rush Hour.
It’s hard to really see the true color in pictures. I feel like it’s reading much more “brighter blue” in these photos than it is in person. But you’ll just have to trust me that the cabinets look navy blue.
The whole painting process was fairly easy, except for the priming portion. I learned a big lesson during that part! You can read all about it here.
The hardware for the cabinets was somewhat of a last-minute find.
I was looking at lots of really pricey hardware options from Rejuvenation and other places. But I just couldn’t justify spending that much on some cabinet pulls!
Then, I found these small drawer pulls and these large door handles on Amazon for such an amazing price! They look so great in person and just as good as the pricier alternatives.
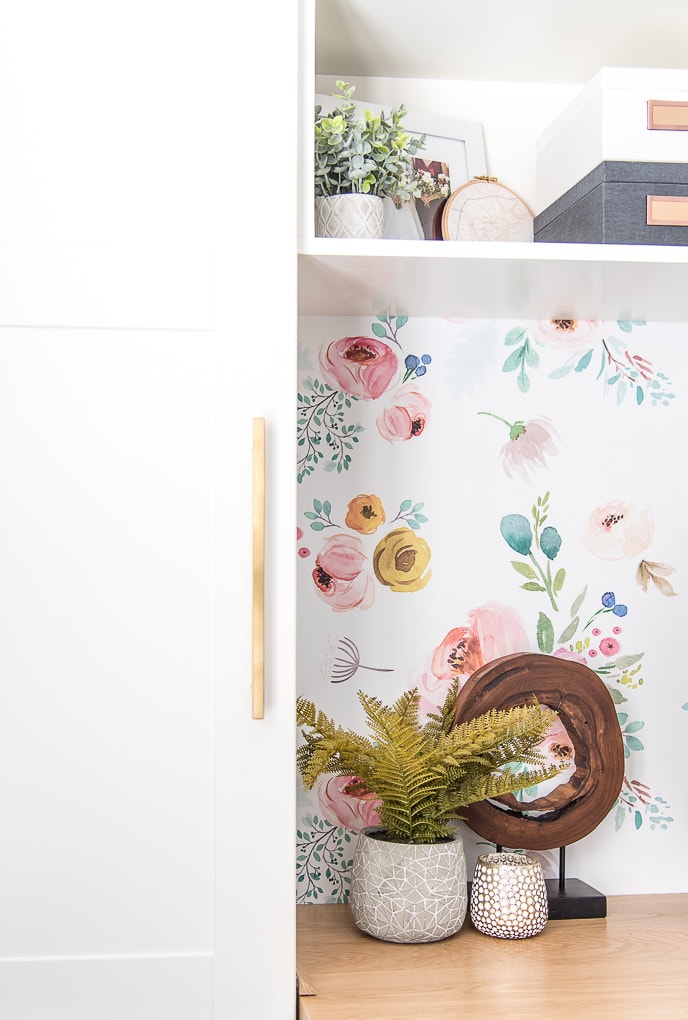
I decided that I wanted some pattern in the space somewhere. When I found this wallpaper, I knew it would be the perfect accent to the built-in desk.
This was probably the easiest project of the whole ORC process. That’s because it’s just peel-and-stick wallpaper. It’s like putting a giant sticker on the wall.
I love how it looks! It makes the whole office feel more feminine.
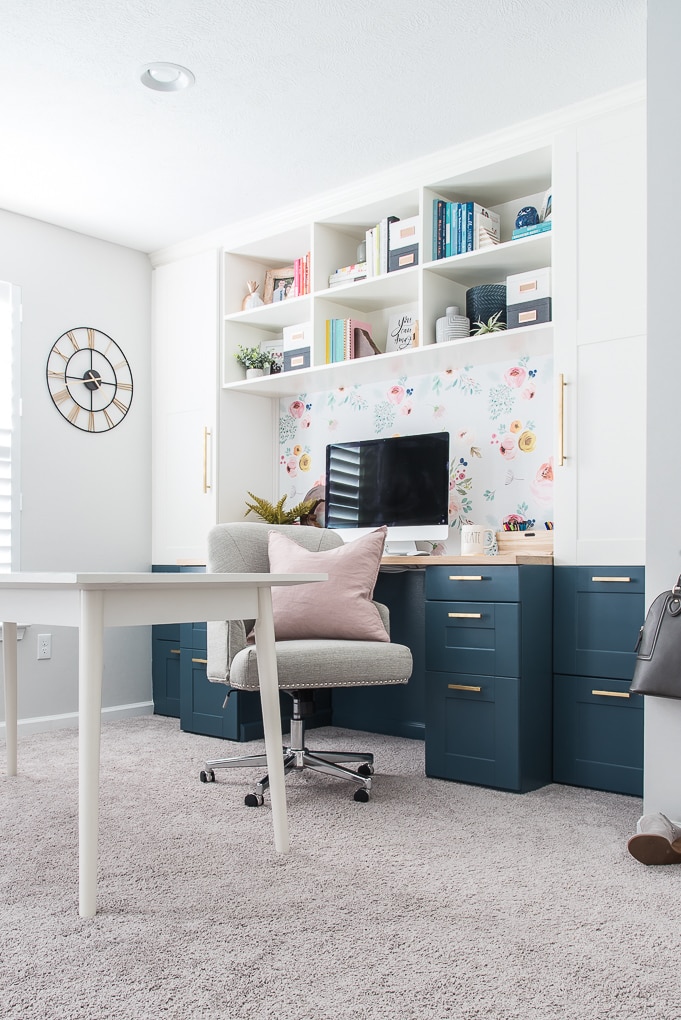
The bookshelves above were a DIY project that we built using plywood.
They are attached to the wall in a pretty clever way and were painted to match the upper cabinets.
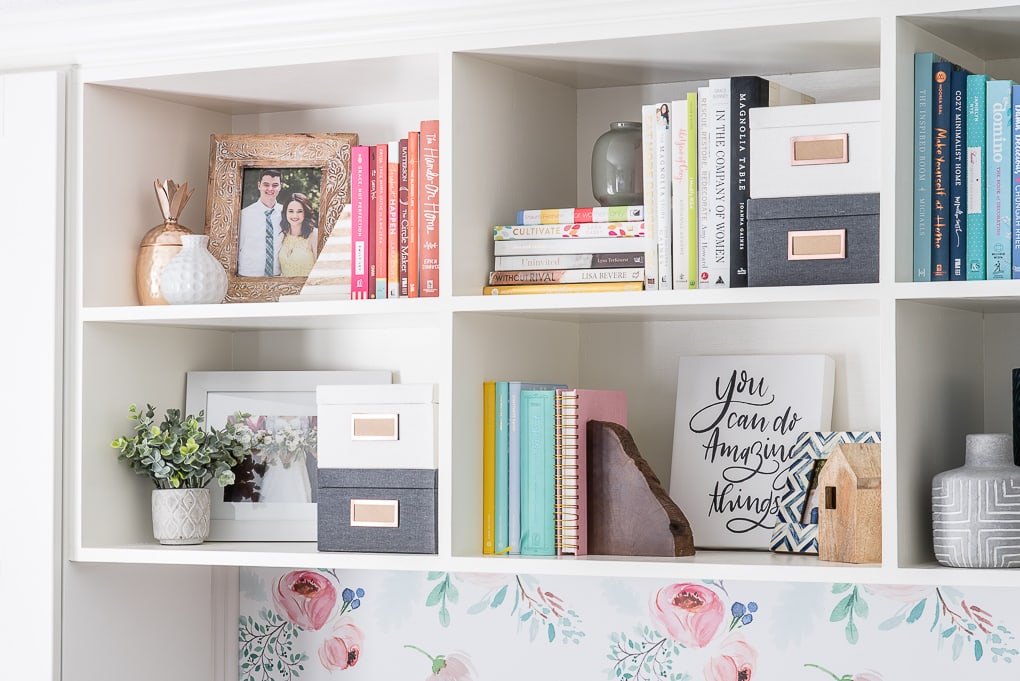
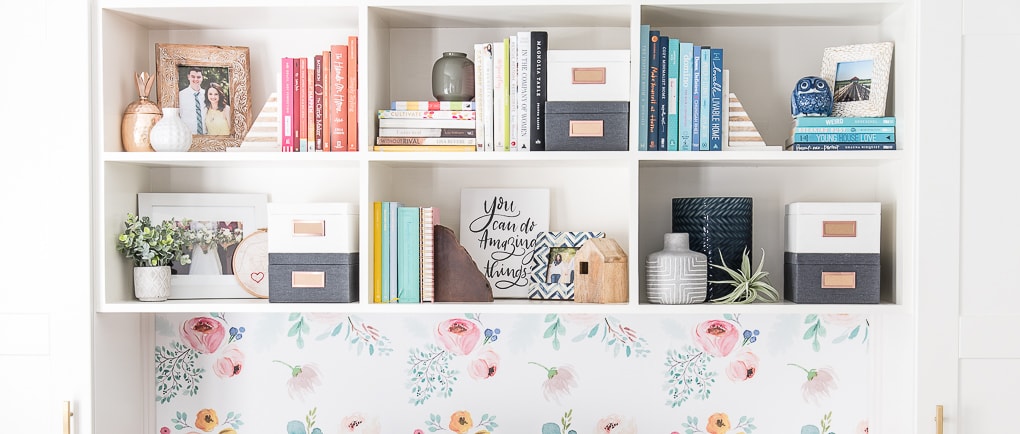
I LOVE these bookshelves because I wanted some of my desk to be open. That way I could do lots of shelf styling!
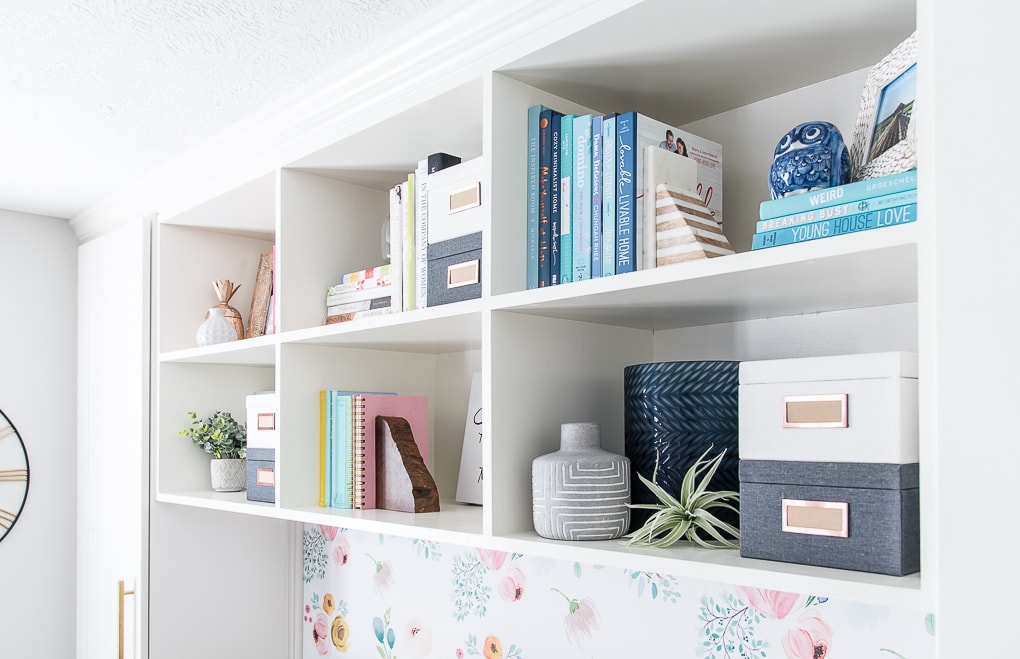
It took me a while to get the styling right for this space (as it does any time I style shelves), but I am obsessed with how it all came together.
I decided to sort my books in a subtle rainbow (similar to how Abby styled her shelves here). Then, I added lots of decorative accents to really pull everything together.
All of the trim work in addition to lots of caulking and painting makes everything look like a single built-in piece.
Honestly, it’s amazing how just a few trim pieces can really finish a space.
I was getting worried that the desk would look like a bunch of pieces slapped together. But once we added the crown molding on the top, the whole thing just came together!
Now, don’t be fooled. It’s not all perfectly styled and organized inside those cabinets and drawers. I kind of just threw all of my stuff in there to get it off the floor.
I have lots of organizing work to do in the future to make the space really easy to work and craft in.
But for now, I’m so happy with how everything looks! It’s my new happy place!
Sources
Click on the photos to shop my home office.
Additional Sources linked here:
- Built-In Desk Cabinets — IKEA SEKTION Cabinets
- Bookshelves — DIY
- Countertop — DIY White Oak
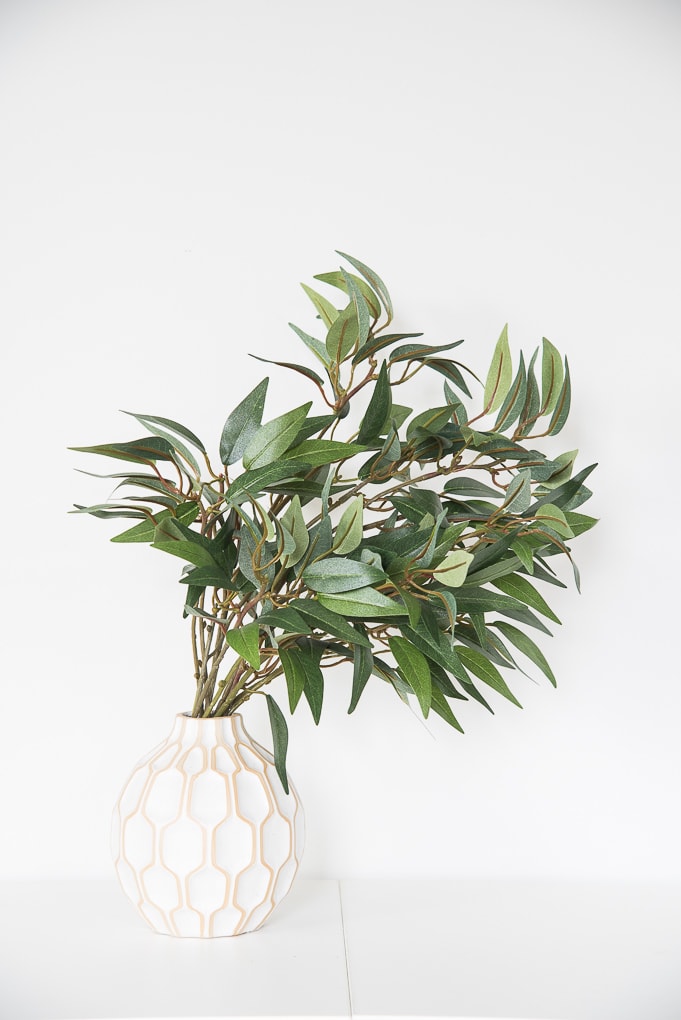
- Fern and Faux Greenery — HomeGoods
- Candle Holder — Michaels
- Pencil Holder — Hearth and Hand for Target (no longer available)
- Navy Blue Vase — HomeGoods
- Picture Frames — Michaels and HomeGoods
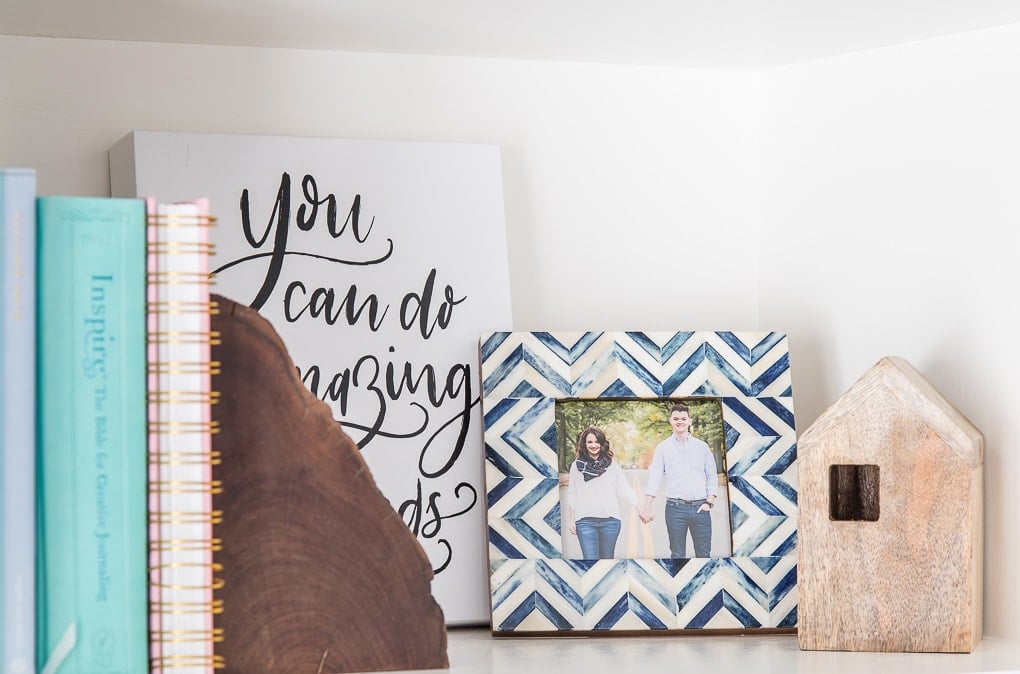
- You Can Do Amazing Things Canvas — Marshalls
- Write the Word Journals — Cultivate What Matters
Thank you so much for following along with my One Room Challenge journey. I hope you love the office as much as I do!
Don’t forget to check out the other bloggers’ One Room Challenge reveals. You can see all of them in this link-up.
If you missed any posts from my One Room Challenge series on my modern and bright creative home office, you can check them out via the links below:
Planning a Modern and Bright Creative Home Office {One Room Challenge Week 1}
How to Build a Desk using IKEA SEKTION Cabinets {One Room Challenge Week 2}
The Best Removable Wallpaper Patterns
How to Install Removable Wallpaper {One Room Challenge Week 3}
How to Paint IKEA SEKTION Cabinets {One Room Challenge Week 4}
DIY Bookshelves for a Built-In Desk {One Room Challenge Week 5}
Modern and Bright Creative Home Office Reveal {One Room Challenge Week 6} (You’re Here)




















Such a lovely home office and craft room combo you created. Love how you maximized the use of space in this room. Every detail in this space is just perfect. LOVE IT!
Thank you so much Besa! You are so sweet. So glad that you enjoy the space as much as I do!
>> Christene
Ohmigosh!!!!! This turned out BEAUTIFULLY. I am so happy that you did this challenge.
Thank you Brittany!!!! I am so happy I did the challenge too. It was just the push I needed to actually finish the space and make it exactly how I wanted! I’m so glad it’s done!
>> Christene
This is gorgeous! I am absolutely saving this for inspiration for my next home office makeover. I need a refresh and your turned out so beautiful. I love all of the little details and I appreciate that you included so much detailed info so I can find these pieces myself! Fabulous job! Love your blog.
Thank you so much Casey! You are so sweet. I’m happy people notice the little details. And I’m glad that you appreciate it 🙂 I want to help inspire you to do projects like this in your home too! Thanks for the kind words about my blog 🙂
>> Christene
Thanks for sharing you’re journey with us. I absolutely ❤️❤️❤️ your office space – that wallpaper ????. It’s inspired me to have a go at my “mini office”. Can’t wait for your next ORC.
Aww thank you so much Jacki!! I love the wallpaper too. I was nervous about it at first, because I don’t normally use pattern like that, but I’m in love with how it turned out!
You can totally tackle a mini-office too!!
Thanks for stopping by the blog
>> Christene
What a lovely office/craft space you have designed for yourself! It’s going to be a wonderful place to create.
Thank you so much! 🙂 I’m already loving it for crafting and creating!
>> Christene
Christene, your office is amazing! Ahhh! I just love the whole desk setup and am so proud of you guys for building it, wow! The navy lower cabinets are beautiful. Your shelf stying is on point–such pretty books and plants! And I think that is the nicest office chair I have seen. Great work and thanks for sharing!
Thank you for all the kind words Caitlin!! So glad that you love it as much as I do! 🙂
I’m amazed that I pulled it off, but now I’m much more confident about my DIY building skills 🙂
I appreciate all of the encouragement too 🙂
>> Christene
I don’t think this could possibly be any more gorgeous. From the wallpaper to the built-ins to the gorgeous hue of the navy cabinets. Going to pin this to several boards!
Thank you so much Marissa! I’m so glad I decided to do the navy cabinets — it turned out exactly as I was hoping. Thank you for pinning and sharing 🙂
>> Christene
Fantastic job! Found you while perusing the ORC guests. Using this as inspo for my mom’s new sewing room. Thanks & congrats!
Thank you so much, Val! Oooo a new sewing room will be so nice for your mom 🙂
>> Christene
So organized!! What a great, functional, pretty space!
Thank you so much Suzannah! So excited to have you here on the blog. Thanks for checking out my ORC space 🙂
>> Christene
This is amazinggg! I would love to do this is my home office too!!!! Mine was too messy and dark!!! Thanks for sharing
I love your new office space, thank you so much for sharing! It is exactly what I am working on in my own home. Is it impolite to ask a rough estimate of cost? And did you make hanging file drawers out of any of those storage spaces? Thank you again for sharing…beautiful!
Wow! Your place looks nice. I love the colors of your workspace furniture so much. Thanks for sharing!
Thank you so much for writing about this! I have been so stressed out about our small office space. ANd this gives me some great ideas. THANK YOU!
This is beautiful and so fresh! Obviously, this is an older post and so I am curious, have these cabinets stood the test of time/wear and tear? Has the paint chipped? I am thinking of painting our kitchen ones.
This is absolutely beautiful! Do you mind me asking what it roughly cost to do?
Thanks so much. I want to say around $1500 but that’s not exact that’s just my estimate
Beautiful office. I can see anyone enjoying this space. How did you finish off the gap between the walls and the tall cabinets? How has the paint held up since you’ve built them?
That’s my question as well – did you figure it out?
Hi Christene! This is amazing! I’m using it as my inspiration for my office. We just ordered the Ikea cabinets and had a quick question – how did you secure to the wall? Did you use the rail system? We are trying to figure out how to make it secured but not have a gap between the cabinet and the wall.
Thanks in advance!
I did use the rail system. There was a very slight gap, but we filled it with trim, caulk, and paint to hide it and make it look built in.
>> Christene