Create a beautiful winter night hurricane vase using the Cricut Explore or Cricut Maker. This stunning project makes the perfect Christmas decoration for your home!
Welcome to Have Yourself A Very Cricut Christmas: 25 Days of Homemade Holiday Crafts!
Each day in December, I’ll be sharing a new Christmas project that you can make using your Cricut. It’s going to be a blog version of an advent calendar! Come back every day to get a new “gift.”
Today’s gift is a Winter Night Hurricane Vase

A few years ago, Ben bought me this beautiful hurricane vase that had a winter night scene on the outside. Inside there’s a space for candles — making it a luminary.
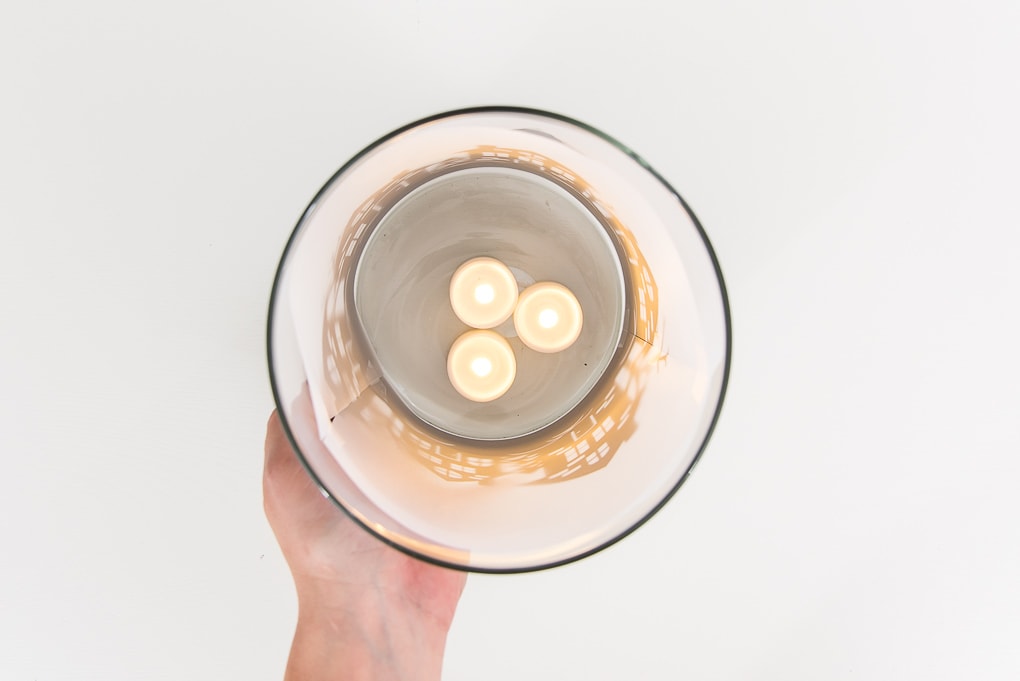
When you light the candles, the whole vase had this warm and pretty glow lighting up the winter scene.
I love that vase and bring it out every year for Christmas. I thought it would be fun to create a similar vase with my own winter night scene.
You’re going to love this Winter Night Hurricane Vase. Here’s how to make it!
How to Make a Winter Night Hurricane Vase Using The Cricut
This post contains affiliate links for your convenience. For more information, see my disclosures here.
Materials:
- Winter Night Hurricane Vase SVG file
- Black Cardstock (8.5” x 11”)
- Vellum Paper
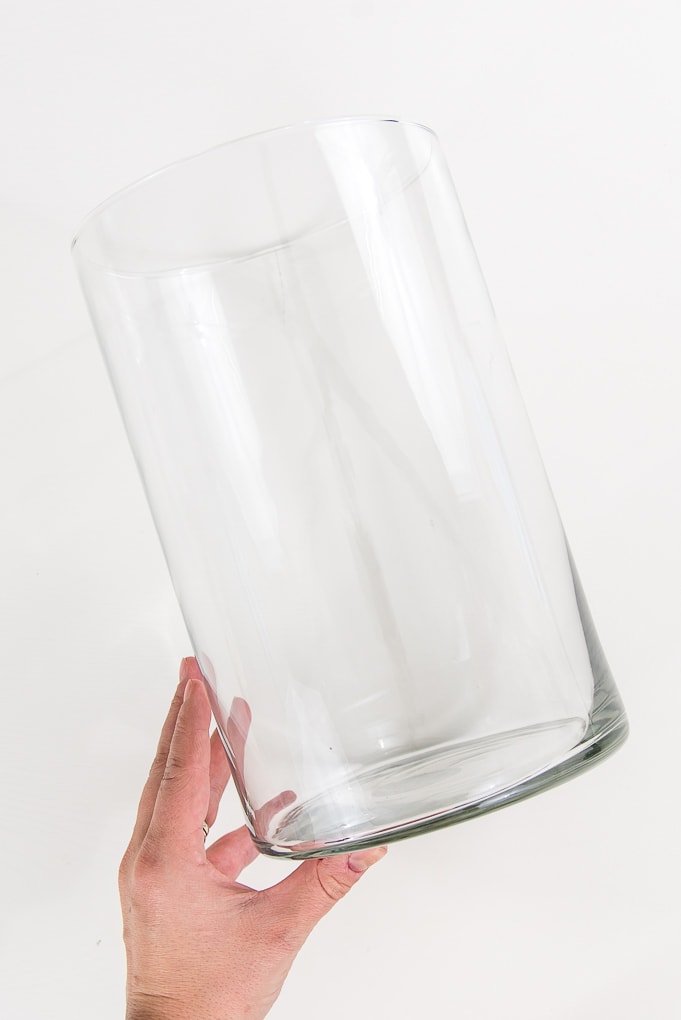
- Large Hurricane Vase (I used a 6” diameter vase)
- Battery Operated Candles
- Tape
Tools:
- Cricut Machine (You can use a Cricut Explore or a Cricut Maker for this project)
- Light Grip Cutting Mat
- Cricut Fine-Point Blade (comes with all Cricut Machines)
- Cricut Scraper and Spatula Set
How to Cut Out The Project Using The Cricut
First, you will need to download the Winter Night Hurricane Vase SVG file.
Get the Free Winter Hurricane Vase SVG File

Start by opening Cricut Design Space and creating a new project.
Upload the SVG File
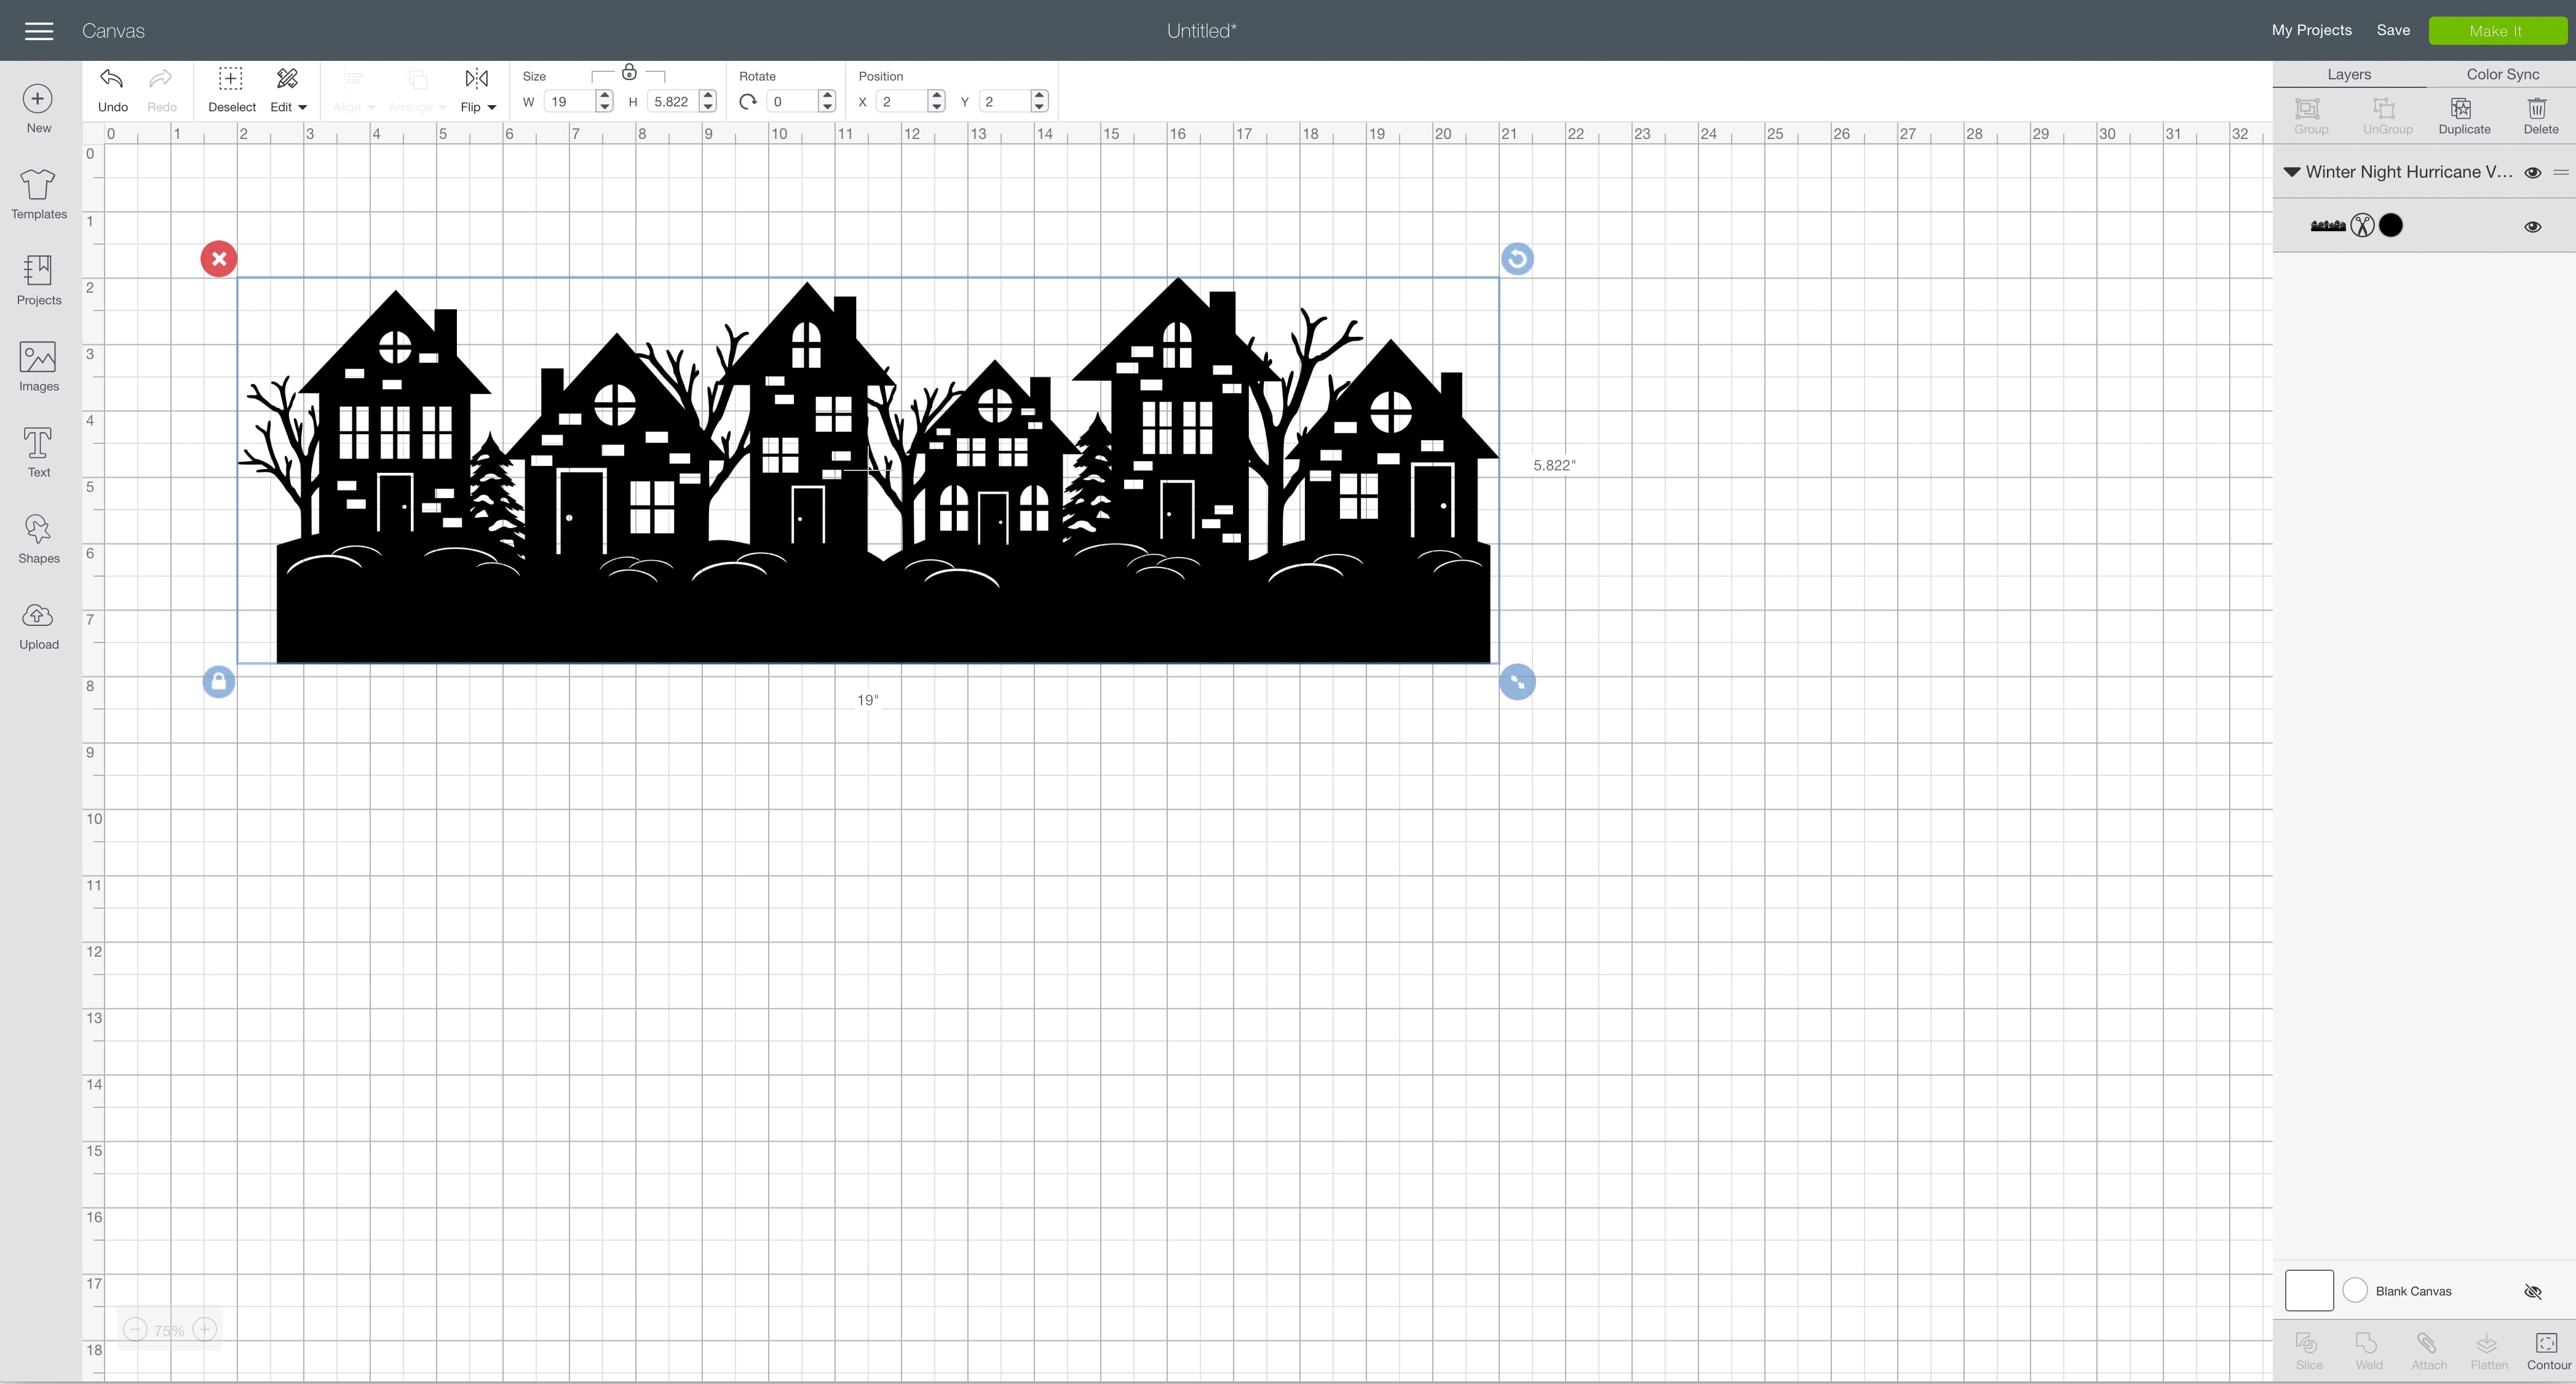
Then, upload the SVG file by selecting the Upload button and then Upload Image. Next, drag and drop or select the SVG file you want to upload.
After the SVG is uploaded, add the image to your design canvas.
If you need a little more help uploading SVG files, you can learn more in this post.
Image Size Adjustments
There are two SVG files available with these project files — a one-piece file and a two-piece file.
The one piece file can be used if you have paper large enough to cut out the entire length of the image using the extended standard grip cutting mat. Or, if you have a vase small enough that the one-piece file can be resized to fit on a standard size piece of paper.
But, if you are using a large vase like I used, and if you want to use a standard paper size, like 8.5” x 11” or a 12” x 12”, you will need to use the two-piece file. This will allow you to cut out both pieces and attach them together to make an image large enough to cover the circumference of the vase.
The SVG file is already sized for a hurricane vase with about a 6” diameter. If you have a differently sized vase, you will need to adjust the size of the image.
First, measure the diameter of your vase. This is the distance from one side of the vase to the opposite side. Then, use this number to figure out the circumference of your vase – the distance around the outside of the vase.
To figure out the circumference of your vase, use this calculator.
Once you have the circumference of your vase, resize the images as follows:
- For the one-piece version: Resize the width of the SVG image to the circumference + 1” for good measure
- For the two-piece version: Resize the width of the SVG image to half of the circumference + 1” for good measure.
For example: If your vase is 3” in diameter, the circumference is 9.42”.
If you are using the one-piece file, resize the image to a width of 10.42”.
If you are using the two-piece file, resize the image to a width of 5.71”.
Make It
Now it’s time to make your project!
Click on the Make It button in the upper right of the screen.
The first screen you will see is the Mat Preview Screen. This will show you all of the different mats needed for your project. Each mat represents another piece of material.
Click on the Continue button in the lower right of the screen.
Connect your Cricut machine. Then, adjust the settings as follows.
Material: Light Cardstock – 60 lb
Pressure: Default
Make sure to set your material to the specific type of paper you are using.
Tools: Fine-Point Blade
Click on Edit Tools to adjust which tools you are using.
Load the light grip cutting mat with your first material into the machine. Then, press the flashing Go button to begin the cutting process.
Load each new material in order as shown by the mats on the left side of the screen until all of your pieces are cut out.
Cricut Tip: If you need to adjust the location of an image on the mat, click on Edit Mat. You can drag the image around to any location you want on the mat.
When each layer is done cutting, be careful removing from the cutting mat. You don’t want to rip the small intricate cuts that are a part of this winter scene.
Cricut Tip: An easier way to remove material from a cutting mat is to flip the mat over. Then, instead of peeling the material off the mat, peel the cutting mat away from the material. You can bend the cutting mat as much as you need to keep the material flat. This will give you a much better chance of the material staying flat instead of curling.
To get the tiny pieces that are left behind off of the mat, try using the spatula tool and the scraper tool. These are both great at scraping extra pieces off of the cutting mats.
How to Assemble The Project
Once all of your pieces are cut out, it’s time to assemble the project.
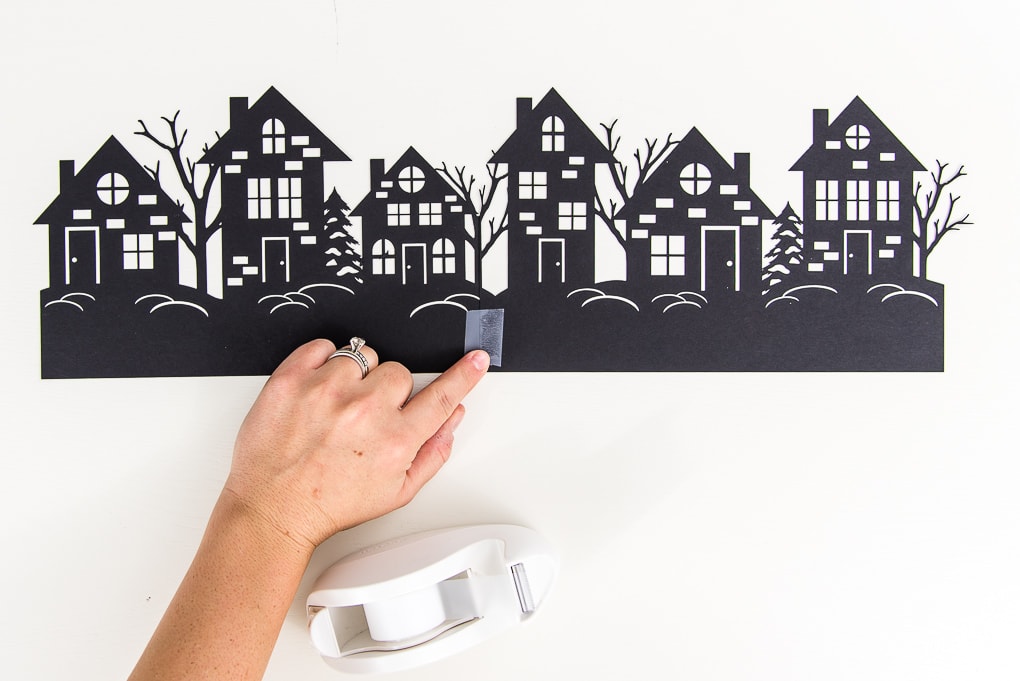
Place the two pieces next to one another. Try to line up the pieces the best that you can. Then, attach the pieces together using a piece of tape.
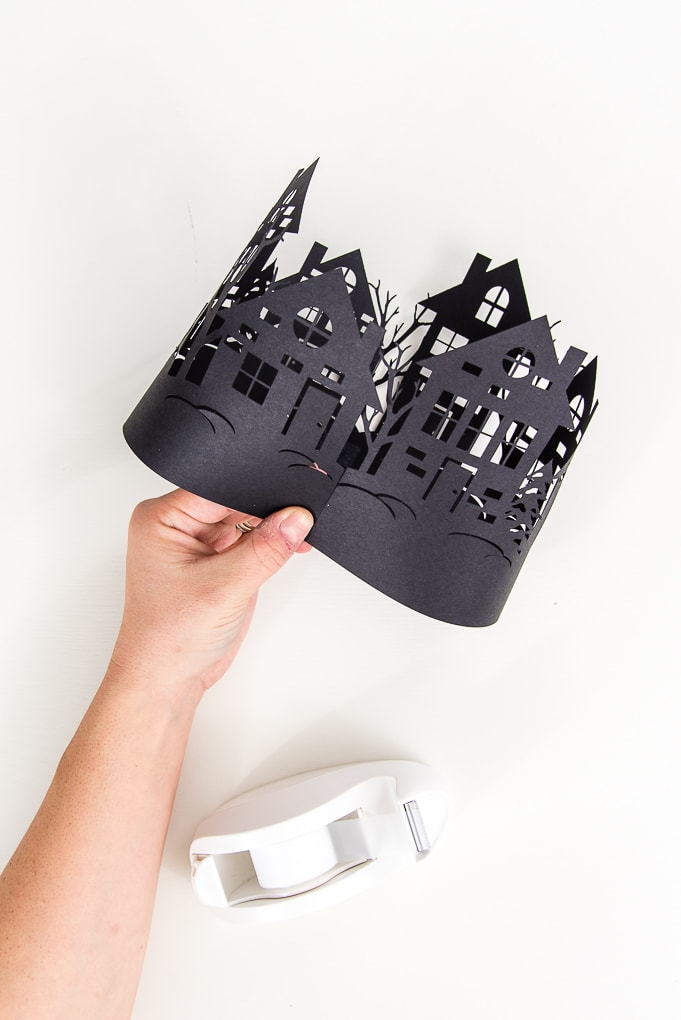
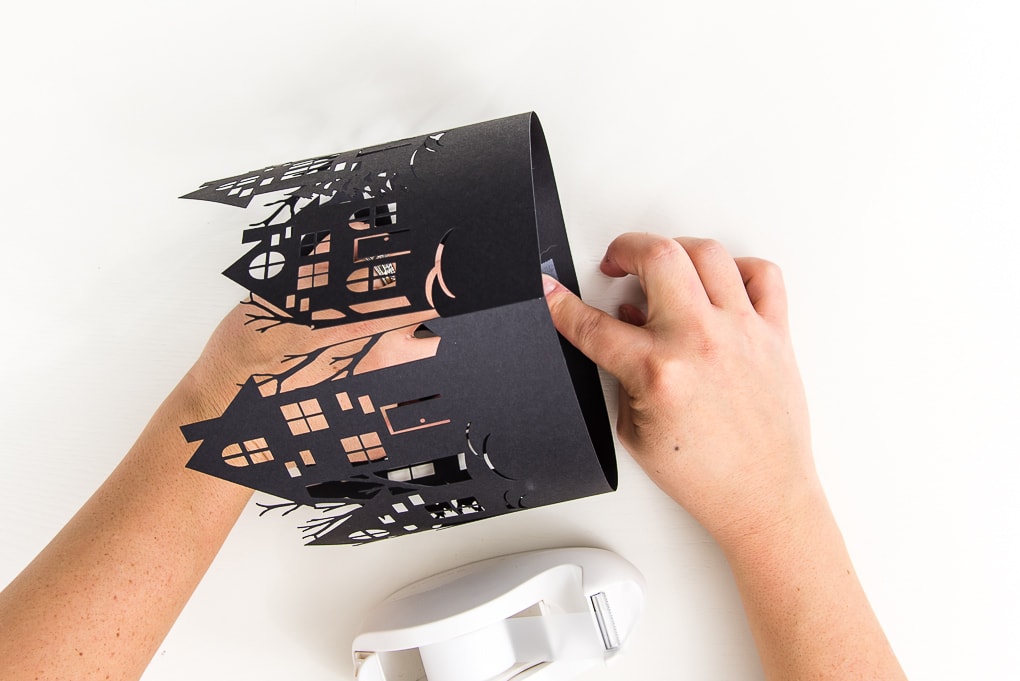
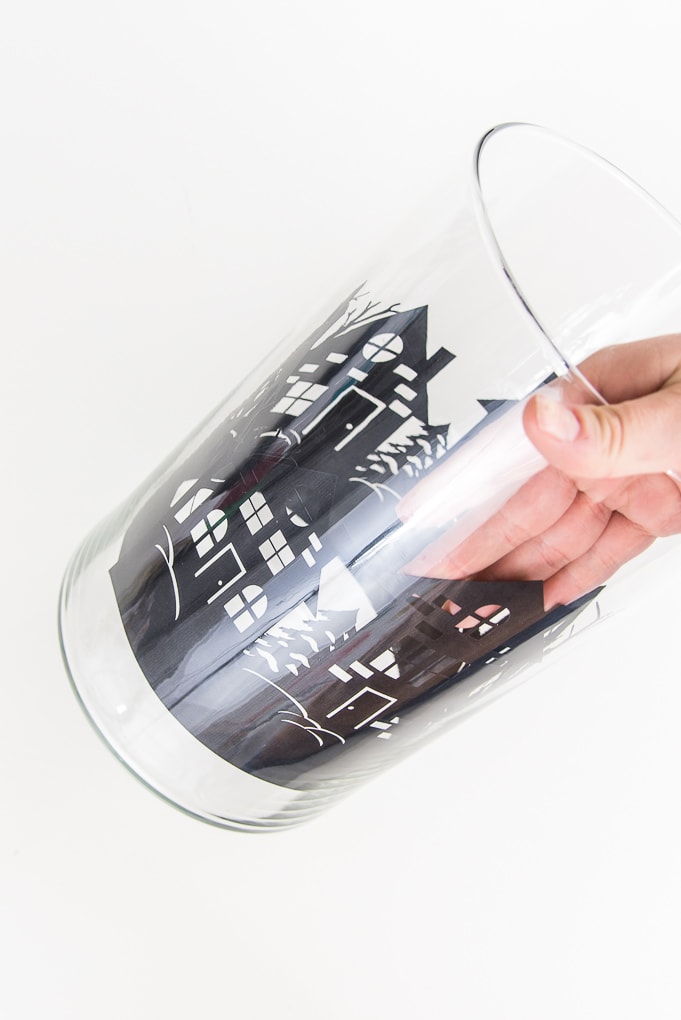
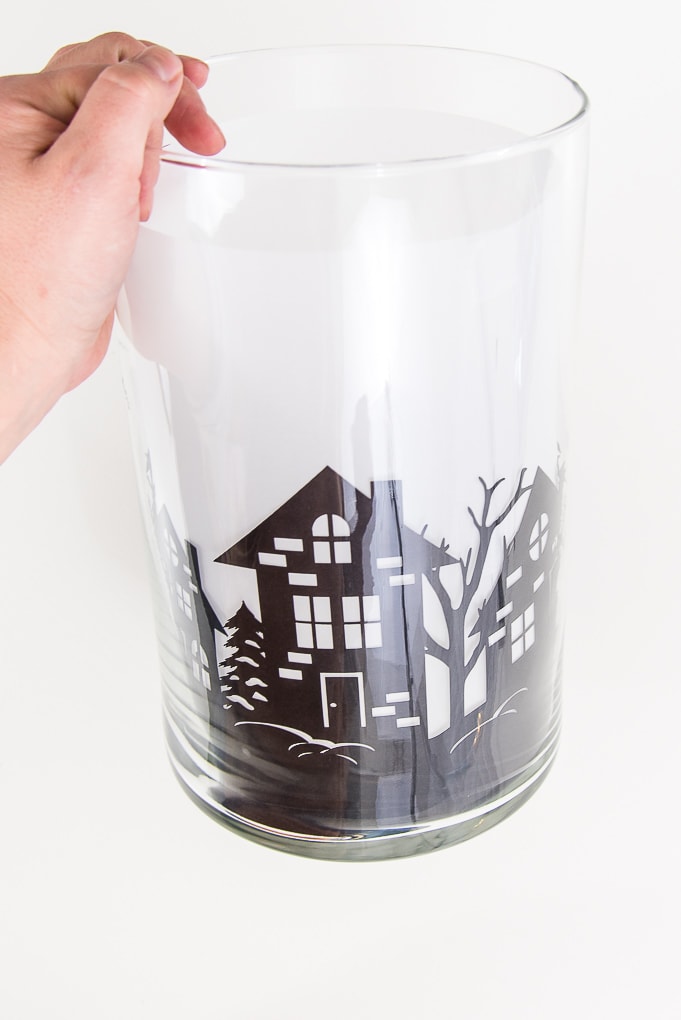
Next, take either end of the paper piece and bend them to bring the ends together and form a loop.
Use another piece of tape to attach the other ends together so that you have a complete circle. I taped on the inside of my paper cutout.
Next, take your hurricane vase and carefully place the paper cutout into the vase.
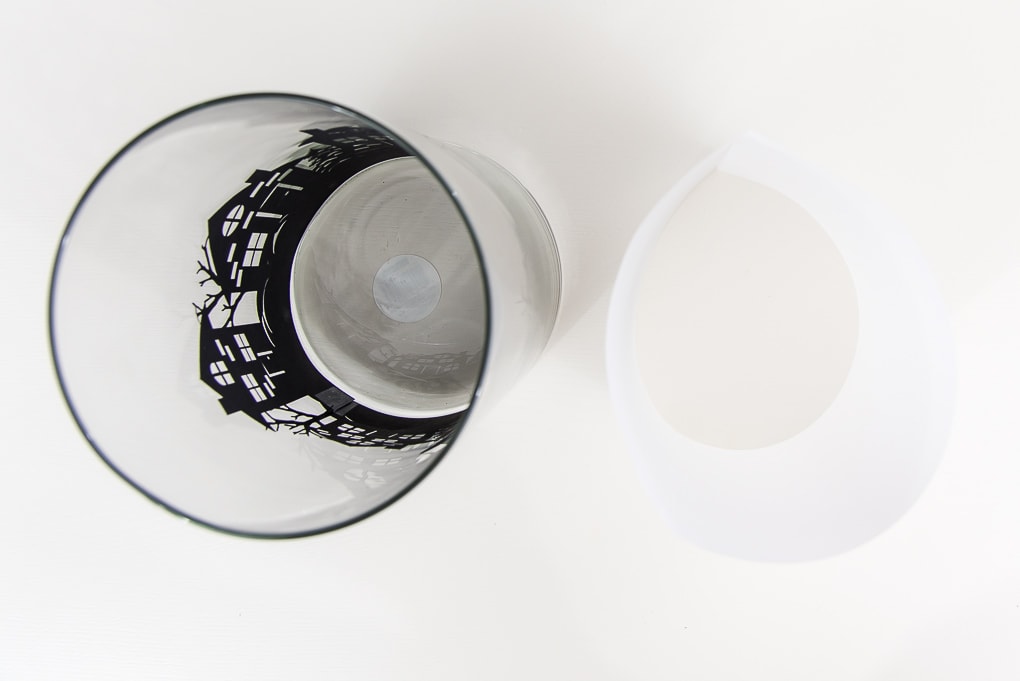
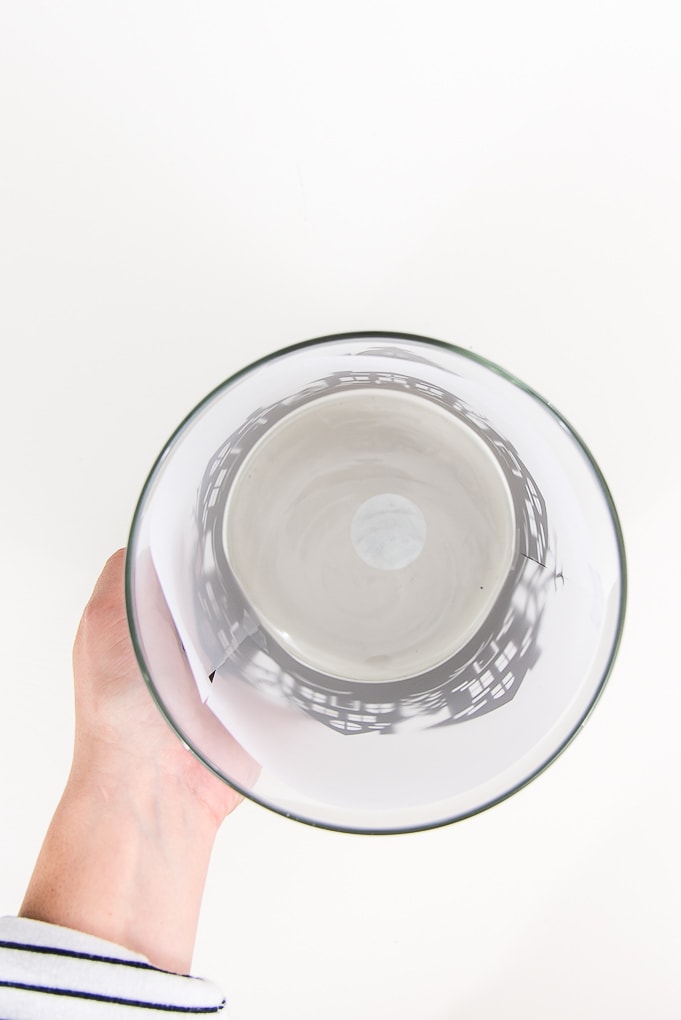
Next, take some sheets of vellum paper and cut them to size to fit inside of your hurricane vase. I used two pieces that I taped together.
Place the vellum paper loop inside of the vase.
Finally, take some battery operated candles and place them inside of the vase. This will give your hurricane vase that glowy winter night effect.
Now your Winter Night Hurricane Vase is ready!
This makes such a beautiful and simple winter decoration for your home. I love the warm glow that it gives off!
I hope you love this Winter Night Hurricane Vase
If you decide to make this project, I would love to see!
Tag me on Instagram @keystoinspiration. Use the hashtag #25daysofcricut so that we can all see each other’s projects too!
To see more projects from Have Yourself A Very Cricut Christmas: 25 Days of Homemade Holiday Crafts!, click here!
If you want to follow along and see all of the projects for Have Yourself A Very Cricut Christmas: 25 Days of Homemade Holiday Crafts!, you can bookmark this blog post and visit it each day to see the newest project.











Just lovely, Christene. And what a great tutorial, too! Pinned to three boards!
Thank you Julie! I appreciate it!
>> Christene
When I try to open the file ,it says the folder is empty.
J’ADORE ça donne un très beau rendu au final
The Winter Hurricane Vase file is empty. I downloaded the file and when opened it nothing was there.
I’m So sorry you are having issues accessing the file. I will send you a direct email.
>> Christene