Make pretty layered gift tags using the Cricut Explore or Cricut Maker. These tags look beautiful for gift wrapping your Christmas presents.
Welcome to Have Yourself A Very Cricut Christmas: 25 Days of Homemade Holiday Crafts!
Each day in December, I’ll be sharing a new Christmas project that you can make using your Cricut. It’s going to be a blog version of an advent calendar! Come back every day to get a new “gift.”
Today’s gift is a Layered Gift Tags.

Each year when I’m wrapping my Christmas gifts, I try and find some sort of DIY gift tag. I like to make my gift tags because I think it’s fun!
You can find lots of print and cut designs online. That’s what I normally do each year.
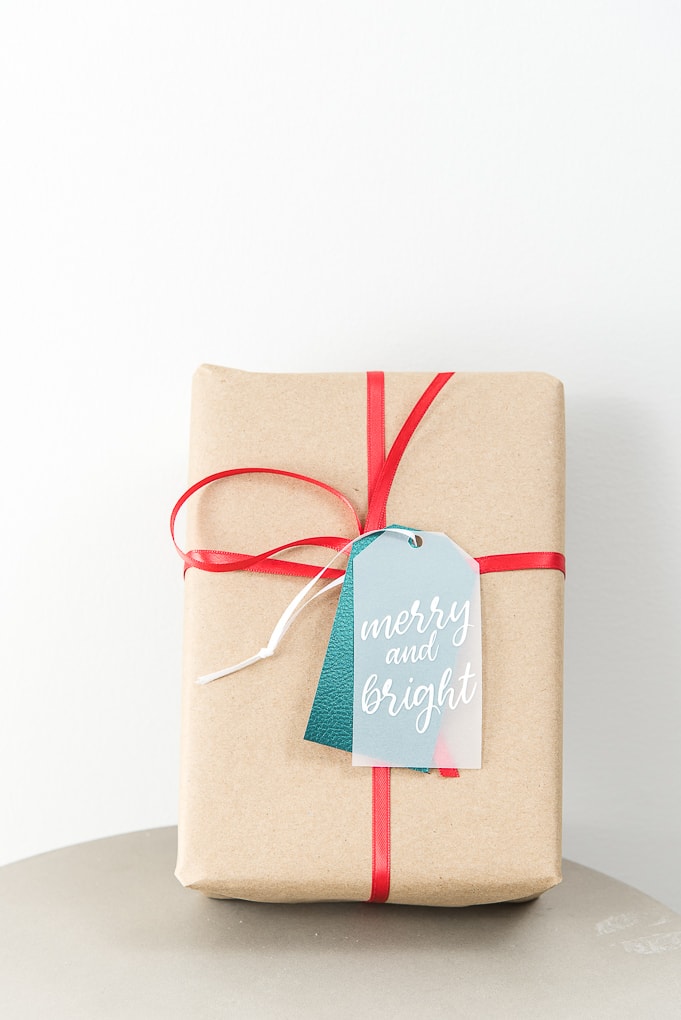
But this year, I decided I wanted to create something a little fancier. I designed these layered, mixed material gift tags with pretty calligraphy says on the front. I just love them!
You’re going to love these Layered Gift Tags. Here’s how to make them!
How to Make a Layered Gift Tags Using The Cricut
This post contains affiliate links for your convenience. For more information, see my disclosures here.
Materials:
Tools:
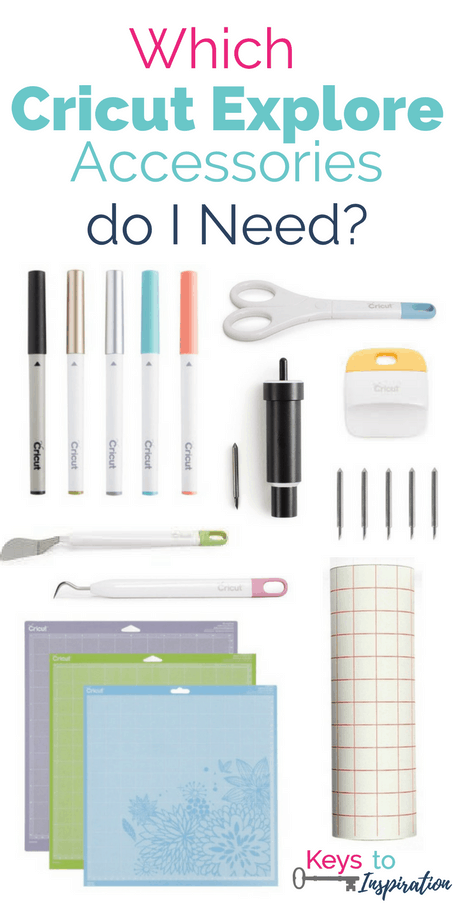
- Cricut Machine (You can use a Cricut Explore or a Cricut Maker for this project)
- Light Grip Cutting Mat
- Standard Grip Cutting Mat
- Strong Grip Cutting Mat
- Cricut Fine-Point Blade (comes with all Cricut Machines)
- Cricut Weeder Tool
- Cricut Scraper Tool
- Cricut Applicator and Remover Tool Set
- Transfer Tape
- Cricut EasyPress or Iron (both optional)
- Cricut EasyPress Mat or Ironing Board (both optional)
How to Cut Out The Project Using The Cricut
First, you will need to download the Layered Gift Tags SVG file.
Get the Free Layered Gift Tags SVG File
Start by opening Cricut Design Space and creating a new project.
Upload the SVG File
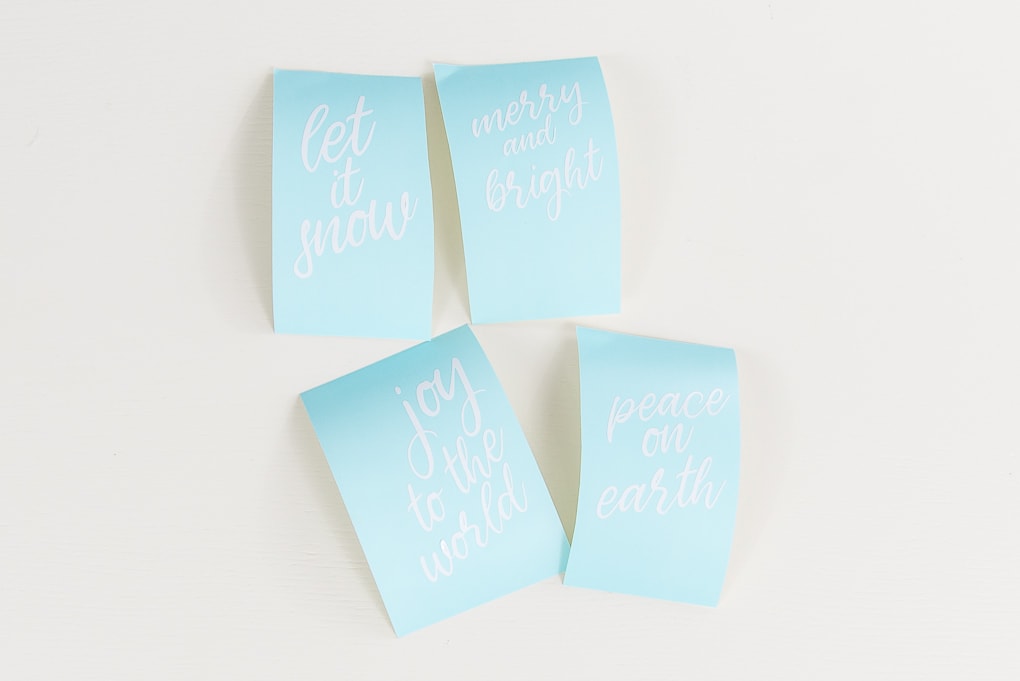
There are four different design files in this downloadable file — one for each design. You can any one of them or all four if you want. You will need to upload each file into Cricut Design Space separately.
Upload each SVG file by selecting the Upload button and then Upload Image. Next, drag and drop or select the SVG file you want to upload.
After the SVG is uploaded, add the image to your design canvas.
If you need a little more help uploading SVG files, you can learn more in this post.
The SVG file will already be sized properly for this project.
Layer Adjustments
Each faux leather layer is set as a different color. This will let you cut out a variety of different colors of faux leather for your tags. If you only want to use one color, you can sync the colors so that the tags cut out on the same mat.
To do this, on the right-hand side next to Layers, click on Color Sync.
In this menu, you can see all of the different colors used for the project. Each color will be cut on a different mat, allowing you to change materials. To combine colors, just drag and drop the objects onto the color layer of your choice. This will put those objects onto the same cutting mat.
I cut out four different colors of faux leather, but in this example, I’m going to show you what it looks like when you combine all of the faux leather layers onto one cutting mat.
Make It
Now it’s time to make your project!
Click on the Make It button in the upper right of the screen.
The first screen you will see is the Mat Preview Screen. This will show you all of the different mats needed for your project. Each mat represents another piece of material.
For this project, the gray layer represents the pieces you will be cutting out of vellum. The white layer represents the pieces you will be cutting out of white vinyl. The red layer represents the pieces you will be cutting out of faux leather.
Click on the Continue button in the lower right of the screen.
Connect your Cricut machine.
For the first mat, which is the vellum material, adjust your settings as follows.
Material: Vellum
You will need to search to select this material.
Pressure: Default
Tools: Fine-Point Blade
Load the light grip cutting mat with the vellum into the machine. Then, press the flashing Go button to begin the cutting process.
For the second mat, which is the white vinyl material, adjust your settings as follows.
Material: Vinyl
Pressure: Default
Tools: Fine-Point Blade
Load the standard grip cutting mat with the white vinyl into the machine. Then, press the flashing Go button to begin the cutting process.
Cricut Tip: If you need to adjust the location of an image on the mat, click on Edit Mat. You can drag the image around to any location you want on the mat.
For the third mat, which is the faux leather material, adjust your settings as follows.
Material: Faux Leather
Pressure: Default
Tools: Fine-Point Blade
Load the strong grip cutting mat with the faux leather into the machine. Then, press the flashing Go button to begin the cutting process.
When the machine is done cutting, remove the faux leather from the cutting mat.
This can be tricky with the strong grip cutting mat. I recommend using this applicator and remover tool set to attach and remove the faux leather from the cutting mat.
How to Assemble The Project
Once all of your pieces are cut out, it’s time to assemble the project.
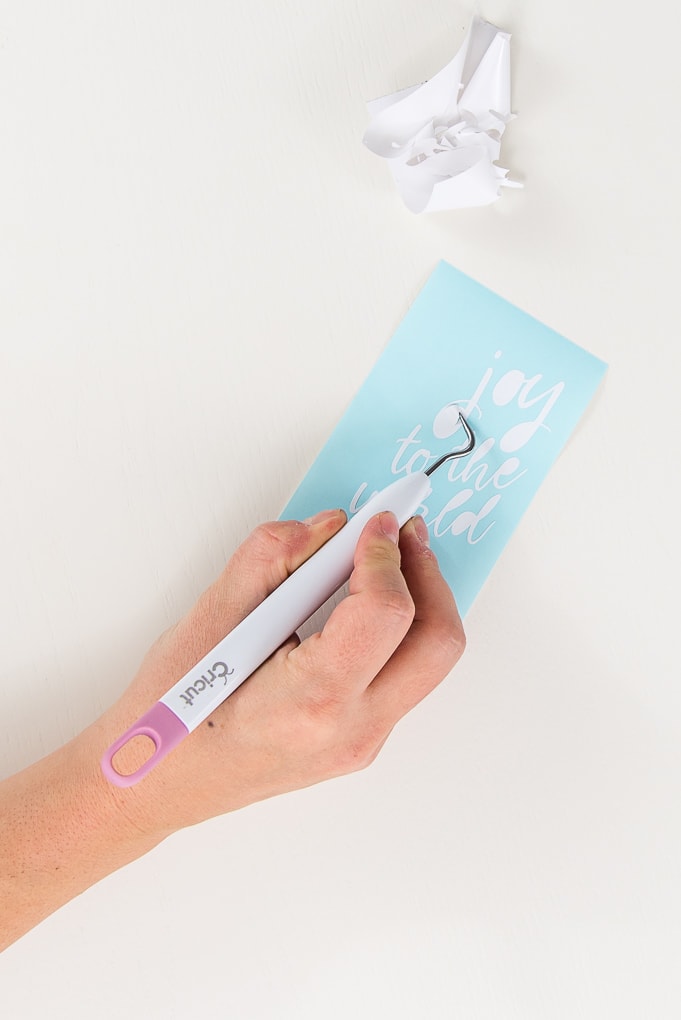
First, you will need to weed the vinyl design to remove the extra material. The goal is to leave only the vinyl for the design image behind.
Use the weeder tool to pick up the vinyl off the backings for all four designs and easily remove it. After all of the extra vinyl is removed, you should be left with just the four designs on the vinyl backings.
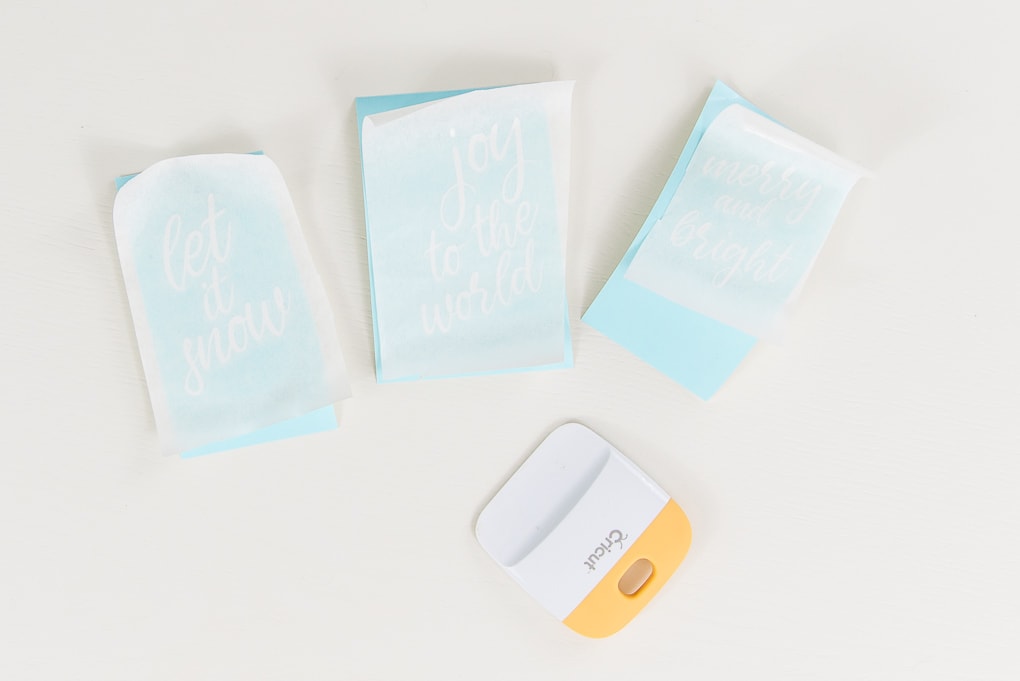
Next, take a piece of transfer tape and place it over each design. I like to use these big rolls of transfer tape and cut it to the size of my design.
Smooth down the transfer tape with your hand or using the scraper tool.
Then, flip over the design and peel the blue vinyl backing away from the design. If the transfer tape is stuck properly, the vinyl will be attached to the transfer tape and will peel off of the vinyl backing.
But, if you are having problems with it sticking properly, flip the design over again and try to put more pressure on the transfer tape to get the vinyl to stick.
To attach the vinyl to the vellum tag fronts, I found it easiest to keep the transfer tape on your work surface face up (so that the design is backward).
Then, take a vellum tag front and place it over the transfer tape. It’s sort of like a reverse transfer process. It’s easier to align the design this way because you can see through the vellum better than you can see through the transfer tape.
Use the scraper tool to transfer the vinyl from the transfer tape onto the vellum.
Then, flip the vellum over so that the transfer tape is on top. Take one corner of the transfer tape and peel it back and away from your design. If the vinyl is stuck properly, the transfer tape will peel right off leaving the design behind.
I find that whenever I cut faux leather, it tends to stay curled after the pieces are cut out. Because you are making a gift tag, you don’t want it to be curled. This step is optional, but I think it creates a nicer finished project.
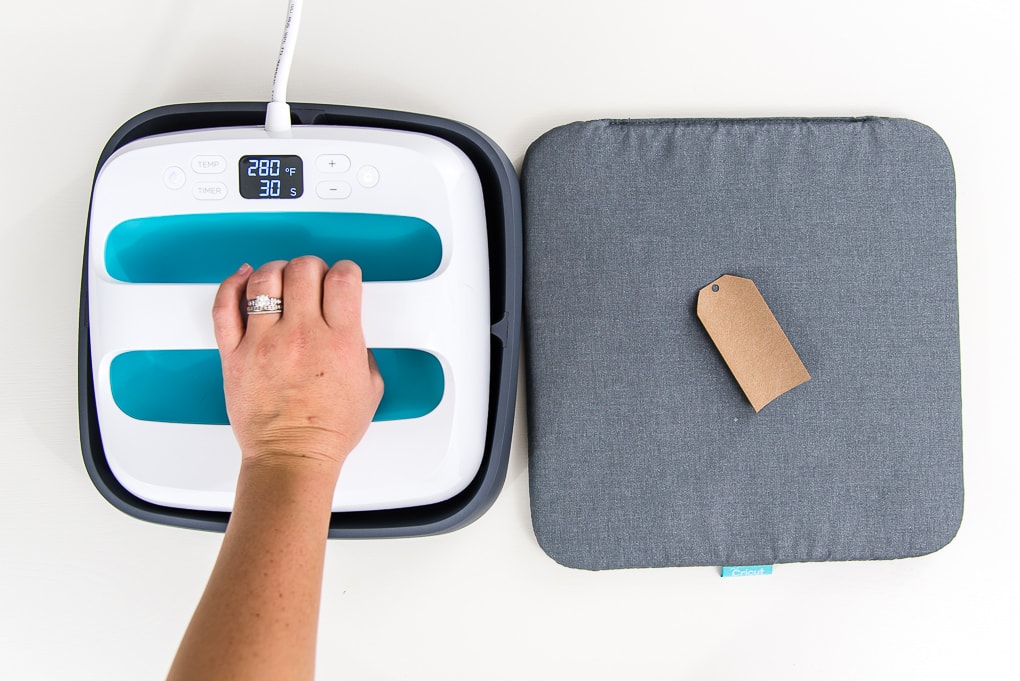
I decided to flatten the faux leather using the EasyPress.
I also like to use the EasyPress mat so that I have a convenient heat-resistant surface.
If you don’t have these tools, you can also use an iron and an ironing board.
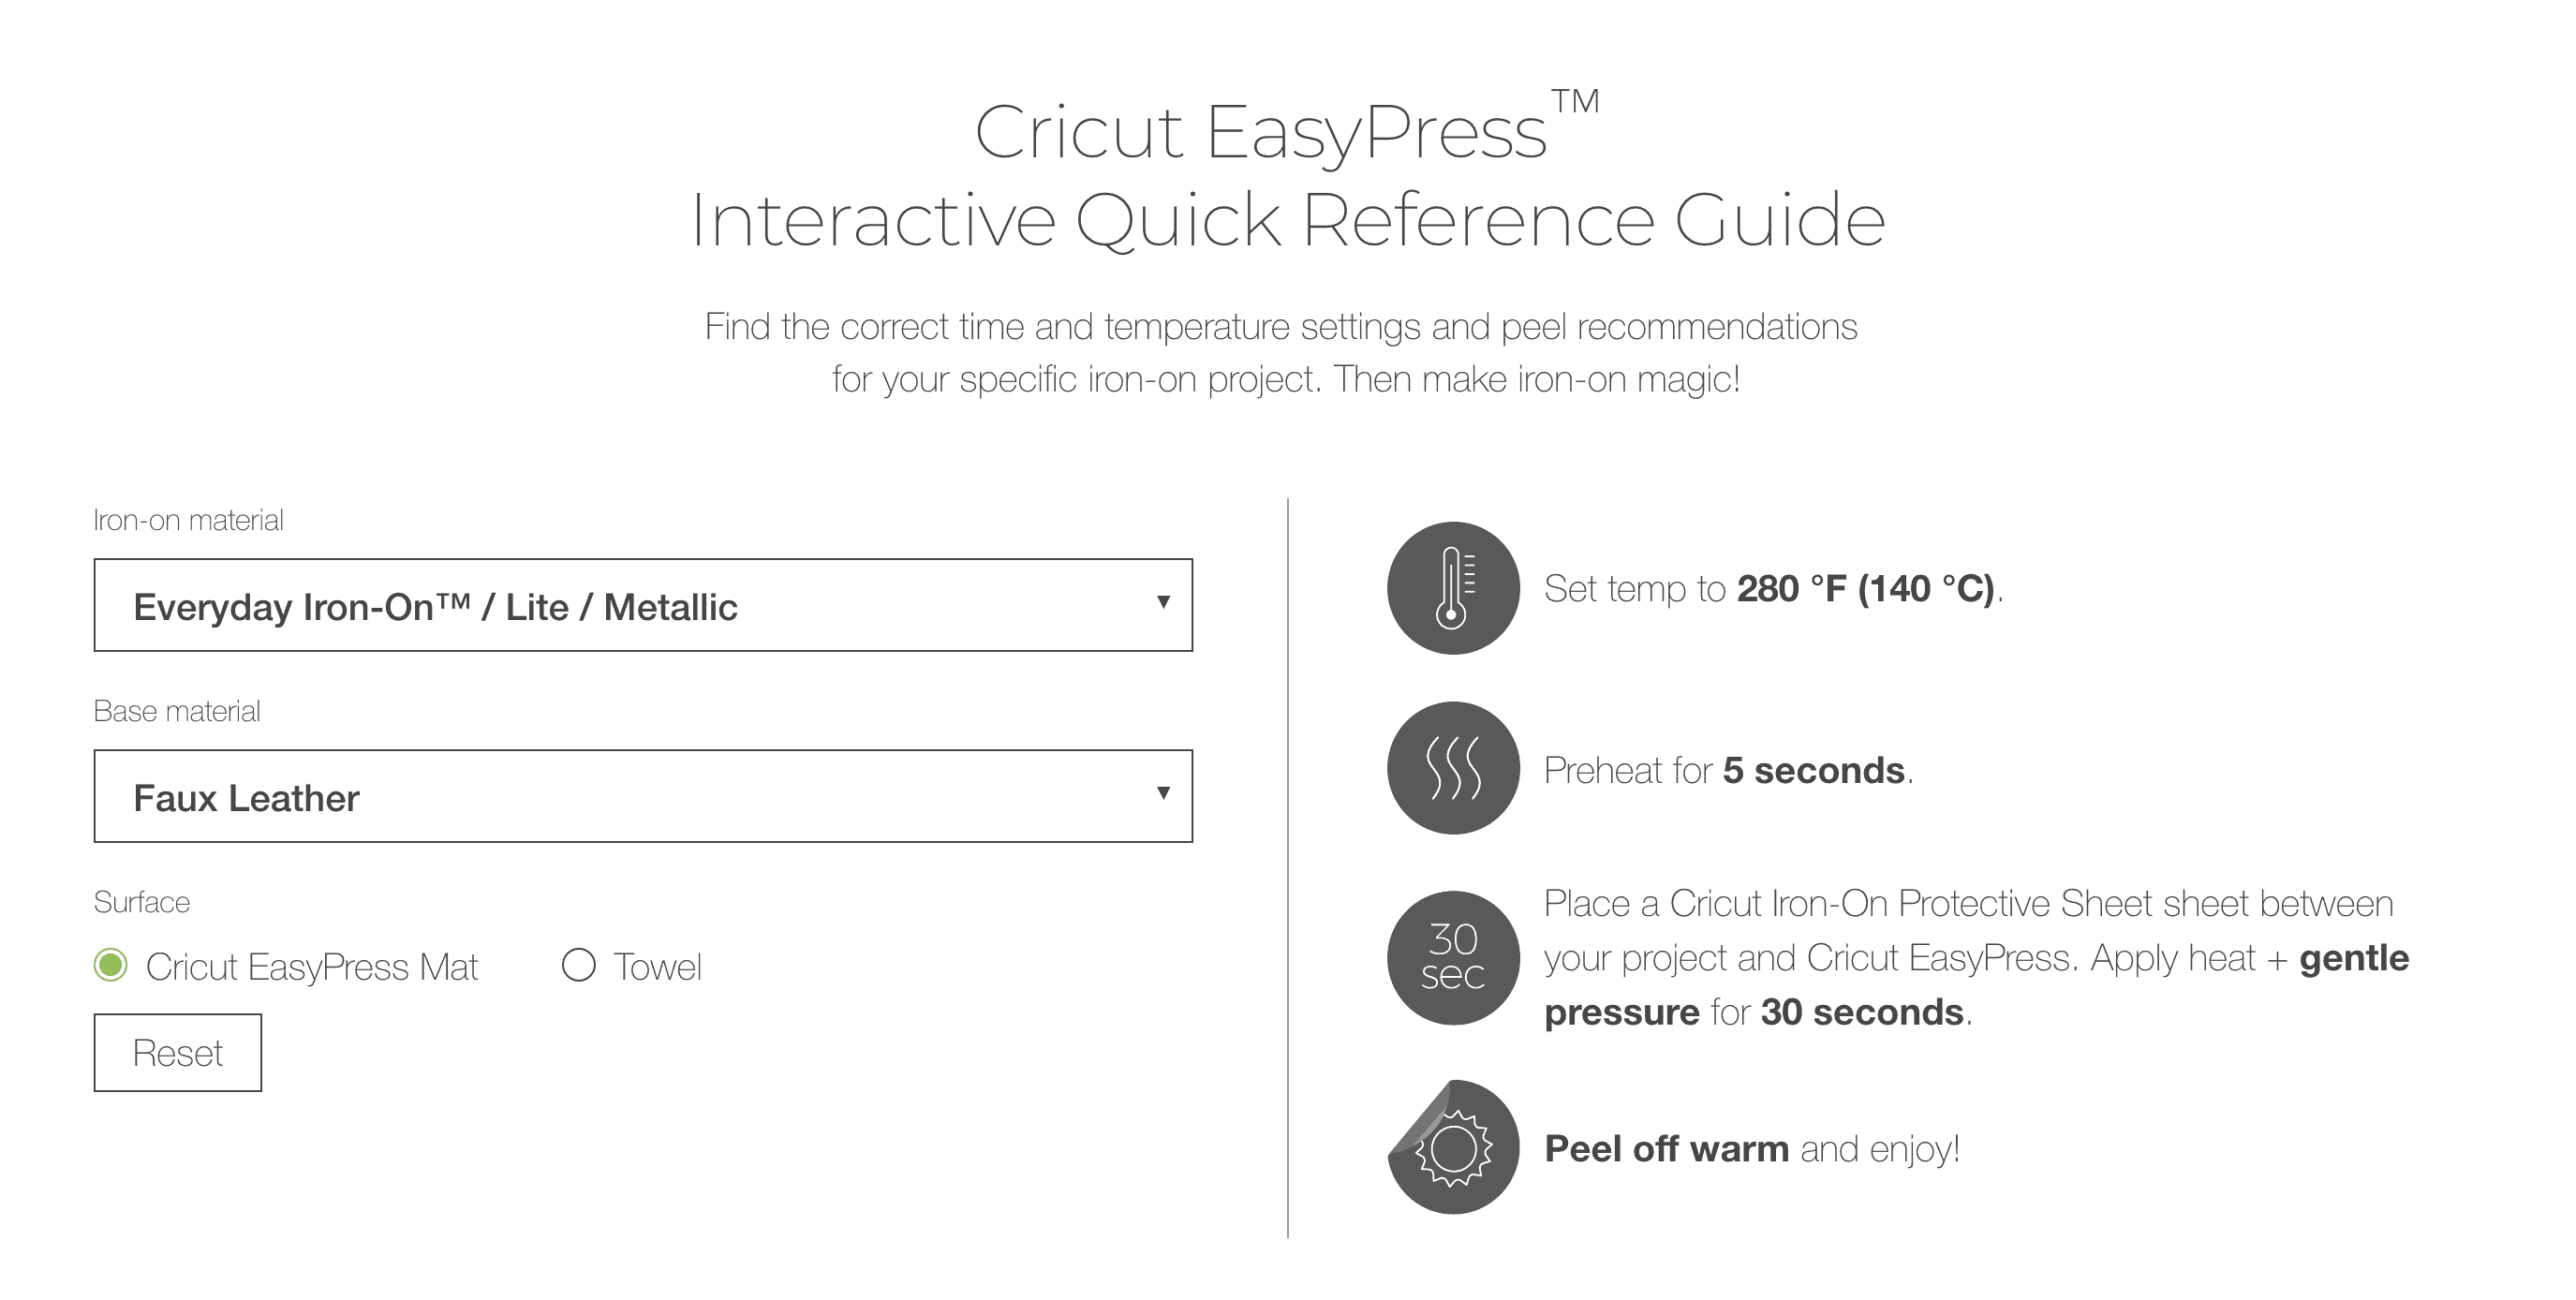
Place the faux leather on the EasyPress mat and use the online Cricut EasyPress Interactive Quick Reference Guide to determine the settings and instructions that you need for your project.
Here are the settings that I used for this project.
Set the temperature on the EasyPress to the recommended setting.
Then, gently apply heat to the faux leather for a few seconds.
You don’t need to leave the EasyPress on for the full recommended time since you are only flattening it. You aren’t actually attaching iron-on vinyl to the faux leather.
Once all of your pieces have been flattened, it’s time to assemble the tags.
Cut a piece of ribbon and thread it through both the back faux leather tag and the front vellum tag with the vinyl attached. Tie the ribbon in a knot at the top.
Repeat for all of your gift tags with different ribbons.
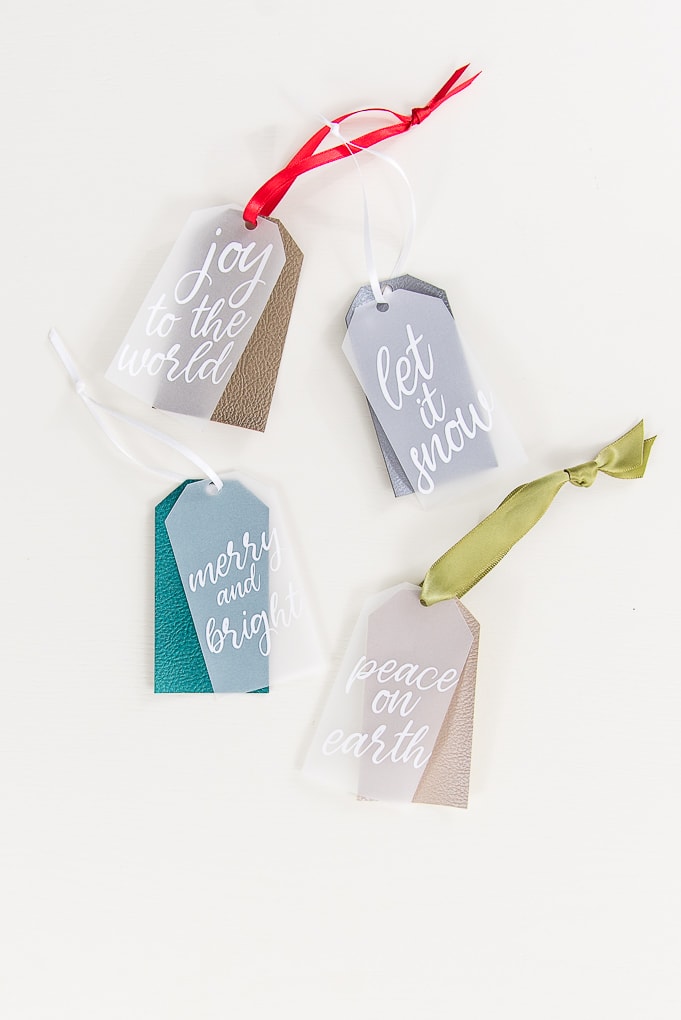
Now your Layered Gift Tags are ready!
These are so pretty! I love the look of the mixed materials and how they add an extra layer of dimension to the gift tags.
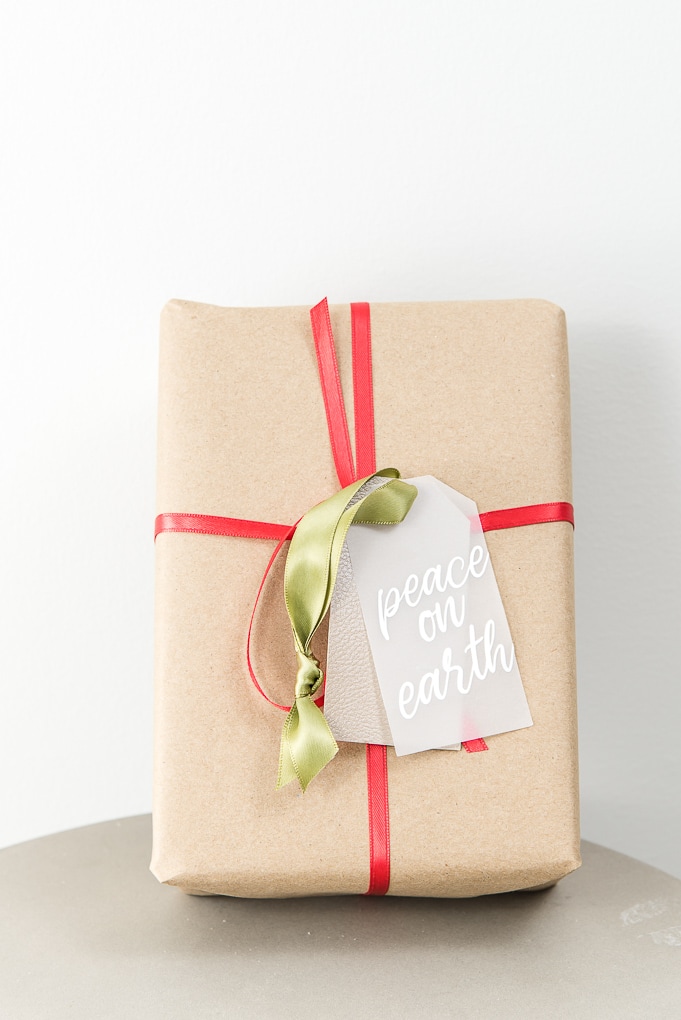
These will look beautiful on any present you wrap this Christmas.
I’m excited to make a ton of these for my gifts this year!
I hope you love these Layered Gift Tags.
If you decide to make this project, I would love to see!
Tag me on Instagram. Use the hashtag #25daysofcricut so that we can all see each other’s projects too!
To see more projects from Have Yourself A Very Cricut Christmas: 25 Days of Homemade Holiday Crafts!, click here!
If you want to follow along and see all of the projects for Have Yourself A Very Cricut Christmas: 25 Days of Homemade Holiday Crafts!, you can bookmark this blog post and visit it each day to see the newest project.
>> Want to remember this? Save the Layered Gift Tags to your Pinterest boards by clicking here! <<












2 Comments