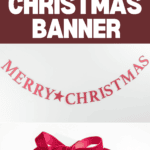
Make an easy Merry Christmas banner using the Cricut Explore or Cricut Maker. This pretty banner is perfect for decorating this holiday season.
Welcome to Have Yourself A Very Cricut Christmas: 25 Days of Homemade Holiday Crafts!
Each day in December, I’ll be sharing a new Christmas project that you can make using your Cricut. It’s going to be a blog version of an advent calendar! Come back every day to get a new “gift.”
Today is Christmas day!!!
I want to wish you all a Merry Christmas. Thank you so much for following along with this series.
Today’s gift is a Merry Christmas Banner.

Banners make great decorations. They can be displayed on their own or layered with other decorations.
For the last project, I thought I would share something quick that you can make today just in time for Christmas!
You’re going to love this Merry Christmas Banner. Here’s how to make it!
How to Make a Merry Christmas Banner Using The Cricut
This post contains affiliate links for your convenience. For more information, see my disclosures here.
Materials:
Tools:
- Cricut Machine (You can use a Cricut Explore or a Cricut Maker for this project)
- Light Grip Cutting Mat
- Cricut Fine-Point Blade (comes with all Cricut Machines)
- Bone Folder (or other heat resistant tool)
- Hot Glue Gun and Hot Glue Sticks
How to Cut Out The Project Using The Cricut
First, you will need to download the Merry Christmas Banner SVG file.
Get the Free Merry Christmas Banner SVG File

Start by opening Cricut Design Space and creating a new project.
Upload the SVG File
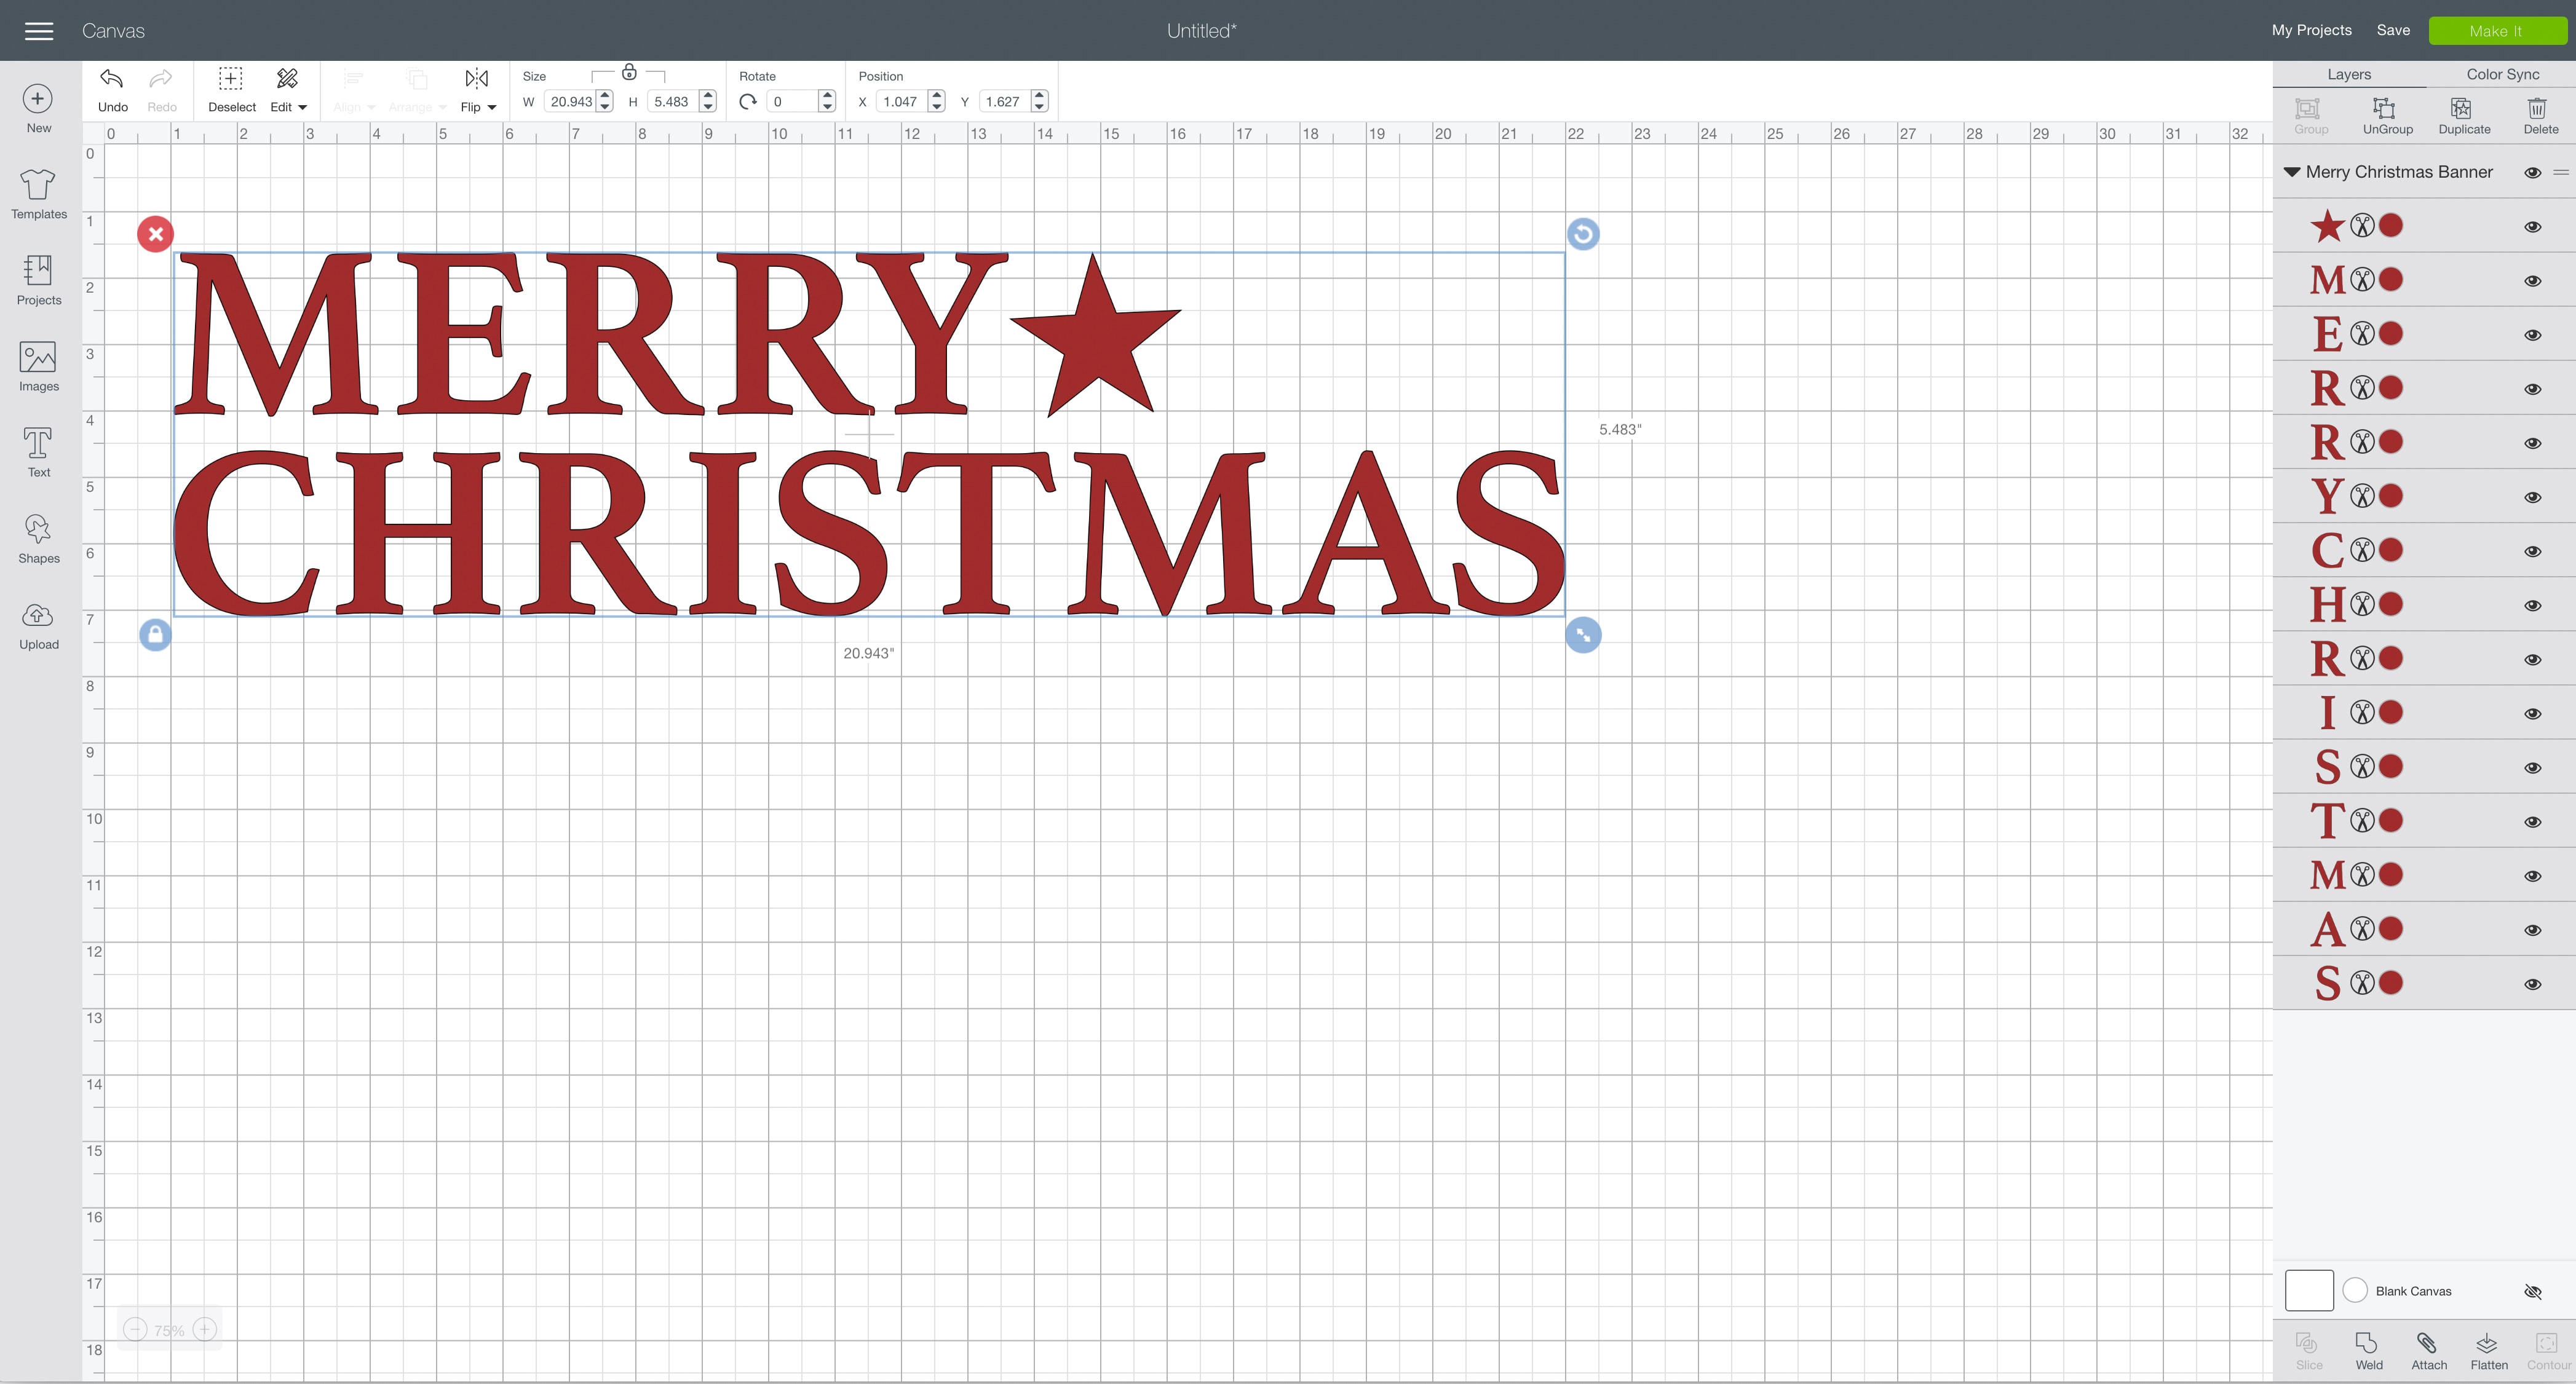
Then, upload the SVG file by selecting the Upload button and then Upload Image. Next, drag and drop or select the SVG file you want to upload.
After the SVG is uploaded, add the image to your design canvas.
If you need a little more help uploading SVG files, you can learn more in this post.
The SVG file will already be sized properly for this project.
Make It
Now it’s time to make your project!
Click on the Make It button in the upper right of the screen.
The first screen you will see is the Mat Preview Screen. This will show you all of the different mats needed for your project. Each mat represents another piece of material.
Click on the Continue button in the lower right of the screen.
For this project, there is only one material.
Connect your Cricut machine. Then, adjust the settings as follows.
Material: Medium Cardstock – 80 lb
Pressure: Default
Make sure to set your material to the specific type of paper you are using.
Tools: Fine-Point Blade
Load the light grip cutting mat with the cardstock material into the machine. Then, press the flashing Go button to begin the cutting process.
How to Assemble The Project
Once all of your pieces are cut out, it’s time to assemble the project.
Place all of the pieces in order on your work surface.
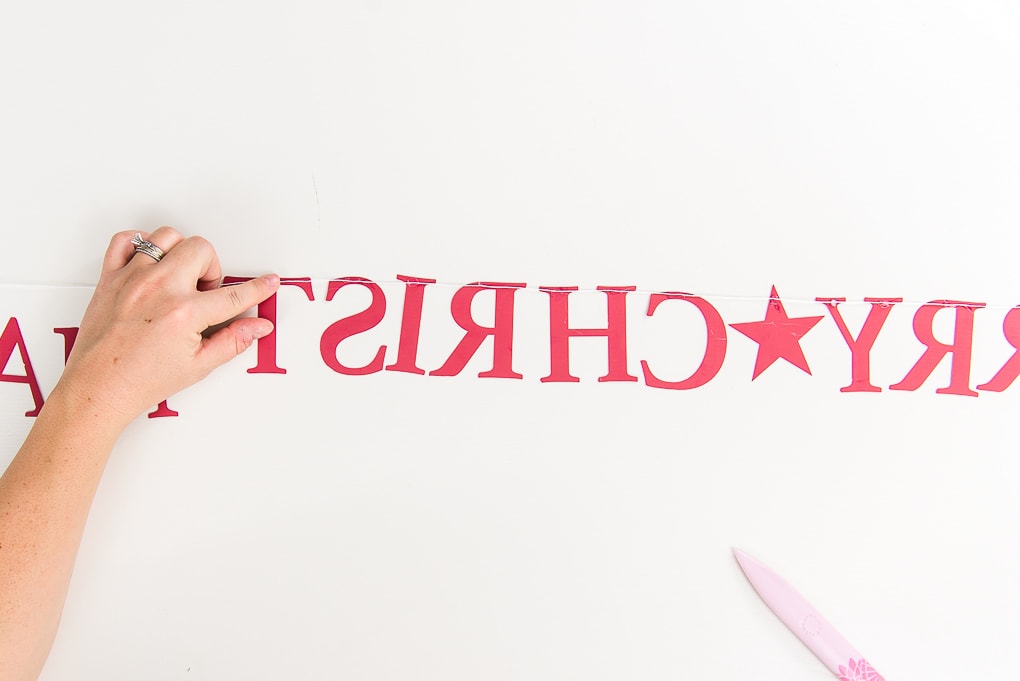
Then, flip all of the pieces over but keep them in order. The start of the banner should be on the right side of your work surface and the end of the banner should be on the left side of your work surface.
Take a piece of string and measure it out to be longer than your banner will be. You want to leave extra string at either end for hanging the banner.
Place the string above the banner pieces on your work surface.
Use a hot glue gun to place some hot glue on the top of the first banner cutout piece. Place the string into the hot glue and press it down with a heat resistant tool until it dries. I used my bone folder.
Continue gluing each piece of the banner to the string, making sure to leave an even space between the pieces.
Once all of the pieces are attached to the string, your Merry Christmas Banner is ready!
This Merry Christmas banner would look great on a staircase with some greenery and garlands.
It would also look pretty hanging from a mantle.
I hope you love this Merry Christmas Banner.
Have a Merry Christmas!!
If you decide to make this project, I would love to see!
Tag me on Instagram. Use the hashtag #25daysofcricut so that we can all see each other’s projects too!
To see more projects from Have Yourself A Very Cricut Christmas: 25 Days of Homemade Holiday Crafts!, click here!
If you want to follow along and see all of the projects for Have Yourself A Very Cricut Christmas: 25 Days of Homemade Holiday Crafts!, you can bookmark this blog post and visit it each day to see the newest project.

