Is there anything better than receiving a beautiful, professional looking fresh flower arrangement?
I have to admit, flowers are my weakness. I just love them! Whenever I think about buying a professional arrangement or bouquet, my logical brain says “flowers aren’t worth it because they just die” but my emotional brain says “flowers are so pretty!!!” Most of the time, my emotional brain wins. I just can’t resist gorgeous flowers.

Since I’ve accepted that flowers are my weakness, I decided it was time to learn how to make my own version of the gorgeous arrangements that I was drooling over. After all, it’s definitely not budget friendly to buy those professional arrangements and bouquets every time I have a flower craving.
After lots of practicing and testing of different methods, I think I’ve come up with a foolproof way to create a gorgeous looking flower arrangement using a basic grocery store bouquet.

That’s right, I said a GROCERY STORE BOUQUET. You know, those bouquets that are about ¼ of the price of the professional ones but have almost the same flowers? Yep – those bouquets!
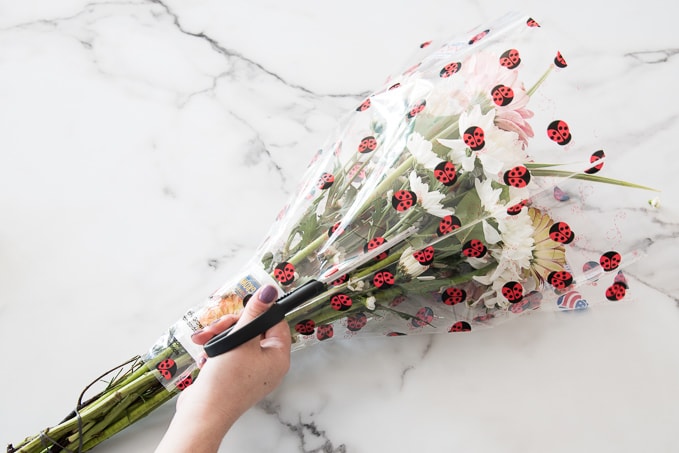
Grocery store bouquets may not look amazing all wrapped up in plastic at the store. But, by using my 5 simple steps, you can hack them to create amazing looking flower arrangements.
Let me show you how you can arrange flowers like a pro!
How to Arrange Flowers like a Pro
This post contains affiliate links for your convenience. For more information, see my disclosures here.
Step 1: Choose a Container
The first step to creating your gorgeous flower arrangement is to choose a container. You can create flower arrangements in many different types of containers, but my favorites are just simple vases. I think they make the perfect backdrop for a pretty flower bouquet.
I like to use medium height vases with a smaller opening at the top. Vases with larger openings tend to make the flowers spread out and you end up needed a ton of flowers to make your arrangement look full. By using vases with smaller openings, you can get a fuller looking arrangement with fewer flowers.
For my flower arrangement, I chose a simple, white ceramic cylinder vase.
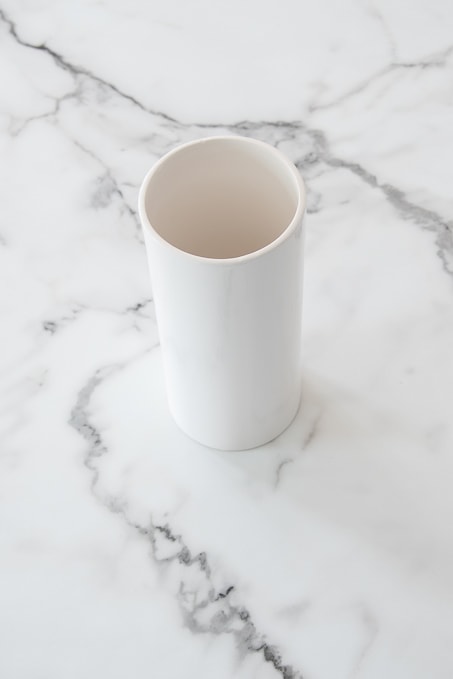
I like opaque vases because I think they look cleaner and more streamlined since the stems and water are hidden. But, I’ve also used clear vases in the past and the flower arrangements look just as good.
Here are some great vase options:
- White Ceramic Cylinder Vase ← similar to the one I used in my arrangement
- Clear Cylinder Vase ← basic clear medium height cylinder
- White Hourglass Vase ← this one is a nice variation on the cylinder vase
- Clear Tapered Vase ← taller option for a clear vase
- White Ceramic Fluted Vase ← I love the detailing on this vase – clean and modern looking
- Gray Marble and White Ceramic Vase ← this is such a unique find – you can’t go wrong with marble and white
- Gray Ceramic Patterned Vase ← sometimes it’s nice to add a little pattern and interest – and you know I can’t pass up anything gray
Step 2: Lay a Foundation
Before you start actually arranging flowers, you need to lay a foundation. This will help your flowers stay fresh and stay in place longer.
Start by filling your vase about ⅔ of the way full with water. Next, take the packet of plant food that comes with your flowers and pour it into the water.
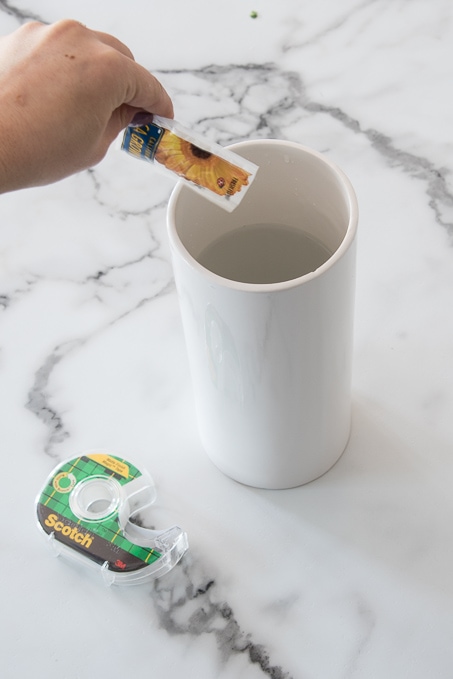
After you add the water and plant food, it’s time to create a tape grid. Using clear tape, create a grid pattern over the opening of your vase. This grid will act as a foundation when you go to place your flowers in the vase. It helps to keep the flowers in the right place and stable while you are creating your arrangement.

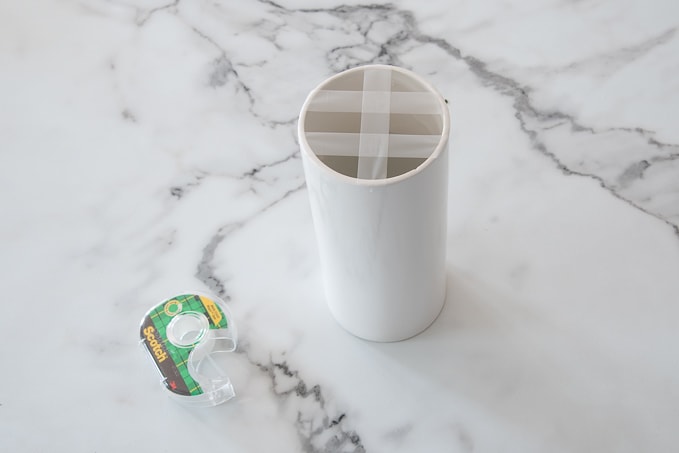
When I’m creating a professional looking flower arrangement I always start with a tape grid. That’s because it helps me space my flowers out and keep them where I want them to be. Without the grid, the flowers fall to the sides and make the arrangement look amateur. And that’s definitely not what we want when we’re trying to arrange flowers like a pro!
Step 3: Use Filler Greens
It’s no secret that I’m a fan of greenery in my flower arrangements. I may or may not be a little obsessed with eucalyptus!???????? Floral greens add texture, interest, and most importantly density to bouquets. When you’re creating a flower arrangement, it’s essential that you start with filler greens.
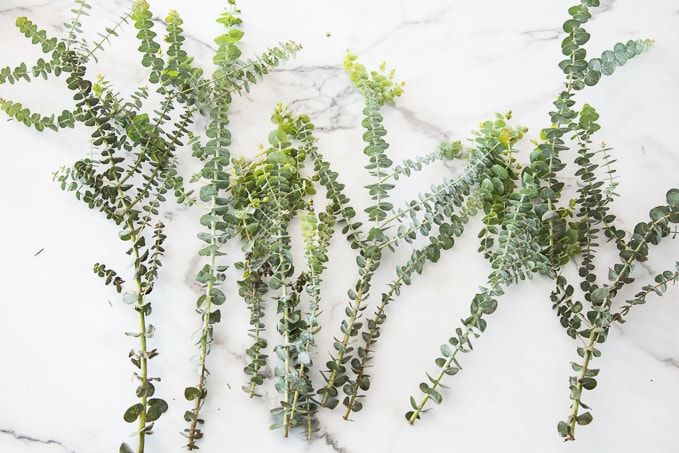
Filler greens are any type of green, leafy floral stems that you can add to your arrangements. Some grocery store bouquets will come with one or two greenery stems. That’s a good start, but when you’re creating a professional looking flower arrangement you’re going to want a lot more than that!
Thankfully greenery is a lot cheaper than actual flowers. That’s what makes it the perfect filler to create bulk in your arrangement without spending tons of money.
So, to make sure you always have filler greens, I’m creating a new flower buying rule. Whenever you buy a bouquet of grocery store flowers, you also have to buy a bouquet of greenery.

For my flower arrangement, I picked up a grocery store bouquet of mixed flowers from Trader Joe’s for $9.99. I also grabbed a eucalyptus bunch for $2.99. Yes, it’s a little bit of extra money, but I promise it will make all the difference in your flower arrangement.
Filler greens are the first florals that are going to go into your vase. First, grab a stem of greenery and hold it up to your vase. This will give you a good idea of how much of the stem will be in the water and how much will be above the vase opening.
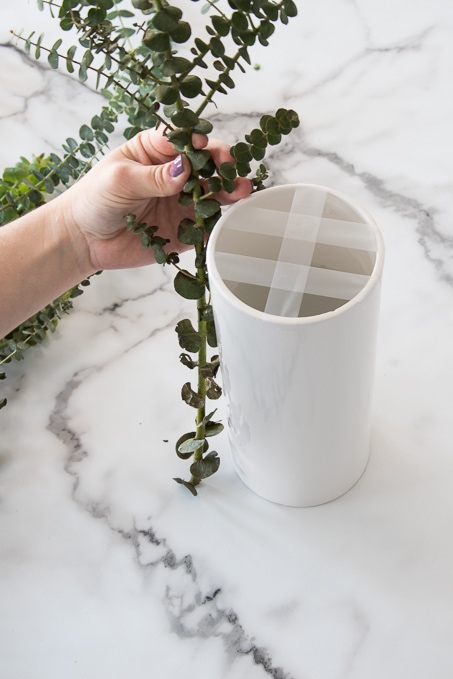
Remove the leaves from the part of the stem that will be underwater. Next, place the greenery stems around the outside areas of your tape grid.
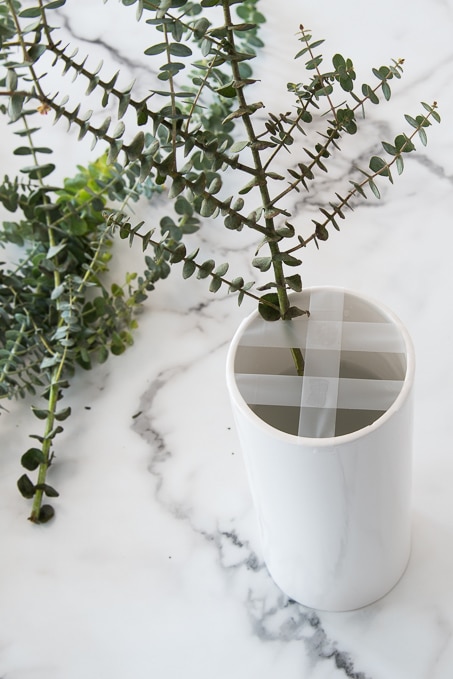

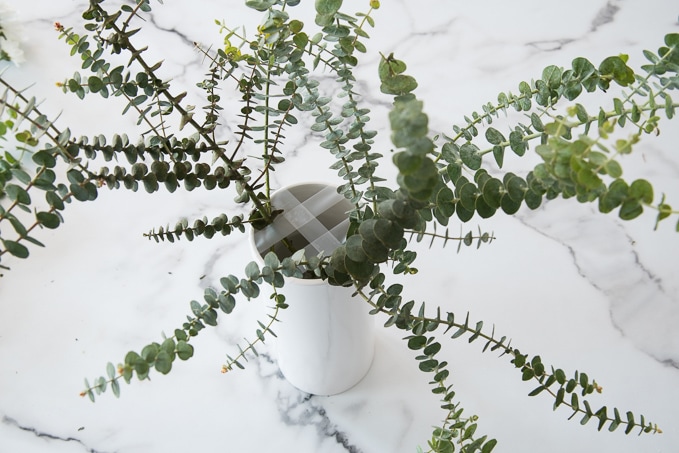
Continue until you have a nice base layer of greenery. The greenery is what will give your flower arrangement width and make it look fuller.

Step 4: Add Supporting Flowers
Next, it’s time to start adding in the flowers. Take your grocery store bouquet and separate out the showstopper flowers from the supporting flowers. You’ll know which flowers are the showstoppers because they will be the most beautiful and eye-catching, but also the ones that you have the least number of stems of.
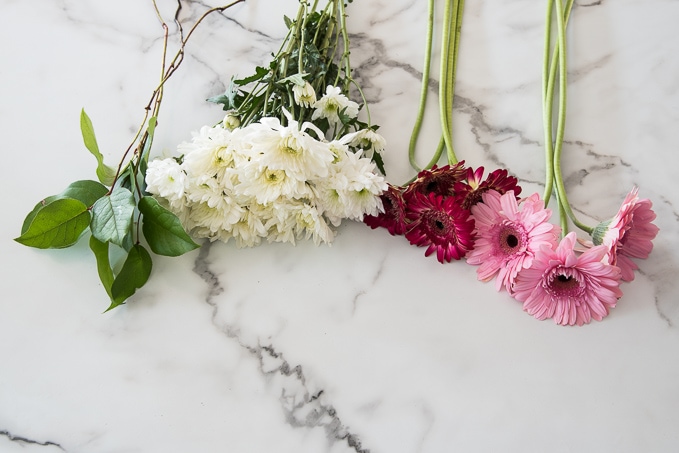
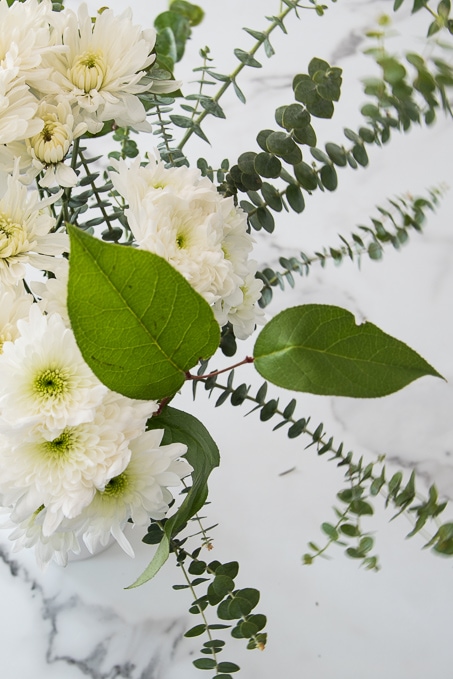
In my grocery store bouquet, the showstoppers were the pink and red flowers. The white flowers and the leaf stems were the supporting flowers.
Once you’ve separated out the different types of flowers, use scissors to snip the ends of each stem. I like to cut the ends of the stems at an angle to maximize the amount of water that the flower can absorb.

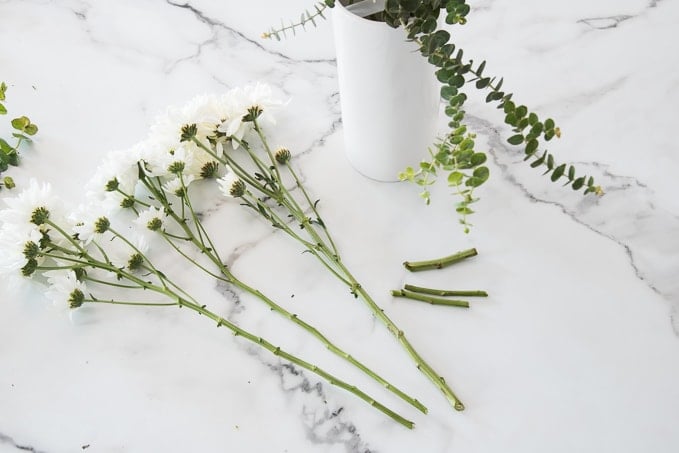
After your flowers are prepared, start by placing the supporting flower stems. First, remove the leaves from the part of the stem that will be underwater. Then, start placing the supporting flowers in the different tape grid areas.
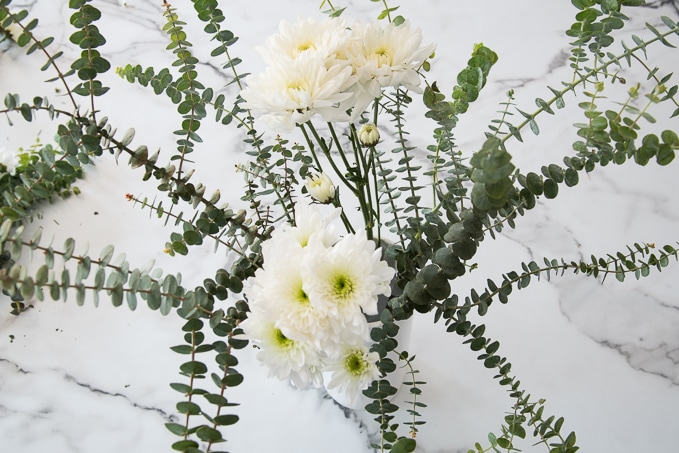
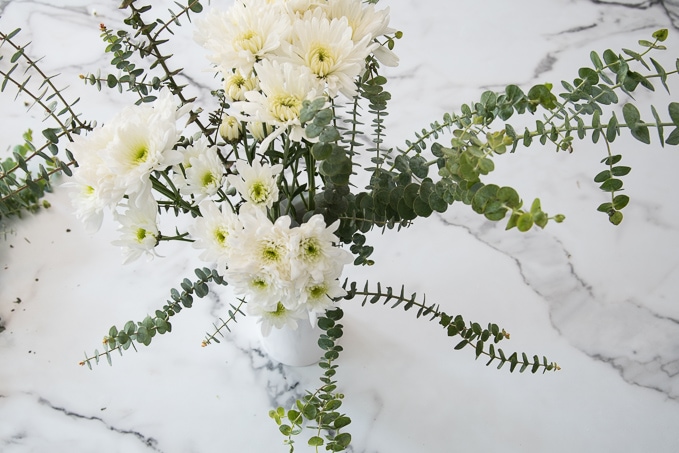
I started with a few in outside grid areas and then I added the rest towards the middle of the grid.

Next, I added a few of my grocery store bouquet greens. My bouquet came with two small sprigs of green leaves. I added these to either side of my bouquet with the other supporting flowers.
Step 5: Finish with the Showstoppers
Finally, it’s time to add your showstopper flowers. These are the flowers that are the most beautiful and will be noticed immediately when you look at your flower arrangement. Use the showstoppers to fill in any gap areas and to add interest to your flower arrangement.
Place the showstoppers in different tape grid areas. You may need to shorten the stems with scissors to get the showstopper flowers to fit exactly where you want them.
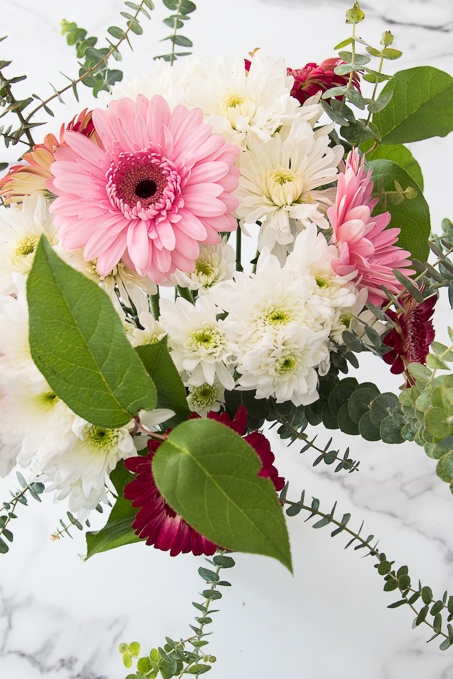
Once all of your showstopper flowers have been placed, step back and take a look at your bouquet. At this point, you can rearrange and move flowers as needed until you end up with an arrangement that you are happy with.

Then, you’re done! You’ve created a professional looking flower arrangement for a fraction of the cost! I think it’s time to call yourself a pro!


It really is that easy to turn a boring bouquet into a gorgeous flower arrangement. With just a few simple steps you can turn any grocery store flower bunch into an eye-catching floral display!

And that means …
- Pretty flowers more often
- Saving money
- Satisfying that flower craving
I’m in!


Now if you’ll excuse me, I’m off to Trader Joe’s to grab another bouquet! ????
I would love to see your pro flower arranging skills! If you create a flower arrangement, post it to Instagram and use the hashtag #flowerslikeapro.


Very informative. Thank you.
Question – did you leave the tape grid in place once everything was arranged? If so, Was the tape visible?
Hey Joanne! I did leave the tape in place to help everything stay put where I arranged it. I tried to use clear tape so that it wasn’t too visible. I also tried to trim the tape when it wrapped over the edge so there weren’t huge pieces showing. Unless you are really close to the arrangement, you can’t tell the tape is there. Also, you are mostly just looking at the flowers. 🙂
>> Christene
Your arrangement is so cute! I love it.
This looks amazing, and you have provided an awesome tutorial. Thank you for sharing! I cannot wait to do this!
Thanks so much McKenzie! I’m glad you enjoyed it 🙂
>> Christene
I am an aspiring florist, Christene. This is a big help for me to improve my skills. Thank you so much. I’ve been practising for a year and I can some improvement. With the guide you shared, I think I’ll be able to improve my skills big time. Thank you Christene
Do you ever use floral brick? I love using it, but would be curious to see how you arrange with those!
Hi Trace,
I have not tried to use a floral brick, but I would like to try it in the future. Hope you have a great day!
>> Christene
Great tutorial, Christine! Each step illustrated and throughly explained. Plus the flowers look like the ones at most supermarkets!