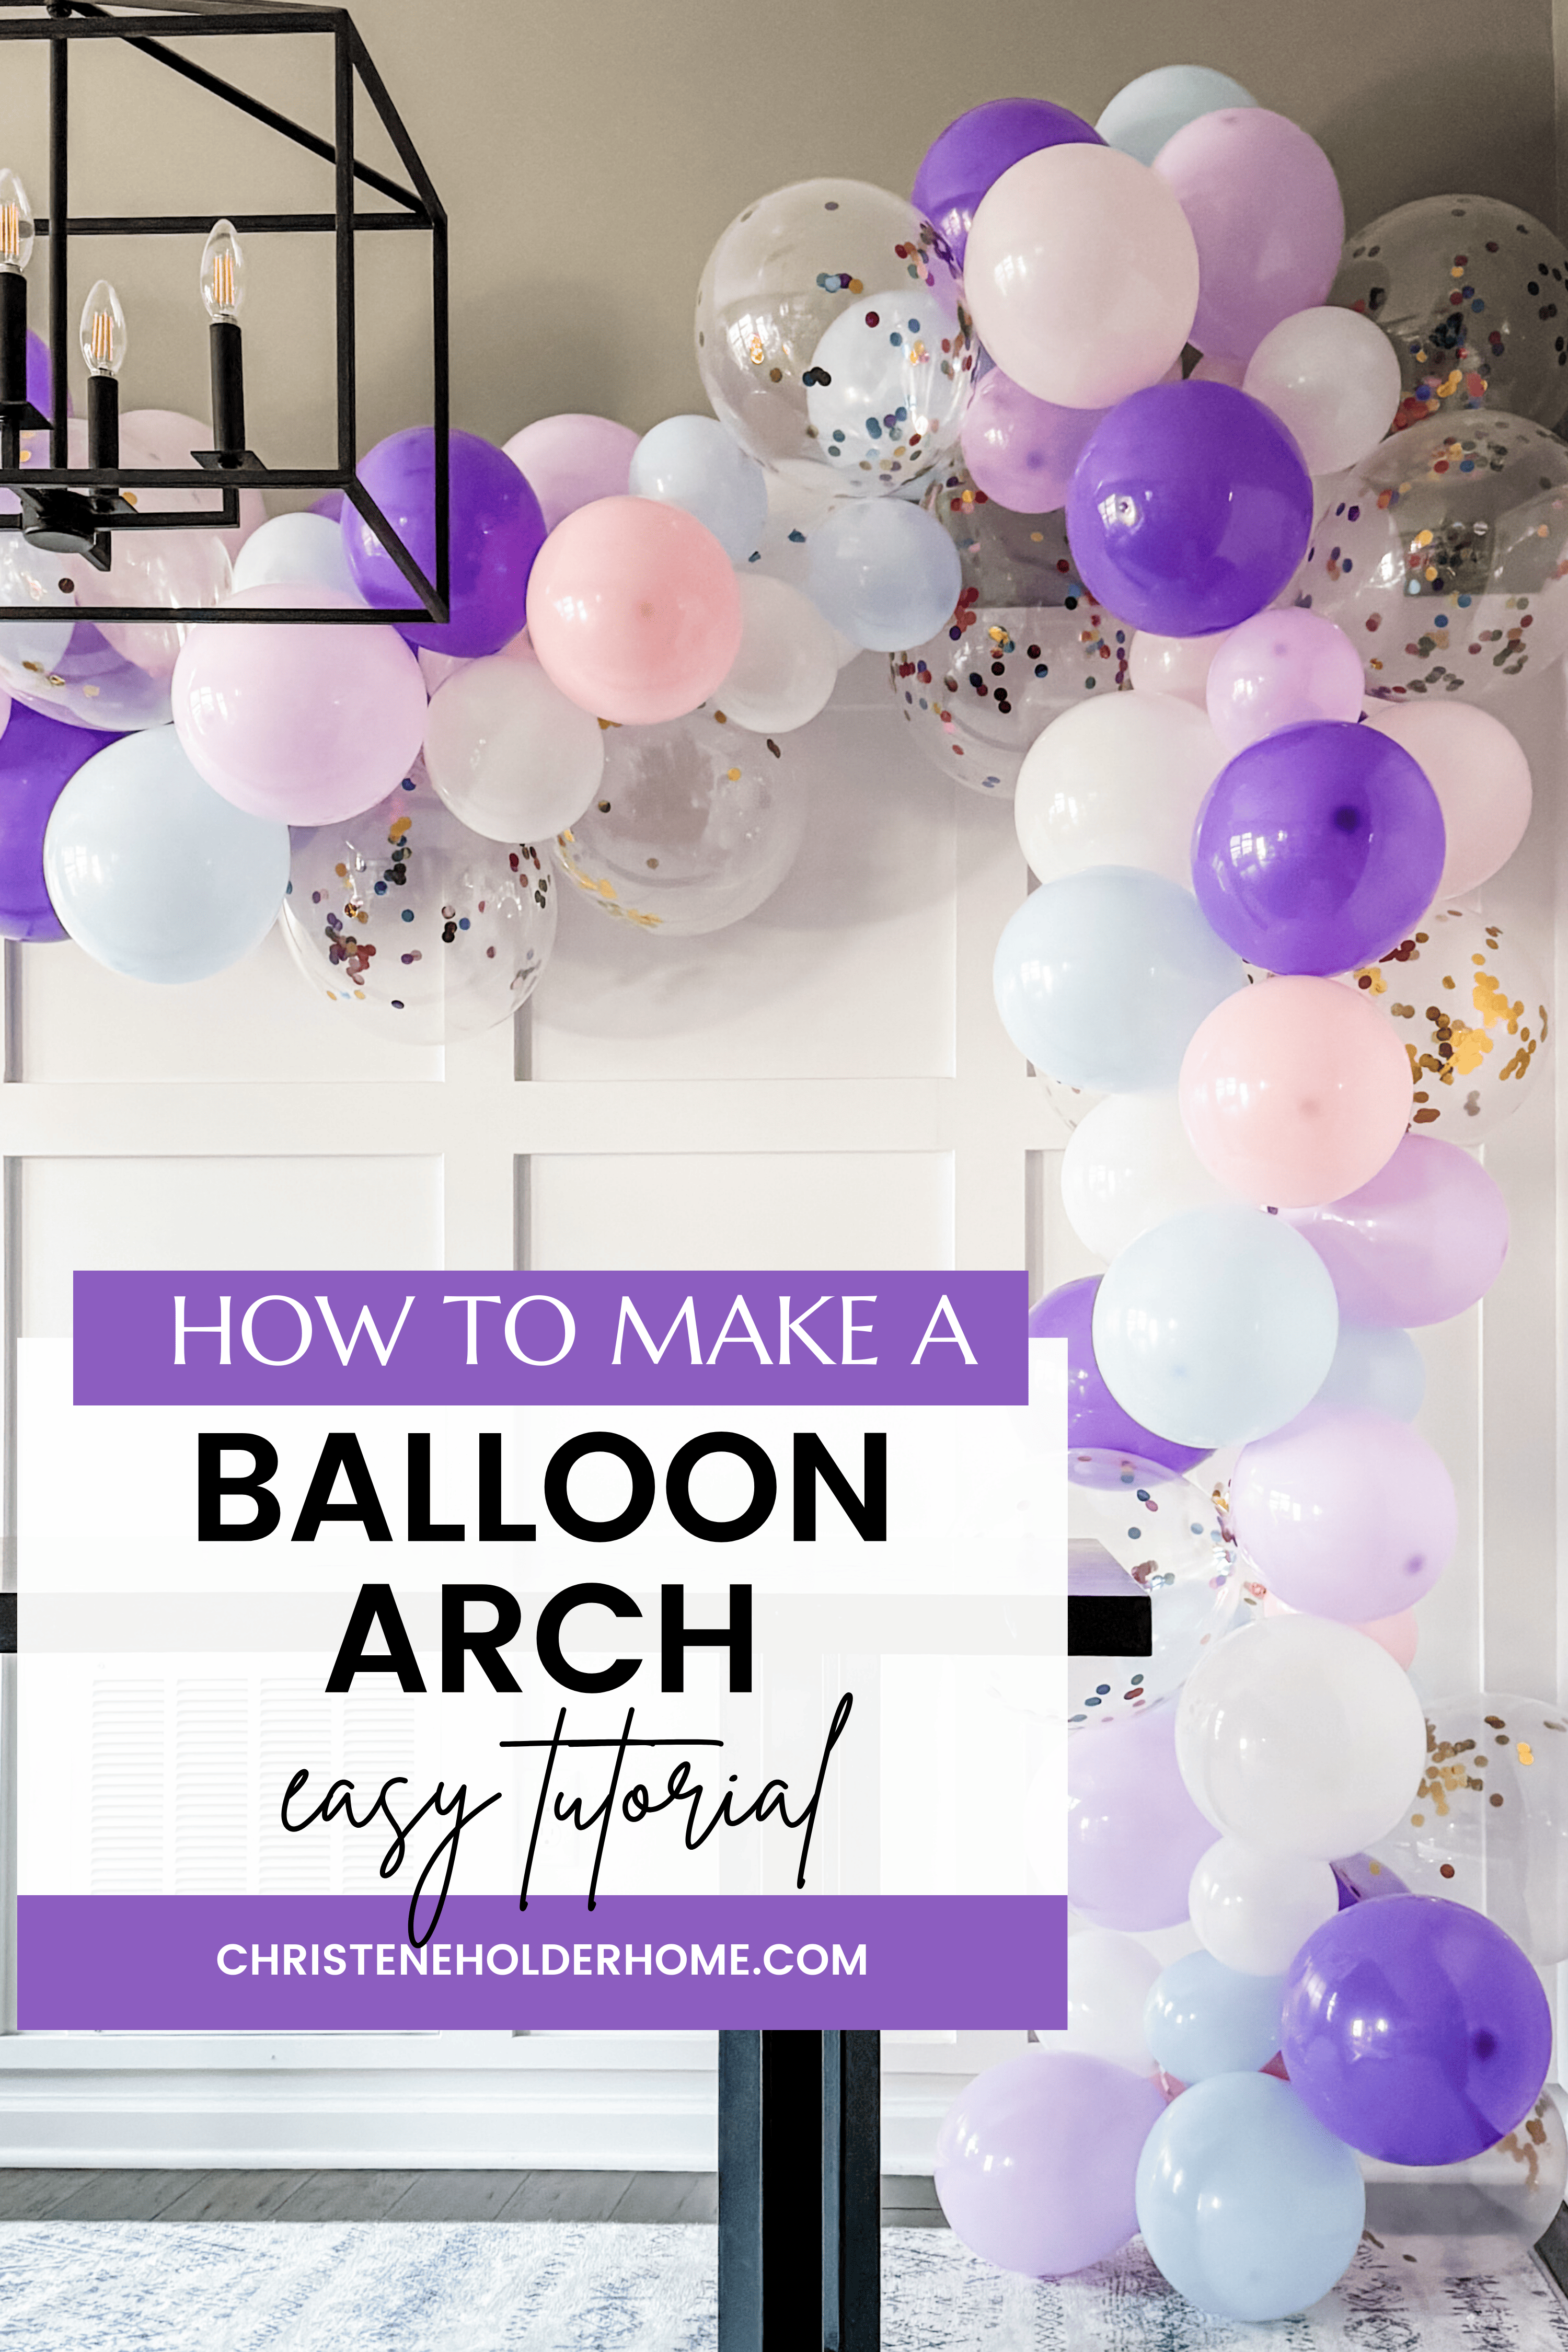
Simple Balloon Garland Tutorial for your Next Party
Want to add some fun and color to your next party without spending too much? Try making your own balloon arch!
Balloon arches are not only easy to make but also create a big impact at your party. They serve as a bold statement decoration, adding a significant wow factor to any space!
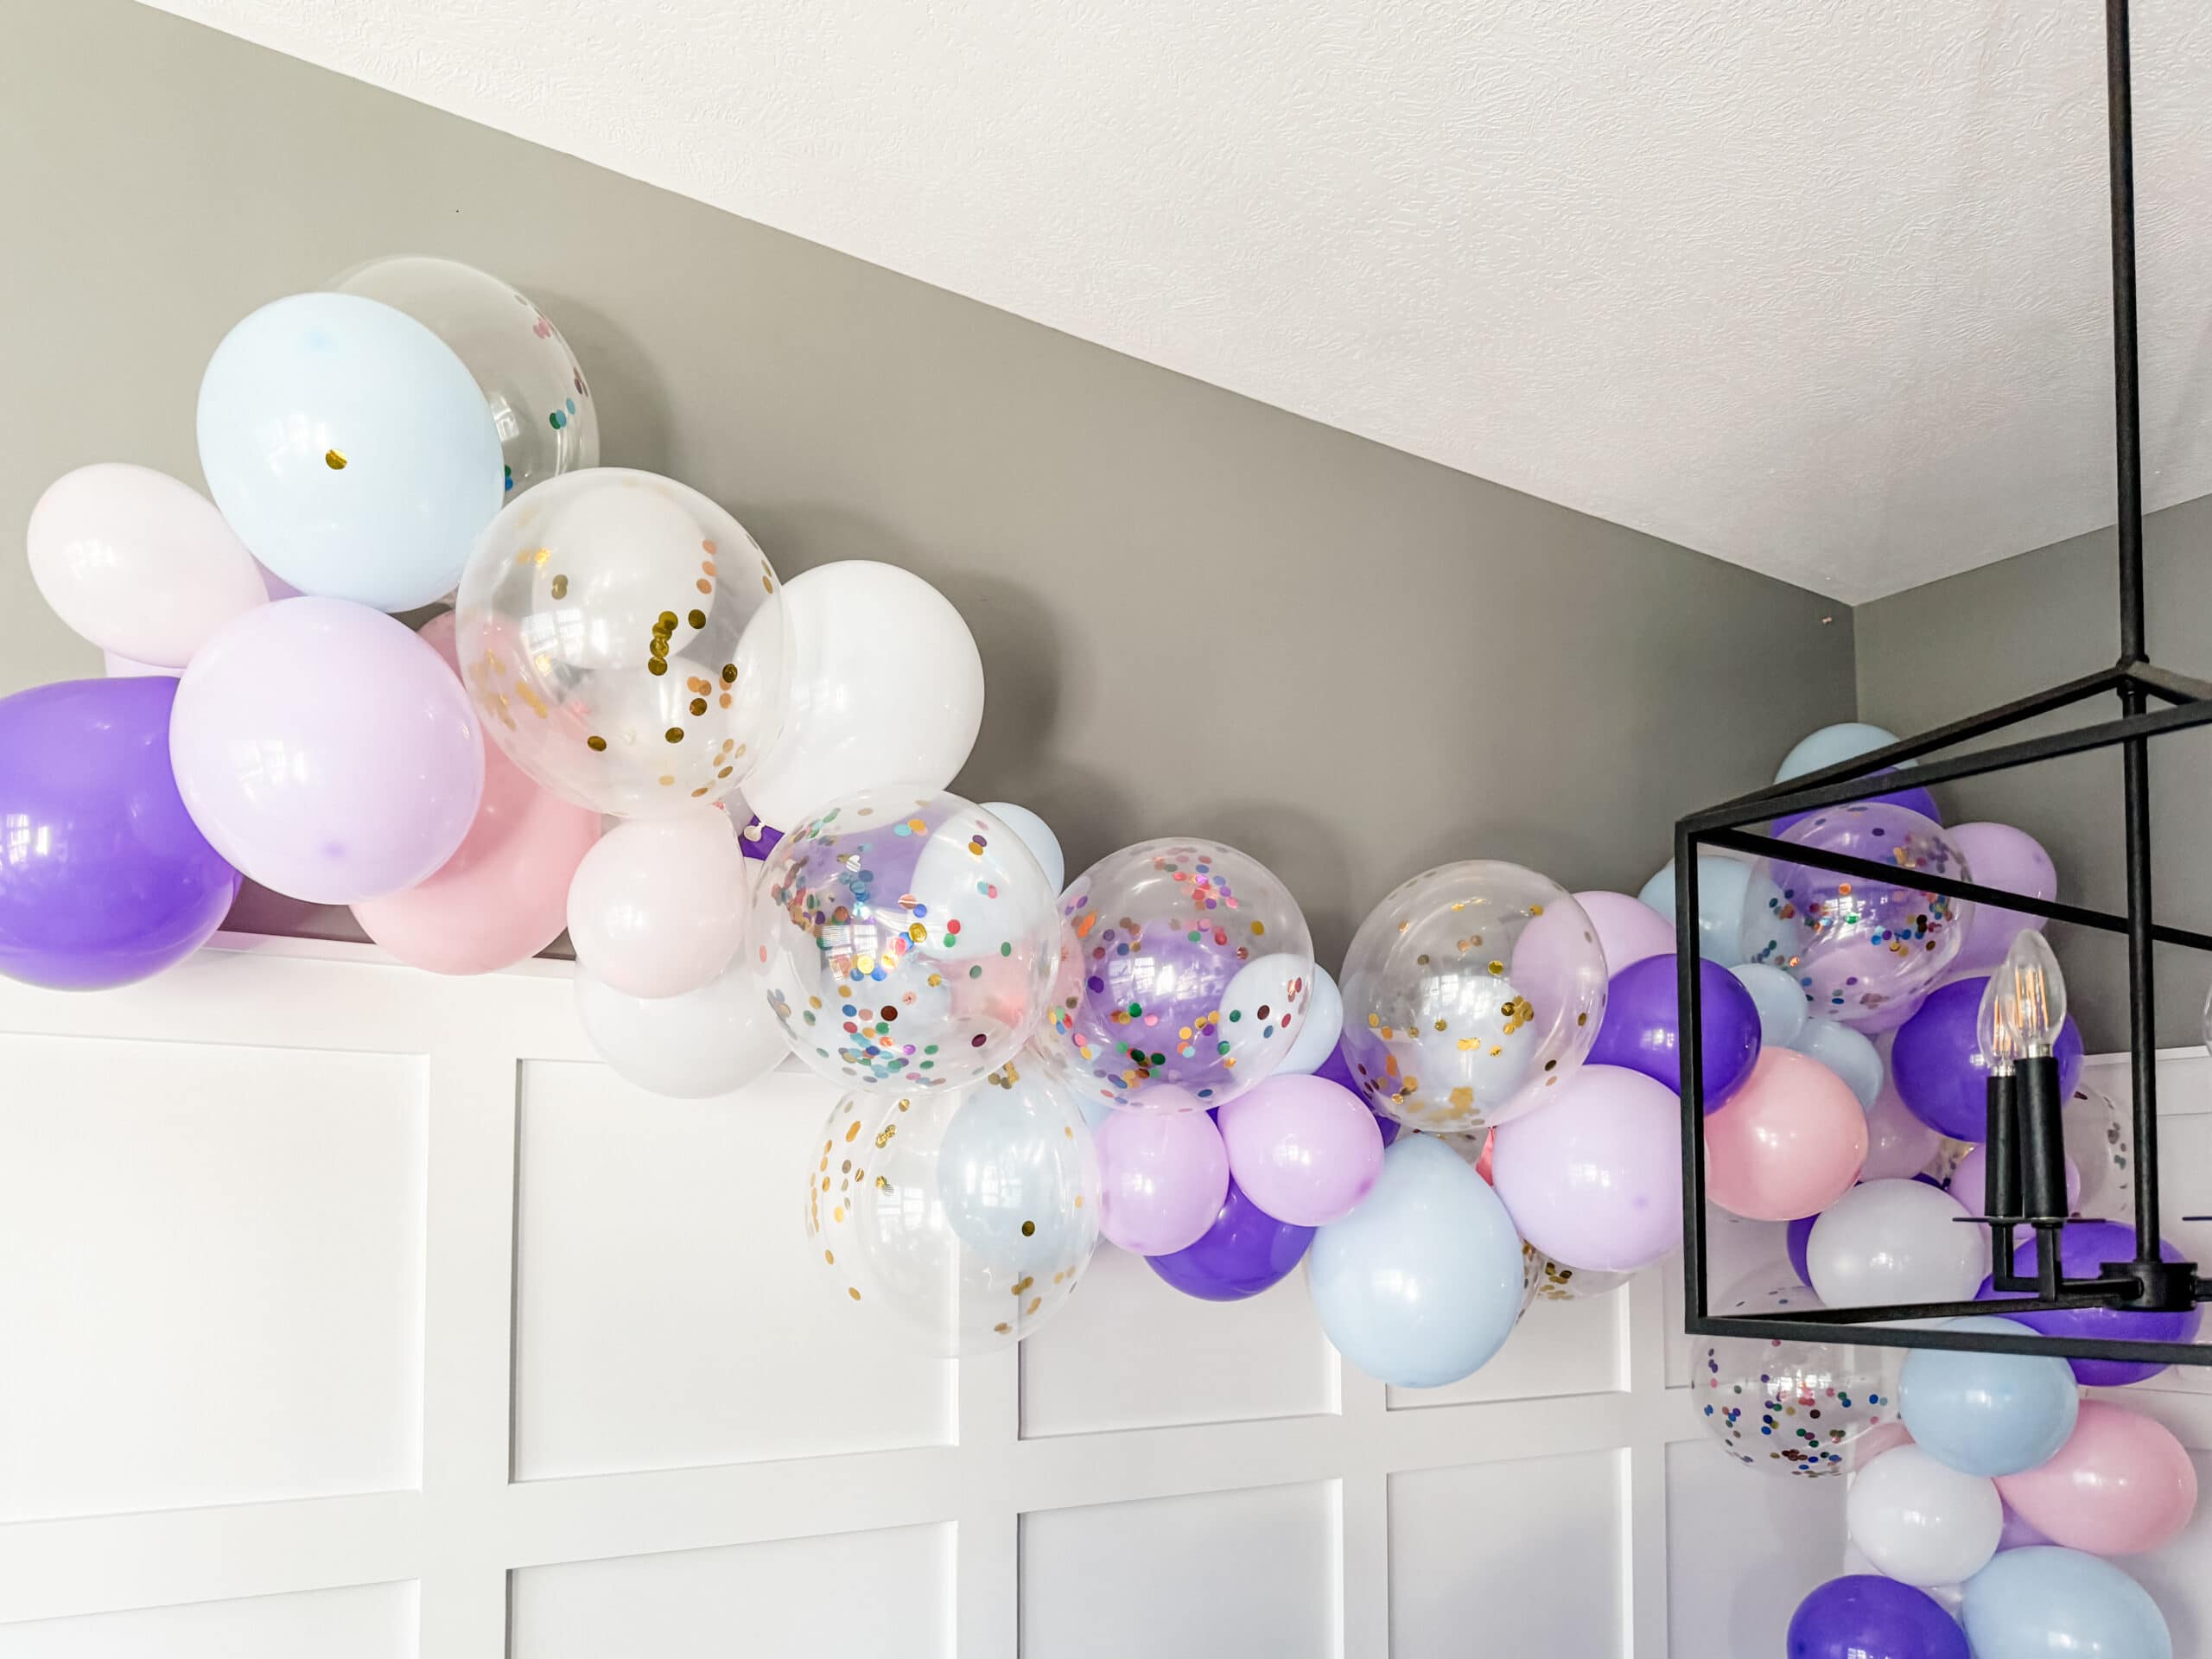
Balloon arches are my go-to decoration for every party that I host in our home.
They make such a large impact and immediately make your party space feel fully decorated without a ton of effort.
Every time I put up a balloon arch for an event, I get loads of compliments and questions about where I got it.
And guests are always surprised when I tell them I made it myself!
It’s surprising how many people don’t know that you can easily make a professional-looking balloon arch on your own with just a few supplies and tools.
This post contains affiliate links for your convenience. For more information, see my disclosures here.
Balloon Arch Basics
Balloon arches and balloon garlands have been trending on social media for some time now. They add a fun and creative touch to any event or party.
While you can hire a professional to create one, it can be really pricey. However, what many people don’t realize is that making these decorations yourself is very easy and affordable.
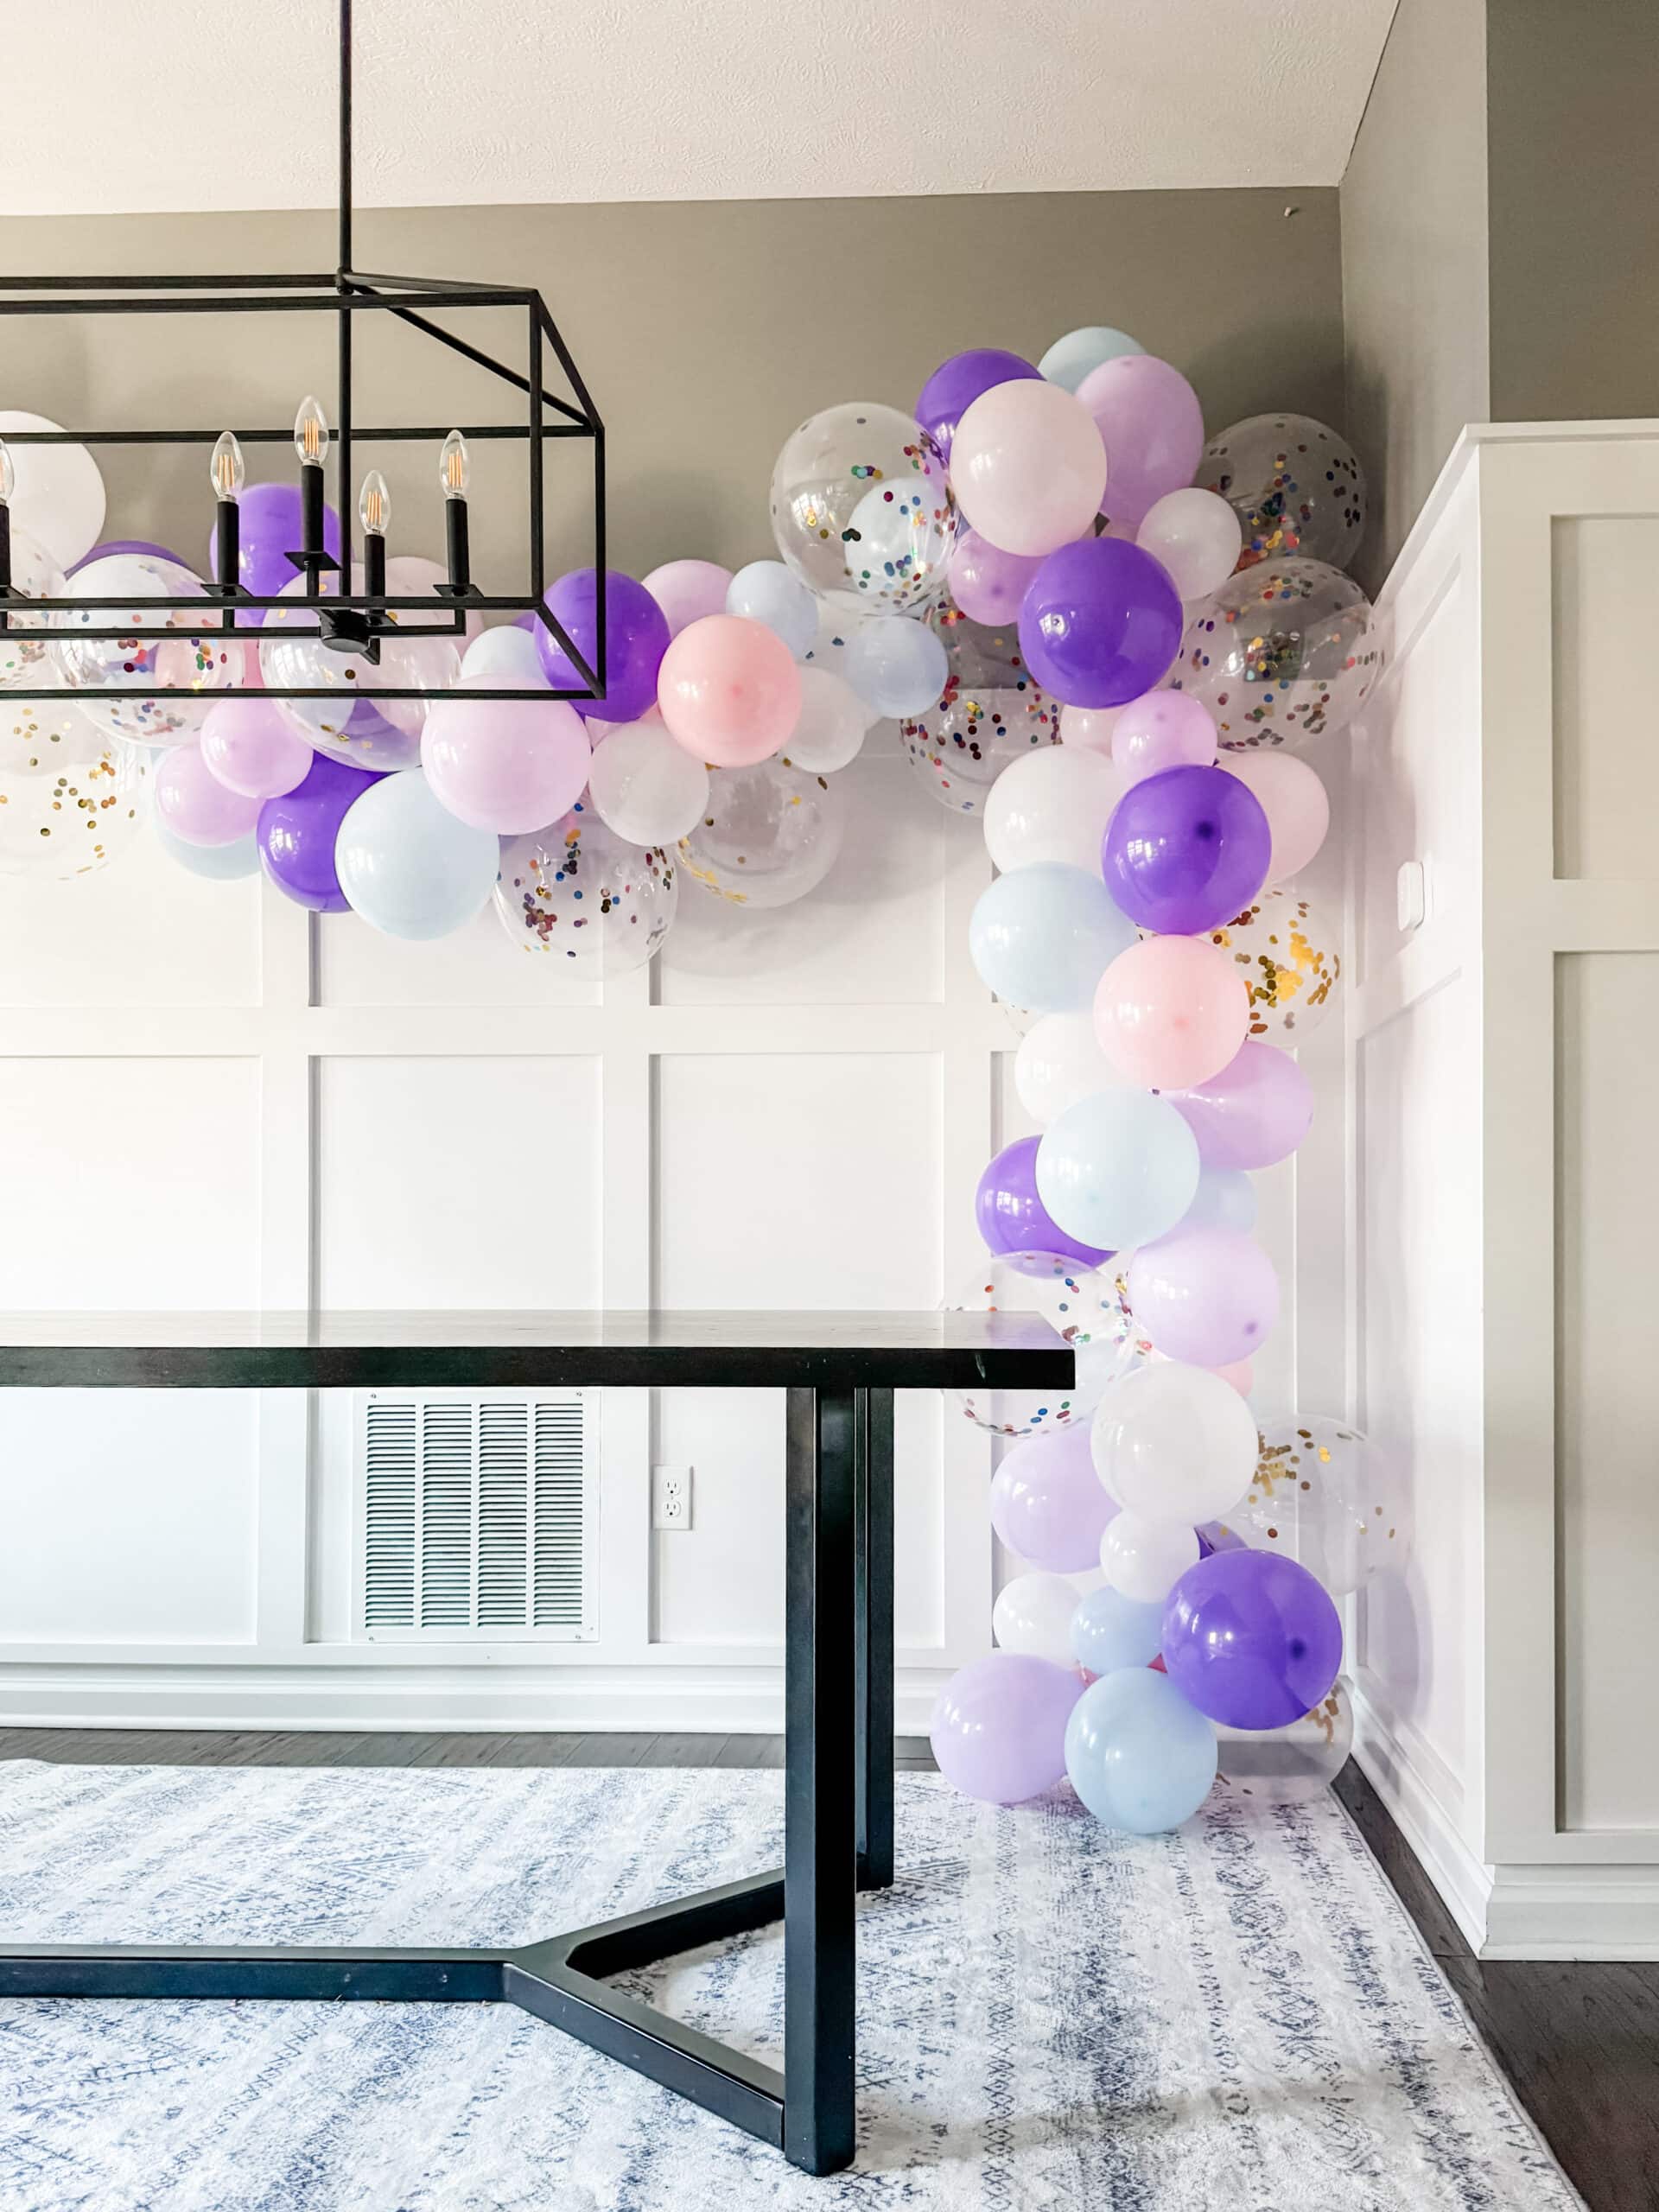
In this tutorial, I’ll walk you through the step-by-step process of creating your very own balloon arch using a simple kit found on Amazon. Let’s get started!
Here are the materials and supplies you’ll need:
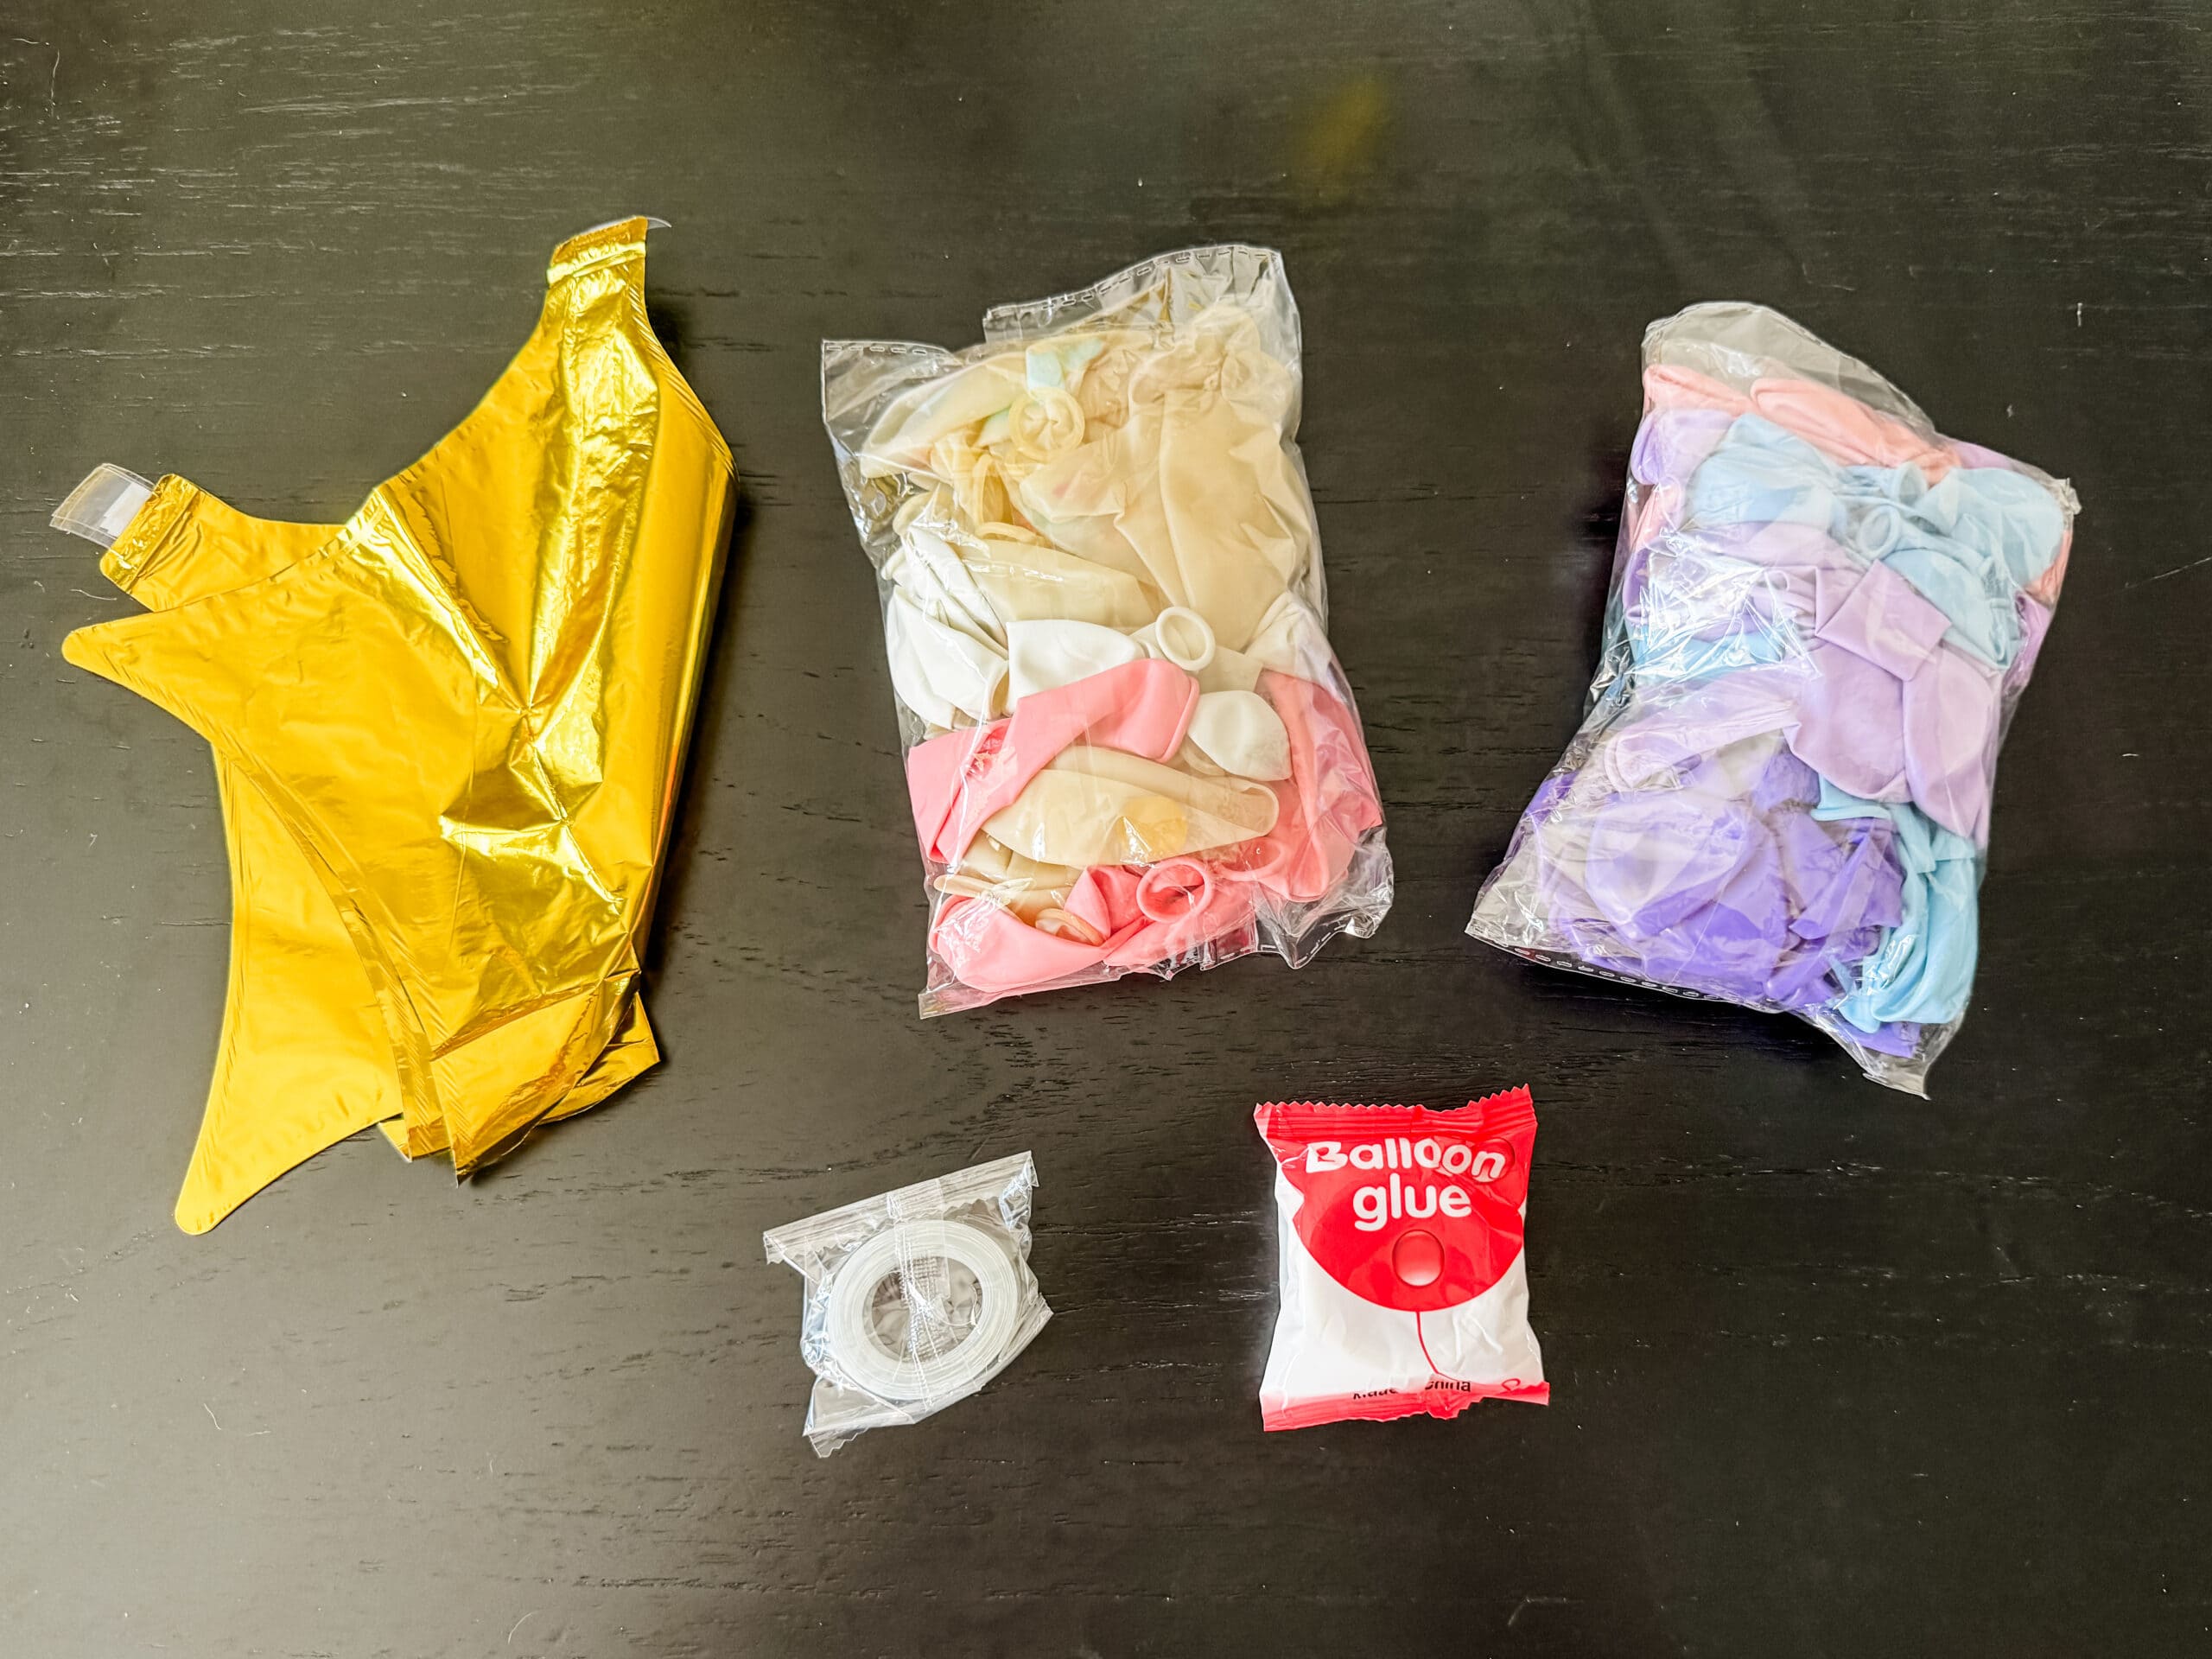
Materials and Supplies
Basic Supplies
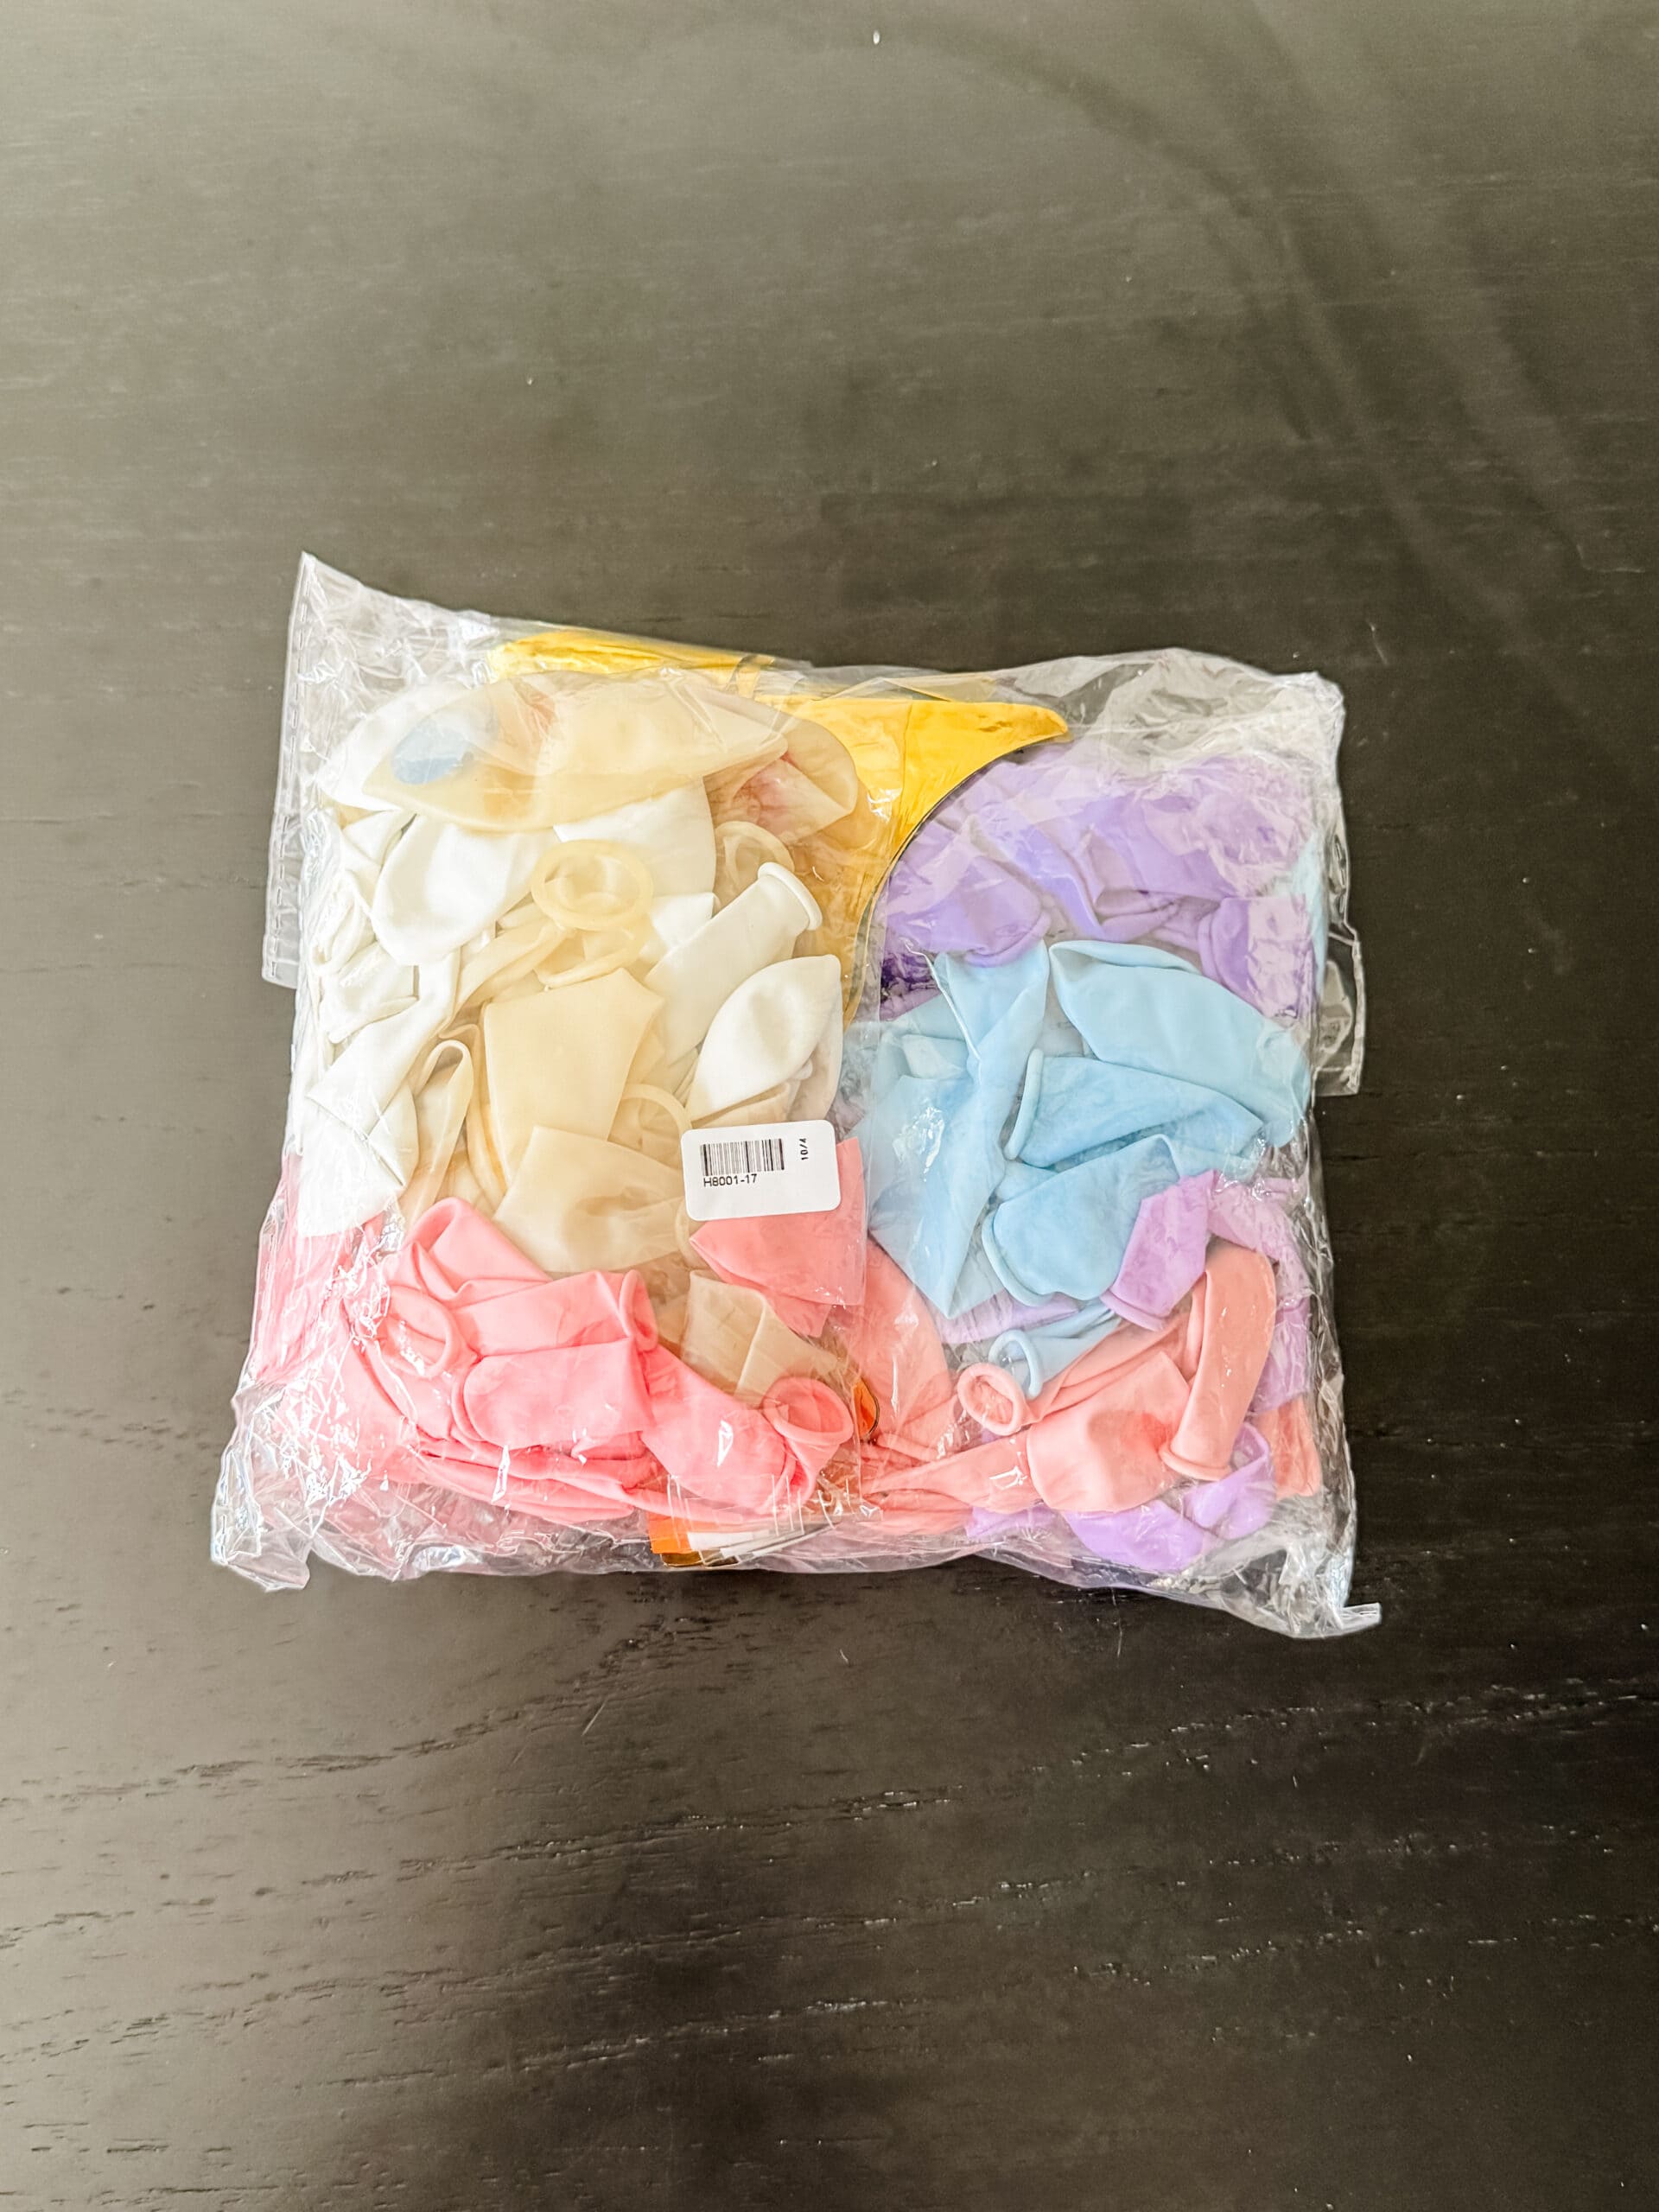
These kits come with everything you need like balloons of different sizes, balloon tape, balloon decorating strips, glue dots, and even additional decorations to add to your arch.

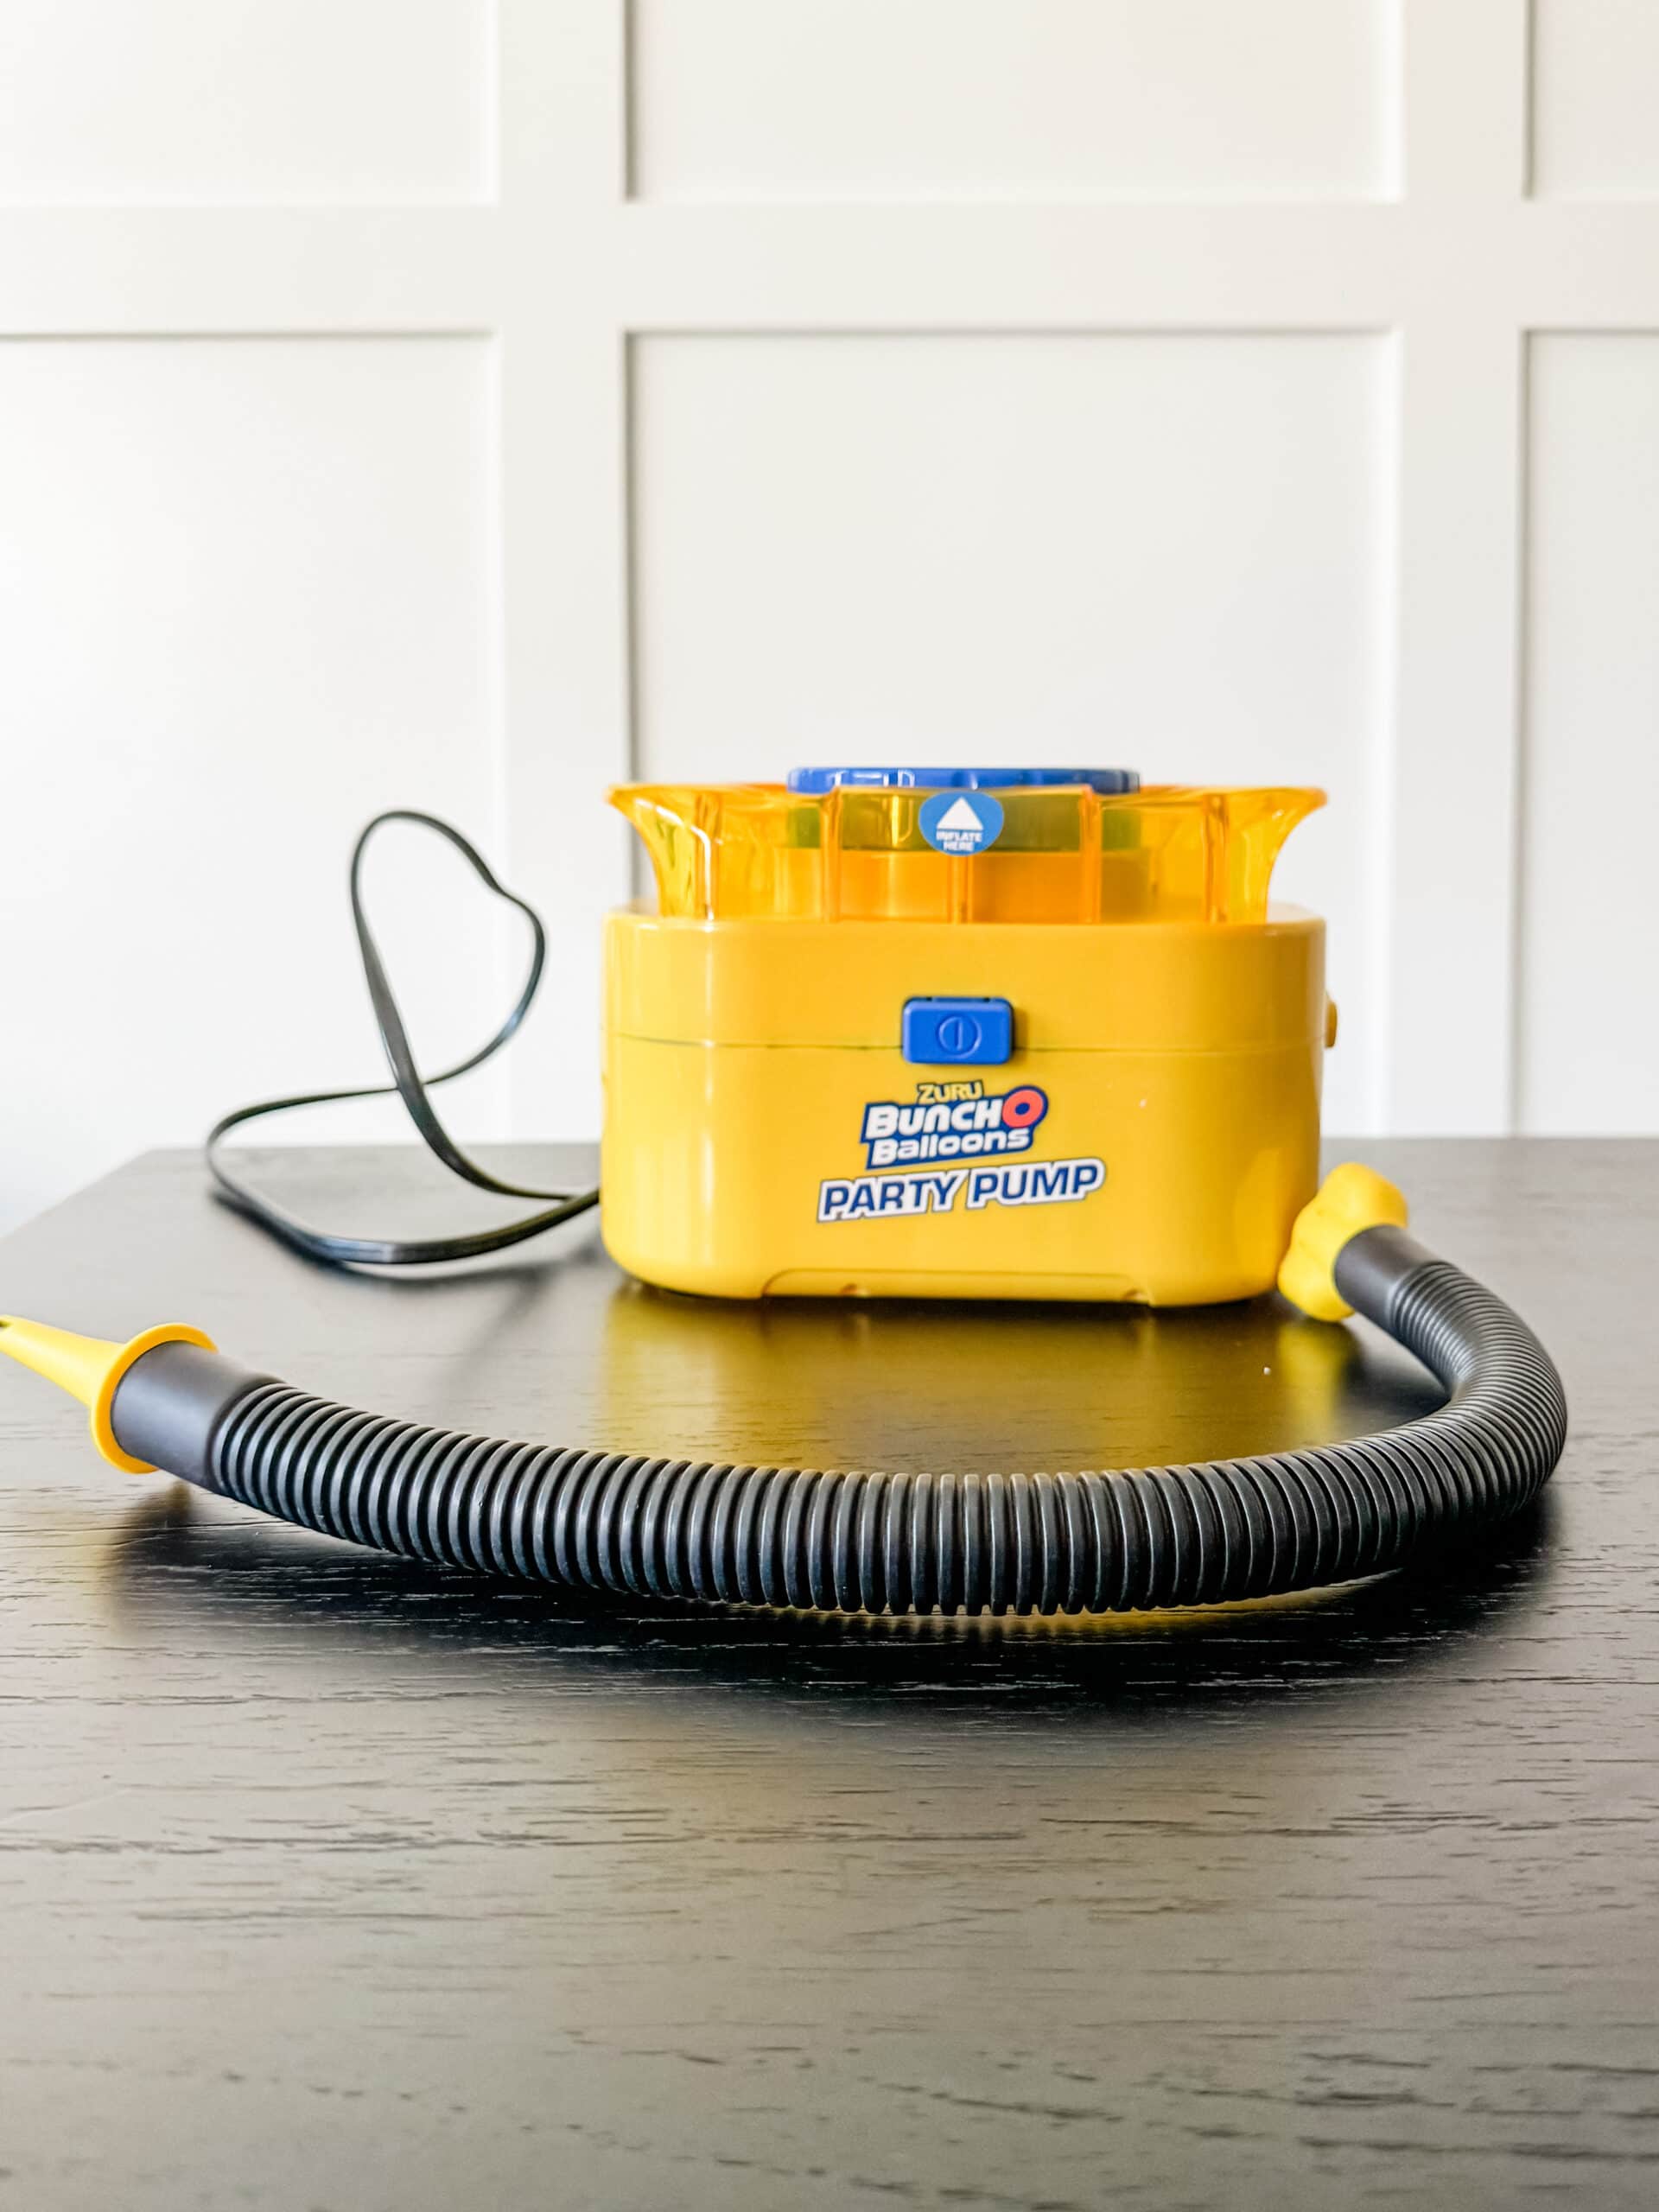
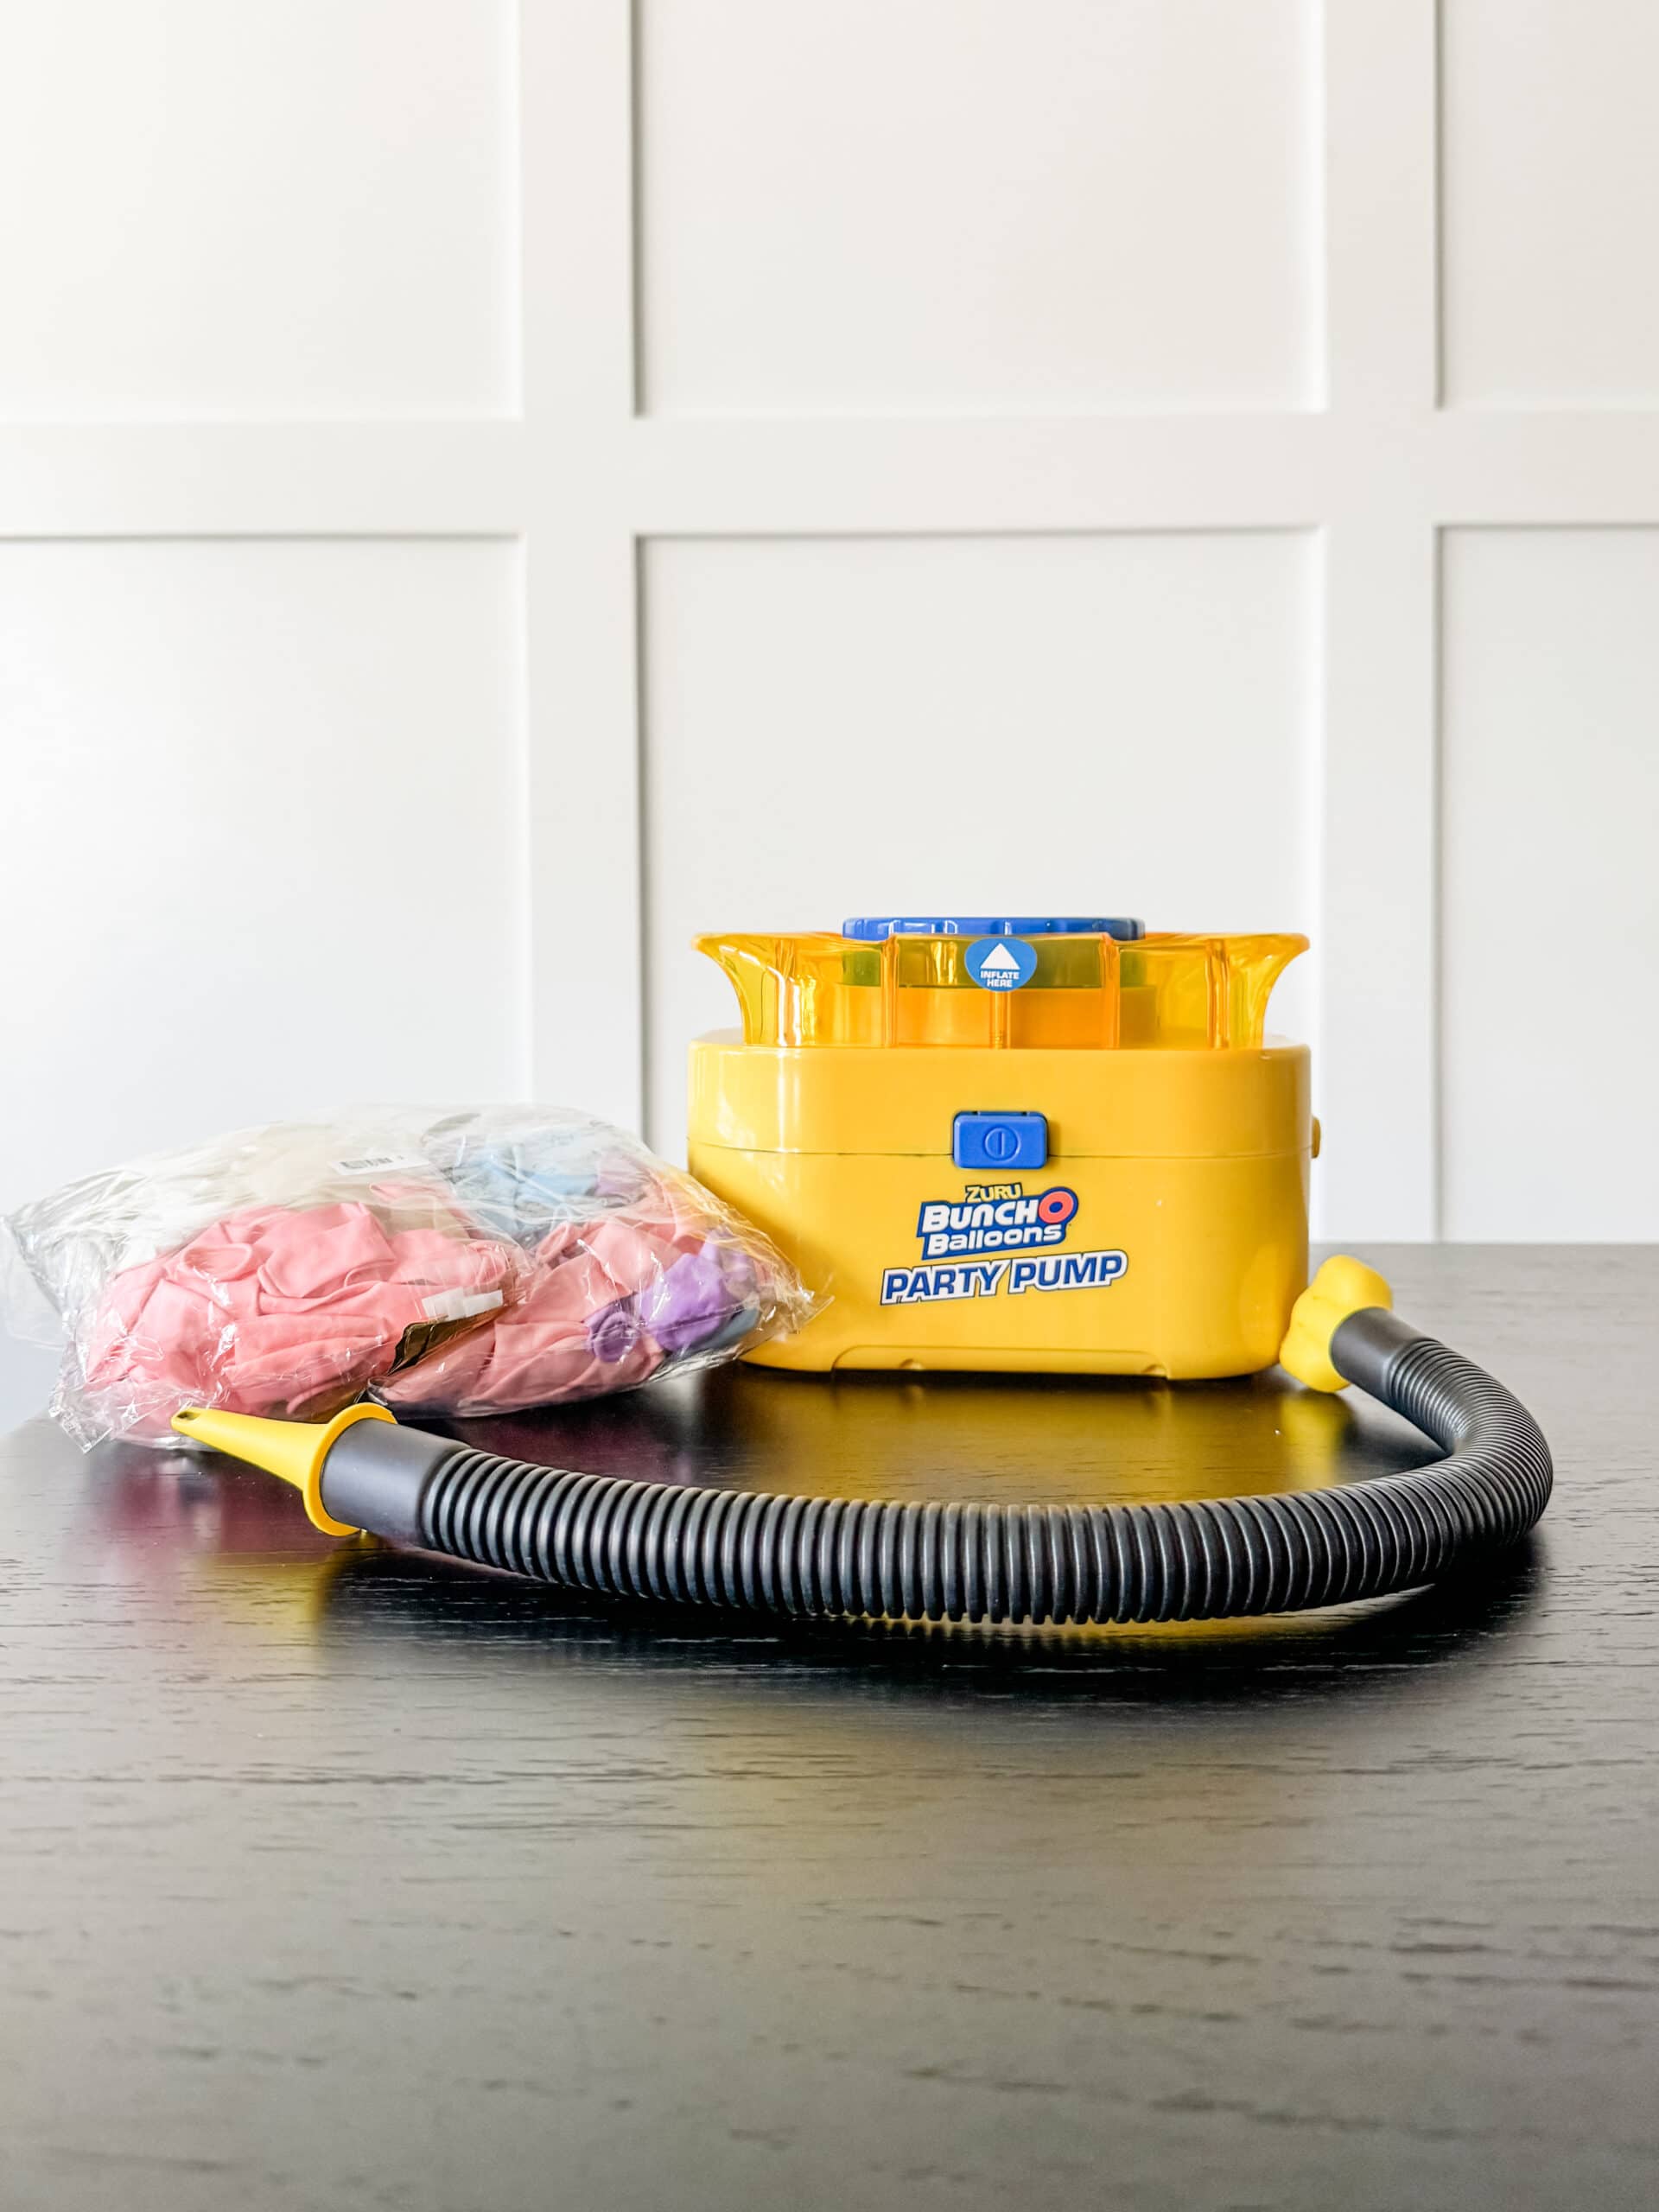
This is essential to make inflating the balloons a breeze. It will save you so much time. I prefer to use regular air filled balloons over helium balloons.
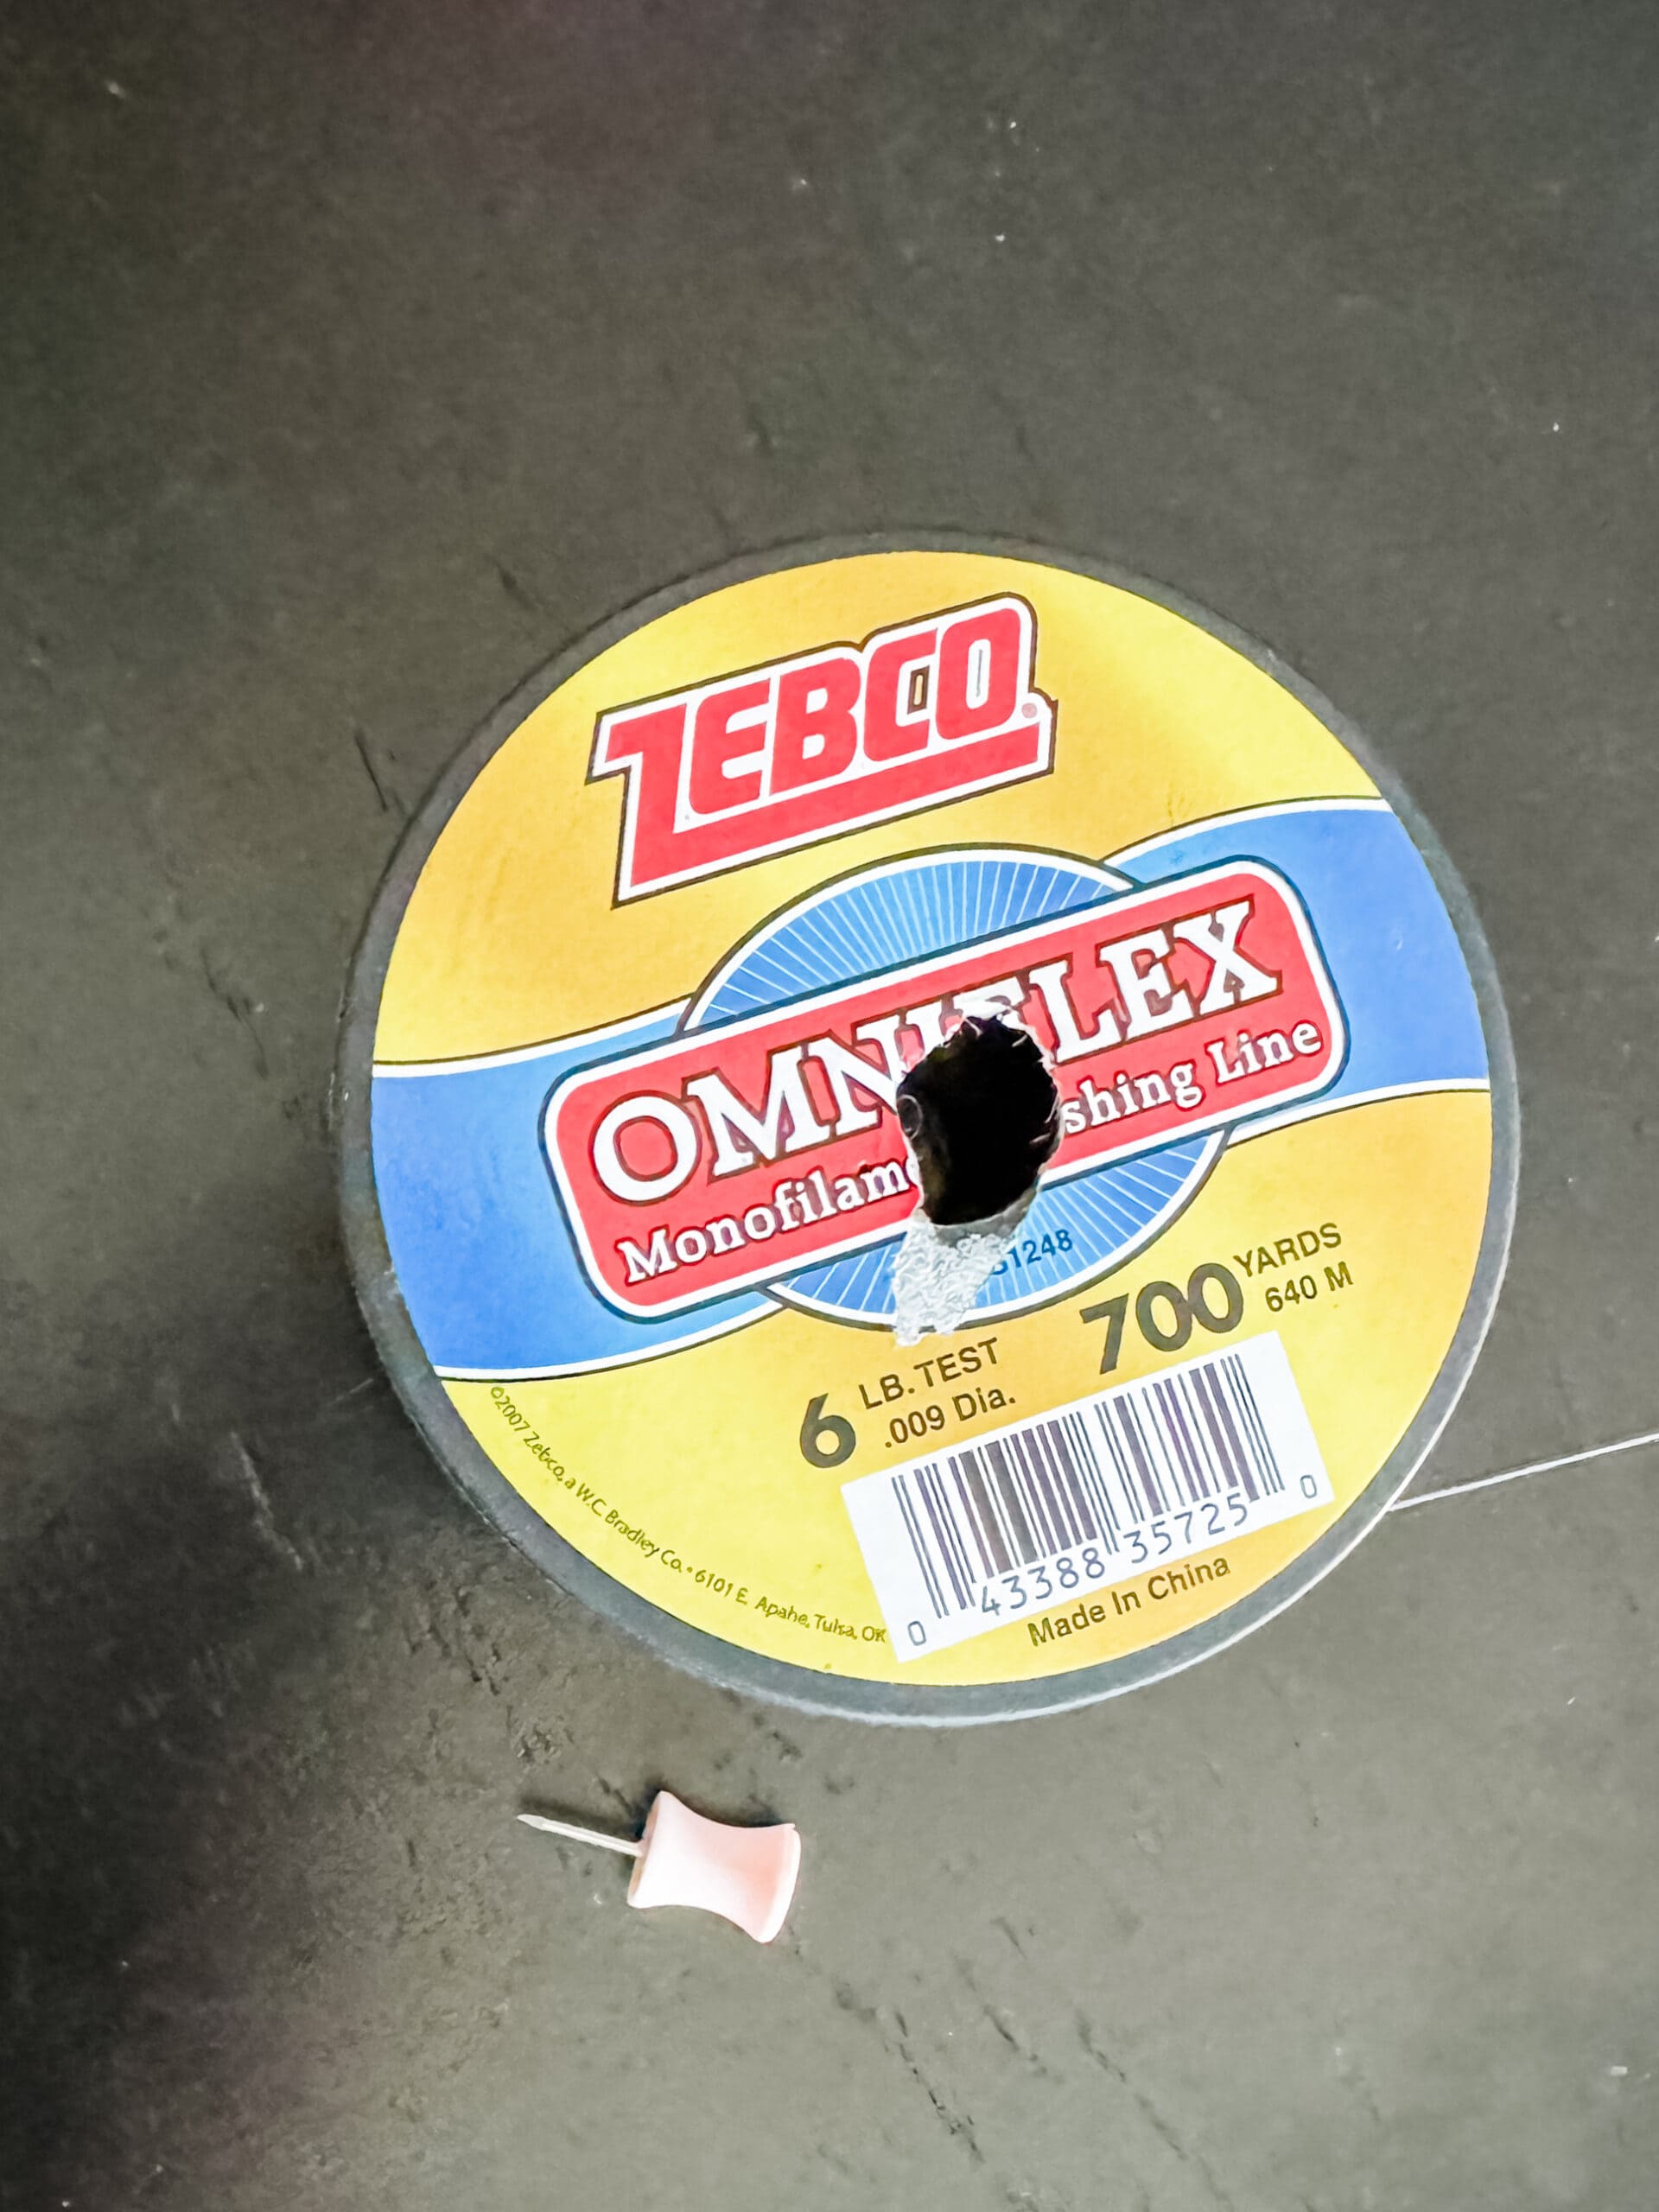
- String or Fishing Wire
I normally hang my arch using a fishing wire because it’s see-through. But you can use any string.
Hanging Supplies
If you are attaching your balloon arch to a railing or a staircase, zip ties might come in handy to secure everything in place.
This is my preferred method for attaching a balloon garland or arch to the wall. I just use a simple push pin into my wall to secure everything in place.
These would also come in handy for hanging your arch on a wall if you don’t want to use a push pin or put any holes in your wall.
Optional Supplies
- Other Decorations or Flair
An optional addition to your balloon arch or garland is to add some faux flowers, palm fronds, or other decorations to add interest and match your party theme.
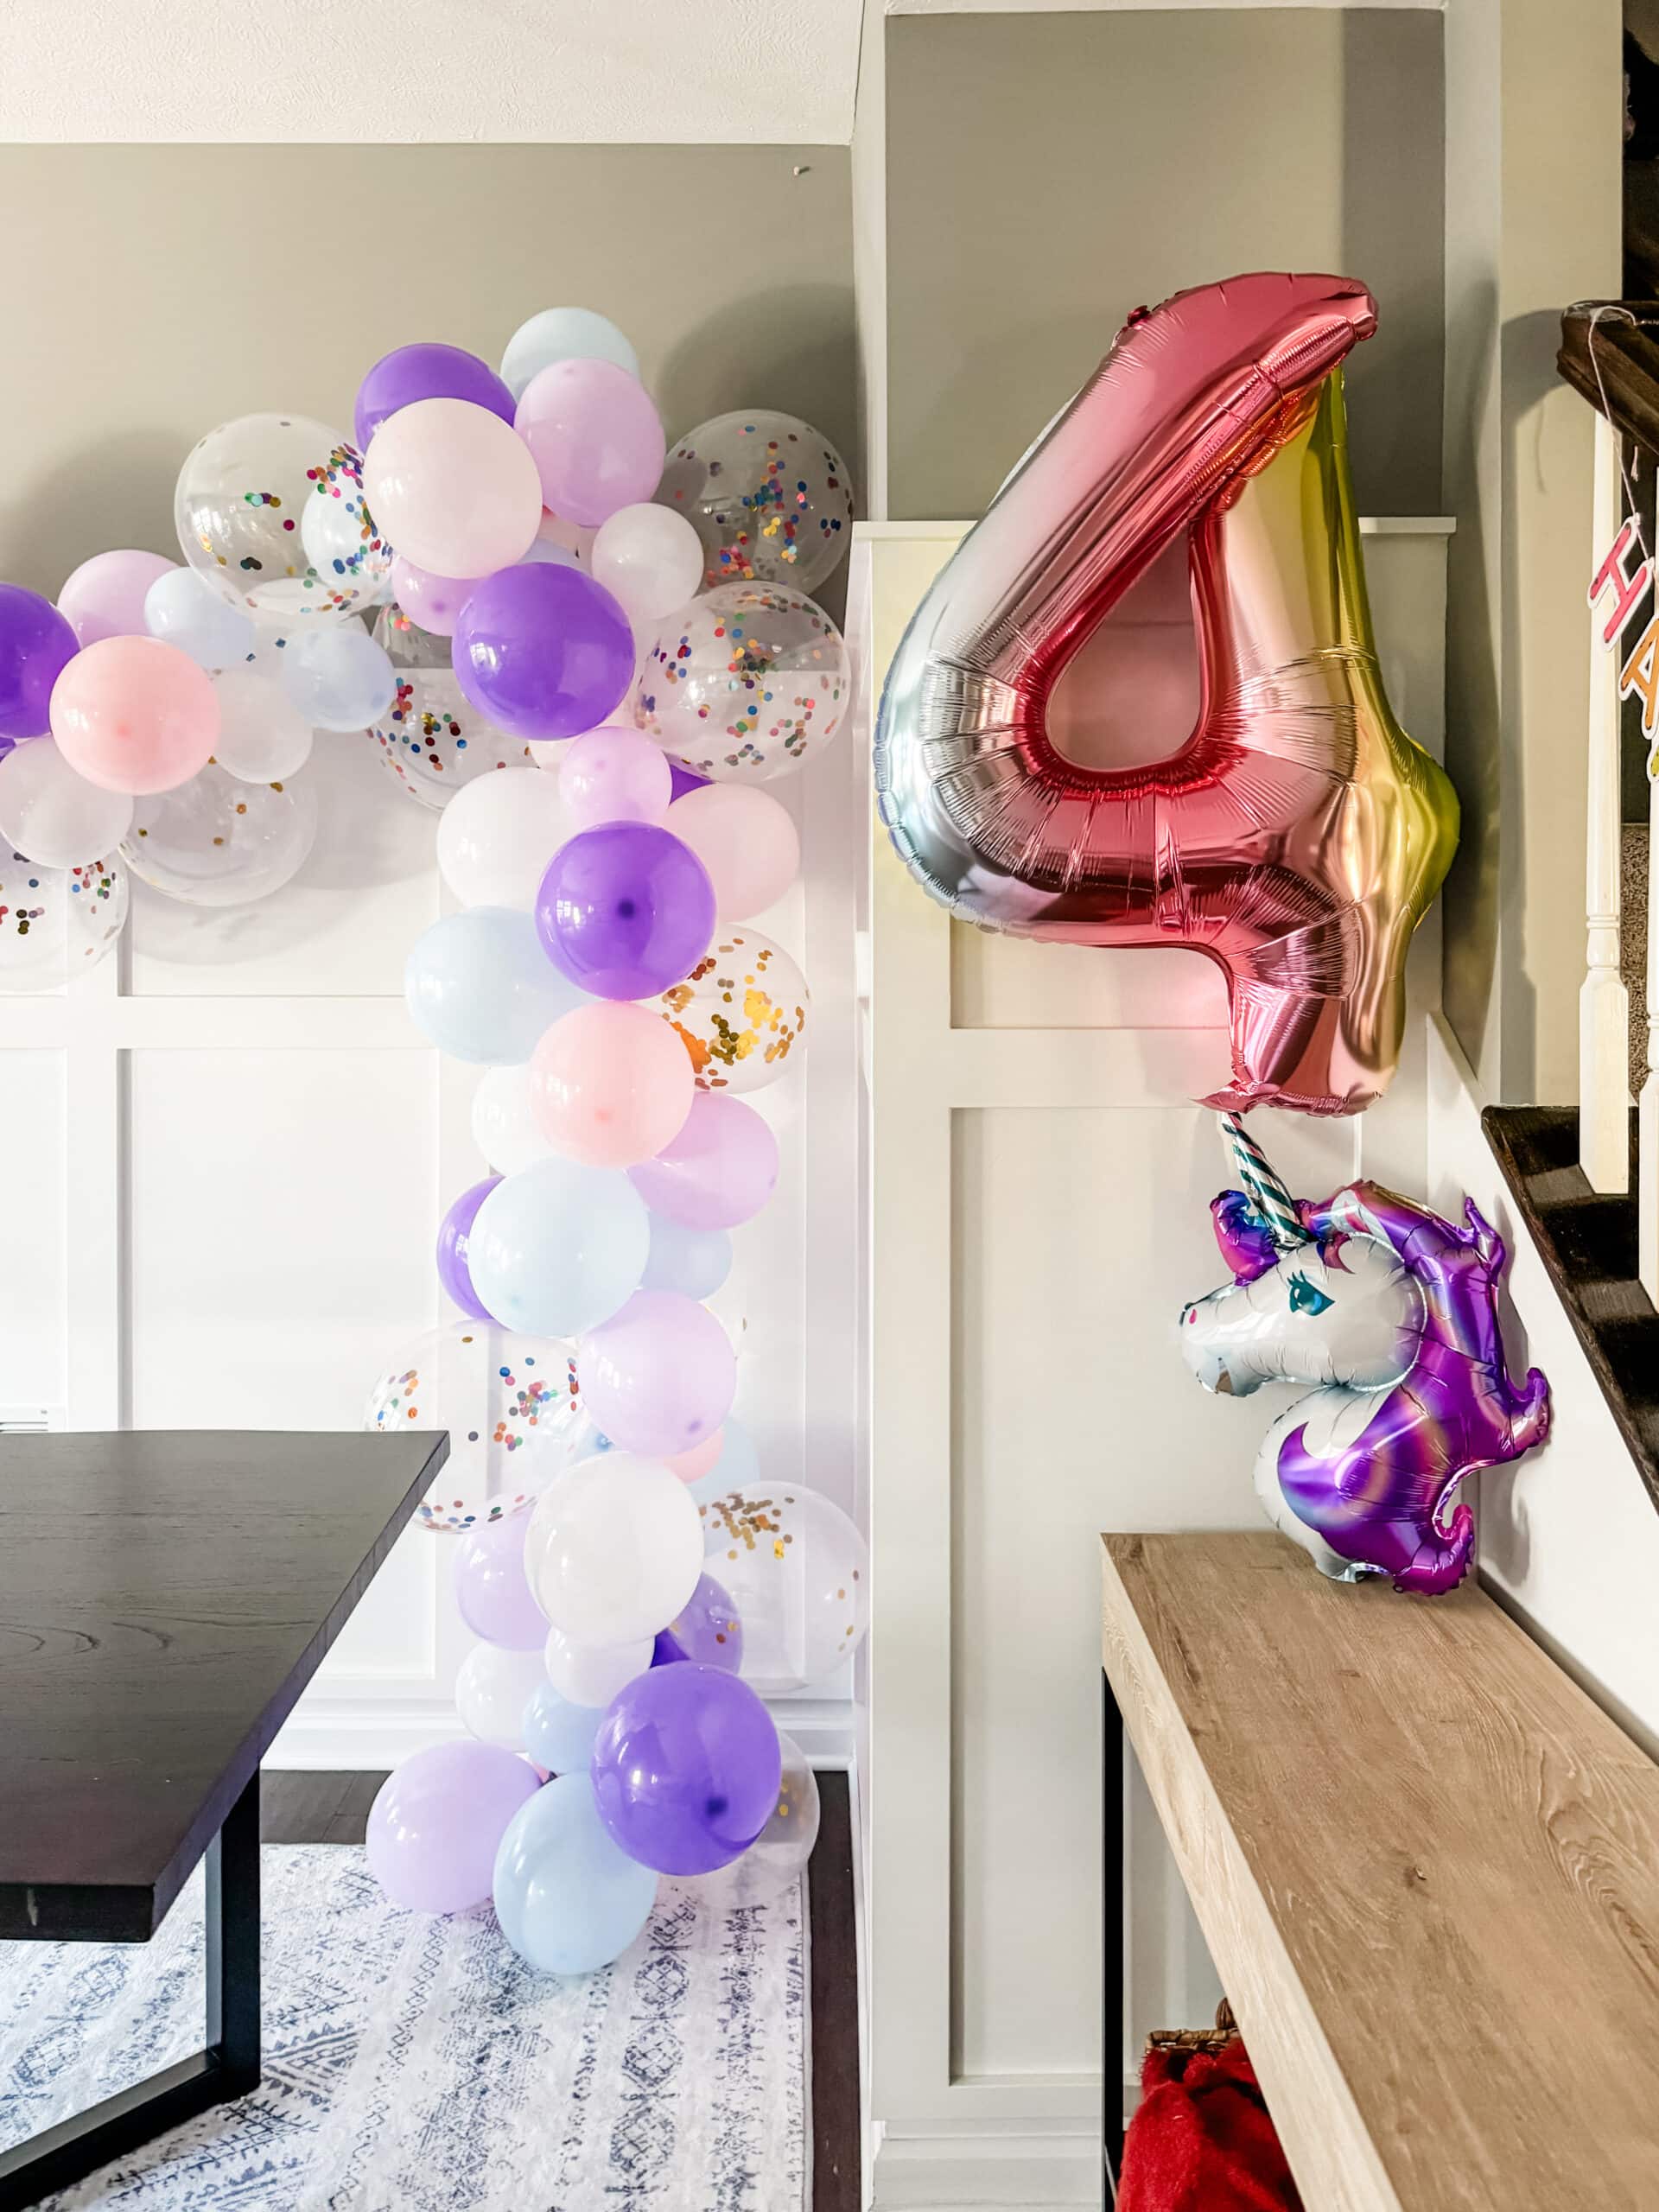
Best Balloon Arch Kits on Amazon
Here are my favorite balloon arch and balloon garland kits you can find on Amazon. All of these options are under $20.
SHOP BALLOON ARCH KITS
Step-by-Step Tutorial for a DIY Balloon Arch
Let me show you exactly how to create your own balloon arch or balloon garland.
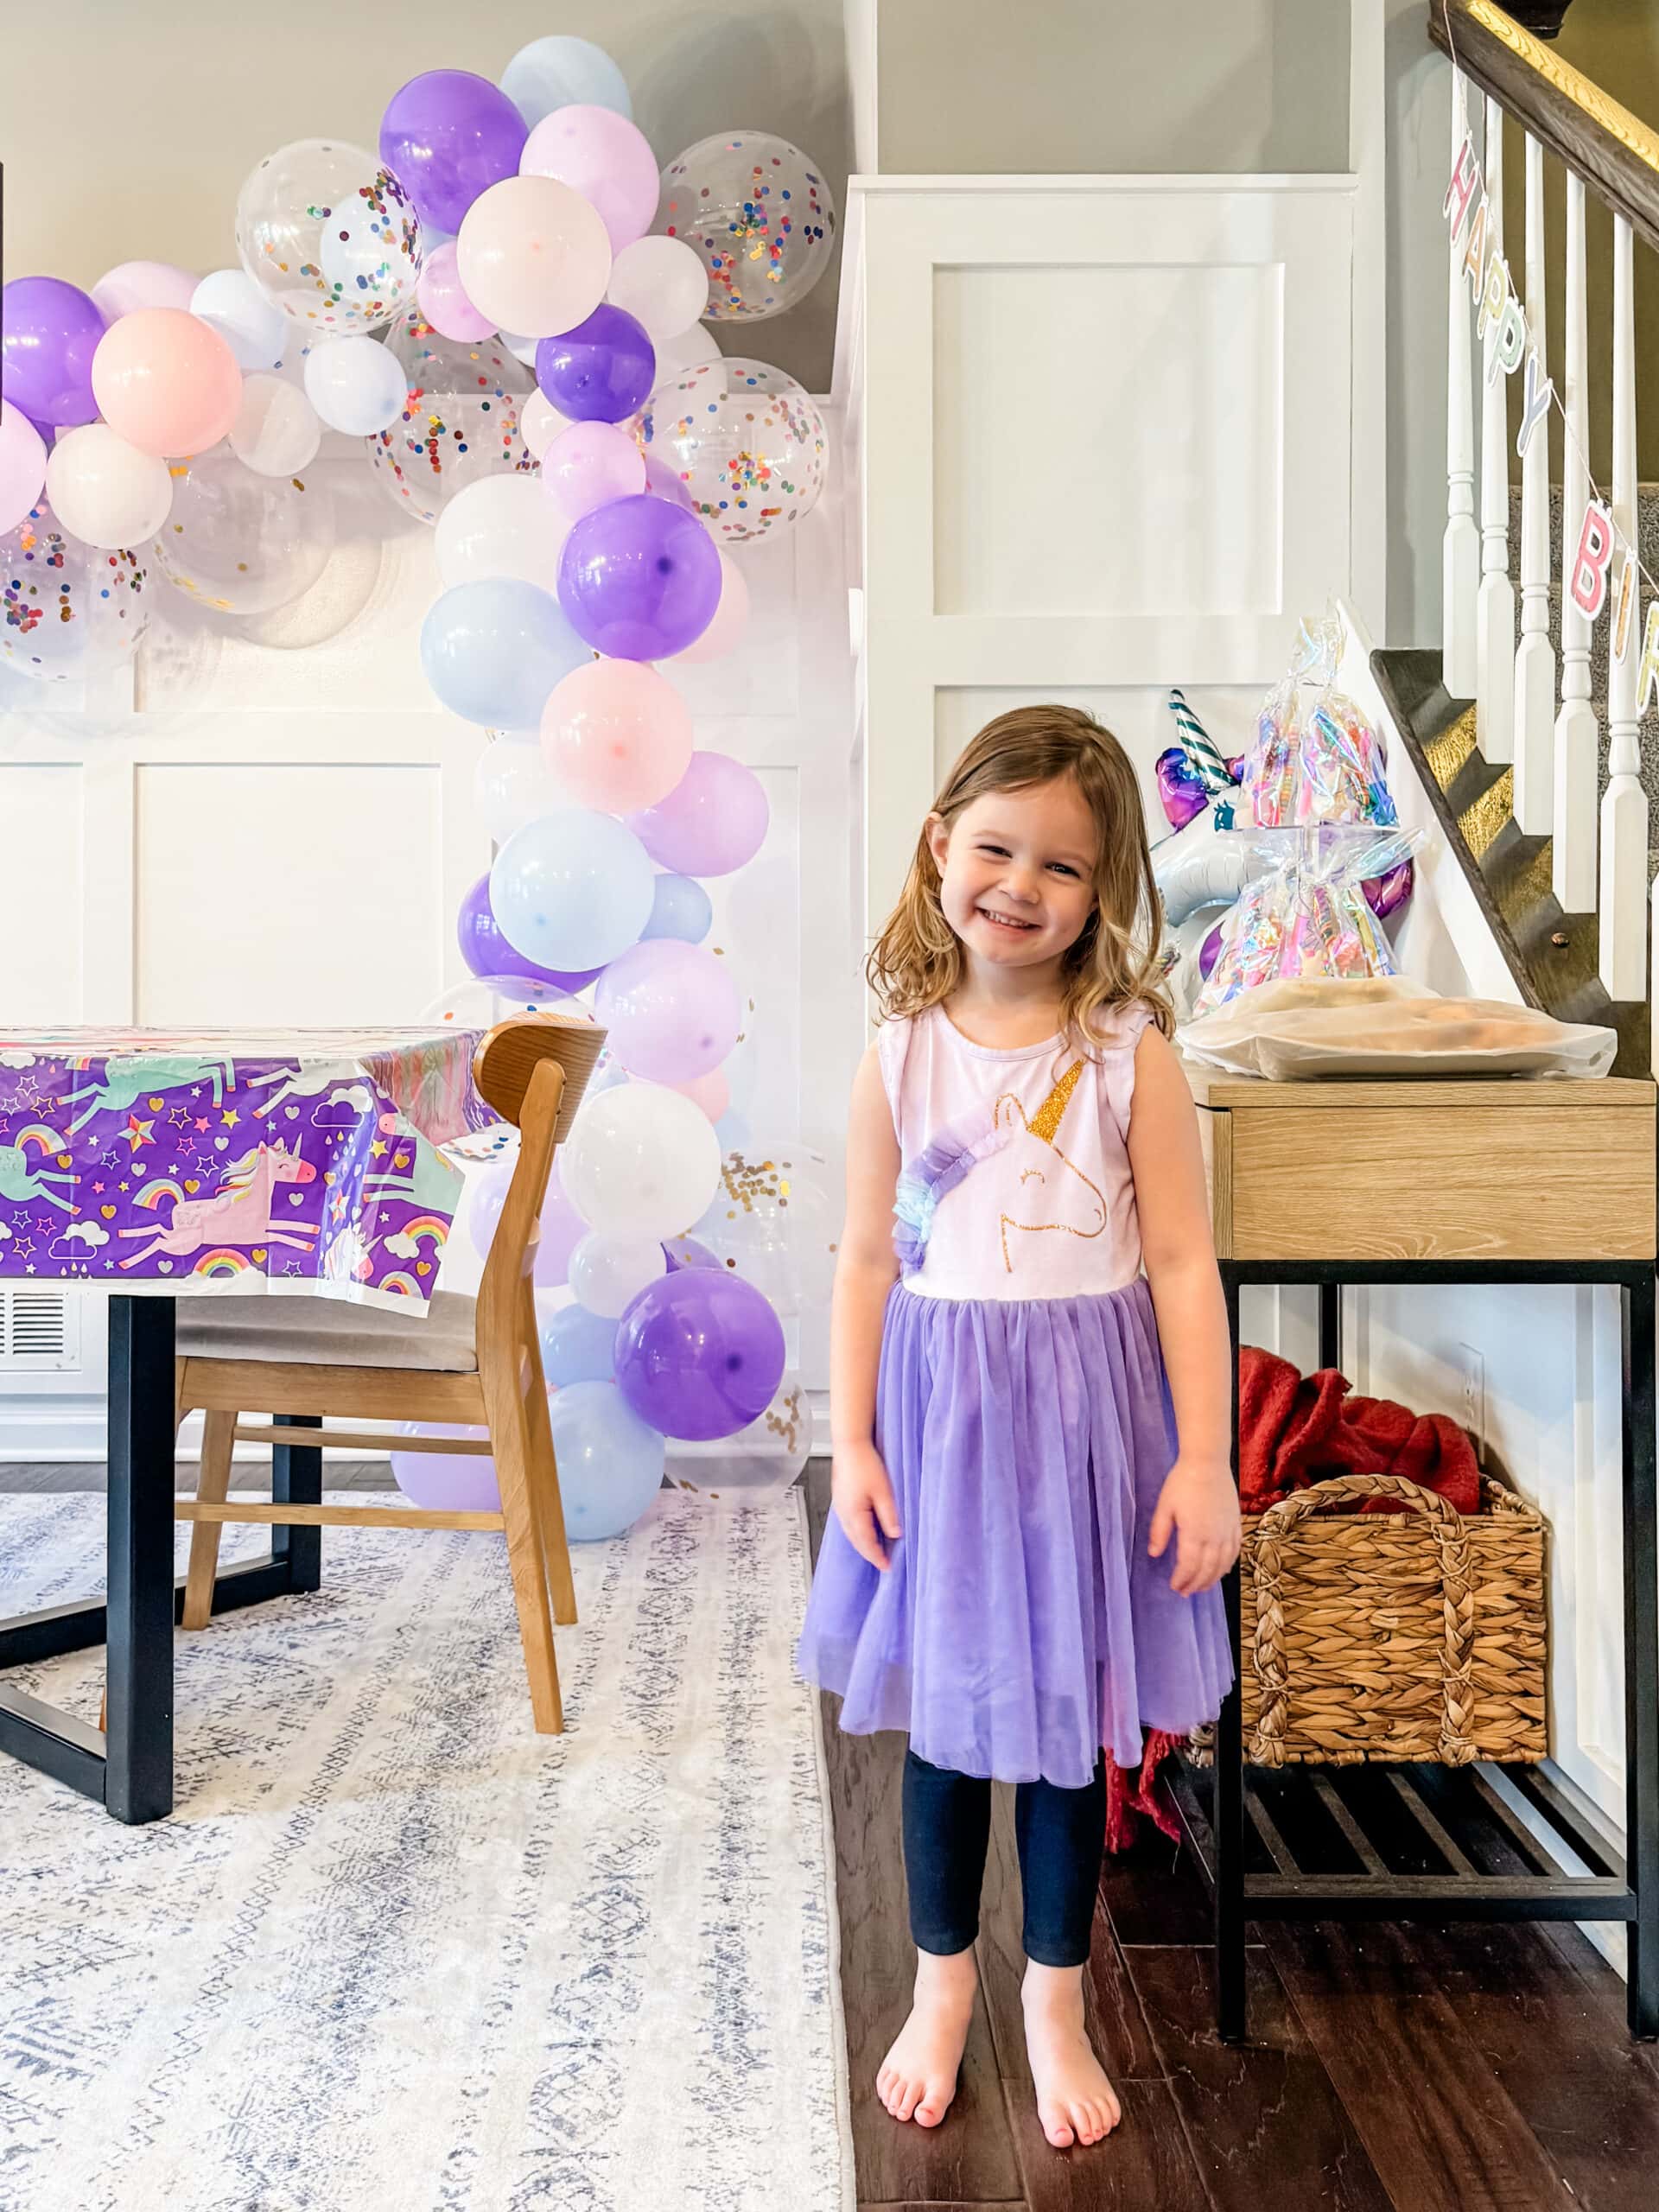
My latest balloon arch project was for my daughter’s fourth birthday party.
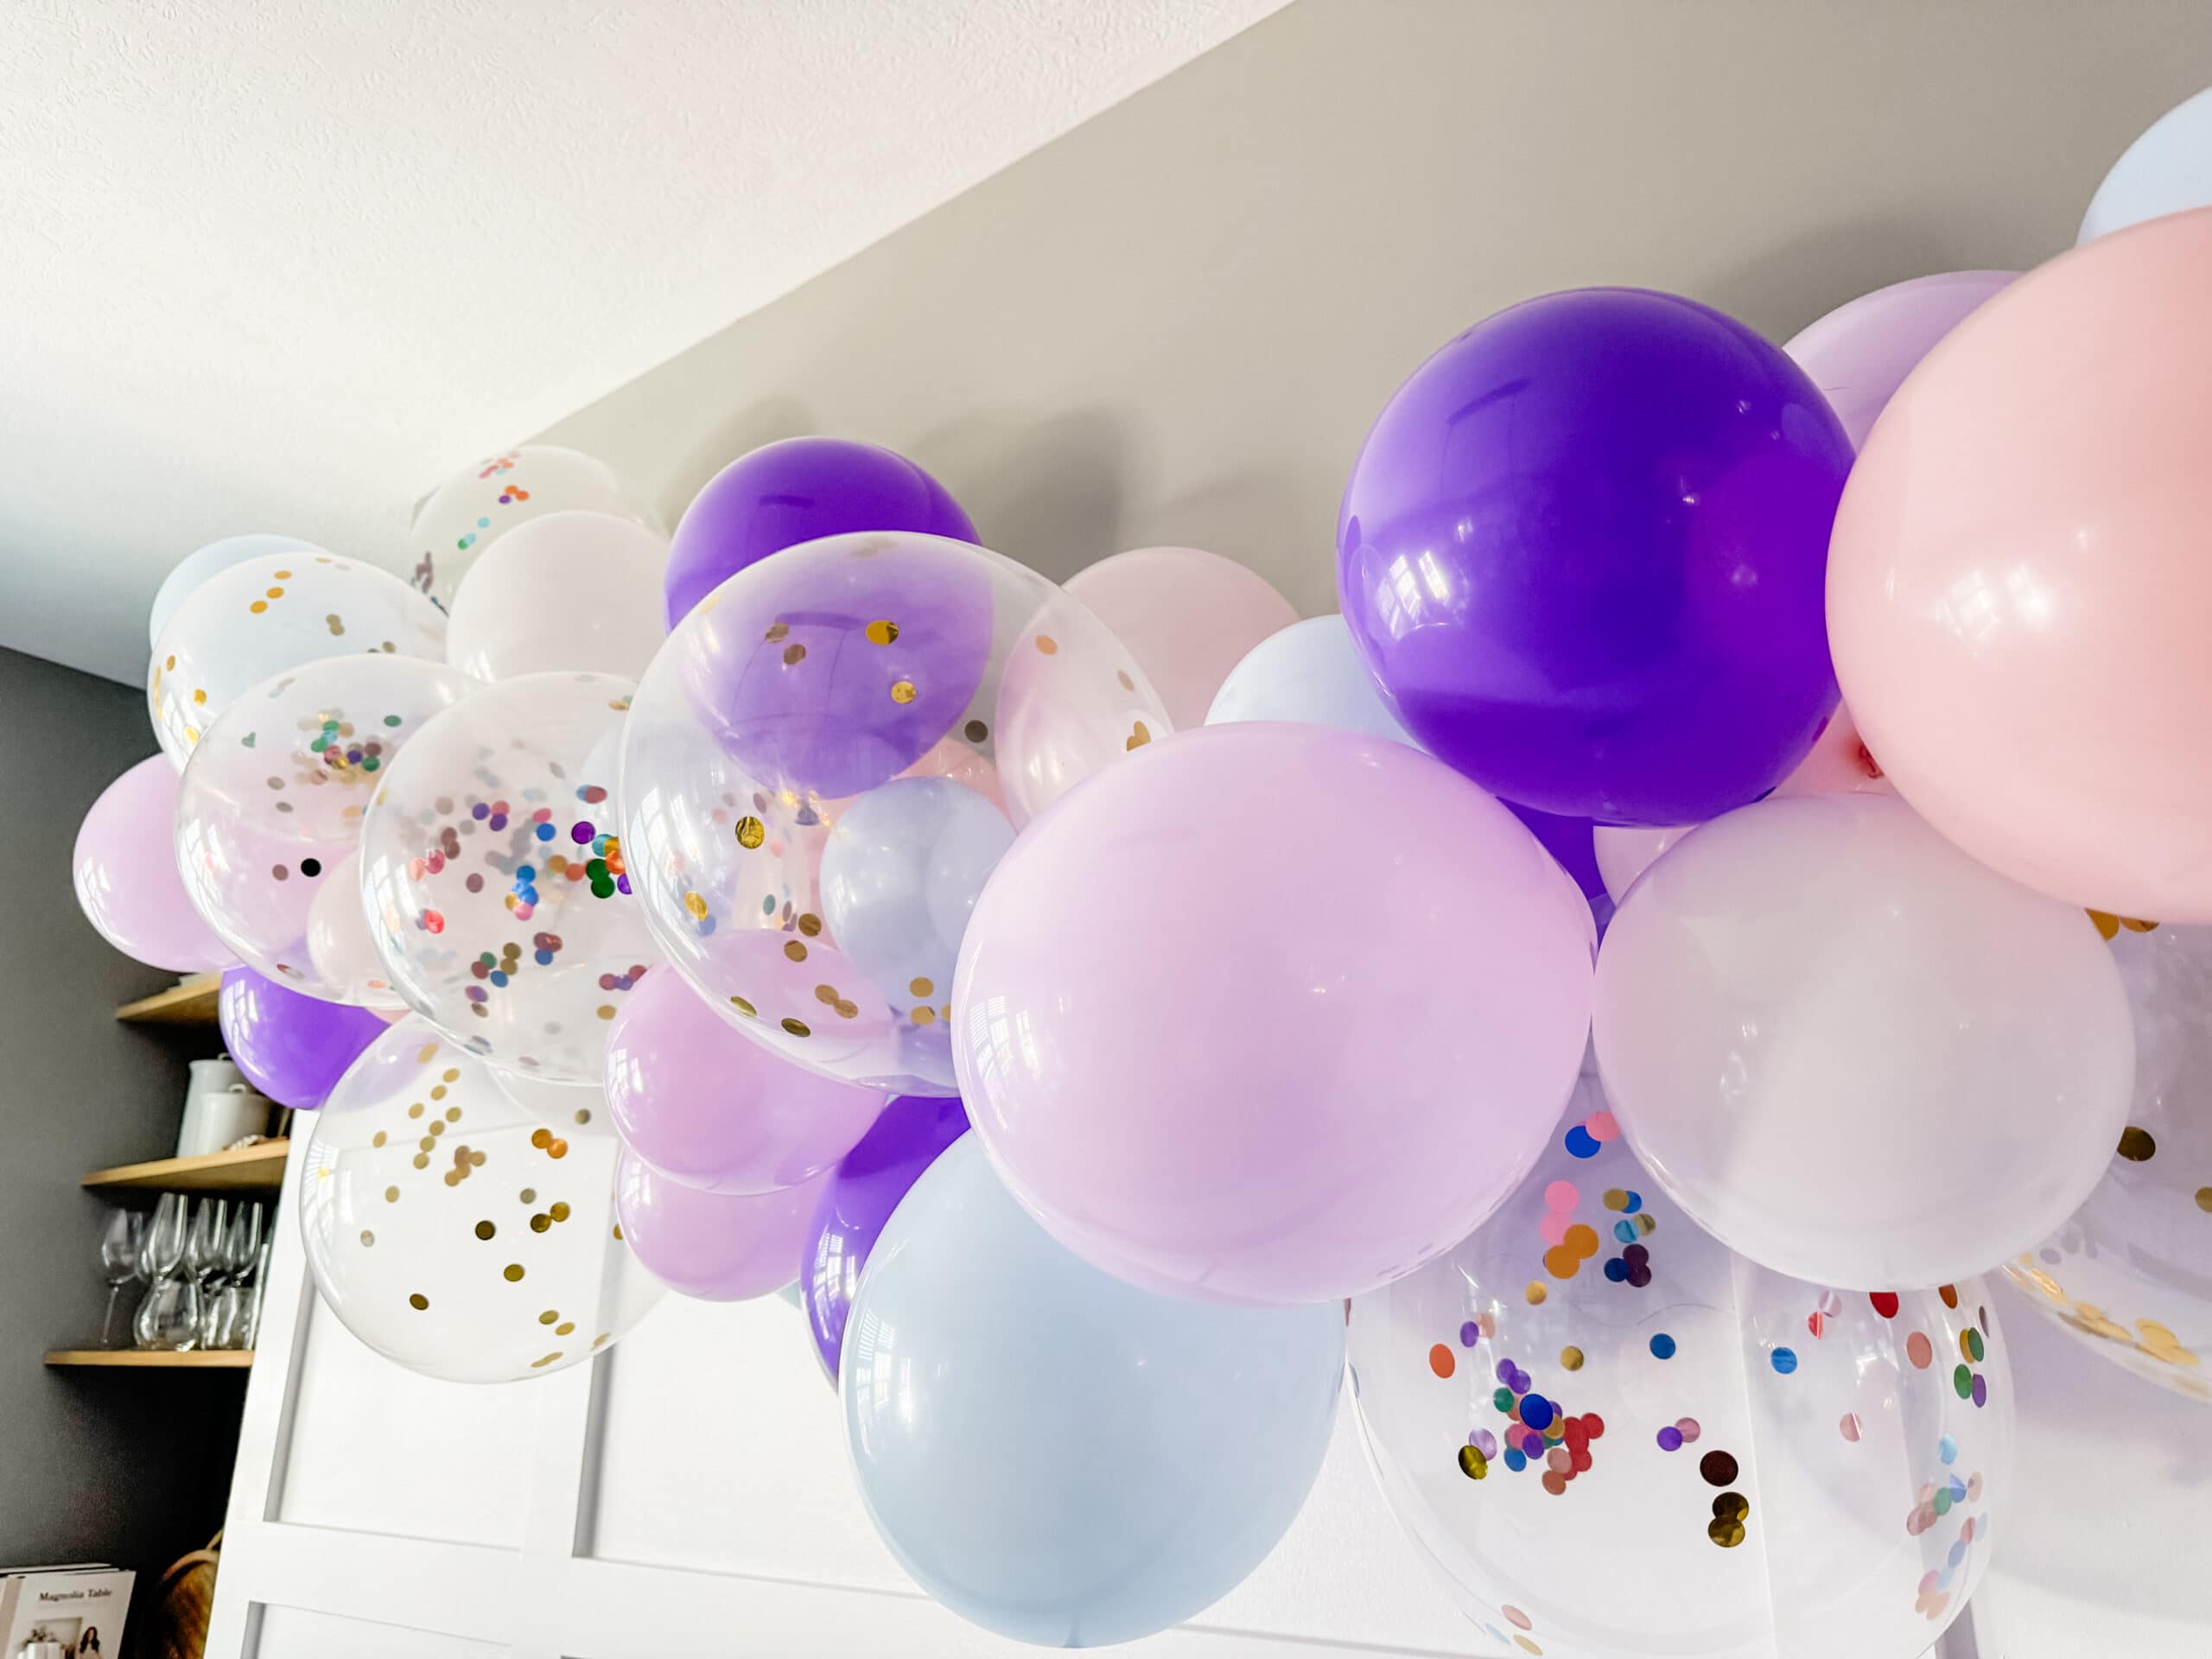
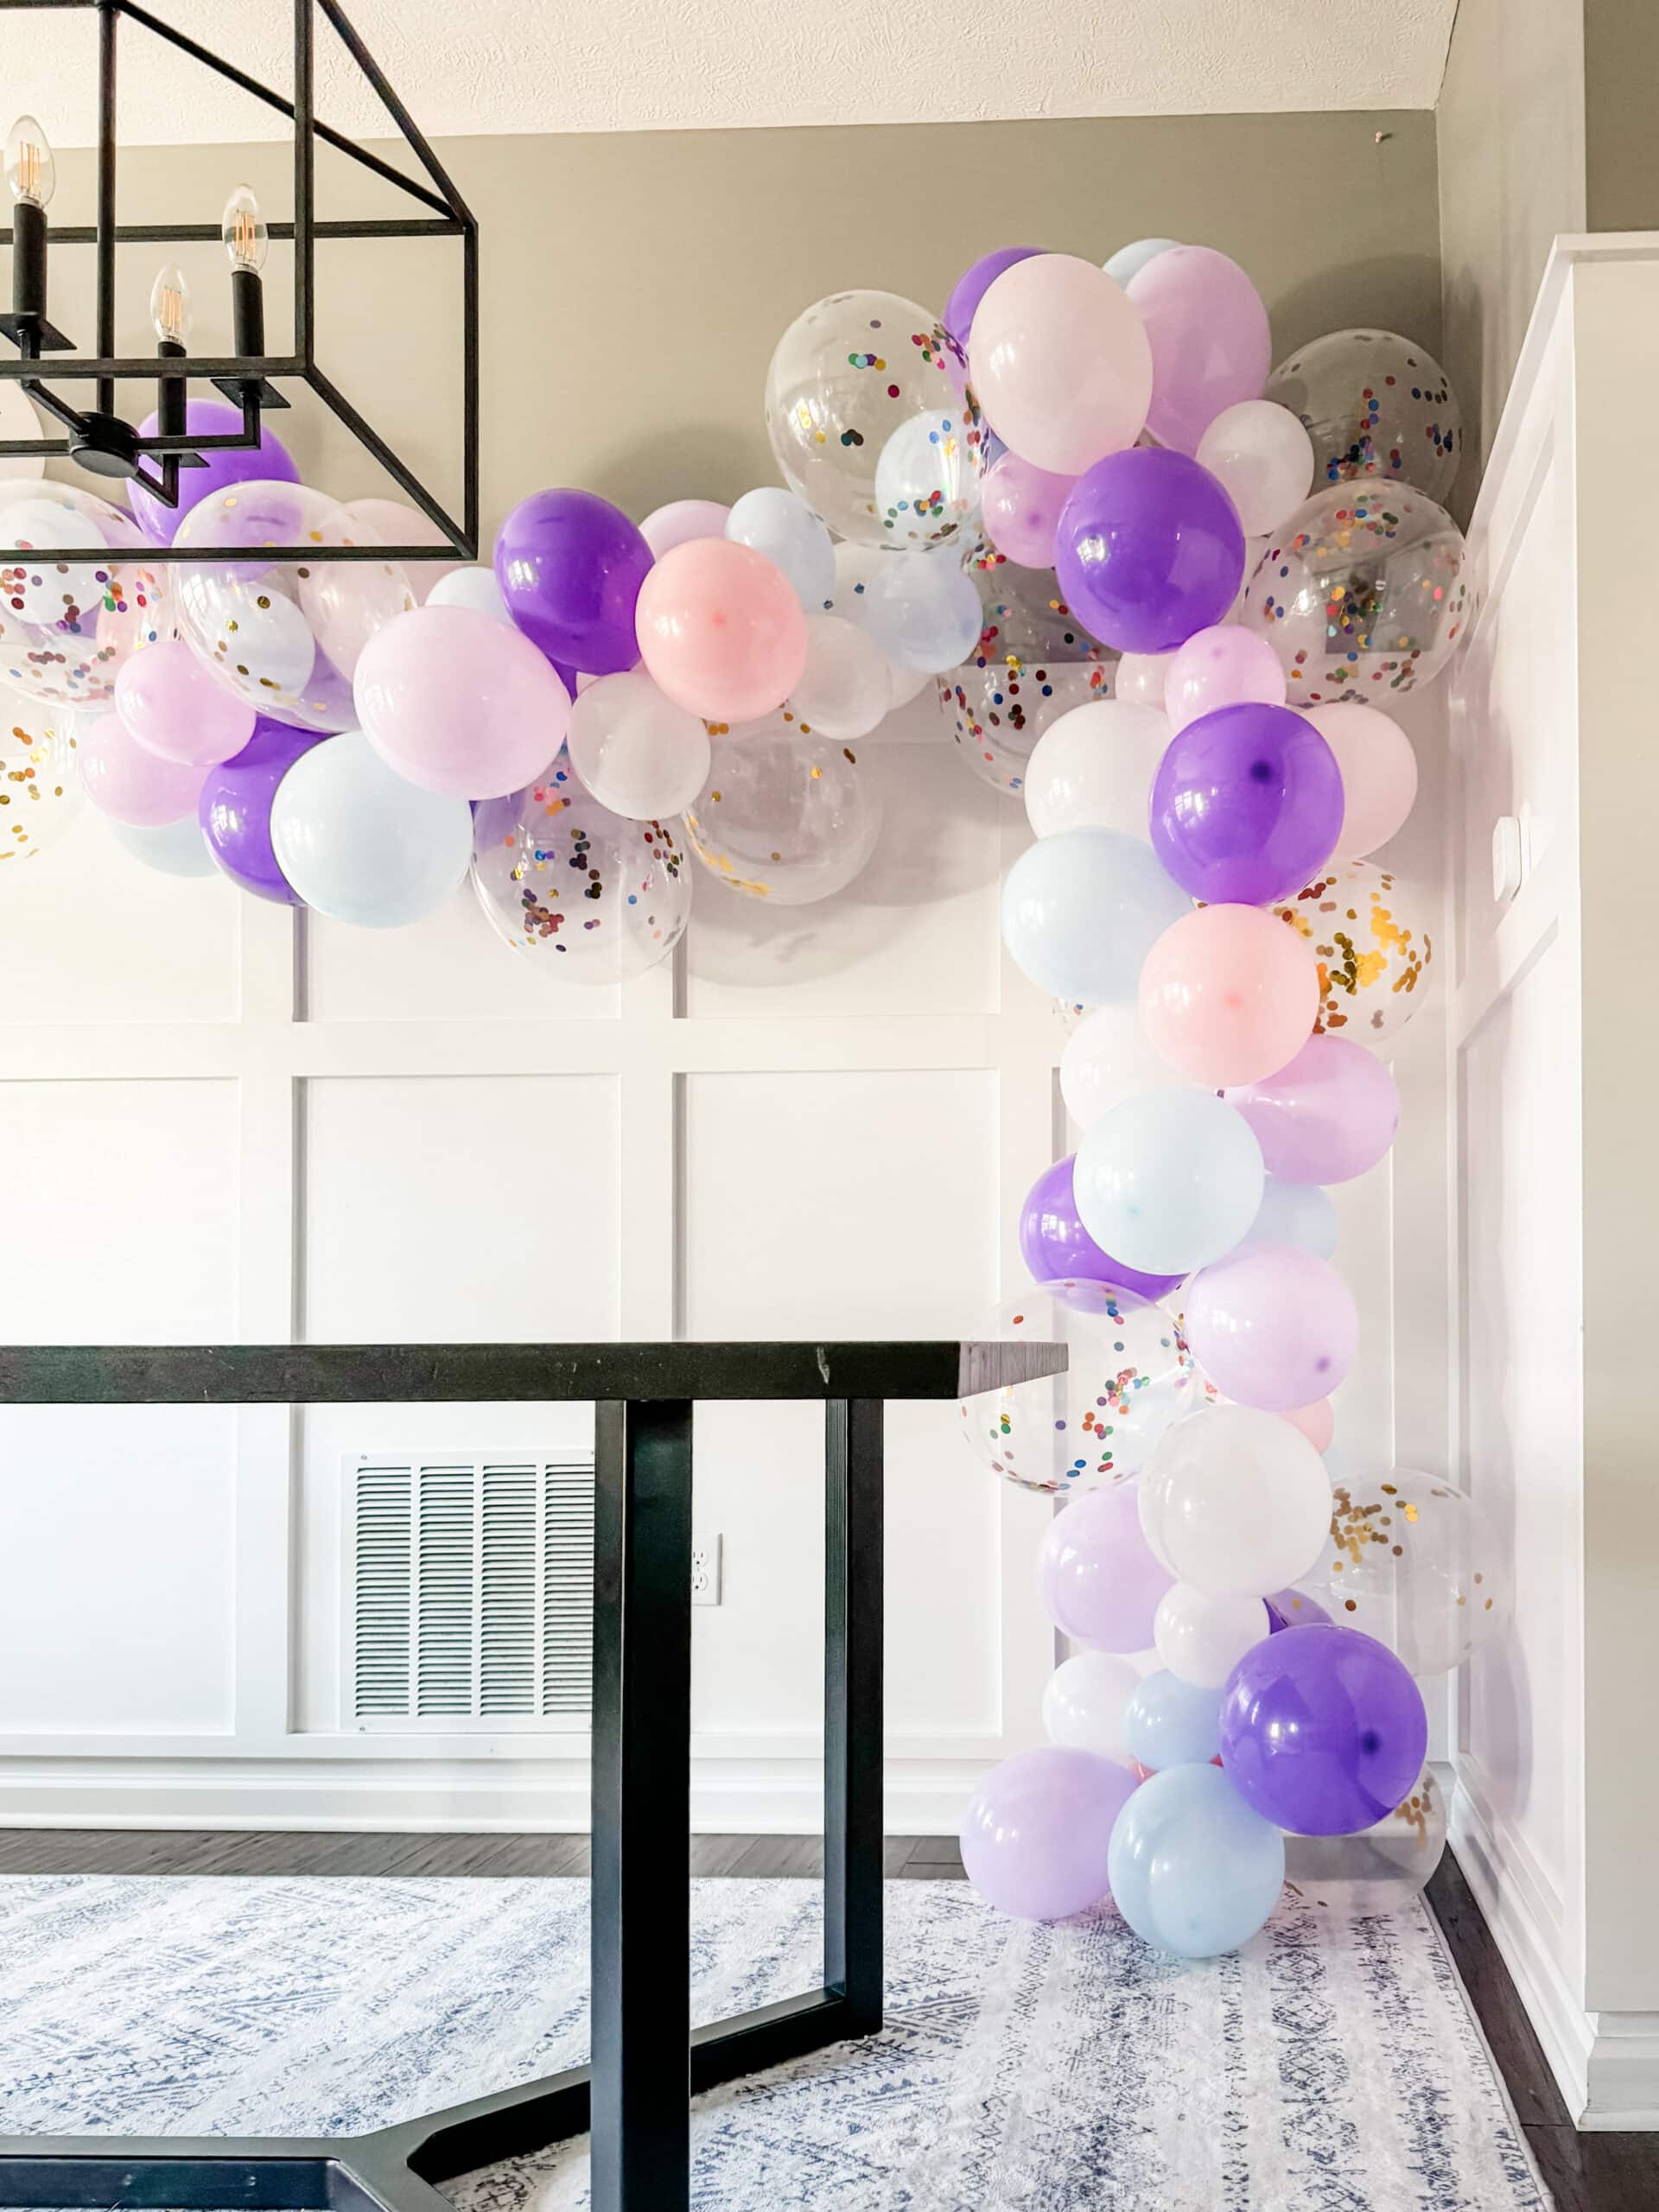
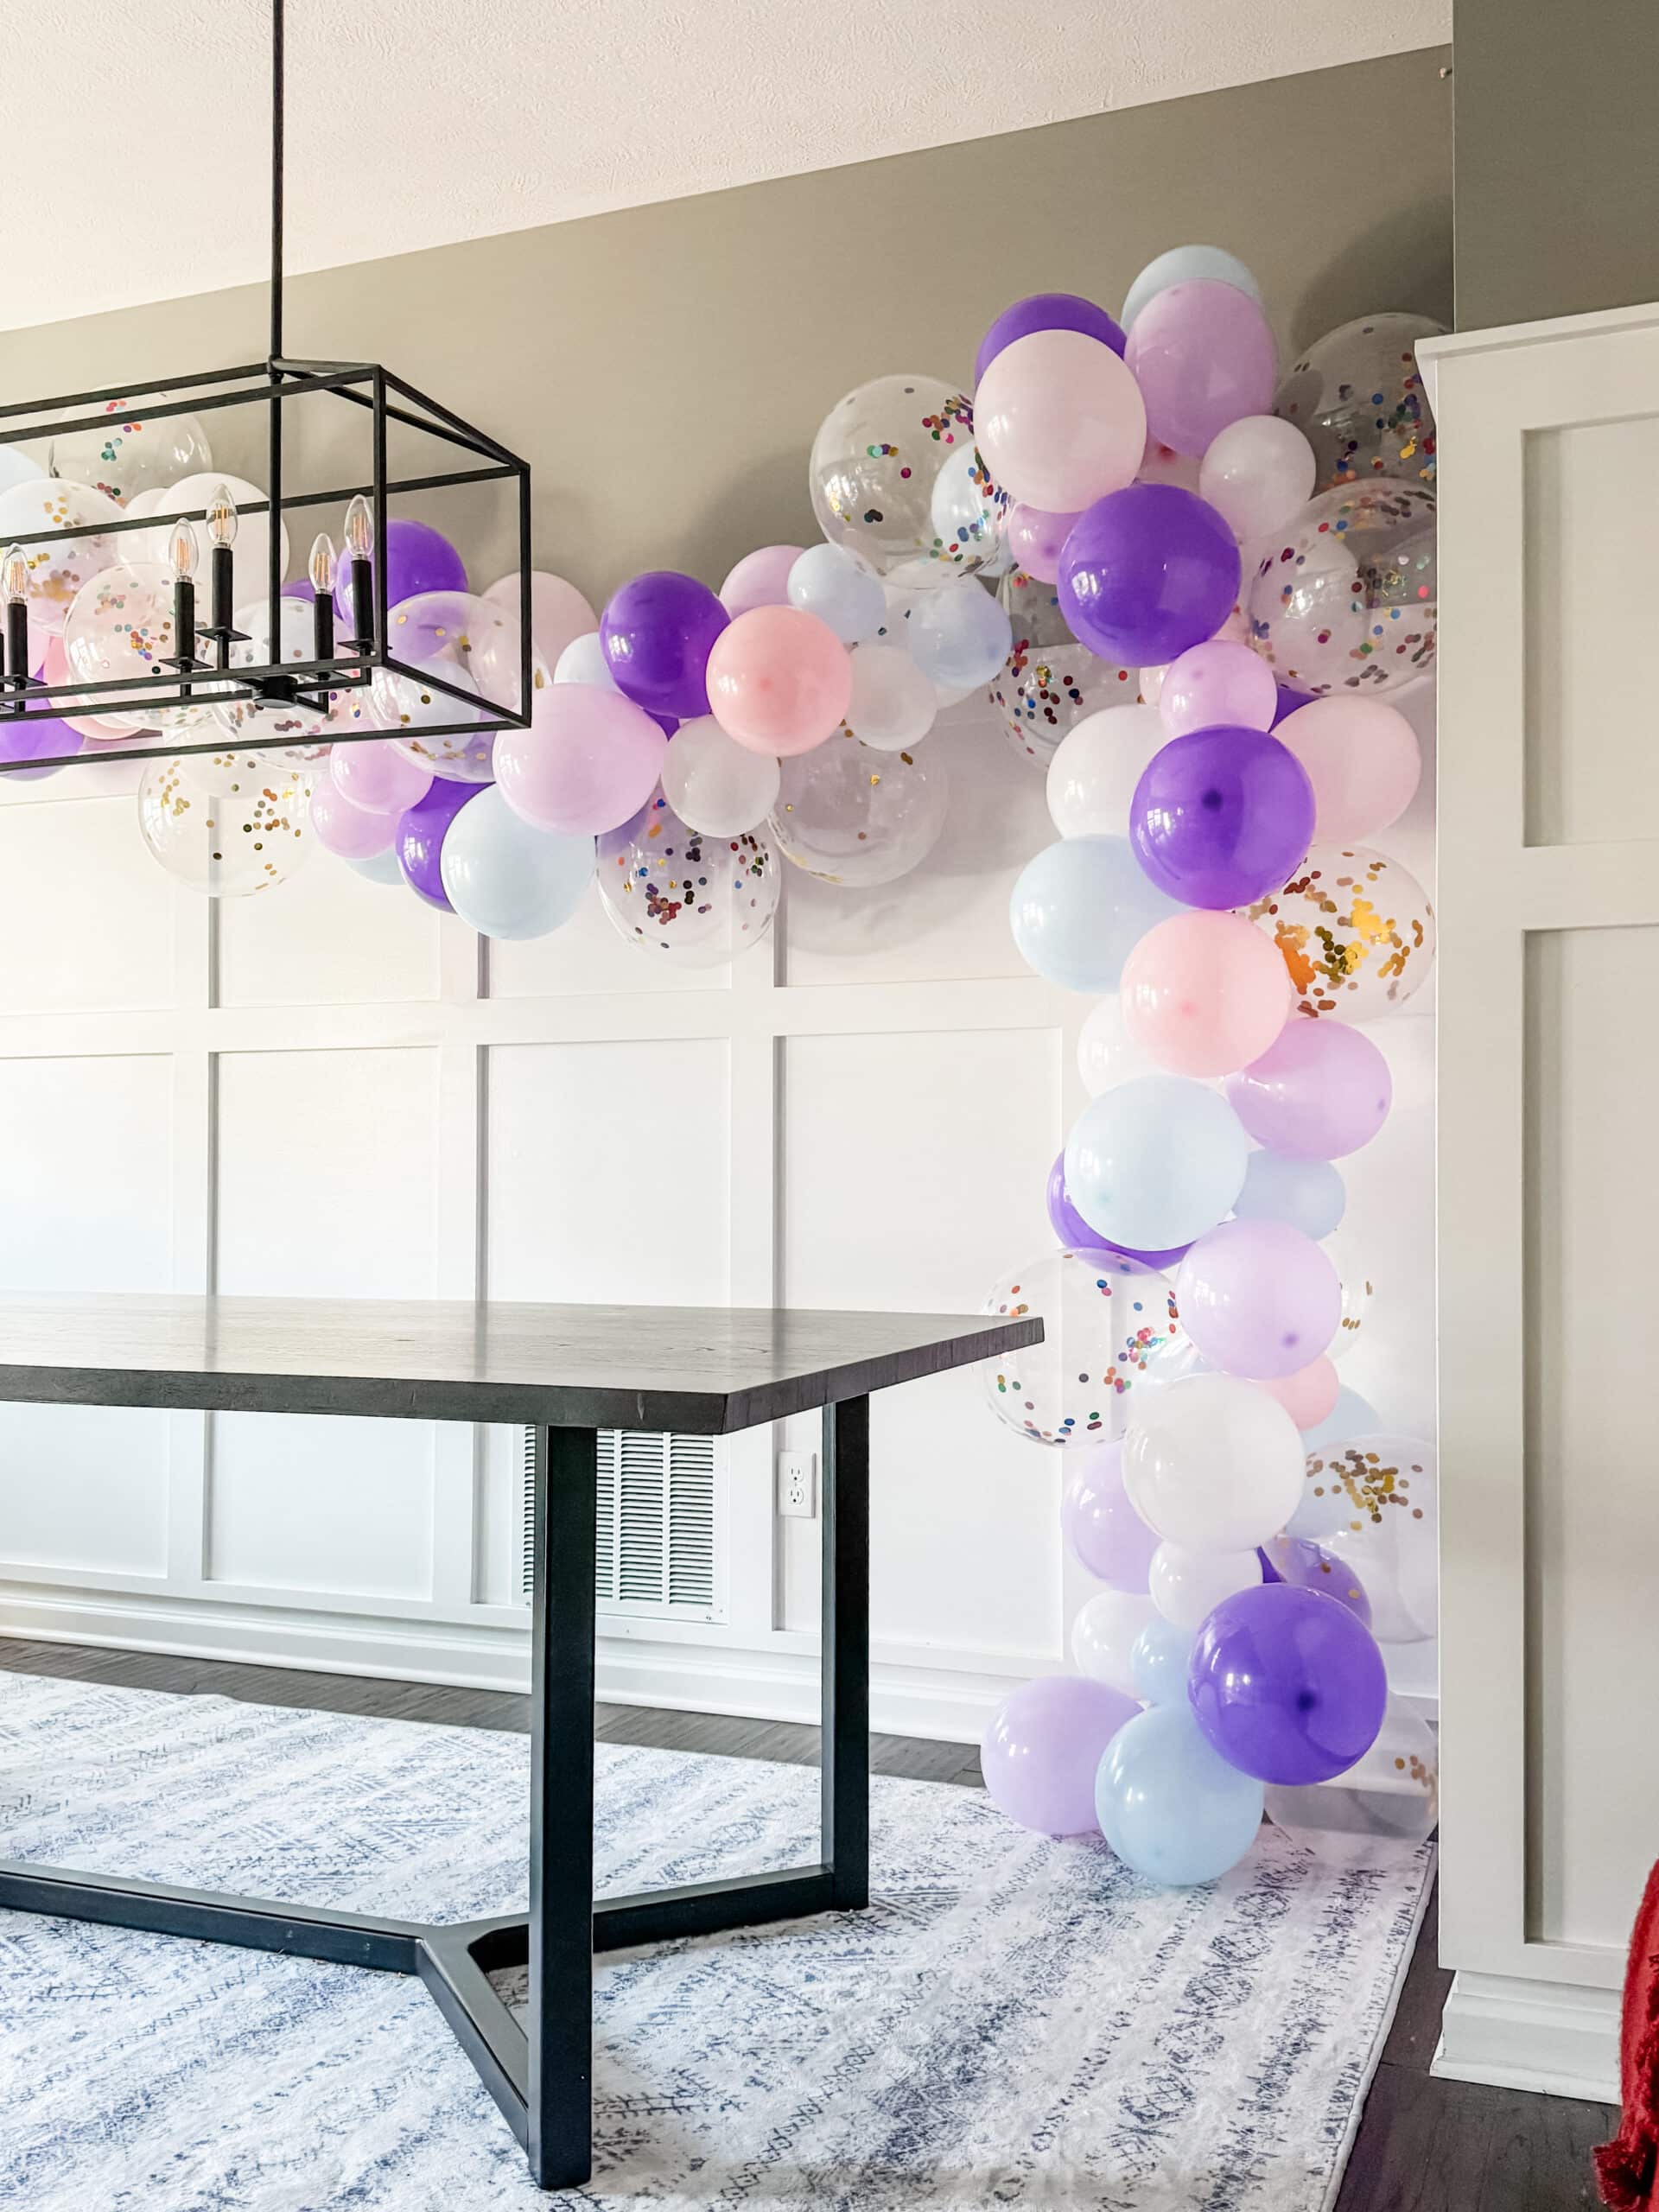
She wanted a purple unicorn theme for her party, so we decided to use a purple themed balloon arch kit.
1. Plan Your Color Scheme
Before you start, you’ll need to decide on the color palette for your arch.
Whether it’s for a birthday party, baby shower, or even a fancy dinner party, choose colors that complement your theme.
2. Gather Your Supplies
Once you are ready to start, you’ll want to gather all of your supplies for the project.
Choose a balloon garland kit that matches or coordinates with the color scheme for your party. The kit will come with a variety of balloon sizes and different colors of balloons to create a layered look.

I have found that using an electric balloon pump is essential for this project.
I have an older one that I found years ago. But you can find great, inexpensive options on Amazon.
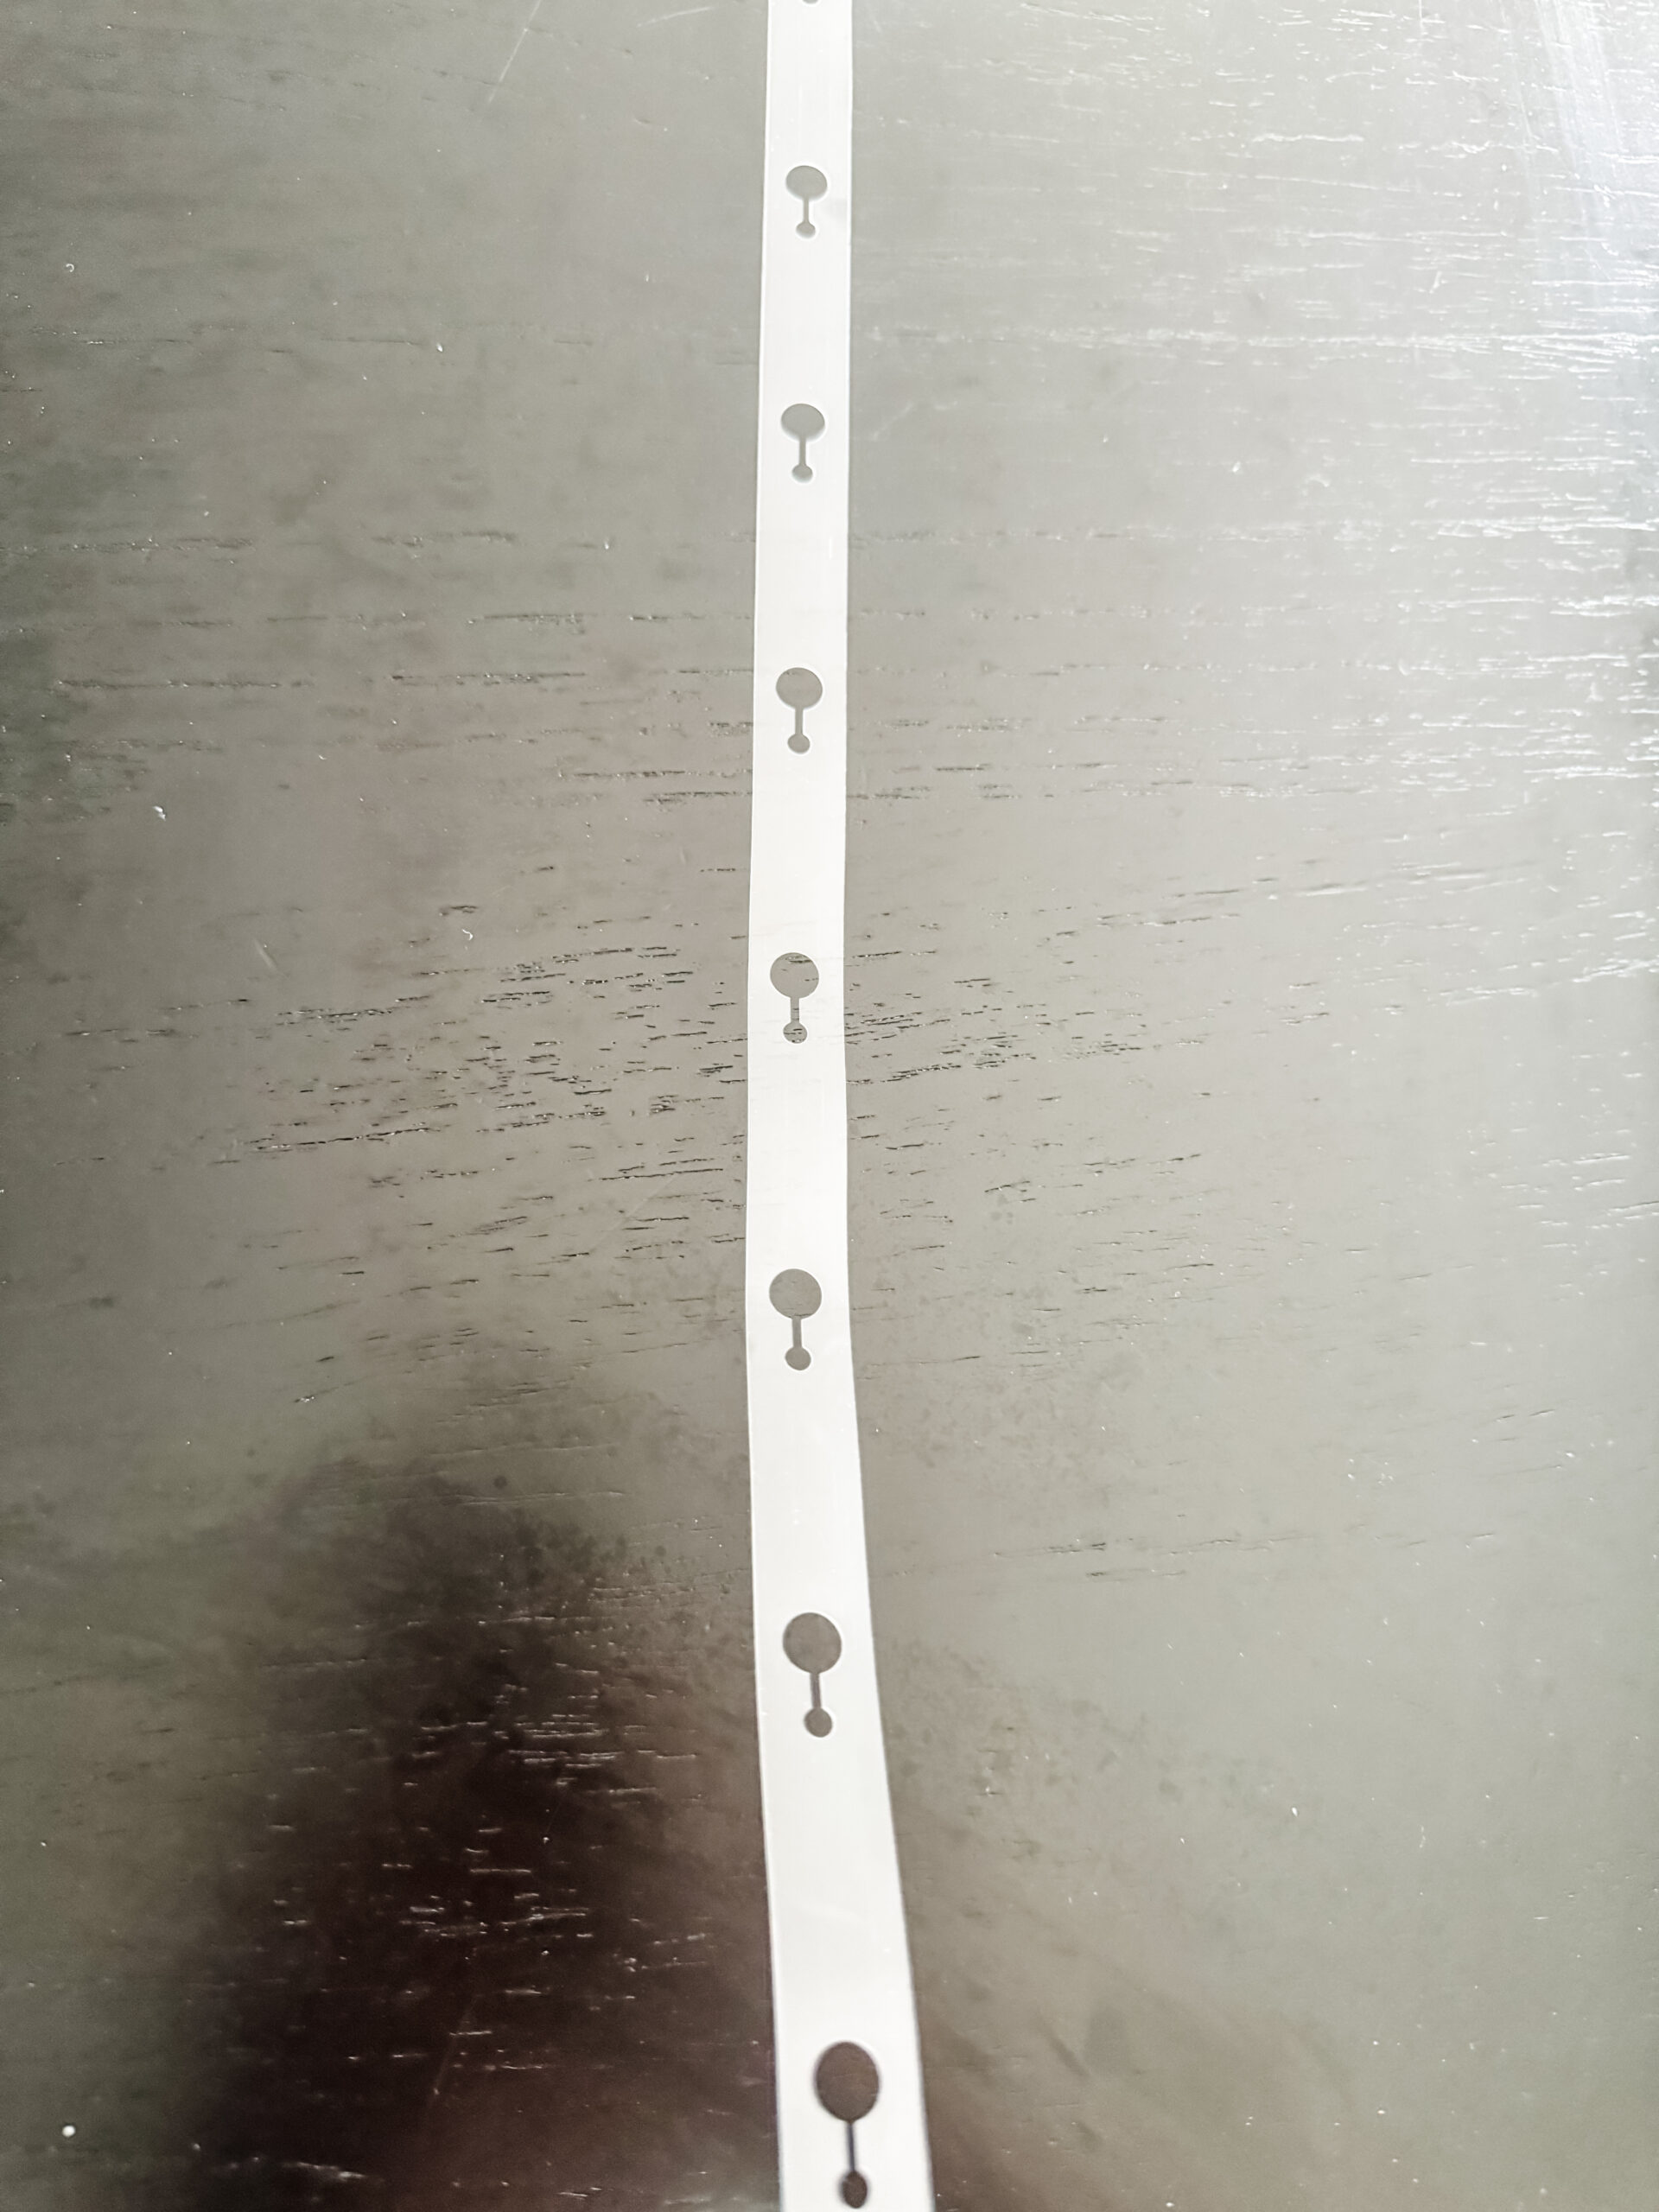
Each balloon arch kit will normally come with a decorating strip. This is what you will use to construct your garland or arch.
This strip is a long piece of plastic with holes in it. You can easily slip the balloon knot into each of the holes and the strip will secure them in place.
3. Inflate Your Balloons
Using the electric balloon pump, start inflating your balloons and tie the bottoms in a simple knot.
It’s best to inflate all of the balloons at once. I normally try and do this in a room with enough space to accommodate tons of balloons all over the floor.
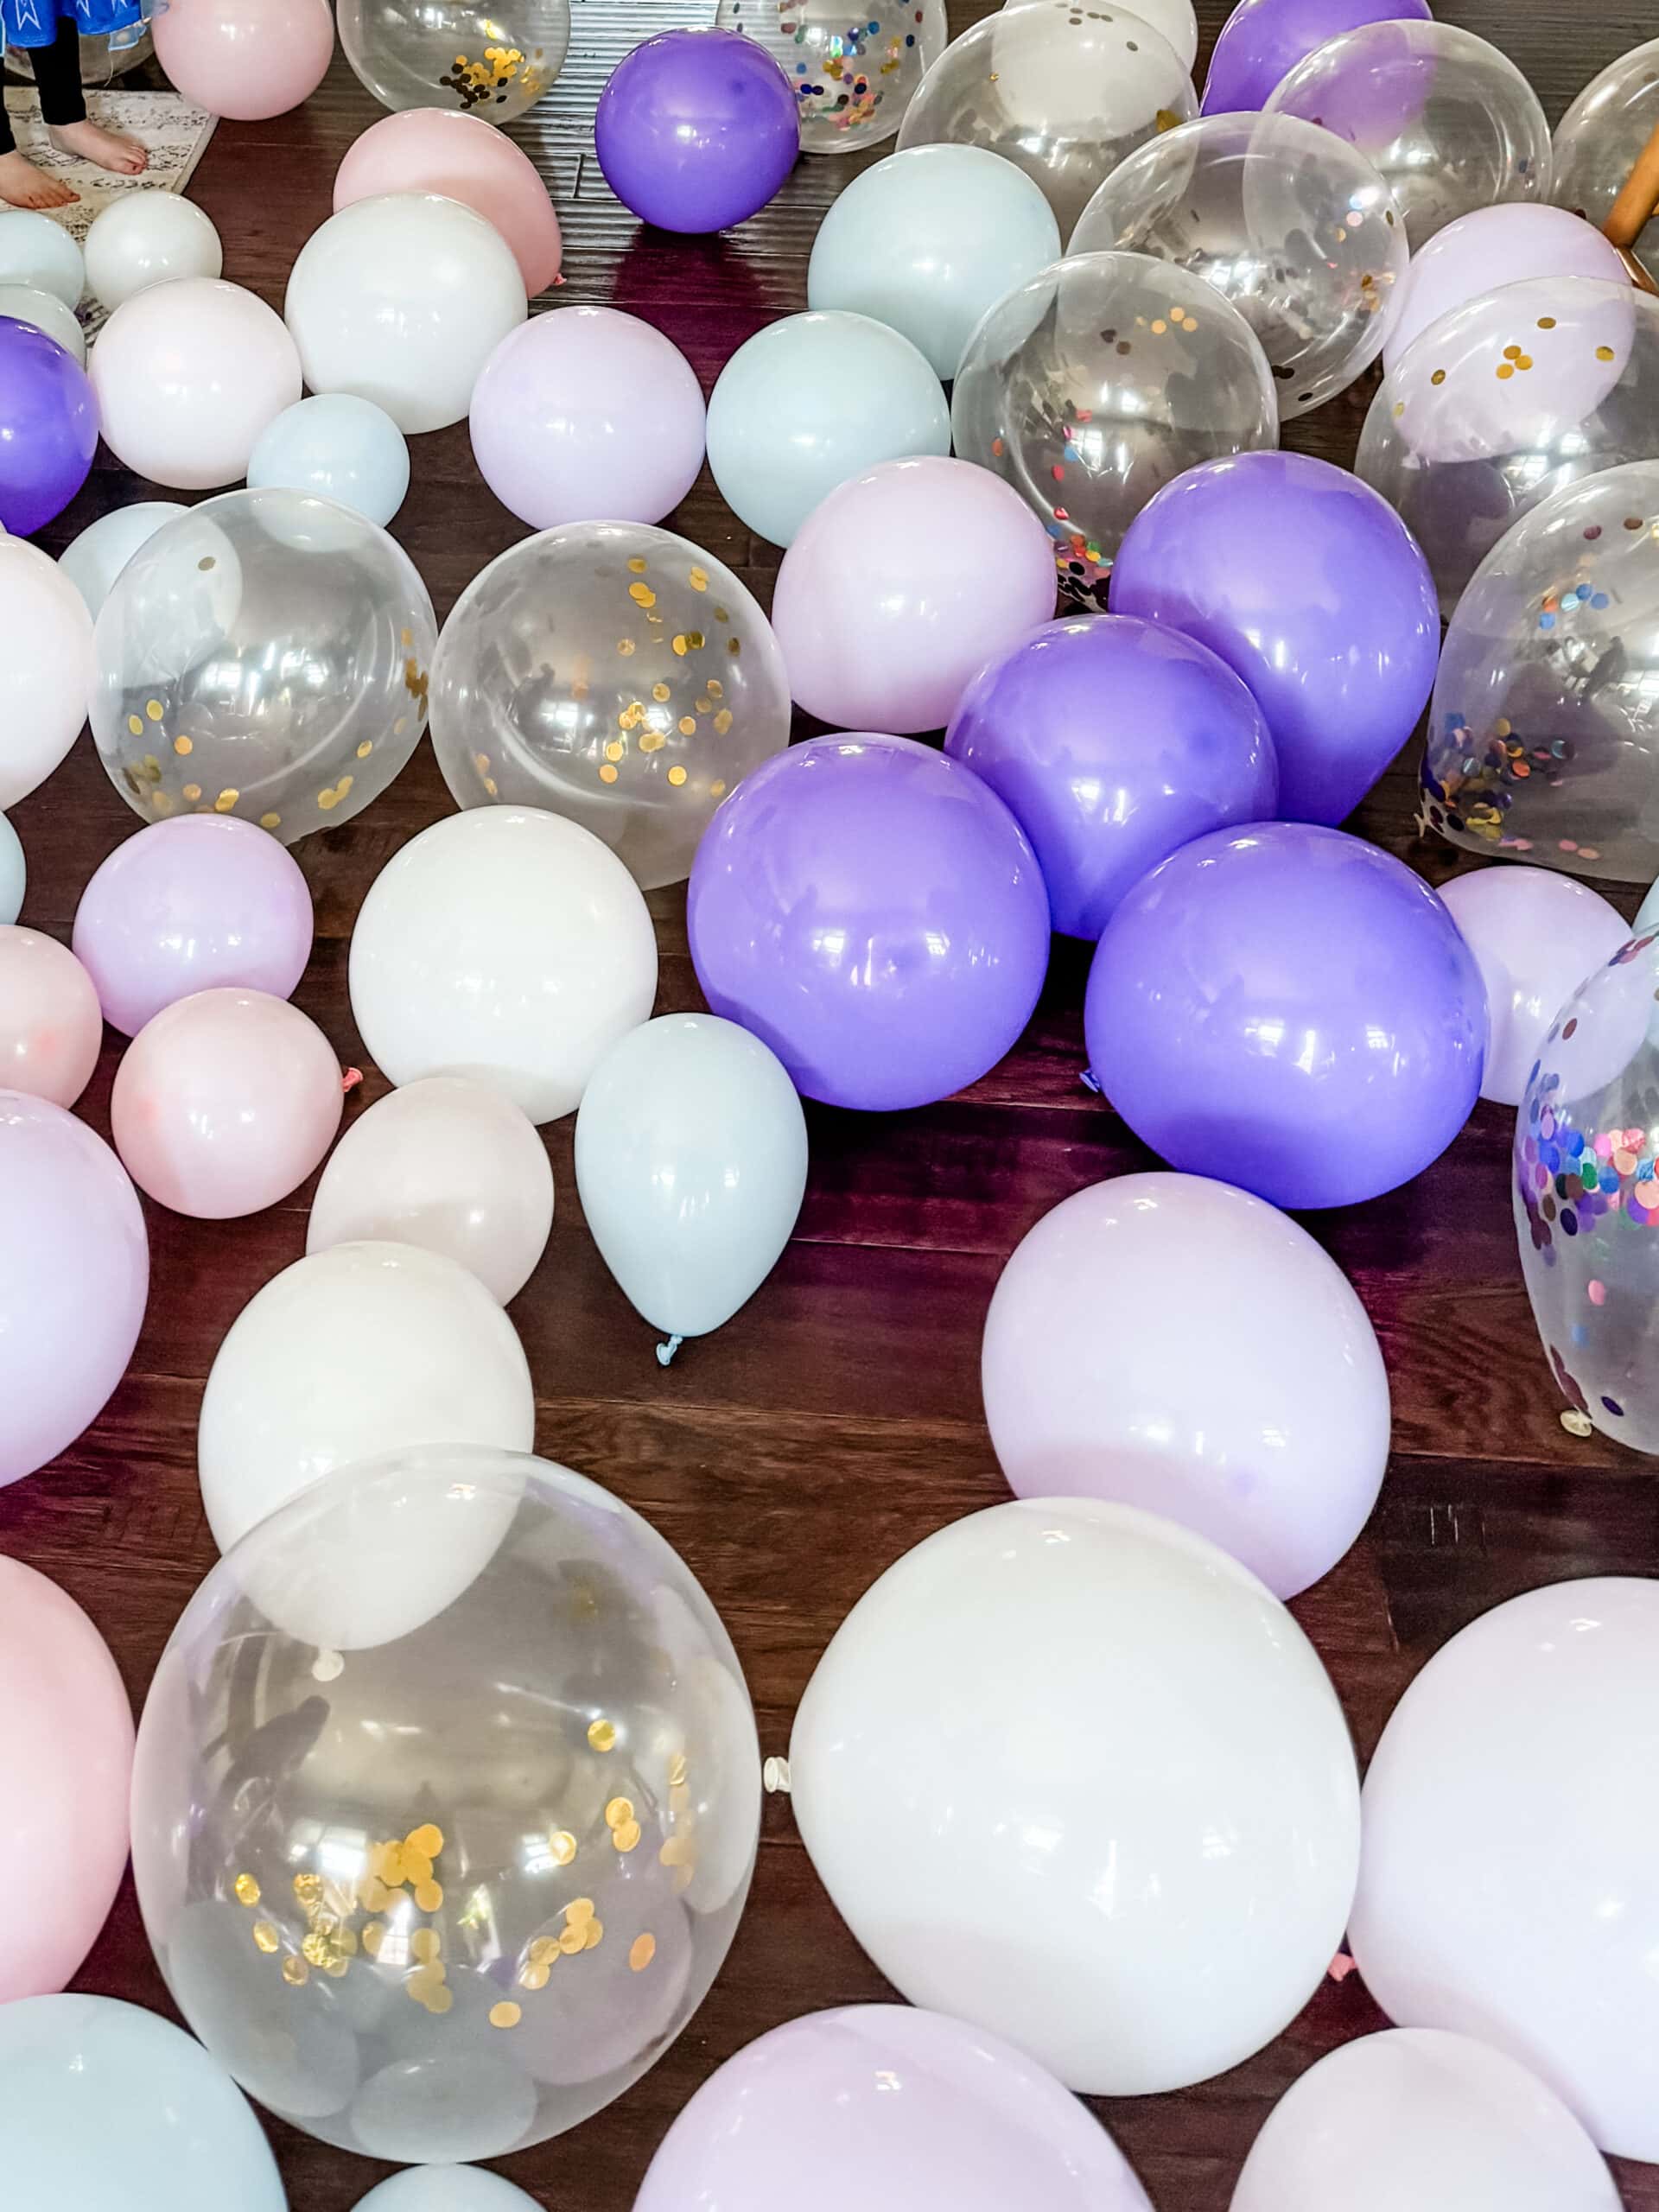
To get the look of a fuller arch with texture, I recommend using a variety of sizes of balloons. Your kit will come with a mixture of balloons.
4. Assemble the Arch
Take your balloon tape or decorating strip and lay it out flat.
Begin attaching the inflated balloons to the balloon strip, alternating colors and sizes as you go.
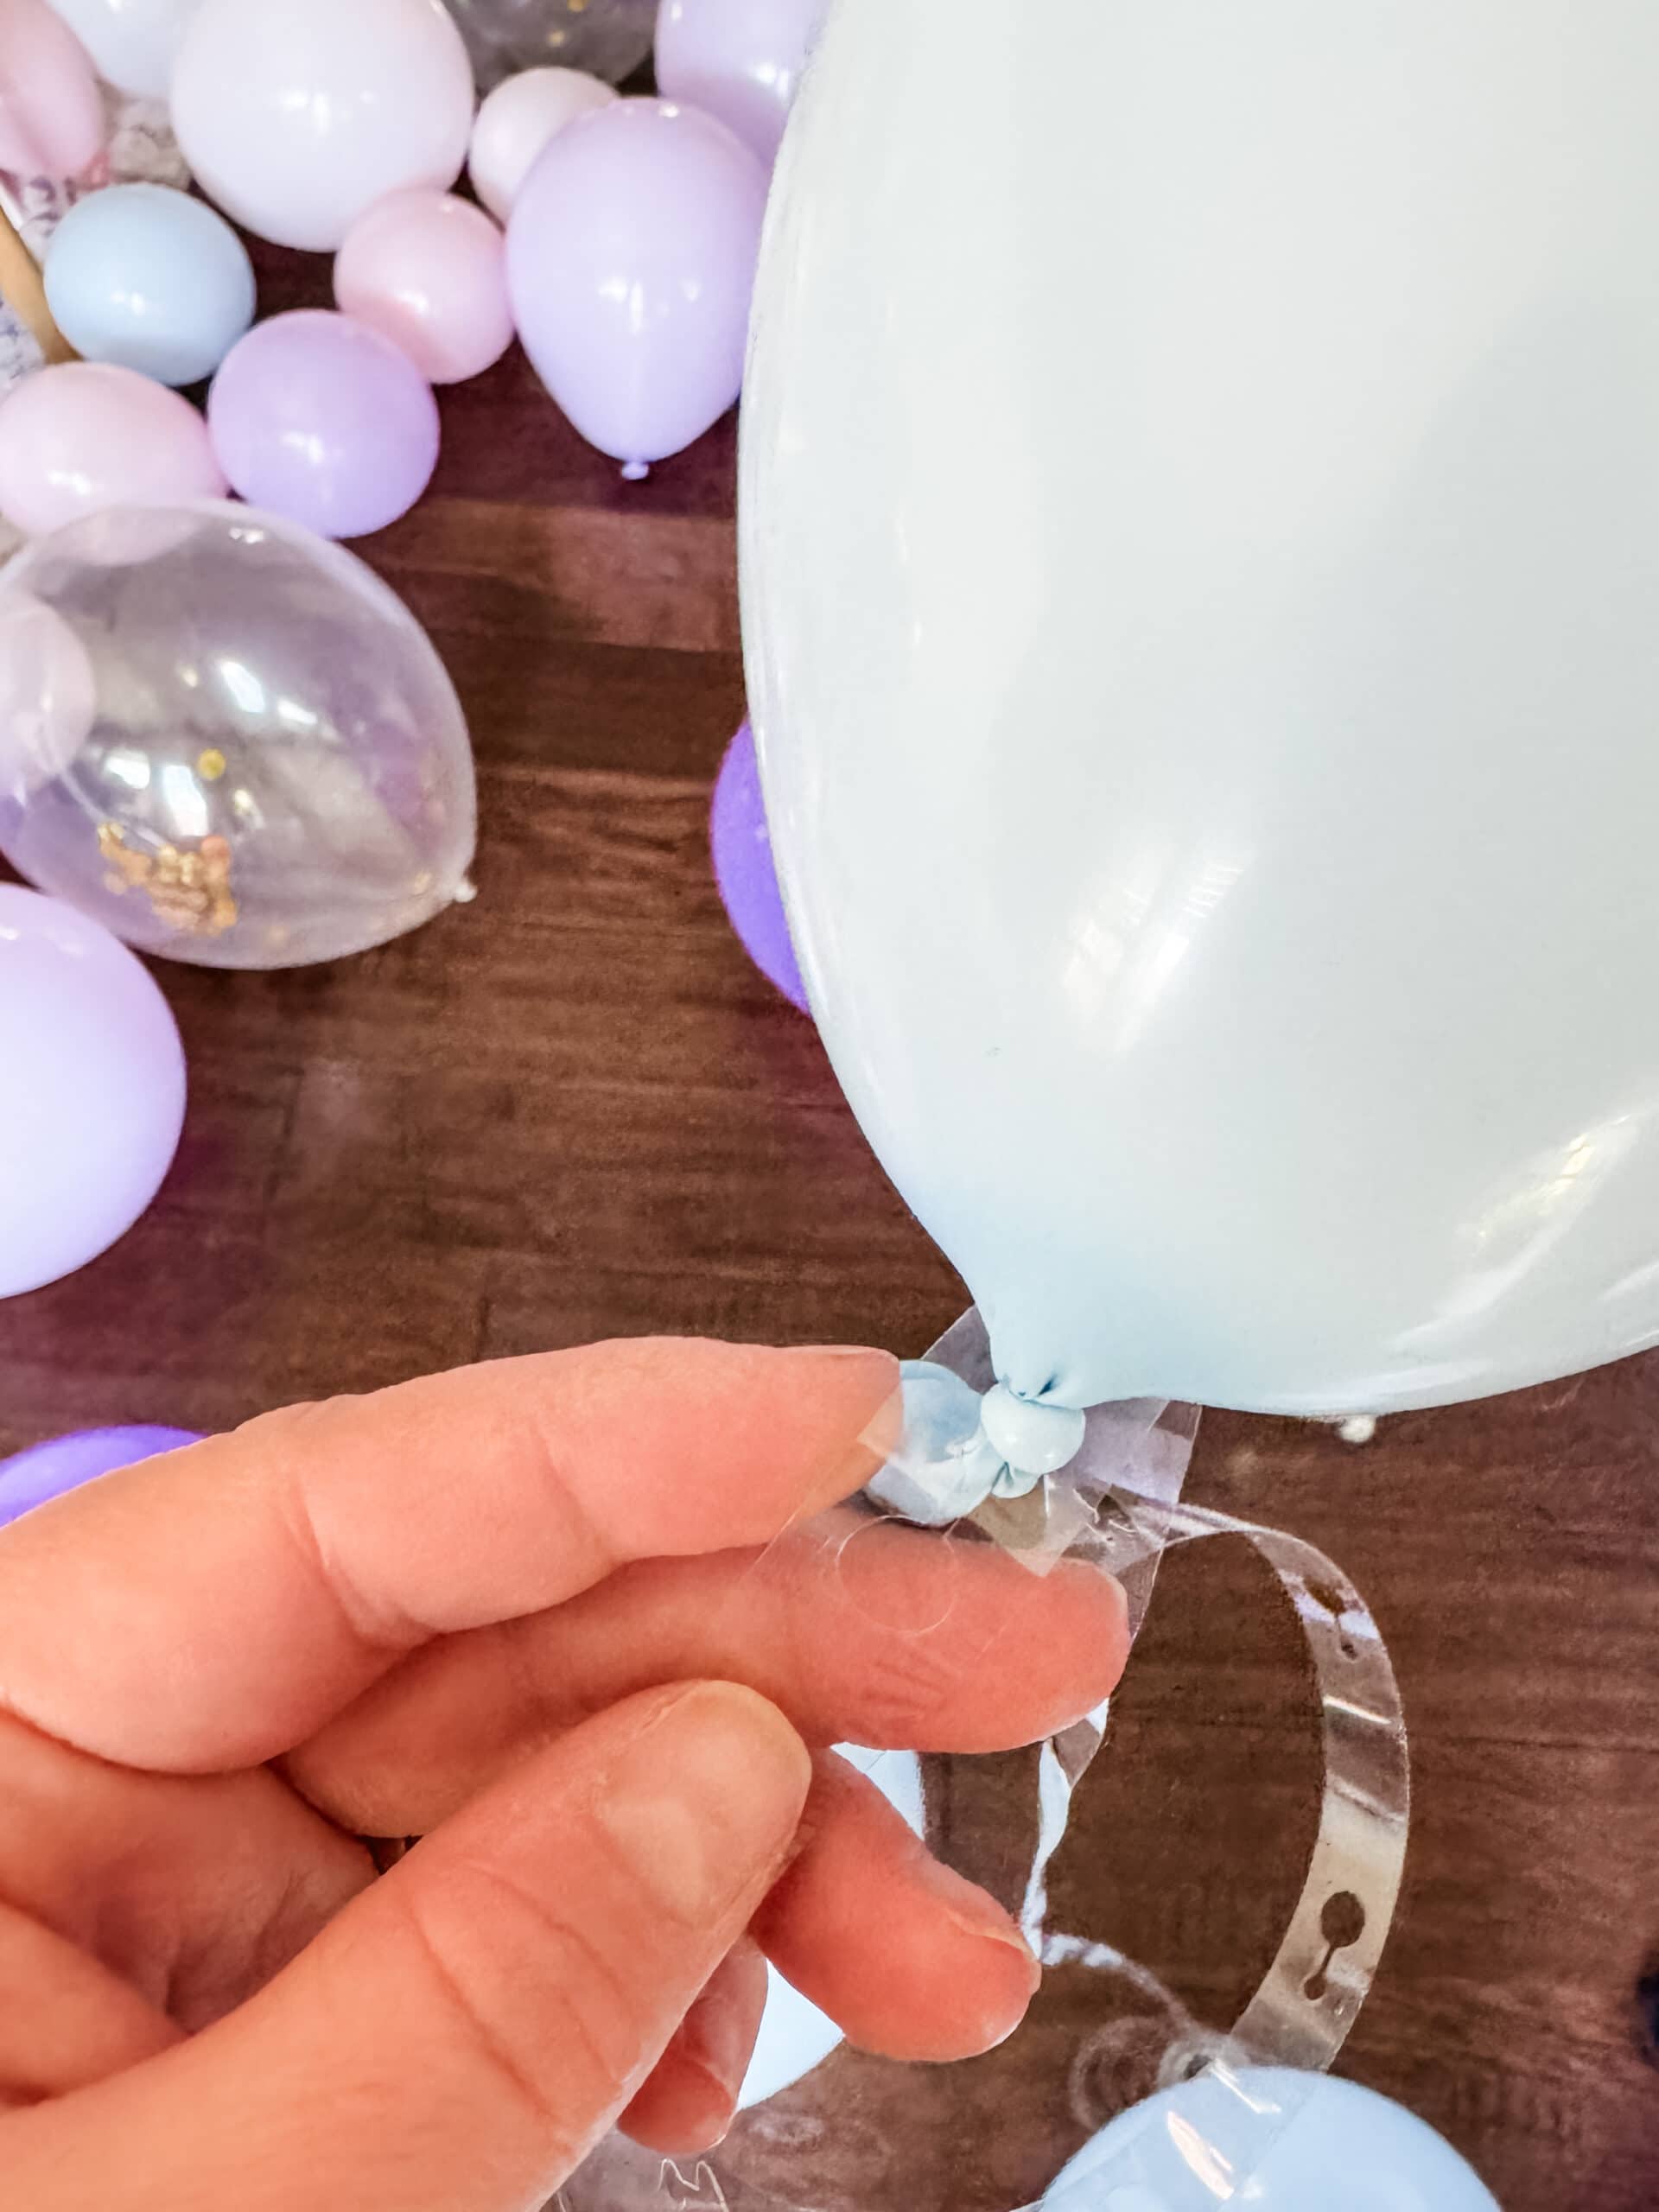
Secure each balloon in place by sliding the knot of the balloon into the notch in the balloon decorating strip.
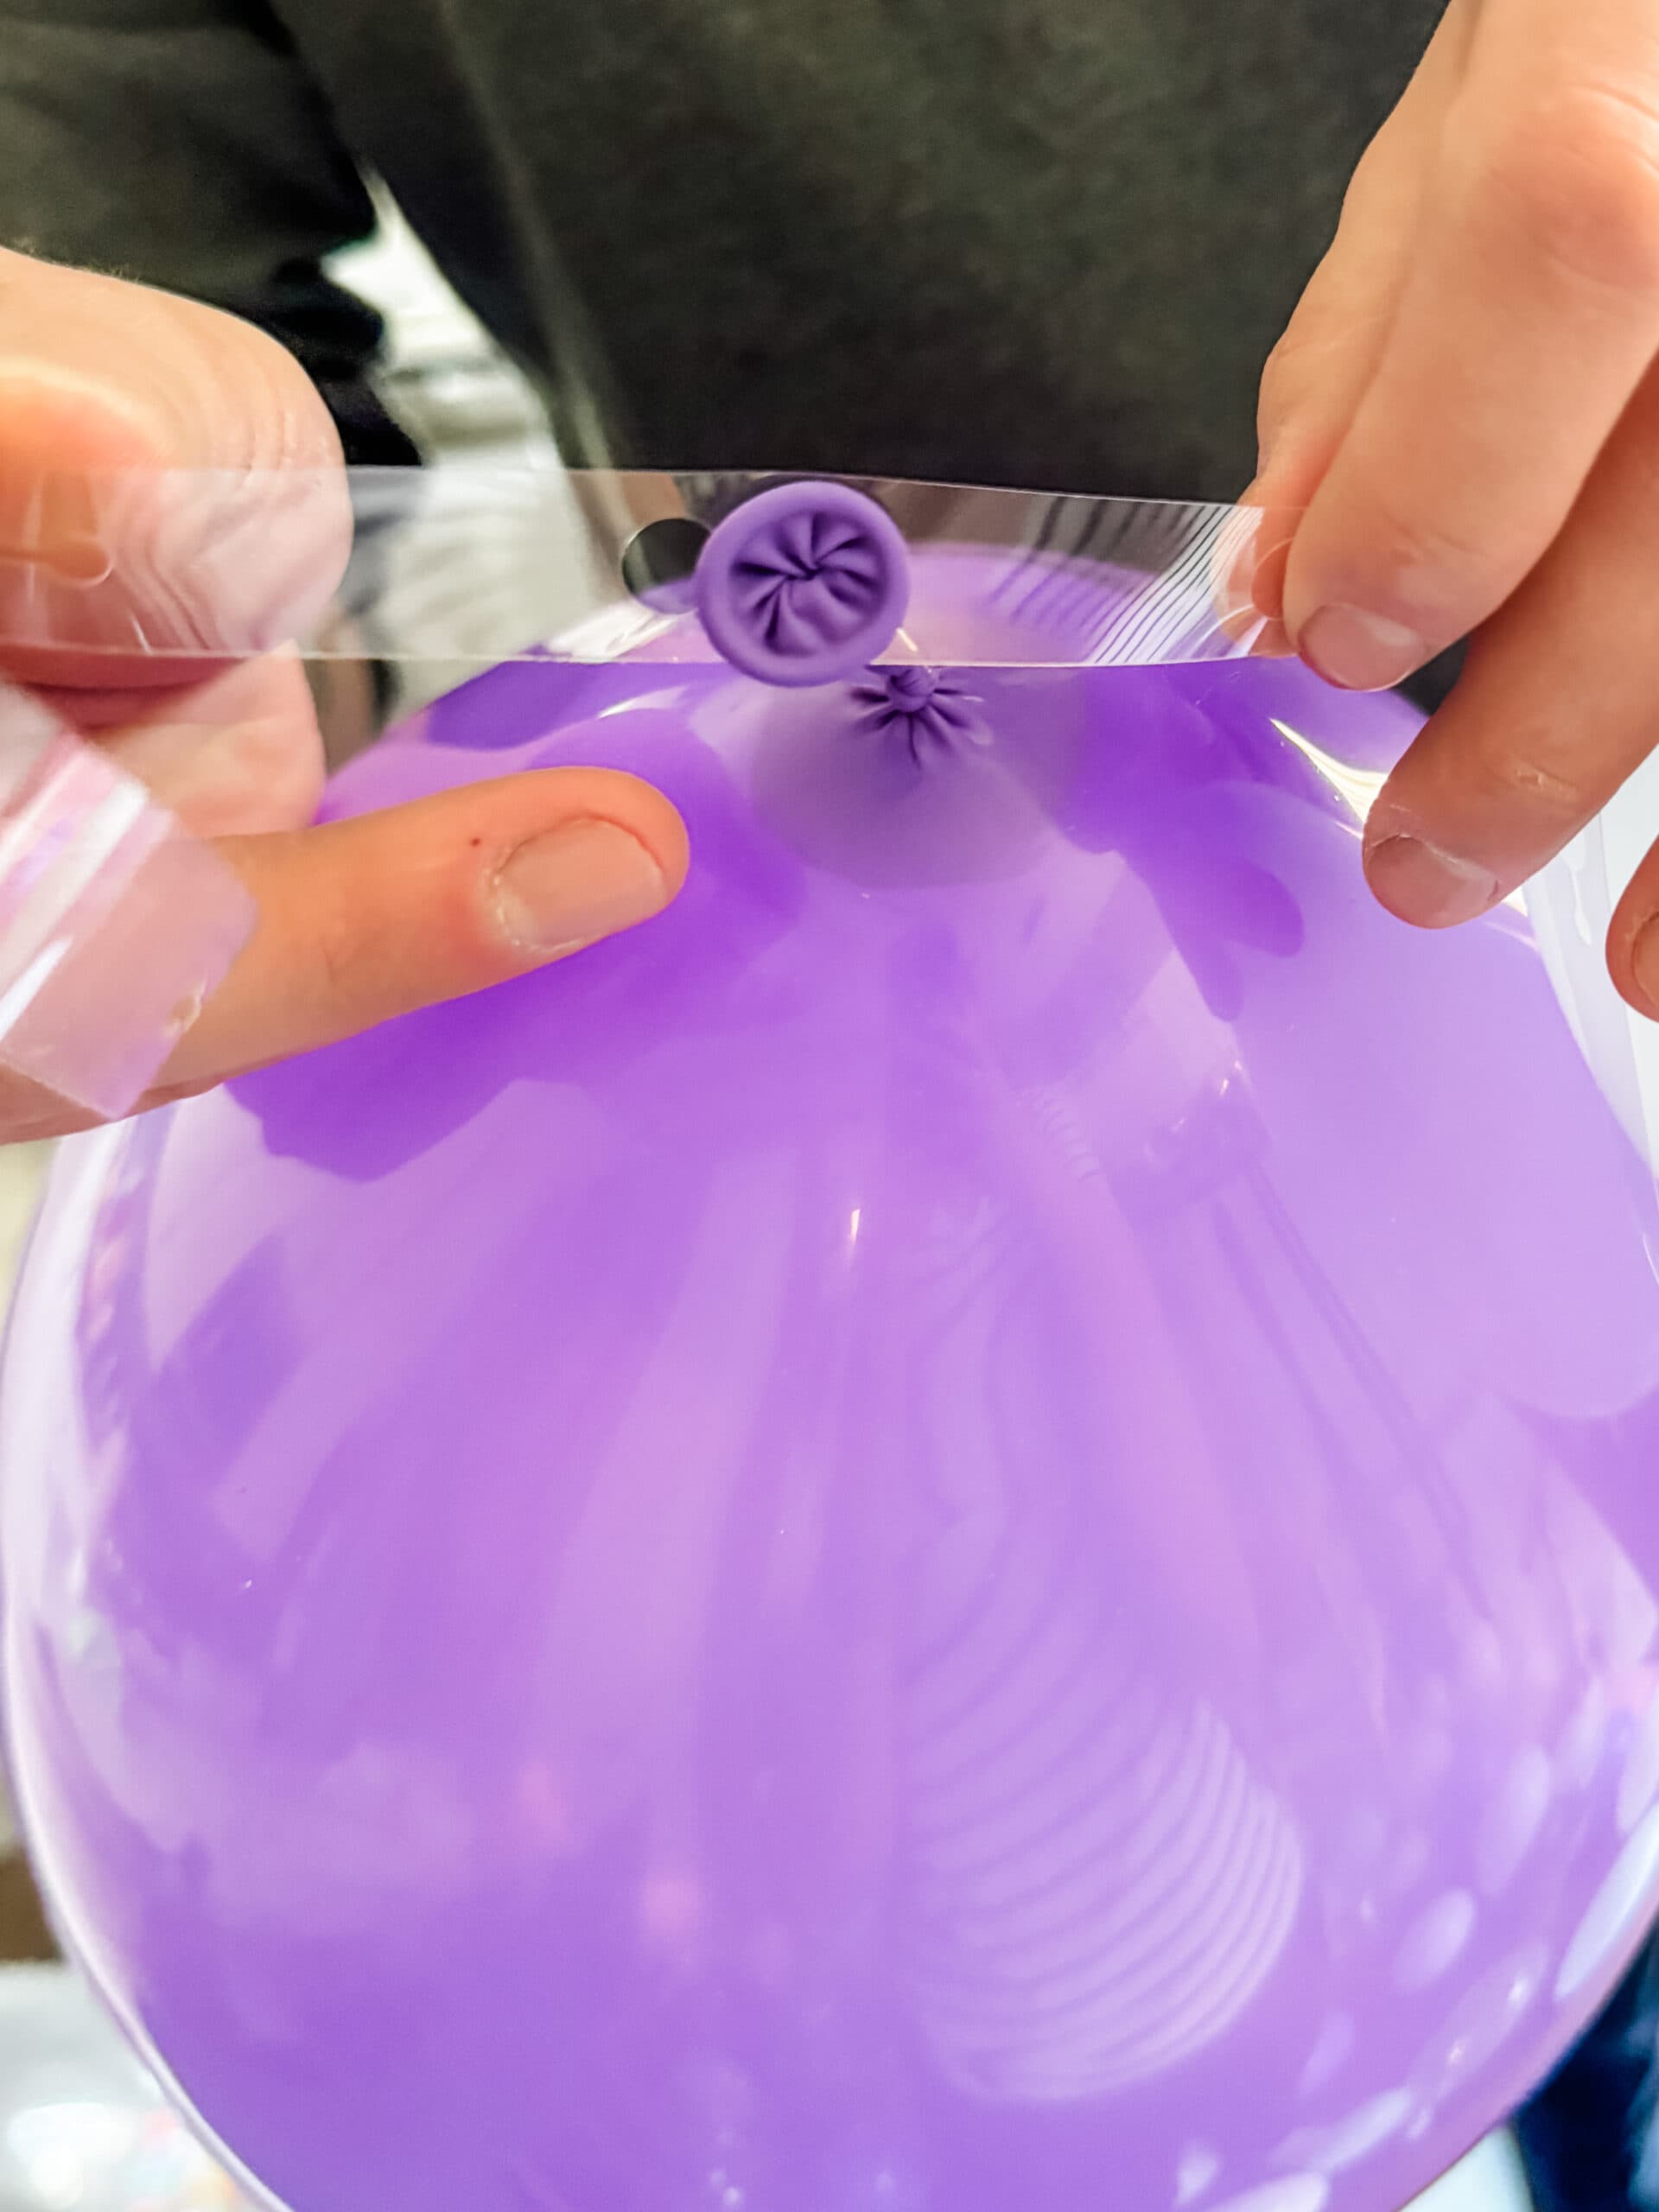
You can also place the next balloon on the strip in the opposite direction from the previous balloon. This is a great way to make sure your balloon garland looks full.
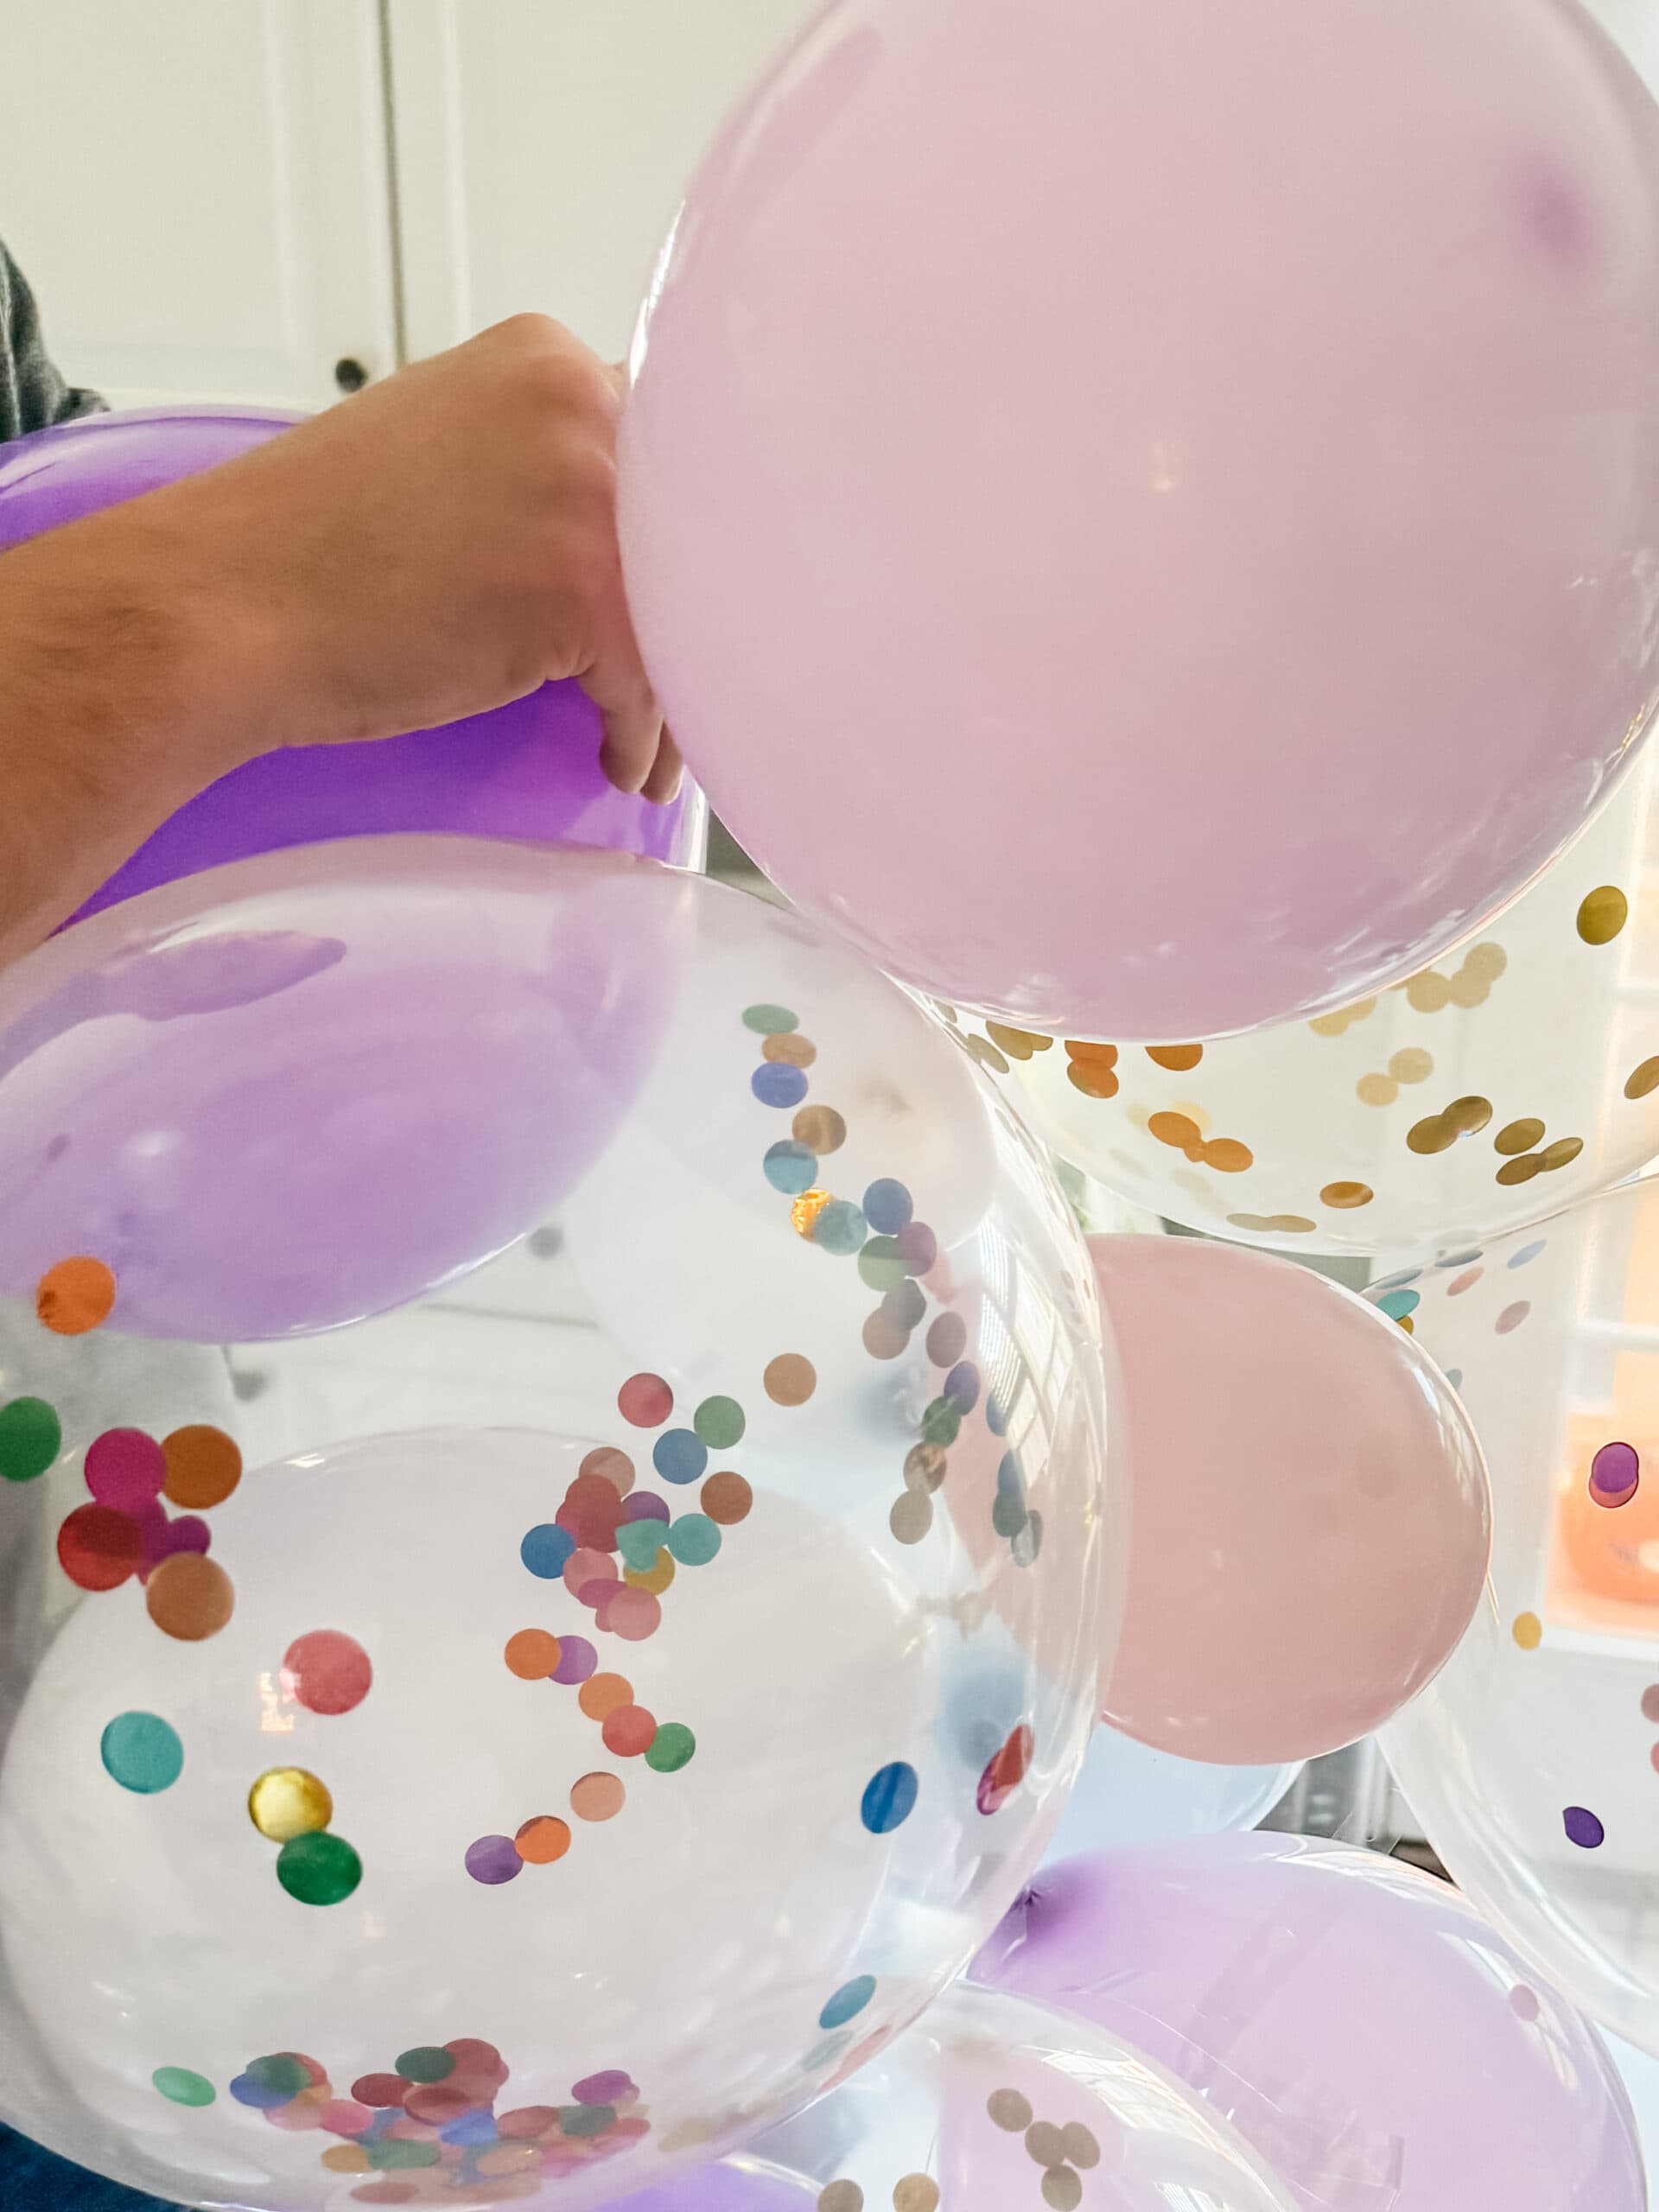
I find that the best way to do this is to not think too hard about it. I just grab whichever balloon I see in front of me and attach it to the strip.
Since your balloons will already be mixed up all over your floor, you will naturally get a random assortment and variety of colors as you go.
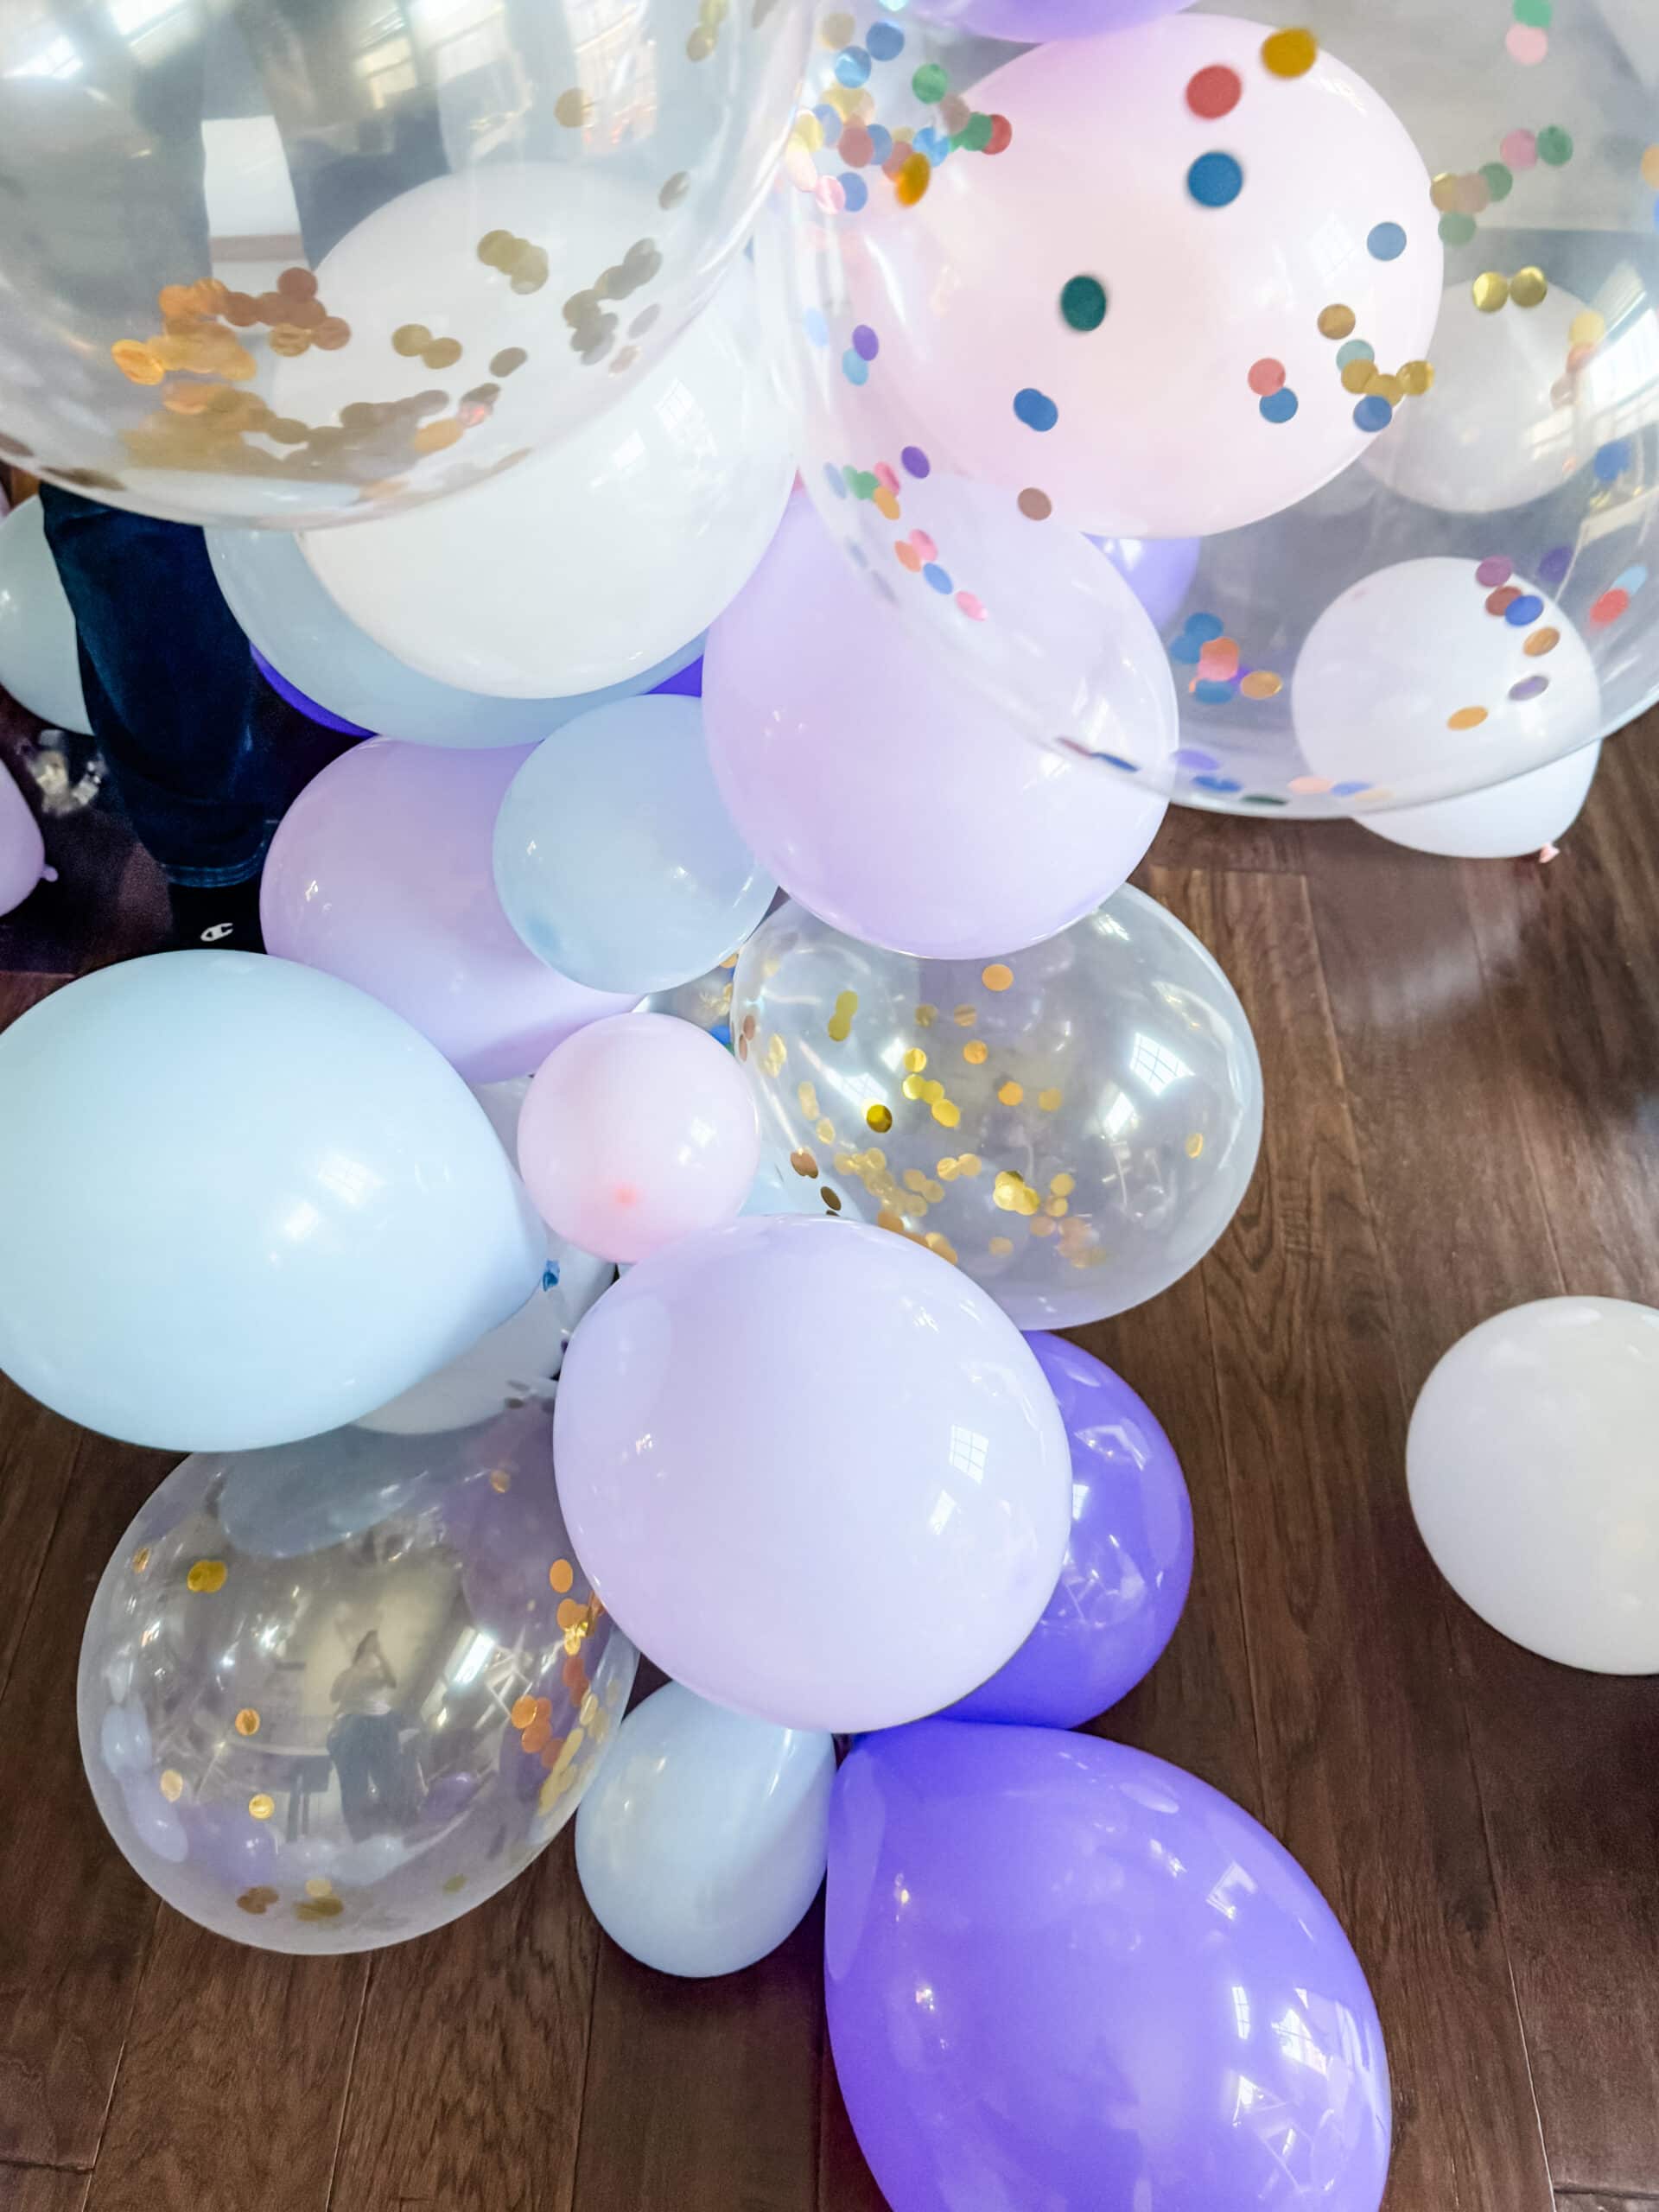
Try to make sure that you alternate sizing and colors. But again, don’t think too much about it. Just attach the balloons.
You can always adjust as you go by adding or removing any balloons that look out of place.
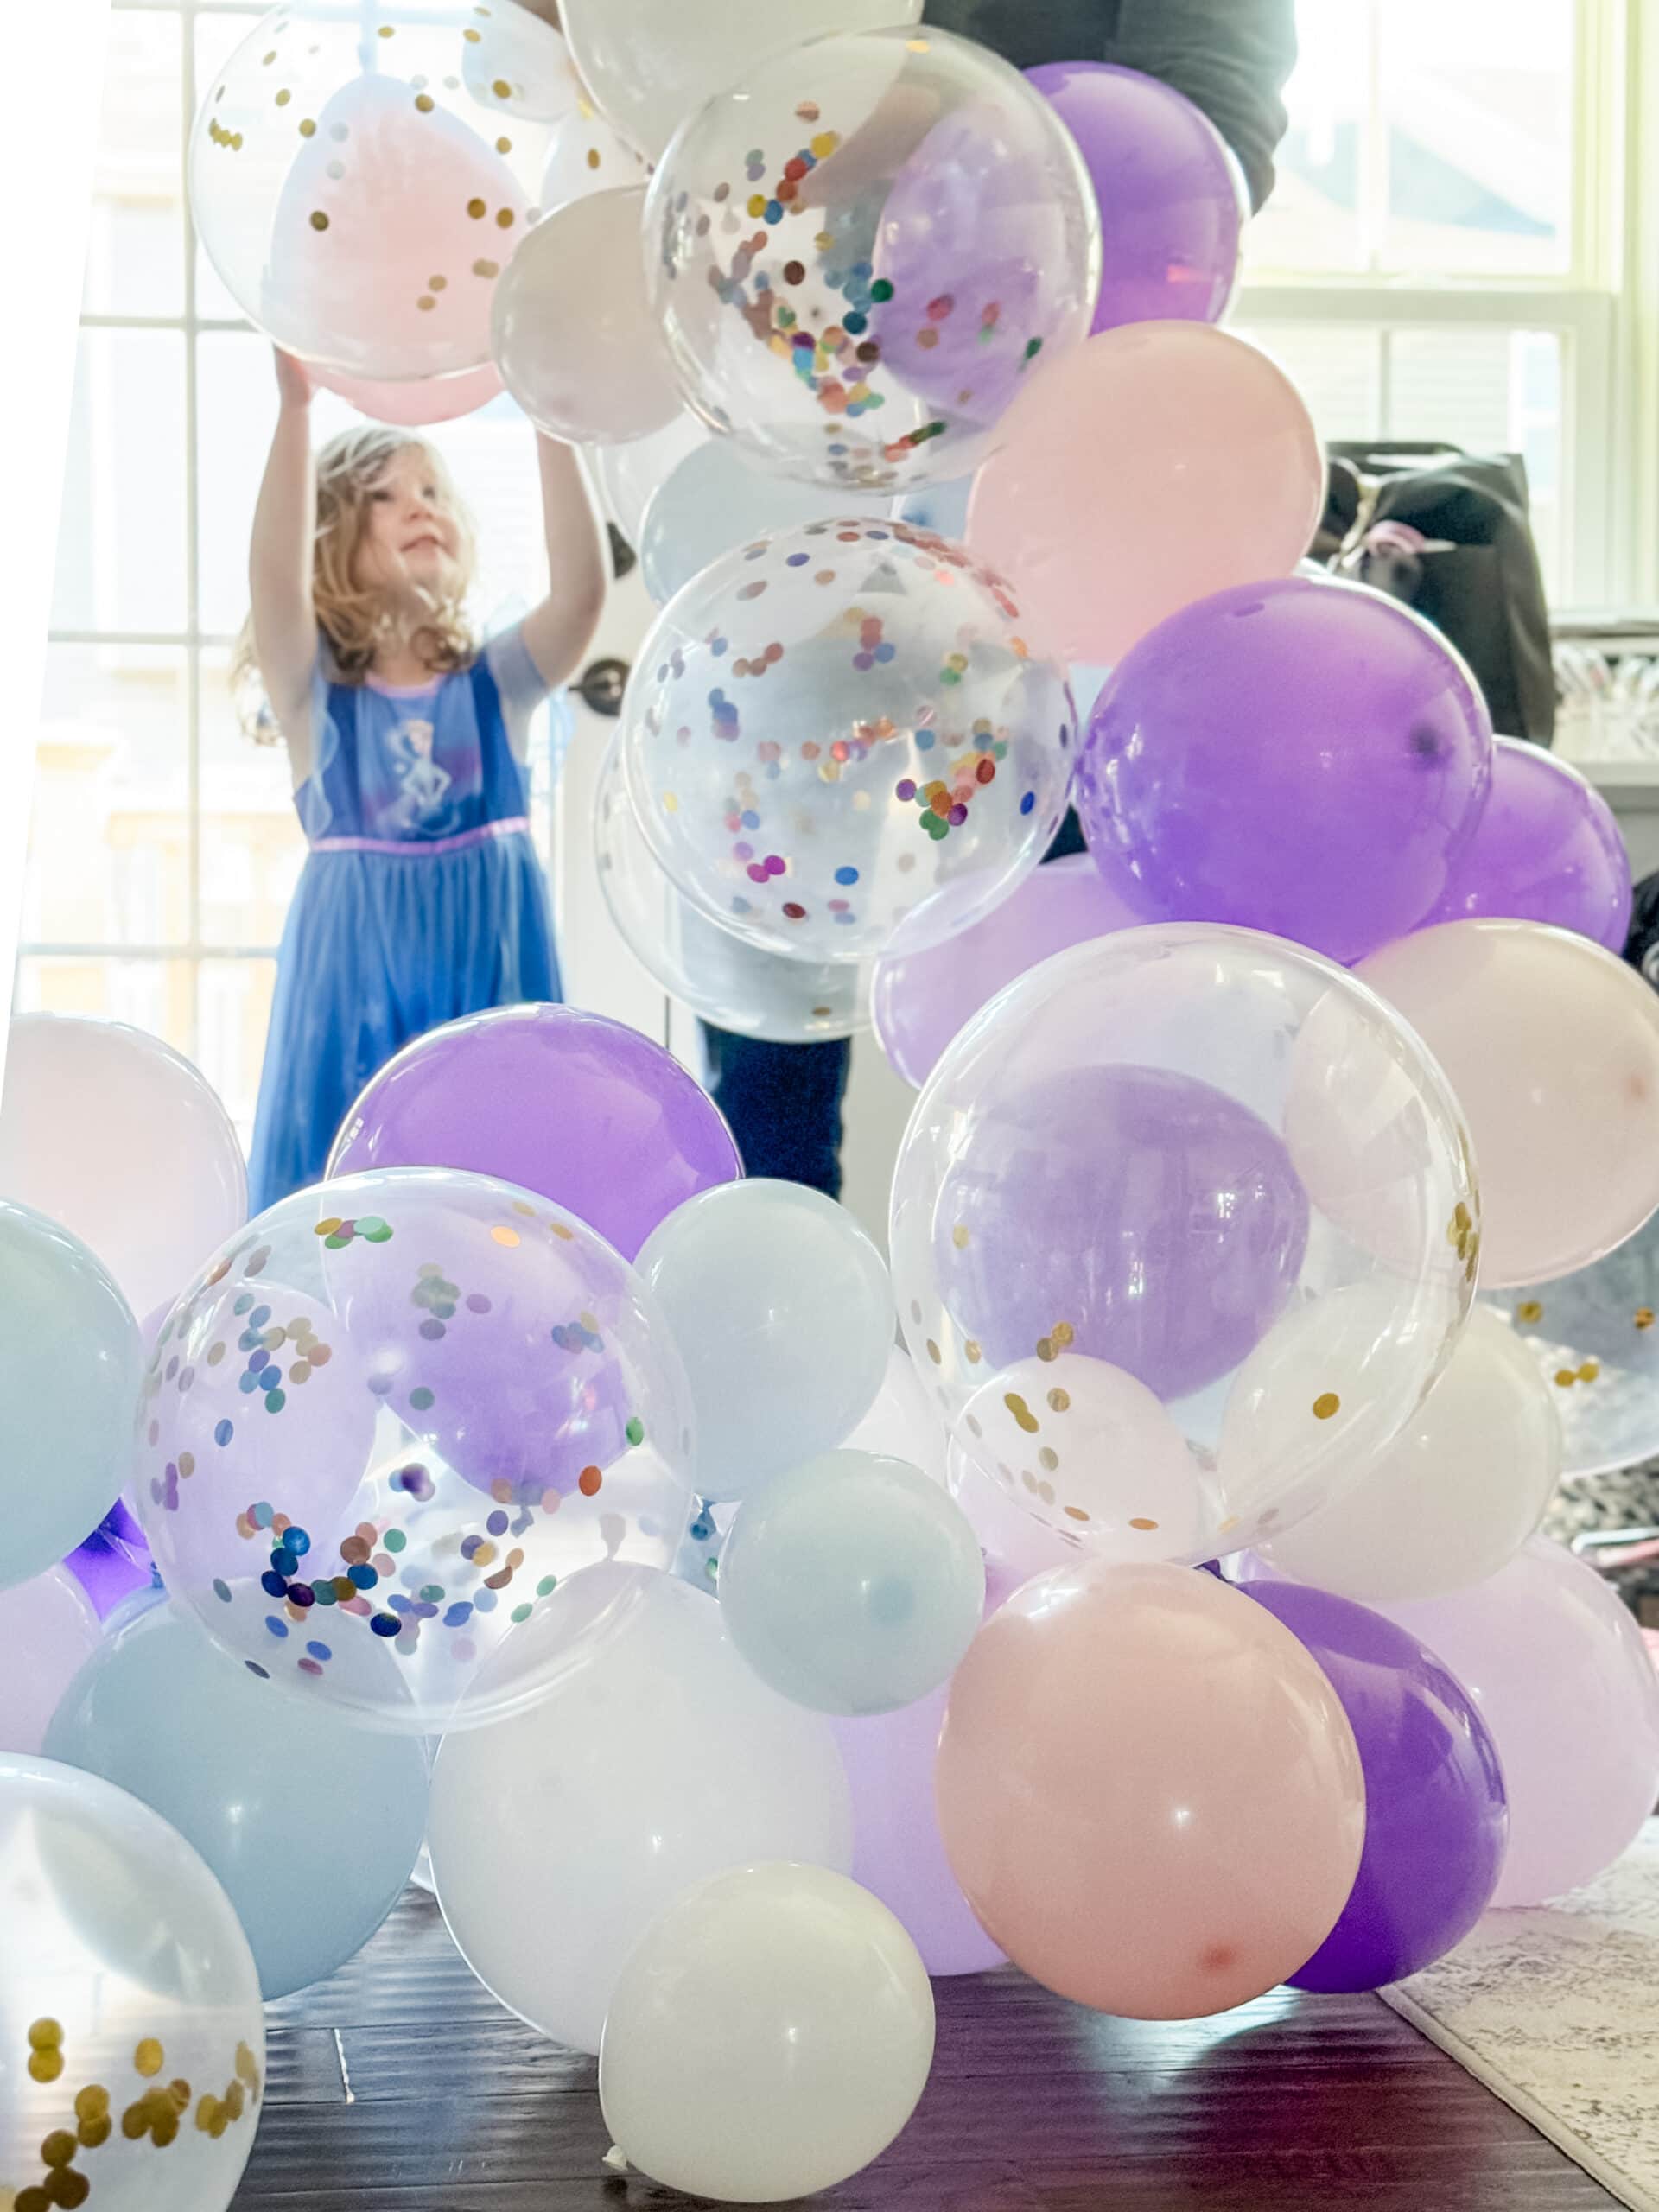
To get the fullest look, I will normally use every hole in the decorating strip. Feel free to skip holes if you have larger balloons or need more space between the balloons.
Add as many balloons as needed to create the desired length of garland.

You can add balloons all the way to the end of the strip, or stop shorted based on the size of garland or arch that you need.
Normally, I end up with a few leftover balloons that I don’t use on my garland.
5. Shape Your Arch
Once all your balloons are attached, you will have a long balloon garland.
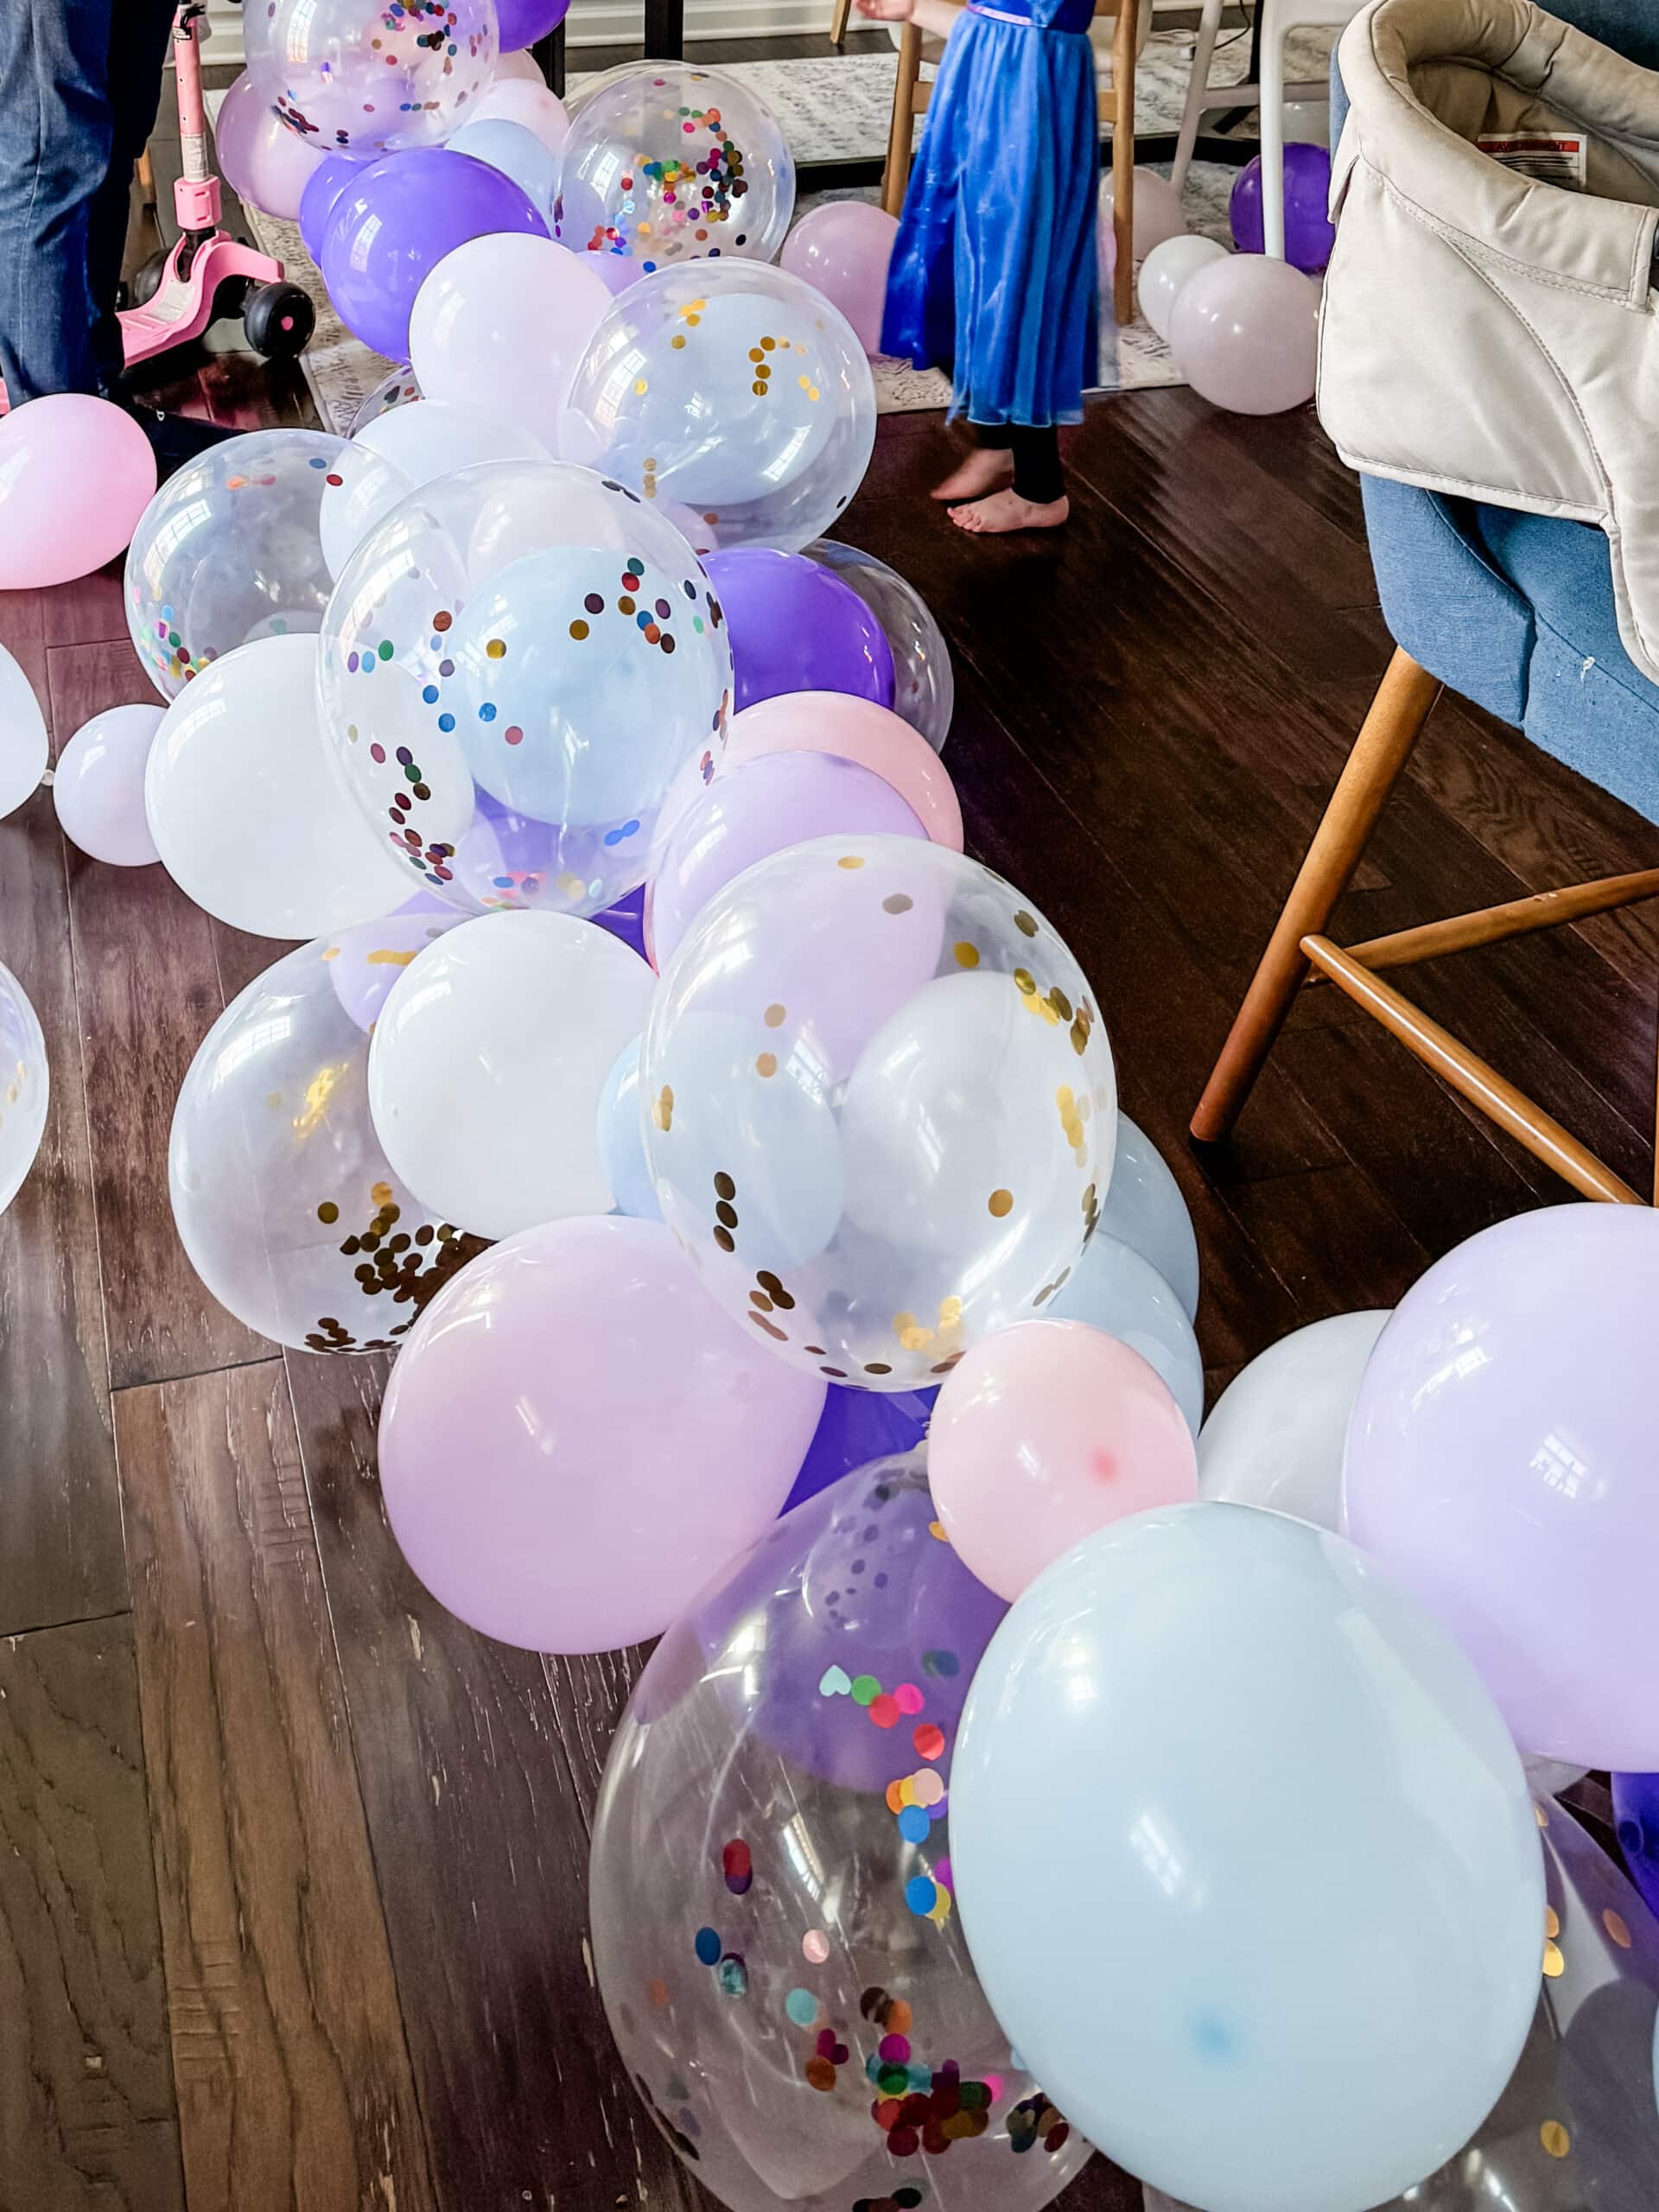
Now it’s time to shape your arch.
Once you have decided on a location for your balloon decoration, you can adjust the garland to create an arch shape or cover the desired area.
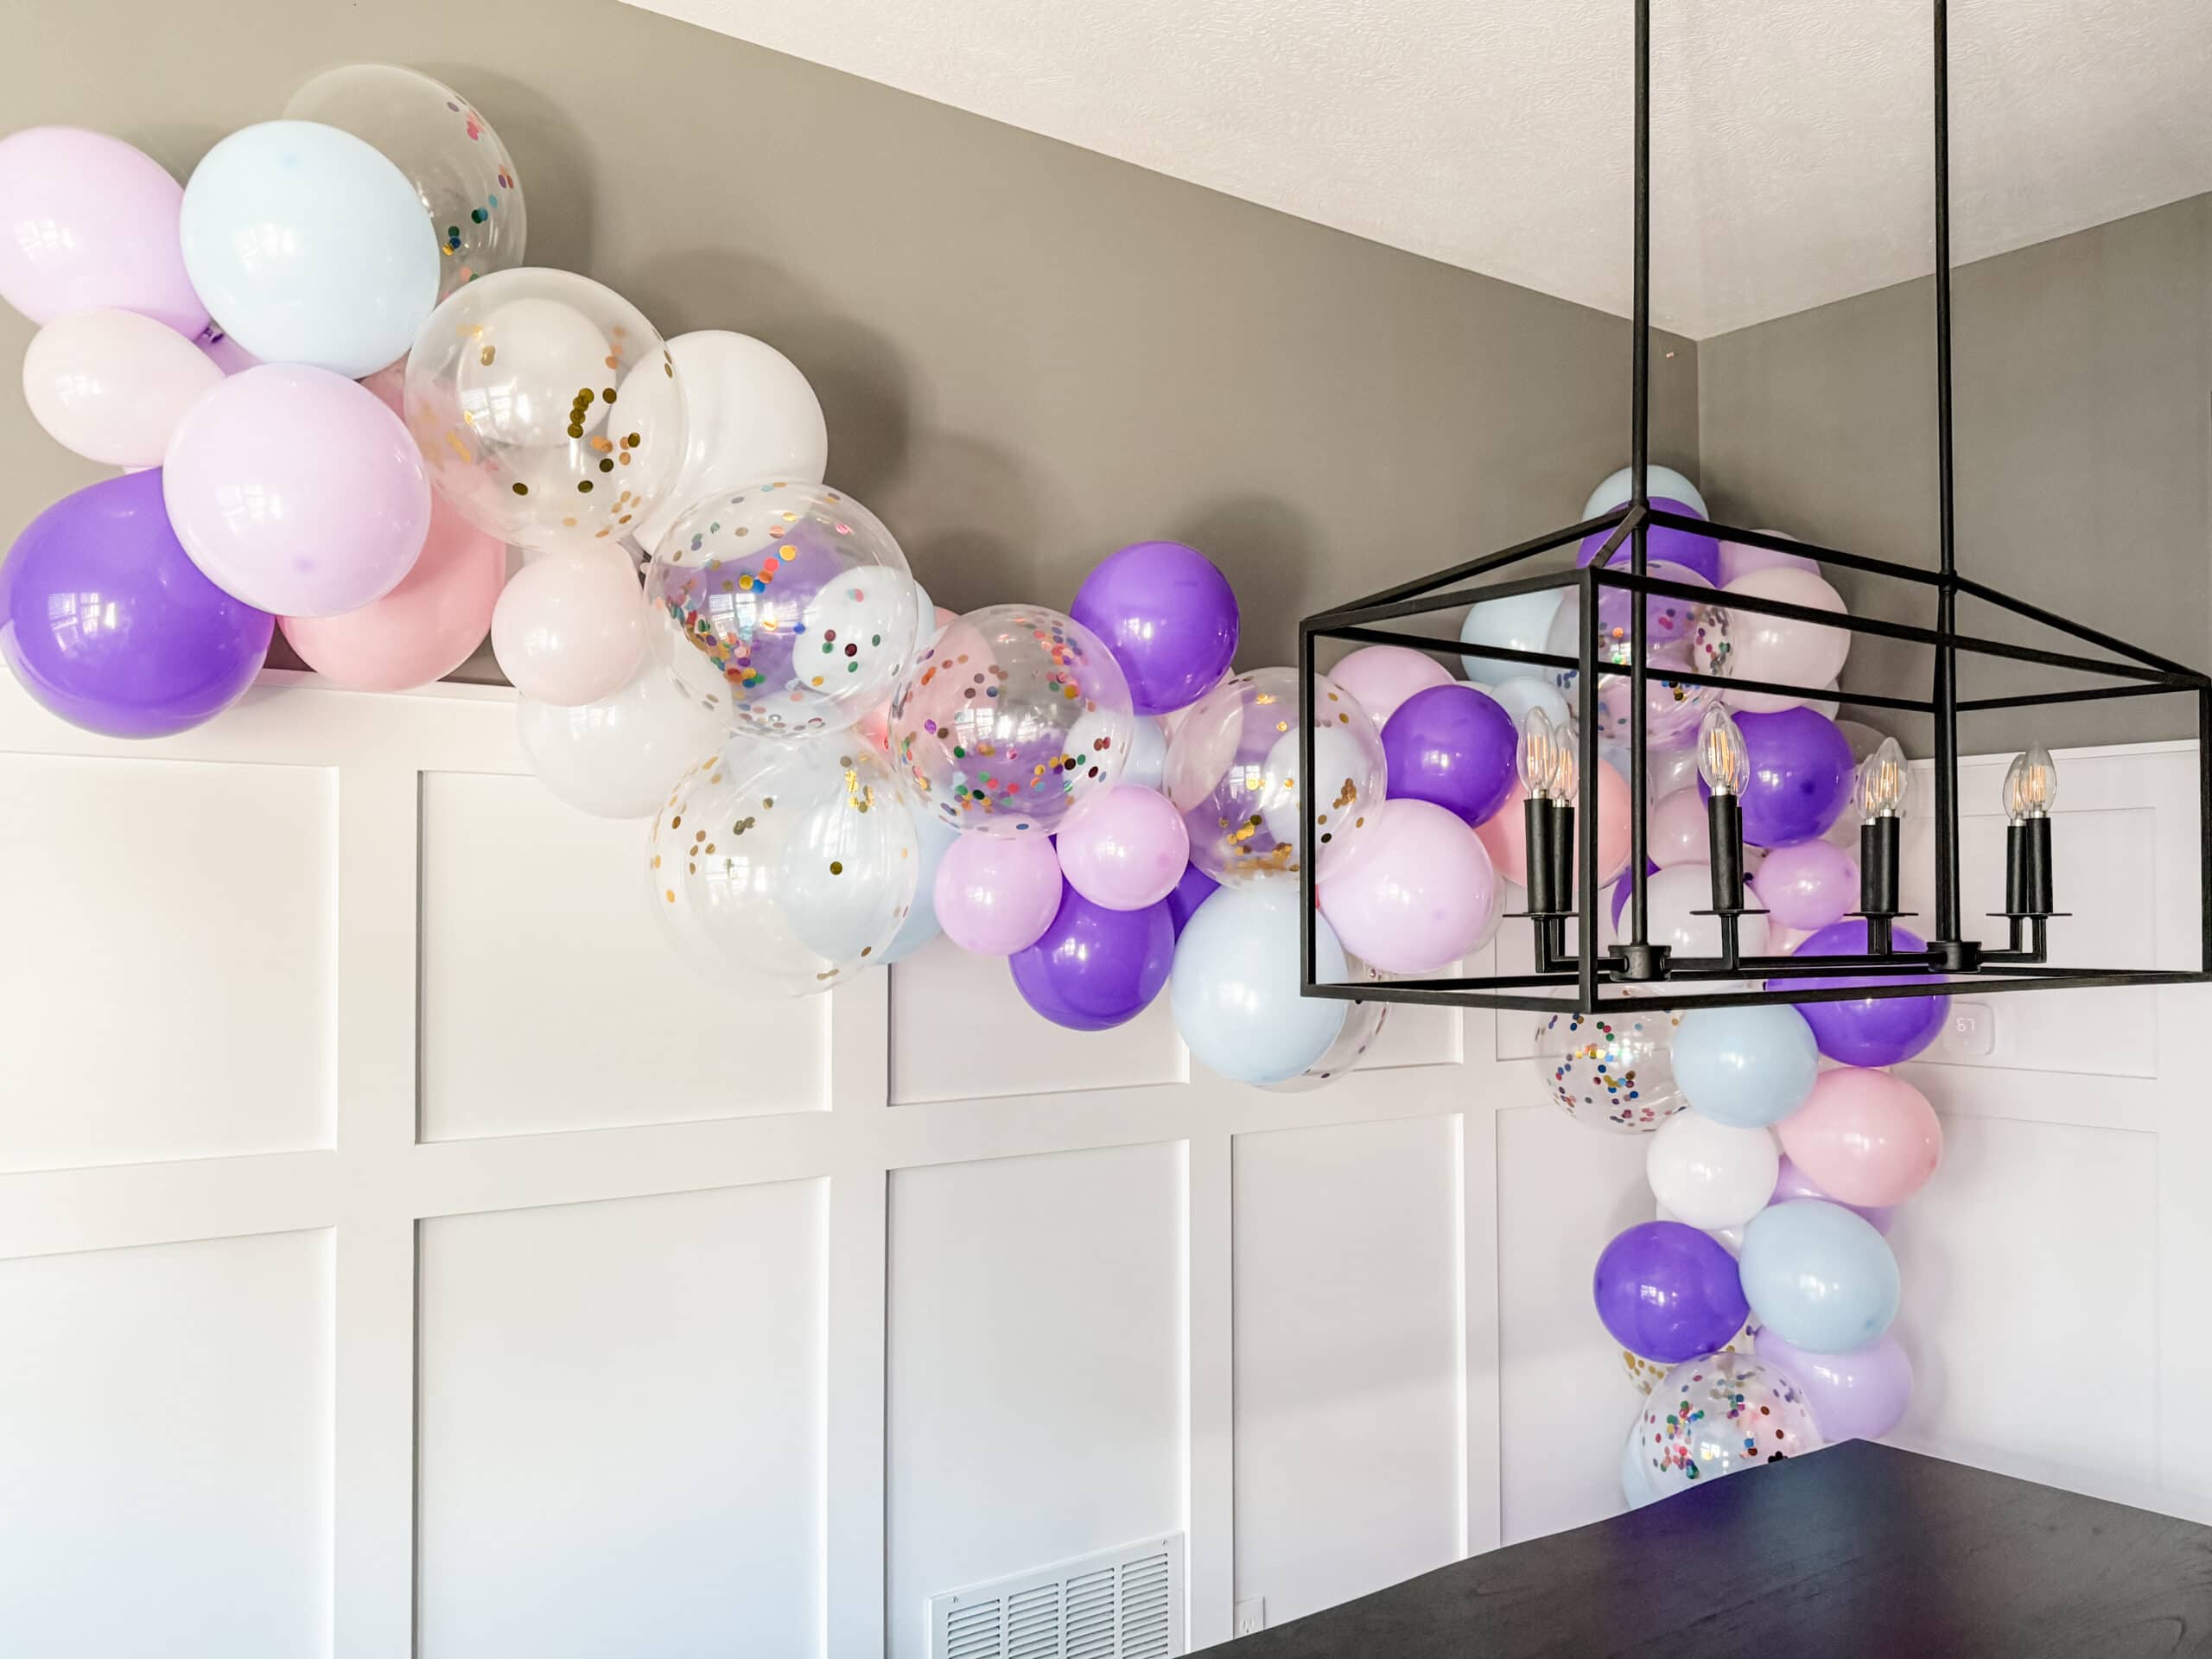
My normal spot for balloon arches in our home is against the board and batten wall in our dining room.
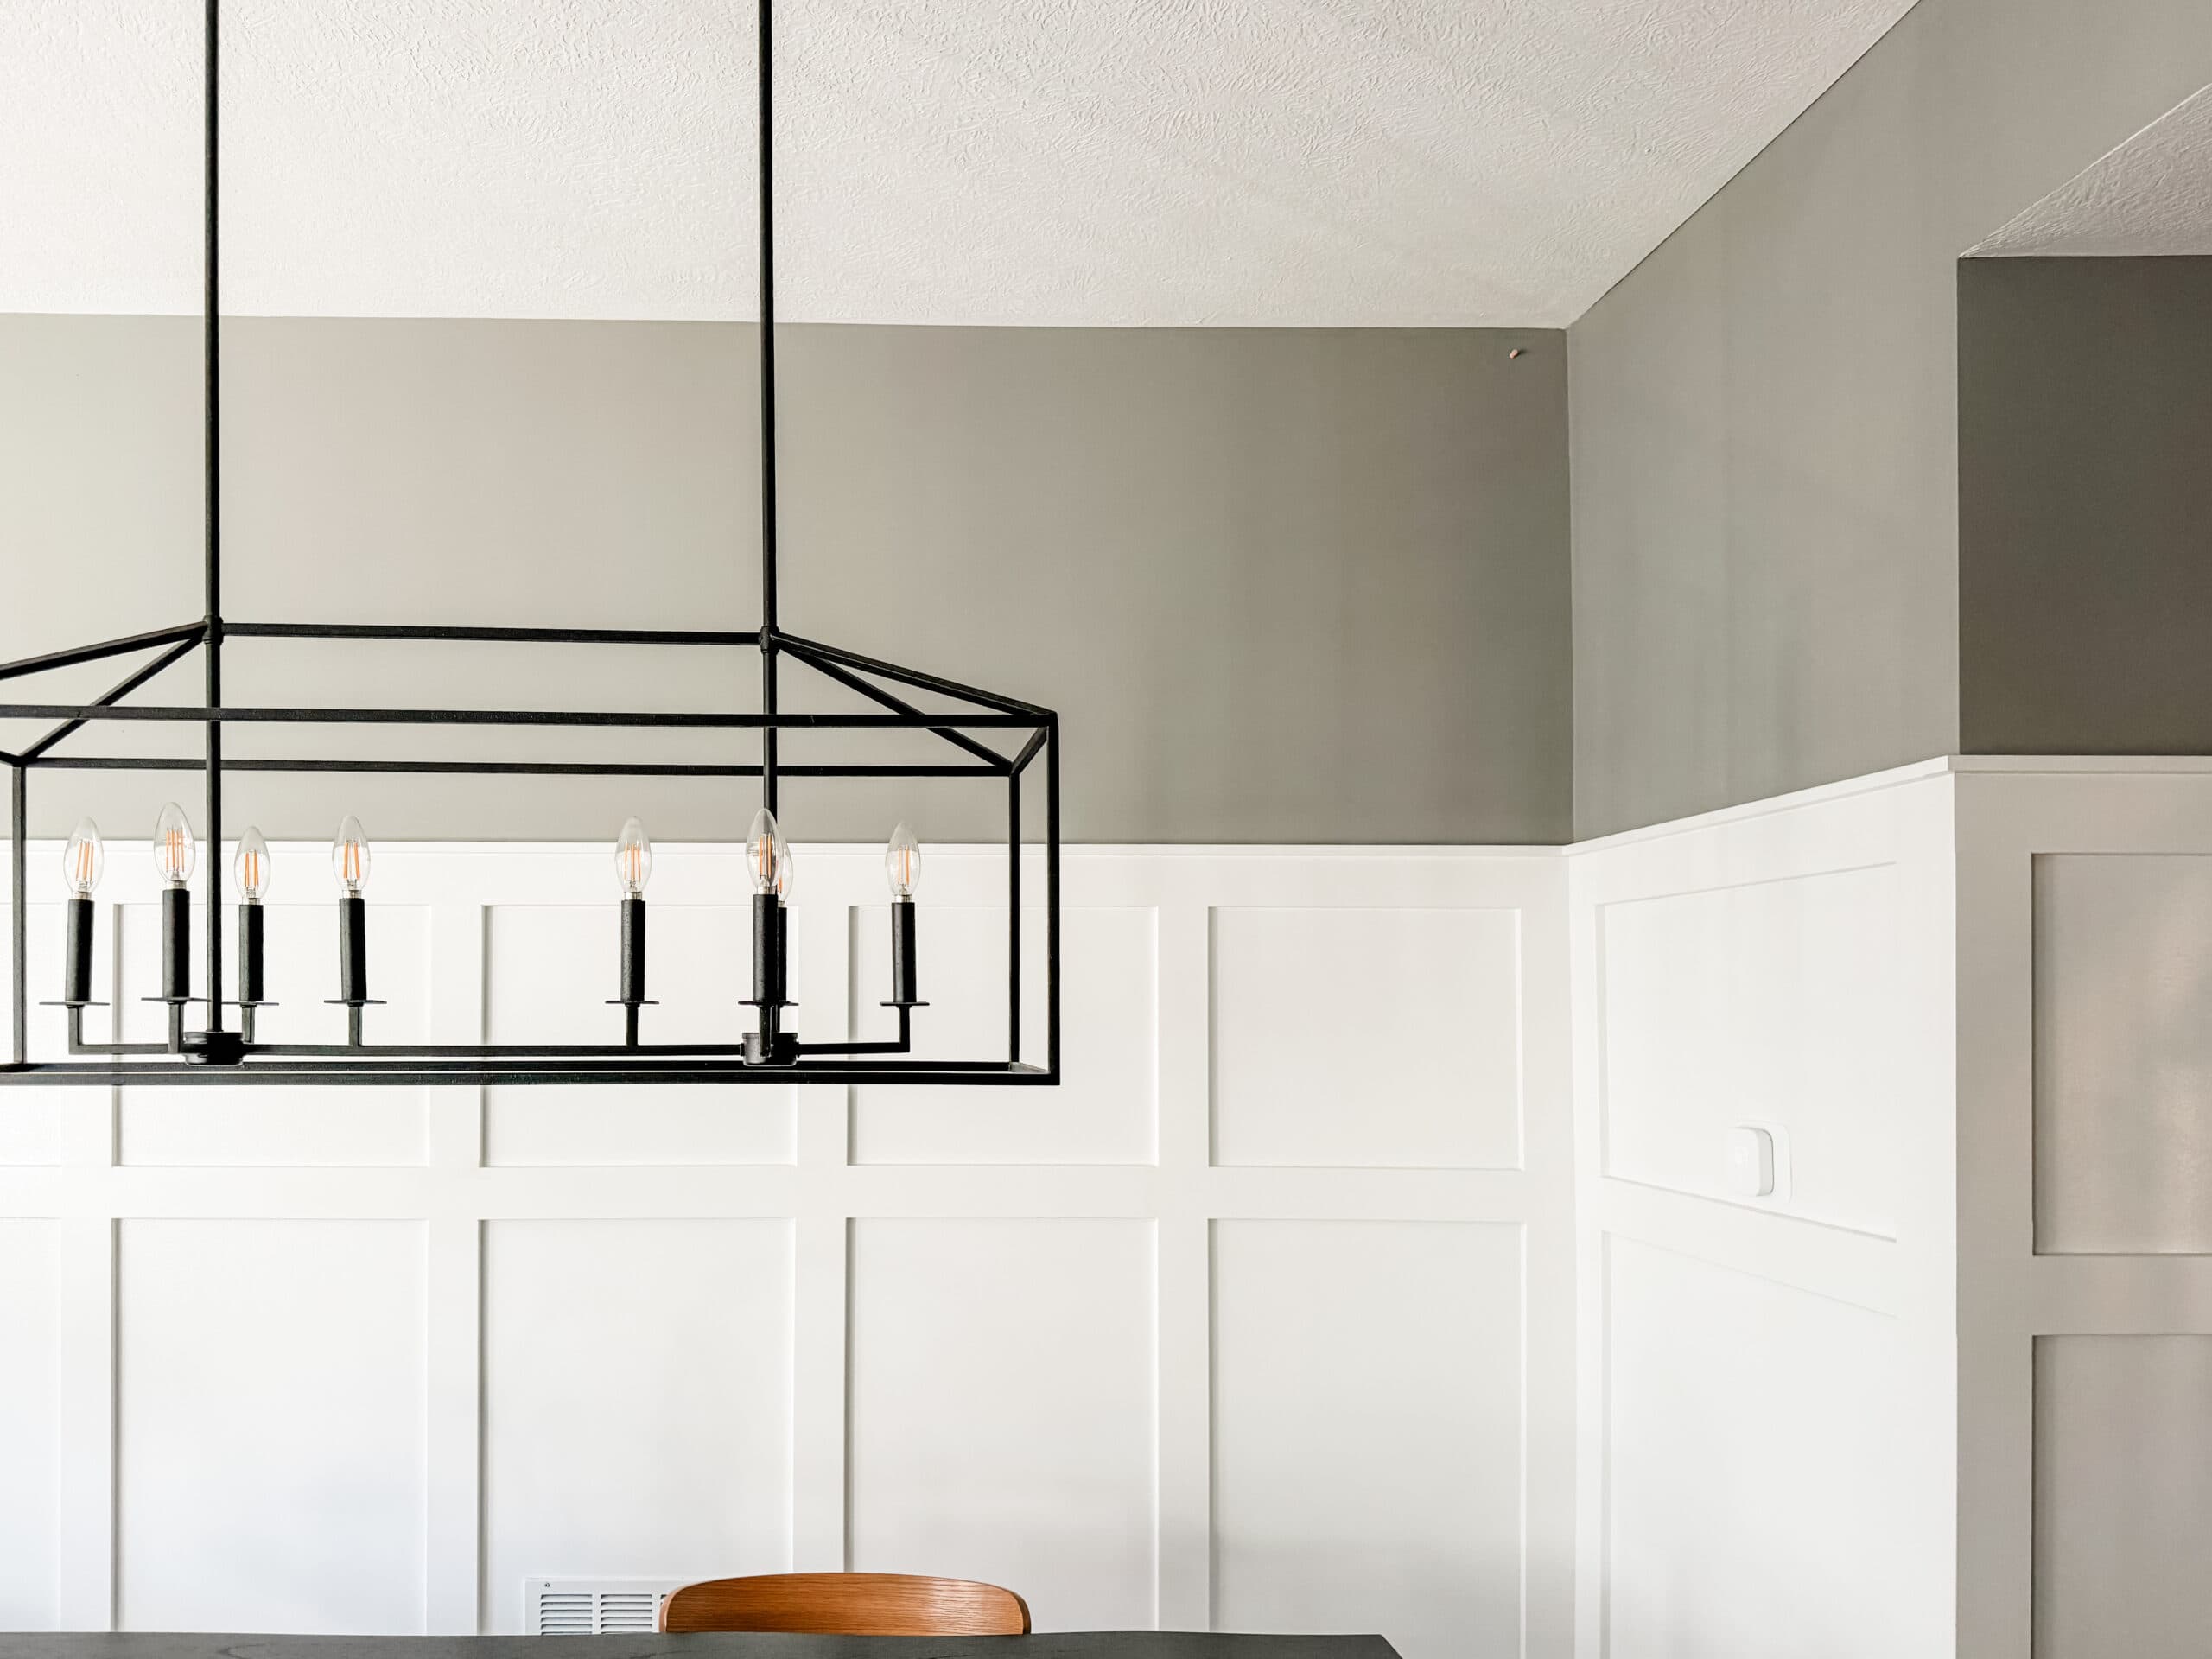
I like to have the arch go along the top of the board and batten and then drape down the corner of the room. This creates a beautiful balloon garland backdrop for my party.
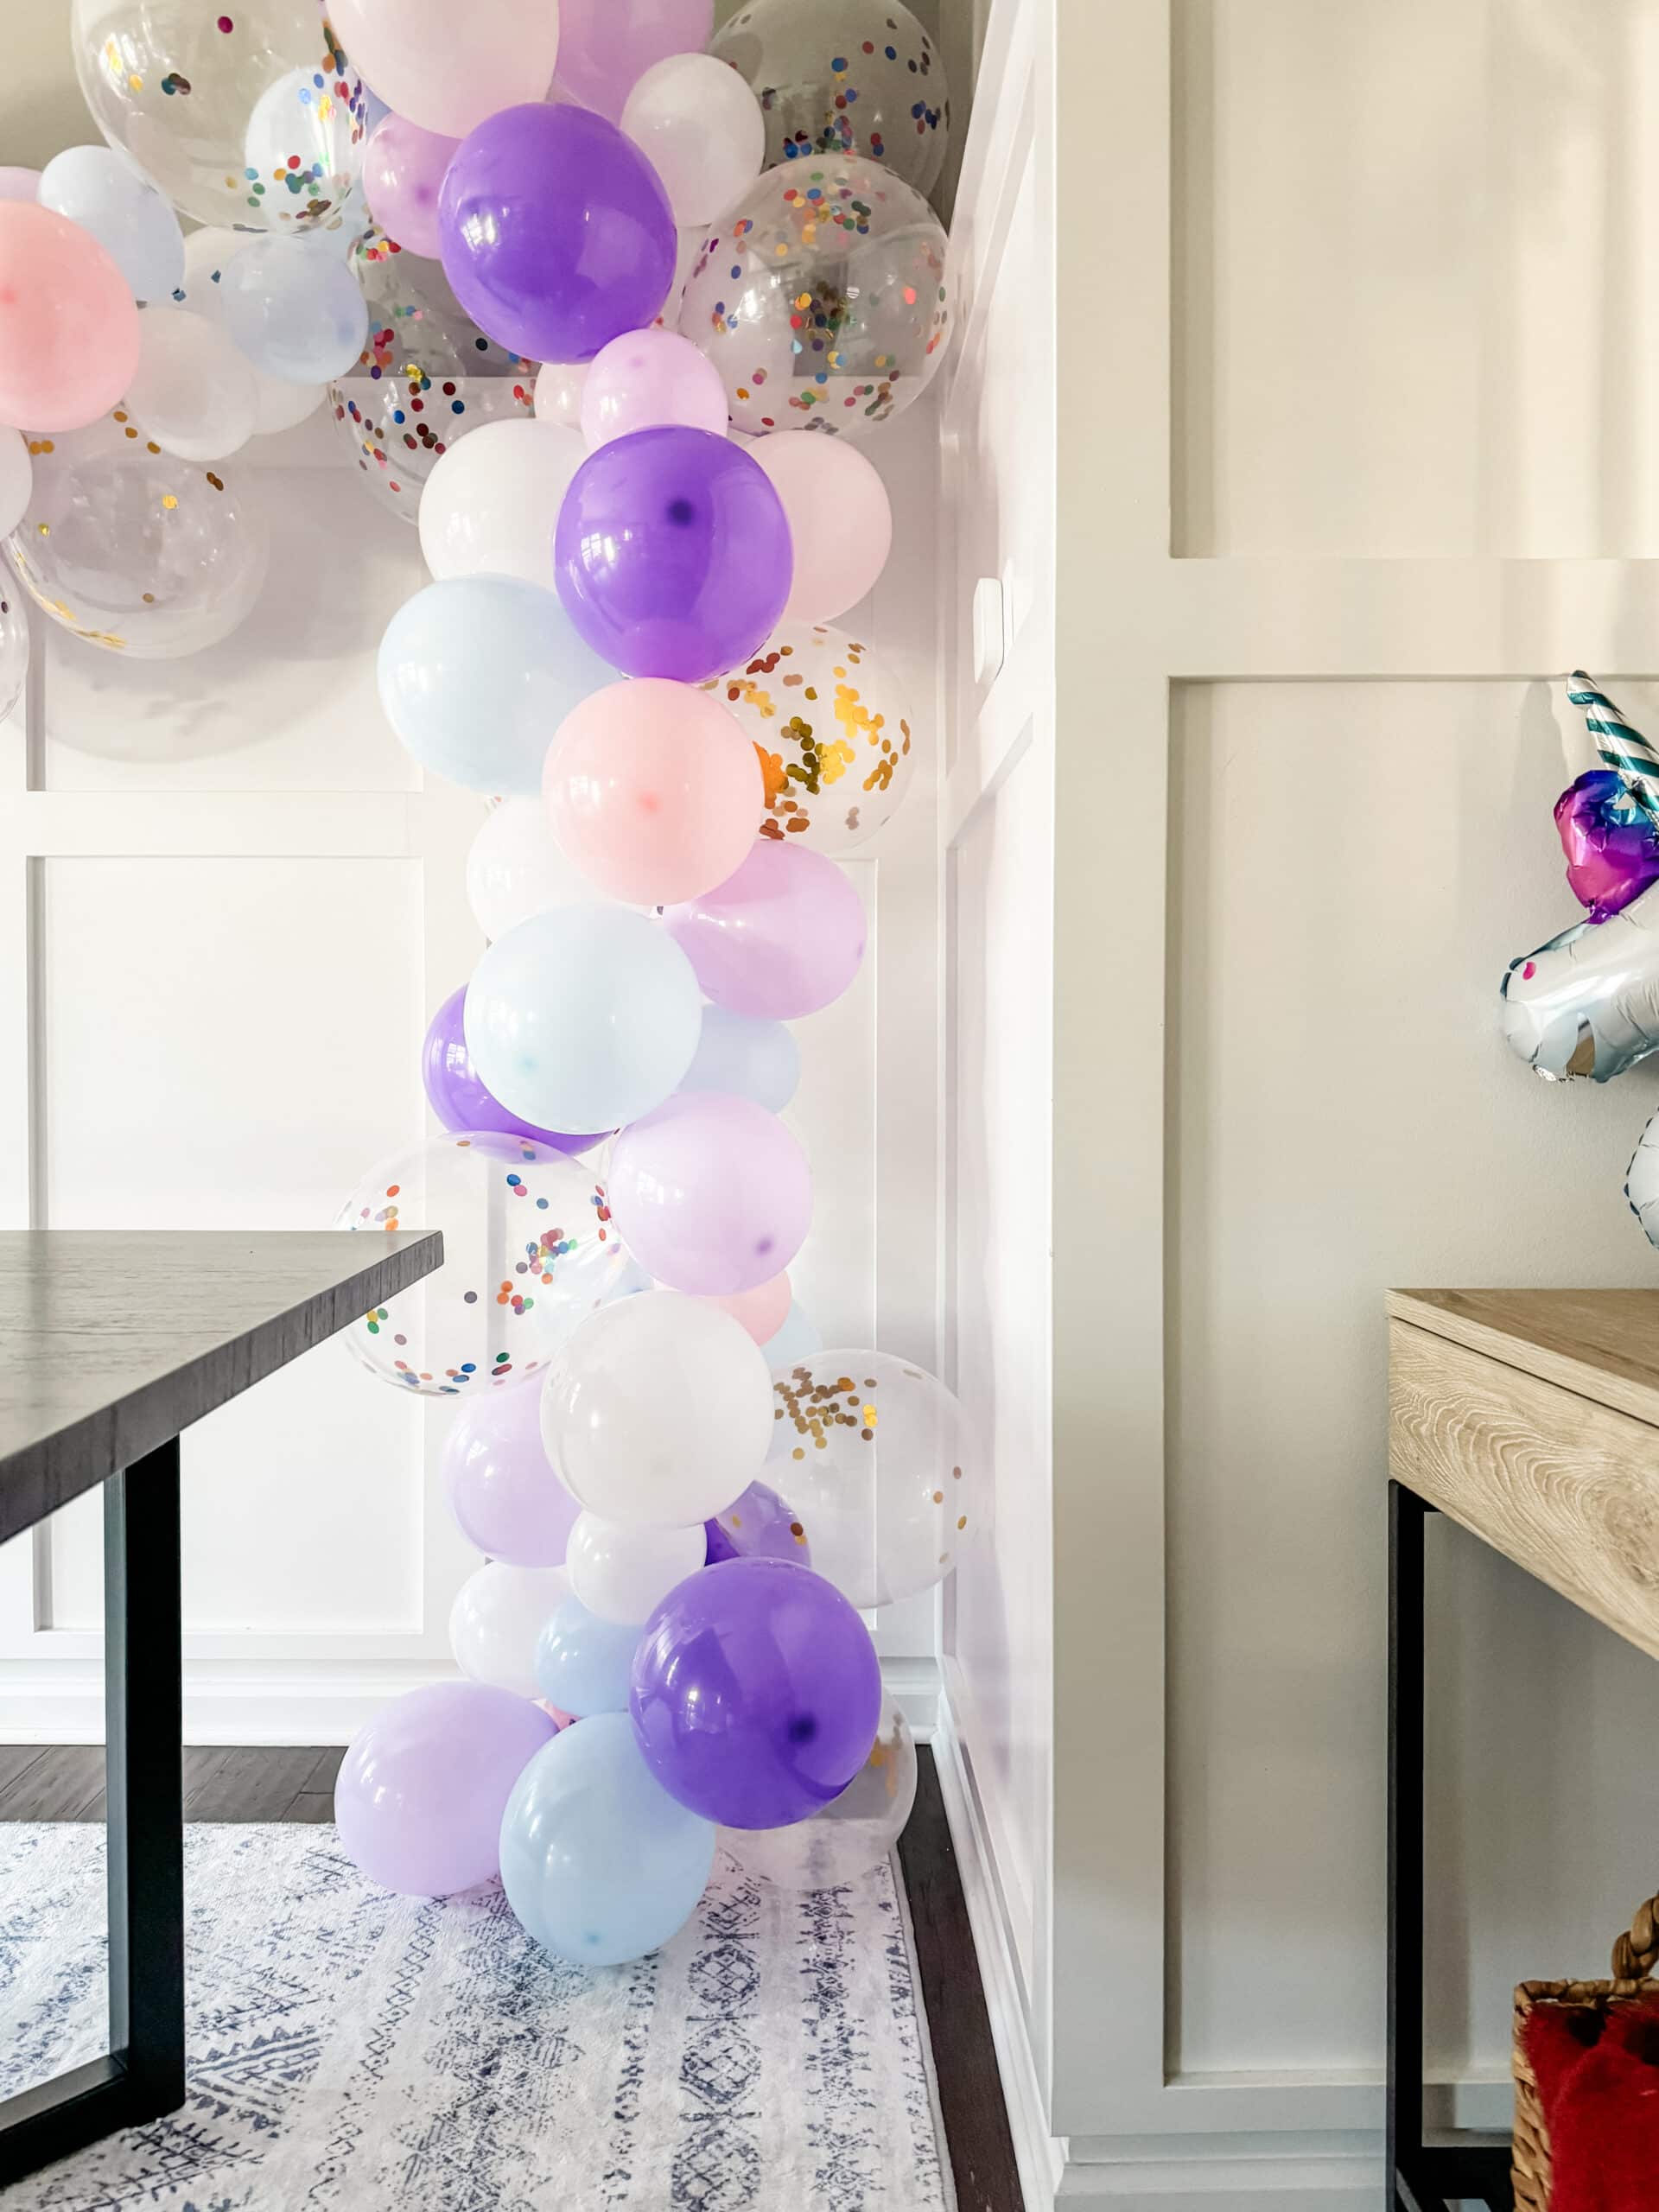
Bend and manipulate the strip to create the desired curve and shape. Don’t be afraid to experiment with different angles until you achieve the perfect look.
If you are looking for a more defined, standard arch shape for your balloon garland, consider purchasing a rigid rod kit that will give you a perfect arch shape.
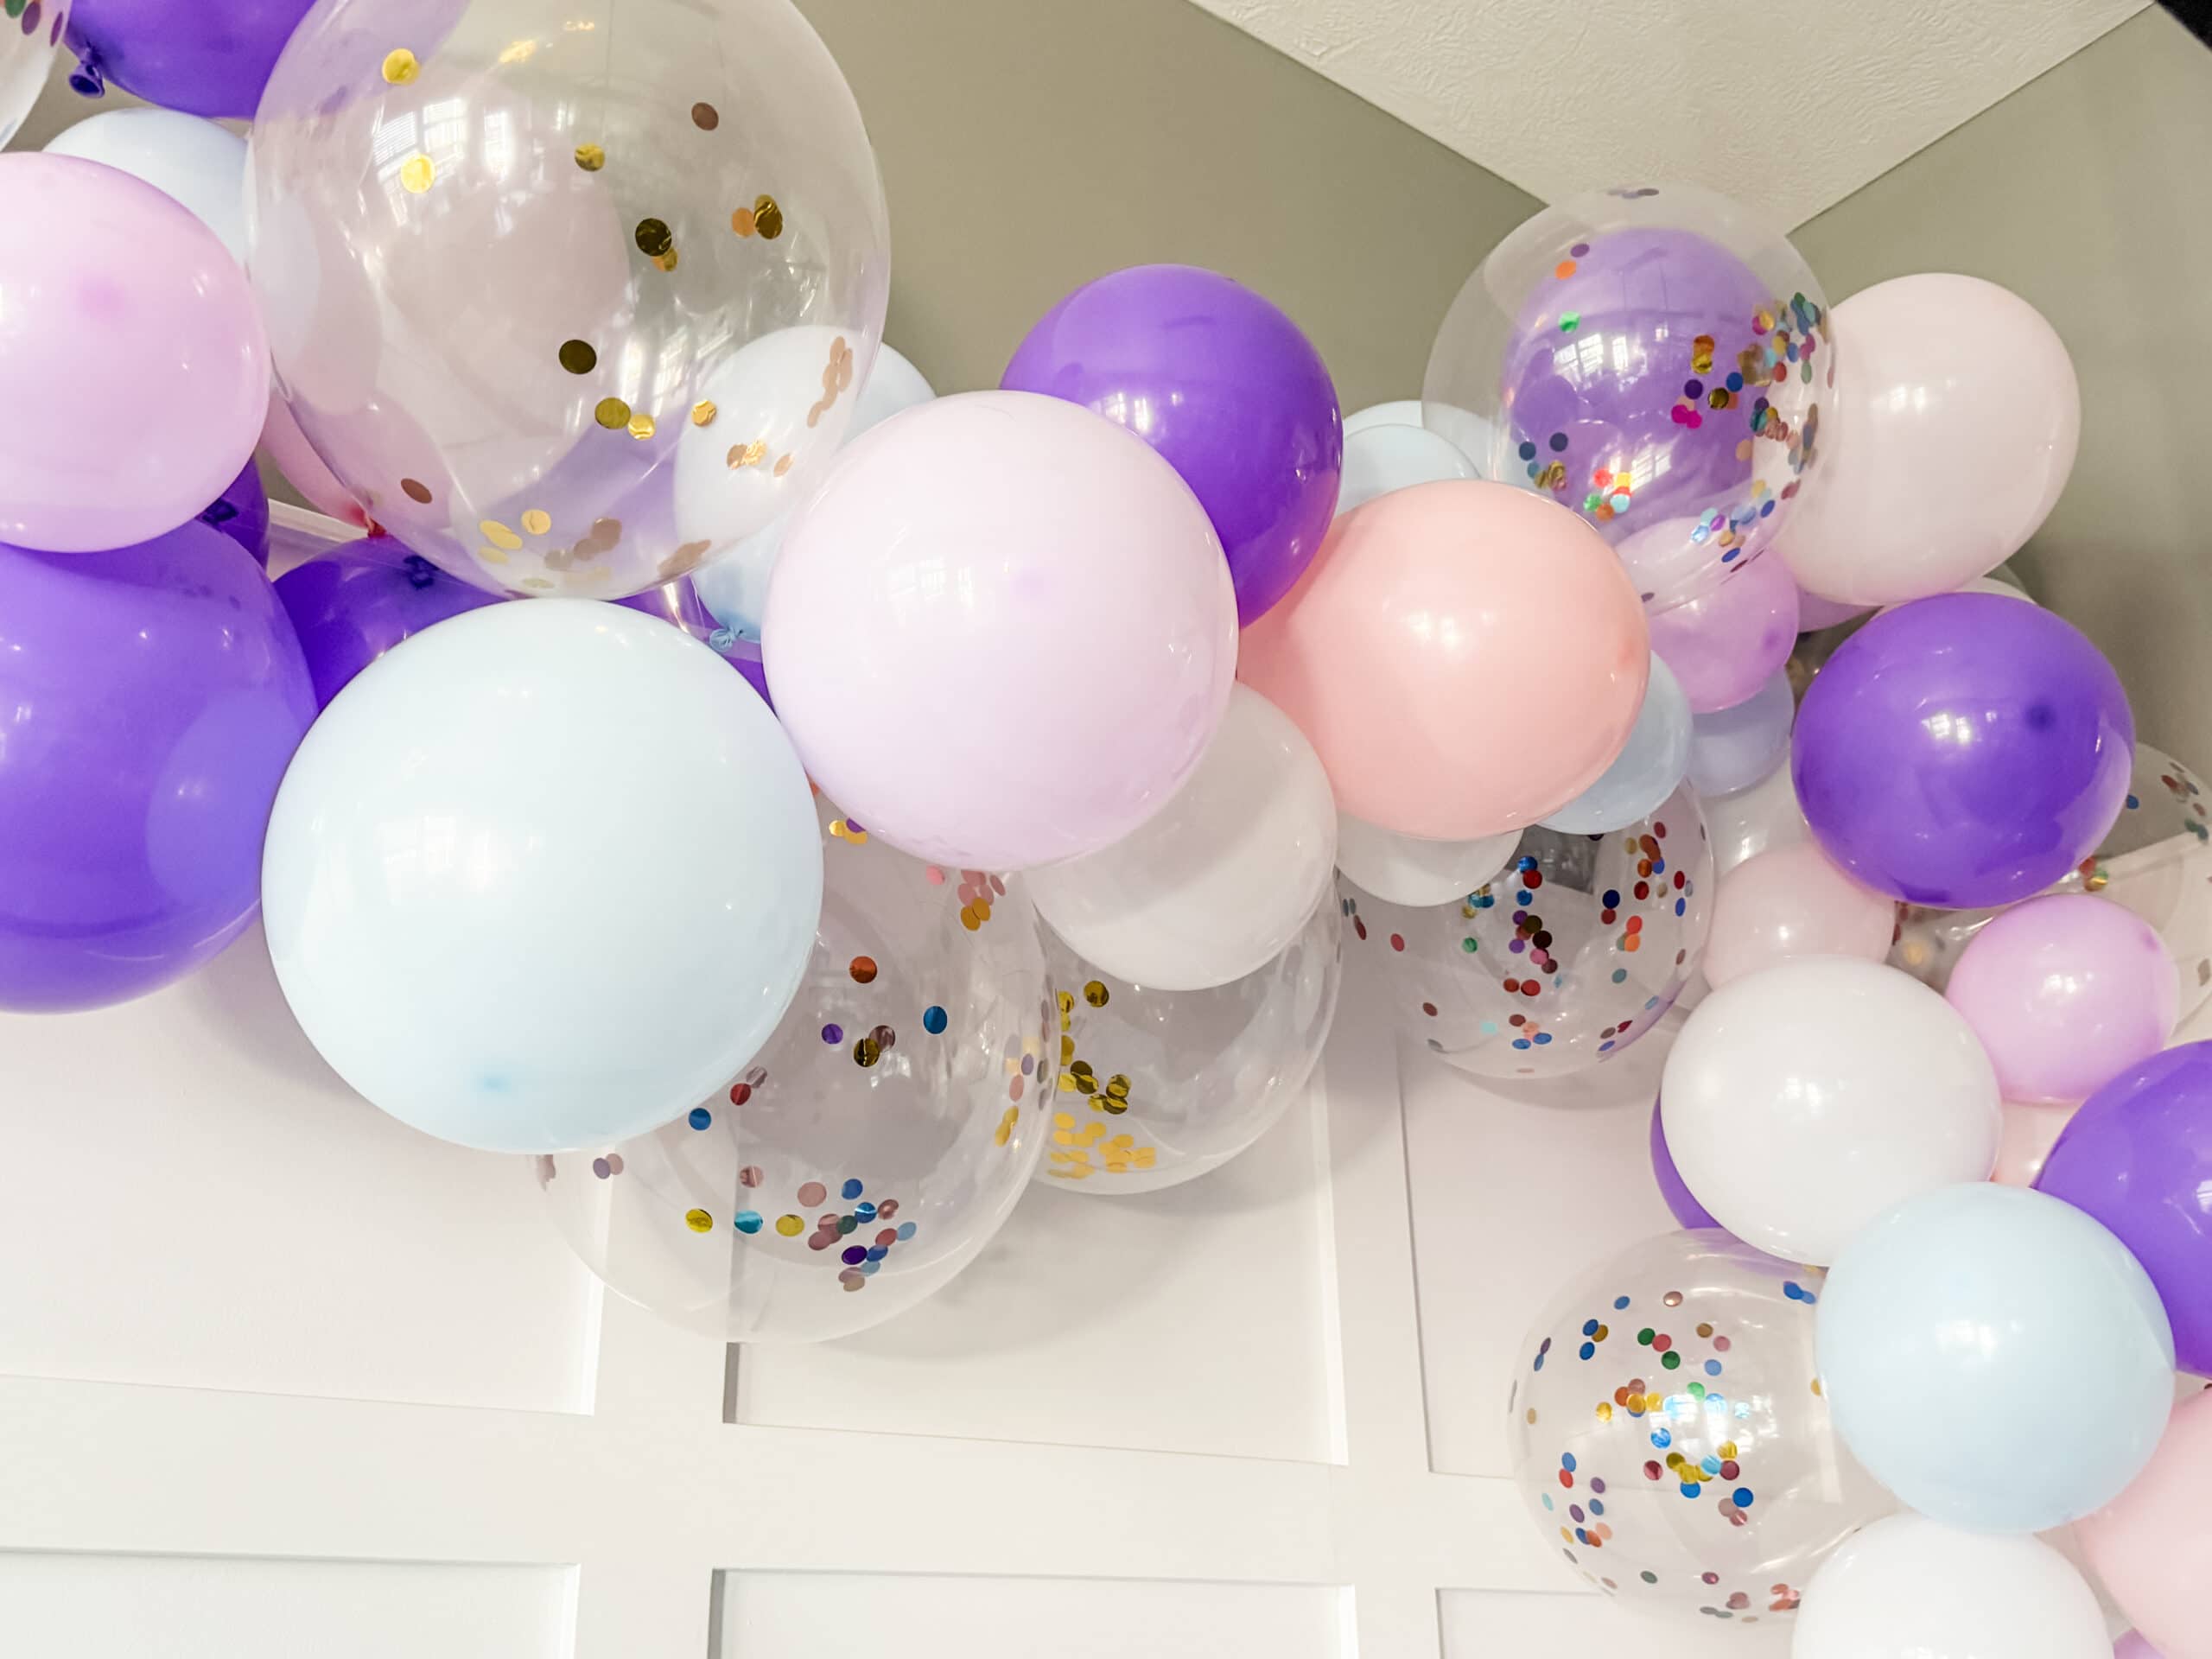
6. Hang The Balloon Arch
Once I have a shape in mind, it’s time to hang the balloon garland in place.
Attach a piece fishing wire or string to any spot on the garland that you want to be the peak of an arch.
For me, that is the left end of the garland, and then the arched part that I want to be in the corner of the room.
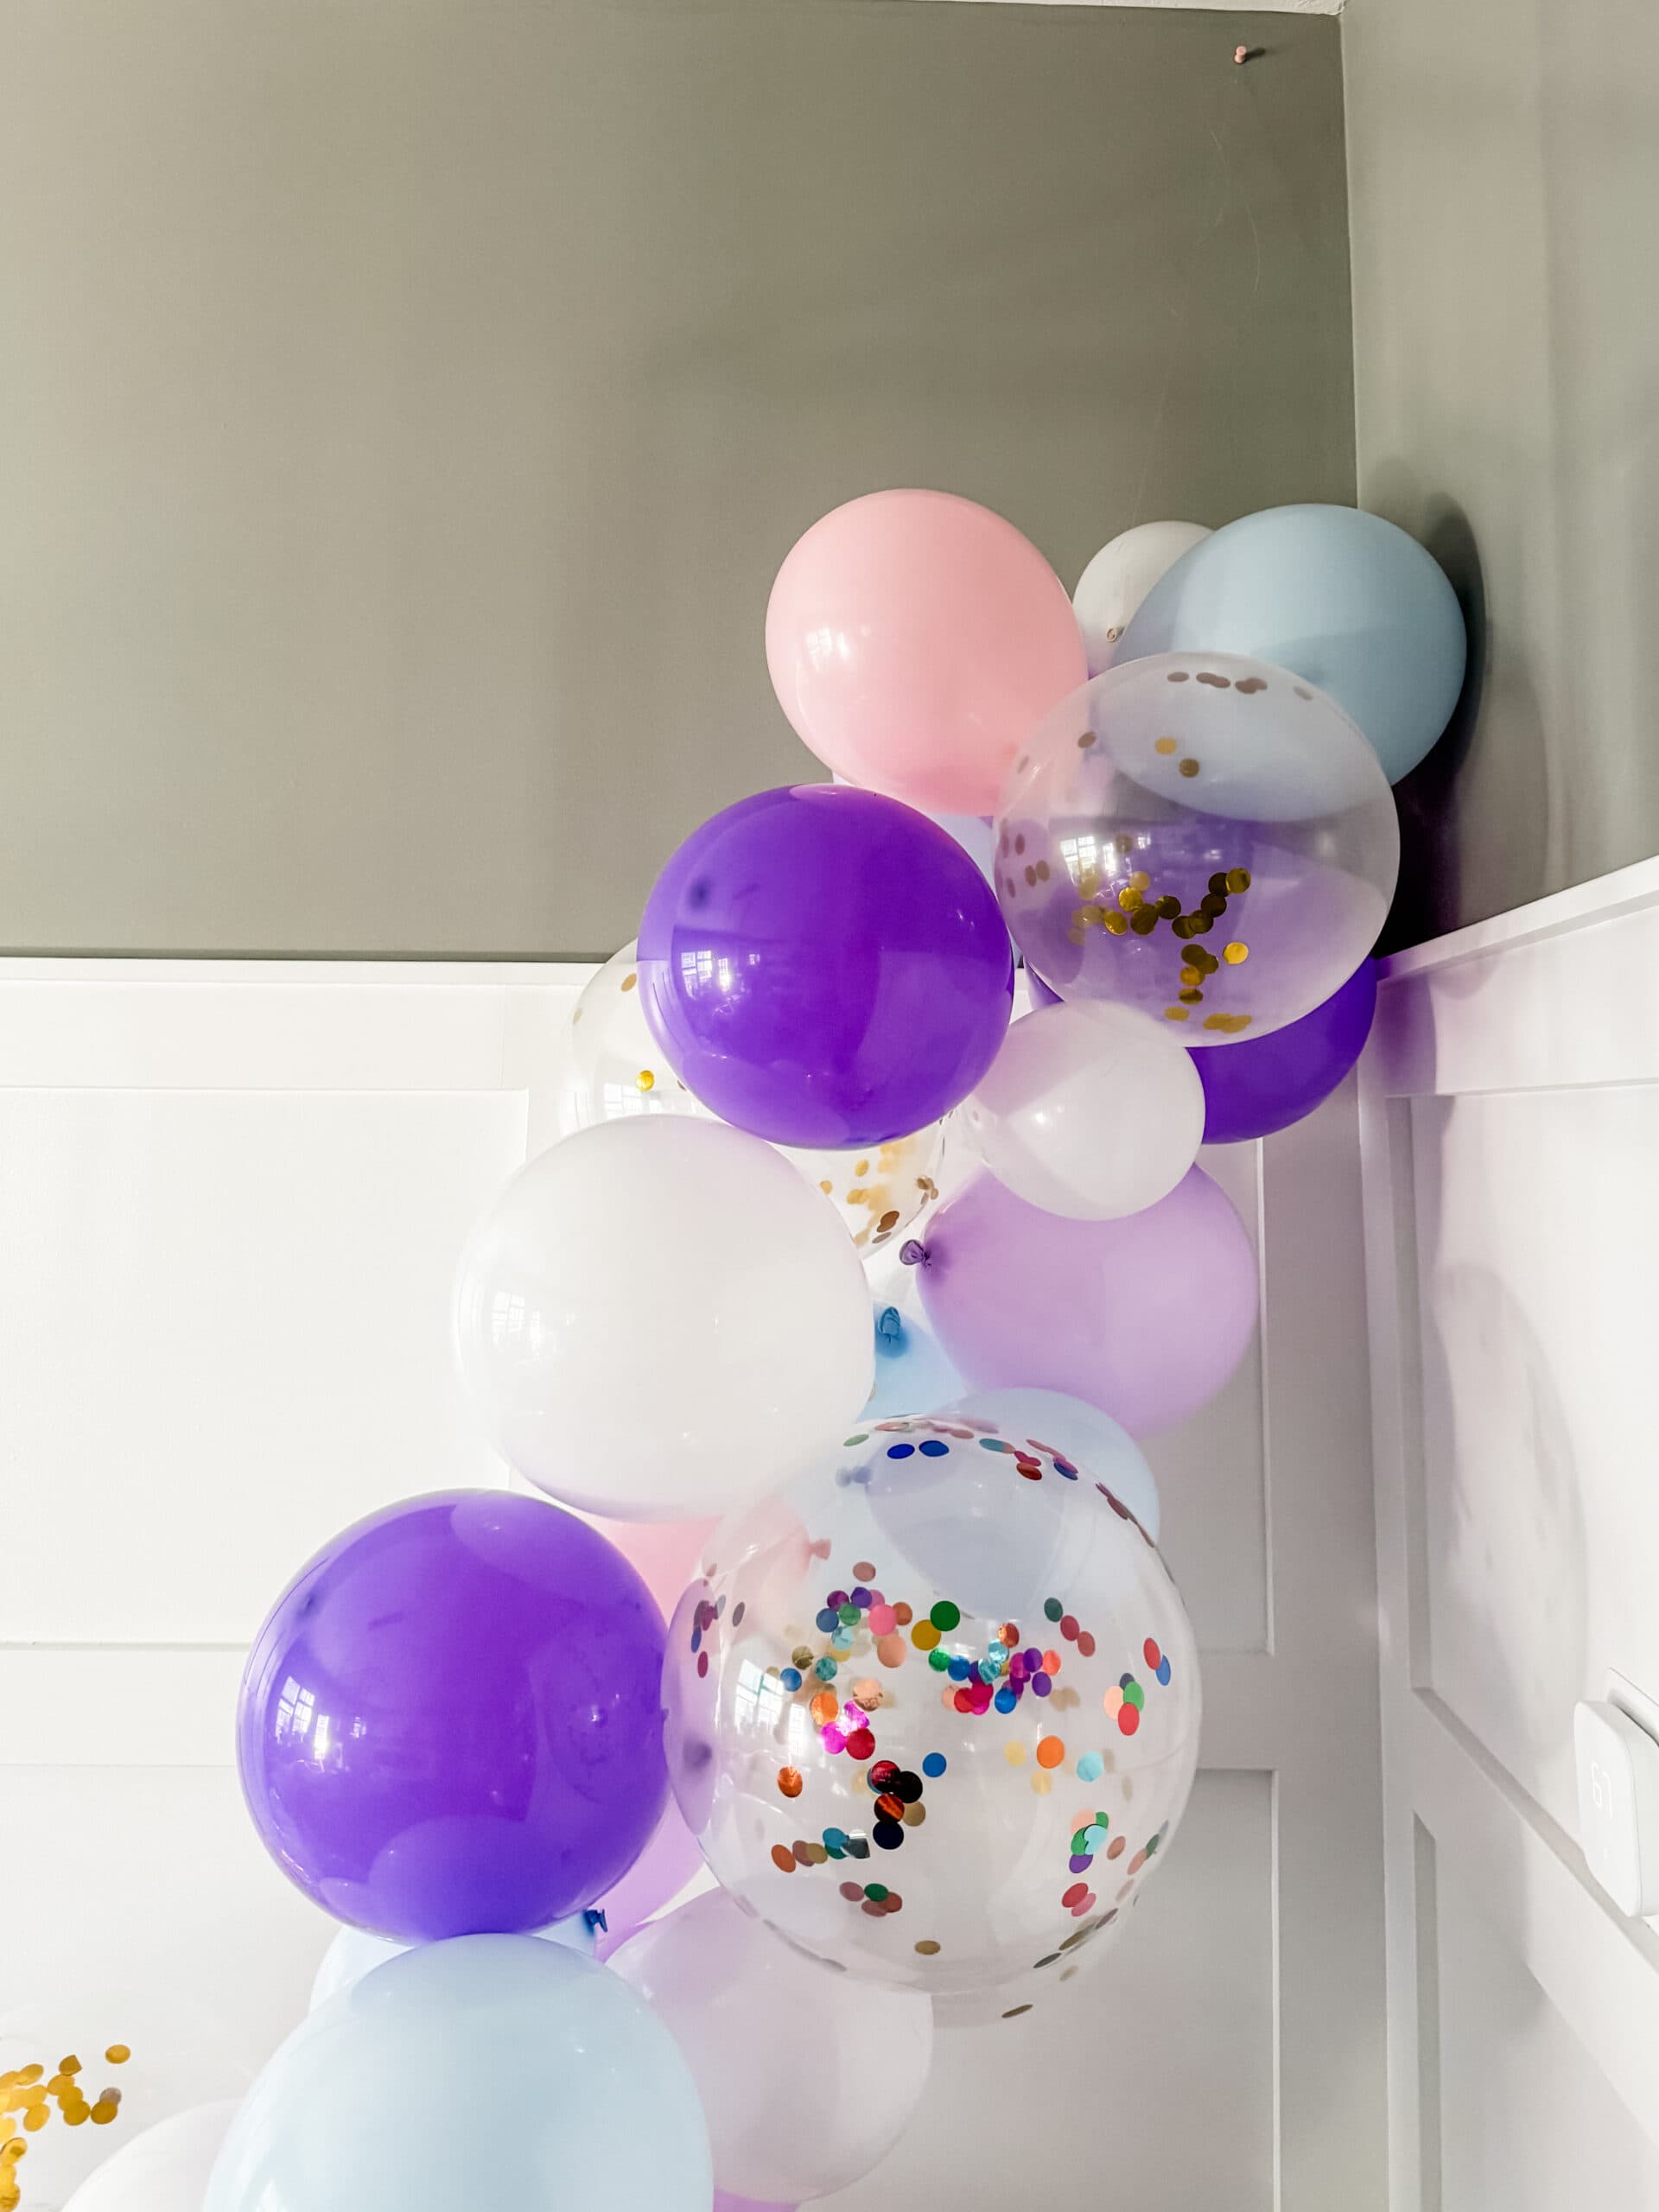
I will tie a piece of fishing line directly to the decorating strip. Then, I use a push pin to attach the string to the wall at the height I need to get the right look for my balloon arch.
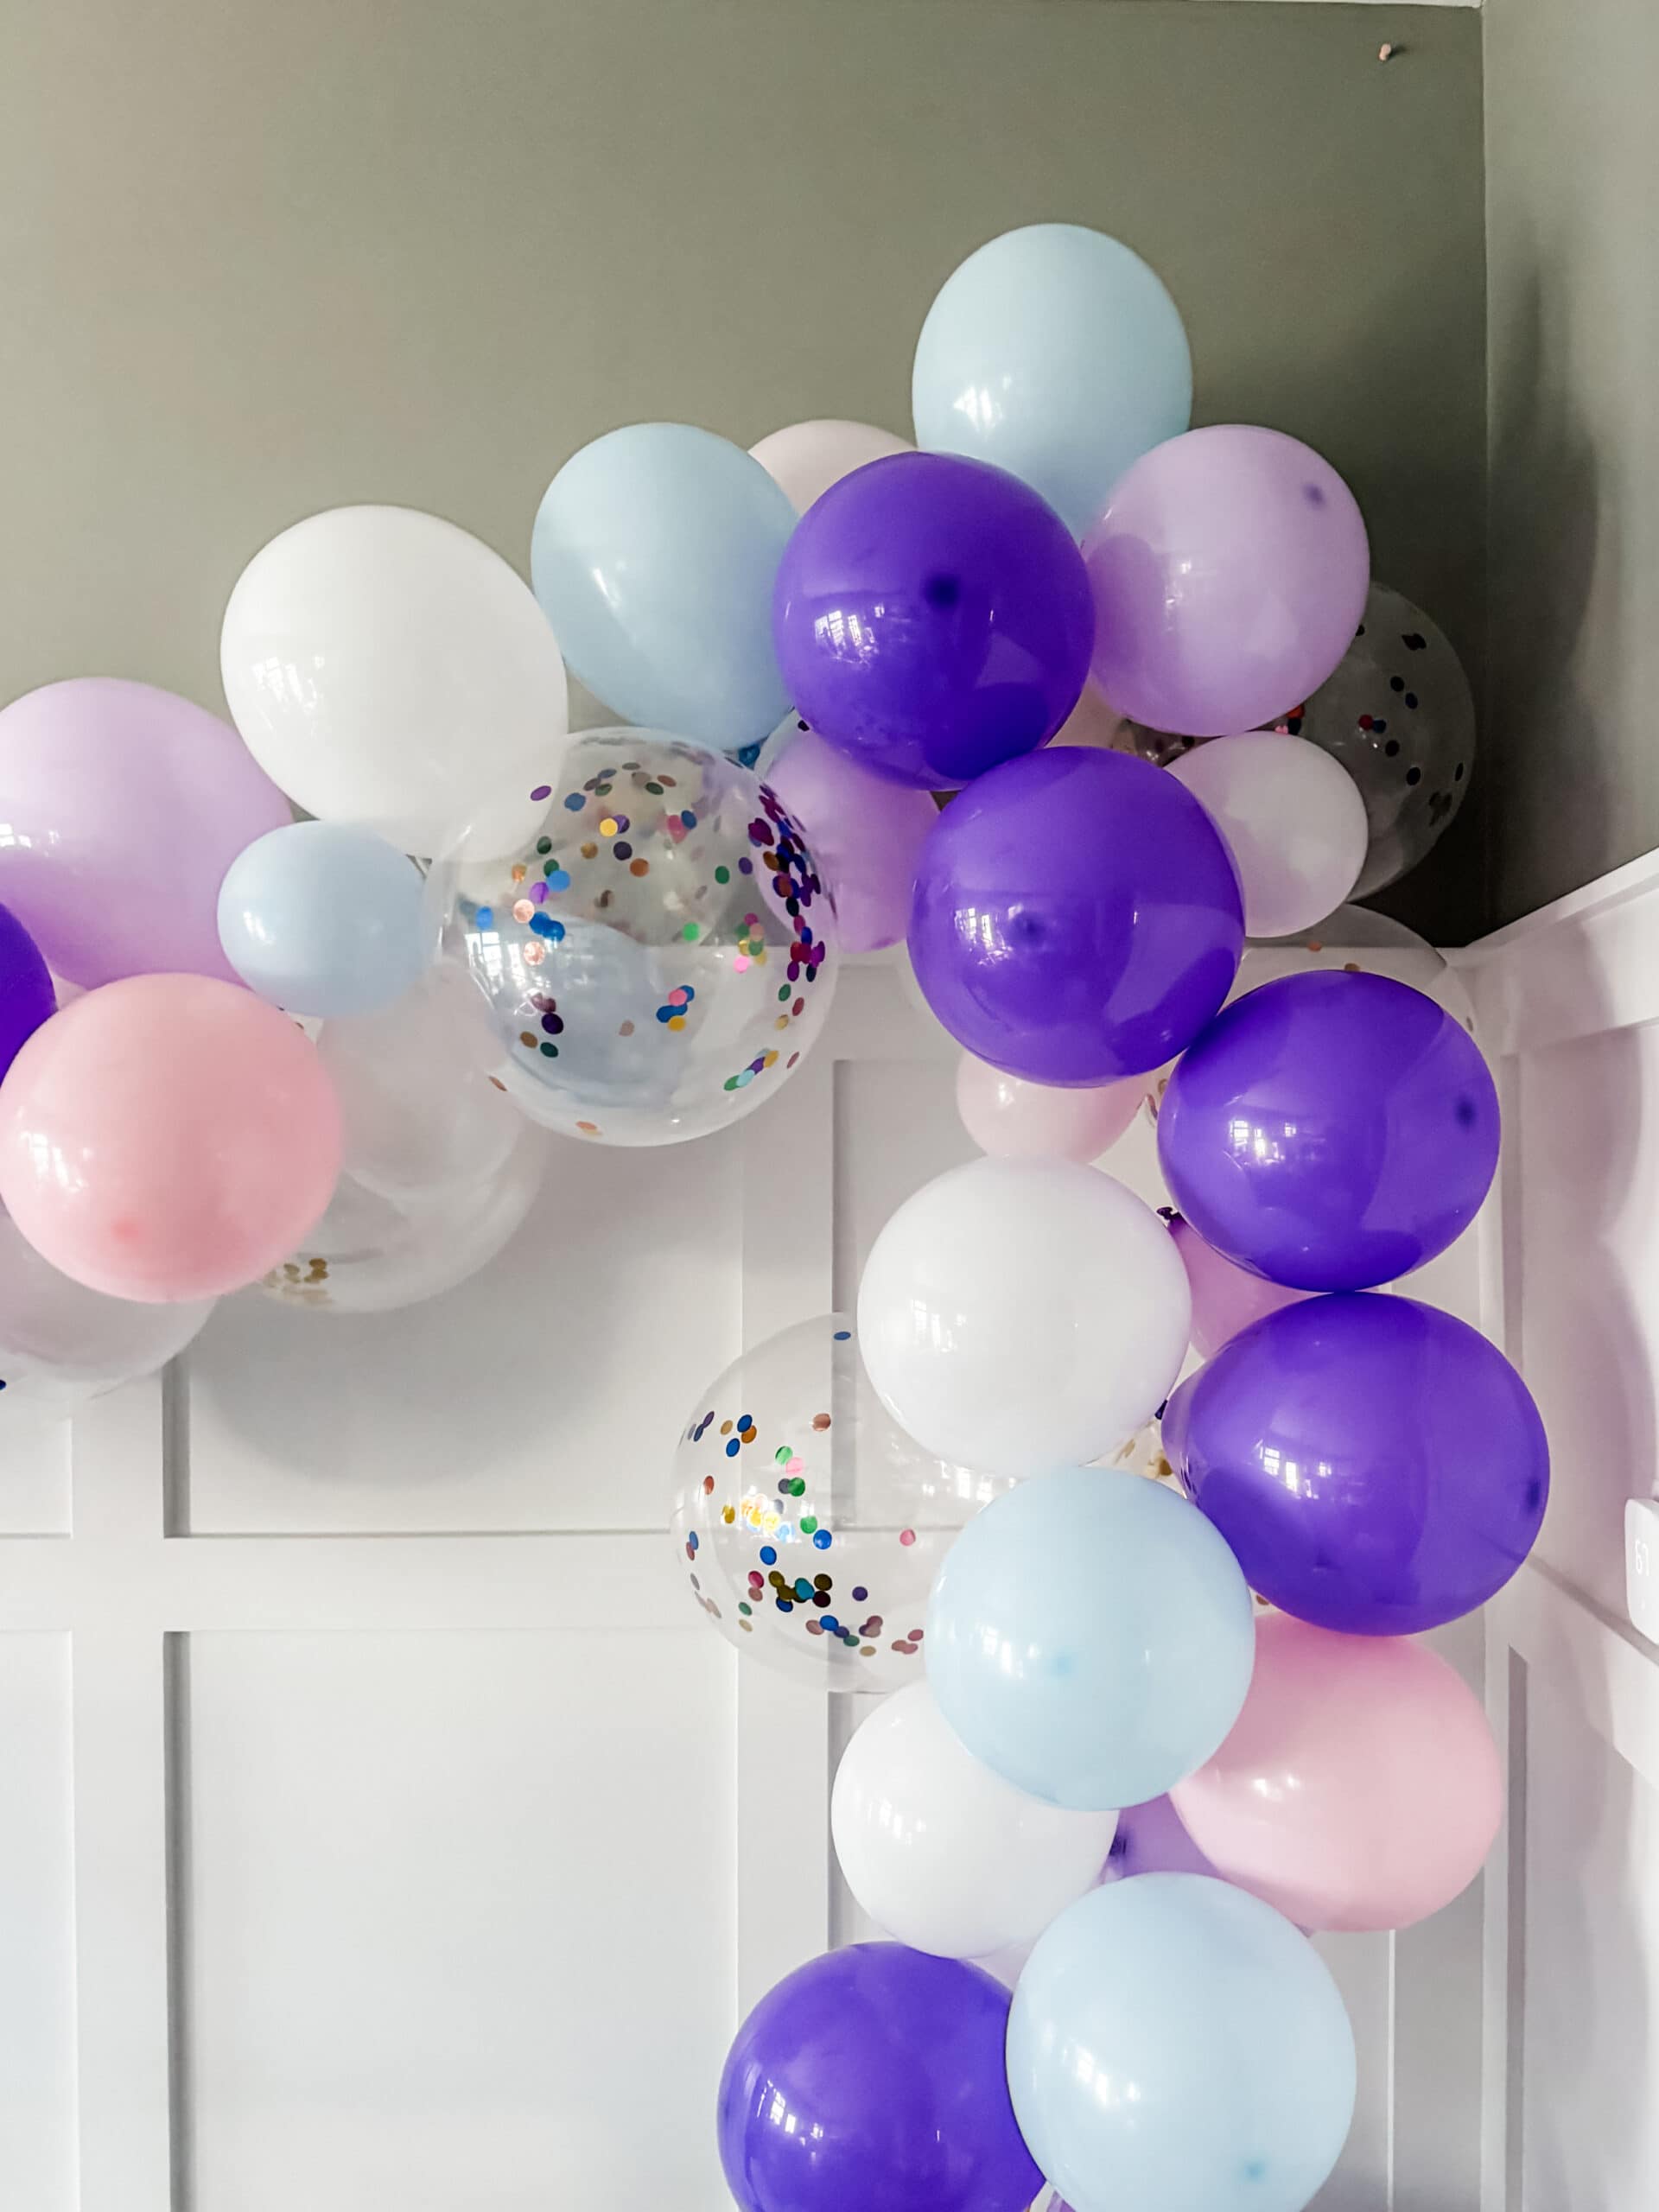
You can use command hooks or strips instead of push pins to hang your string in the desired location.
This takes some trial and error and adjustment to get the look you want. I normally will enlist my husband to help me get the arch positioned at the right height.
7. Add Final Touches
Once your balloon arch is attached in place, it’s time to add the finishing touches.
If your garland looks a little sparse in places, you can attach additional small balloons using the glue dots that come with the balloon arch kit.
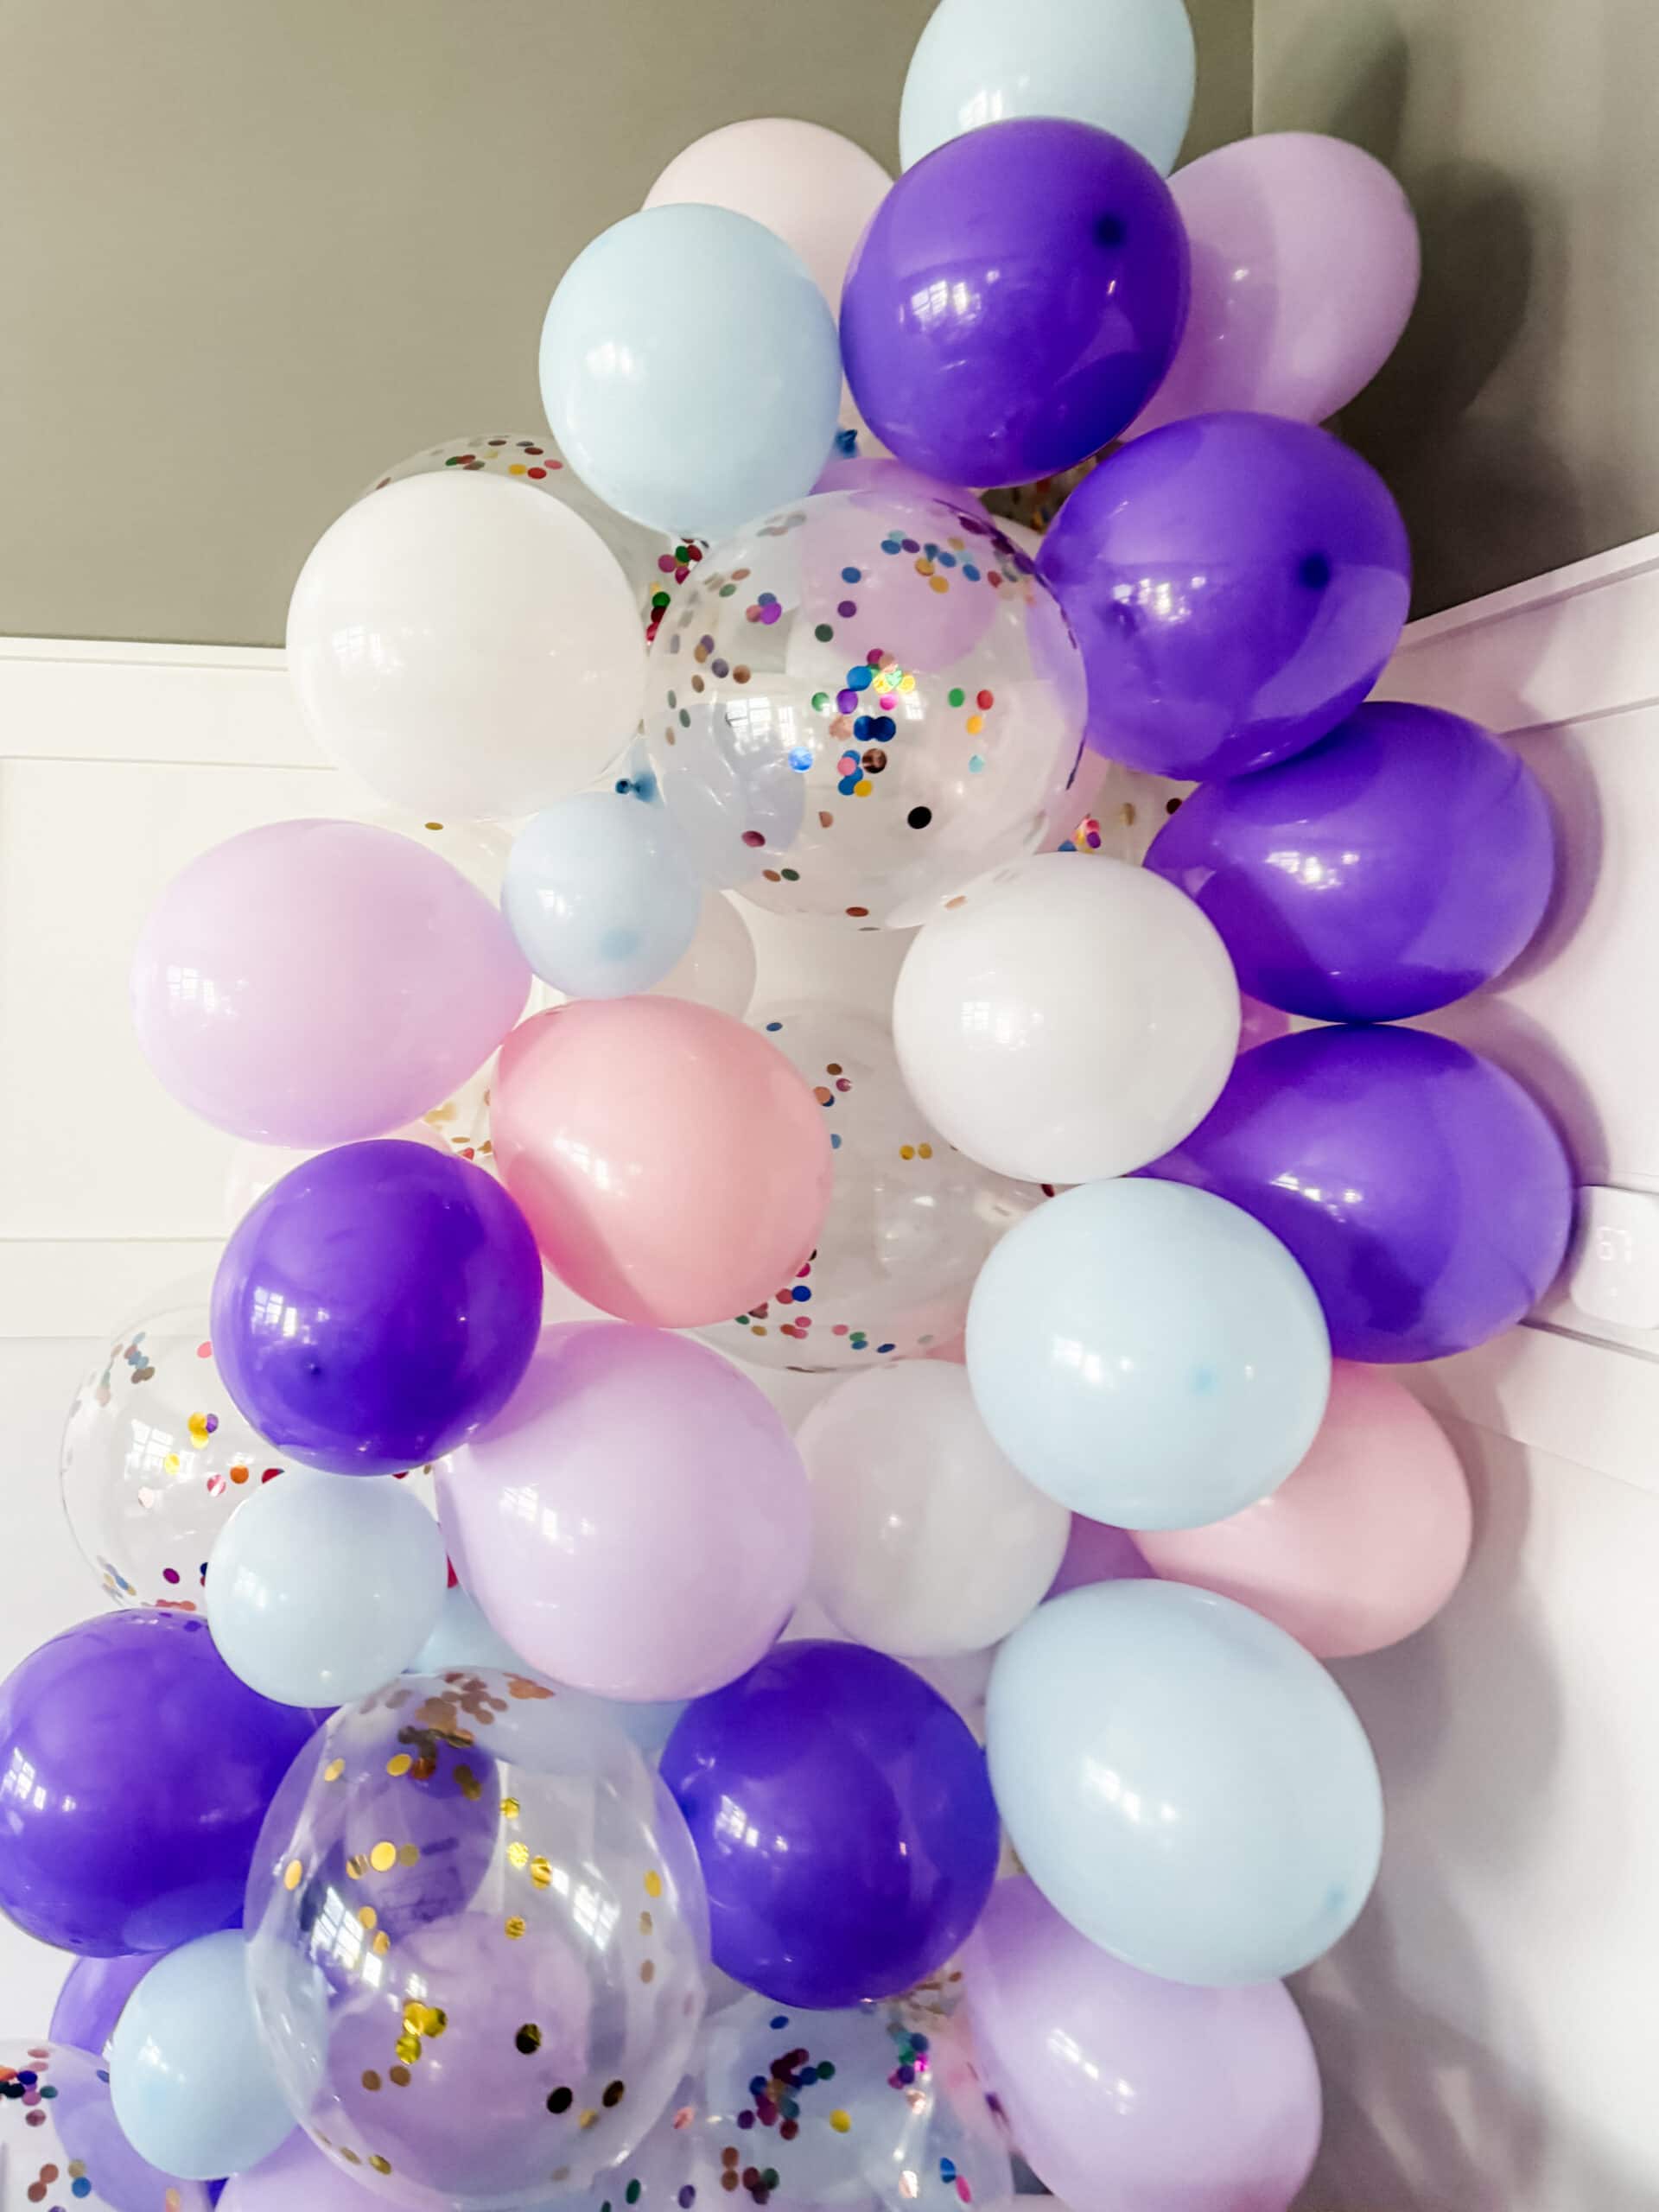
Just grab any smaller balloons that you didn’t use and stick them into any gaps to create a fuller look.
To make your balloon arch truly pop, consider adding faux flowers, faux greenery, palm fronds, or other decorations. Get creative and make it your own!
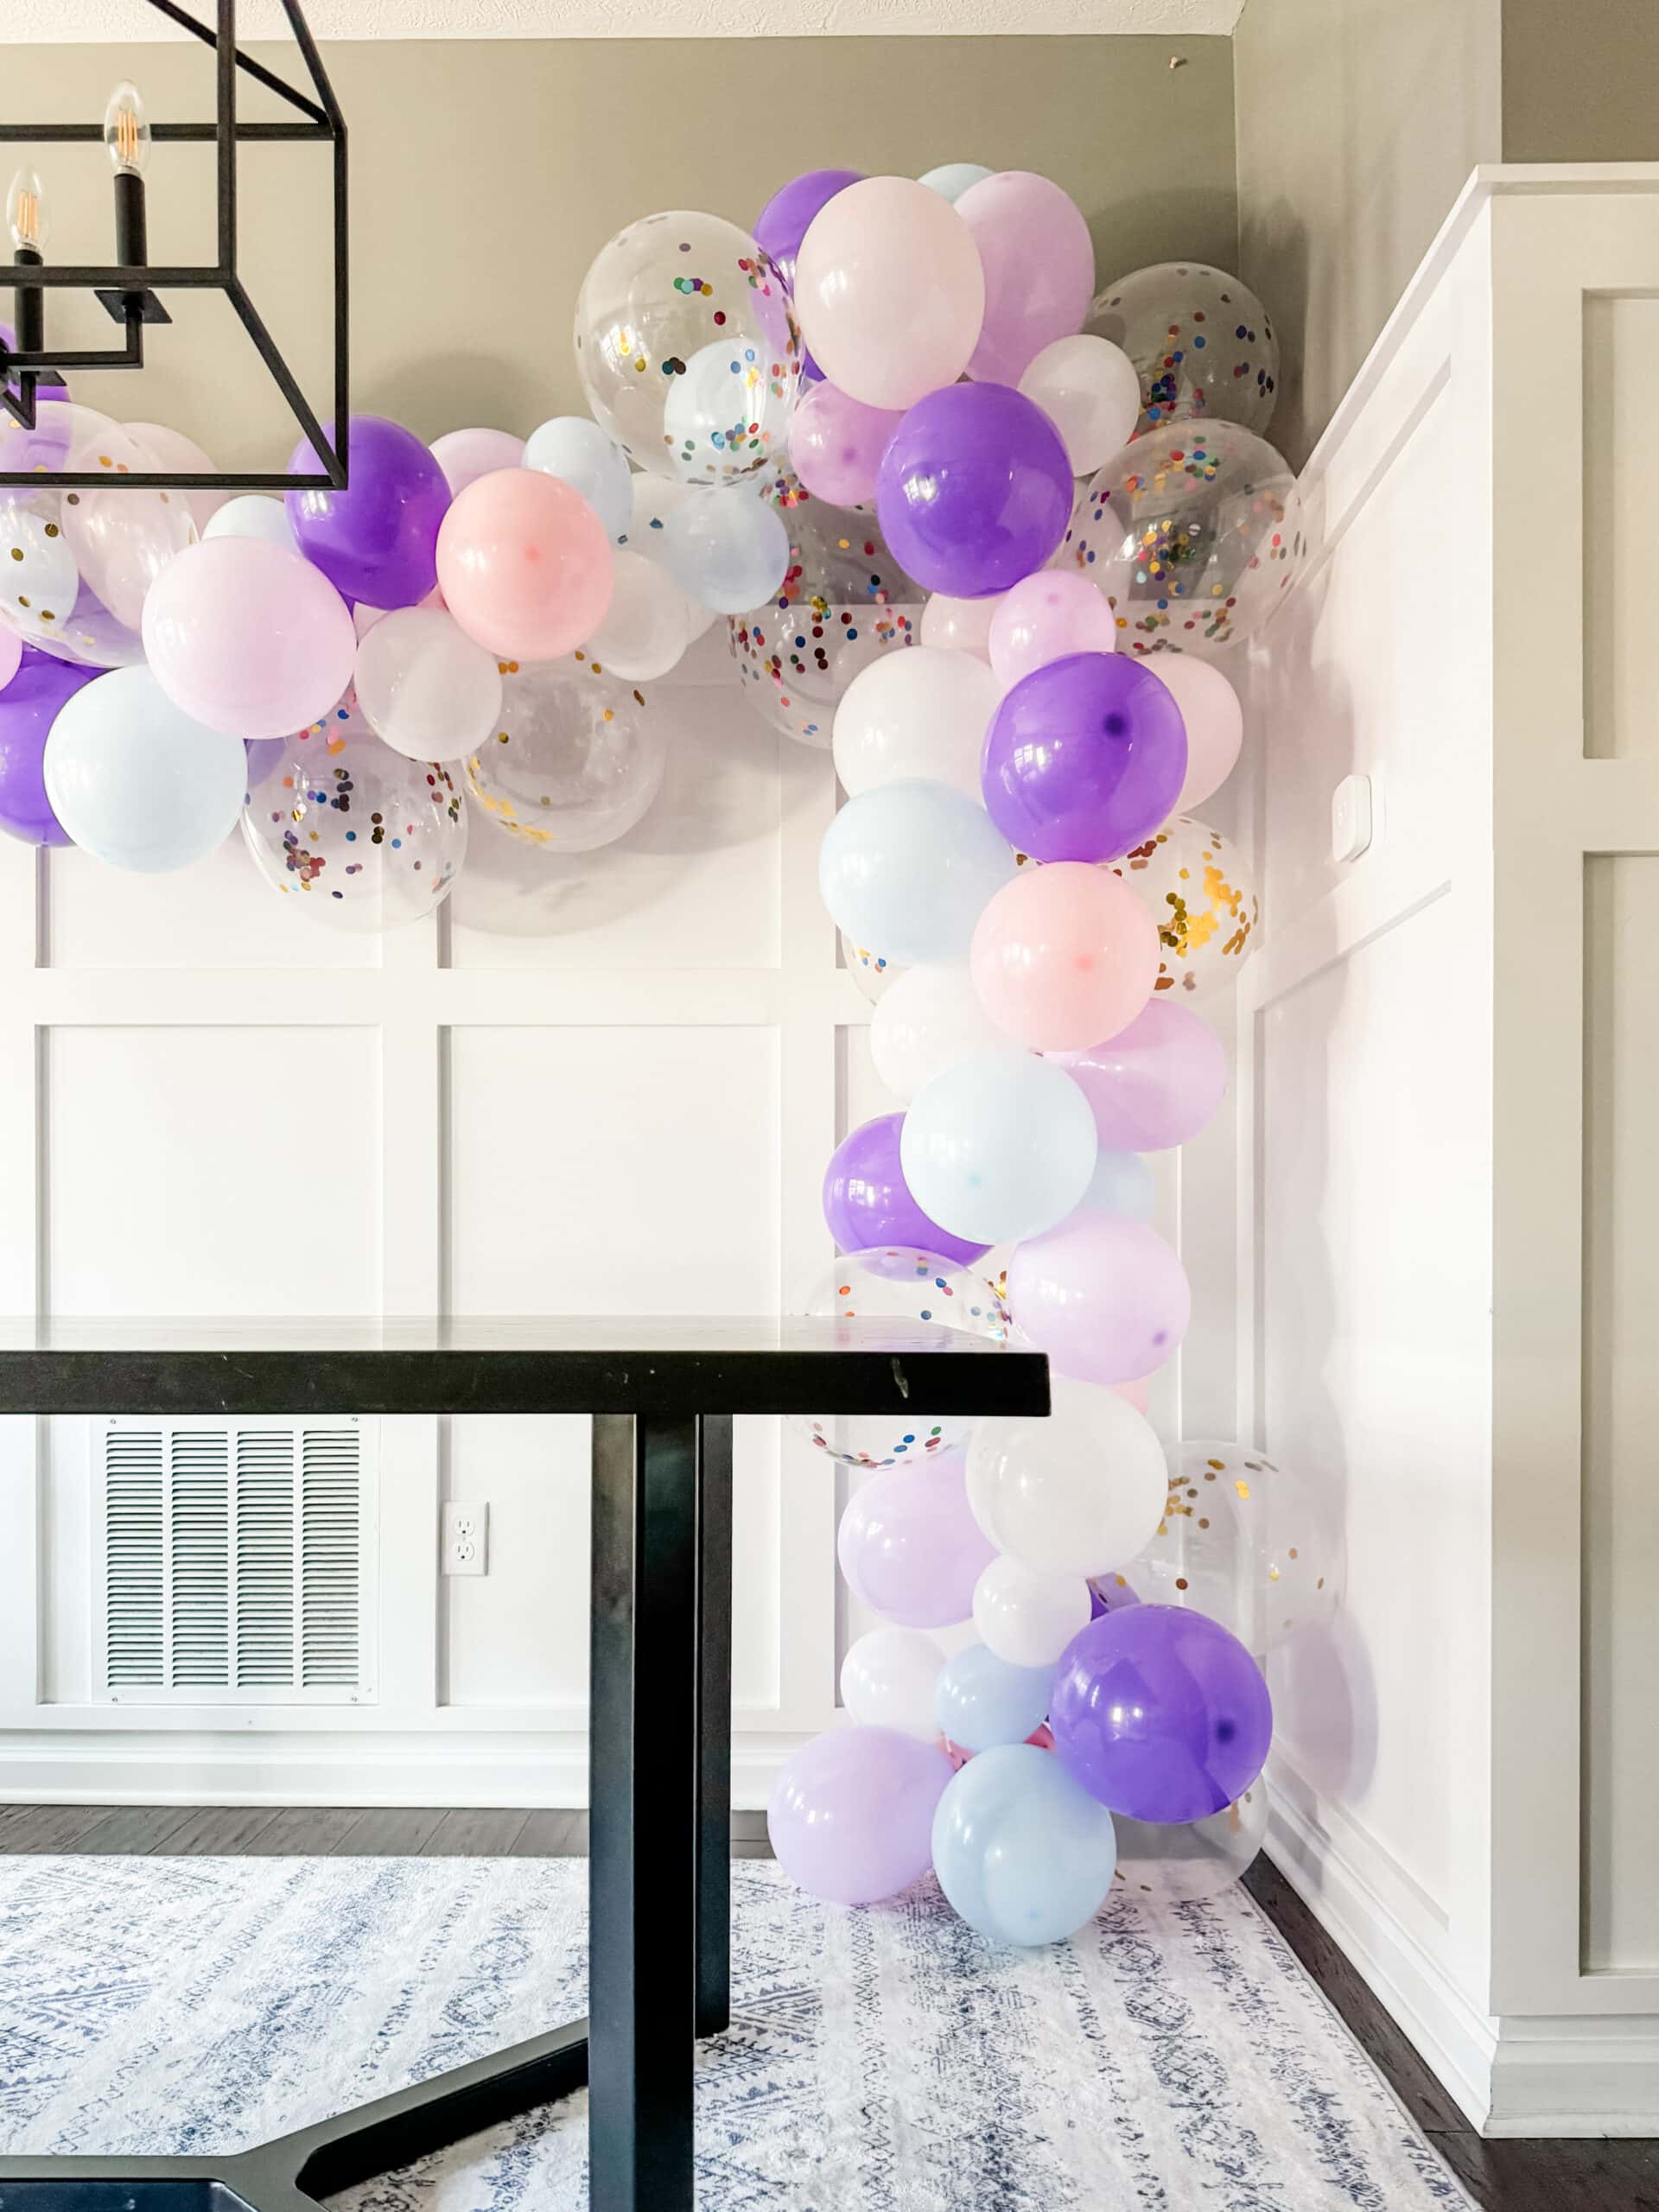
Many balloon arch kits come with embellishments that you can add to the garland to give it a little bit of extra flair.
Sometimes this includes additional mylar balloons that you can tape to the garland using balloon glue dots.
For a birthday party, I always like to add a large mylar number balloon somewhere nearby.
SHOP NUMBER BALLOONS
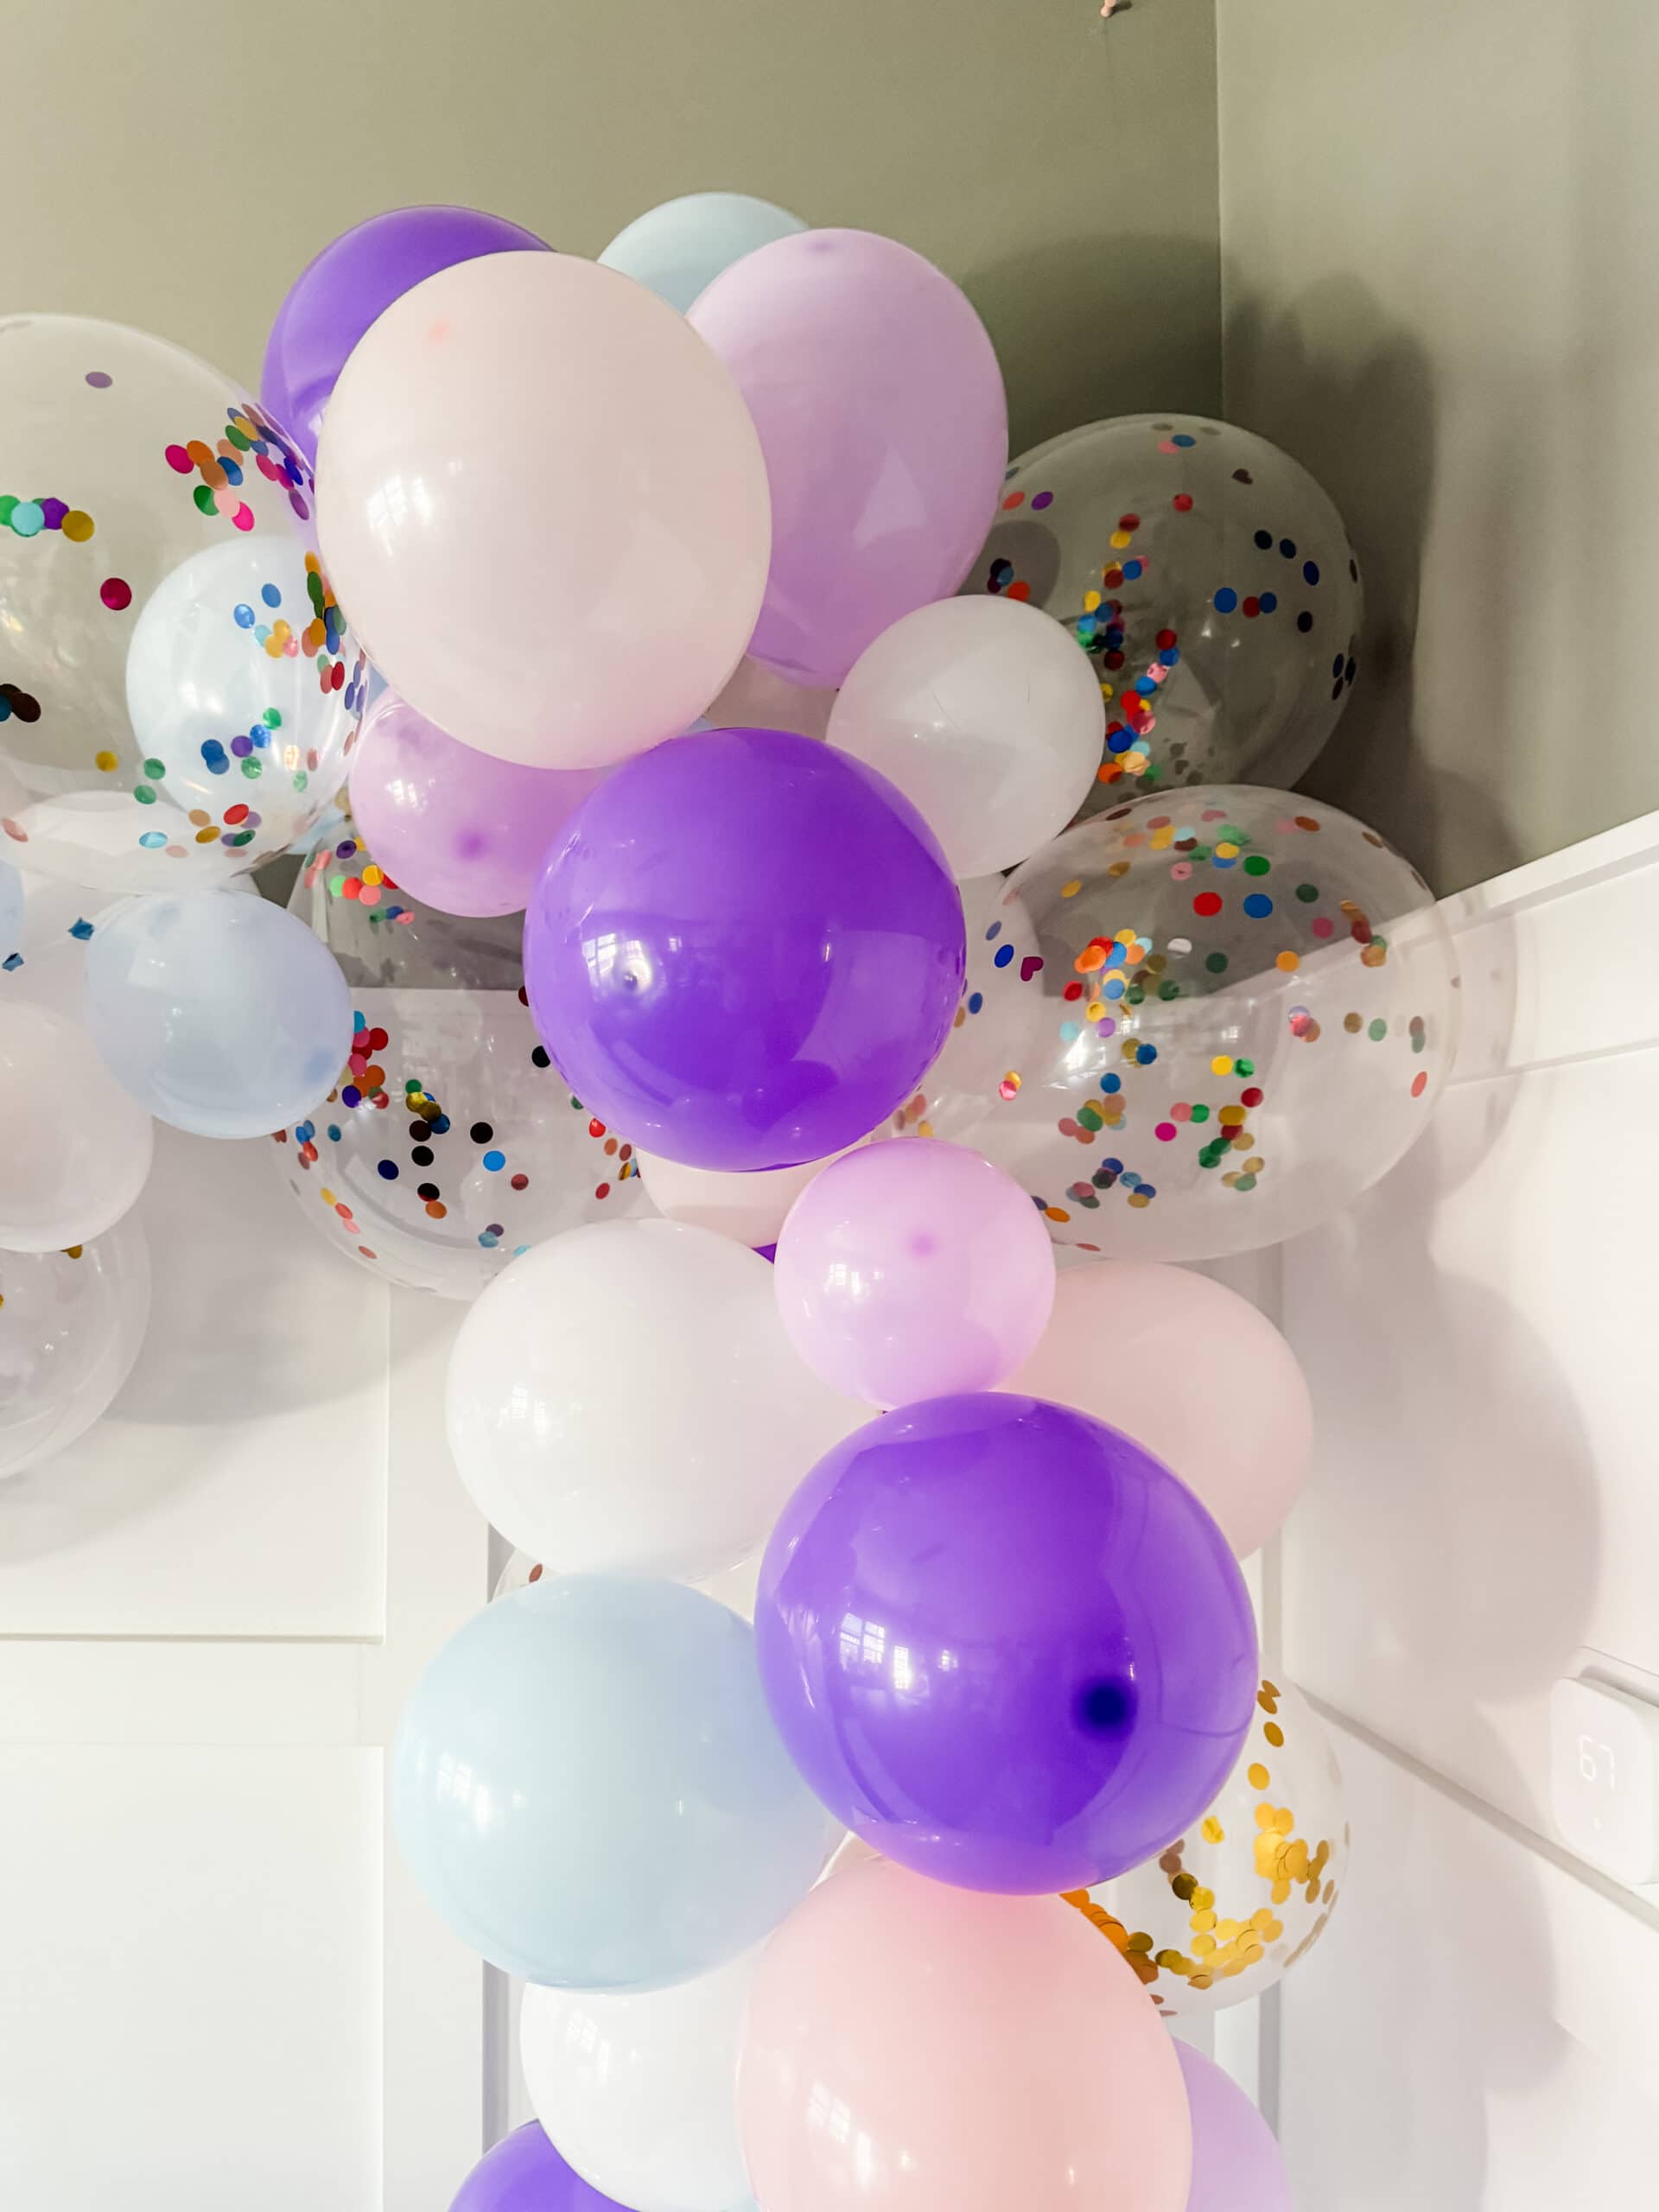
One of the best things about creating your own balloon arch is the opportunity to add your personal flair to it.
Whether you want to match it to a specific color scheme, incorporate themed elements, or experiment with different shapes and sizes, the possibilities are endless.
It’s a chance to let your creativity shine and make your decoration fit the vibe of your event perfectly.
Budget-Friendly Party Decor
Party decorations can quickly add up when you are collecting everything you need for an event.
A DIY balloon arch is a great, budget-friendly way to decorate without compromising on style.
With just a few supplies, you can create a stunning party decoration without breaking the bank.
FAQs: Common Questions About Balloon Arches
Q: How many balloons do I need for a balloon arch?
A: The number of balloons you’ll need depends on the size of your arch and the desired fullness. Normally, balloon arch kits will come with at least 100 different balloons to use.
As a general rule of thumb, plan for about 5-6 balloons per foot of arch that you want to create.
Q: Do you use helium for balloon garland?
A: While helium can be used for balloon garlands, I opted for air-filled balloons in this tutorial. Using air-filled balloons allows for easier assembly and a longer-lasting arch.
All you need is an electric balloon pump that can be used again and again for any future balloon garland projects. There’s no need to buy helium each time.
Q: How long does it take to make a balloon arch?
A: The time it takes to make a balloon arch varies depending on the size and complexity of the arch. With the help of an electric pump and pre-made kit, you can expect to spend about 1-2 hours assembling your arch.
I recommend assembling it the day before your party.
Balloon Arch Calculator
Balloon Arch Tutorial Conclusion
And there you have it – your very own DIY balloon arch!
Whether it’s for a birthday party, baby shower, or any other special occasion, a balloon arch is a fun and festive addition to your party decorations.
With just a few simple supplies and a little creativity, you can create a stunning balloon arch that will leave your guests impressed.
Balloons arches and balloon garlands are an easy way to make a party backdrop. They make your event feel fully decorated with minimal effort.
So, what are you waiting for? Grab your balloons and start creating your own balloon garland!
Remember, the sky’s the limit when it comes to balloon arches – so have fun and get creative!

