Today I’m going to share with you a quick project that we did to start the office transformation. The plan for the office space is to create a workspace for Ben with an additional seating area. Ben’s style is minimal and he likes calm colors and industrial accents. Our idea is to create an industrial masculine office space that will fit Ben’s style and function as a comfortable and calming space for him.
The room overall is fairly small and Ben’s desk takes up a large section of the room. One nice feature is that the room has a full closet, which gives us a lot of storage to work with.

Next to the closet, there is a “nook.” The “nook” was one of the first things that Ben and I wanted to work on after we saw it in the model home. It just so happens to be the perfect size for a twin-xl bed. We love the idea of having an extra space when guests come to visit so we decided that we wanted a built-in daybed with a bold accent wall behind it. Day to day it will function as a seating area for the office with lots of pillows along the wall. When we have guests come to visit, it can be used as a bed.
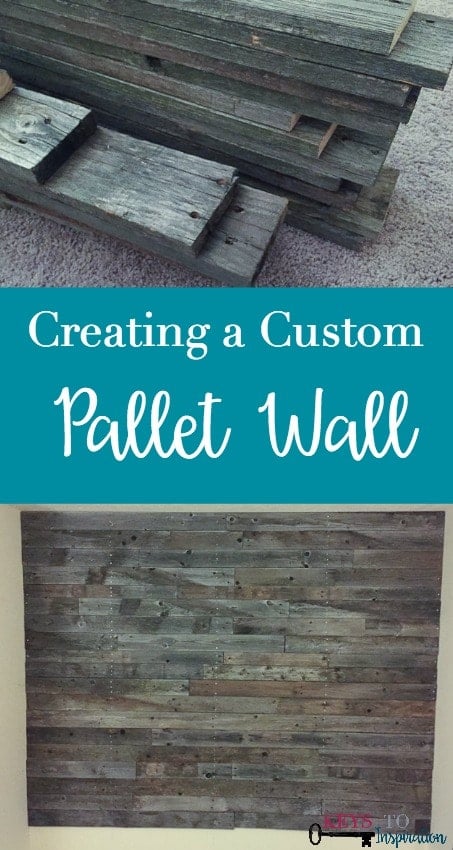
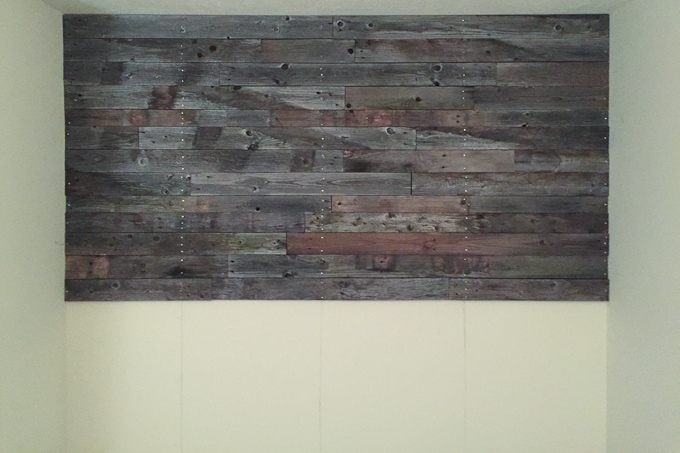
Ben and I made some plans for building the daybed, which I will share with you in a future post. Today I’m going to share with you the first part of transforming the “nook” – the bold accent wall using pallet wood.
Materials for pallet wall
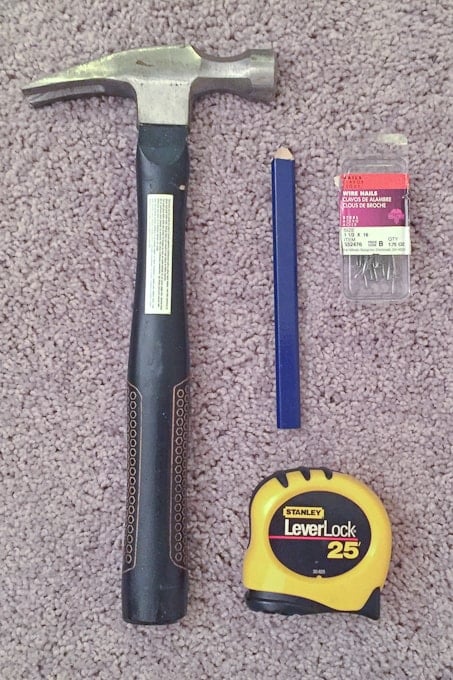
- Pallet wood
- Miter saw
- Hammer
- Stud Finder
- Pencil
- Nails
The pallets that we used for this project were from Ben’s workplace. They get tons of pallets all the time and they are just thrown outside when they are no longer needed. They were free to dissemble and take. If you don’t have a free pallet wood source like this, try to find a manufacturing plant or a recycling yard. Many places simply stack their old pallets in the back and let them sit. Another option for this type of wood would be from anyone who is rebuilding or repairing a barn, or updating an old fence.
Now, Ben is going to discuss some guidelines when choosing pallet wood for your project.
Hi everyone! This is Ben and I have some IMPORTANT information to discuss with you about choosing the correct pallet wood for a project. Please make completely sure of the type of treatment your boards were put through. If you are looking at any barn, pallet, or fencing wood, there is a good chance that the wood has been treated in some way. ONLY use wood that has been heat-treated. This is the easiest to prove with pallets because they are required to be marked for the type of treatment they receive during manufacturing. “HT” stamped on the side is what you are looking for – this means it has been heat-treated. “DB” stands for debarked and those pallets are also ok to use. If you see any other letters, look them up and be sure you know what the wood has in it. Many pallets are labeled “MB” and treated with methyl bromine compound that has cumulative heath risks.
Ok, I’m back! Thankfully, the free pallet wood that we were able to get was already heat-treated. It’s so important that you confirm this because you don’t want to introduce unhealthy chemicals into your home. Now that we’ve stressed that point, back to the project.
The best part about the pallets that we found was their color. A lot of pallet wood that I have seen is brown and can sometimes be a lighter shade. The wood that we were able to salvage was slightly darker and had gray undertones. It was perfect for our home since we lean more towards modern and contemporary styles rather than super rustic styles.
Wood tones are so beautiful in modern spaces because they add warmth and texture. We knew that we wanted to incorporate wood somehow in our office design. The “nook” was the perfect spot to add some interest and texture.
The first thing we did when we got the wood home was use the miter saw to cut the ends of the boards. We cut off the excess uneven edges and made each board square and straight. It’s better to have all of the boards this way because it makes fitting them together on the wall much easier.
Once all the boards had been squared off and sorted into the different sizes that they had come in, we had to find the studs in our wall. The “nook” wall happens to have three main studs in it, and we used a level to draw a line down each stud location on the wall. If you have a stud finder, this is a pretty simple task. If you don’t have a stud finder, simply tapping the wall with your knuckle and then drilling a few small test holes will lead you to the studs.
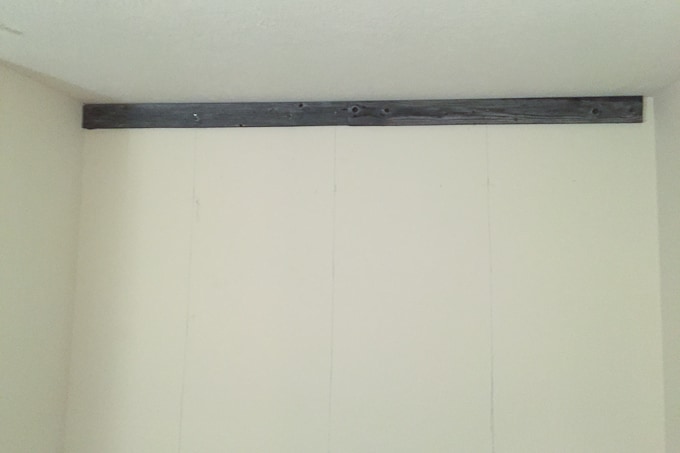
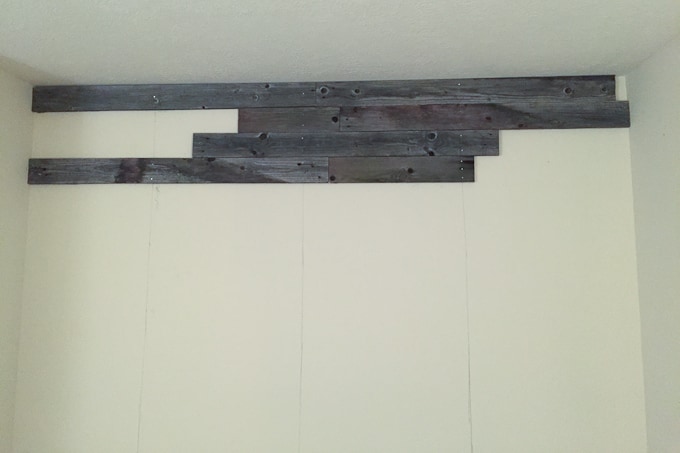
Starting at the top, we placed the first board and nailed it into the stud using silver flat head nails.
The nails were chosen to be long enough to go through the pallet wood, the drywall, and then also an inch or so into the stud. That made sure that the board was secure on the wall. The nail heads can be seen on the wood, but we liked the added character it gave. If you didn’t want that look, there are a bunch of fastener options available such as black nails, screws, finishing nails, etc.
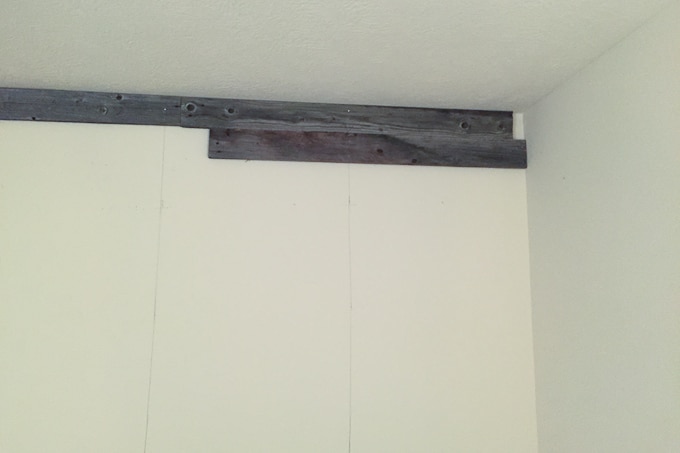
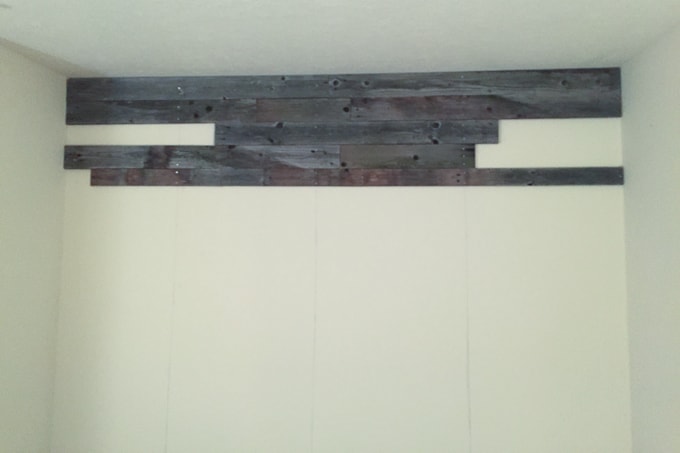
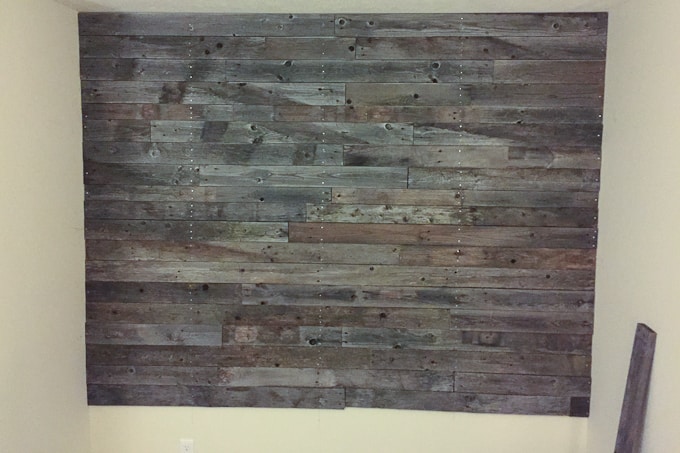
Because we wanted a slightly rustic look, we did not make any specific pattern with board lengths. We did pay close attention to joint locations as we added layers of wood. Staggering the joints gave a much more uniform look to the wall than if too many pallet boards were piled up together in one area. As we added boards to the wall, we made sure that each board was long enough and could be placed in such a way that it would span at least one stud for stability purposes.
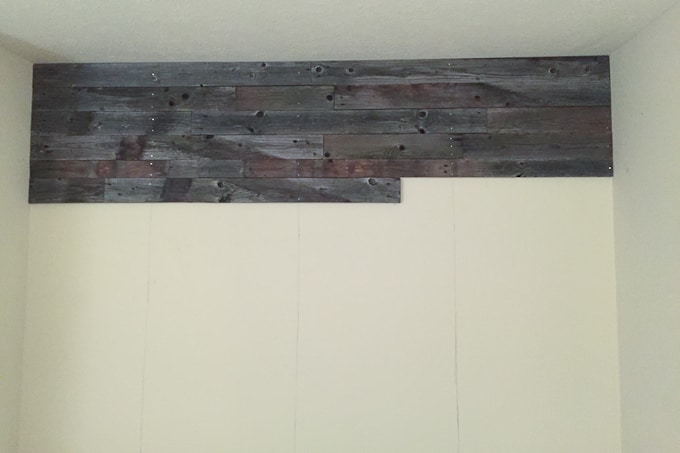
As we moved down the wall, each row went up using the same technique of spacing and a lot of trial and error. Each row had one to two main boards placed first and then additional boards that were measured and cut to length to fit into the smaller spaces.
We found that it was much easier to just continue going one row at a time and one board at a time instead of trying to plan the whole wall out at once.
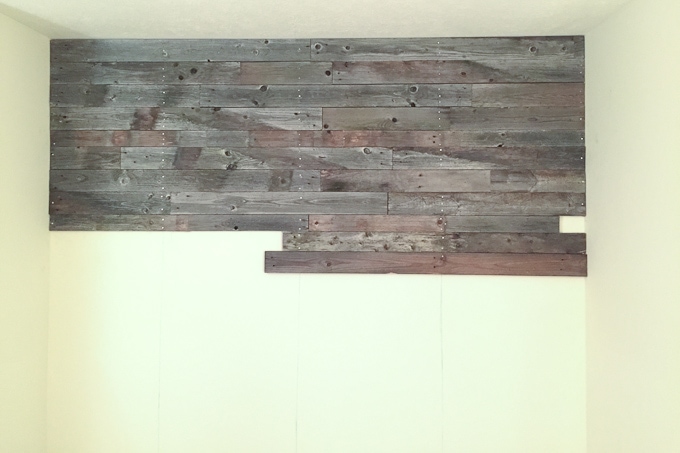
We stopped the pallet wall design a little over two feet from the floor, since the daybed would be covering this space. Then we were finished!
I am so impressed with how much cozier and warmer this accent wall makes the room feel. It has the perfect gray tones in the wood to help it fit into the overall style of the space. The nail heads also give it an industrial vibe. Once we get the daybed into the nook, this area is going to be the perfect reading spot!
Have you installed a bold accent wall in your home? Where was it and how did it change the feel of the space?








2 Comments