Welcome back to my Cricut Explore Essentials series!
In this series, I’m showing you how to design your own simple Cricut Explore projects using Cricut Design Space. Along the way you will learn some of the features of the design software. If you missed the first three projects in the series, don’t worry! You can find those tutorials by clicking on the links below:
Cricut Explore Essentials Part 1: How to Make Gorgeous Banners
Cricut Explore Essentials Part 2: How to Make Pretty Organizing Labels
Cricut Explore Essentials Part 3: How to Make Modern Calligraphy Art
This post contains affiliate links. For more information, see my disclosures here.
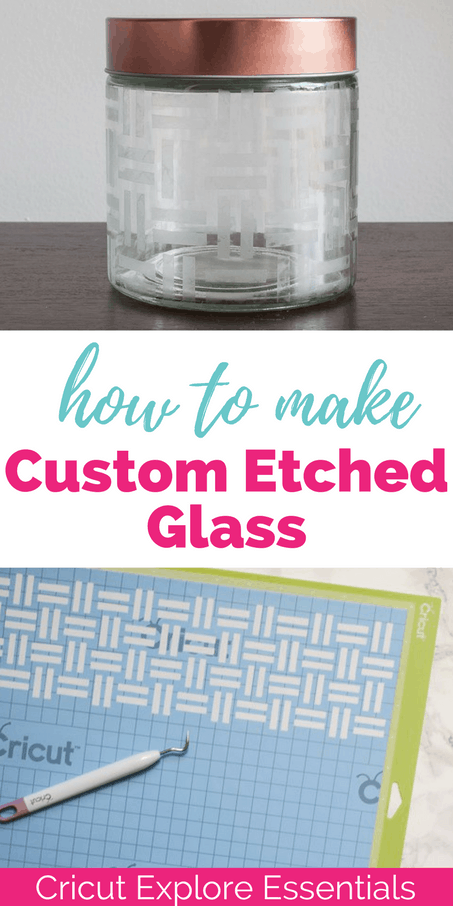
For the fourth project, I’m going to show you how to make custom etched glass using an uploaded image and stencil vinyl. I’m going to be designing an etched glass pattern for a simple glass canister.
Let’s get started!
How to Make Custom Etched Glass
Materials:
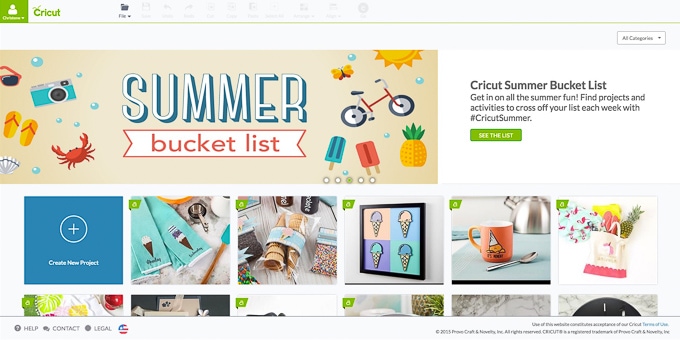
First, open the Cricut Design Space by clicking here and selecting “Cricut Design Space” from the top right of the screen. This will open up the Design Space main screen. Click on the first box with the “+” sign that says “Create New Project.” This will open a new blank project for you to work from.
I decided that I wanted a simple geometric pattern around the entire glass canister. My canister is 4.5” in diameter, so I calculated the circumference by multiplying 4.5” by “pi” or about 3.2. This gave me a 14.4” total circumference. The height of my canister was about 4” so I knew that my pattern would need to be about 4” x 15” total.
I created this geometric pattern using Adobe Illustrator but you can also create it on your own using simple shapes in Cricut Design Space. If you don’t want to recreate the pattern, you can download my pattern image for free.
Get the Free Geometric Pattern Stencil Image

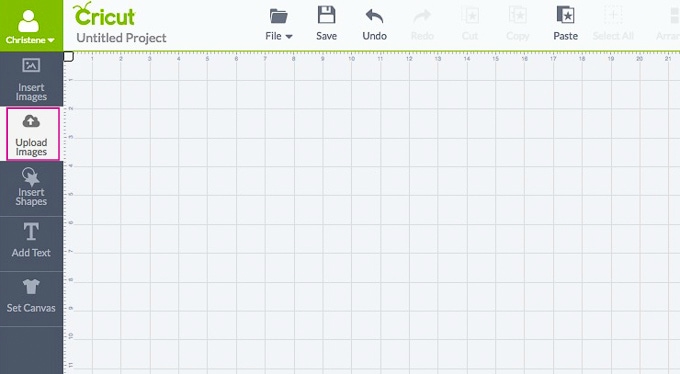
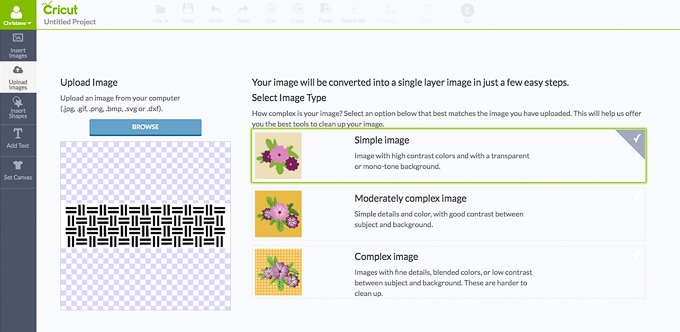
On the left-hand side of the screen select “Upload Images.” This will bring you to a new menu where you can choose the image you want to upload.
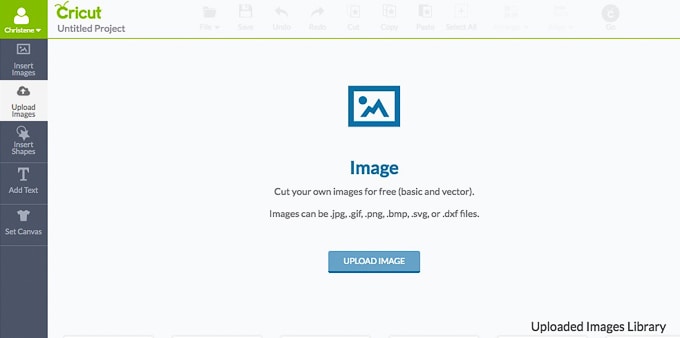
To upload the geometric pattern into design space, select “Upload Image.” Select “Browse” and navigate to the location where you saved the image on your computer. Then select “Open.”
Now that the image is loaded into the upload menu, we need to specify what type of image it is. This will help Design Space to separate out the layers of the image and create a file that can be cut using the Cricut.
This image is only two colors, black and white, and is made up of simple shapes. Select “Simple Image” and then select “Continue” at the bottom of the screen.
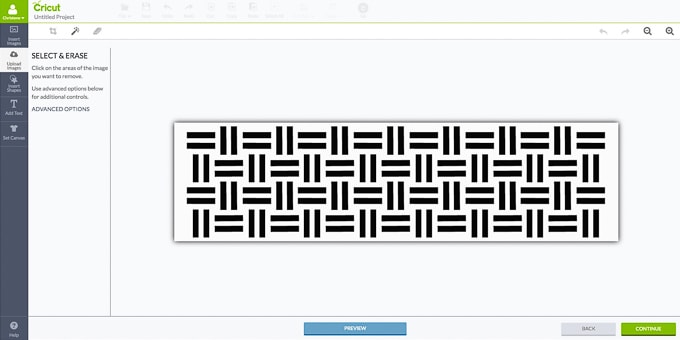
Now we need to identify which parts of our image that we want the Cricut to be able to cut. This image has a white background and you do not want the Cricut to cut around that background. Instead, you want it to cut around the individual black rectangles. To make sure the Cricut knows to only cut the black rectangles, you will need to remove the background.
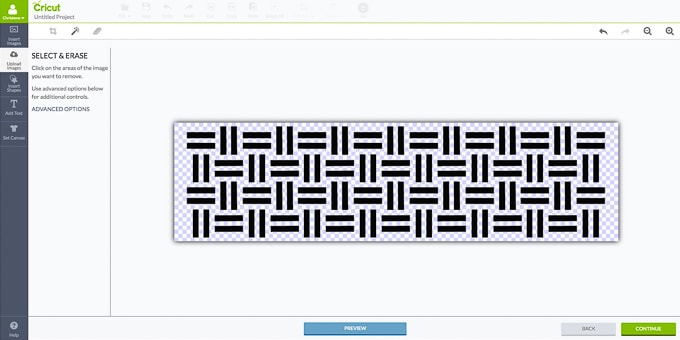
With the “Select & Erase” tool (the magic wand), click on a part of the white background and it will disappear and show a blue and white checkered background.
This blue and white checkered background represents transparent parts of your design. Now that all of the white background is removed and only the design remains, you are ready to save this uploaded image. Select “Continue.”
Name the image and select which type of “Design Space image” you would like it to be. There are two options – “Print Then Cut Image” or “Cut Image.” Since this image is not going to be printed, save the image as a “Cut Image.”
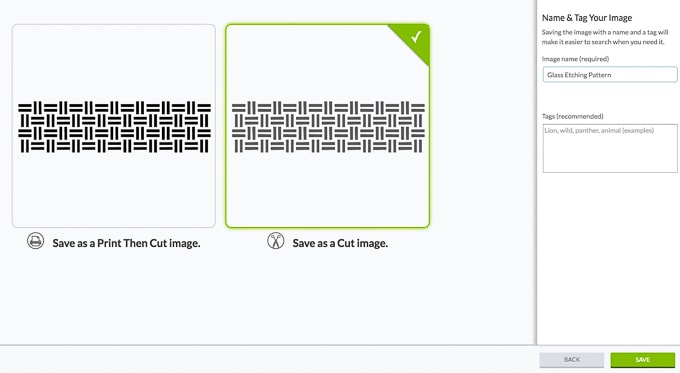

Now your image is saved and ready to use. Select the image and click “Insert Images” to add it to your project.
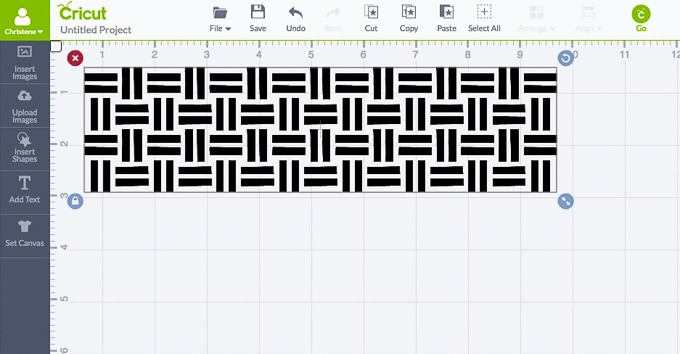
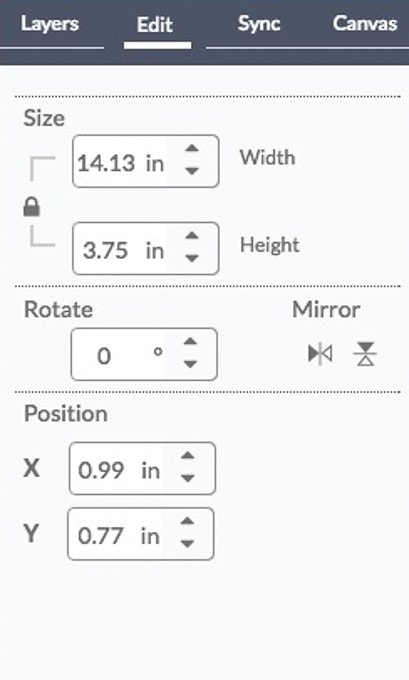
Cricut Design Space doesn’t always retain the original sizing of an image that is uploaded. This image was created to be 3.75” tall and about 14” wide to fit on the glass canister. To resize the image, select the image and then, on the right-hand side of the screen, select the “Edit” tab. Change the height to “3.75 in” and the width will scale accordingly.
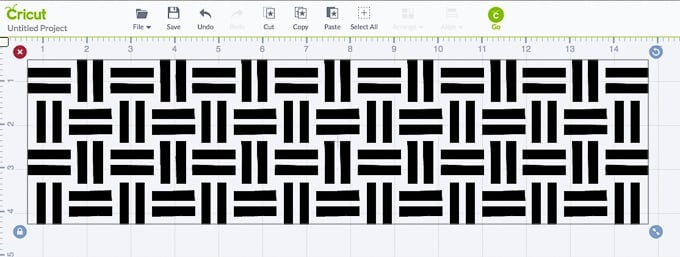
Now we are ready to cut. Select the “Go” button at the top of the screen. This image is almost 15” long, so it will not fit on the standard cutting mat. Cricut makes standard mats that are 12”x12” and also extended cutting mats that are 12”x24”.
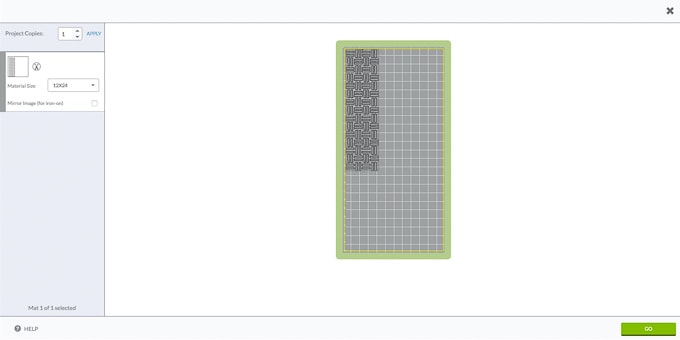
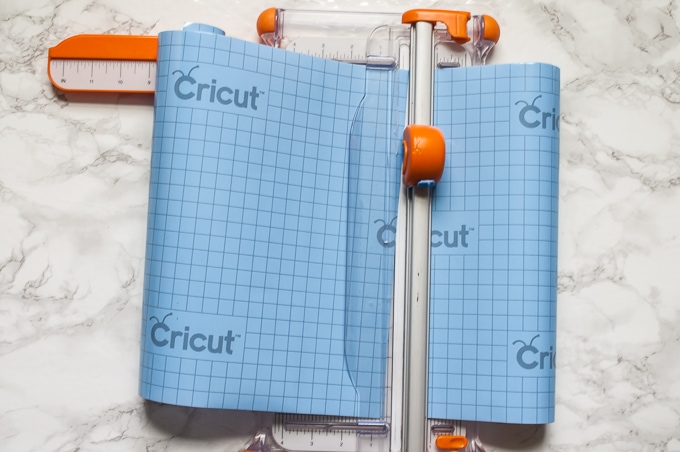
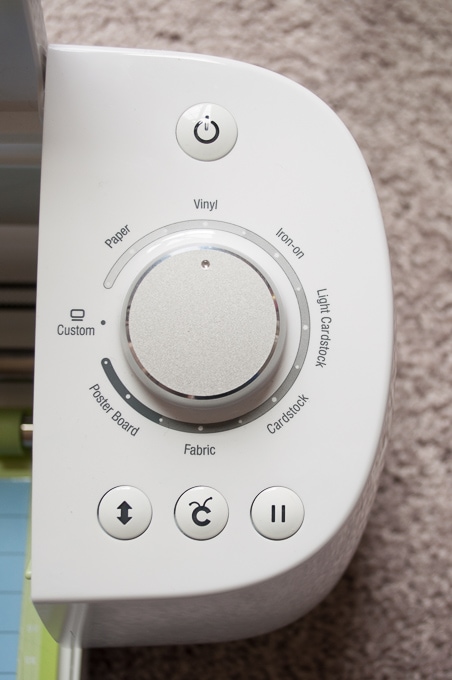
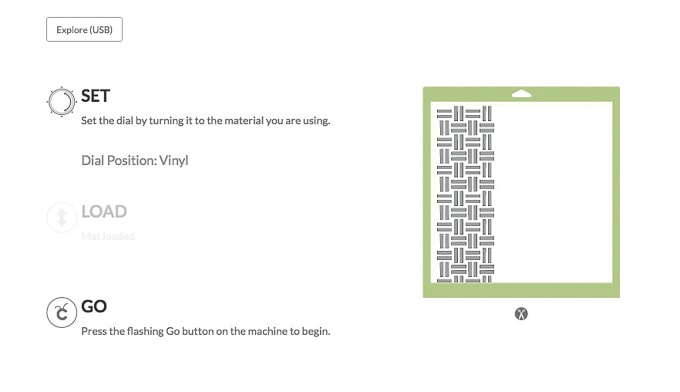
Cut a piece of stencil vinyl to 15” long and place it on the extended cutting mat. Load the mat into the machine and set the material dial to “Vinyl.” Then select “Go.”
Once the Cricut is finished cutting out the design, you will need to weed out the unwanted vinyl. Since we are using this as a stencil, you want to weed out all of the little rectangles of the pattern.
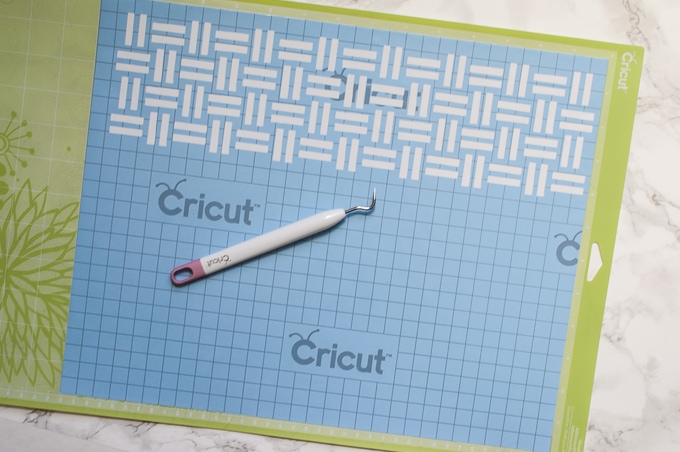
Cut off the unused stencil vinyl so that just your pattern stencil remains.
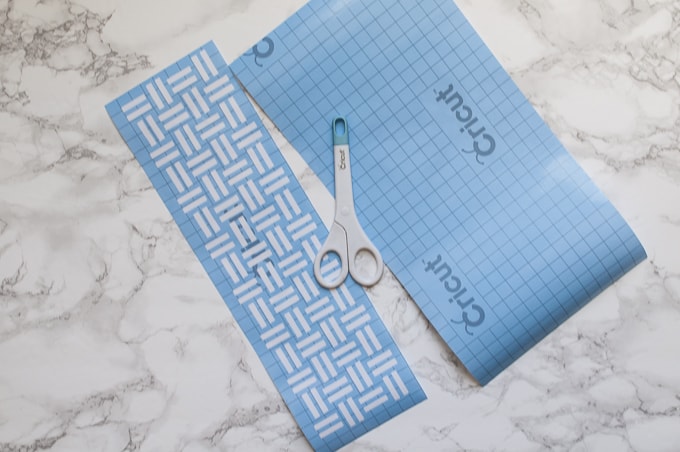
Now it’s time to transfer the stencil vinyl to the glass canister. First, peel back a small amount of the vinyl backing. Try to line up the stencil so that it is straight.
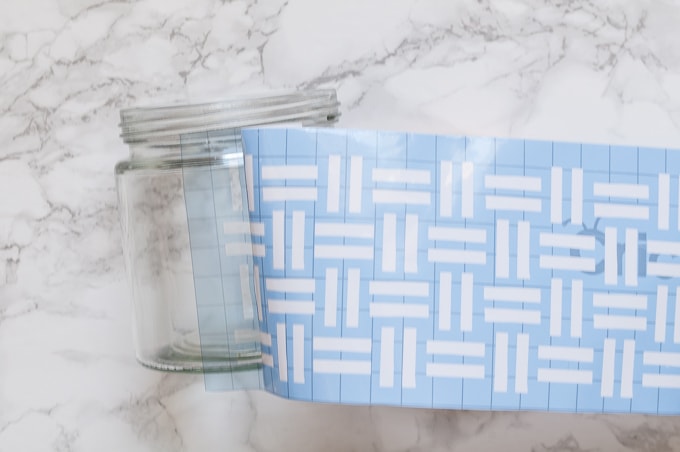
Flip the canister over and roll it while slowly peeling away the vinyl backing. Make sure to apply pressure to the canister as you go so that the stencil adheres to the glass. It’s easier to roll the canister onto the vinyl stencil instead of trying to stretch the vinyl around the canister. If you try to stretch the vinyl around the canister you will stretch out the pattern and it will be harder to maker sure everything is lined up and free of air bubbles. I had Ben do this part because it was a little trickier.
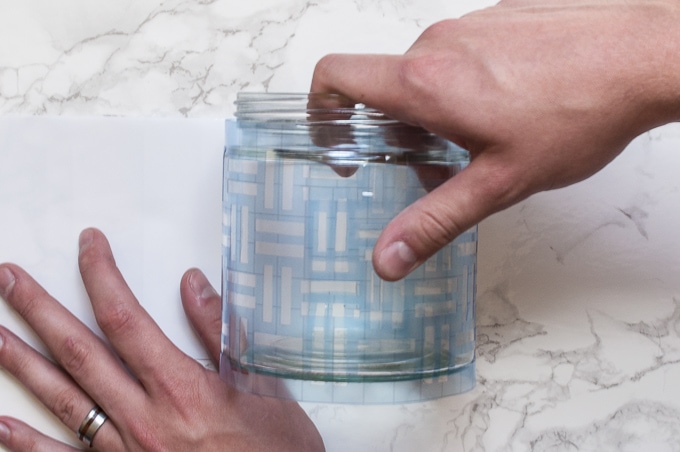
Once the stencil is all the way around the canister, cut off any overlap stencil vinyl with a knife and smooth out any air bubbles.
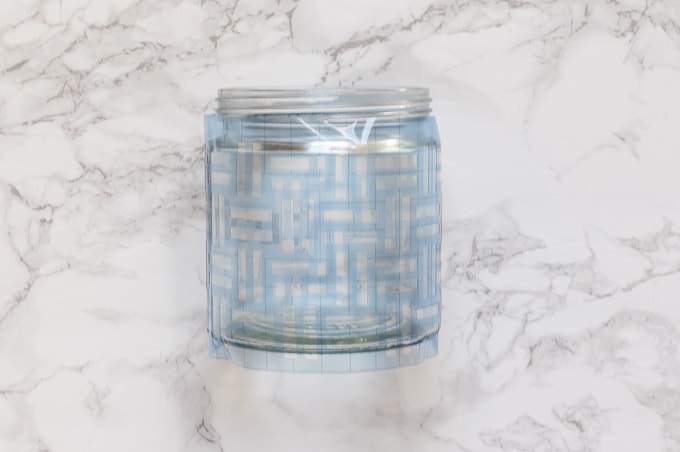
To create the etching pattern in the glass we are going to use Armour Etch. Armour Etch is a glass etching cream that works in just a couple of minutes. Before applying, make sure to stir the cream well. Using a foam brush, apply a thick coat of the cream over the entire stencil.
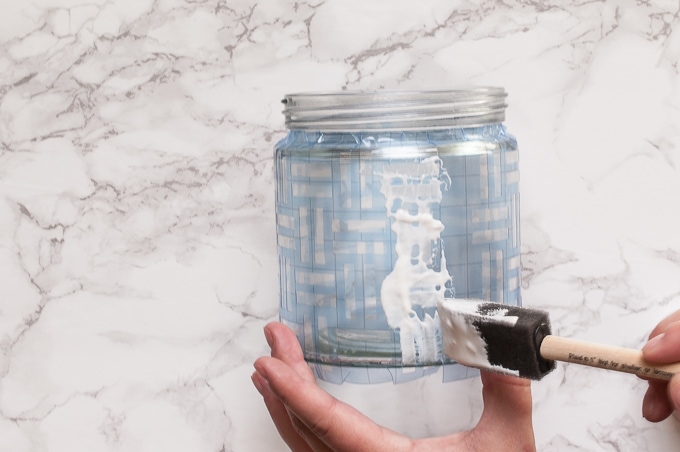
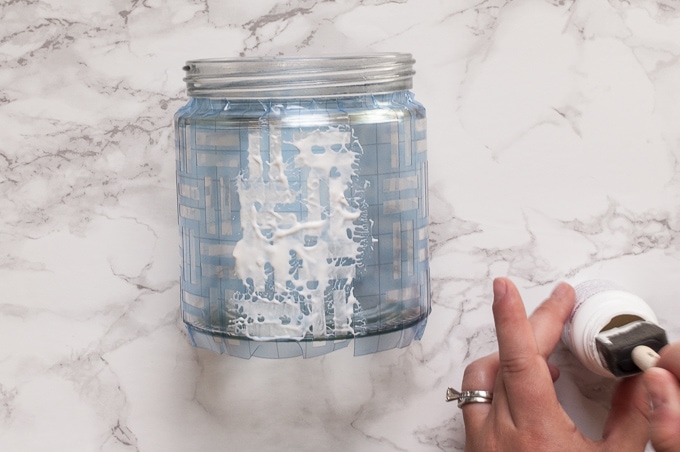
After the entire canister is coated, let it sit for about 3-5 minutes. Then, rinse the entire canister in water and use the brush to remove all of the etching cream. Peel off the stencil material and let the canister dry completely. Once it is dry, you will be able to see the etching design.
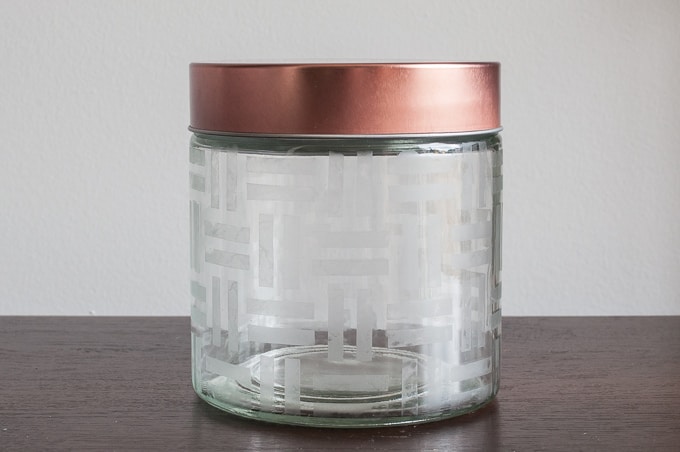
I’ve wanted to try glass etching for a while now and I’m so happy with how it turned out. It didn’t even take that long and now I have a unique glass decoration for my home.
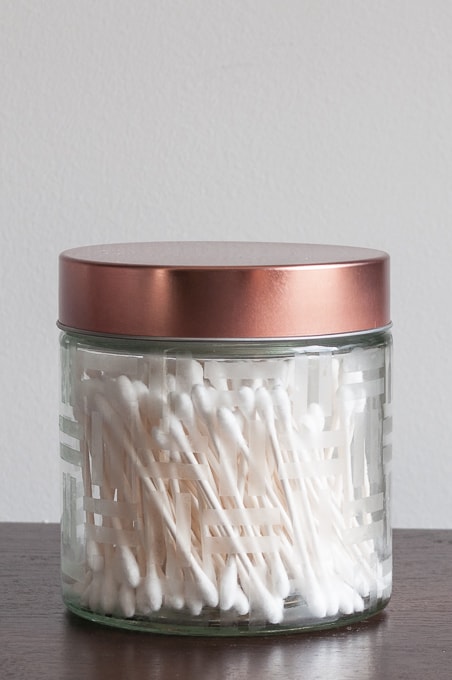
I decided to put this glass canister in our master bathroom to store cotton swabs. The geometric pattern adds just the right amount of interest to an otherwise basic glass jar.
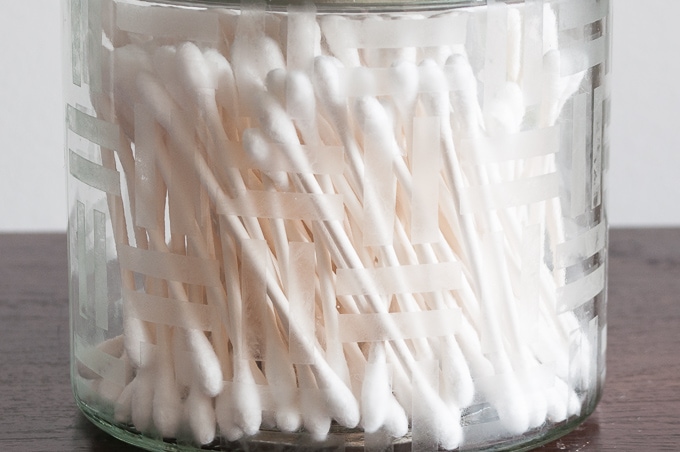
The glass etching technique can also be used to create subtle labels for jars. I think a bunch of glass jars in a baking cabinet all etched with the names of ingredients would look so pretty!
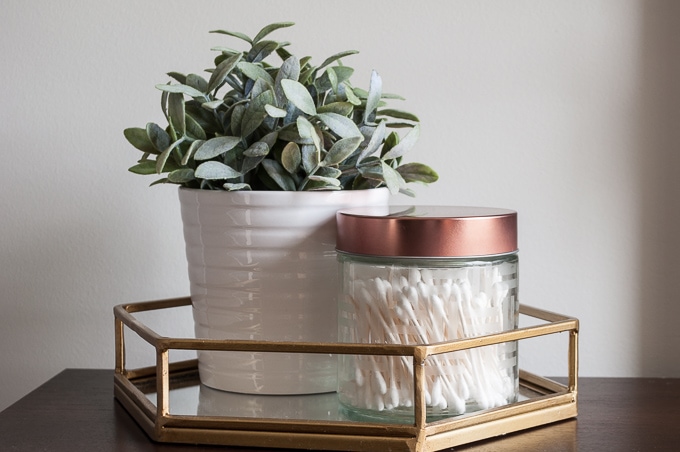
You can customize this project with any pattern or image that you want. The options are endless for creating unique pieces for your home.
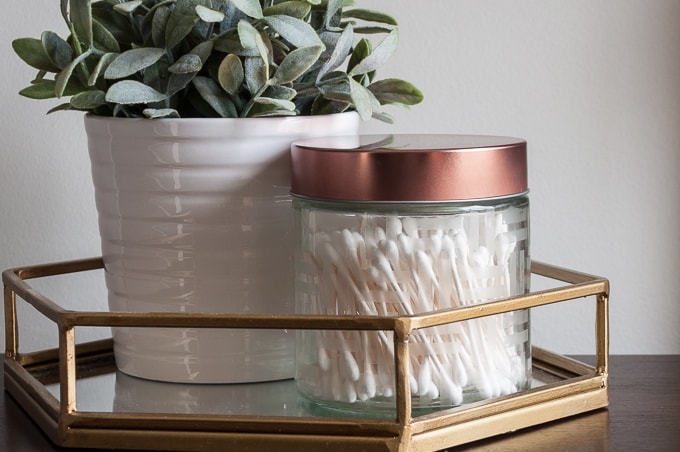
I hope that you enjoyed this fourth tutorial and that it inspires you to try out more projects using your Cricut Explore cutting machine.
Would you like to see more easy tutorials for home décor projects using the Cricut Explore? I’d love to hear your suggestions or Cricut questions in the comments below!
If you’d like to follow along with the rest of the Cricut Explore Essentials series, you can do so in the following posts:
Cricut Explore Essentials Part 1: How to Make Gorgeous Banners
Cricut Explore Essentials Part 2: How to Make Pretty Organizing Labels
Cricut Explore Essentials Part 3: How to Make Modern Calligraphy Art
Cricut Explore Essentials Part 4: How to Make Custom Etched Glass (You’re here!)
Cricut Explore Essentials Part 5: How to Make Your Own Stickers



Are you able to reuse the vinyl? Or is it once and done? I’m looking to do glass mugs with Christmas themes.
Hi Michelle,
I don’t recommend trying to reuse the vinyl. For most projects that I’ve done like this, it’s once and done.
Christmas mugs would be really pretty!
>> Christene
Always use gloves when dealing with etching cream and dilute well when cleaning off. This is a very dangerous acid. that will go straight through skin and weaken your bones as the calcium is the only base that will resist. treatment for this attack is calcium shot injections in the exposed areas until all acid is neturalized..