How to Design a Modern Media Console using IKEA BESTA cabinets
Are you looking for a stylish and affordable way to update your home entertainment setup? Look no further than the IKEA BESTA system!
IKEA BESTA cabinets are a great way to create IKEA TV stands because they are so easy to customize.
Not only will they house all of your TV and media essentials, but they will also elevate the look of your living space.
If you’re in need of a new TV stand or media console, why not consider an IKEA hack using the BESTA system? This versatile and affordable storage unit can be customized to fit your specific home needs and design style.
IKEA has so many different affordable cabinets that you can customize for whatever project or space you are working on.
One cabinet type I had been eyeing for our own living room was the BESTA system.
These cabinets are made to provide plenty of storage for a family room and are available in a ton of different options. They are not a very deep cabinet, but I think that makes them perfect for creating build-in media units.
Plus with a little bit of creativity and some basic DIY skills, you can transform a simple BESTA unit into a beautiful and functional TV stand or media console. Here’s my step-by-step tutorial for creating a BESTA media center for our home.
This post contains affiliate links for your convenience. For more information, see my disclosures here.
This post contains affiliate links for your convenience. For more information, see my disclosures here.
Planning a Modern Media Console
Our living room recently went through some changes when we decided to get a new TV. Even though we had a few core pieces, it was in need of a living room makeover.
Ben had his heart set on a 65” curved large TV, which I initially thought might be a bit too big for the space. But since we wanted the living room to be the main area for watching TV, we decided to go for it.
Once we got the TV home and into the living room, we realized that our old TV cabinet was too small to fit the new TV.
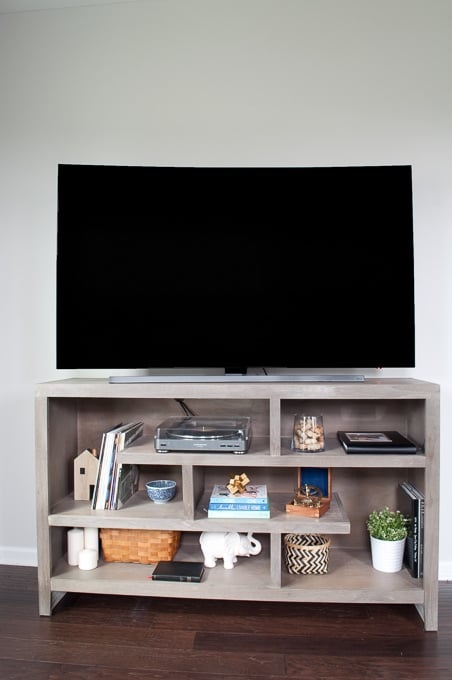
That’s when we moved the old TV stand to the master bedroom as an accent bookshelf and began planning for a media cabinet to fit the new TV and the room.
I had considered creating a “built-in” media center for the wall in our living room, but never really had a reason to make the change until we got our new TV.
My plan was to have lower cabinets that would span the entire length of the wall, providing a lot of storage and creating a media center that would look like it was made for the space.
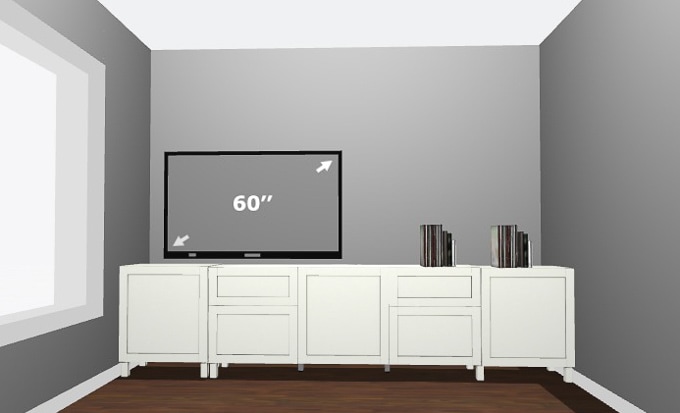
I also considered adding upper cabinets with shelves to create an entertainment unit, but ultimately I decided against it.
The TV area is one of the first things that you see when you walk up the stairs and into the living room. I didn’t want to have one giant wall of cabinets visible right when you come up the staircase.
By only including lower cabinets in the media center, the space would feel more open. And I could add open shelves in the future to keep the small space feeling airy and open.
To help you get started with your own IKEA BESTA media console project, here are the steps we followed:
Measure Your Space
The first step in designing your media center is to measure the wall or area where you plan to place it. This will help you determine the size and number of BESTA units you need.
I started by measuring the wall in the living room to make sure that the cabinets would fit the entire length without leaving any gaps on the sides.
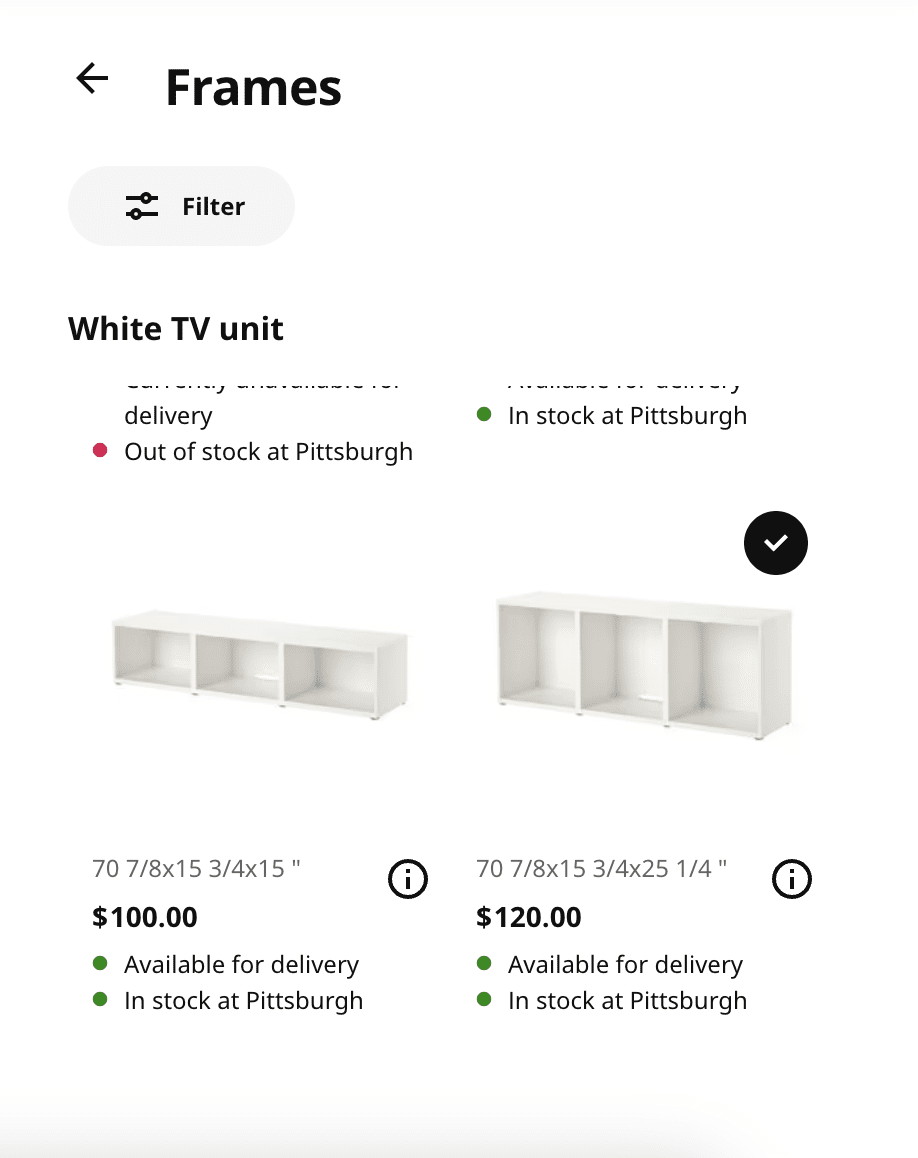
Once I had my measurements, I went to the IKEA website to search for cabinet options.
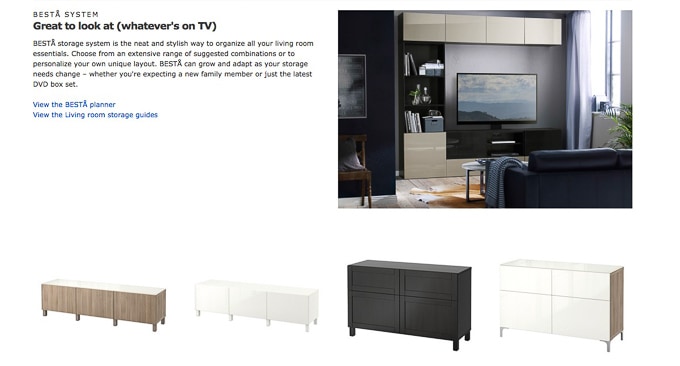
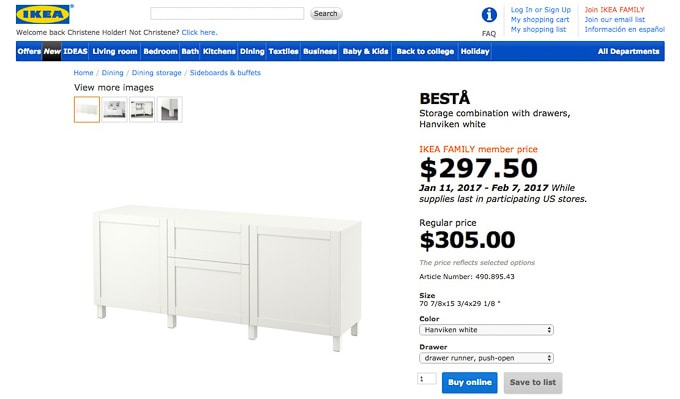
Decide on the Layout
The layout of your media center will depend on the size and shape of your space, as well as the type of TV that you have.
You will also want to keep in mind how much extra storage you’ll need for the entire piece.
It’s a good idea to sketch out your room and design on paper or use a design tool to get a better visual of how everything will fit together.
Using the IKEA BESTA Planner to Design Your Media Console
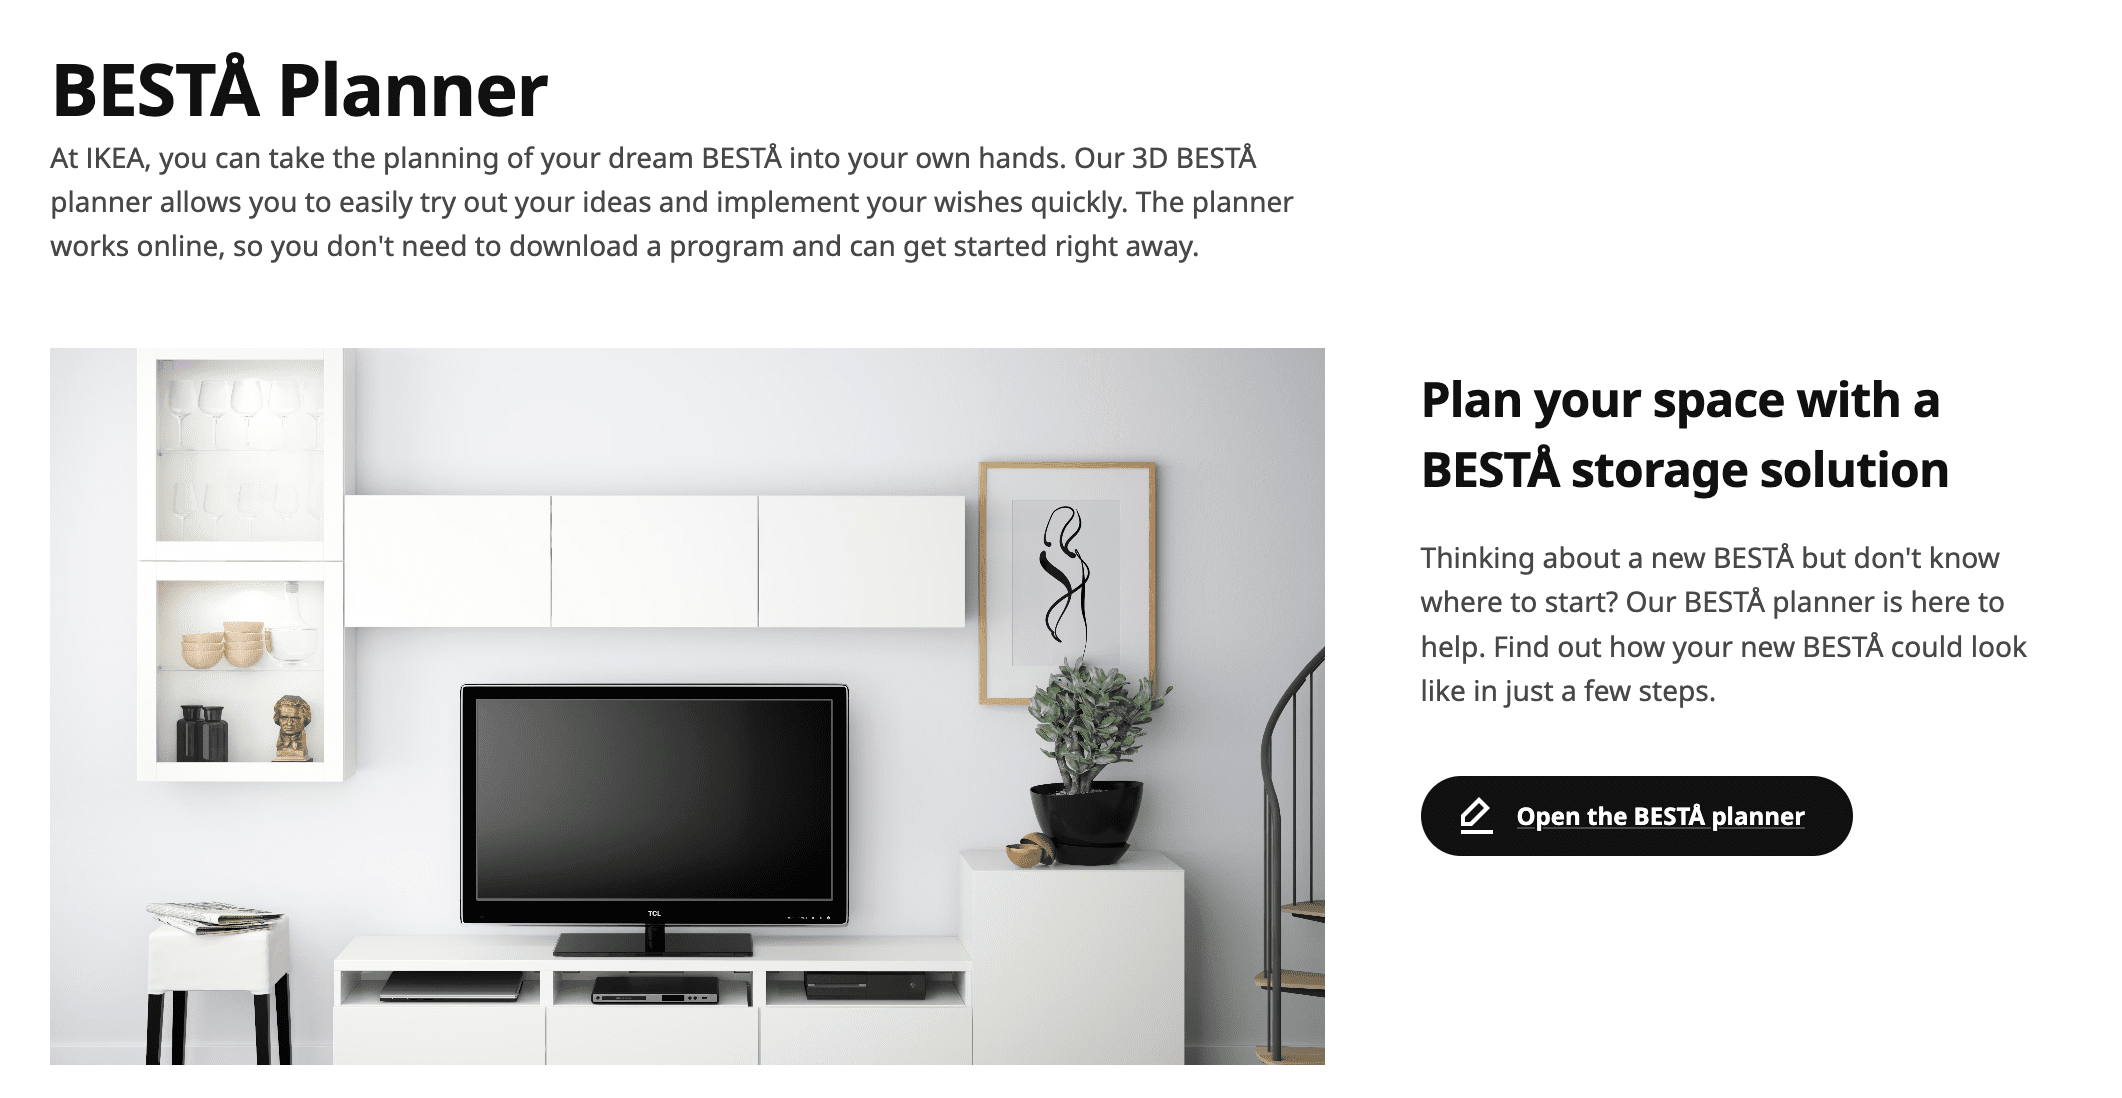
The BESTA system has a virtual planner available online, which I accessed through my IKEA account. You can get to the IKEA BESTA Planner here.
The planner allows you to specify the size of your room and add any additional elements you want to visualize the space.
Create Your Space in the BESTA Planner
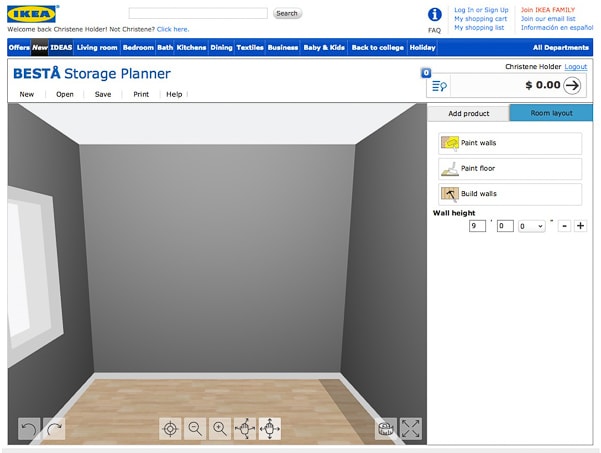
First, create the overall space where your media console will go inside of the IKEA BESTA planner.
I created a room with a window to get an idea of how the media center would look on the back wall of our living room.
Add BESTA Products to the Media Console Design
The next step is to choose the IKEA BESTA frame cabinets to add to your design.
Using the measurements you took of your space, decide on the size and number of BESTA frames you need to create your TV stand or media console.
You can mix and match different base unit sizes to create a unique look.
Using the planner, I was able to select different BESTA products and drag and drop them into the design.
Our wall ended up being the perfect size for the BESTA cabinets.
First I chose a main cabinet that was 3 bays wide, which also comes with a panel in the back for organizing cords and plugs that go with TV equipment.
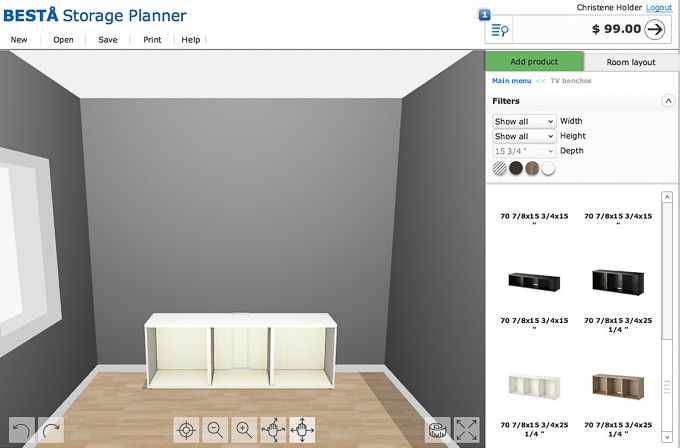
If you have a game console, an Apple TV, or even a dvd player, you can keep the cords organized via the back panel in the IKEA BESTA TV unit.
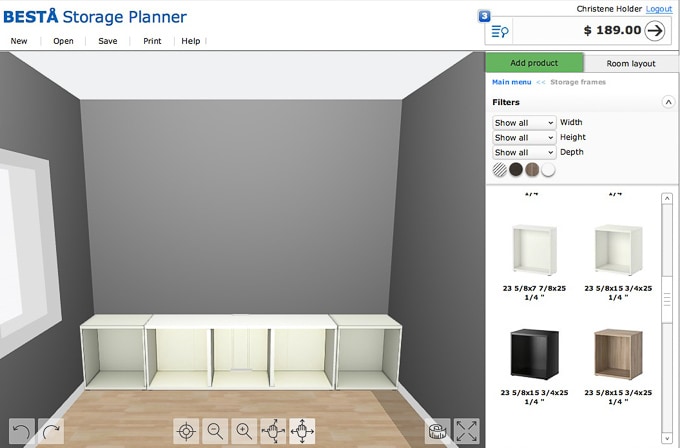
I then added a single bay cabinet to either end of the main cabinet to complete the built-in media units.
Add Drawers and Doors to the BESTA Units
After you’ve completed the initial design of the BESTA frame, you will need to select either drawers or cabinet doors to complete the units.
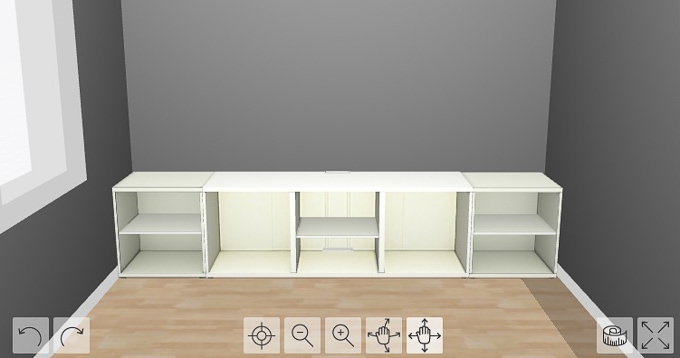
When I added each cabinet, it only included the frame, and I was able to choose between drawers or doors for each bay unit.
For three of the bays, I opted for middle shelves inside and door fronts. For the other two bays, I decided to add two drawer fronts on each one. The besta shelves will be perfect for storing board games and other living room items.
The IKEA BESTA system comes in a range of finishes and colors. You can choose any finish you want to create a cohesive look for your home.
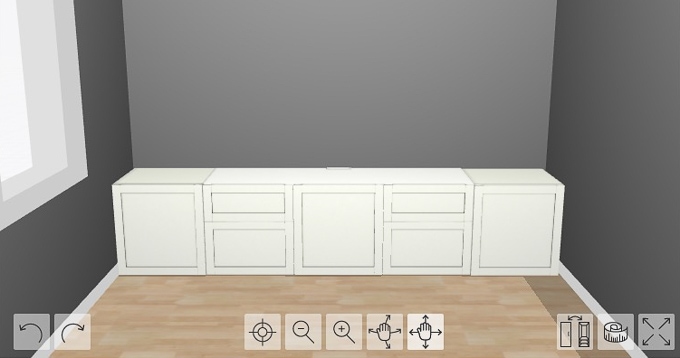
After adding the shelves and drawers, I added the drawer fronts and door fronts in the HANVIKEN white style.
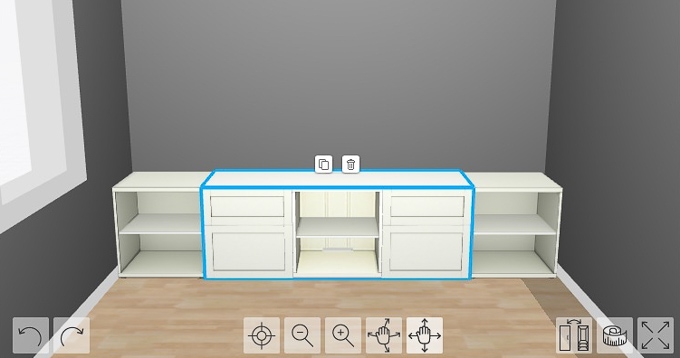
I liked this style the best because it was pure white and coordinated best with the finishes in the rest of our house, such as our kitchen cabinets and dining room board and batten. You can also choose glass doors for an elevated look.
Add Legs to the BESTA Units
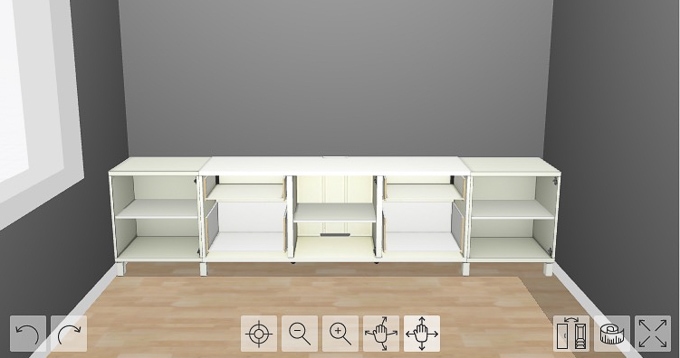
Finally, I added the STUBBARP legs to the design. I think this makes the whole unit look more like a piece of furniture. I ended up buying one additional set than what was shown in the planner design.
That’s because the 3 bay cabinet is supposed to have “invisible” legs (support legs)) in the middle. But the “invisible legs” made the entire TV console look uneven because the middle section had no legs showing.
So instead of using the “invisible legs,” I added an additional set of decorative legs to my purchase list.
Add Accessories to Visualize the BESTA Units in Your Home
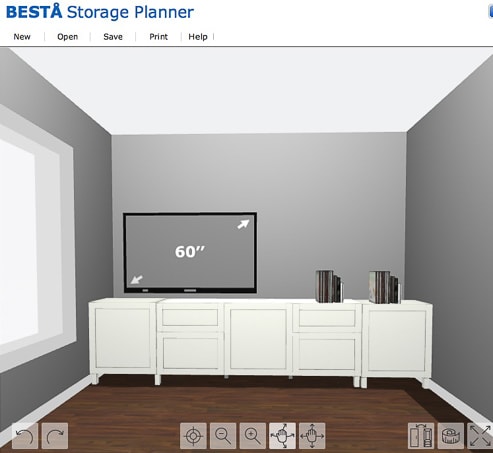
After finishing the basic design, I added accessories to try and get a sense of how the media console would look in our living room.

Print the Purchase List for the BESTA Units
Once I liked how it looked, I was able to print out a complete list of everything I needed to purchase, including all the necessary hardware for the drawers and doors.
The planner automatically added these items to my shopping list while I was creating the design.
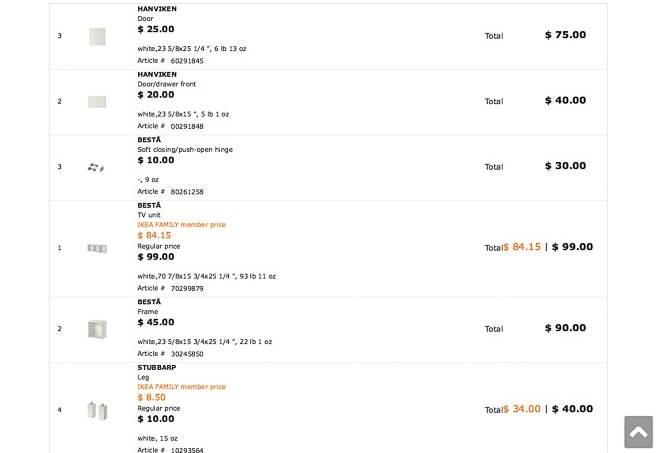
Purchase Your BESTA Cabinets at IKEA
I used the printed shopping list to pick and purchase all of the necessary items at the IKEA warehouse.
Thankfully we have an IKEA store close to our home, but if you don’t you can see if an IKEA nearby offers shipping options.
IKEA was having a sale that day and I was able to purchase everything for the media center for just under $500.
While that is a lot of money, it was a steal compared to what a custom built-in media console would cost if we had it made by a cabinet maker. The BESTA cabinets are not solid wood, but they are a great affordable alternative.
Assemble Your BESTA Units
Follow the instructions provided by IKEA to assemble your BESTA units.
Ben and I spent a couple of hours putting the media console together once I got everything home.
Although it wasn’t a difficult assembly process, it did take a long time.
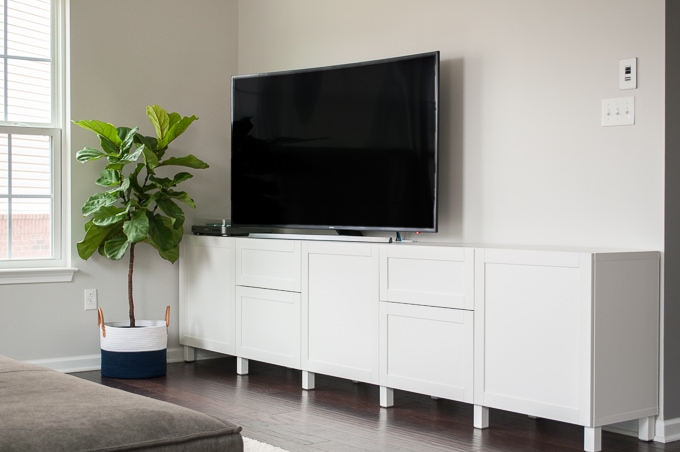
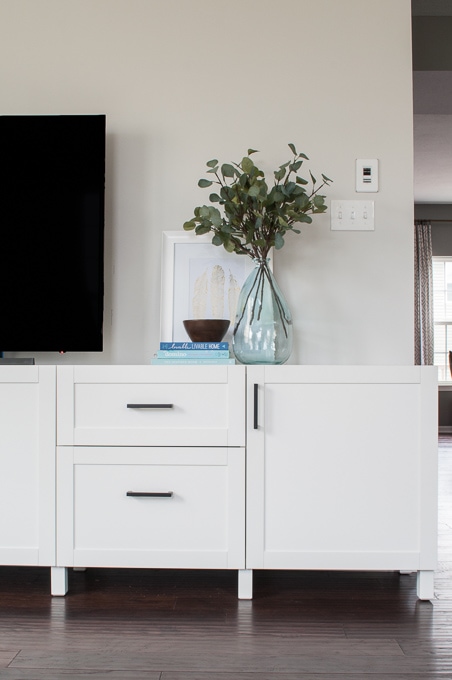
When we finally placed the media console against the wall, it fit perfectly and looked like it was made for the space!
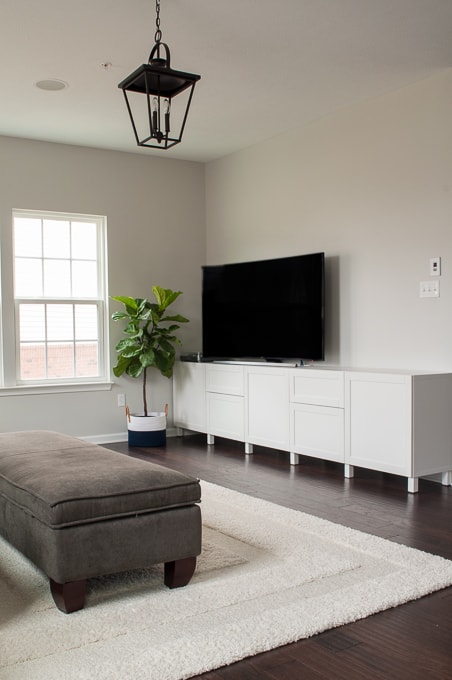
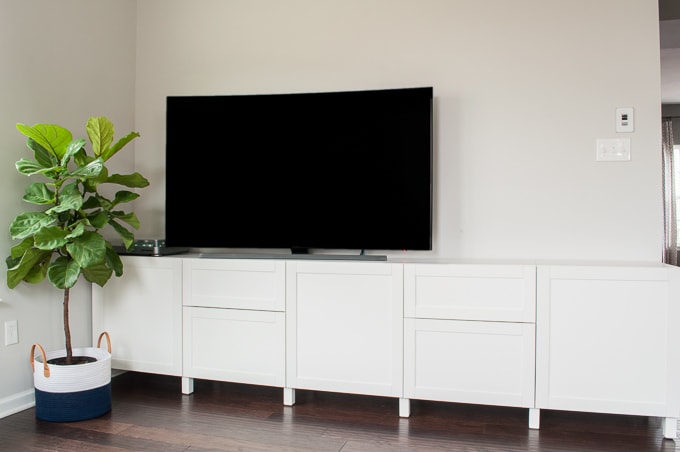
We were fortunate that our wall was the same length as 5 BESTA cabinet bays
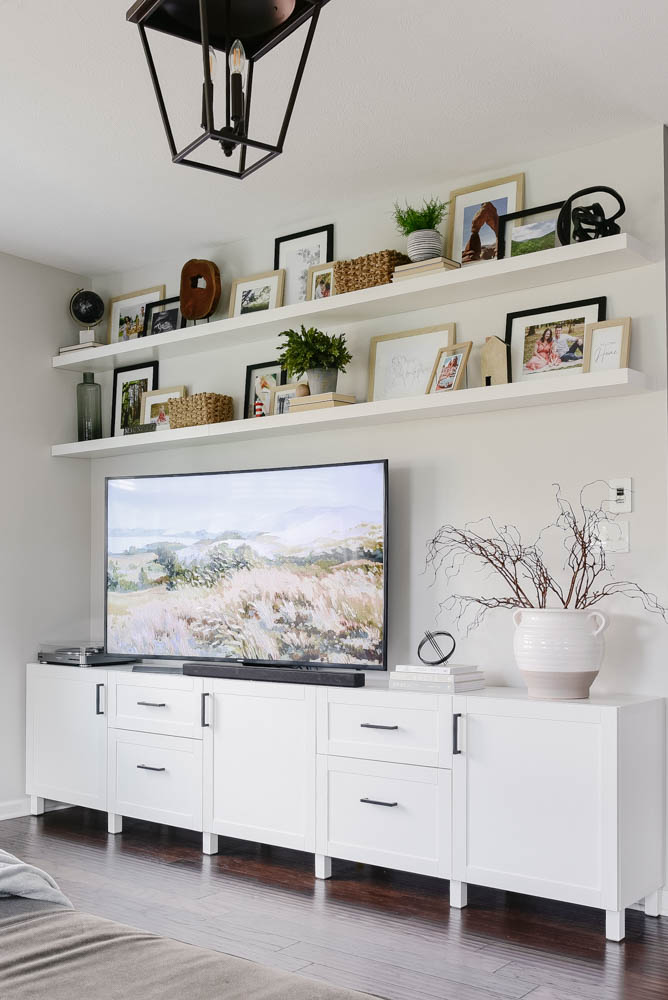
I love the way our new media console and TV stand turned out. It coordinates well with the rest of the finishes in the house and has a modern classic look.
Customize Your BESTA Units
Add Hardware to Your BESTA Media Console
Once your BESTA units are assembled, it’s time to customize them to fit your needs and style.
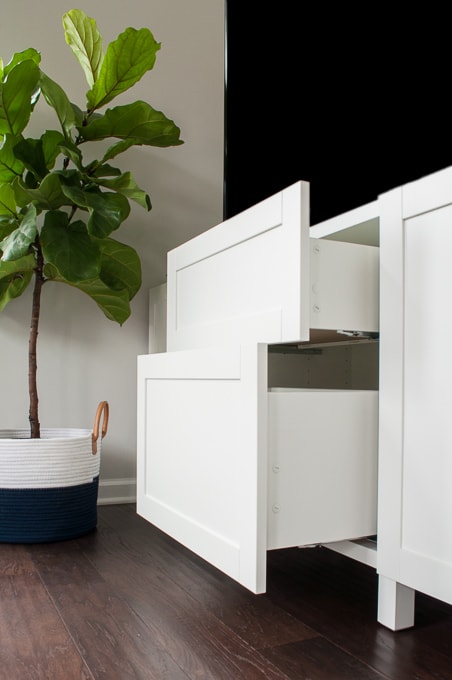
For example, you can add beautiful hardware to the drawers and door fronts that match your home decor style.
In order to get a modern classic look for our media center, I wanted to use hardware with clean lines and a sleek finish.
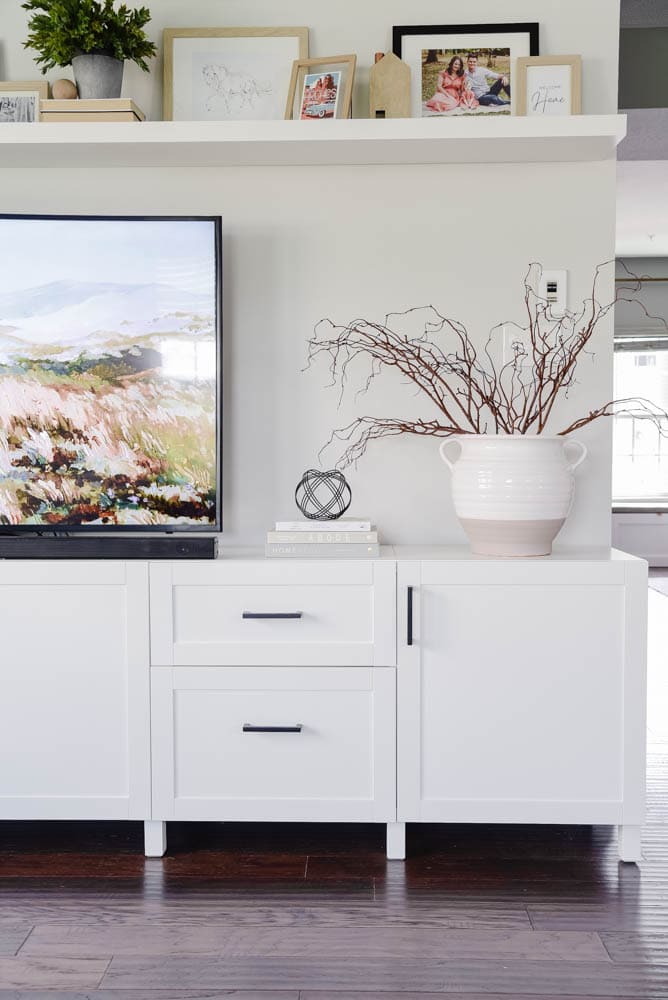
After doing some research, I ultimately decided on matte black square bar pulls for the cabinets.
These drawer pulls had the best shape to create a casual, modern feel that I thought would work well in our living room.
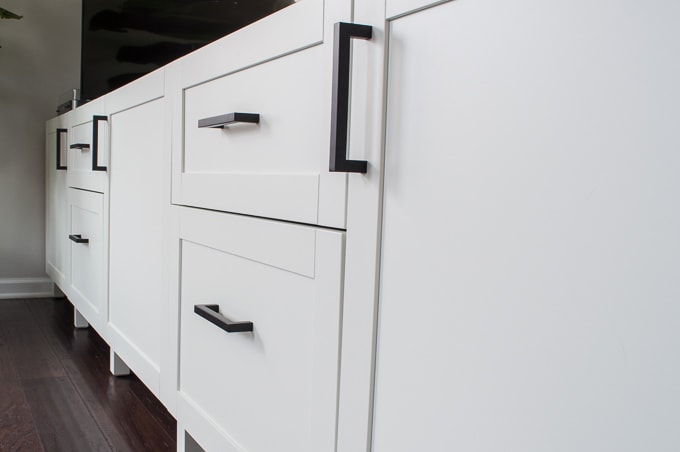
I chose 5” pulls for our IKEA BESTA cabinets and I love the way the black stands out against the white cabinets.
I also really appreciate the matte finish, which not only looks great but has a silky smooth feel.
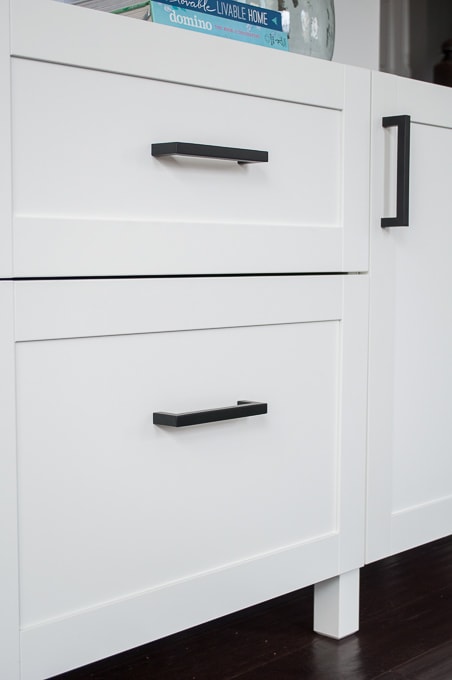
On the doors, we installed the hardware about 2.5 inches from the top, which is about the width of the molding on the door fronts.
We installed the hardware on the drawers differently based on the size of the drawers.
The smaller top drawers got a drawer pull in the center, while the larger lower drawers got a drawer pull about ⅔ of the way up instead of in the center.
This looked more visually appealing on the larger drawers rather than having the bar pull exactly in the middle.
Paint Your BESTA Units
Another way to personalize your IKEA BESTA cabinets is by painting them.
If you want to give your media console a unique look, you can choose different colors to completely customize the whole thing. Just make sure to properly prepare the surface with primer and use high-quality paint for a durable finish.
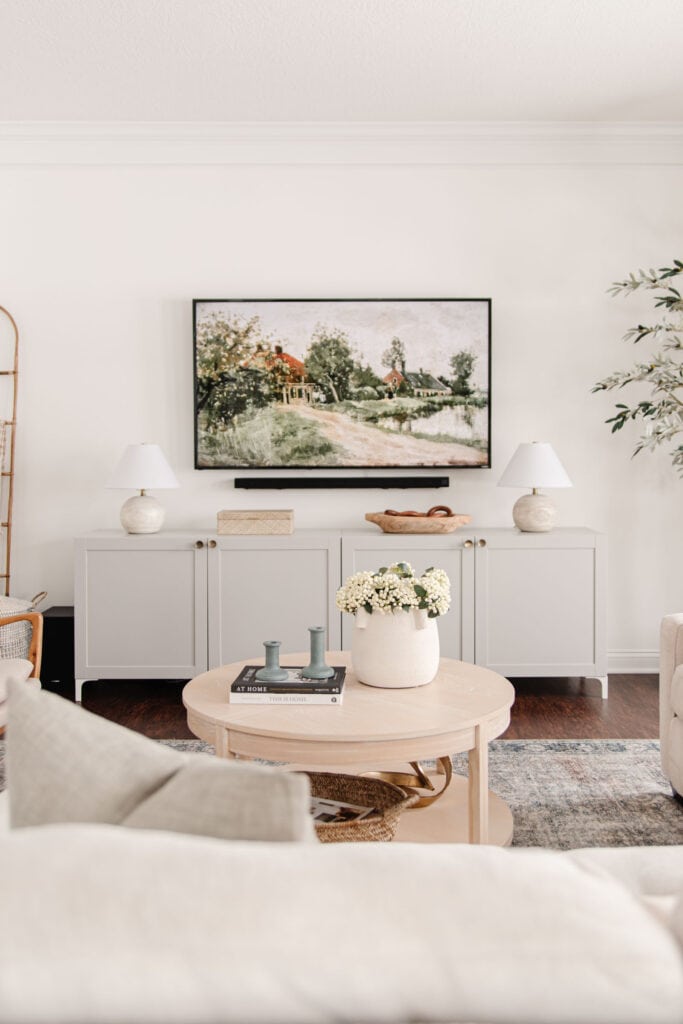
Choose a paint color that compliments your space and other decor or furniture. You can also use chalk paint on furniture if you want a more rustic look.
Related: How to Paint IKEA Laminate Furniture
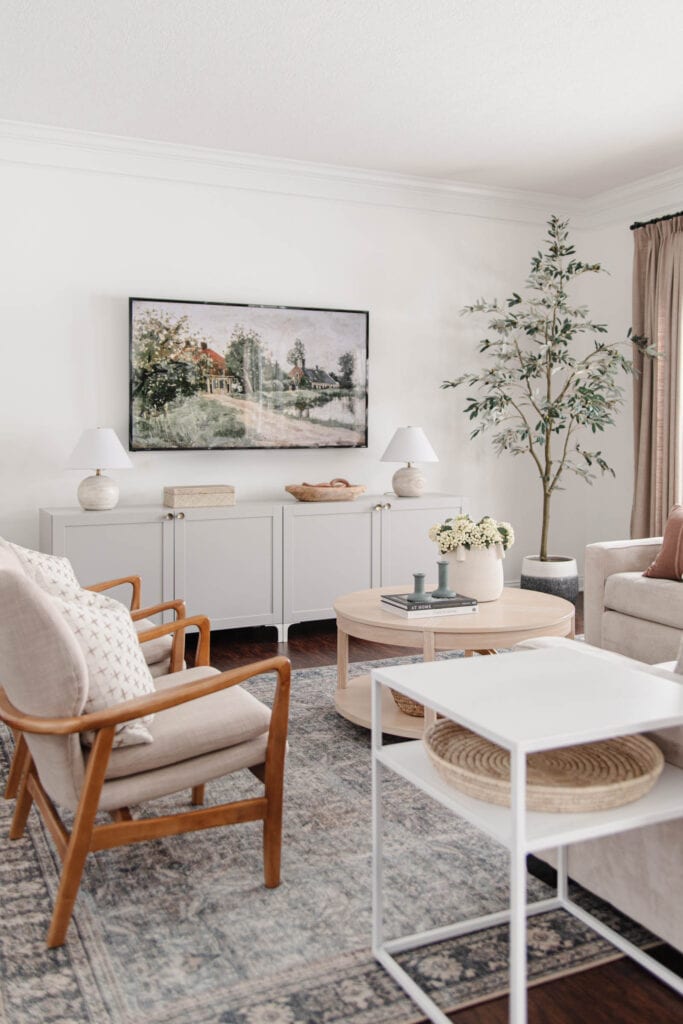
I love this painted BESTA media console from Caitlin Marie Design. Its high-end look and moody design make it perfect for her living room.
Add Built In Upper Shelves to Your BESTA Units
If you have a larger living room, you might consider using additional IKEA pieces or more IKEA BESTA units to create a custom IKEA entertainment center.
I’ve even seen IKEA hackers use IKEA BILLY Bookcases to create a built-in shelving unit look for their space. There’s tons of options to create enough room for storage in your home.
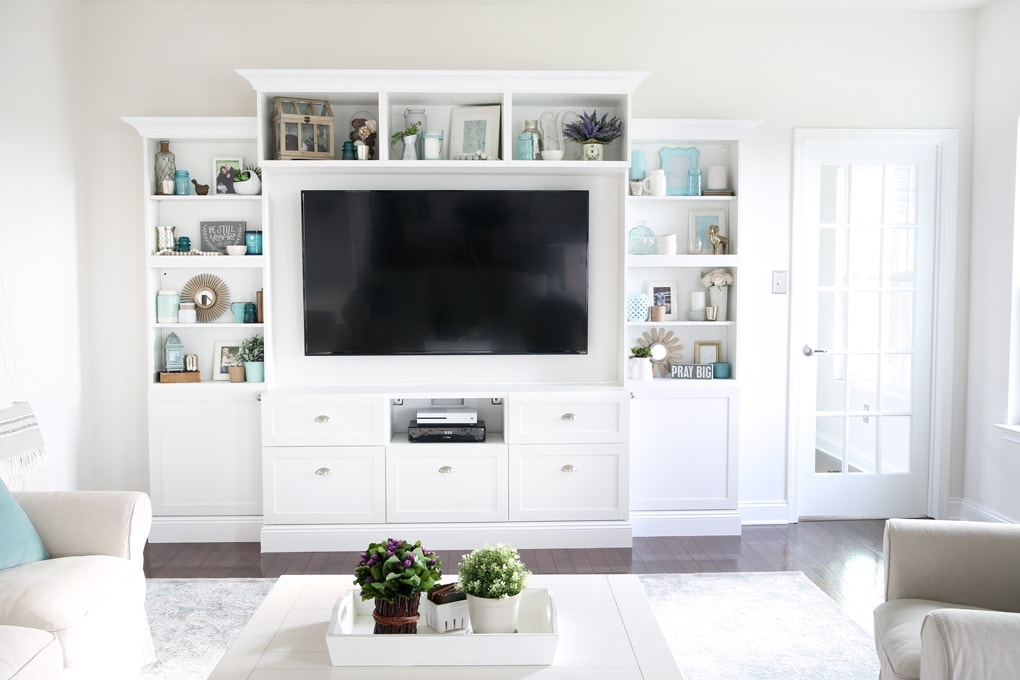
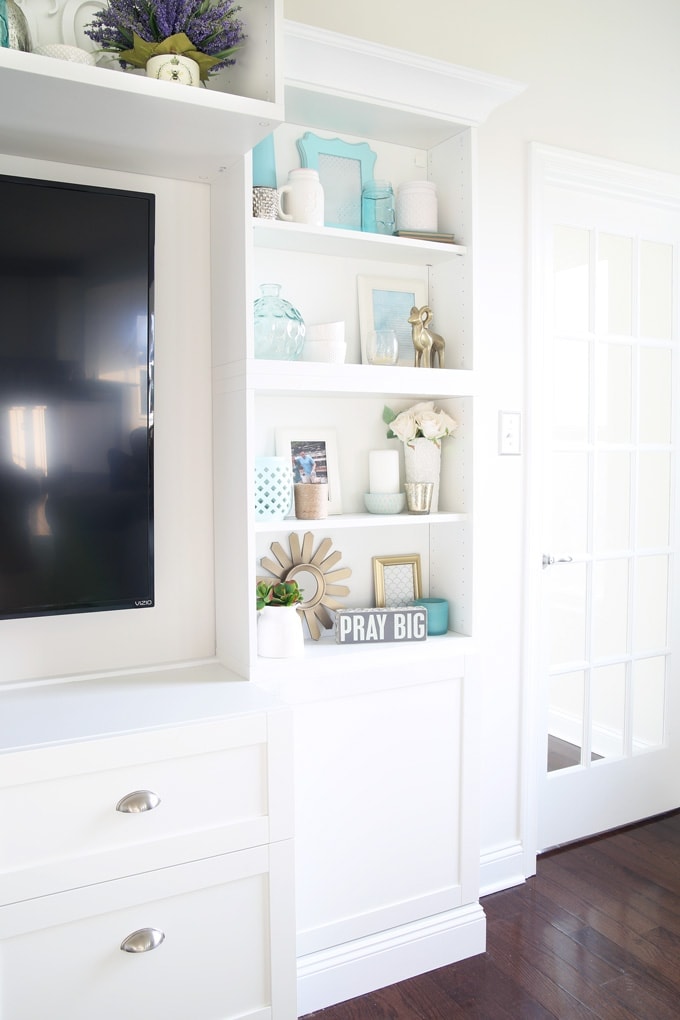
Abby Organizes created this full IKEA BESTA media center for her living, which includes upper cabinets.
This gives the appearance of a custom built-in bookshelf and provides space to display tons of beautiful decorative items.
Add Open Shelves to Your BESTA Units
For a more open shelving look, you can also use IKEA LACK shelves to create a media center feature wall.
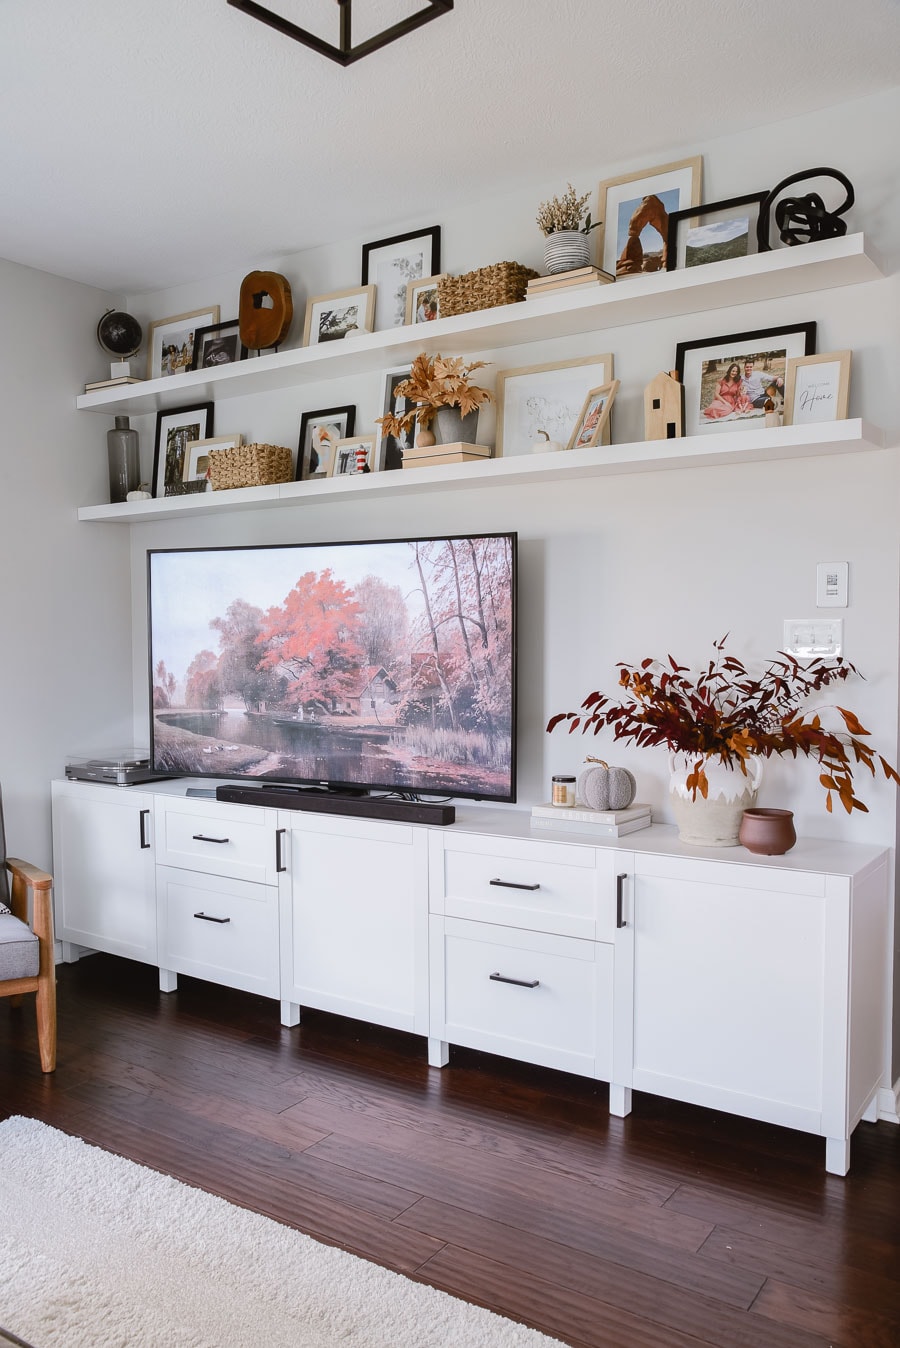
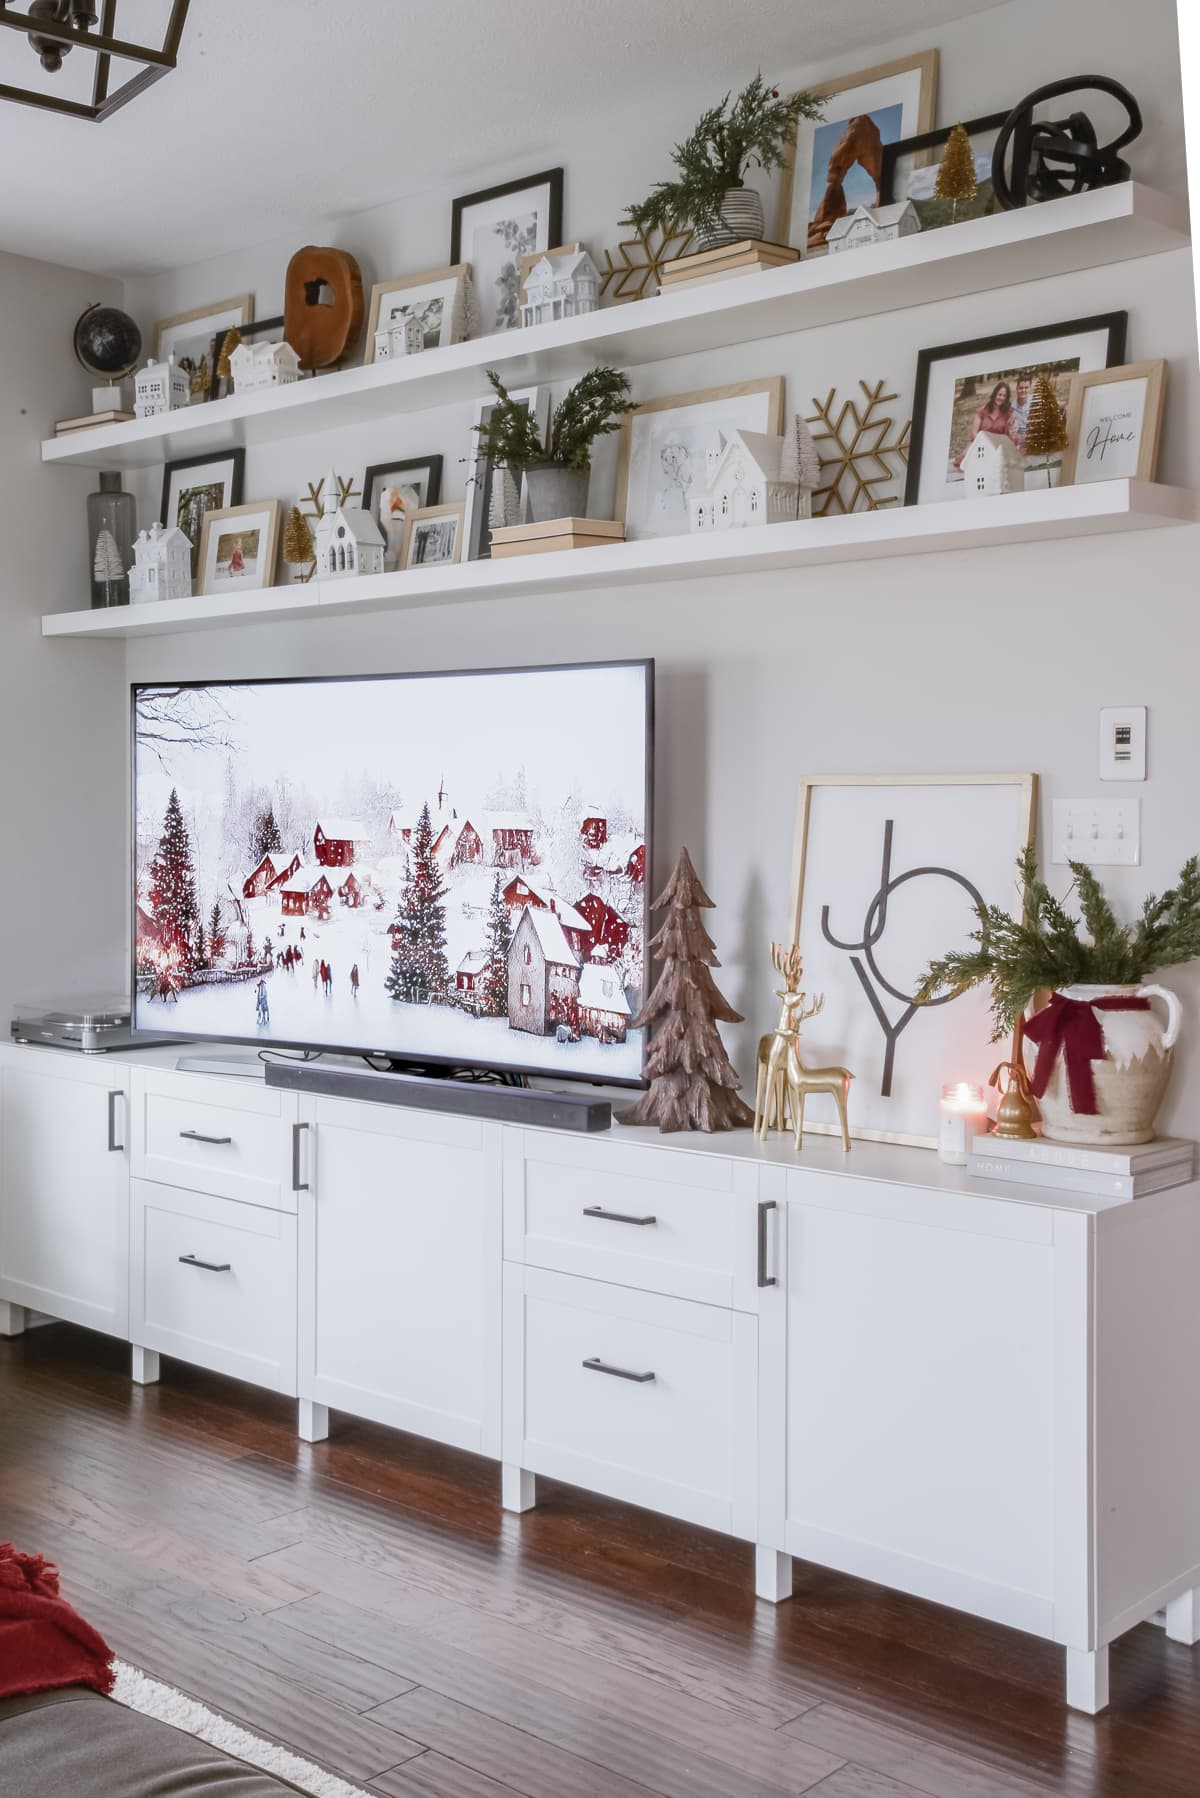
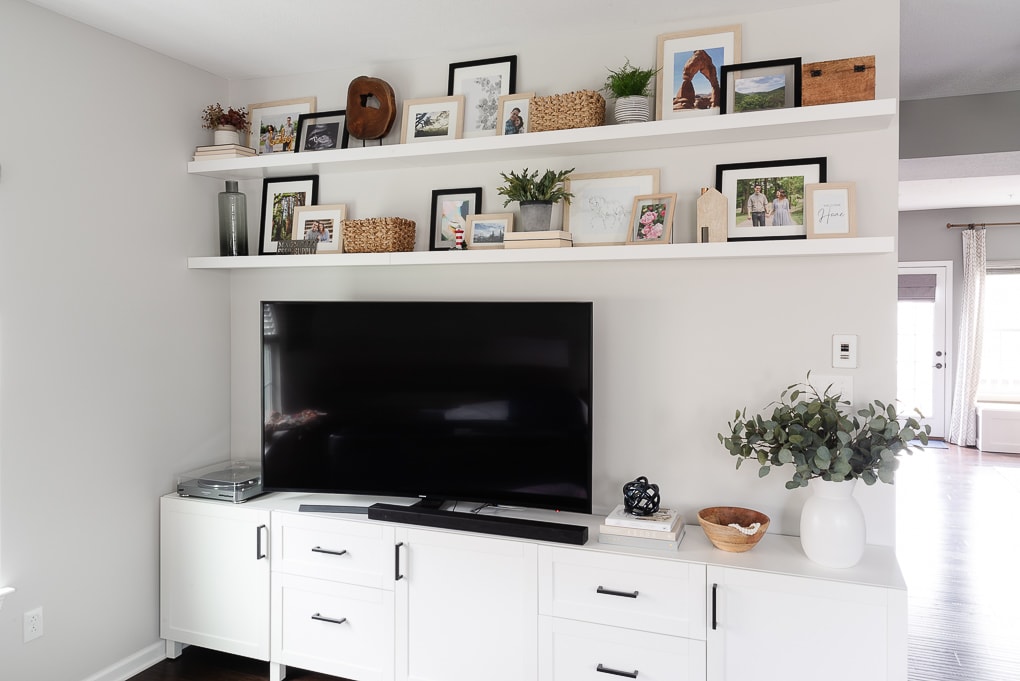
In our living room, we decided to install two levels of open shelves above our BESTA media console.
Related: Easy DIY IKEA Floating Shelves: IKEA LACK Hack
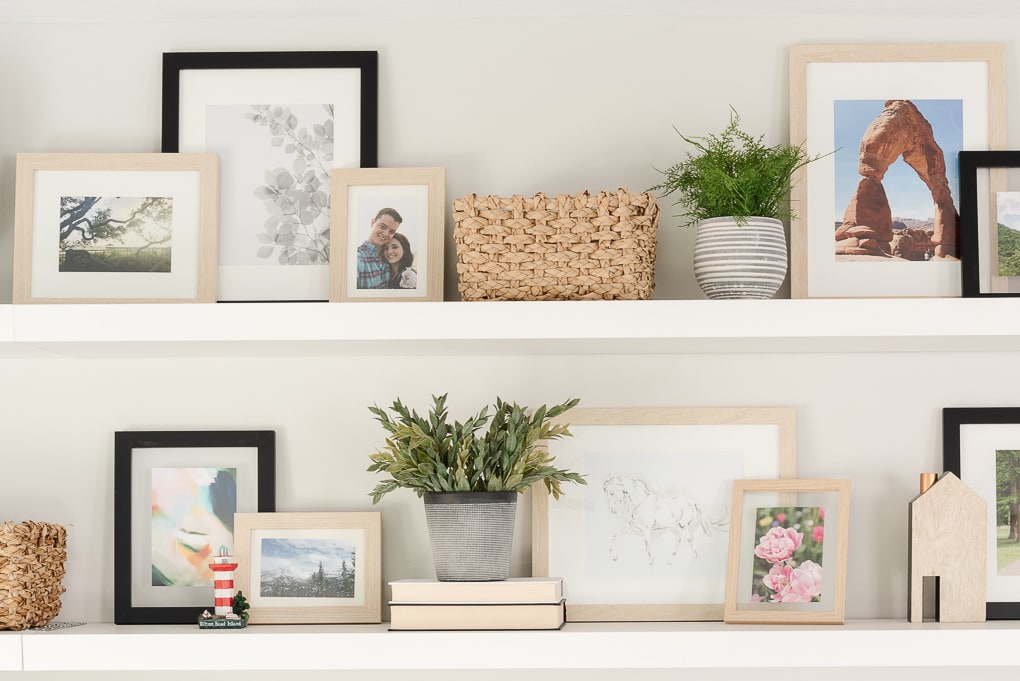
This gave us tons of space to display decorative objects, personal items, and even family photos.
Related: How to Decorate Floating Shelves
Related: How to Print Family Photos on a Budget
Final Thoughts on the DIY IKEA TV Stand
In conclusion, the IKEA BESTA system is a versatile and affordable option for creating a custom media console in your home.
This was one of the easiest DIY projects in our home and it made a huge impact. Now we have a new TV unit that looks like it was custom made for our living room.
With a little bit of planning and DIY skills, you can transform a simple BESTA unit into a stylish and functional TV stand or media console.
Whether you choose to add doors, drawers, or open shelves, the BESTA system allows you to customize your media console to fit your specific storage needs and home style.
Don’t be afraid to get creative and add your own personal touch with paint or hardware to really make it your own.
The possibilities are endless with the IKEA BESTA system, so go ahead and start planning your perfect media center today.
More IKEA Hacks
- Easy DIY IKEA Floating Shelves: IKEA LACK Hack
- DIY Built In Desk using IKEA Kitchen Cabinets
- DIY IKEA PAX Storage Cabinets








Lovely beautiful makes a home a heaven on this world.
Hi! I love this design and want to re-create it. I don’t quite understand the legs arrangement — how did you do away with the doubled up sets of legs where the 3-unit meets the 1-units?
In the photo, it looks like those legs are right where those meet – but there’s no hole to screw them in, right? Did you just decide to put those legs in the 3-unit and let the 1-units lean against it?
Hi Robb,
Thanks for the comment! On the design it does show doubled up legs but that’s not how I ended up assembling it. I just couldn’t make the IEKA designer show that. In our actual unit there aren’t any legs that are doubled up. There were brackets that we attached between the units to combine the 3 unit with the 1 on the side. The legs between the units are installed in the middle of those brackets. I believe it was a hardware piece that got when you buy multiple units. It’s just a silver bracket that spans both units underneath and helps keep them connected. Hope this helps!
>> Christene
Beautiful and inspiring ! Could you share the spacing measurments between the ceiling and top shelf, and top shelf to bottom shelf? Thanks a ton!
Did you attach the besta units (side by side) in the back?
Yes we attached them together to create one big unit.
>> Christene
Great idea! I love how you styled it by putting the TV off-center. It looks so much more sophisticated that way. Thank you for all the tips about the IKEA online planner.
Love the look of this! Did you anchor this to the wall? We just got two double bestas that on their own, with legs (with the invisible one in the middle), were completely unstable when the door was open.
Hey Zoey! We did end up anchoring them to the wall along with the TV because we have 2 little kids. But also if your home is slightly not level (most homes tend to be that way) it’s a good idea to anchor it in place.
Hope this helps,
>> Christene