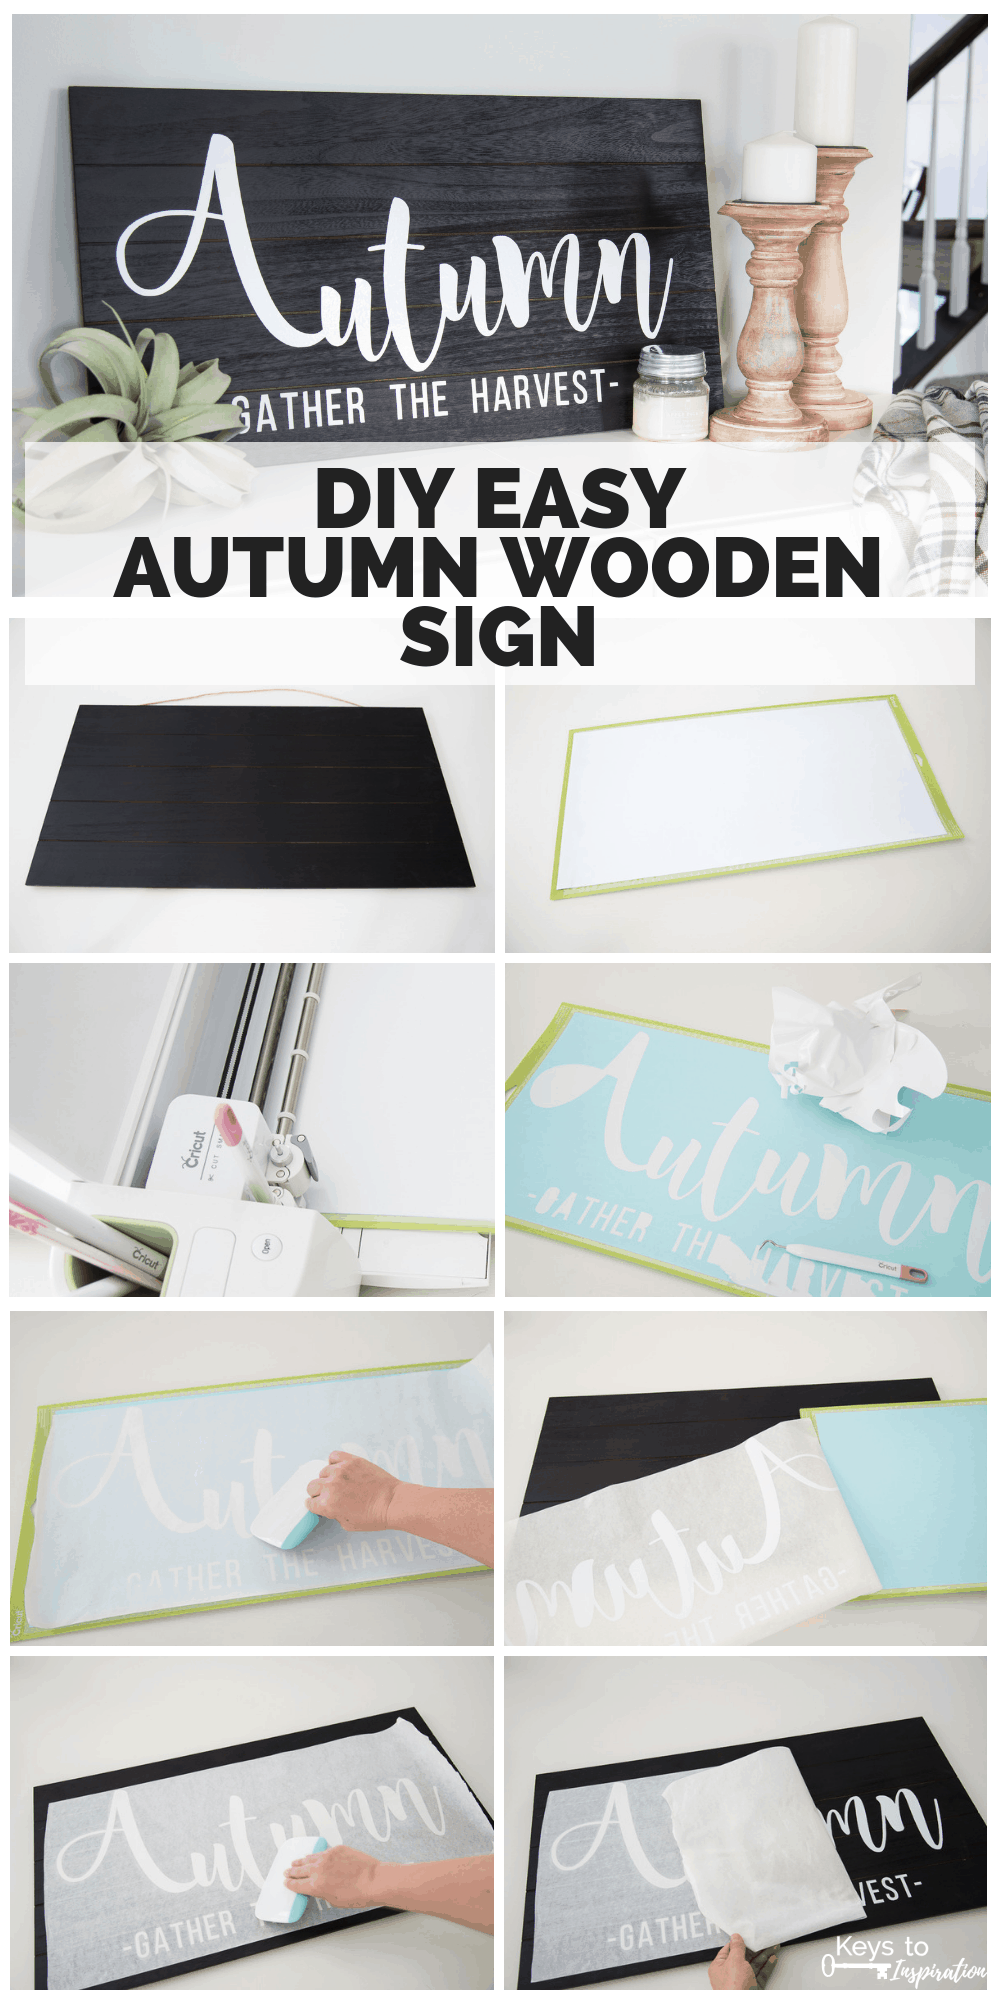
Make this DIY easy Autumn wooden sign for your home this fall using your Cricut Explore. This project is so simple and will take you less than an hour to complete. It’s the perfect home decor craft project to kick off fall!
Want more easy sign projects? Check out this DIY gather wooden sign and this DIY Merry Christmas wooden sign.
This post contains affiliate links for your convenience. For more information, see my disclosures here.
When I say this project was easy, I really do mean that this was EASY! Like the kind of DIY project that you have an idea for in one second, and literally finish less than an hour later.
I started to break out my fall decor for this year and I decided that I needed a wooden sign. I’ve been loving some of the modern farmhouse wooden signs I’ve seen on Instagram lately and wanted to create something similar — minus the “farmhouse” part.
So, when I was on one of my trips to the craft store, I picked up this pretty dark wooden “pallet style” sign. I spotted it and just couldn’t pass it up.
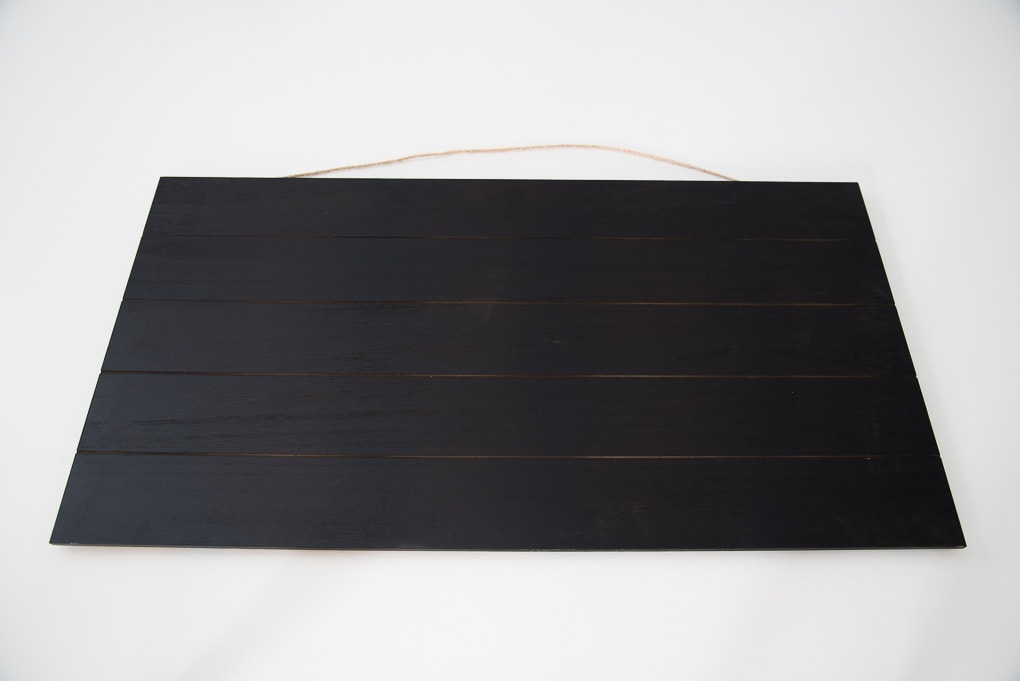
It’s different than most of the “pallet style” signs I’ve seen at craft stores. It has a little bit of a rustic feel to it, but overall I thought it looked very finished and polished. Which is perfect for a more modern classic home.
When I got home, I knew exactly what I wanted to create with it. I jumped onto my computer, created a design, and no less than an hour later I had the finished product.
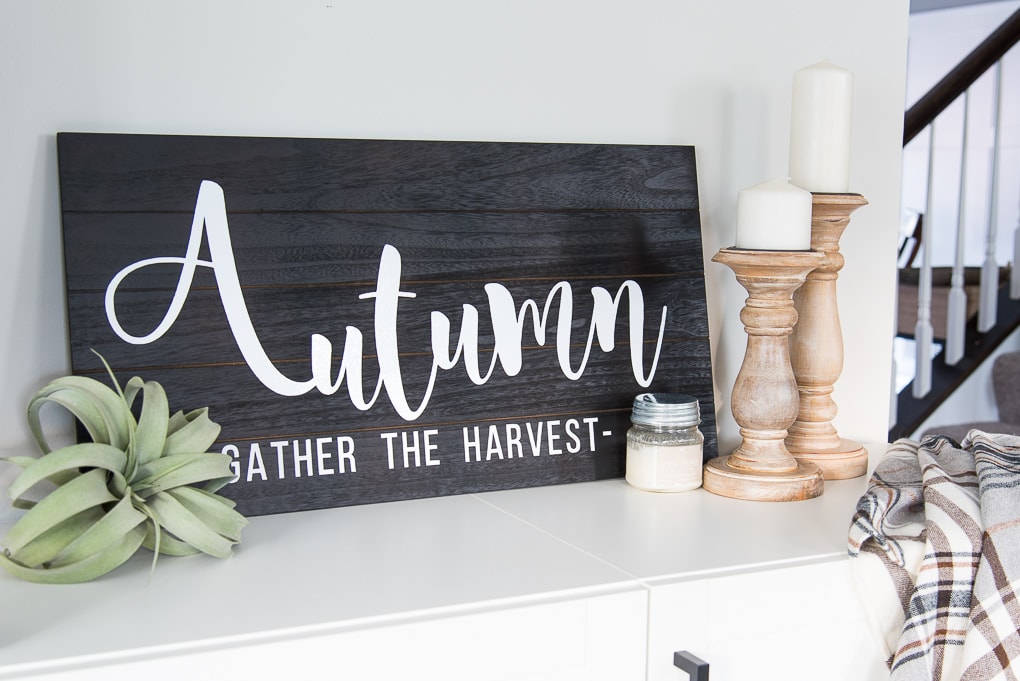
See, I wasn’t lying when I said it was super easy!
Let me show you how I made it.
Materials:
Tools:
- Cricut Explore
- Cricut Extended Standard Grip Cutting Mat
- Paper Cutter or Scissors
- Transfer Tape
- Weeder Tool
- Scraper Tool
The secret to making this project so easy was my Cricut Explore cutting machine. Once I had the idea for the design that I wanted to make, all I had to do was log in to Cricut Design Space and start creating.
I wanted this sign to have that hand-lettered look to it. So, I found a beautiful script font that made the word “Autumn” look super pretty. It has a modern, whimsical feel to it that I just love!
You can get this Autumn sign image for free!
Get the Free Autumn Sign Image

After you download the image, you will need to upload it into Cricut Design Space.
How to Upload an Image in Cricut Design Space
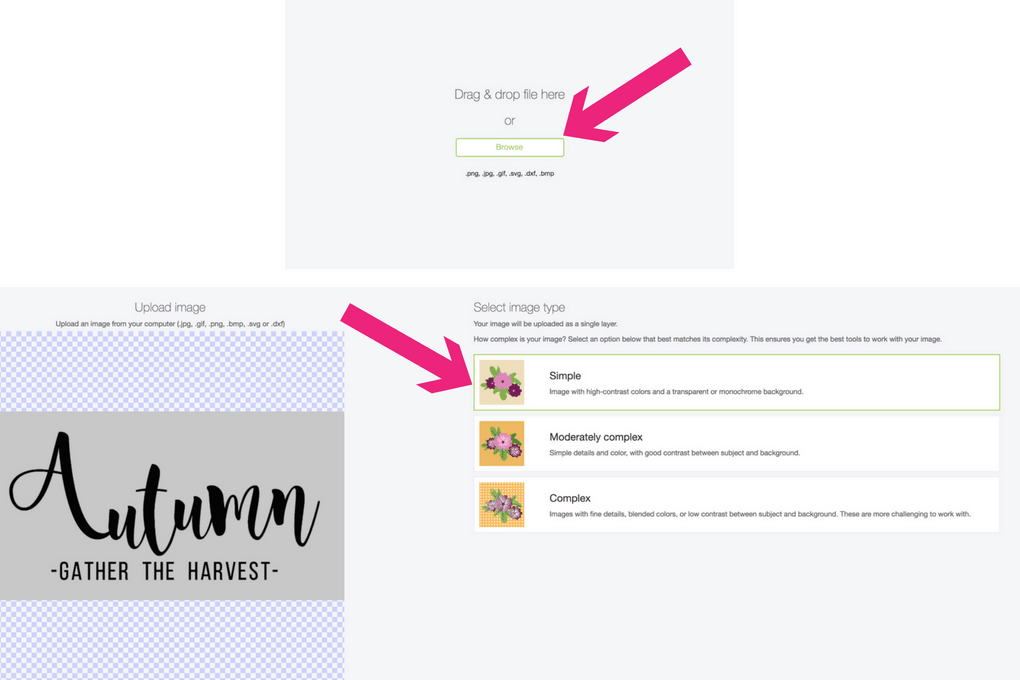
Start by logging into Cricut Design Space and creating a new project. On the left side of the screen, click on the “Upload” icon. This will open the upload images menu. Then, select the “Upload Image” button.
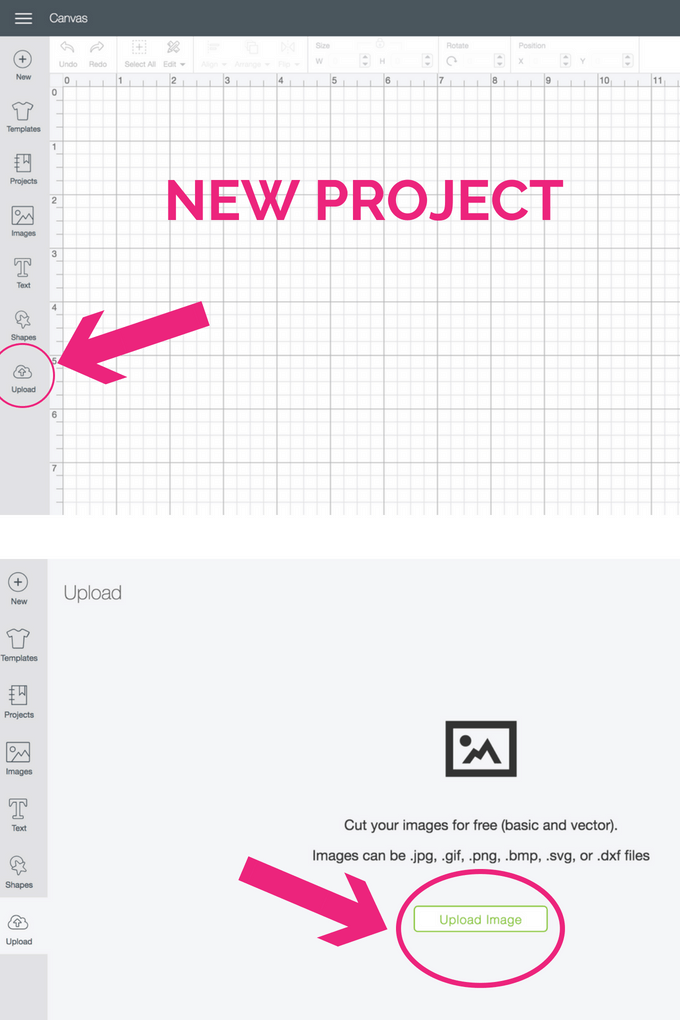
From the next screen, navigate to the location on your computer where you saved the Autumn sign downloadable image. Select the image to start the upload process.
On the next screen, you will need to select the complexity of the image. Since this image is just black and white, select “Simple” and then select “Continue” at the bottom of the screen.
On the next screen, you will need to remove the background from the image so that only the words remain. Your cursor during the part of the upload process becomes a “magic wand.” When you click on a part of the image, it will be erased.
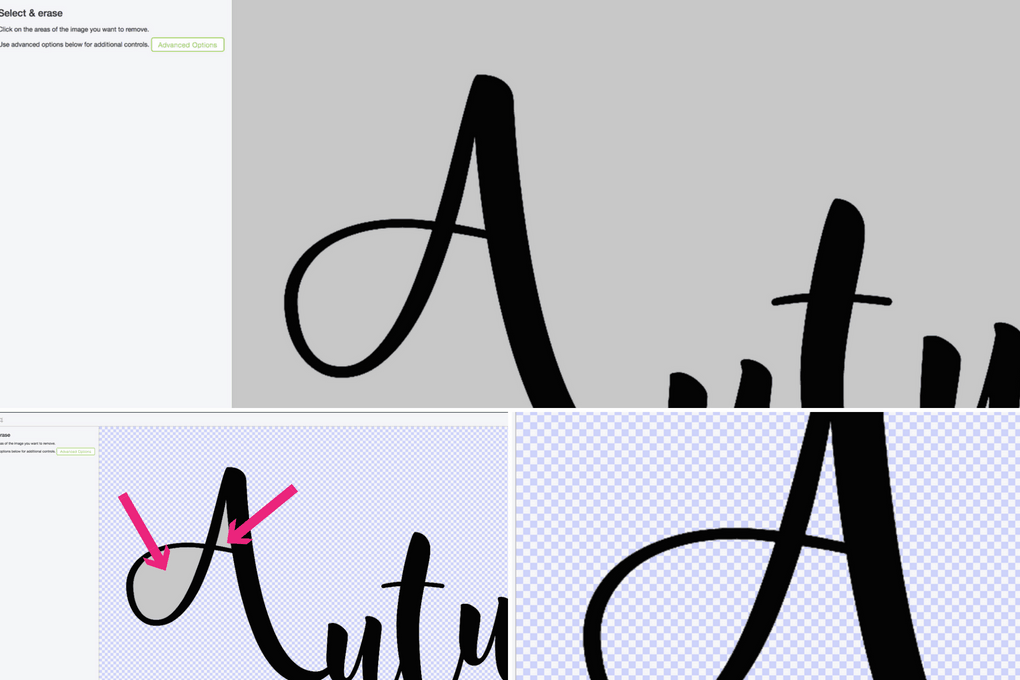
Click on the background to remove it. Make sure to click on all of the background in the center of the letters too. You might have to zoom out to see the whole image.
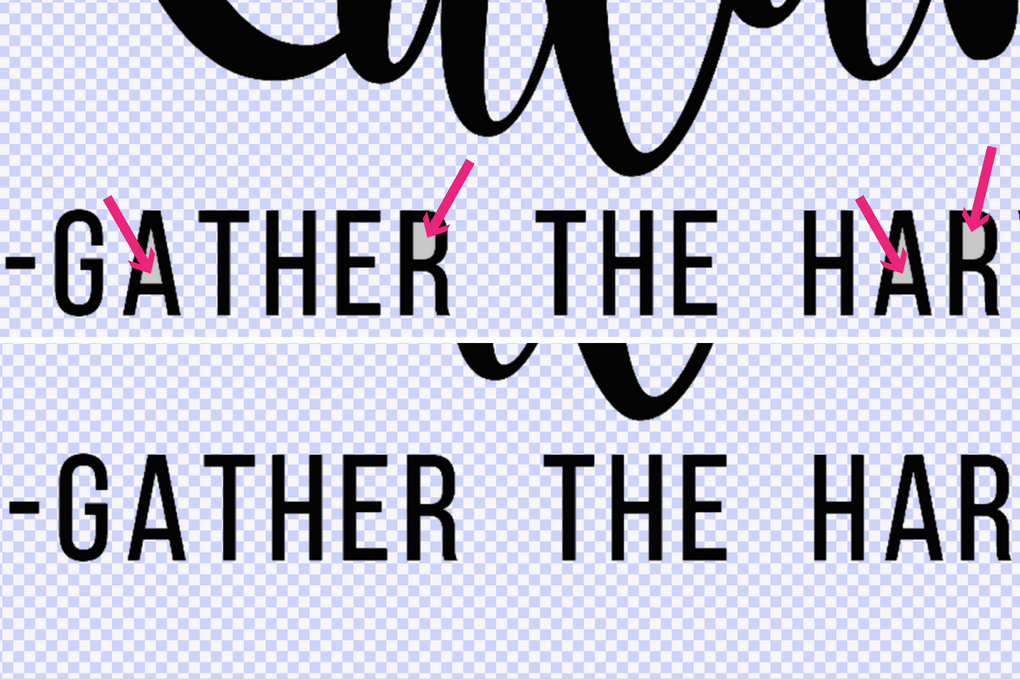
Once you have removed all of the background, select the “Continue” button at the bottom of the screen.
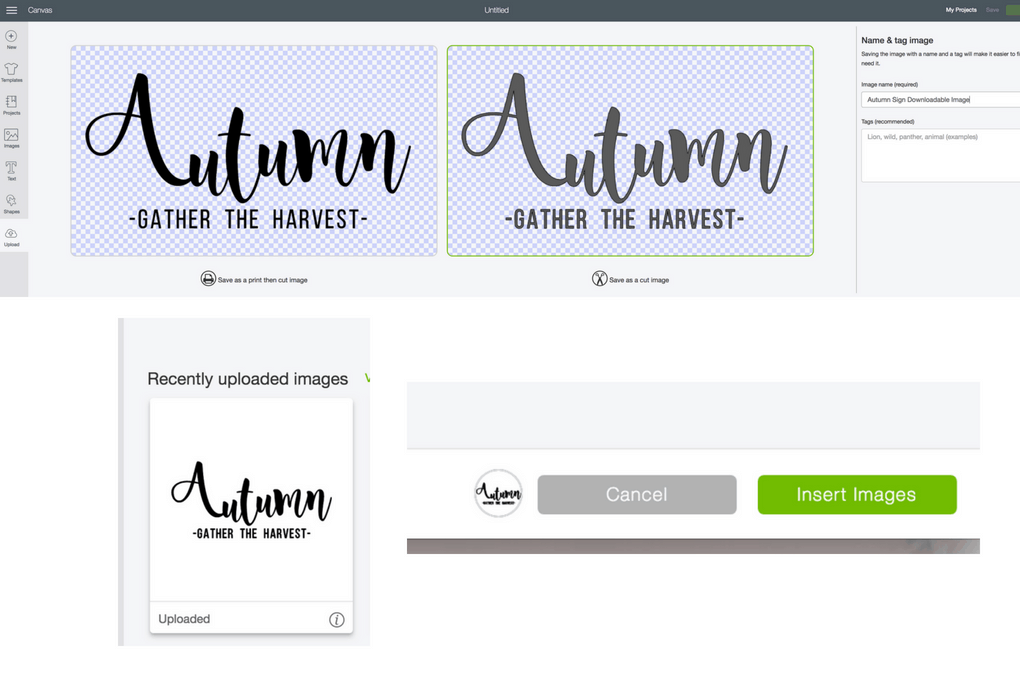
Next, you will need to tell the Design Space software what type of image this is. Since you are just going to be cutting this image, select the “Save as a cut image” version of the image. Then, select “Save” at the bottom of the screen.
Now your image is ready to use. Select the image and then select “Insert Images” at the bottom of the screen to add it to your Design Canvas.
How to Resize an Image in Cricut Design Space
To make the image fit perfectly on the wooden pallet, I had to resize the image to be 23.5” wide.
To resize an image, first select the image. At the top of the screen, a toolbar will appear. Under the “Size” section, type the desired width next to the “W.” The length will scale accordingly.
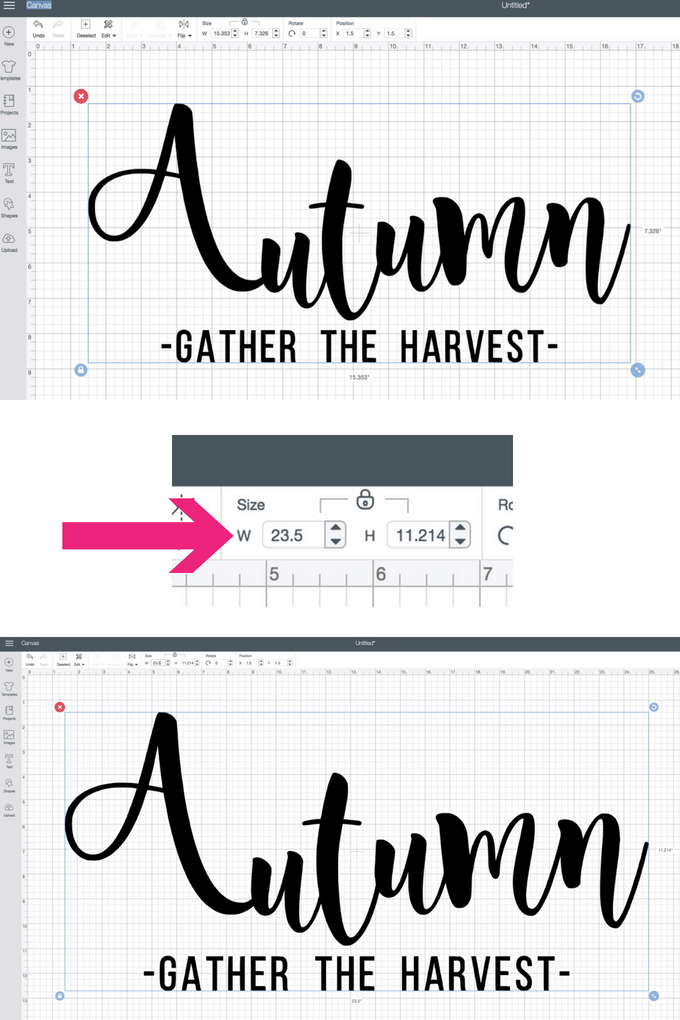
The largest width image that you can cut on the Cricut extended cutting mats is 23.5”. Thankfully, this was the perfect size for my wooden sign.
Once my design was ready, it was time to let the Cricut start cutting.
Using my paper cutter, I cut a piece of white vinyl to about 24” long.
This white vinyl is my favorite! I think this is only my second roll. It lasts for such a long time. And it’s also really affordable for the amount that you are getting.
I like to use a paper cutter when working with vinyl on a roll, but it’s totally not necessary. You can also cut the vinyl off the roll using scissors.
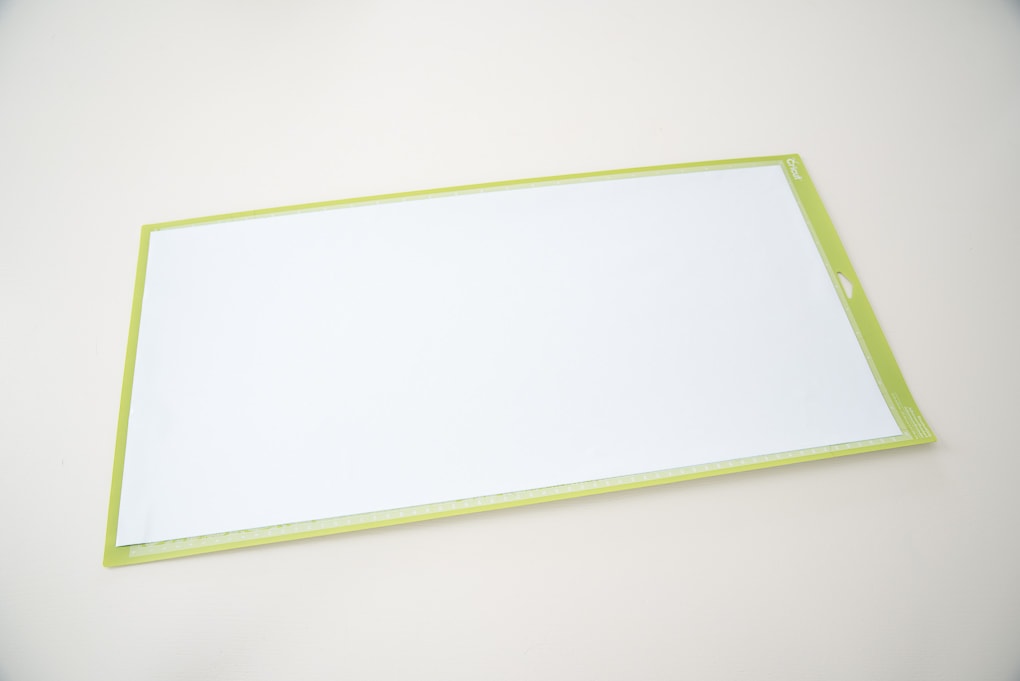
Then, I placed the vinyl on the Cricut extended standard grip cutting mat. I loaded the mat into my Cricut Explore machine, made sure that the Smart Dial settings were set for cutting vinyl, and I pressed the “Go” button.
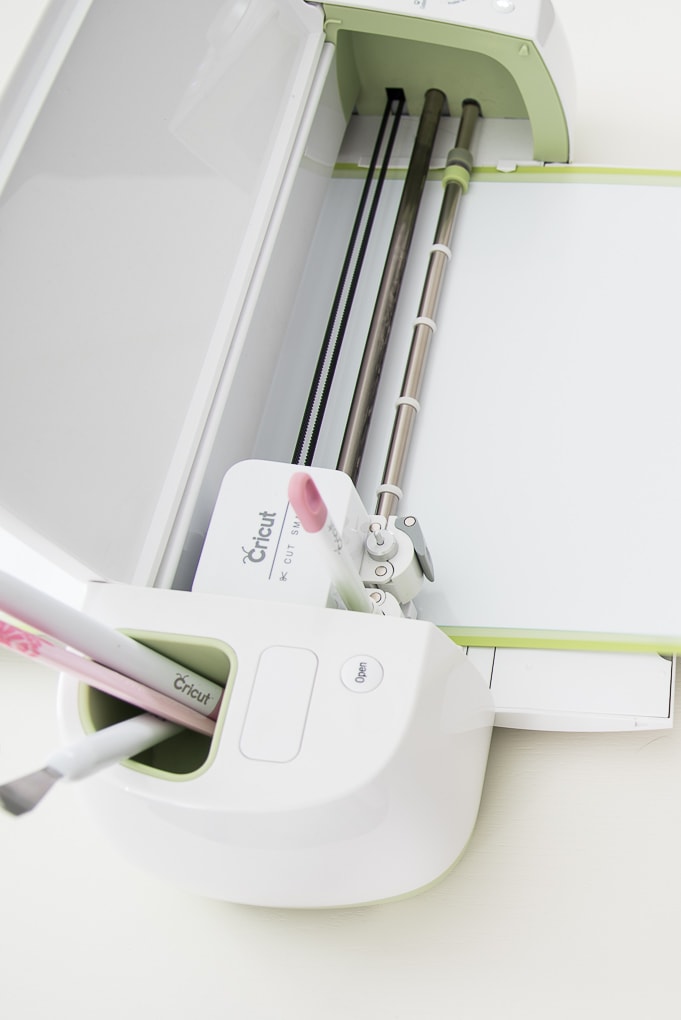
How to Weed Cricut Vinyl Design Projects
Once the Cricut was done cutting, it was time to weed the design.
When working with vinyl, after the Cricut is done cutting, you will need to “weed” away the extra vinyl. That way only your design remains on the backing.
I like to do this while my design is still stuck to the cutting mat. That way I don’t have to deal with the vinyl curling back onto itself.
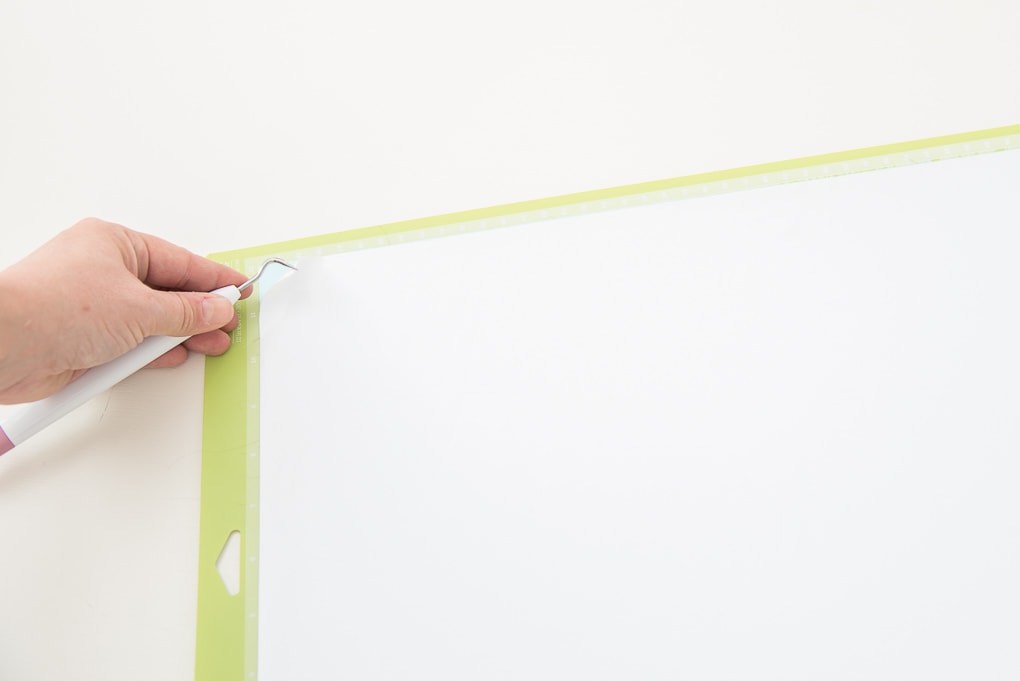
The best way to weed vinyl is to use the Cricut weeder tool. It’s basically a little hook that you can use to get under the vinyl and pull away the extra pieces.
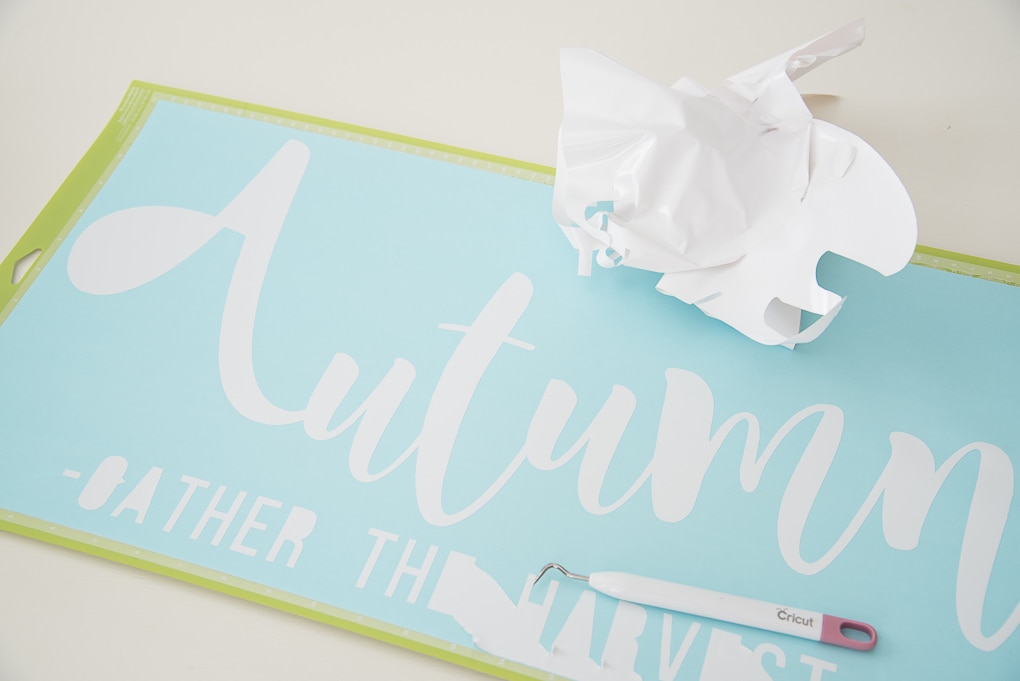
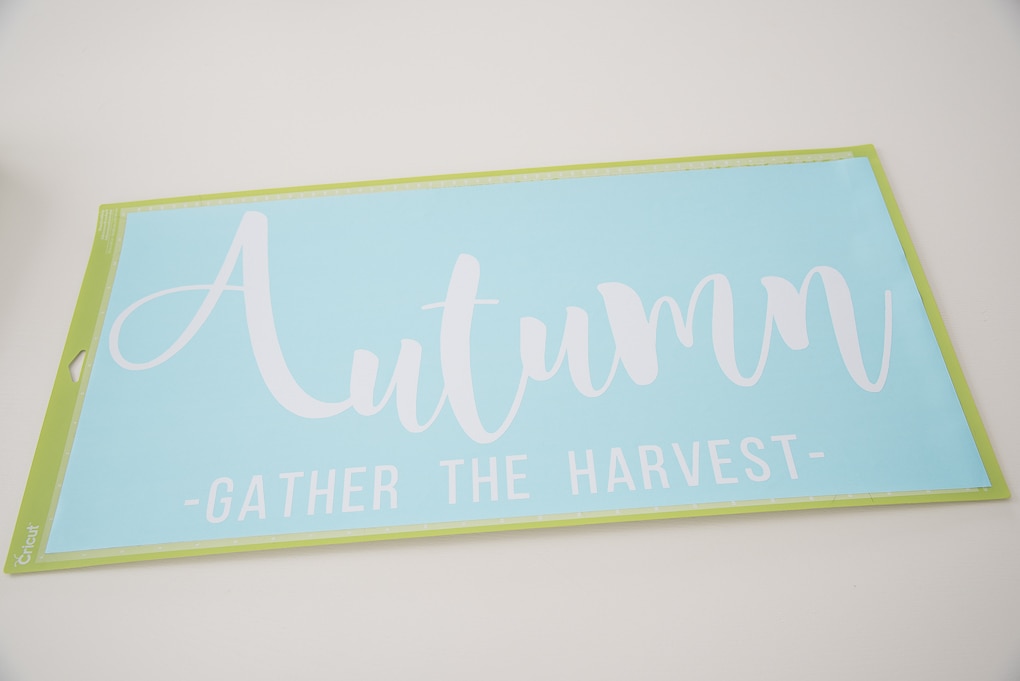
How to Use Transfer Tape for Cricut Vinyl Design Projects
After I finished weeding the design, it was time to transfer it to my wooden pallet.
Word of caution — never just peel your design off of the backing and try to transfer it by hand. Especially if you are working with something large like this design. You will almost always mess it up.
Instead, you should always use transfer tape. Transfer tape is basically just a sticky tape that you place over your design. It holds everything in place while you transfer it from the vinyl backing to your design surface.
My favorite transfer tape has been this giant roll. This roll has lasted me FOREVER! Well worth the price and so much cheaper than the name brand transfer tape.
With the vinyl still attached to your cutting mat, cut a piece of transfer tape large enough to cover your entire design.
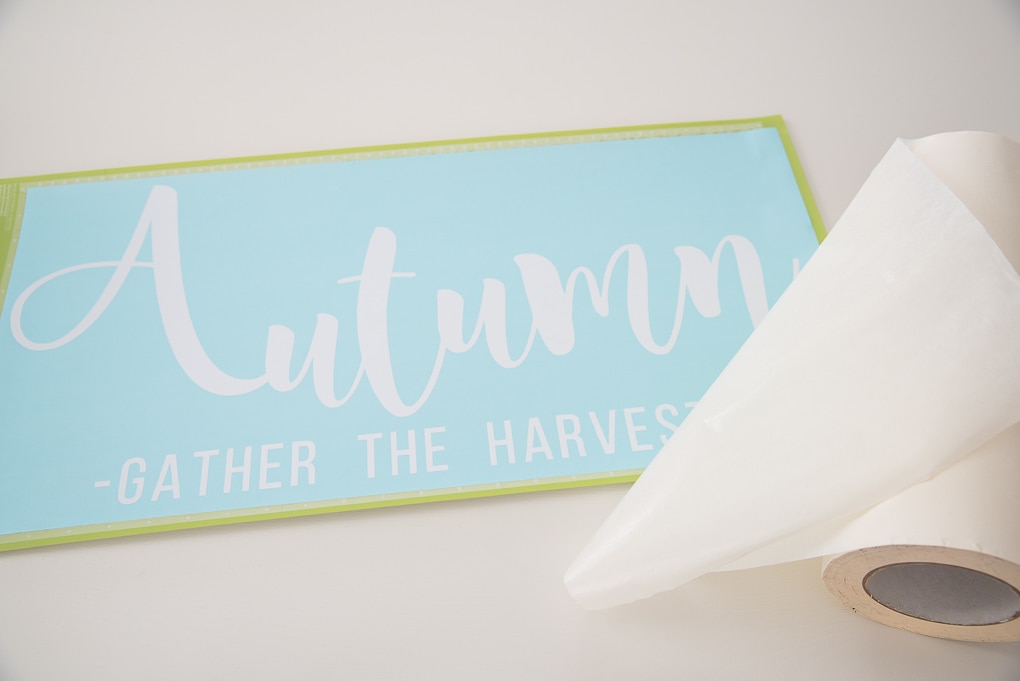
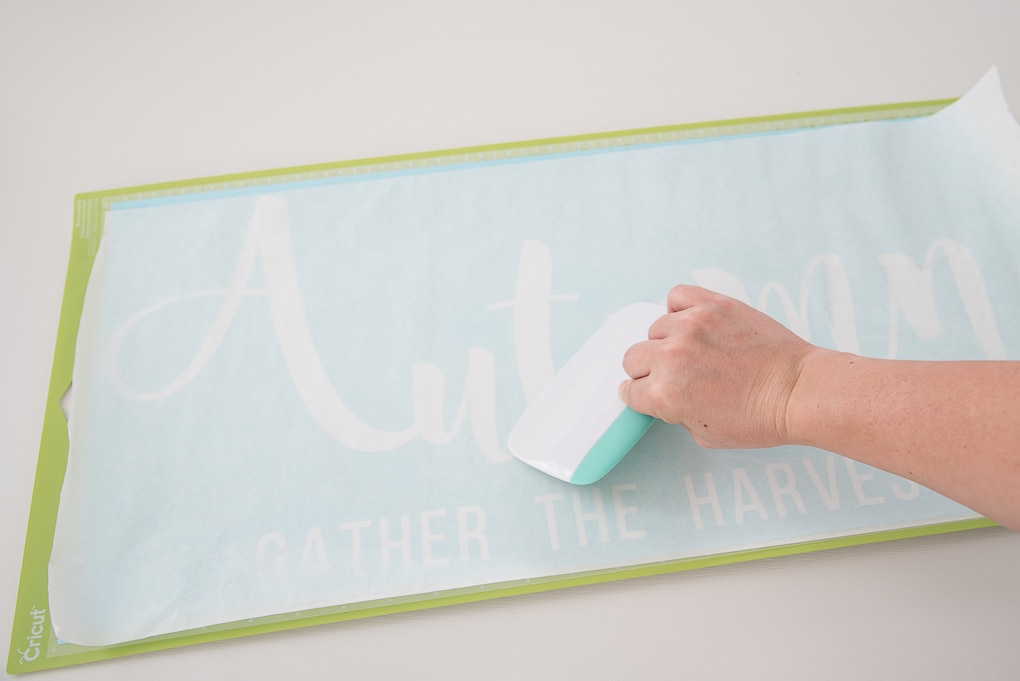
Place the transfer tape on top of your design and smooth it with your hands. I like to use the Cricut scraper tool to really press the transfer tape onto the vinyl. This helps it stick to the vinyl better so that it will transfer easier.
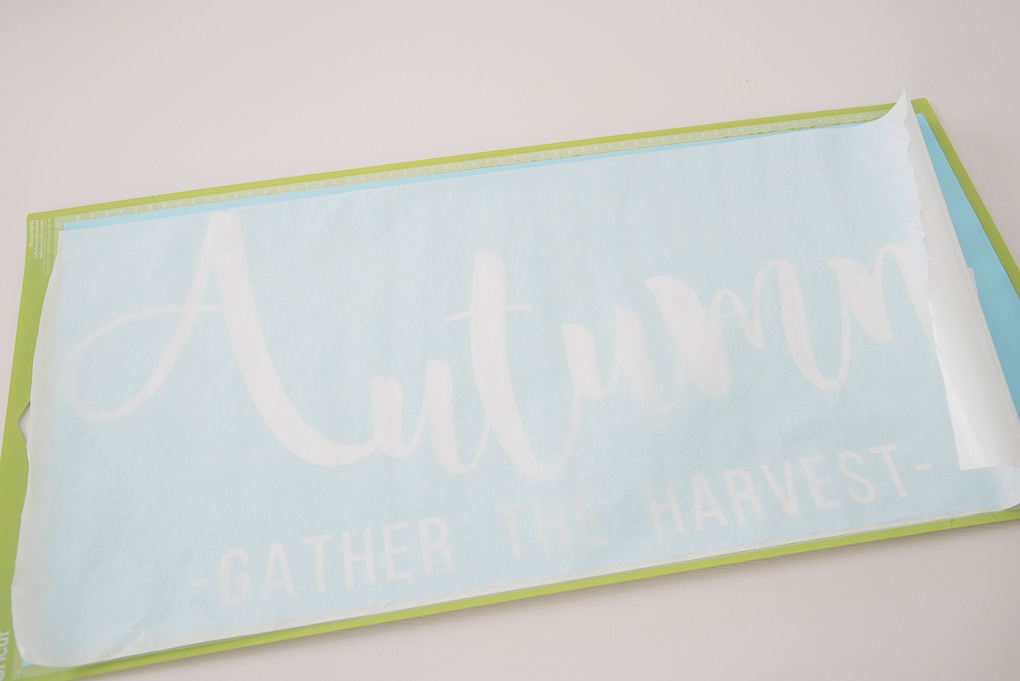
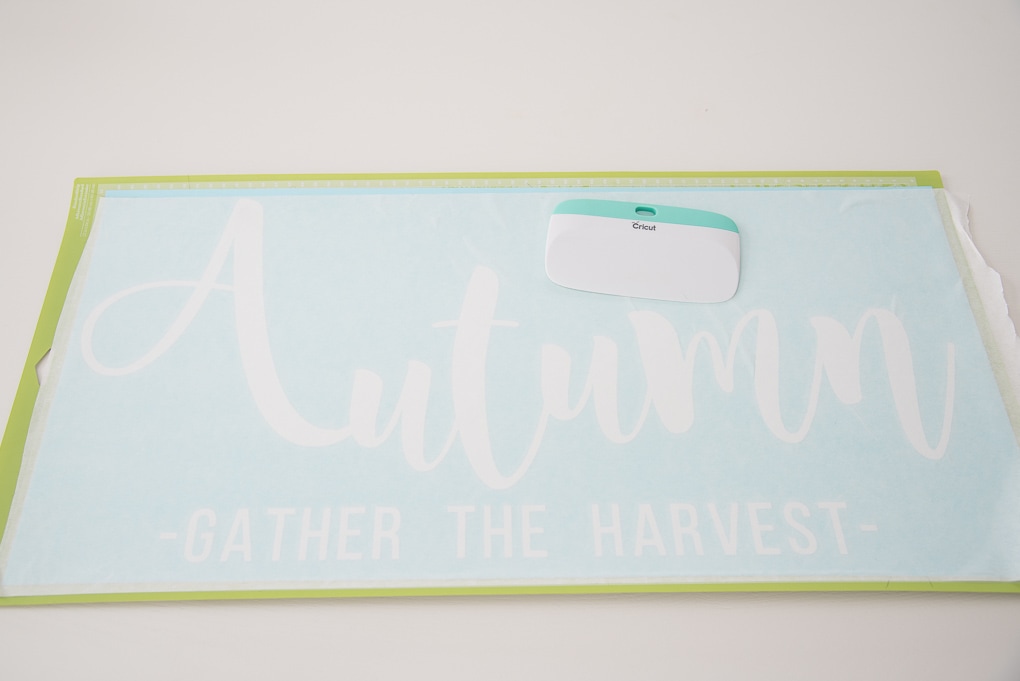
Then, working from one corner, slowly peel the transfer tape away from the backing and make sure that the vinyl design comes off the backing with the transfer tape.
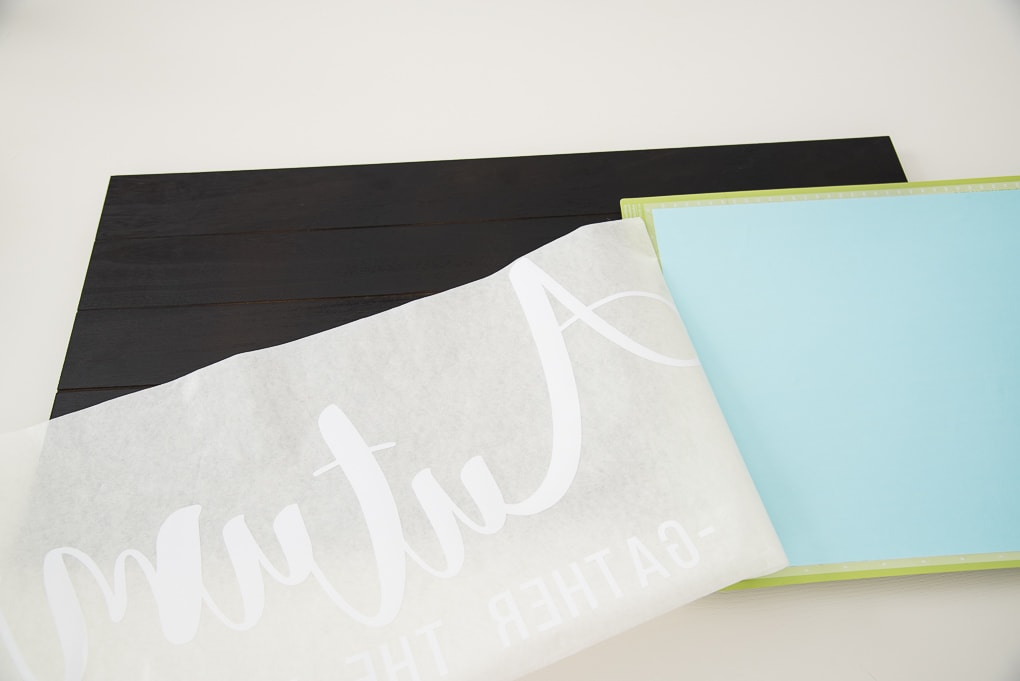
If your vinyl isn’t sticking to the transfer tape, roll it back down and try using the scraper tool again to get it to stick better.
Once you have your entire design on the transfer tape, it’s time to place it on the wooden sign.
I basically just eyeballed this part of the process. I did try and line up the words at the bottom of my design with one of the slats of wood so that it was mostly straight.
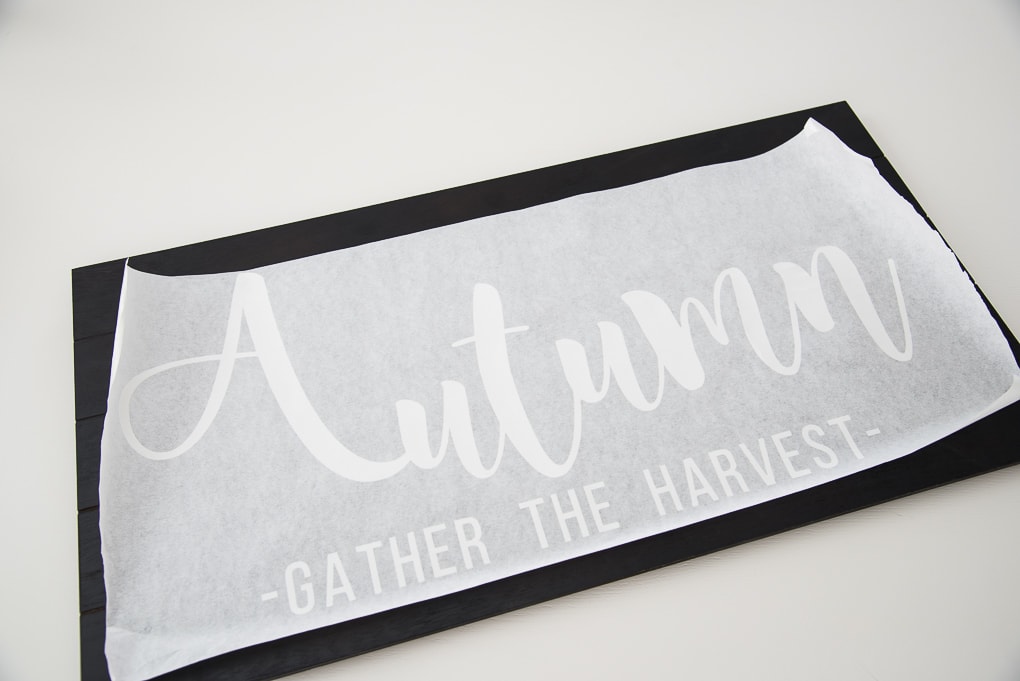
I hovered the transfer tape with my design on it over the wooden sign until I had it in a location that I liked. Then, I carefully placed the transfer tape onto the wooden sign.
To get the vinyl to release from the transfer tape and stick to the wooden sign, you will need to repeat the same process as before using the scraper tool. Press down using the scraper tool on all sections of the vinyl design to get it to transfer onto the finished surface.
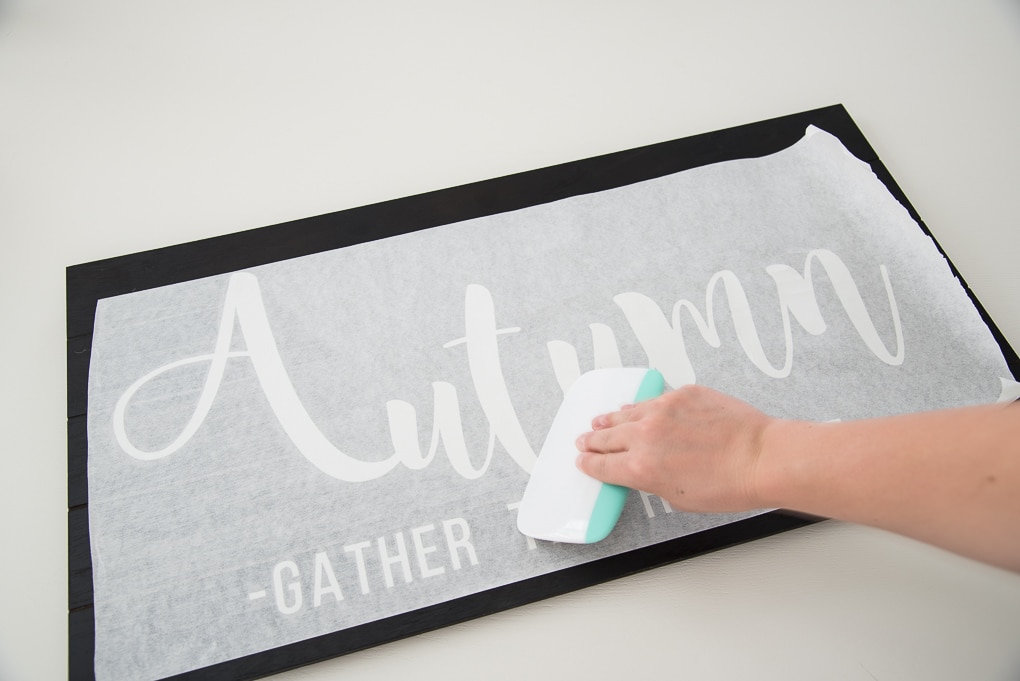
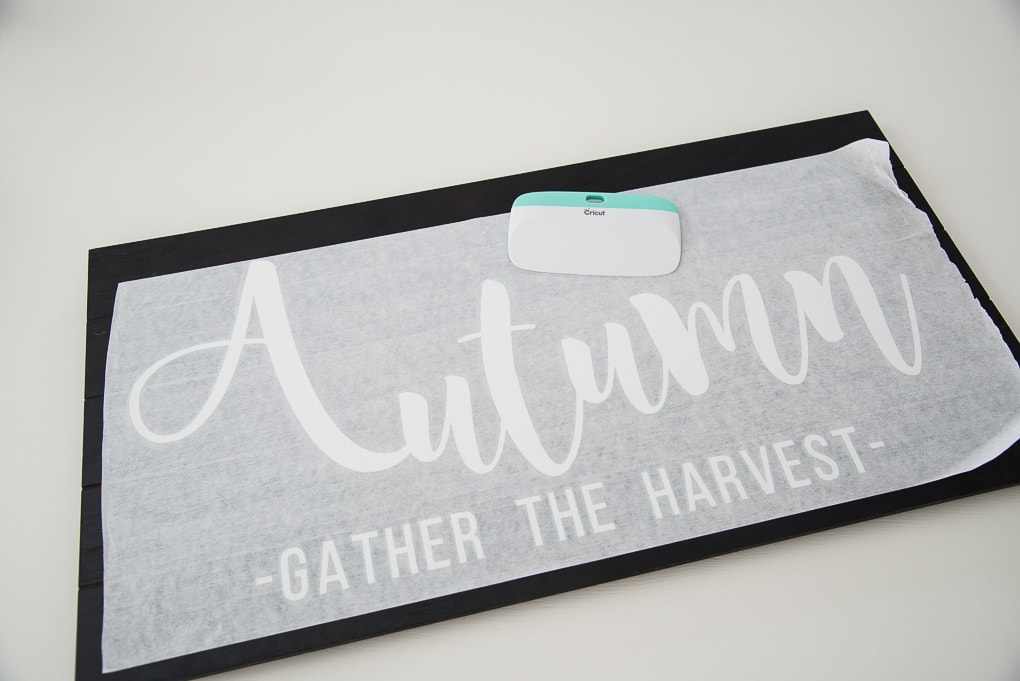
After you have smoothed the design down and pressed it into the wooden sign, you can remove the transfer tape. Working from one corner, slowly peel the transfer tape away from the wooden sign. I like to do this part at a sharp angle. It helps the vinyl to release better from the transfer tape and stick to the surface.
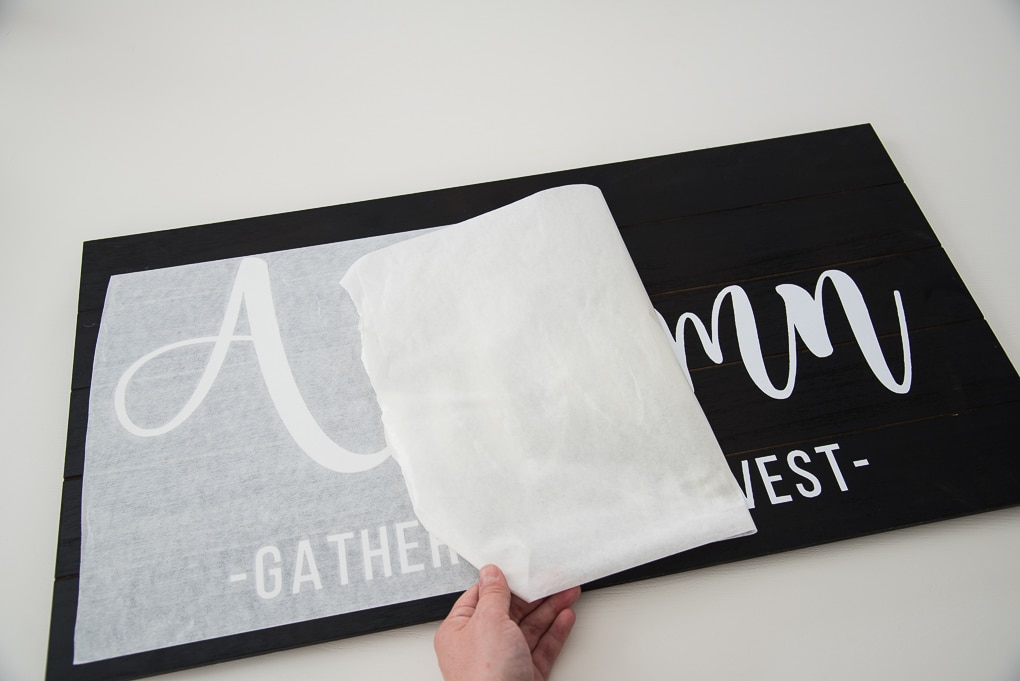
If any part of the design doesn’t transfer, just roll the transfer tape back down and try using the scraper tool again to get it to stick better.
After you remove all of the transfer tape, your sign is done!
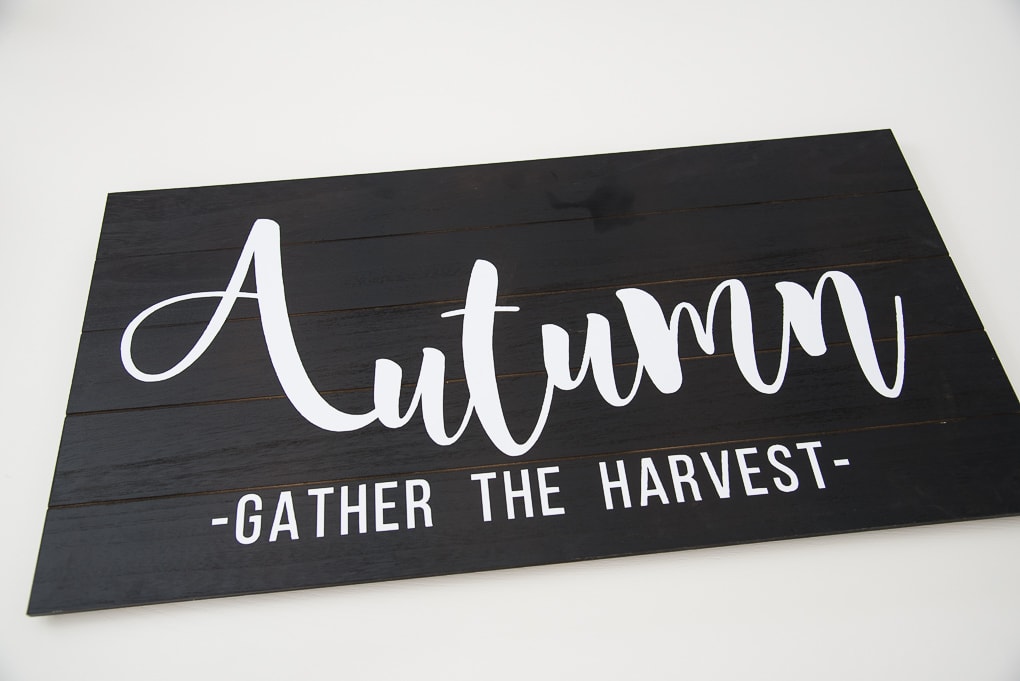
No painting, no stenciling, no special skills needed. Just some white vinyl!
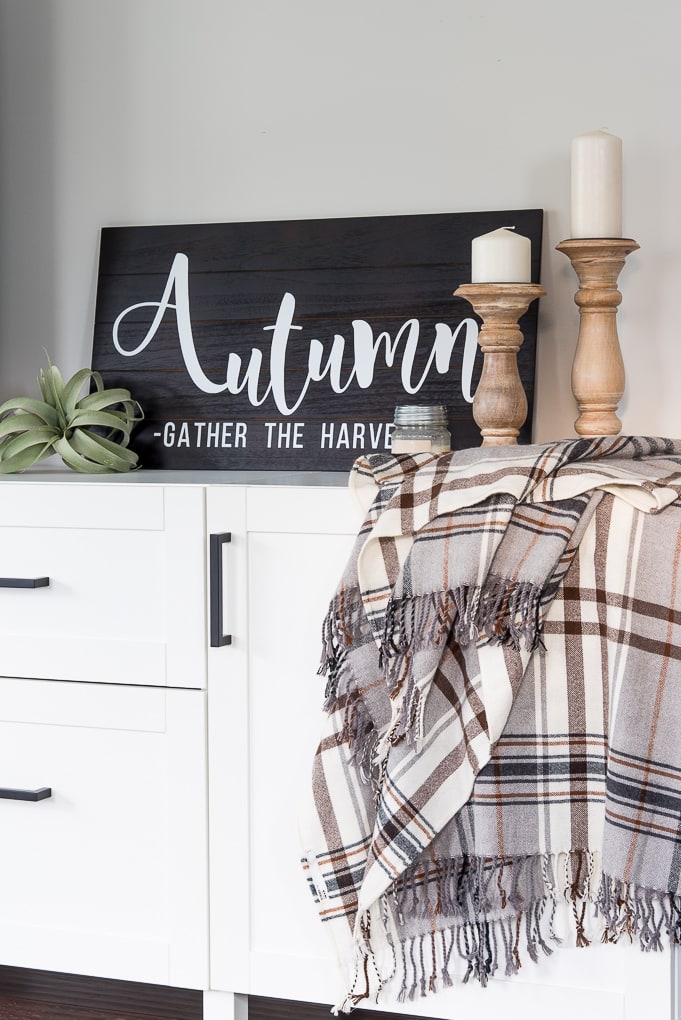
I really love how this turned out! It looks modern but also has the feeling of those pretty farmhouse signs I see all over Instagram.
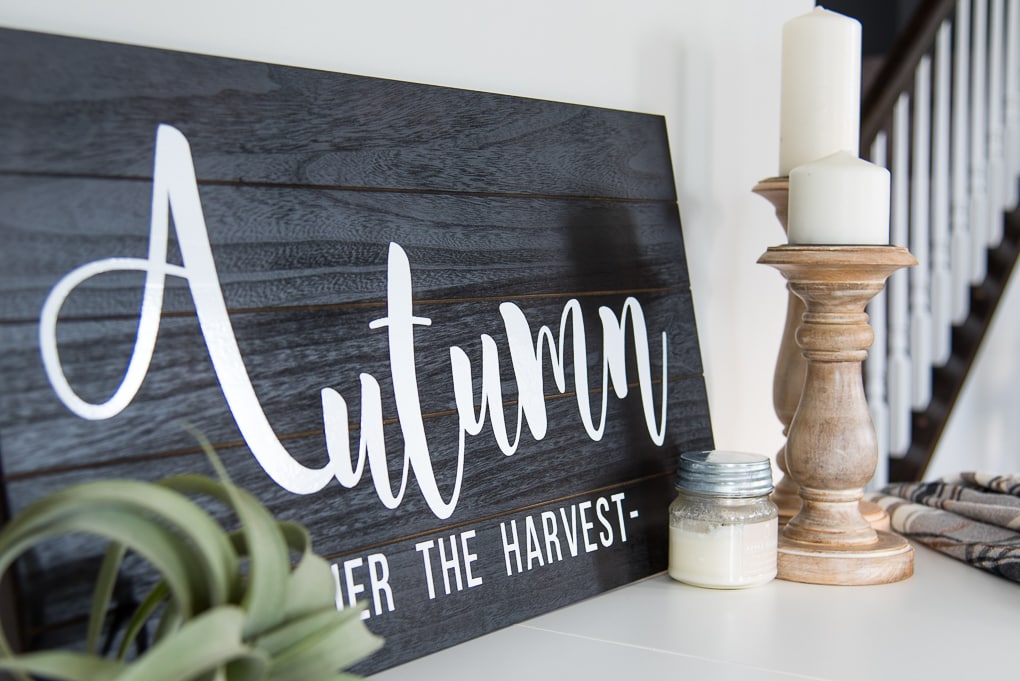
Honestly, if you wanted to buy something similar on Etsy, it would probably be a lot more expensive. That’s why I’m always looking for ways to DIY my home decor.
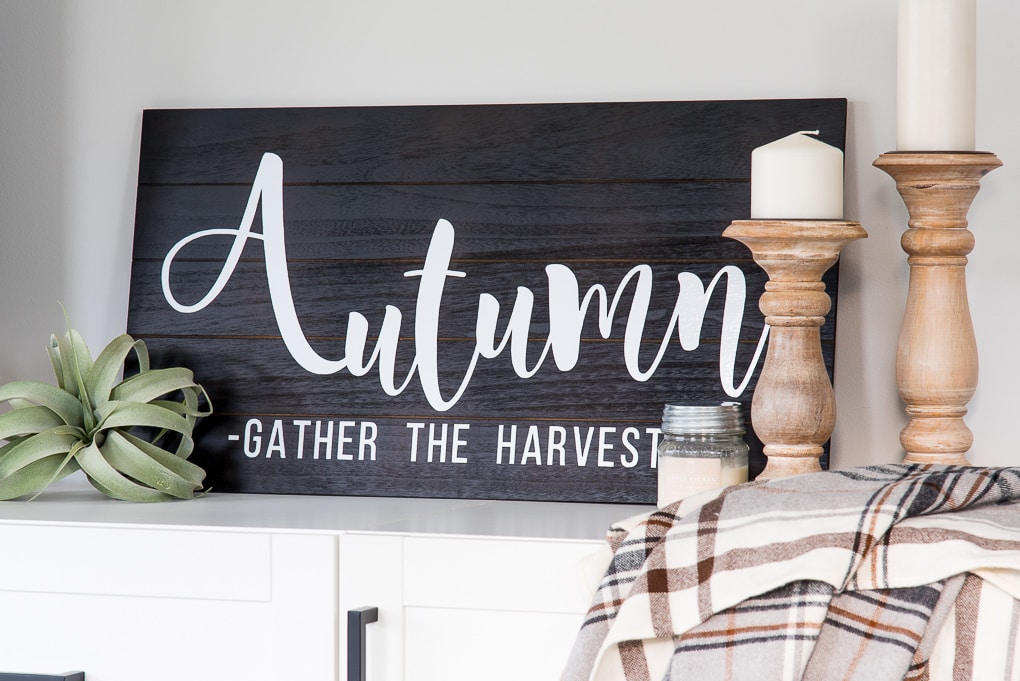
I’ve created wood signs on pallet type wood like this before. And I always end up having issues with the gaps between the pallets. Especially when using paint. The paint always bleeds into that gap and causes a not-so-pretty result. For example — this Merry Christmas wooden sign project was a little difficult to prevent paint from bleeding.
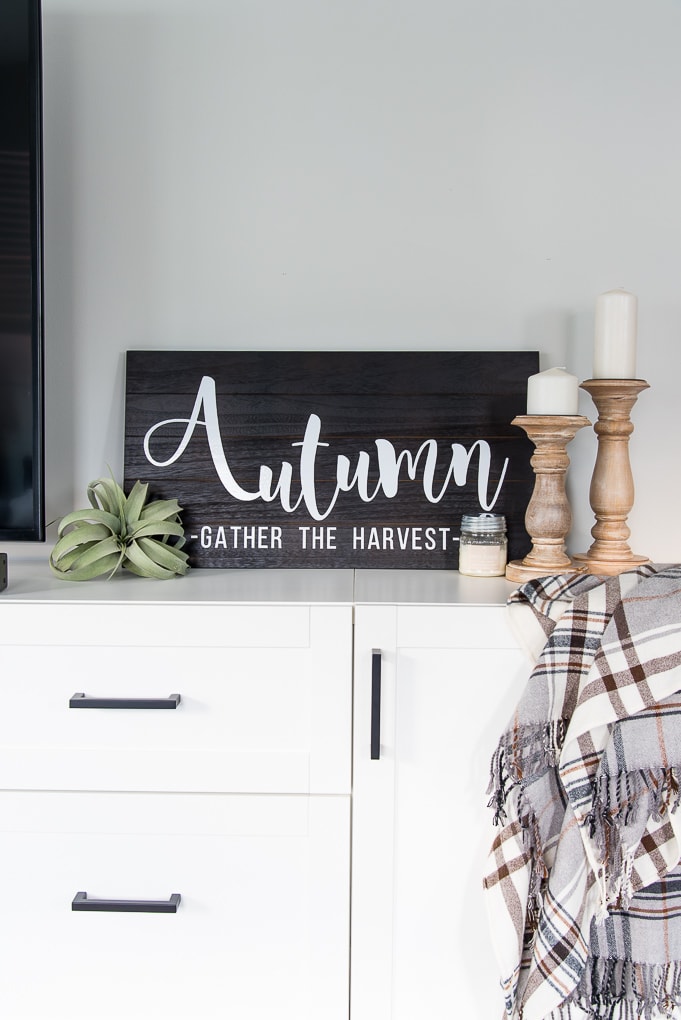

But because I’m just using the vinyl on this one, it kind of stretches over that gap between pallets and you don’t have any issues!
I can’t wait to show you the rest of my fall decor this year. This Autumn wooden sign is definitely my new favorite piece.





I think this sign is absolutely Gorgeous. The way you explained it even this newbie will be able to make it. Thank you so very much.
Hi Christene! Thank you for the great article about signs! It has been very helpful to help me as I make my first sign. I made a stencil using the Dura-Lar film; however, can’t get it to stick using the temporary adhesive I have. I have 202 temporary adhesives. Do you have any advice on how to get it to stick? I am trying to paint the stencil on a stained wood board. Thanks in advance.
Hi Shelly,
I’ve actually never used that type of material before. I’m not sure how to get it to stick better. Sorry I can’t be of more help.
>> Christene
Hi Christene,
I love this Autumn sign, and your tutorial was excellent. I received a Cricut as a retirement gift and am anxious to use it. Even knowing what tools and vinyls I need is overwhelming. I feel much more confident and will try my hand at this beautiful sign. Thanks