Chalkboard signs are my favorite. They have such a classic look and fit into almost any décor. I’m always amazed at the beautiful hand-lettering that people can create with just chalk. It’s truly and art to create chalkboard designs.
I’m not a hand-lettering artist at all. I’ve taken a calligraphy course and tried to learn hand-lettering, but let’s just say it’s not my specialty. It’s not that I’m bad at it, but my mind is too logical for the artistic flair that you see in most modern hand-lettering.
This post contains affiliate links for your convenience. For more information, see my disclosures here.
So, in an effort to create the pretty chalkboard designs that I love without all the artistic talent, I came up with a cheater method. For my Fall Home Tour, I wanted to create a few DIYs and include them with all my décor. The first DIY was a wooden “gather” sign for our dining room. Staying with the “gather” theme, I decided my second DIY was going to be a pretty hand-lettered chalkboard wood slice.
You may have noticed the chalkboard wood slice in the kitchen in my Fall Home Tour. It turned out exactly as I envisioned and there was no special calligraphy talent needed. Here’s how I made it.
DIY Gather Chalkboard Wood Slice
Materials:
- Unfinished Wood Slice
- Chalkboard Paint
- Foam Brush
- White Chalk
- Liquid Chalk
- Stencil Vinyl
- Transfer Tape
- Cutting Machine (Cricut Explore) and Accessories
To make the chalkboard wood slice, you will first need to paint the unfinished wood. The wood slice that I was using was already painted with chalkboard paint. That’s because we used this as a sign for drinks at our wedding. You can kind of see the left over writing on my wood slice.
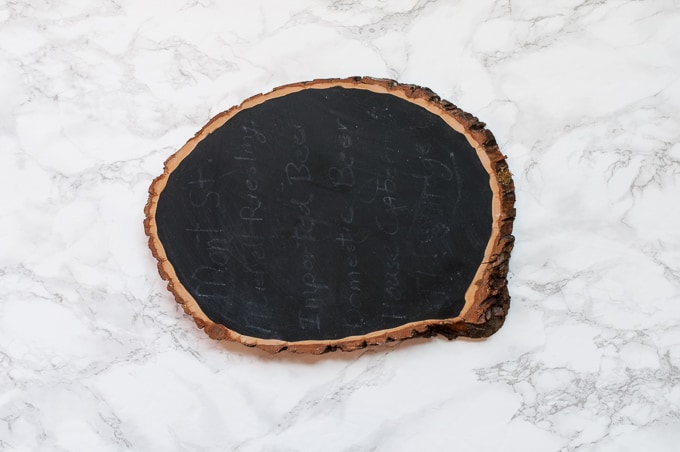
Using a foam brush, paint the wood slice with the chalkboard paint. You can paint all the way to the wood bark, or leave a slight border around the edge of unfinished wood.
Once the paint is dry, you will need to condition the chalkboard surface. This will help break in the new chalkboard. Take a piece of white chalk and cover the entire wood slice with chalk markings.
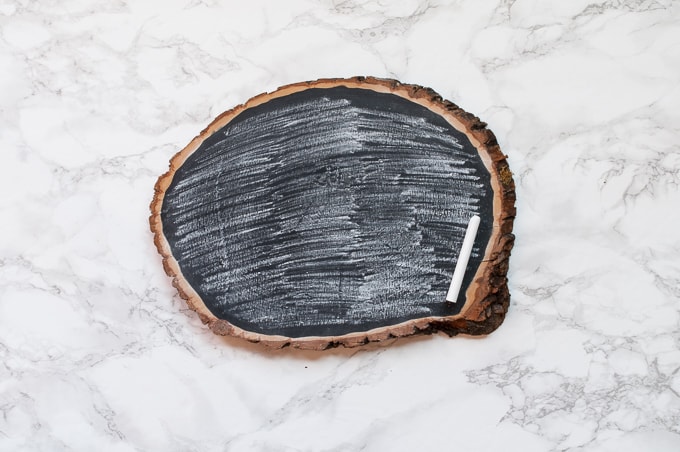
Then, using a paper towel wipe off the chalk. Repeat this a few times to make the new chalk surface look like it’s been used a few times. This will add some character to your design.
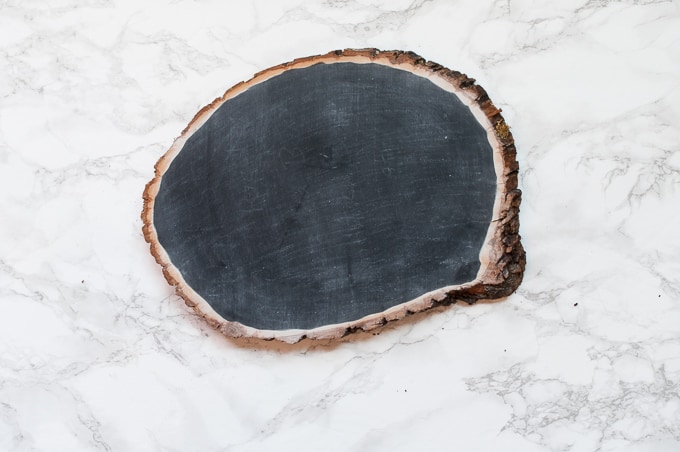
The secret to creating the perfect chalkboard lettering is … creating a stencil!
Using Cricut Design Space, I created a design of the word “gather” using the font Hellena Script. Make sure to measure your wood slice so that your design will fit inside the chalkboard area. Then, I cut out the design on stencil vinyl.
To create a stencil, you have to remove the vinyl from the area of the design that is the word “gather” and leave the surrounding vinyl. It’s kind of backwards from what you would normally do when cutting out a vinyl design. You can see the white paper backing where the vinyl that I removed used to be in the picture.
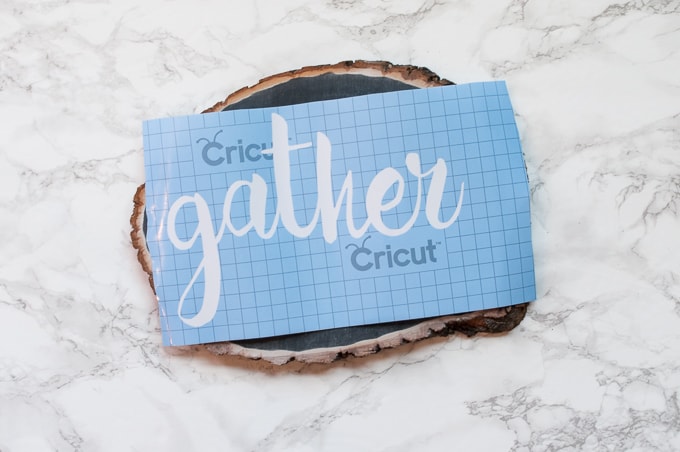
Next, you need to transfer the stencil to the chalkboard wood slice. I cut a large piece of transfer tape that same size as my stencil vinyl and covered the entire stencil.
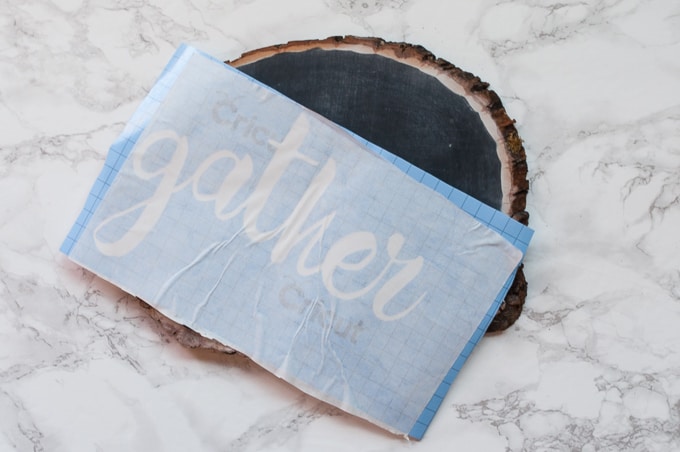
Then, I peeled off the paper backing from the stencil so that the sticky part of the vinyl was exposed. The transfer tape will hold everything in place when you do this. Line up the design on the chalkboard wood slice. Then, using your hand press the vinyl down onto the chalkboard and apply pressure to get out any air bubbles.
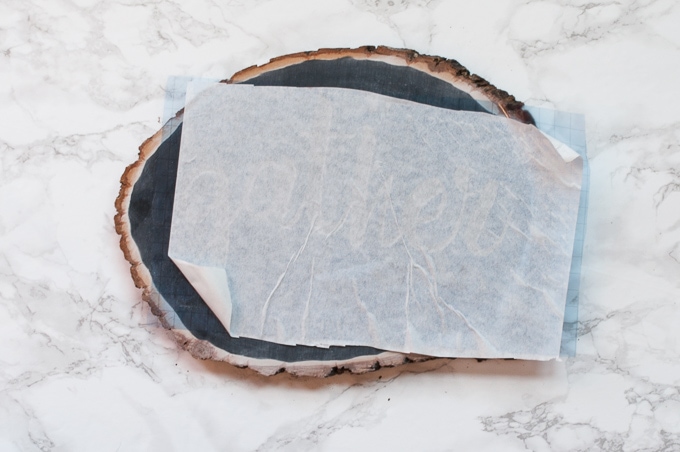
Once the vinyl is stuck to the chalkboard, you can remove the transfer tape. It’s kind of hard to see in this picture, but the word gather is on there!
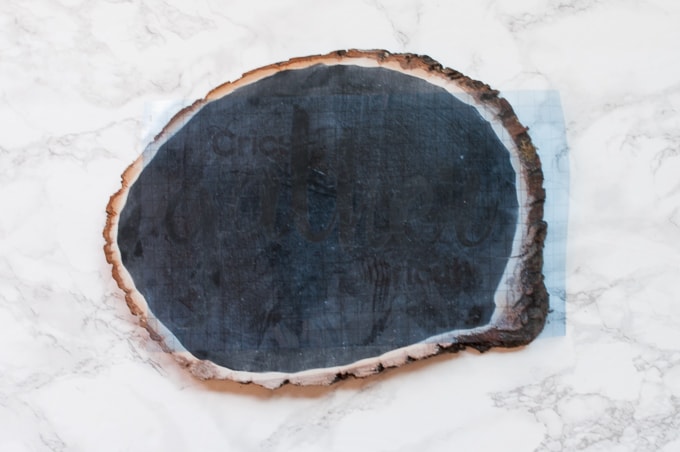
Next, grab your liquid chalk and start applying it to the stencil.
Liquid chalk is kind of like a chalk paint. It allows you to paint on larger areas of chalk and gives a more even application than use a stick of chalk would. Once it dries, it doesn’t come off if you accidentally brush your hand on it. No smudging! This liquid chalk comes with a foam applicator built into the bottle.
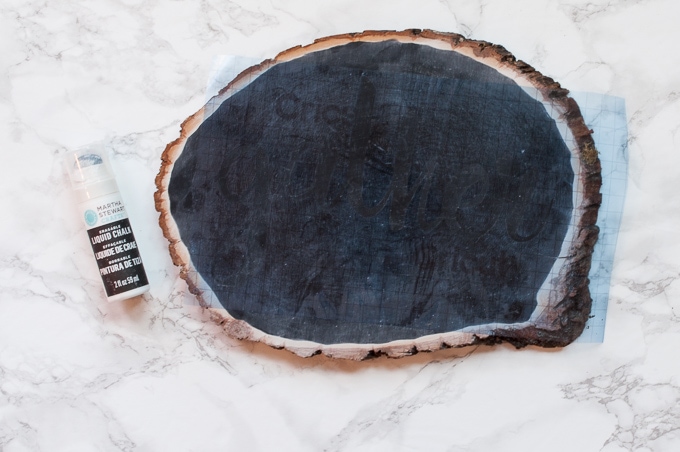
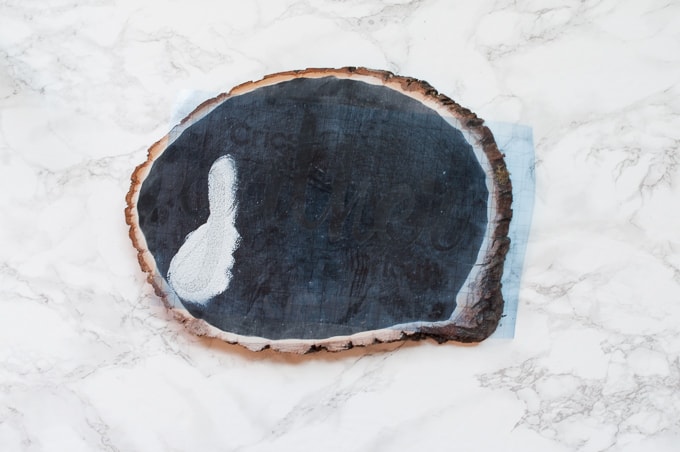
At first, I started applying the liquid chalk onto the design using a dabbing motion. I was nervous about applying it on too thick.
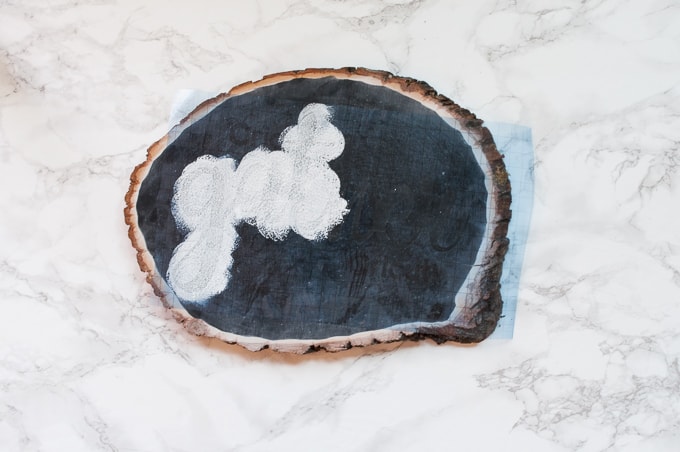
This created bubbles of chalk throughout my design. Not the pretty chalk design look I was going for.
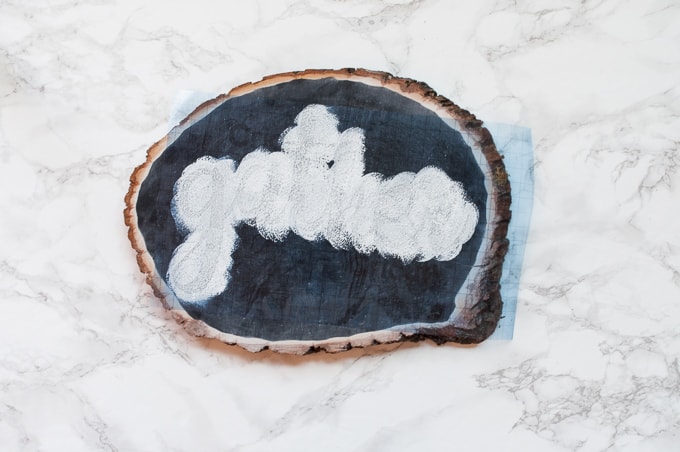
Once I had one coat of chalk down, I decided to change my method. Instead of dabbing the applicator onto the design, I painted it using a swirling motion. This created a more natural looking chalk design. Since I used two methods, I technically put two coats of liquid chalk onto my design. Start with one coat and see how it looks once it is dry. Then if you want to add more chalk, just go over the design a second time using the swirling motion.
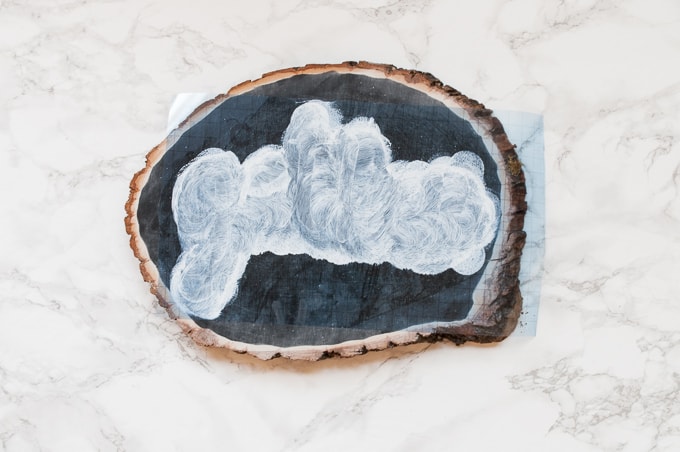
I let my design dry completely, then I removed the stencil vinyl.
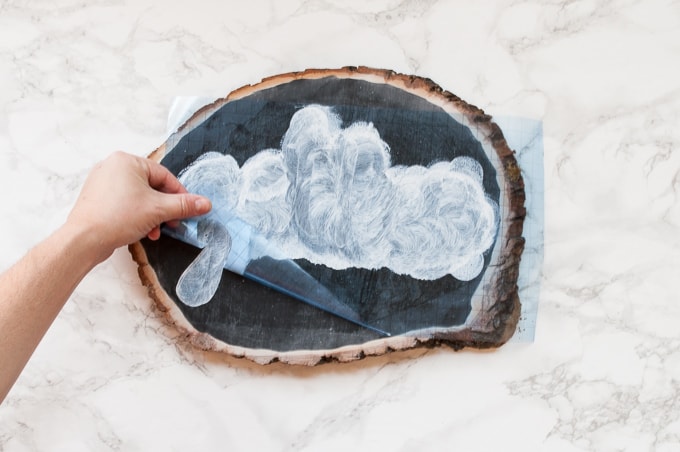
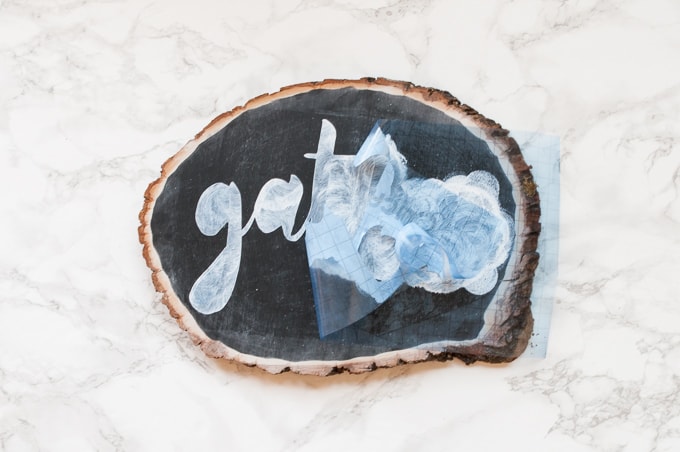
Once all the vinyl was removed, I had a pretty hand-lettered looking chalkboard design!
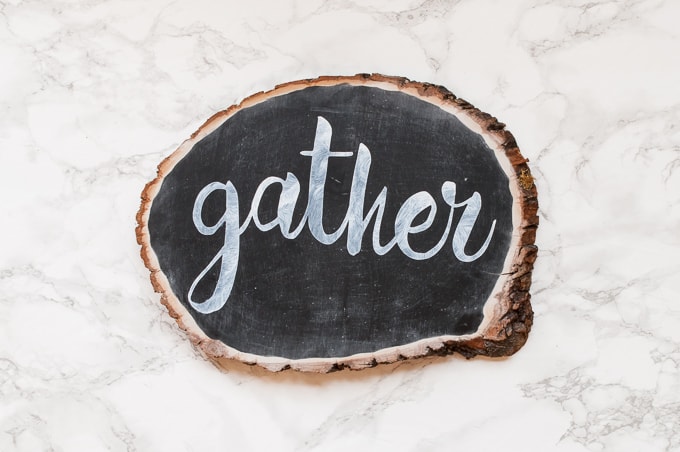
I really like how the liquid chalk looks on this chalkboard wood slice. It allowed me to create thicker chalk letters and still make it look like a chalkboard artist designed it.
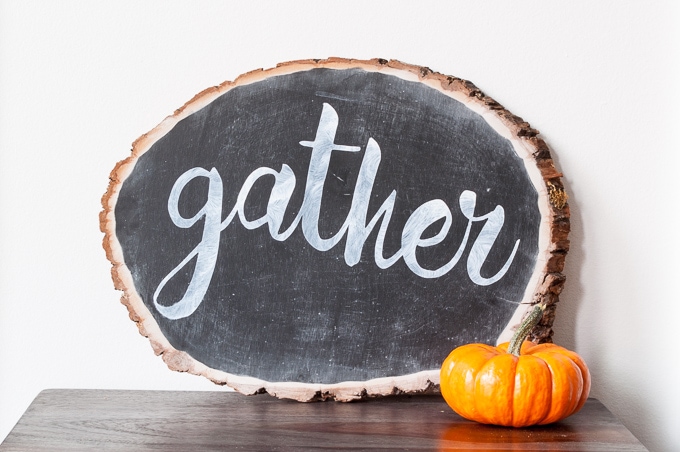
The chalkboard wood slice fit in perfectly with my kitchen décor. I think it played off the wooden pumpkin nicely.
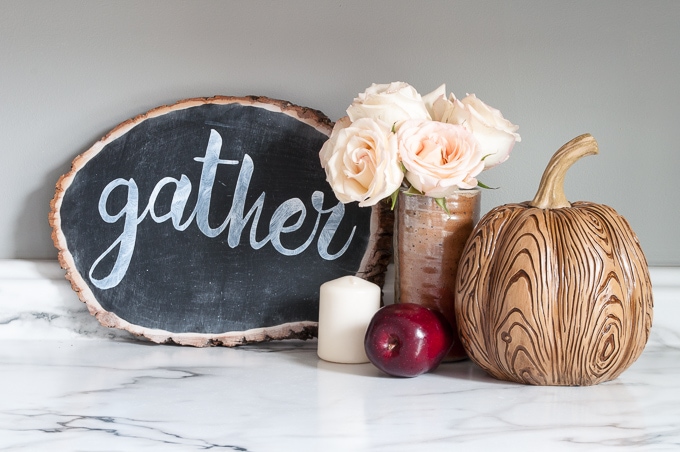
What do you think? I’m pretty happy that I didn’t need to trace anything or even spend very much time on it. It was quick and easy, and now I have this pretty chalkboard sign for my home.
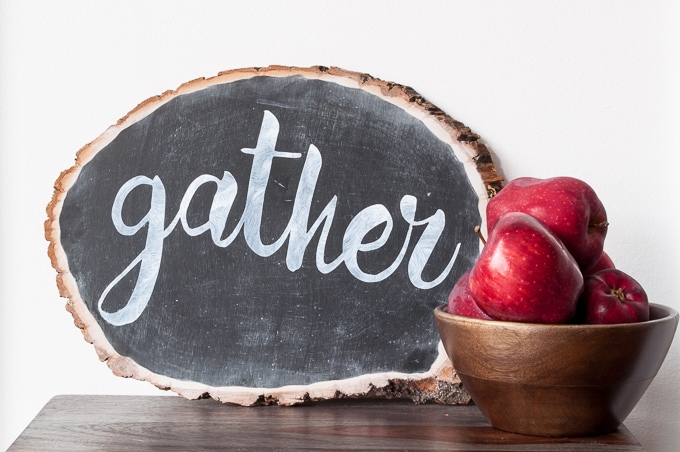
Let me know if you try my secret method for creating pretty chalkboard designs. Happy Fall!
This Project was featured on Family Joy Link Party and The Wednesday Showcase








Loving the post so much! Have a wonderful day:)
irenethayer.com
What a great simple decor. I love it! I would like to invite you to link up with us at Family Joy Blog Link Up Party. Check us out http://thinking-outside-the-pot.com/?p=2995
Thanks Charlene! Also, thank you for the invite to your link party. I will be sure to stop by
>> Christene
I am so glad you joined us at the party. Excited to have you join as a co-host soon!
Love this idea, and thanks for the detailed tutorial, this gives me so many ideas.
Thanks so much! I’m glad it was helpful
>> Christene
I love the simplicity of this project, Christene! It is gorgeous! Great detailed tutorial too. Pinned and sharing. Thank you for linking up to Family Joy Blog Link-Up Party this week.
Thanks so much Cristina! I’m glad to be a part of the party
>> Christene
I love your wood slice. I also have a hard time with hand lettering, stencils are my friend. I need to try that liquid chalk stuff!
Stencils are totally my friend too Kati!
Thanks for stopping by the blog
>> Christene