This post contains affiliate links. For more information, see my disclosures here.
Ever since I got my Cricut Explore machine I was excited to try out projects that go beyond basic “paper crafting.” The Cricut Explore machine is a huge improvement from the previous Cricut machines. One of the best parts features of the new Cricut is been its ability to cut different materials, like vinyl, really well. I love how precise it is while not cutting through the backing. I also LOVE the new software. It’s so much easier to use than trying to design on a tiny screen on the machine. Now, you can cut basically anything you can think of by uploading images into the Design Space or using font you downloaded. There are so many more possibilities.
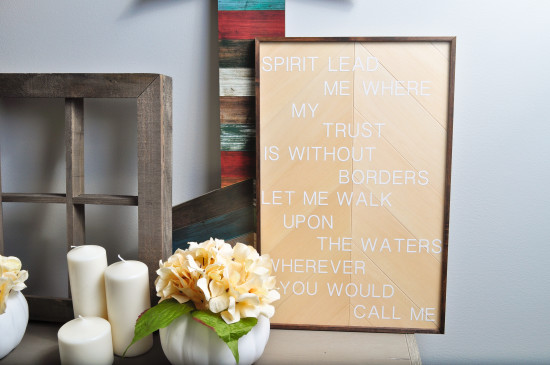
I have wanted to make a DIY “quote” sign for the house for a while, and when I saw that the “Get Your DIY On” theme for November from Just a Girl and Her Blog was DIY Signs, I finally had an excuse to try something out! This project took about 3 hours to finish and I was able to use a lot of supplies that I already had on hand. I love how the wood grain stands out in the herringbone pattern, and the Cricut Explore did an amazing job with the vinyl lettering.
Here is what we used to make the DIY Herringbone Sign:
- Miter Saw
- Cricut Explore
- (8) 1/8″ X 3″ X 24″ Basswood boards
- (4) 1/4″ X 1/4″ X 24″ Basswood boards
- White Vinyl
*I use repositionable vinyl for all my projects because it makes it easy to change your mind or redo things. For projects where I want the vinyl to be permanent, I just add decoupage, but for the most part, it will stay in place unless you want to remove it. - Transfer Tape
*This transfer tape is awesome! It’s the right amount of sticky and it’s a great price for a HUGE amount (300 ft). You don’t have to worry about wasting any or rationing it (like I used to do). Also, it comes with some free vinyl samples – who can beat that!? - Wood Stain
- Polyurethane
- Decoupage
- Sandpaper
- Loctite Adhesive for wood
First we prepped all of our wood materials for cutting. We knew that we wanted the sign to be 12″ wide and a little over 18″ tall. To have the herringbone pattern with the point down the center of the sign, each board had to be 6″ wide at a 45 degree angle. Using the Pythagorean theorem (MATH!), we know that
ײ=6²+6² or x = √(72) ≈ 8.5″
This gave us the total side length (long end) of each piece that we needed to cut.
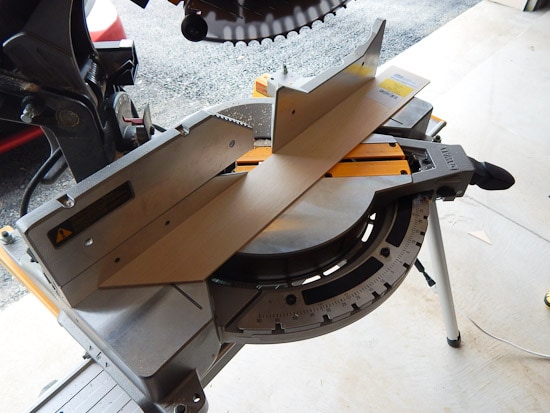
Using the miter saw, we cut 6 pieces (using 3 boards) with a 45 degree angle on each end, parallel to each other. These pieces met in the middle and also formed the outside edges of the sign.
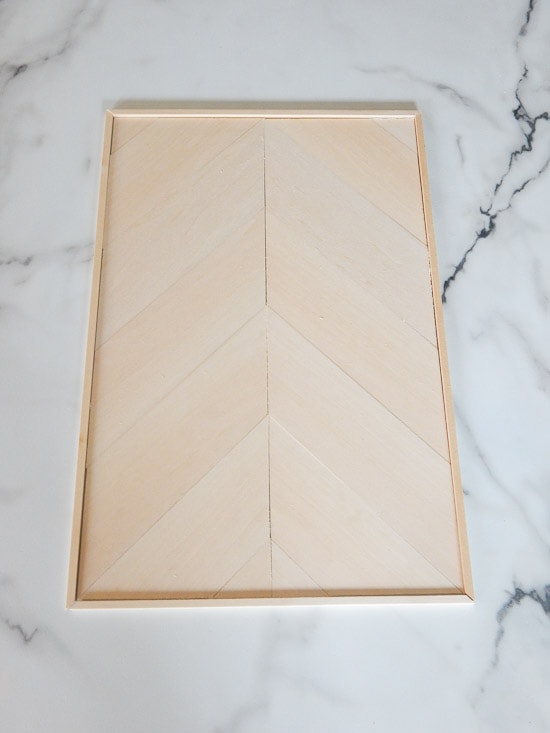
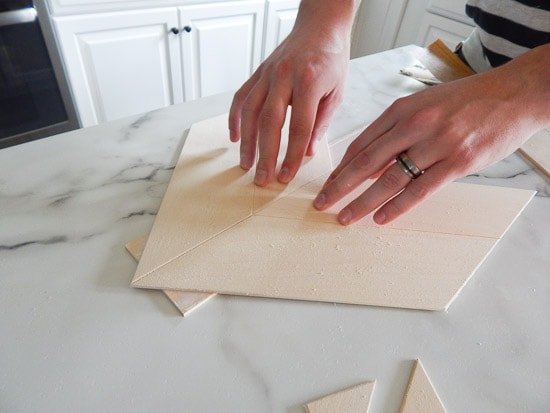
At this point, we had an arrow shape, so we needed to fill in the top corners and the bottom center to make the sign into a rectangle. To fill in the corners, we needed to cut 4 pieces (using 2 boards) with each end being perpendicular to each other. Two of these pieces met in the middle and formed the bottom of the sign, and the other two formed to outside edge and the top of the sign.
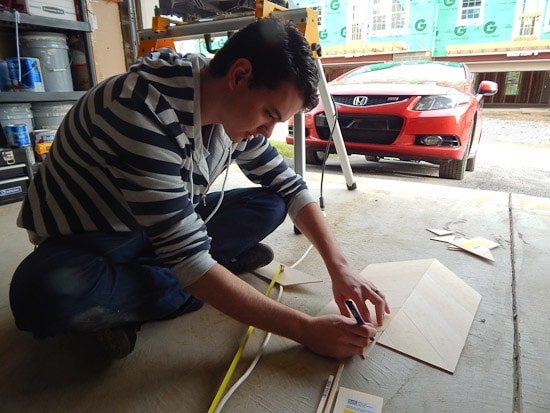
Next, we needed to cut 4 triangular pieces to fill in the remaining holes. We just used leftover wood and held them in place to mark where they needed to be cut.
After that, we cut the thinner wood with the corners at 45 degree angles to make a border for the sign. Finally, we cut the remaining 3 boards to 18″ long to use as supports on the back of the pattern.
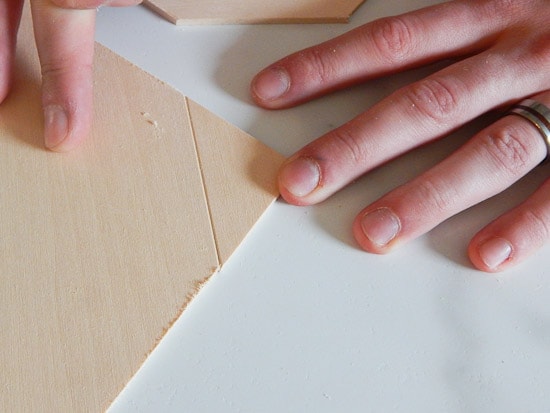
Once we cut all of the wood and dry-fit it together, we sanded all surfaces and edges smooth. To make the pattern of the sign stand out, we chamfered (sanded down slightly) the edges of each board so that they were not as sharp and had a slight angle to them. This created a small surface gap between each board so that the pattern was more visible once all the boards were glued together.
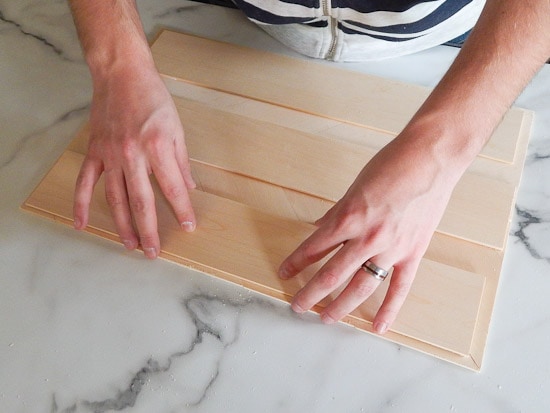
Next, we spread the Loctite adhesive over the three supporting boards and attached the pattern boards to the support boards.
We started with the middle support board and then flipped the entire sign over and added the side support boards and the smaller pattern pieces.
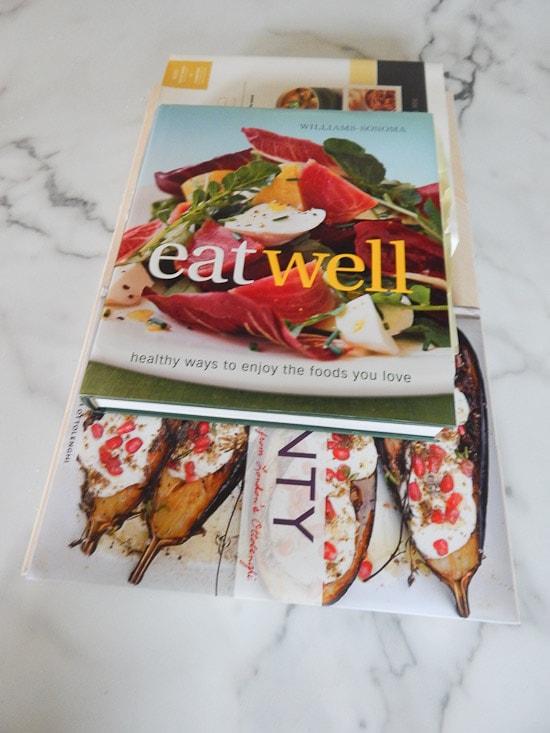
Then, to keep everything flat, we stacked some books on top of everything and let the glue dry.
While waiting for the glue to dry, we stained the border pieces to make them contrast with the lighter wood pattern. We used a dark wood stain that we already had on hand. Once the glue had dried enough, we removed the books and used a clear polyurethane to seal the wood. This gives it a more finished look but still keeps the natural color and texture of the wood.
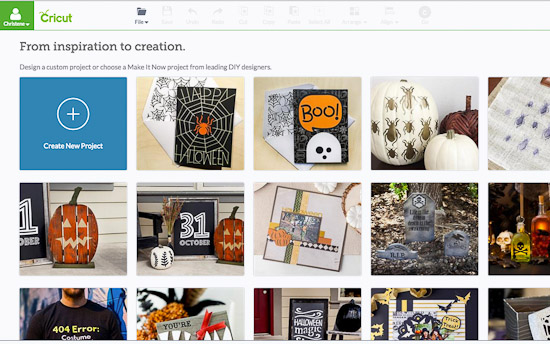
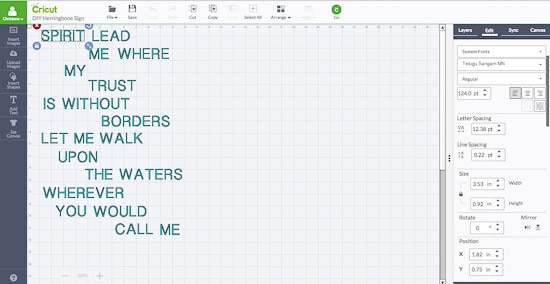
While waiting for the polyurethane to dry, we used the Cricut Design Space software to design the words for the sign. From the Cricut Landing Page, we created a new project. If you have a Cricut machine and account, you can access the files for our project here.
We wanted to use the lyrics from one of our favorite worship songs, “Oceans” by Hillsong United. We selected “text” to add words to the design canvas. We wanted the sign to have a block text look, so we used the font “Telugu Sangam MN.”
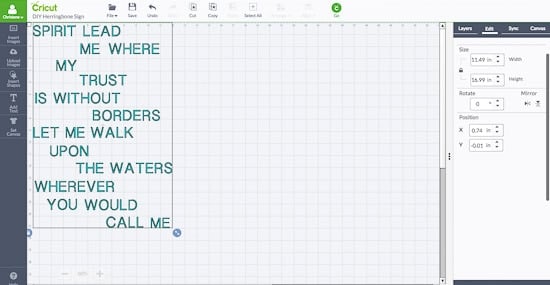
We chose to add each word as a different text box so that we could move the design around easily and tweak it until we got a layout we were happy with. Since our sign was 12″ wide and a little more than 18″ tall, the design needed to be a little bit less than that to leave room for the border.
Once everything was where we wanted it in our project, we selected “select all” and then “attach.” This attached all of our words to the design canvas in their current location. This step is really important if you are creating a layout project like this one. If you do not attach, you will see on the cut preview screen that the Cricut will try and fit all of your design in the smallest space.
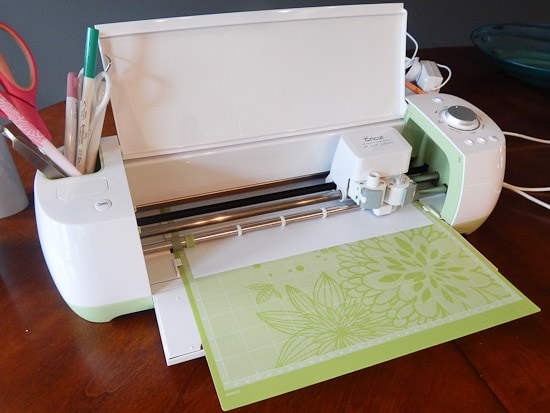
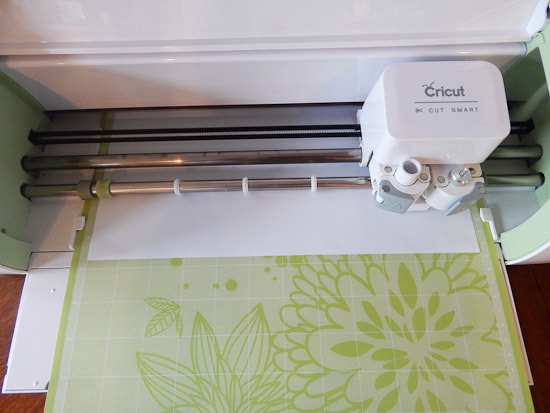
Now from the cut preview screen, you can see that our design requires the 12″ X 24″ mat and all of the words are in the layout location that we wanted. We set the Cricut Explore to the vinyl setting, loaded the mat with the white vinyl material, and selected “Go.”
After the design was cut, we removed the excess vinyl to begin “weeding” our design.
Once we had all of the “good” vinyl left (the actual design), we used the transfer tape to cover the entire design.
Then, we carefully peeled the design off of the backing and onto the tape. We centered the design over the sign and made sure everything was level. Once it looked like it was in a good place, we placed the transfer tape onto the wood and pressed down, applying pressure over the letters to help them transfer to the wood. Next, we started at one corner and slowly peeled back the transfer tape leaving the vinyl design behind on the wood. This took some patience and time because the letters were more delicate.
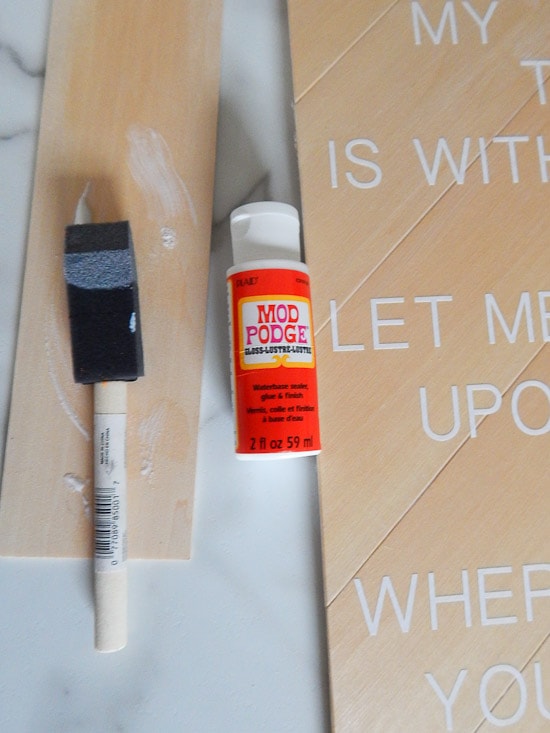
Once the whole design was transferred onto the wood sign, we applied a layer of decoupage over the entire surface to seal the vinyl onto the wood.
After that was dry, we added the border pieces to the front of the wood. We used the Loctite adhesive again to attach each piece. We let everything dry completely and then we were done! We had our very own DIY sign with some awesome lyrics!
I can’t wait to find the perfect place in our house to display our new sign. I really loved being able to create a home decor sign from scratch and now, I think I’m addicted!




















This is beautiful! XO
Thanks so much Christy!
-Christene