This is the story of the sign that I probably should have bought, but decided to make instead.
Twas’ the day after Thanksgiving and all through the house, everyone was stirring because it was time to go shopping for Christmas decorations! Ok, that’s a bad version of the rhyming story, but moving on.
This post contains affiliate links for your convenience. For more information, see my disclosures here.
Every year after Thanksgiving, our family visits a local nursery, Petitti’s, to shop for Christmas decorations and ornaments. Petitti’s has a large storefront where they go all out with the Christmas merchandise.
Each year, they have big themed displays with Christmas trees, ornaments, and decorations. It’s so much fun to walk through the store and look at all the different ideas.
We normally don’t buy a ton because 1 – we have a TON of ornaments already and 2 – they have huge discounts after Christmas so we always stop back then anyways and grab what we want for next year.
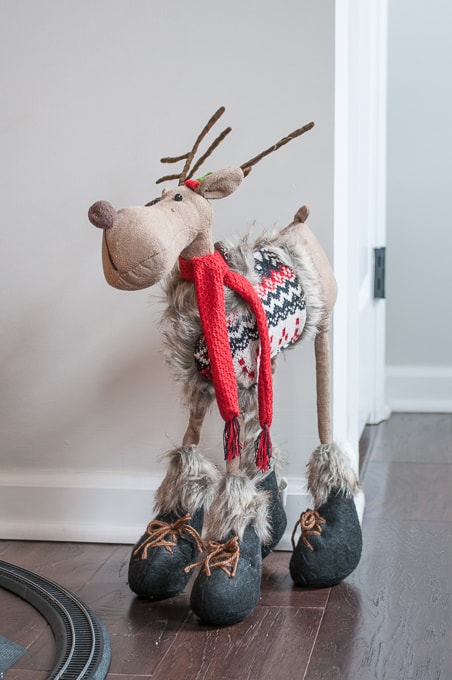
I’ve gotten some great deals on Christmas decorations in the past few years. The wooden tree that I have next to our staircase is from Petitti’s. So is the moose wearing a sweater next to our tree!
This year while I was browsing through the displays, I found myself in the “farmhouse” section. Now, our home is definitely NOT farmhouse, but I do appreciate the refined rustic style. In this section, there were a few wooden signs for sale that looked a little rustic but definitely modern enough to fit into our home.


I had my eye on the “Merry Christmas” version of the sign. But, because I’m a budget shopper, I was hesitant to just buy the sign. I decided to wait because I knew that after Christmas it would be on super sale. And I also thought, “I could probably make this myself really easily!” So, I snapped a picture for reference and decided that this would be my next DIY project.
Um, let’s just say I probably should have just bought the sign.????
This project took a little longer than I thought it would because of all the little details of painting (you’ll see more in the tutorial part of this post). But, I did have fun making it and got to listen to some Christmas music while I worked! The other benefit is that I now have a perfectly sized sign for the place that I wanted to hang it – over our stairs. So, maybe it was worth DIY-ing after all.
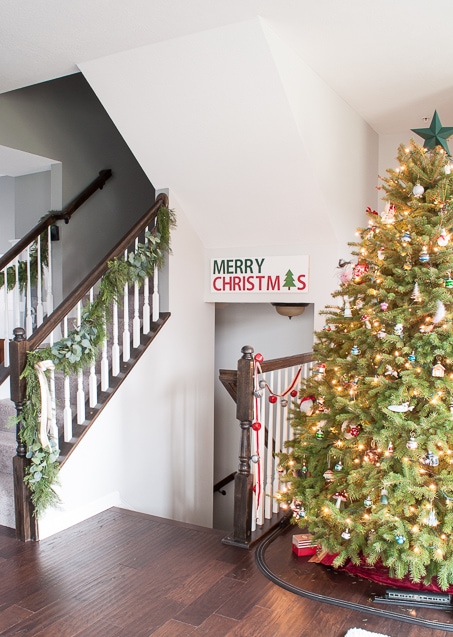
Here’s how I made this DIY Merry Christmas Wooden Sign

DIY Merry Christmas Wooden Sign
Materials:
- 1” x 4” Primed MDF Board Cut into three 32” pieces
- Wood Glue
- Stencil Vinyl
- Transfer Tape
- Craft Paint – Red, Dark Green, Light Green, Brown
- Sawtooth Picture Hangers
- Clear Sealant Spray
Supplies:
- Miter Saw or Handsaw
- Tape Measure
- Quick Clamps
- Sandpaper
- Cricut Explore
- Extended Standard Grip 12” x 24” Cutting Mat
- Weeder Tool
- Scissors Tool
- Scraper Tool
- Foam Paint Brushes
- Painters Tape
- Exacto Knife
I wanted this sign to go above our staircase leading to the lower level. So first, I measured the space above the stairs and decided that the sign would be about 32” wide. Using a miter saw, I cut three pieces of the MDF wood to be 32” long each.
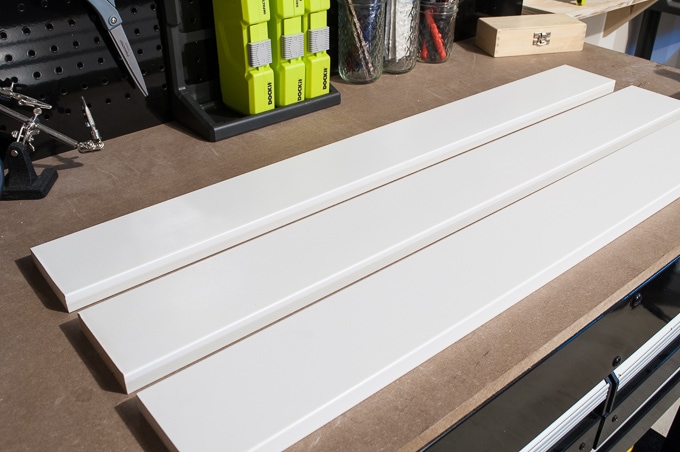
After the pieces were cut, I sanded the edges to remove some of the finish and used wood glue to edge glue the three pieces together.
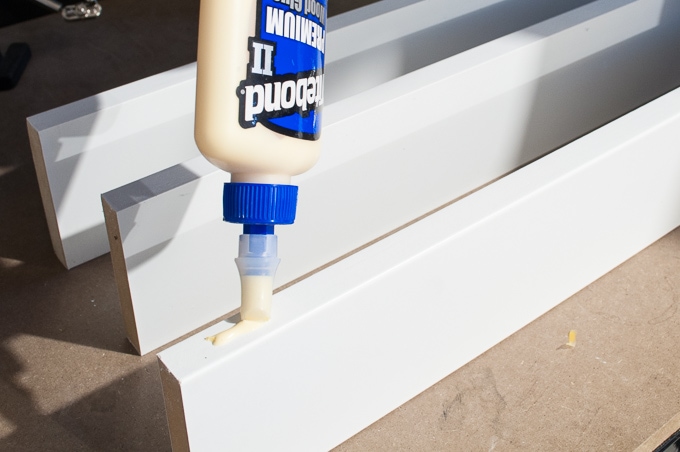
To hold everything in place, I used a few quick clamps and let the boards dry for a couple of hours.
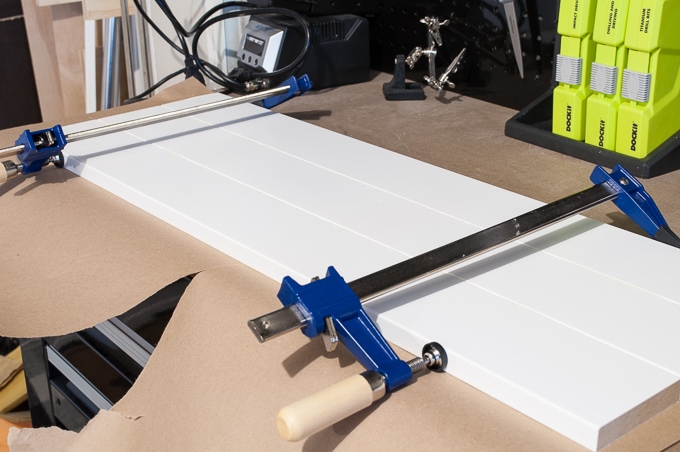
While the assembled sign was drying, I started designing my stencil in Cricut Design Space.
My sign was 32” wide and 11” tall, so I made sure that my design could fit inside of that area. In order to cut the design, I needed to use the Extended Cutting Mat which is only 24” long.
So, in order to make sure the design fit on the extended cutting mat, I split the words into different text “groupings.” The first was the word “Merry,” the second was the word “Christ,” and the third were the letters “M” and “S.” The font that I used for my text was Adobe Gothic Std.
Instead of a letter “A” in Christmas, the original sign had a Christmas tree. I searched on Google for a Christmas tree outline or silhouette and saved the image to my computer. Then, using the Upload Images feature in Design Space, I uploaded the Christmas tree image into my design.
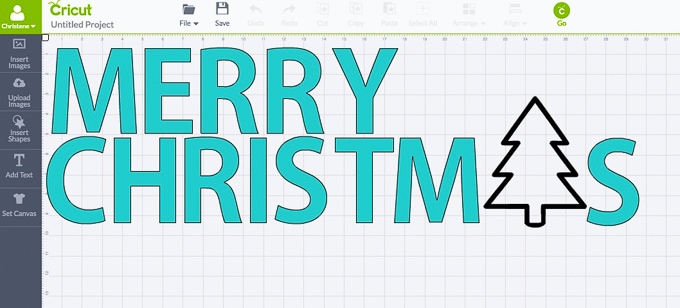
After my design was complete, I loaded a piece of stencil vinyl onto my cutting mat and pressed Go on my Cricut Explore. After a few minutes, my stencil was complete.
To remove the stencil from the cutting mat, I flipped the mat upside down. Then, I peeled the mat away from the design, instead of peeling the design away from the mat. That way my design didn’t get bent or creased.

Next, I used my scissors tool to separate the different text “groupings” from the large stencil piece. This gave me smaller, more manageable pieces to work with. Then, using my weeder tool, I removed all of the vinyl in the areas that I wanted to paint. That meant I removed the “good” pieces of the design and the outside stencil part was leftover.
Now, it was time to put the stencil onto the assembled wood sign. First, I cut a piece of transfer tape that was a little bit larger than my stencil piece. This transfer tape is my favorite because it’s such a good price for a HUGE amount. Then, I placed the transfer tape over the stencil design and used the scraper tool to apply pressure.
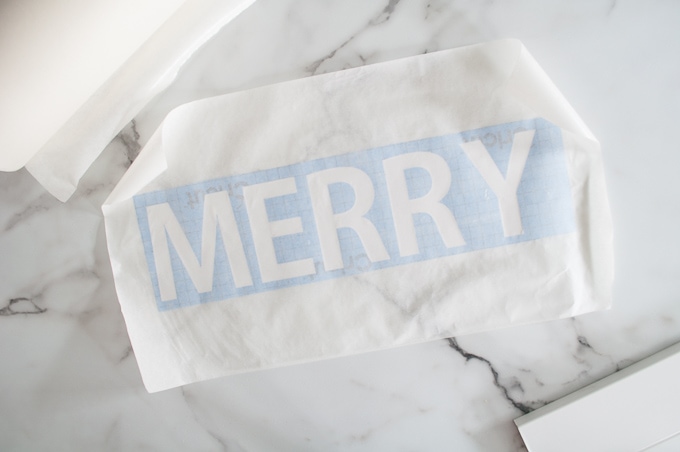
Next, I peeled the transfer tape back so that the stencil vinyl peeled off of the paper backing.

Once the entire stencil was on the transfer tape, I lined it up on my wooden sign and transferred the stencil using the scraper tool. Then, I removed the transfer tape to reveal the stencil.

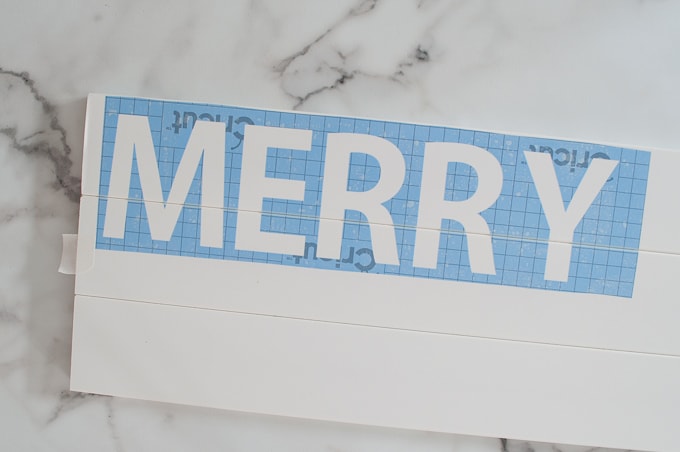
I repeated this until all of my stencils were applied on my wooden sign.

Now, I was going to just start painting at this point, but Ben reminded me that my stencil was overlapping the gaps between the wood pieces. If I just started painting, the paint would seep into those gaps and make it look extra messy. Not what I was going for!
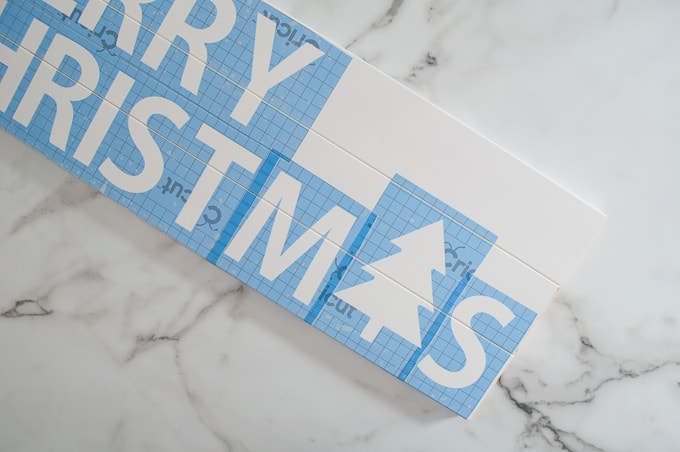
So next, I used an Exacto knife to cut the stencil vinyl where the wood gaps were and then used the scraper tool to push the vinyl into the gap. There were still some open spaces, so Ben suggested I use painter’s tape to fill in the gap.

For each of the places that a stencil overlapped a wood gap, we took a small piece of painter’s tape and pushed it down into the gap using the scraper tool.
Then, using the Exacto knife, we traced the original stencil and removed the overlapping painter’s tape. As you can tell, I’m using the word “we” instead of “I” at this point because this tedious part required some extra help from Ben.

Finally, once everything was taped off and sealed, it was time to paint! Or, so I thought. It’s a good thing Ben was there because he reminded me that I would need to sand the surfaces that I wanted to paint because of the finish of this type of MDF. If I didn’t, that paint would probably scratch off easily. So, then we used sandpaper to lightly sand all of the letters and the tree.

Now it was finally time to paint. Using some foam brushes and craft paint, I applied one coat of paint to my design.
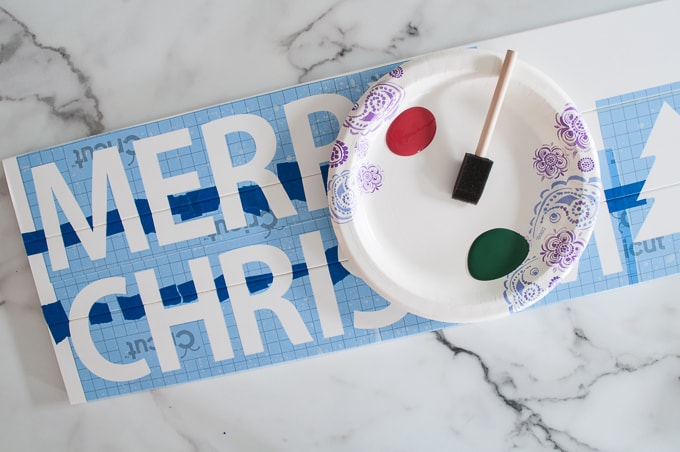
I used dark green paint for the word “Merry,” red paint for the word “Christ” and the letters “M” and “S,” and light green paint for the tree. I also used a small amount of brown paint for the stump of the tree.
I let the first coat dry and then I applied another coat. I repeated this process until I had 4 coats of paint. I tried to do light, even coats so that the sign didn’t look blotchy.

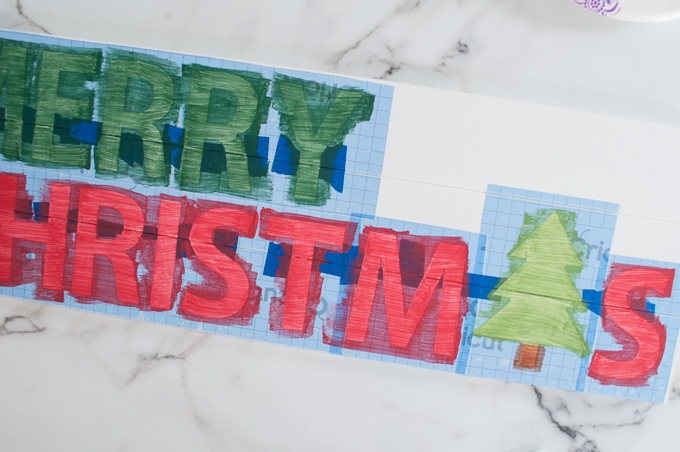
Once the sign was completely dry, I peeled away the stencil material to reveal the finished sign!
There were a few spots that had paint leak through, but I just used the Exacto knife to carefully scrape away the extra paint and you couldn’t even tell it was there. Finally, we sprayed the entire sign with a clear sealant to protect the paint.

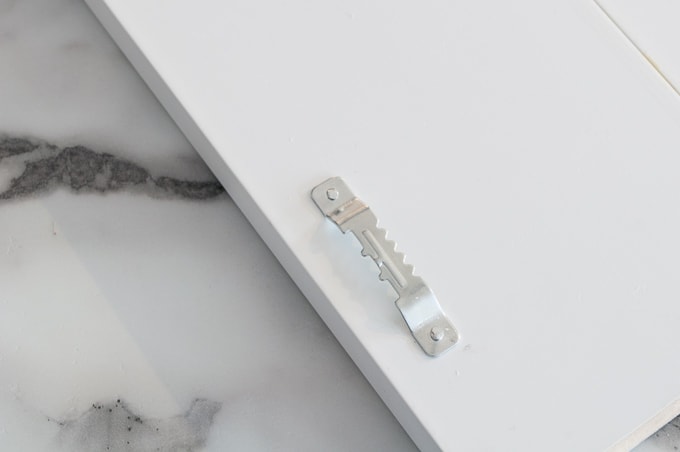
To hang the sign, we installed two small sawtooth picture hangers on the back top corners of the sign.
Once we put the sign on the wall, I was totally in love with it! It’s perfect for that spot!
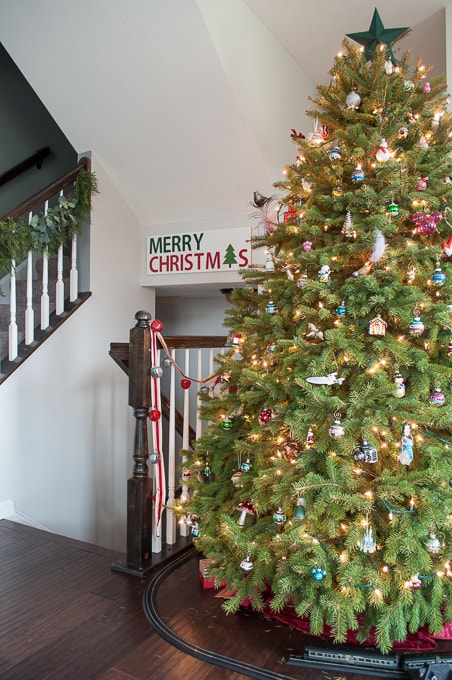
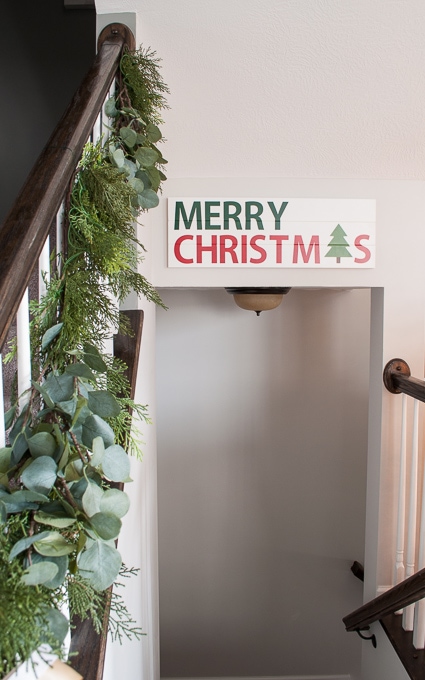
And I mean, I could have bought that other sign from the store, but this one is much better in my opinion! There’s something about sitting down and creating something that makes me happy.
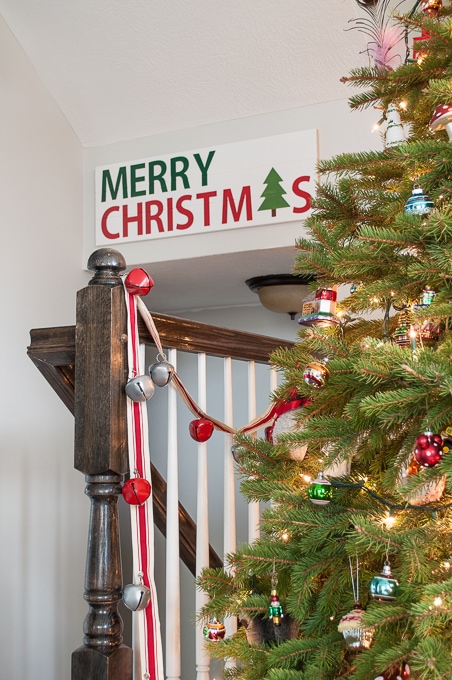

This Merry Christmas sign looks amazing with our Christmas decorations this year and it looks like it was always made for that spot. You can spot it in our living room Christmas Home Tour.
I’m actually thinking about how I can make another similar sign for the rest of the year because the “Merry Christmas” sign can’t stay up forever. Let me know if you have some ideas?
I hope you enjoyed this tutorial. It may not be the quickest project, but it was well worth it in the end! Be sure to check out my Christmas Home Tours from this year – Part 1 and Part 2.









Such a cute DIY. Funny how the ones I always think will be quick and easy rarely are. Pinned to try myself.
HAHA So true Joanne! Thanks for visiting the blog – so glad to have you here 🙂
>> Christene
Such a cute sign, perfect for the holidays. Very descriptive how-to, thanks for sharing!
The sign looks great Christene! Thanks for putting together the tutorial 🙂