Welcome to the 2017 Ornament Exchange & Blog Hop! This year, there are 47 amazing bloggers participating in the exchange. The rules of the challenge were simple: be partnered with a fellow blogger, create a handmade ornament for $15 or under, create a tutorial, and ship the ornament off to a new home!

Meet the 2017 Ornament Exchange Hosts
Erlene ⋅ My Pinterventures Kim · Made In A Day Amanda · Domestically Creative
Shirley · Intelligent Domesticatons Michelle · Our Crafty Mom
Beverly · Across the Blvd. Christene · Key to Inspiration Pili ⋅ My Sweet Things
Nicki · Sweet Parrish Place Megan · C’mon Get Crafty
Hilary · Raising Fairies and Knights Emily · Two Purple Couches
Tina · One Crafty Mess Marie · The Inspiration Vault Debra · Shoppe No. 5
Trisha · Rosewood and Grace Jeanie · Create and Babble Katrin ⋅ Kreativ K
Terri · Christmas Tree Lane Maureen · Red Cottage Chronicles
Toni ⋅ Small Home Soul Ula ⋅ Lulu & Celeste Sue ⋅ A Purdy Little House
Pamela · Home On The Corner Lorelai ⋅ Life with Lorelai Cindy ⋅ DIY Beautify
Debbie ⋅ Tweak and Style Stephanie ⋅ Swoodson Says Chelc ⋅ Inside the Fox Den
Susan ⋅ Super Mom – No Cape! Molly ⋅ Just a Little Creativity
Roseann ⋅ This Autoimmune Life Angela ⋅ Simply Beautiful by Angela
Vicki and Jenn ⋅ 2 Bees in a Pod Joanne ⋅ Our Unschooling Journey
Tylynn ⋅ Bitterroot DIY Sam ⋅ Raggedy Bits Mary ⋅ The Boondocks Blog
Cyn ⋅ Creative Cynchronicity Dione ⋅ Clever Chameleon Quilting
Erica ⋅ Erica Ever After Chelsea ⋅ Love Paper Crafts Evija ⋅ From Evija with Love
Samantha ⋅ Little Bits of Home Hope ⋅ Hopes Crafty Niche Anne ⋅ Orange Bettie
Pam · P.S. I Love You Crafts
This is my second year participating in the ornament exchange and I couldn’t be more excited to be paired with Amanda from Domestically Creative! I actually got to meet her in person at the Haven Conference this year and she is so sweet!
Amanda described her style as “traditional rustic and a little bit of modern industrial.” I feel like our styles are very similar because we both don’t really stick to one style.
When I was trying to think of an ornament to make Amanda, I was totally inspired by the idea of a modern Christmas wreath. I love the look of the simple metal wreaths with greenery on only one section. I thought it would be so fun to make a modern looking wreath in miniature form!
Here’s how I made my ornament!
This post contains affiliate links for your convenience. For more information, see my disclosures here.
DIY Modern CHRISTMAS Wreath ORNAMENT
MATERIALS:
- Small Gold Metal Ring
- Faux Pine and Berries Greenery Sprig
- Floral Tape
- Floral Wire
- Red Ribbon
- White Ribbon
- Scissors
- Hot Glue Gun and Glue Sticks

The first thing that I did was take my faux greenery and pull off a few of the pieces. The greenery that I bought was really large compared to my tiny wreath frame. I only needed two pine stems and one berry stem.

Next, I took the first pine stem and attached it to the bottom of the ring. To attach the faux greenery to the ring, I decided to use floral tape. I started at the top part of the stem and wrapped the tape around until I covered the base.

Floral tape is a little different than normal tape. At first, it doesn’t really feel sticky. To “activate” the sticky part of the tape, you need to stretch it as you wrap it around the stem. This will make the tape stick to itself.
Next, I added the second faux greenery stem on top of the first using some more floral tape to attach it to the ring.
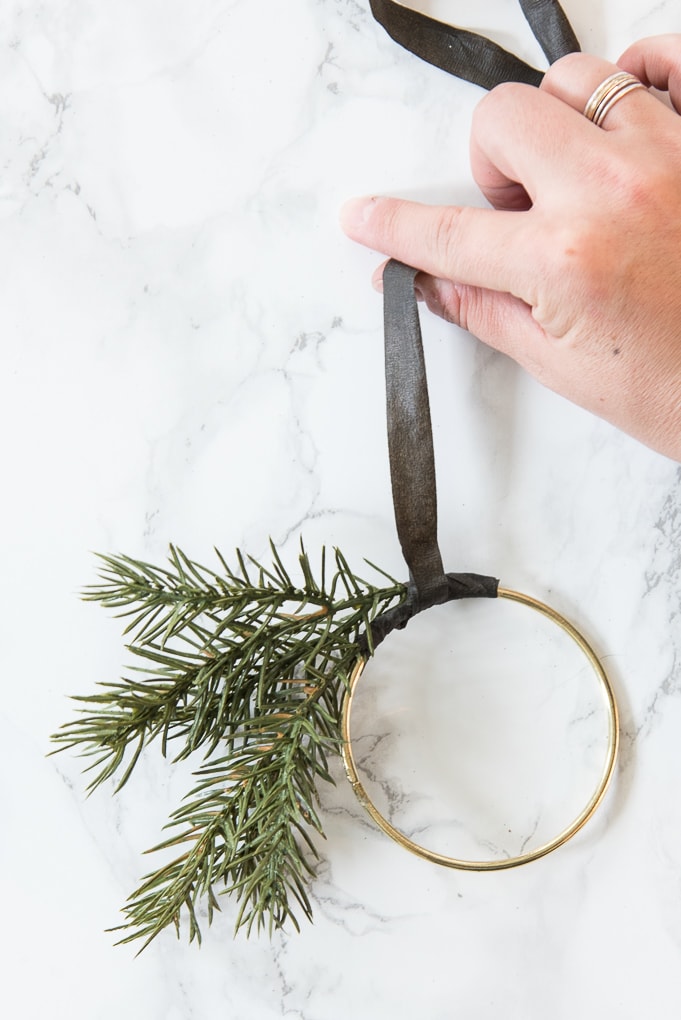
After both greenery stems were attached, I wasn’t really happy with how the greenery was “flowing” around the ring. I wanted it to resemble a real wreath with the greenery following the shape of the wreath form.
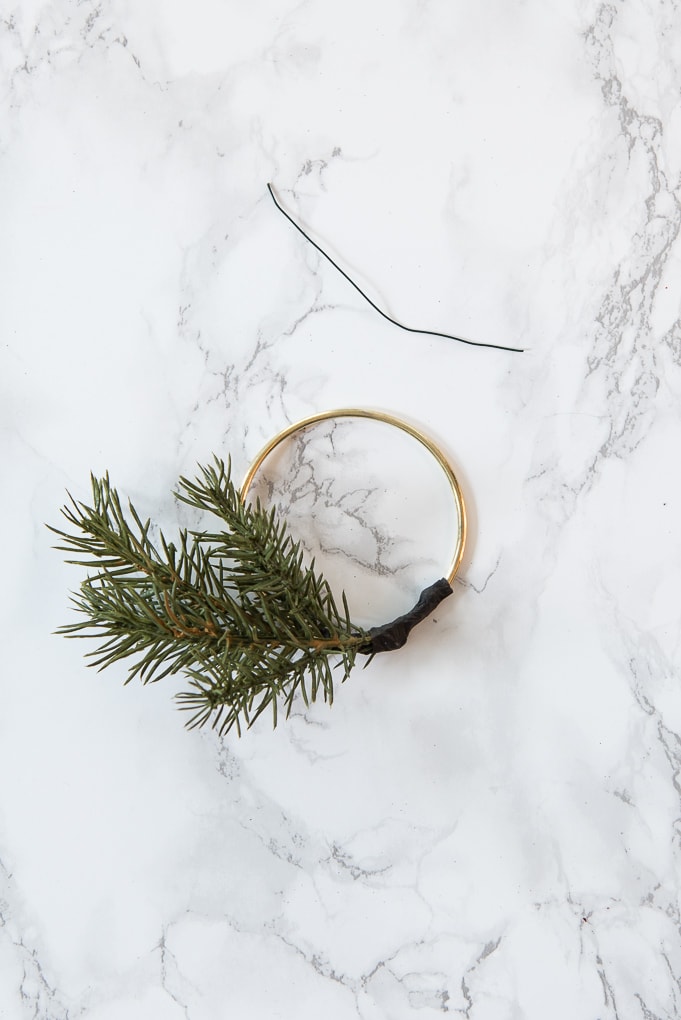
I grabbed some floral wire and cut off a small piece. Then, I wrapped that wire around the center area of the greenery stems and around the ring. This helped everything to stay closer together and really attach to the ring.
Once the wire was in place, I used scissors to cut off the long ends and hide the wire in the greenery.
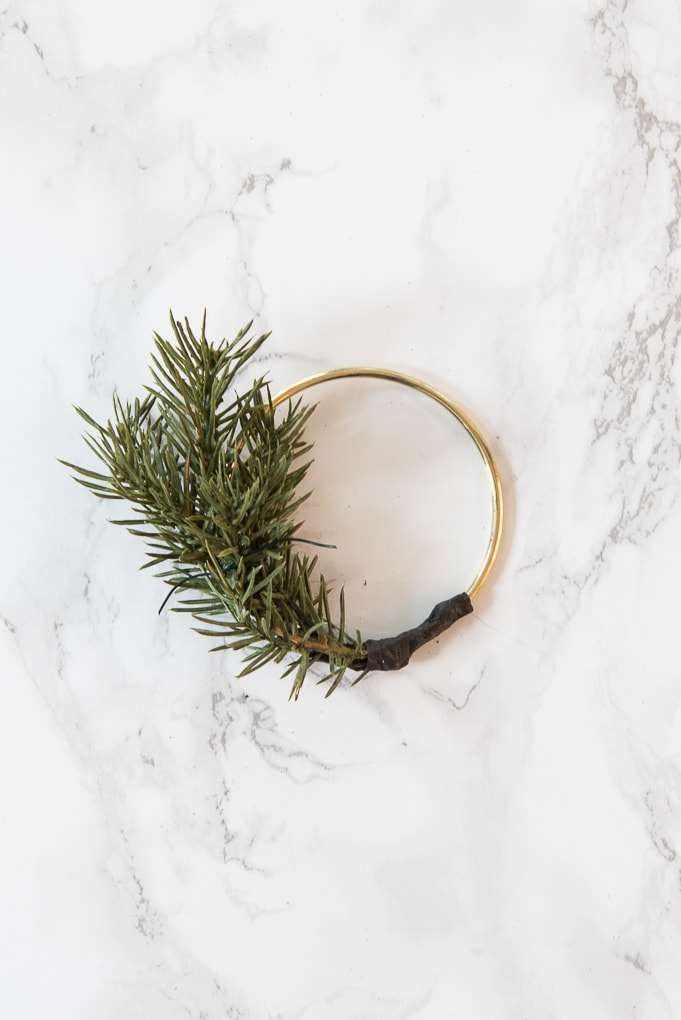
After my greenery was in place, it was time to add the berry stem. I used some more floral tape to attach the berry stem on top of the greenery so that it was in the front of the mini wreath.
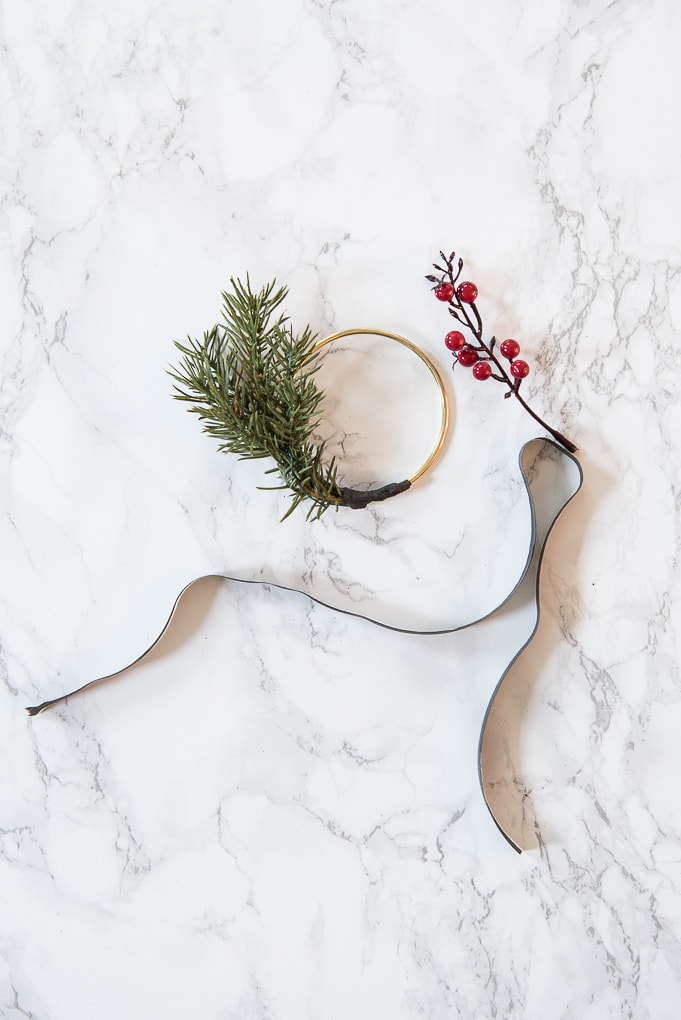

At this point, I had a pretty large lump of floral tape and stems at the base of my wreath which wasn’t exactly the nicest looking thing. So, I decided to cover the stem area with some red ribbon.
I cut a small piece of satin red ribbon and used hot glue to attach one end to the back of the mini wreath. Then, I wrapped the ribbon around covering the floral wire. Once it was completely covered, I used some more hot glue to secure the ribbon in place.
And what is a Christmas wreath without a beautiful bow?! I cut another piece of the satin red ribbon and tied it into a bow.

Then, I used some hot glue to attach it to the ribbon wrap at the base of the mini wreath.

Finally, all that was left to complete my ornament was a hanger. I took a small piece of thin white ribbon and tied a slip knot around the ring. Then, I just tied a knot at the top and had an easy ornament hanger.

And then I was done! I love that it’s a tiny version of a Christmas wreath that you would see on someone’s front door.


It’s exactly what I was imagining as a traditional but modern Christmas ornament. I think it turned out really cute and I hope that Amanda enjoys it!


You can find more handmade ornament tutorials from the rest of my blog friends in the 2017 Ornament Exchange below. And feel free to share your ornament tutorials too!
PS: If you want to see my ornament from last year’s Ornament Exchange — click on the link below
>> DIY Christmas Fireplace Ornament {2016 Ornament Exchange} <<
FIND ALL 47 HANDMADE ORNAMENT TUTORIALS BELOW AND SHARE YOURS TOO! Use Hashtag #2017OrnamentExchange so we can see your creations on social media.






Such a simple but effective idea! I absolutely love it, simply gorgeous! I would be so happy to have it on my tree !! #2017OrnamentExchange
Thanks Evija! and thank you for visiting my blog 🙂
>> Christene
I absolutely LOVE my ornament! It’s perfect and will look so beautiful on my tree!
YAY! I’m so glad Amanda! I love the ornament that you made me too — it’s perfect! 🙂
>> Christene
Such an elegant ornament and so easy to create. It is lovely.
Oh… I can see making several of these! And not just for the tree. They would look wonderful with one hanging in each pane of our multi-paned windows!
This is really beautiful, I love the simple minimalism wreaths and to make ornaments like it is so clever!
Thanks so much Katrin! 🙂
I love minimal decor too — and this would look great as a full-sized wreath too!
Hope you have a great Thanksgiving.
>> Christene
What a lovely ornament! Great tutorial on how to get the greenery to follow the ring with some wire. Thanks for joining and sharing this on the ornament exchange.
So simple, but so pretty! I love it! It’s so fun to see all the different ideas everyone comes up with!
I love this!! I’ve been admiring the modern wreath trend for a while – your take on it as an ornament is perfect! It’s been so fun to see the creativity shared in this year’s Ornament Exchange!
Thanks Emily!! I really want to make a big version of this wreath myself 🙂
>> Christene
Hi there!! Love this idea!! Where did you find the gold rings?
Hi! I found them at Joann Fabrics, but you can also buy them on Amazon. I have a link to them in the blog post in the materials section.
>> Christene
So elegant and pretty. I love it!
I love all the ideas I get from the ornament exchange each year!
Thanks so much! Glad you are getting some great ideas!
>> Christene