Today is Day 2 of the Handmade Holidays Blog Hop 2017!
If you are just joining in — Welcome!
If you’re new to my blog, I just wanted to take a second to introduce myself.
I’m Christene and my blog Keys to Inspiration is all about helping you discover creative, simple, and affordable ways to design a home you love! One of my passions is creating home decor and teaching others how to create too! Even if you don’t think you’re a crafty person, I can show you how easy it is to create beautiful things for your home on a budget.
This is the 7th year for the Handmade Holidays Blog Hop and I’m so excited and honored to be a part of it!

Handmade Holidays is all about inspiring you to create something from the heart this holiday season. During these 3 days, some amazingly talented bloggers will be sharing over 100 different handmade ideas for the holiday season. We’re talking unique gift ideas, beautiful decor, and delicious recipes!
So be sure to hop around to all the different blogs to check out what they have been making. Oh, and don’t forget to enter the giveaway at the end of this post. We’re giving away some awesome crafty prizes that you won’t want to miss.
Every year when all the Christmas decorations start arriving in the stores, I like to go check out the new items and get inspired for the upcoming holiday! And while I love the traditional, classic Christmas decorations, sometimes I like to branch out and check out all of the different styles.
One of the styles that I was most drawn to this year was the bright and modern “pop-y” colors. I loved seeing the pinks, blues, and purples with gold accents.
I really wanted to incorporate these fun colors into my Christmas decor without having to change all of my existing decorations. So, I thought a cute DIY Christmas sign would be a perfect idea.
DIY signs are great to have as accent decor. You can have them stand out on their own or mix them in with your other decorations. They are totally flexible! And, when you create them yourself, they are super affordable.
This cute DIY Christmas tree ornament art piece was so simple and easy to make! Let me show you how to make one for your home.
DIY Christmas Tree Ornament Art
This post contains affiliate links for your convenience. For more information, see my disclosures here.
Materials:
- 16” x 20” Canvas
- Small Shatterproof Ornaments (in your choice of colors)
- Scrap Faux Leather
- ¾” x 1” Pine Wood
- Fusion Mineral Paint (I used the color Ash)
Supplies:
- Hot Glue Gun and Hot Glue
- Miter Saw or Hand Saw
- Brad Nailer or Wood Glue
- Tape Measure
- Foam Paint Brush
- Pencil
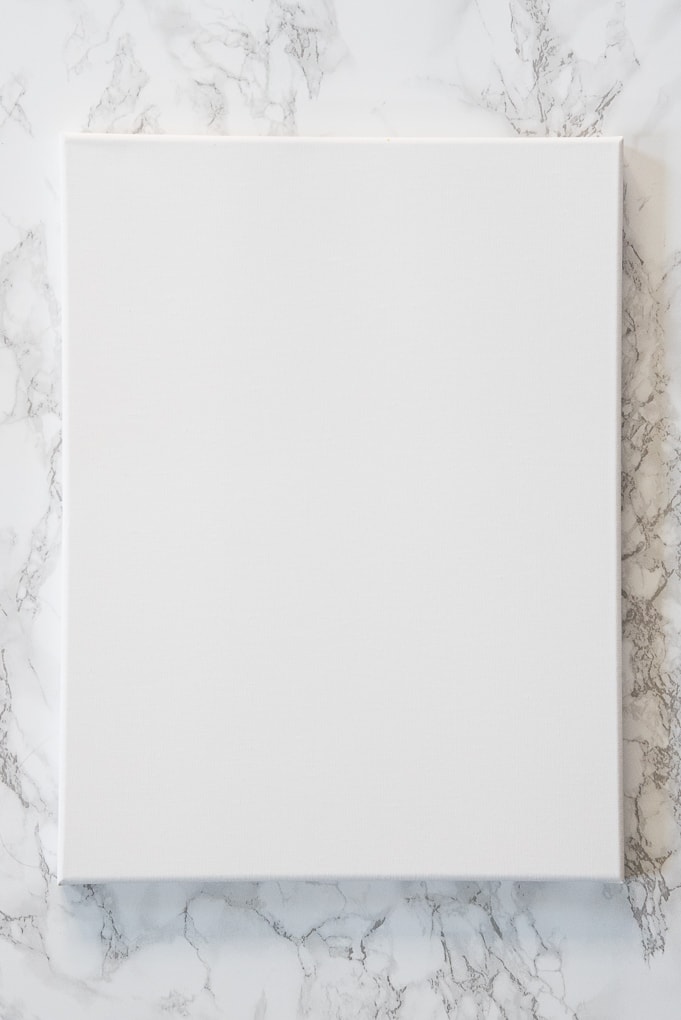
To create this modern ornament art, first you will need a blank white 16” x 20” canvas. You can find these at your local craft stores. I found a package of them at Michaels that I can use for multiple projects. I even used one for my DIY abstract canvas art. They are great to have on hand for those times when you want to just create something!
Next, you will need an assortment of shatterproof ornaments. I found these small ornaments at Michaels and I was obsessed with the bright, modern colors and patterns!
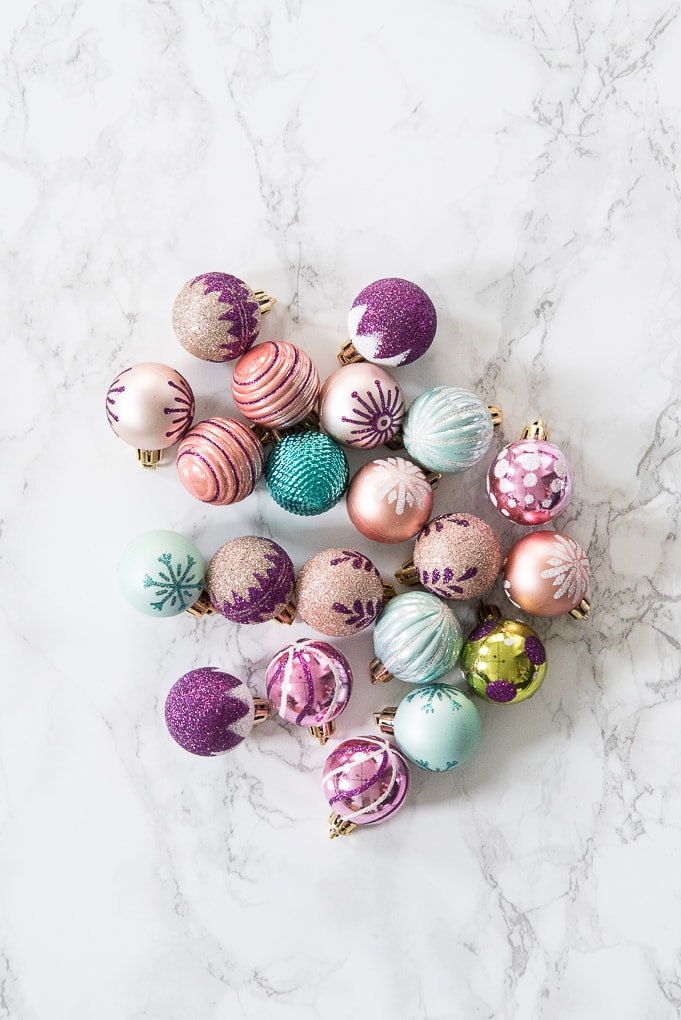
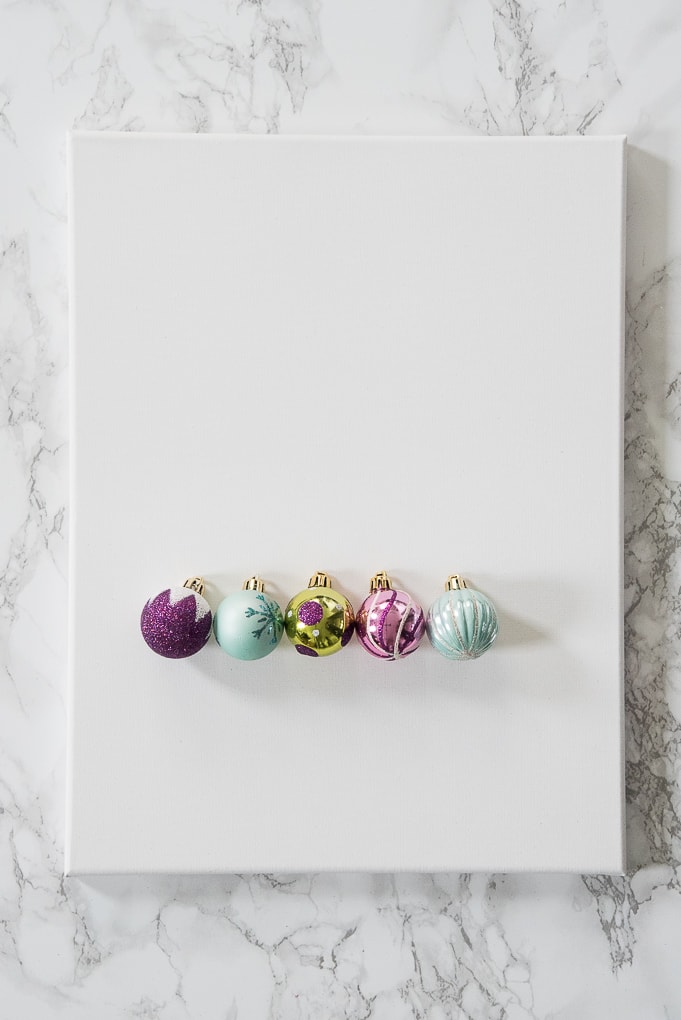
To create the Christmas tree pattern, you will need 6 rows of ornaments. Start by arranging your ornaments on the canvas. At this point, you aren’t attaching the ornaments to the canvas, you are just laying them out.
Play around with where you want specific colors or patterns to be until you get a design that you are happy with.
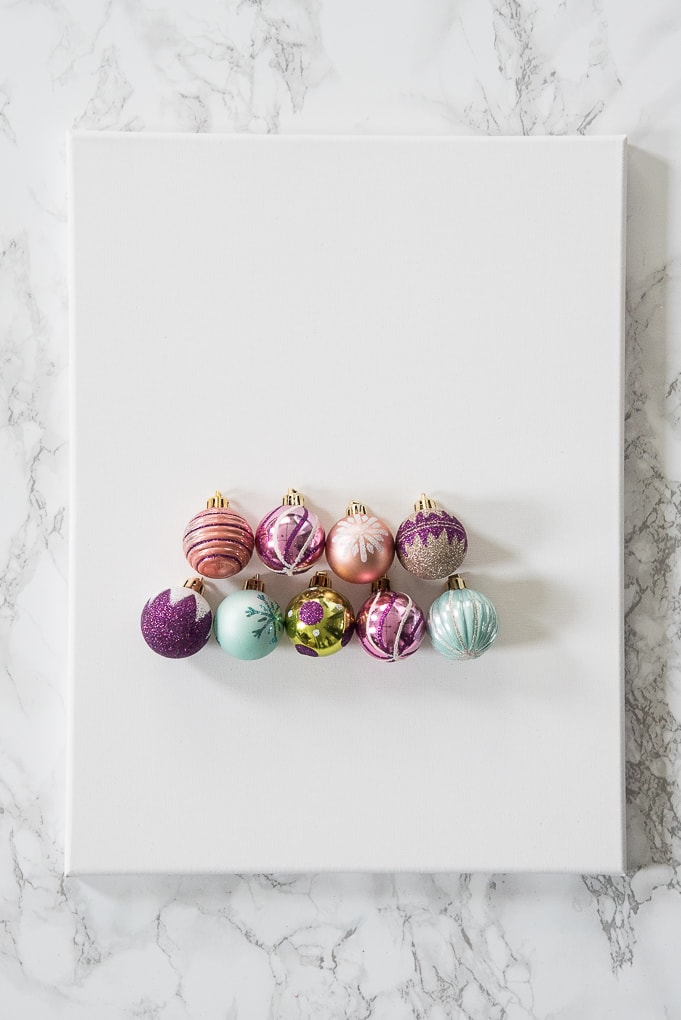
I decided to make the bottom row be 5 ornaments wide. Next, I created two rows that were 4 ornaments wide.
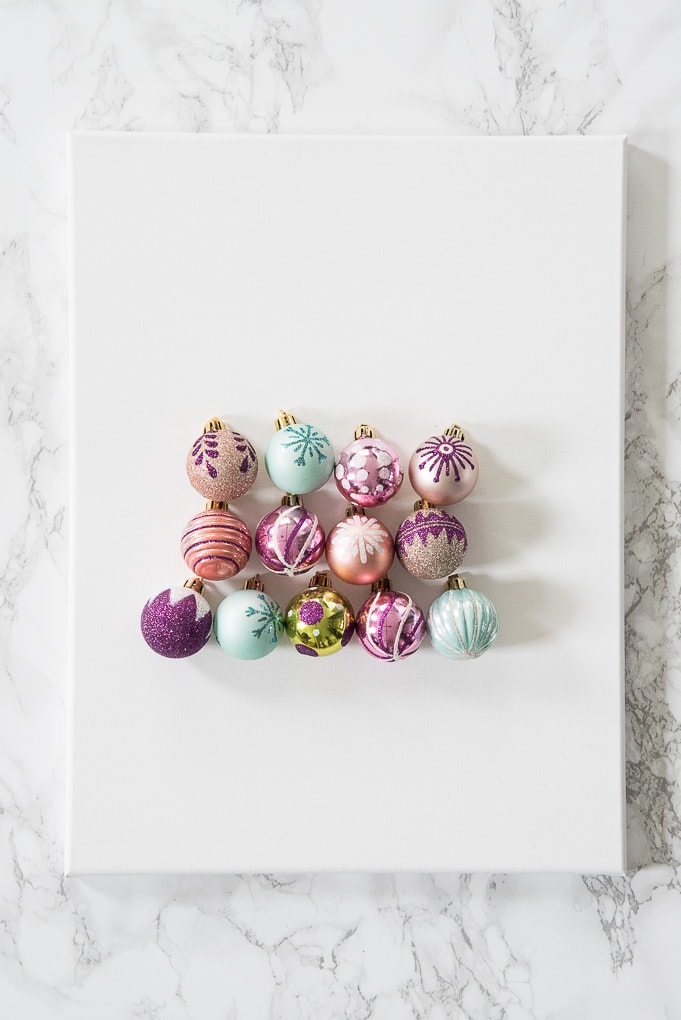
Then, I continued to remove one ornament from each of the remaining rows to create the familiar cone shape of a Christmas tree.
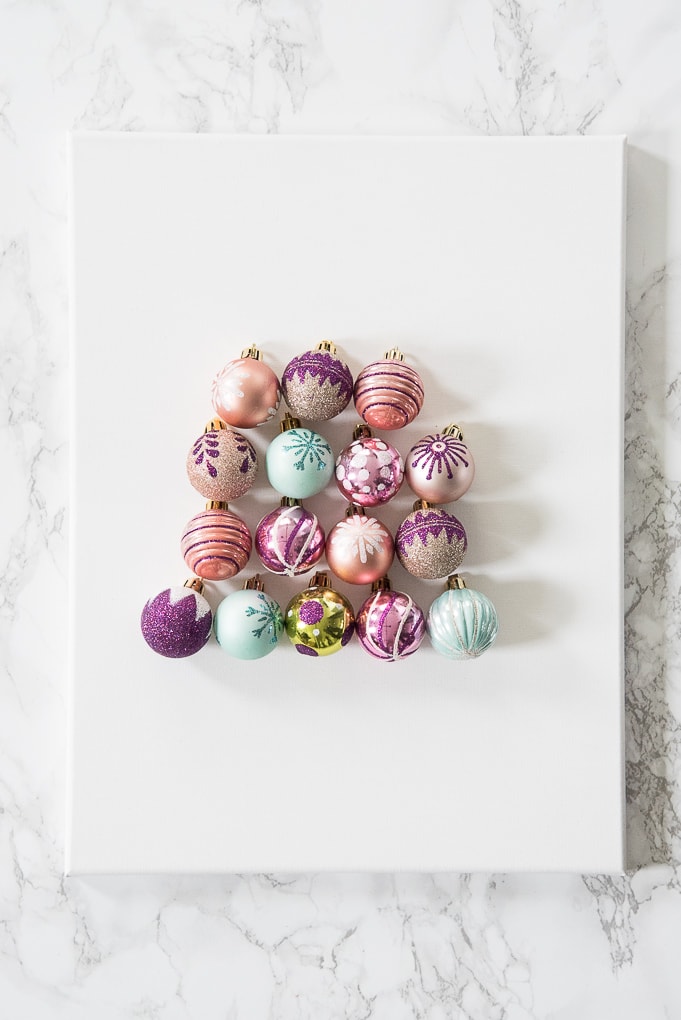
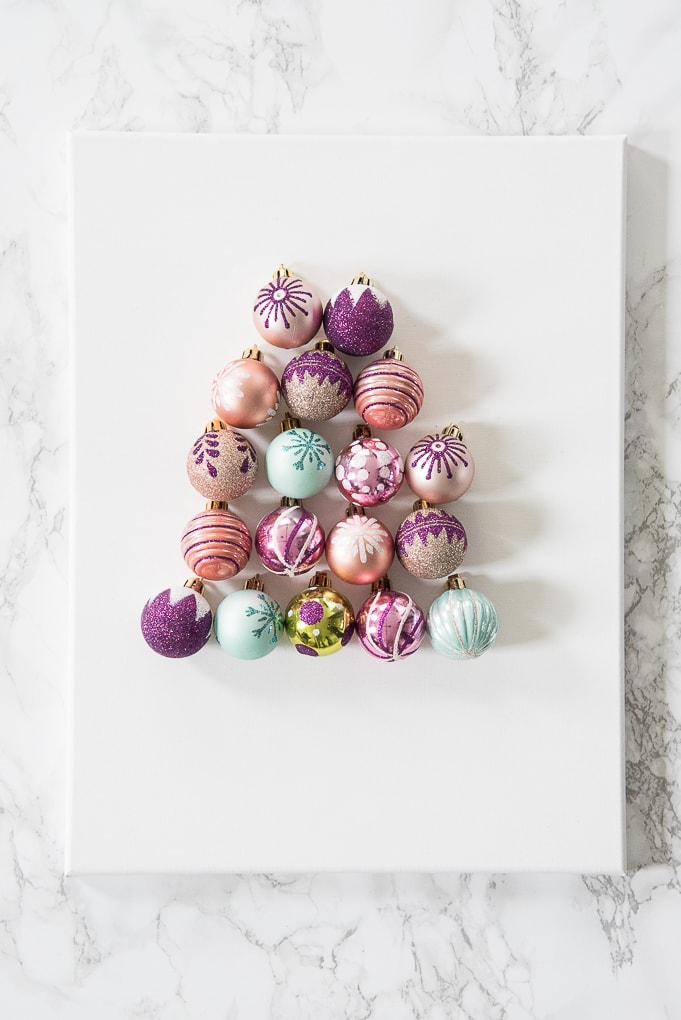
Once you are happy with your design, take a picture of it with your phone. No really, do this just to make sure you have a record of what it looked like. Those little ornaments tend to roll around a lot and sometimes your best intentions of keeping your arrangement together can get ruined.
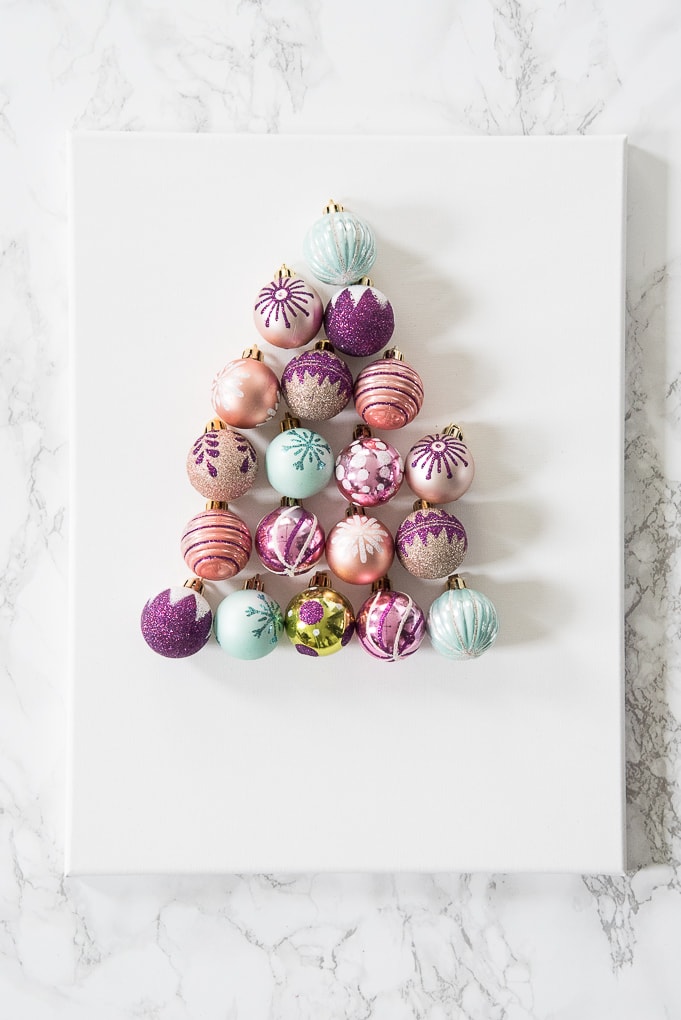
Now it’s time to attach everything to the canvas. Remove the ornaments from the canvas one row at a time and leave the bottom row in place. Try to keep the pattern in order just off to the side of your work area. That way you will know which ornaments go where while you’re attaching everything. And, if all else fails, you can reference that photo you took with your phone. (I wasn’t kidding — take that photo!)
Start by using a tape measure to mark the center point (in the width direction) of the canvas with a pencil. This will give you an idea of where the middle ornament in the bottom row should go.
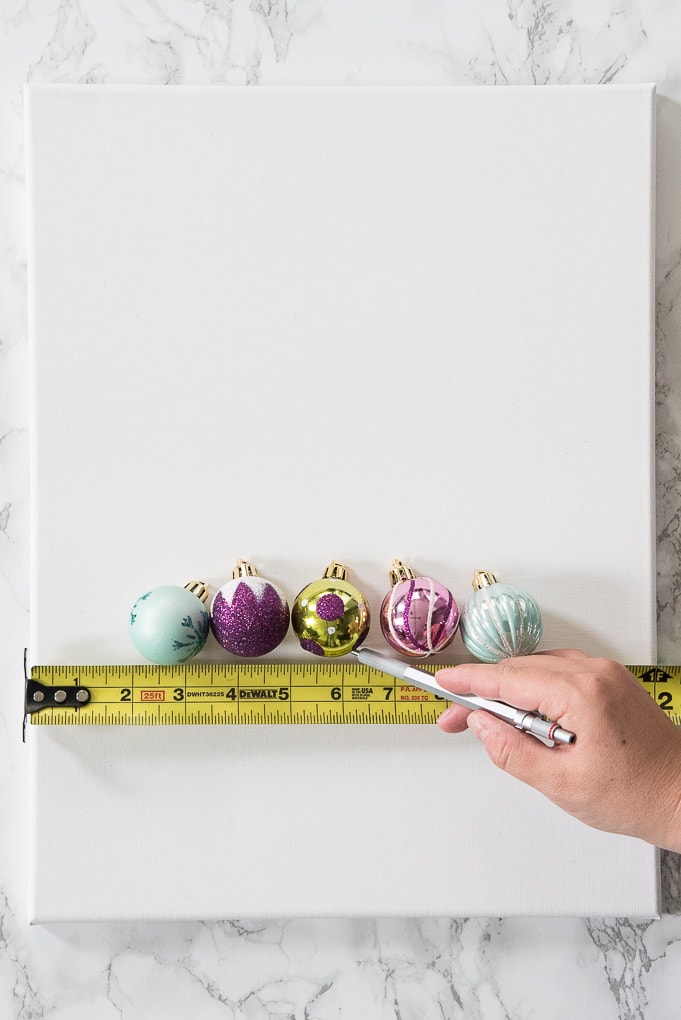
Then, using a hot glue gun, add a small drop of glue to the back of an ornament. Place the ornament on the pencil mark on your canvas and hold in place until the glue dries (this will only take a few seconds).
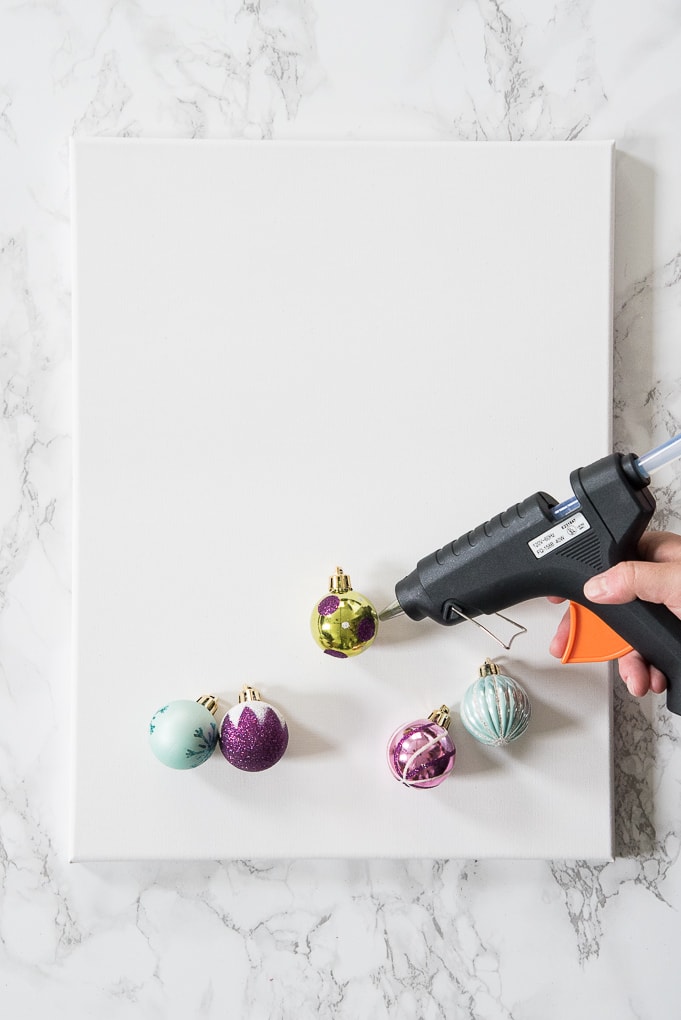
Continue gluing ornaments in place to create your first row of the Christmas tree. Try to keep the ornaments lined up and straight relative to your canvas. You don’t want your Christmas tree to be leaning!
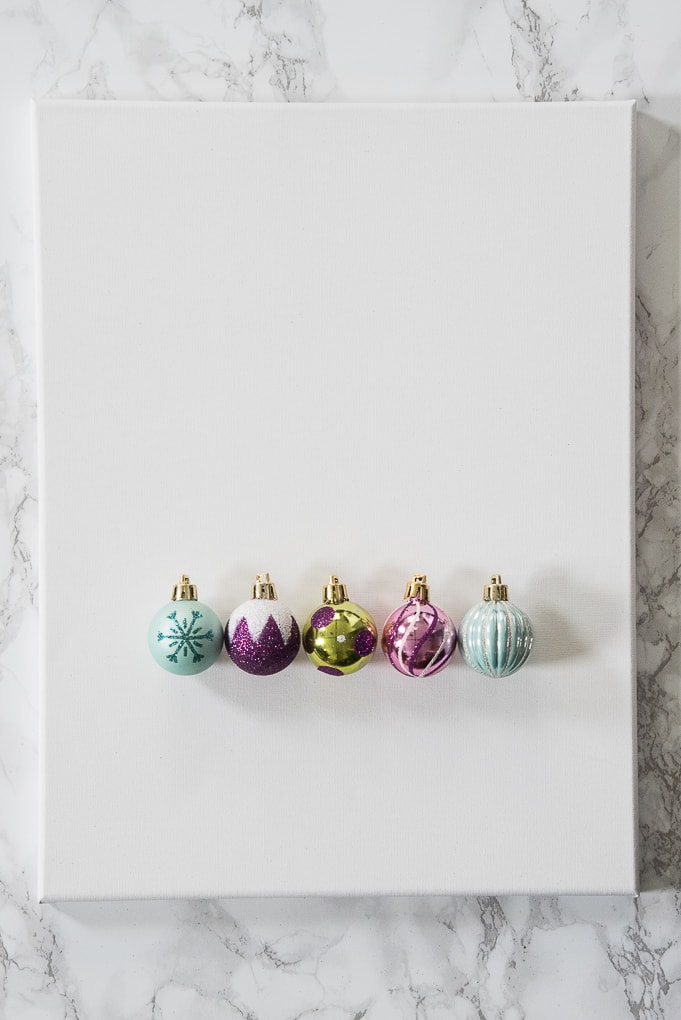
After the first row is attached, you have a great foundation to work from. So make sure everything is straight before you move on.
Next, start attaching the ornaments in the second row.
The second row ornaments should fit nicely in the “gaps” between ornaments in the first row. You can see how they are sort of nestled down between the ornaments.
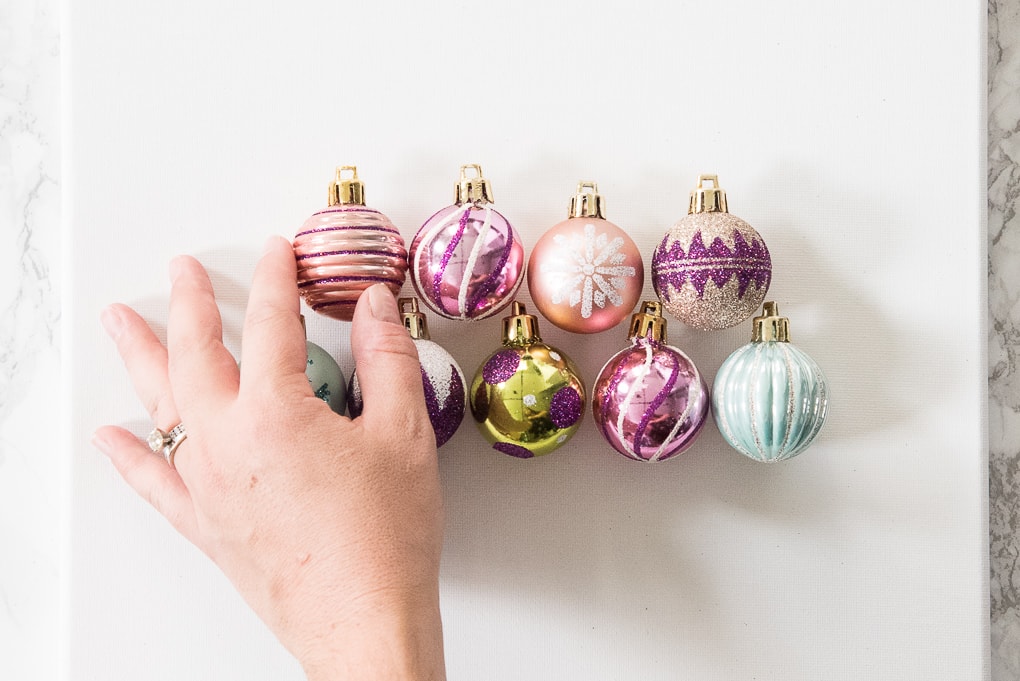
The third row will be a little different. Because the second and third row both have 4 ornaments, the third row will “stack” on top of the ornaments from the second row.
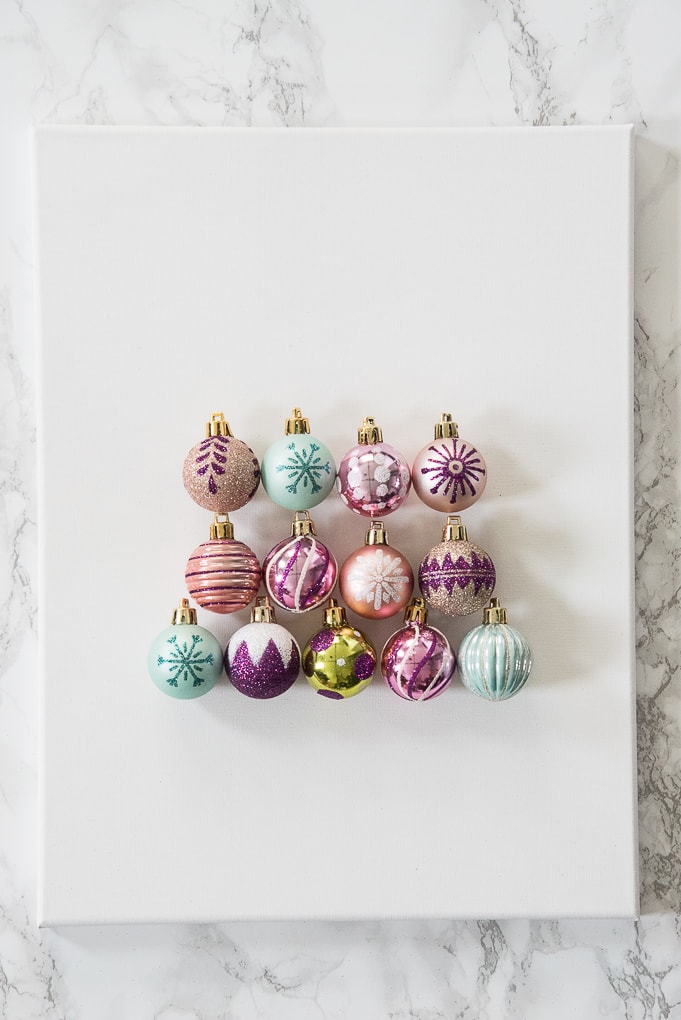
After you have attached all of the third row ornaments, you can move on to attaching the fourth row ornaments. This row will go back to the pattern of fitting into the “gaps” between the ornaments of the rows below.
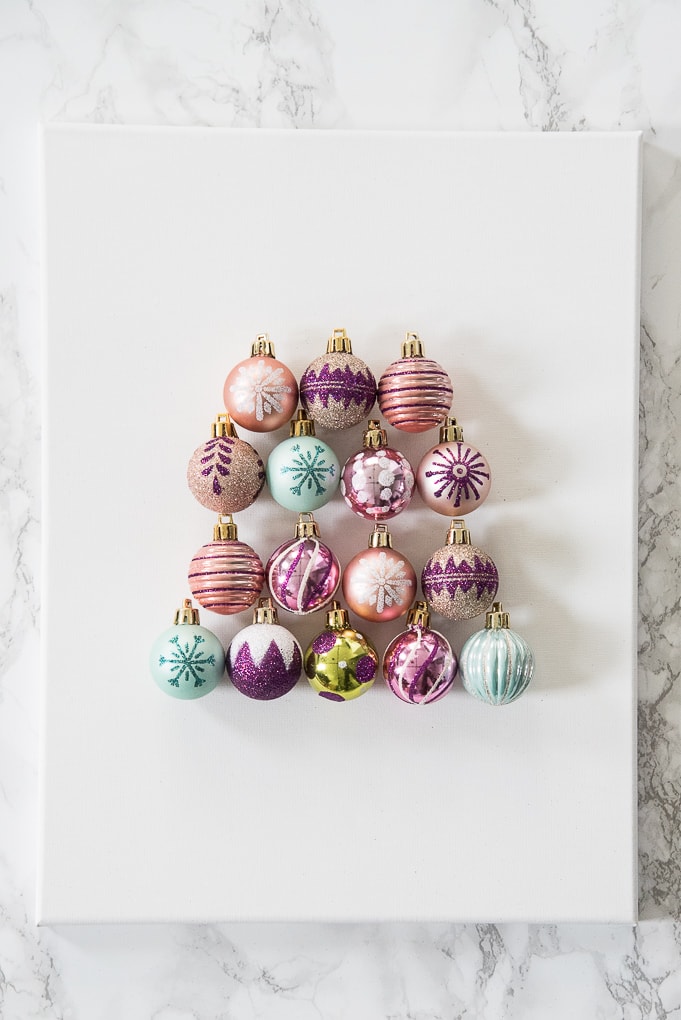
Continue with the fifth row and finally the sixth row which is just a single ornament on the top of the tree.
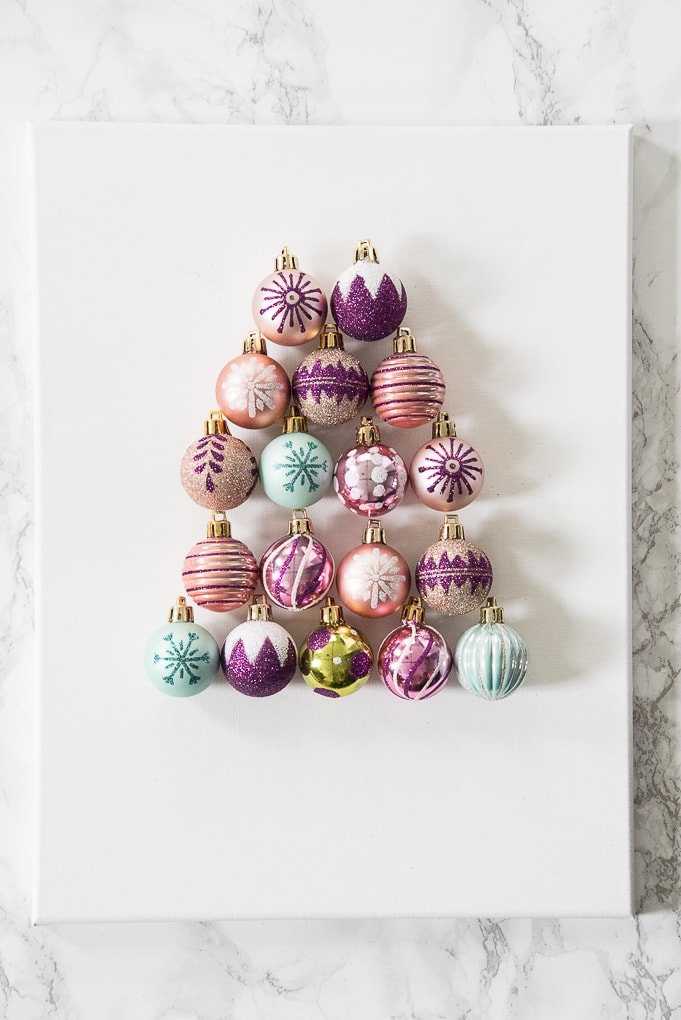
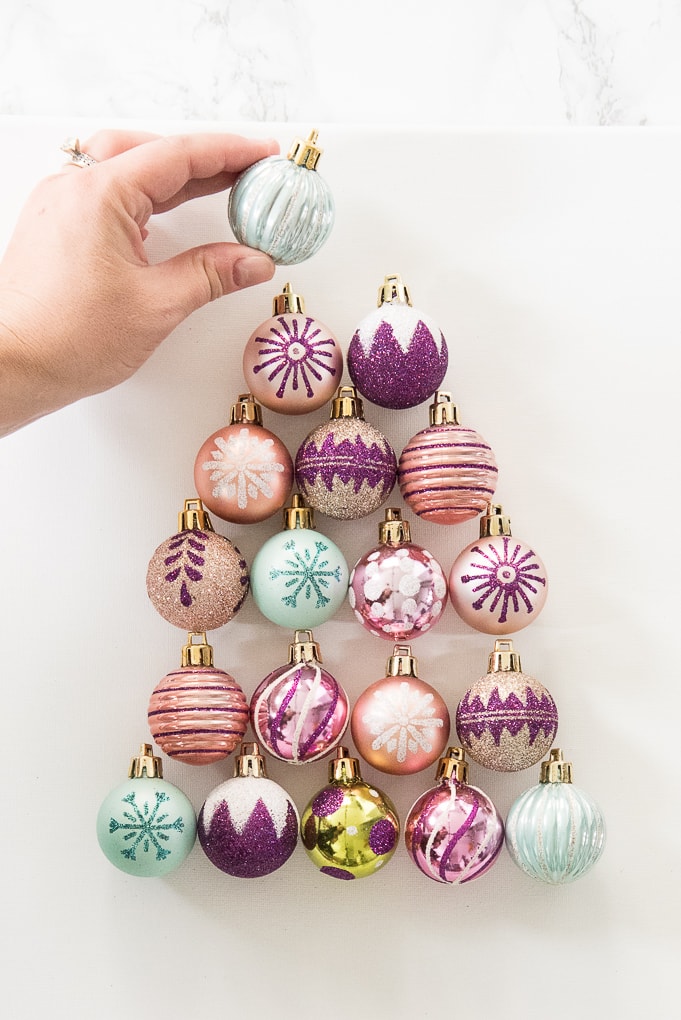
This tree is already looking beautiful! I love all of the different patterns and textures of the ornaments.
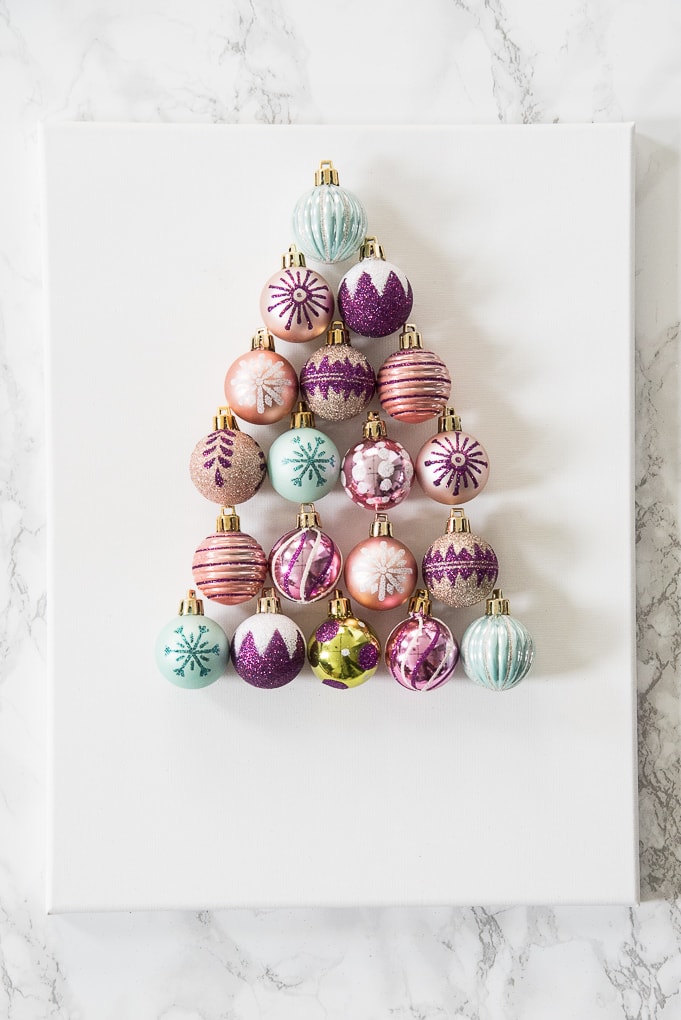
Now it’s time to give your tree a stump. I played around with using ornaments as a stump for the tree but nothing seemed to really look right.
So, I looked through my craft supplies and happened to have a scrap piece of faux leather from a Cricut project I was working on. I decided that I loved the texture and thought it would make the perfect stump for my tree.
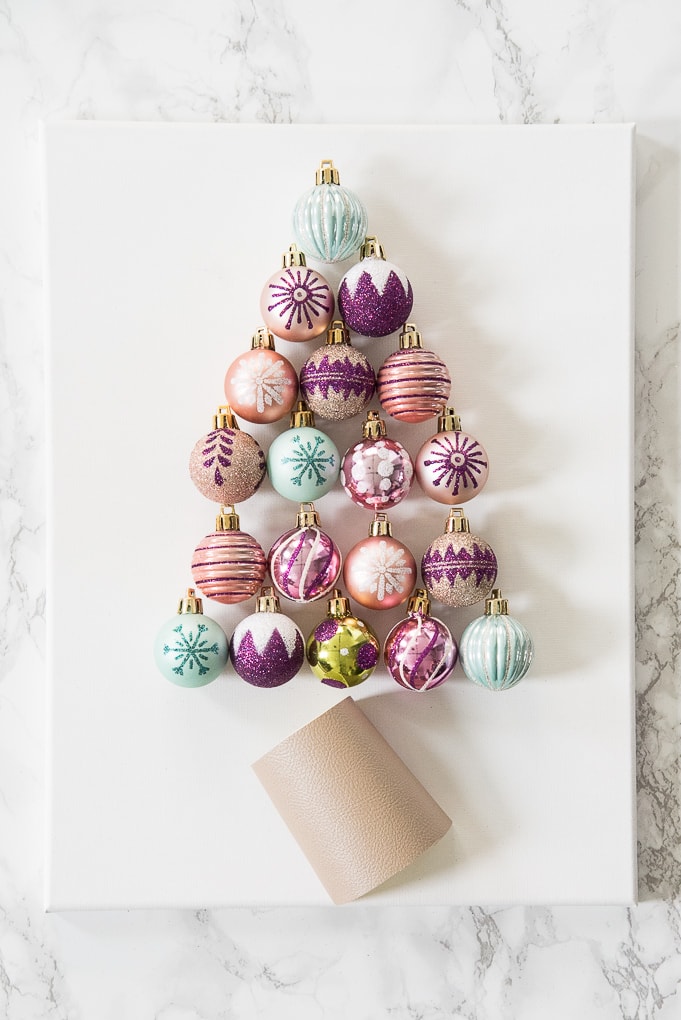
To create a stump, you can use any piece of scrap material that you have. Paper, fabric, or even felt would work. Just use anything that you think looks good with your ornaments.
I freehand cut a rectangle out of my faux leather material and then used some hot glue to attach it to my canvas.
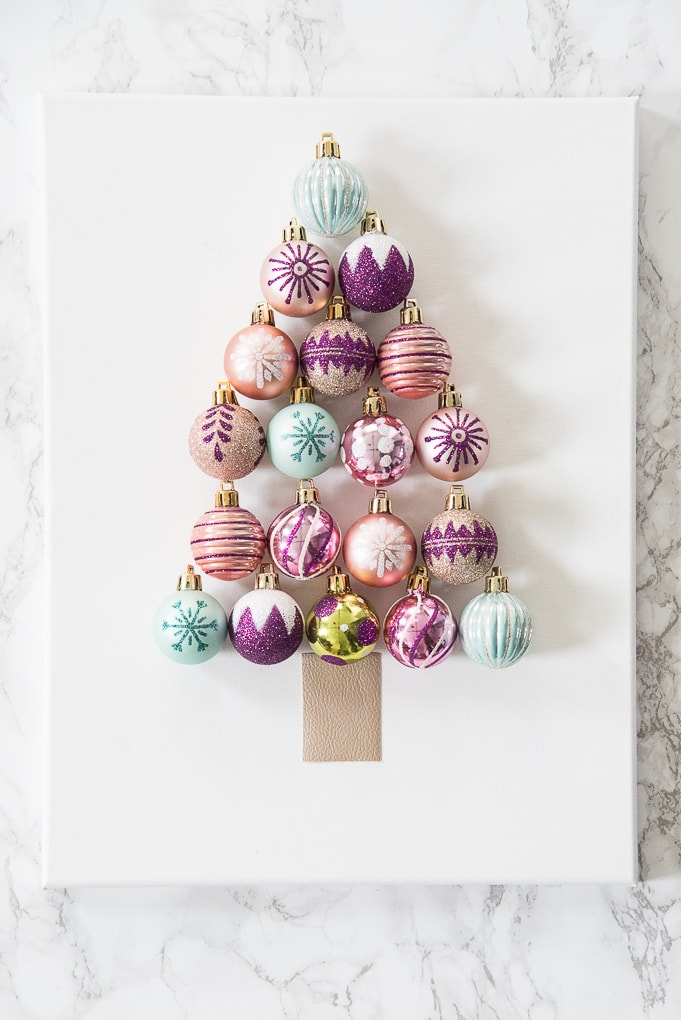
Next, I decided to make a frame for my canvas. I wanted to create some nice contrast between the bright white canvas and the colorful ornaments.
To frame your canvas, you will need some pine wood. I cut a piece of pine wood into strips that were ¾” x 1”. Measure the outside of your canvas and cut the pine into 4 pieces to create a frame. I used a miter saw to miter (or angle) the edges of my frame. But you could even use a hand saw to create simple square edges.
After your pieces are cut to size, you will need to paint them. I decided to use a sample size of Fusion Mineral Paint that I already had in the color Ash. You will only need a little bit of paint to cover the entire frame.
Fusion Mineral Paint is great because it has a beautiful matte finish and doesn’t show brush strokes. I’ve used it on a few projects in the past like my game cabinet, my gather wooden sign, and my planter basket makeover.
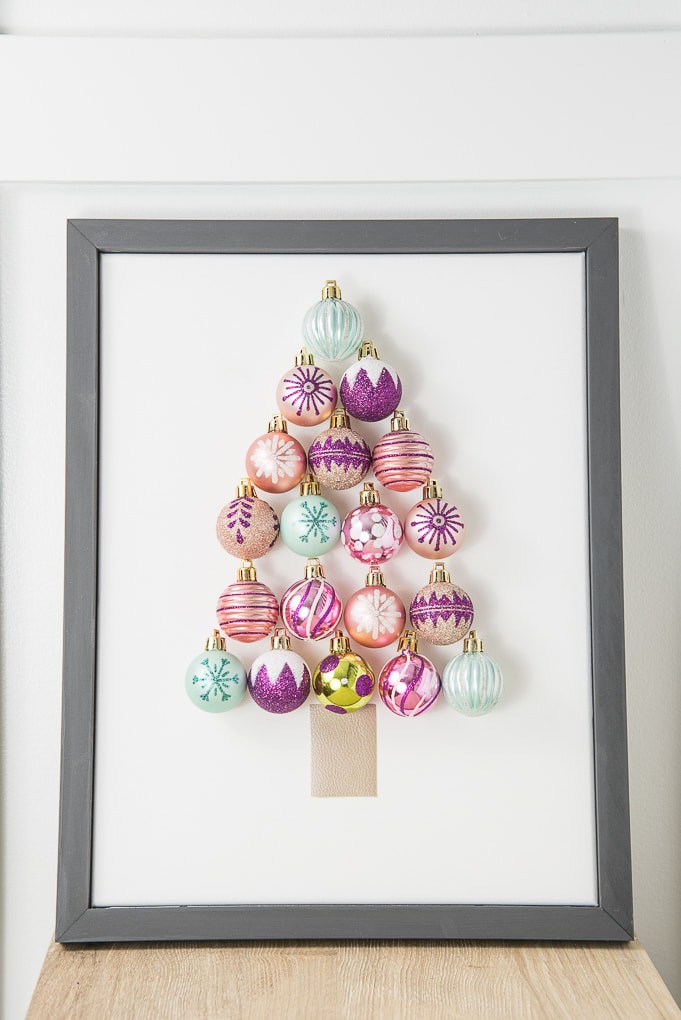
After the paint is dry, use a brad nailer to attach the wooden frame to your canvas. My canvas had a wooden structure on the inside, so the brad nailer was perfect for attaching my frame. If your canvas doesn’t have a sturdy wood structure, your best bet would be to attach the frame using wood glue.
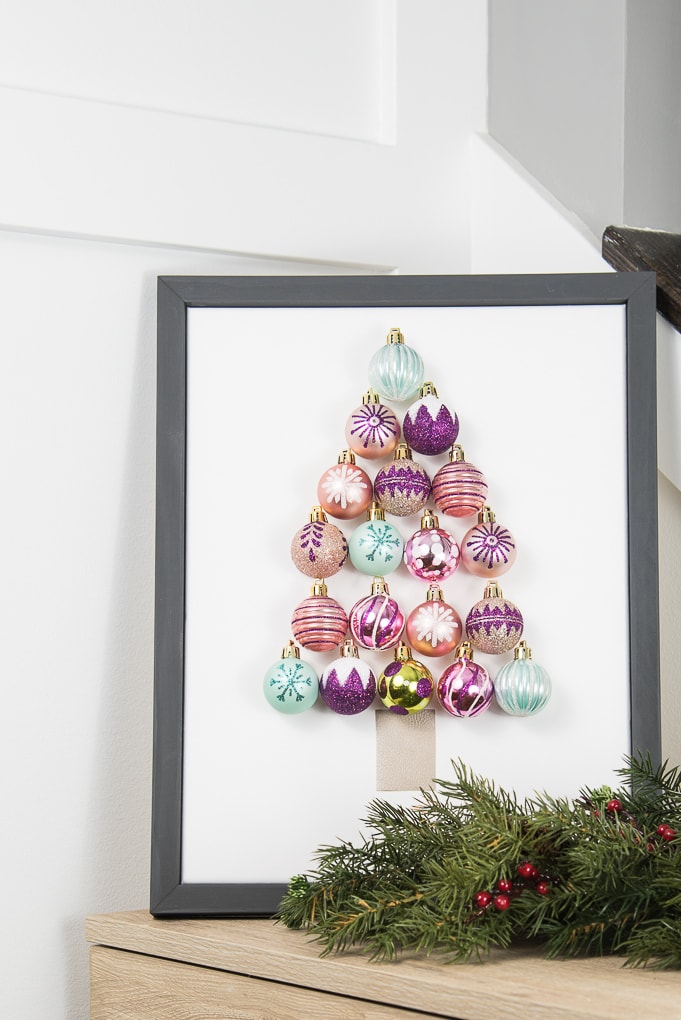
Then, you’re done and you have a beautiful DIY Christmas Tree Ornament Art piece!
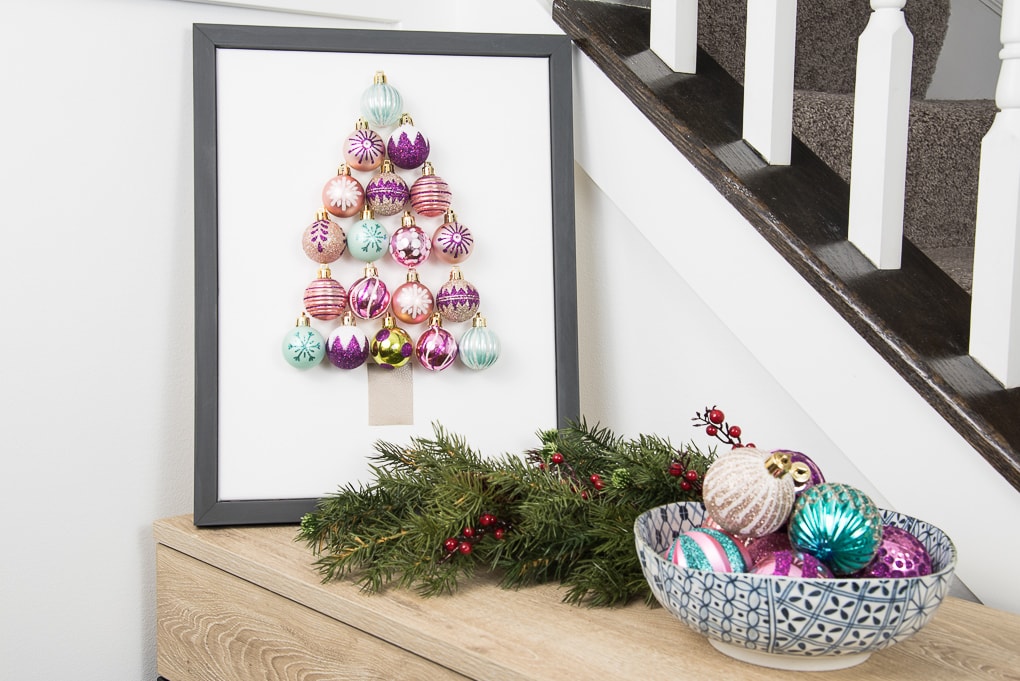
I absolutely love how this project turned out and it was so easy to create! The modern colors look so bright and cheery!
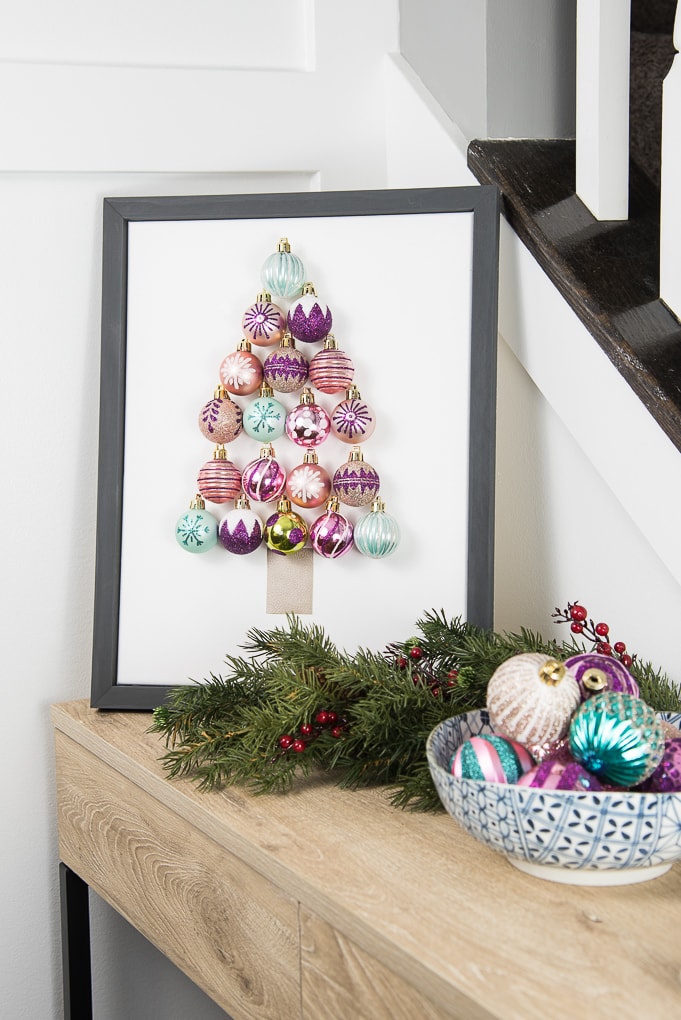
The best part of this project is that you can totally customize it to your style. If you want a more traditional looking ornament art piece, use the classic red and green ornaments. Or, if you are looking for something more subdued, try using muted pinks and golds.
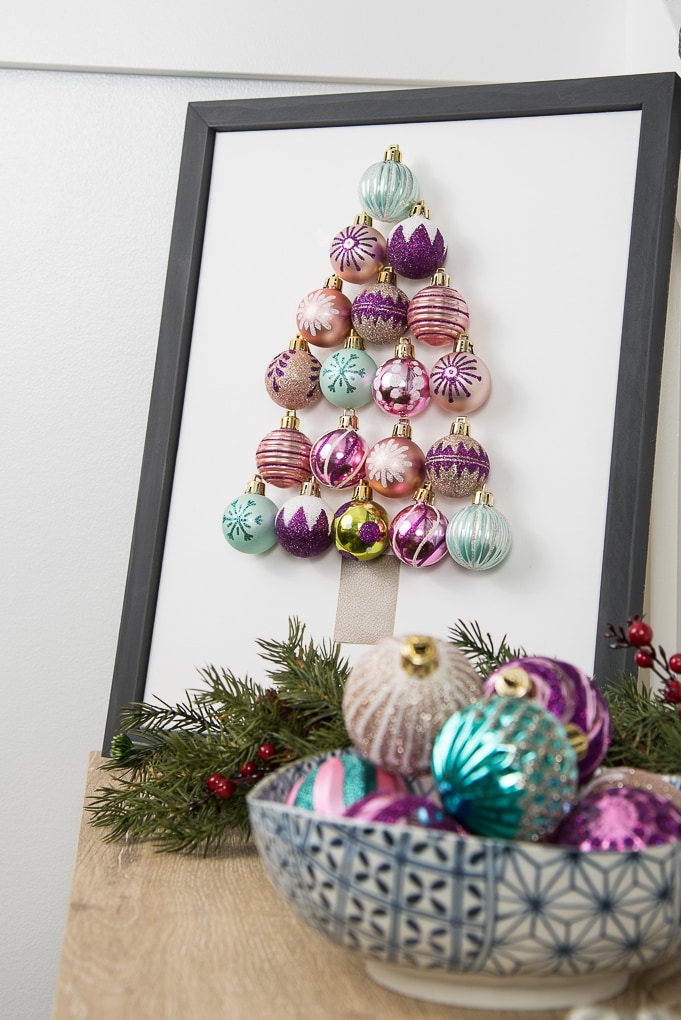
I hope that you give this DIY project a try this holiday season.
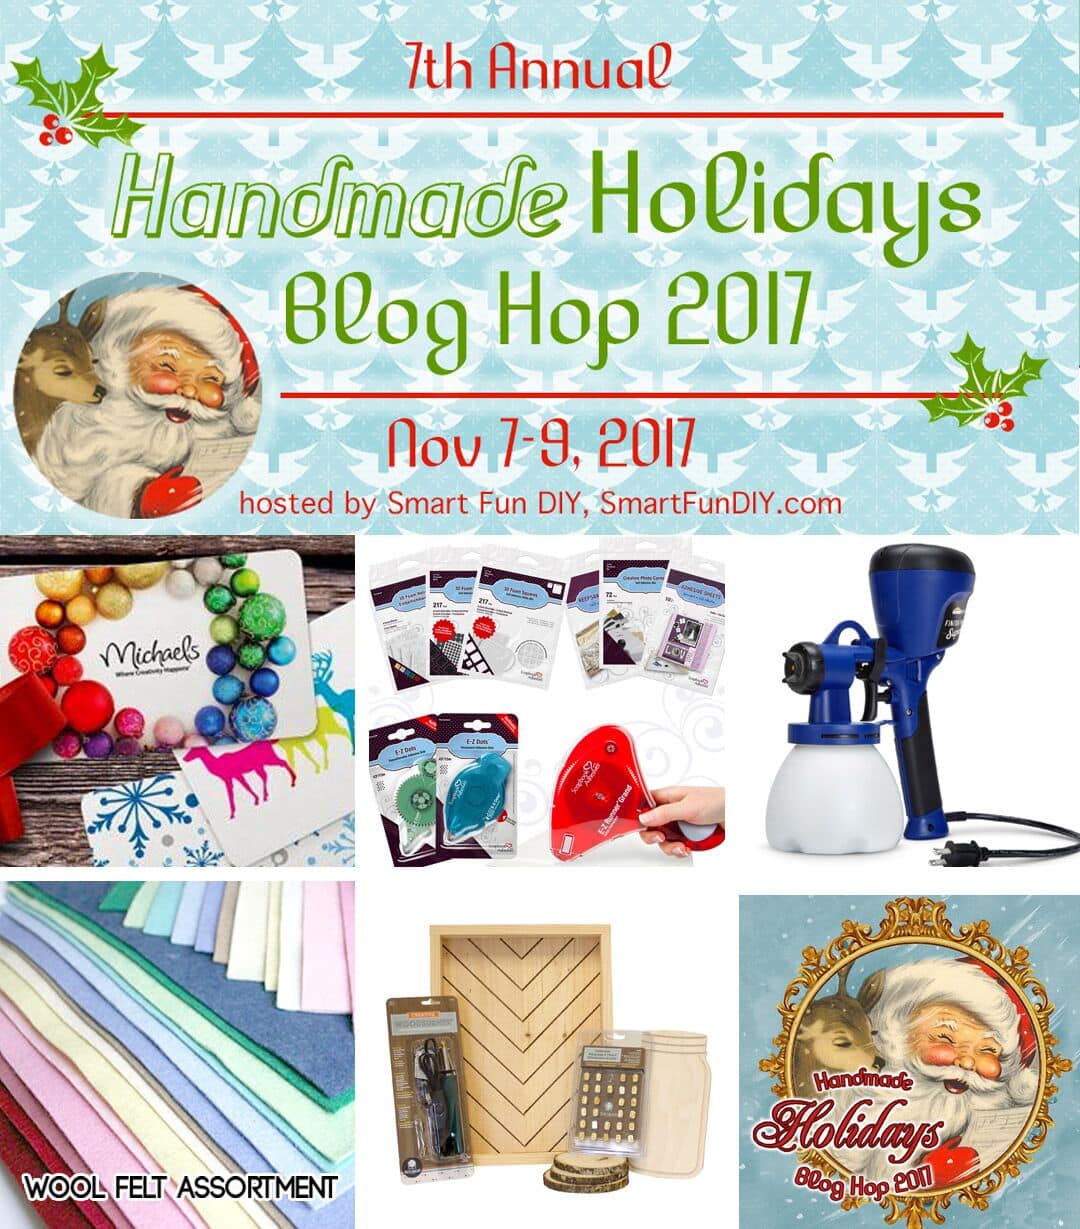
A huge thanks to all our sponsors for the 7th annual Handmade Holidays Blog Hop!

They have so generously provided the prizes for the awesome giveaway that we’re hosting. So, if you want to win the craft supplies that you see below, all you need to do is enter using the Rafflecopter Widget at the end of this post.
Be sure to check out all the other bloggers sharing DIY Home Decor today using the links below.






I love this!! It’s gorgeous and the colors are perfect. I love the bright fun, non traditional colors for Christmas. I love the contrast of your frame against the wood side table you have too. Beautiful project!
Thanks so much Melissa! and thank you for stopping by the blog
>> Christene
Very stylish, I love the baubles you have used!
Thank you! I thought the colors were so fun!
Thanks for stopping by the blog.
>> Christene
Super fun décor piece! I love the color palette of the ornaments.
Thank you so much Dana! and thanks for stopping by the blog
>> Christene
Great post!
All ornaments are really so much pretty.
Thanks a lot for sharing with us!
Cute idea!
I love the colors and it seems so easy. I have always been a sucker for purple and blue. Its not the traditional Christmas colors but it still works.
Thank you Grace! It was a pretty easy project to put together and it ended up looking super cute too! Thanks for popping in to say hi!
>> Christene
Hello Christene, very stylish! I love the bubbles you have used! These are so gorgeous and beautiful. Christmas is coming and I am very excited to decorate our home with your tips. Thanks and keep sharing.
Thanks Kate! Have fun decorating for Christmas and I’m so glad you can use our room for some inspiration!
>> Christene
Very nice holiday decor!! Can you pls give me any other alternate to use instead of pine wood for frame as I will be working with kids ? Thanks
Thanks so much! You can totally do this project without the frame and just make canvas art when doing the project with kids.
>> Christene