One thing that has been on my list of DIY projects to tackle is to refinish an old piece of furniture. I used to see old furniture at thrift shops or garage sales and think “who in the world would want that in their home!” That was before I knew about blogs and Pinterest! I’ve seen so many trash-to-treasure makeovers and they’ve completely inspired me to take on my own furniture project.

This post contains affiliate links for your convenience. For more information, see my disclosures here.
Last year when I spotted this cabinet at a flea market sale for only $15, I decided that it was going to be my first old furniture DIY project! YAY!
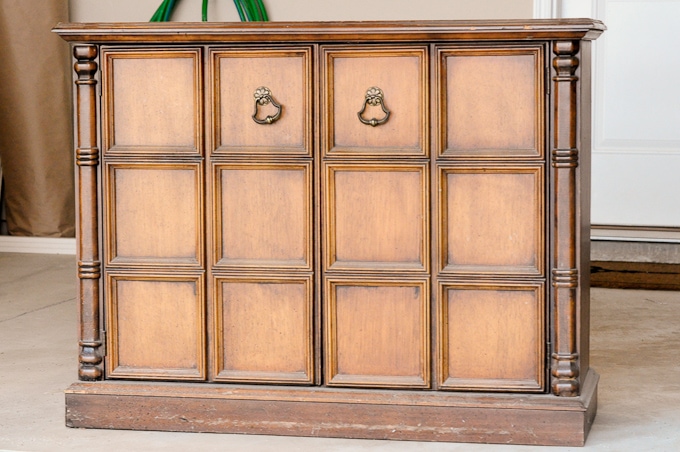 I brought it home, put it in our garage and that’s where it sat for almost a whole year. Pretty sad, right!
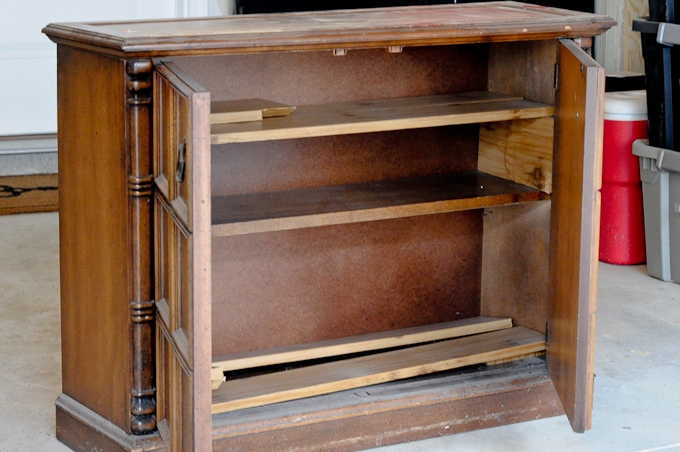 When I first bought the cabinet, I really had no idea where to start. All of those Pinterest tutorials were great, but there were so many different ways to update old furniture, I didn’t know which one to choose.
 After lots of research, I finally found the easiest way to update old furniture! So, what’s my secret?
Fusion Mineral Paint!
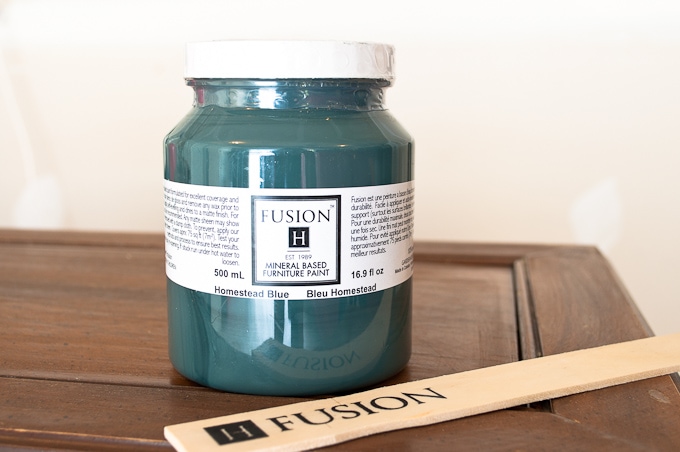
Seriously this stuff is AMAZING! Fusion Mineral Paint is specifically made for furniture projects. It requires minimal to no prep before application, it covers extremely well, it dries with a matte finish, and it doesn’t need a top coat! You can’t get any easier than that!
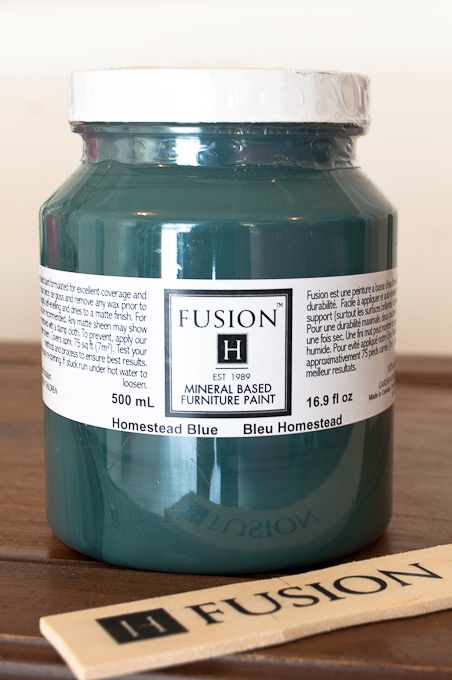 Once I read about all the benefits of this paint, I finally had the confidence I needed to get started on my project.
 After cleaning off all the dust on my cabinet and removing the hardware, I lightly sanded all of the surfaces.
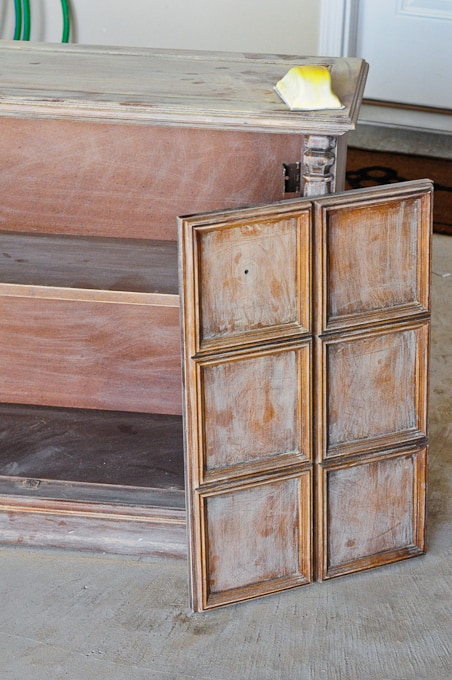 The mineral paint doesn’t require sanding before use, but I wanted to get rid of any unevenness on my cabinet and start with a “clean slate.”
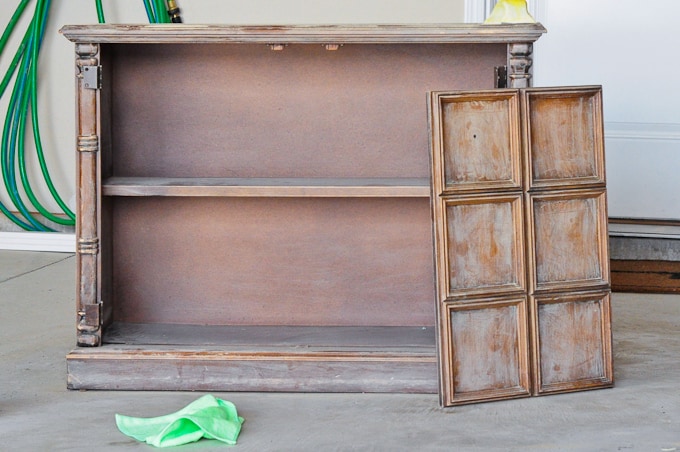
After sanding I wiped the entire thing down with a damp rag to get rid of all the dust.
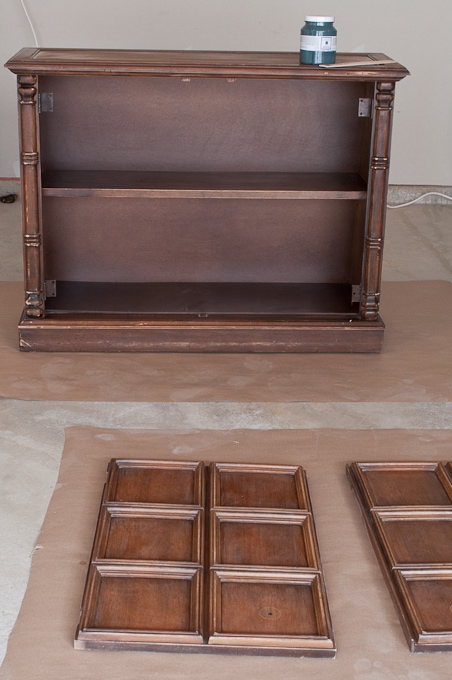 Next, I got my jar (500 ml) of Fusion Mineral Paint in the color Homestead Blue and got to work painting.
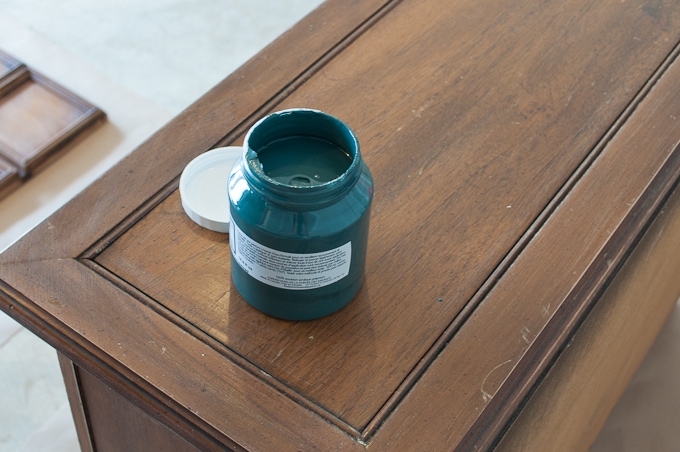 By “I started painting” I really mean Ben started painting! He wanted to try out the paint first and I think he was even more impressed with it than I was.
 As you brush on the paint, it self-levels and your brushstrokes disappear.
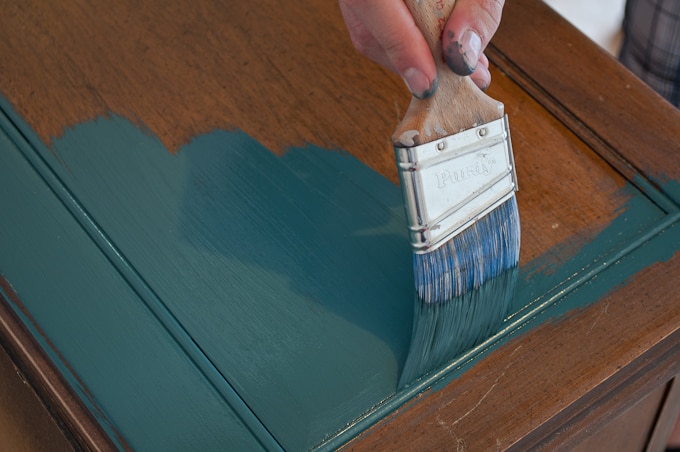 This was one of the things that originally intimidated me about updating old furniture. I’m not a master painter and was scared that any furniture project I did would turn out looking like an amateur did it.
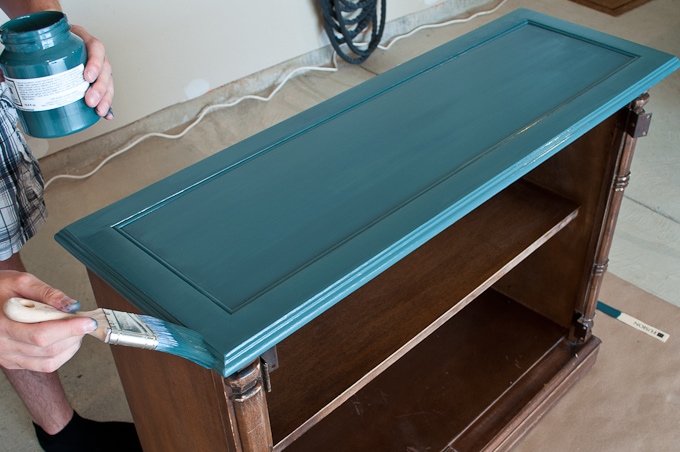
After Ben finished painting the top, I took over and painted the rest of the cabinet all by myself.
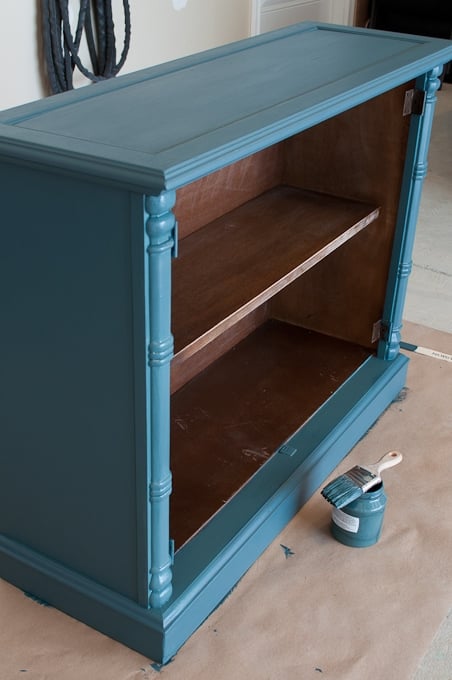
 I’m happy to say it didn’t turn out looking amateur at all! Once it dried, the paint hid all my crazy brushstrokes and created a nice matte finish.
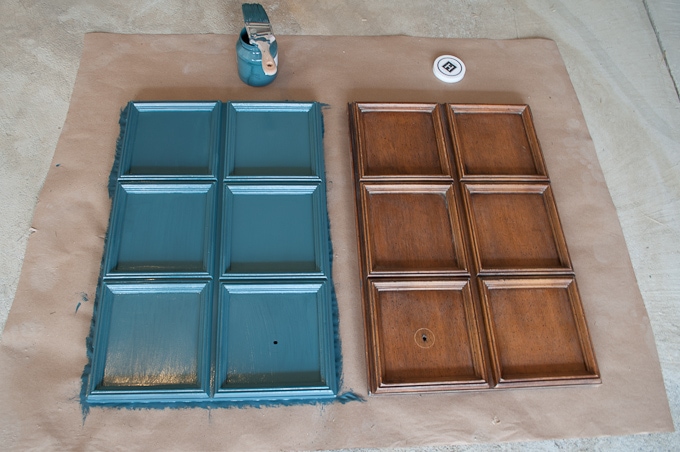 I thought that painting the doors was going to be the trickiest part because of all the small gaps. In reality, all I had to do was brush on the paint like normal and then it leveled and created the perfect finish!

Oh, and did I mention that this was all ONE COAT!? This paint covered so well that we only needed one coat. If you had a really dark piece of furniture to begin with and you wanted to paint it a very light color, I would recommend that you use the Fusion Concealer (previously Colour Blocker) as a first coat. It’s not a primer, but it will give you a nice surface color to paint on top of, saving you money so that you only need one coat of the good stuff!
So if you are keeping track, we started with light sanding, painted one coat, didn’t put on a top coat or sealer, and got the perfect matte finish. EASY! EASY! EASY!
We let the paint dry completely overnight and then installed our new hardware. The previous hardware wasn’t really my style and had definitely seen better days. I wanted the cabinet to have a slightly more modern feel, so I picked up these matte gold bar pulls from Target and a set of gold door hinges from Lowe’s.
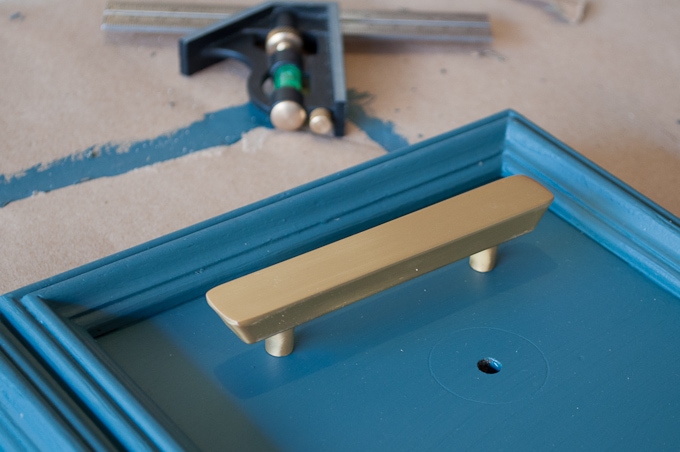 We eyeballed where the hardware should go on each door and measured the distance from the edge.
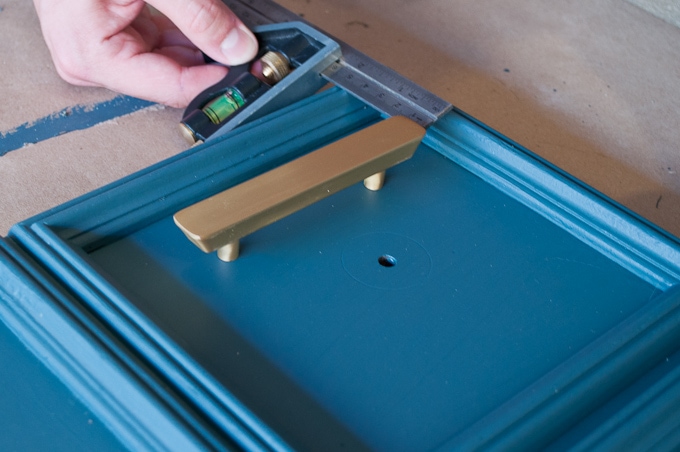
Then, we flipped each door over and measured the same distance from the edge and marked it on the back side of the door.
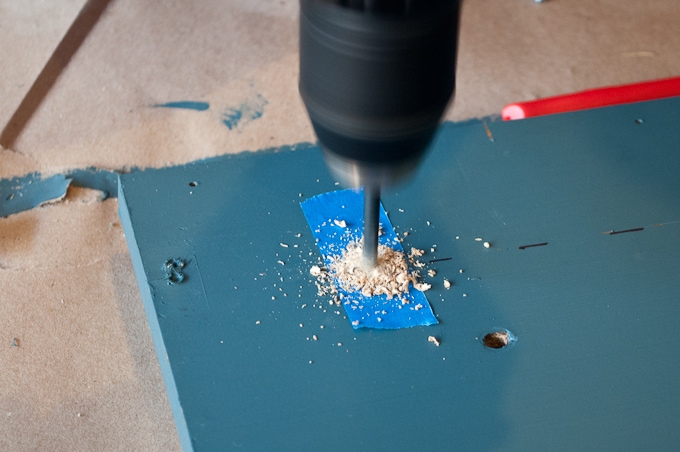
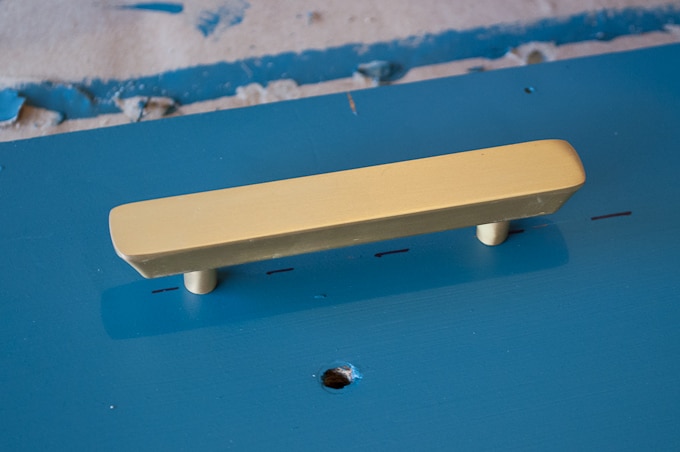 Next, we marked where each screw needed to be for the hardware and used the drill to make the holes.
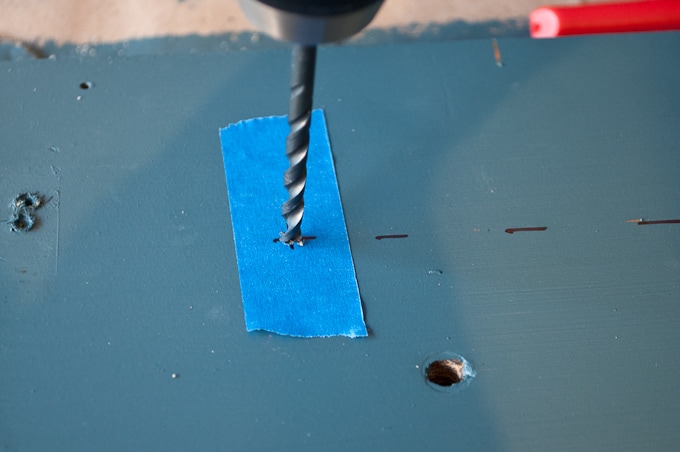
A good tip for drilling is to place a piece of masking tape over the area first to prevent the wood from chipping.
 Since the original piece of furniture had the hardware in a different location, we needed to fill the holes and repaint. I didn’t take any pictures, but we filled the holes with spackle, lightly sanded, and then repainted to hide the existing holes.
Once everything was dry, we installed the hinges, attached the bar pulls, and put the cabinet back together.
 And just like that, I had finished my first old furniture DIY project! I am so happy with how it turned out!
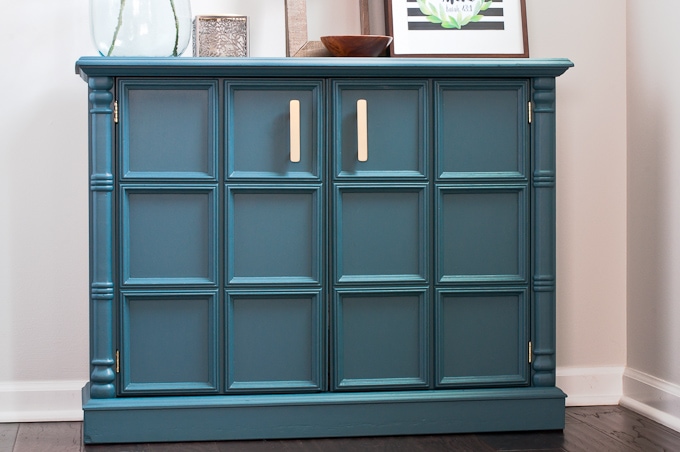 It’s so nice to finally have the old piece of furniture that was collecting dust in our garage as a functioning storage piece in our home.
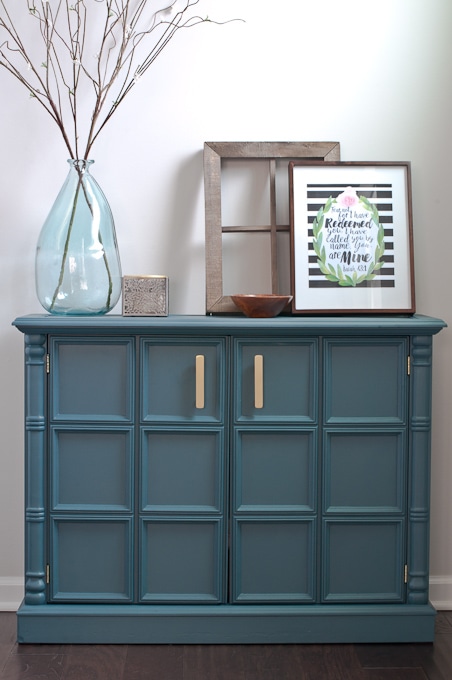
 We moved it to our living room in that nook area next to the oval window. The blue color looks great with the paint in our living room.
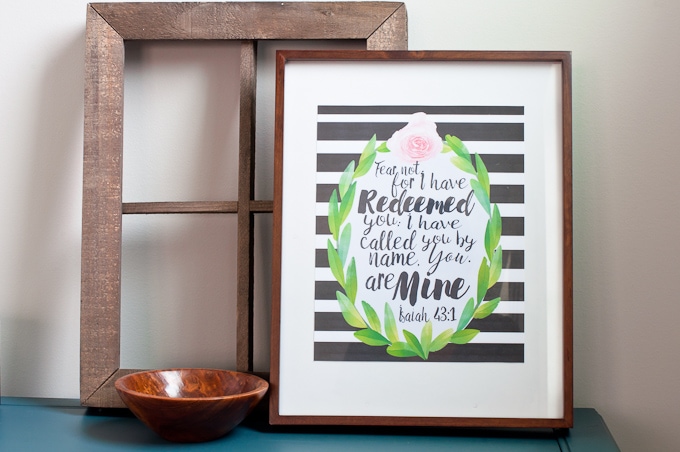
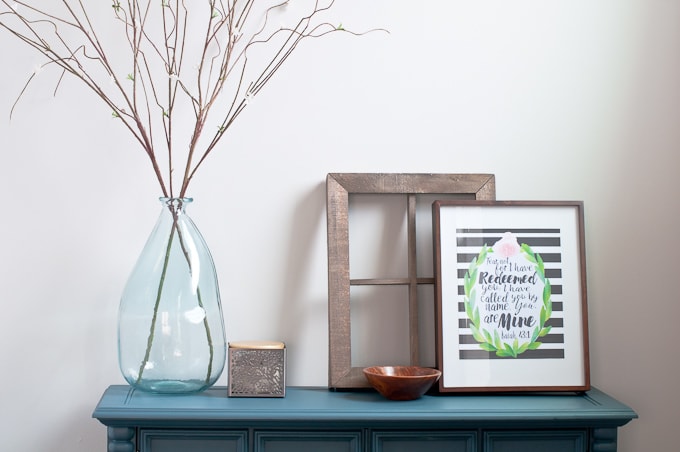 I added a few decorations to the top for now and I’m excited to change things out for different seasons. It’s the perfect spot for my amazing print from Lovely Living Designs!
 So, are you wondering just what we have inside this new cabinet?
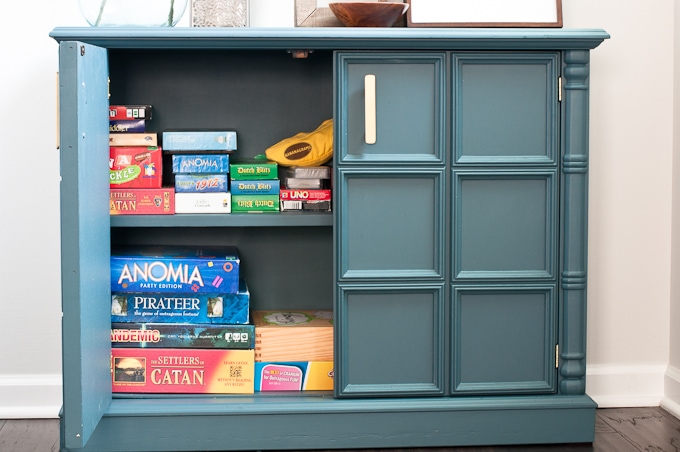
It’s a game cabinet! We have lots of games and love having friends over for game nights. I even shared some of our favorites in this Friday 5 post. This cabinet was the perfect piece for storing our collection of games.
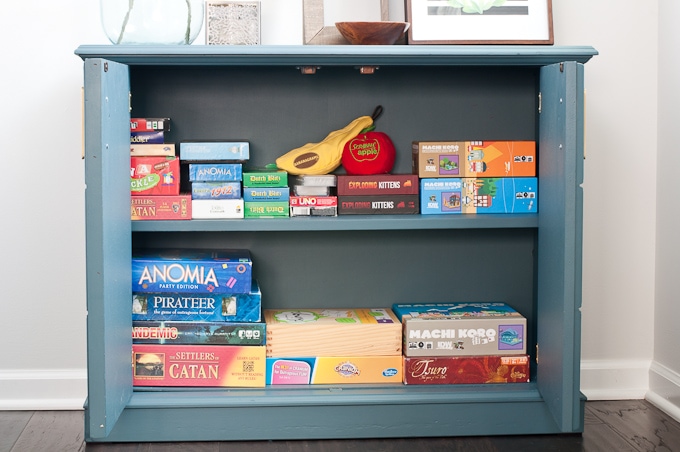 Now they are all in once place and ready for our next game night.
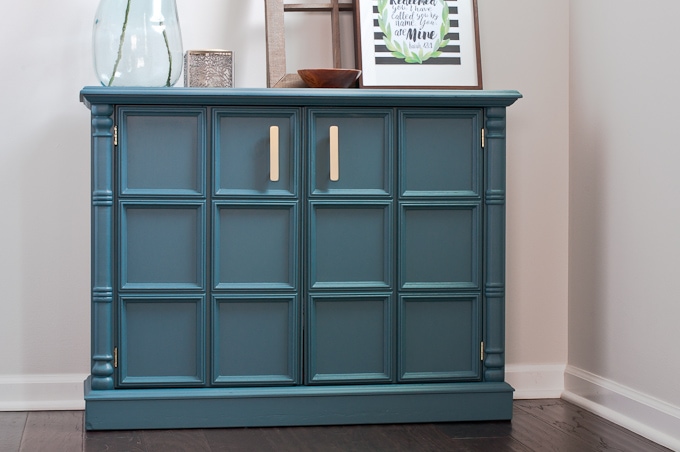
Now, just for fun, here’s a little before and after of my first old furniture update!
 I can’t even believe that I did that!
Here’s the cost breakdown for the project:
Cabinet = $15
Paint = $25
Brush = Free (already had this)
Sand Paper= Free (already had this)
Hinges = $5
Bar Pulls = $12
Total = $57!
If you are nervous to tackle an old furniture update, try using Fusion Mineral Paint. I guarantee it will be easier than you think! There are lots of options for furniture paint out there, but none of the others have all the benefits that mineral paint does. The price point may seem like a lot, but remember you don’t need a primer or a top coat. That’s already a savings from other furniture paints. For this project, I used about ¾ of the jar of paint. You can get Fusion Mineral Paint on Amazon or on Etsy and there are tons of colors to pick from. I’ve already got a few more colors ordered!
Do you have an old piece of furniture waiting to be finished? Let me know what your next furniture project is going to be in the comments below!
This Project was Featured on Create Link Inspire and The Creative Gallery


This is a cute cabinet for your games. Love the color. I would have never believed that old item would look so modern.
Thanks! I really like the color too! I know, it doesn’t even look the same anymore 🙂
>> Christene
Looks great! I am redoing some pool-side chairs right now and I can’t wait to show everyone how they turned out. I had to do 3 coats of paint though – white on a wood chair.
Thanks!
Katie
button-jar.com/blog
Thanks Katie! I can’t wait to see how your pool-side chairs turned out! Thanks for stopping by my blog 🙂
>> Christene
Your project turned out beautiful! I have never heard of Fusion Mineral paint, but now I want to try it. Thank you for sharing it with us. Oh, I love the blue also!
I love the new color and the new hardware, really cute! You found a piece with great style that really wasn’t noticed until you painted it!
You did such a nice job updating the cabinet. The color is so pretty and the pulls are the finishing touch.
Wow! I levels this piece. And the color you chose us gorgeous. I need to try this paint for sure cause I hate painting furniture and getting brush strokes. Pinned!
Thanks Kati! and thanks for the pin 🙂
>> Christene
That paint is legit! You have me looking at some furniture miss!
Thanks for sharing on Peace, Love, Linkup! I hope to see you tomorrow at 6 for more sharing fun! : )
Thanks Ashleigh!! It’s now my go-to paint for furniture projects … Seriously love it.
Can’t wait to link up this week
>> Christene
Well, learned couple things, about that Fusion paint and how you got cabinet all snazzy, awesome piece. The cabinet has nice simple lines that adapt to new life, great choice, works perfect to store all your games. Lucky friends you invite over to have fun evening. Your cabinet will hold up for many years in good stead,,can be used for other purposes when you tire of having it store games. It’s so nice looking to be in any room. Think you have quite a winner on your hands.
Now I will try the Fusion paint, good recommendation. So many paints out there are so expensive $25 is actually not bad at all knowing how well it does. Have wonderful week.
Thanks JaneEllen! We love the cabinet and you are right $25 isn’t bad at all – especially since other furniture paints cost even more AND require a top coat or wax. Have a great week!
>> Christene
Wow! You really did a number on that piece and it looks brand new! Just goes to show thrift store furniture can look brand new with the right care!
What an awesome job, the hinges and new knobs go so well. I have never tried this paint, but now think that I need to.
Cynthia
Thanks so much Cynthia! 🙂
>> Christene