Looking for an easy craft project? You’ll love this easy DIY air plant wreath! This project is really simple but looks amazing once it’s finished. It’s a perfect wreath for summer.

Do you ever have those days where you just want to make something? Sometimes it’s just fun to sit down and create. But honestly, I don’t always want to go out and have to buy a bunch of supplies or spend hours finishing a project.
I had a creative itch recently and all I wanted was an easy DIY project. Nothing too crazy or complicated. Just something that was simple, fun, and would look great when I finished it.
So, I raided my craft supplies and grabbed a bunch of faux florals and a simple grapevine wreath. I needed a summer wreath anyways, so I thought I would just make something up as I went.
I came up with this really simple and pretty air plant wreath that is now my new summer favorite! Let me show you how easy it was to make.
Easy DIY Air Plant Wreath
This post contains affiliate links for your convenience. For more information, see my disclosures here.
Materials:
To make this wreath, you’ll need to start with a simple grapevine wreath base. You can find these at most craft stores, or you can get them online here.
I really like the look of a simple grapevine wreath. It makes your wreath feel very natural and organic.

The whole inspiration for this wreath came from a large faux air plant that I found at Hobby Lobby. This air plant is basically an exact replica for the real thing. But, it won’t die — so it’s perfect for someone like me!????

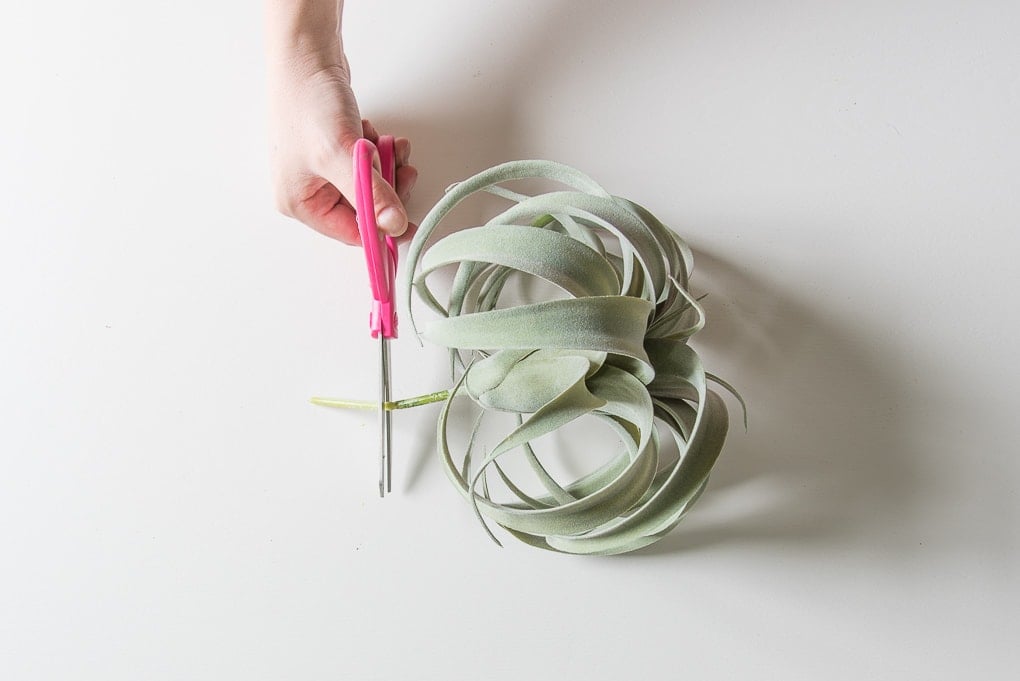
First, I used a pair of scissors to cut the stem a little bit shorter.
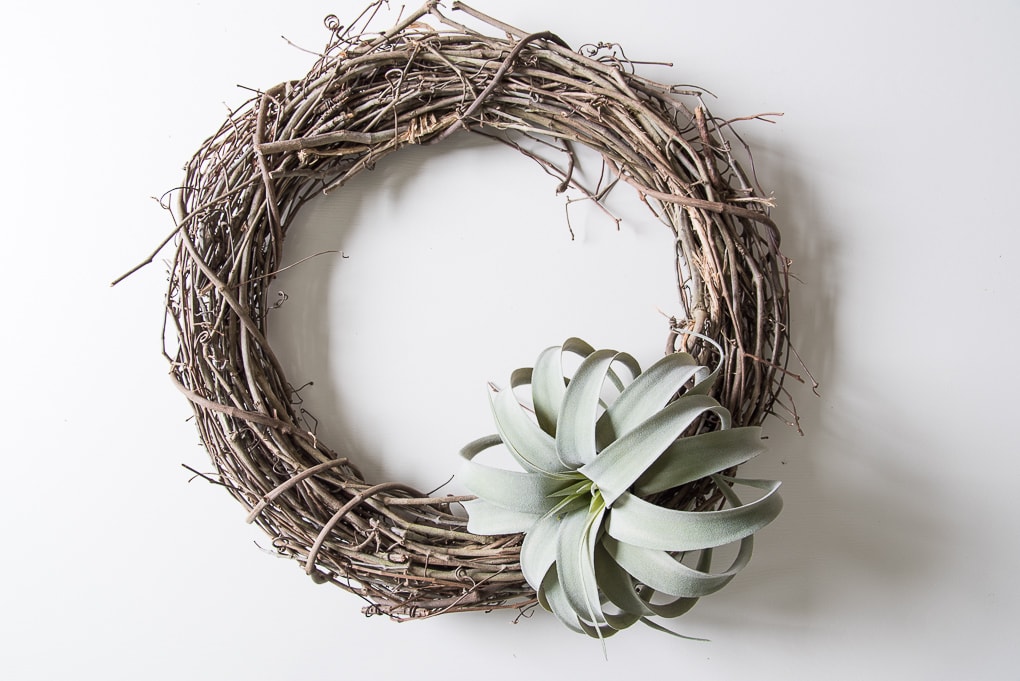
Then, I placed the stem of the air plant through the grapevine wreath. I tried to find a spot where I could wedge it between the vines of the wreath. That way it would stay in place on its own.
If you can’t get the air plant to stay in the vines, you could use some hot glue or even floral wire to attach it to the wreath base.

Once it was in place, a piece of the stem could be seen on the back of the wreath. Because I had already cut the stem shorter, this wasn’t a problem. But, if your stem is too long, you could always trim it so that it doesn’t get in the way when you hang your wreath.

I wanted this wreath to look really natural and green for summer. So the next thing I added was some moss. You can get moss at your local craft store. I decided to use a few different types to add some more texture and interest to my wreath.

Now, let me warn you. Moss is pretty messy! When I was making my wreath, the moss got EVERYWHERE! So don’t worry if it seems like you’re making a mess. It’s part of the process.

To add the moss to my wreath, I first grabbed some sections and placed them on the wreath base.

Once I had the moss in place and where I liked it, I then took my glue gun and hot glued the sections one at a time.

I carefully lifted some of the moss, added some hot glue to the back of the moss, and then pressed the moss onto the wreath vines.
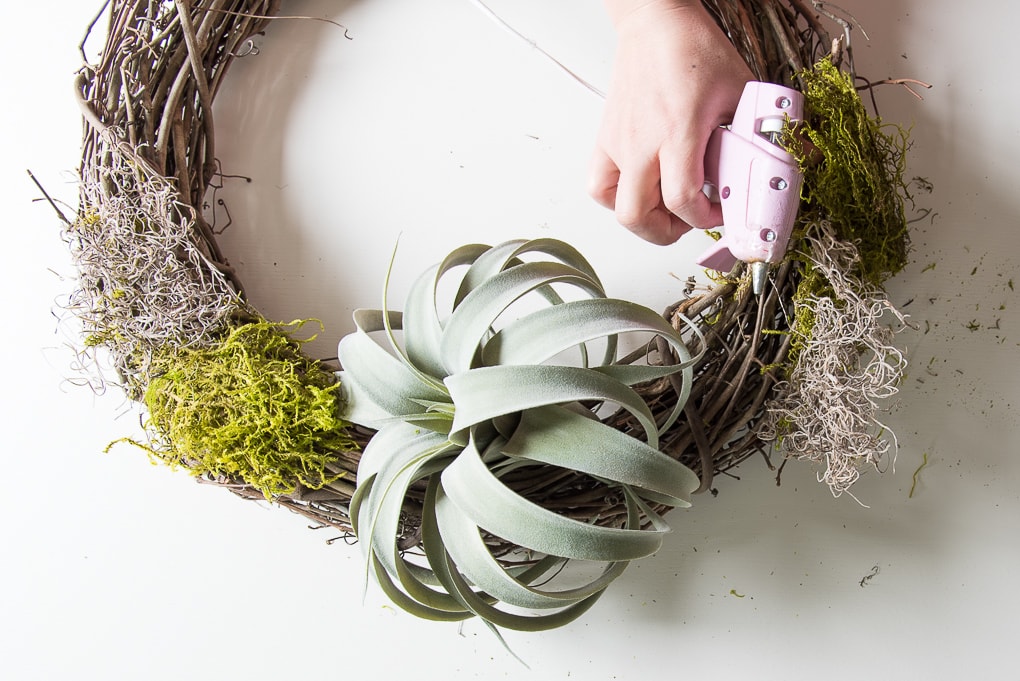
Depending on the type of moss, it might be easier to add the glue to the wreath vines directly and then press the moss into place.
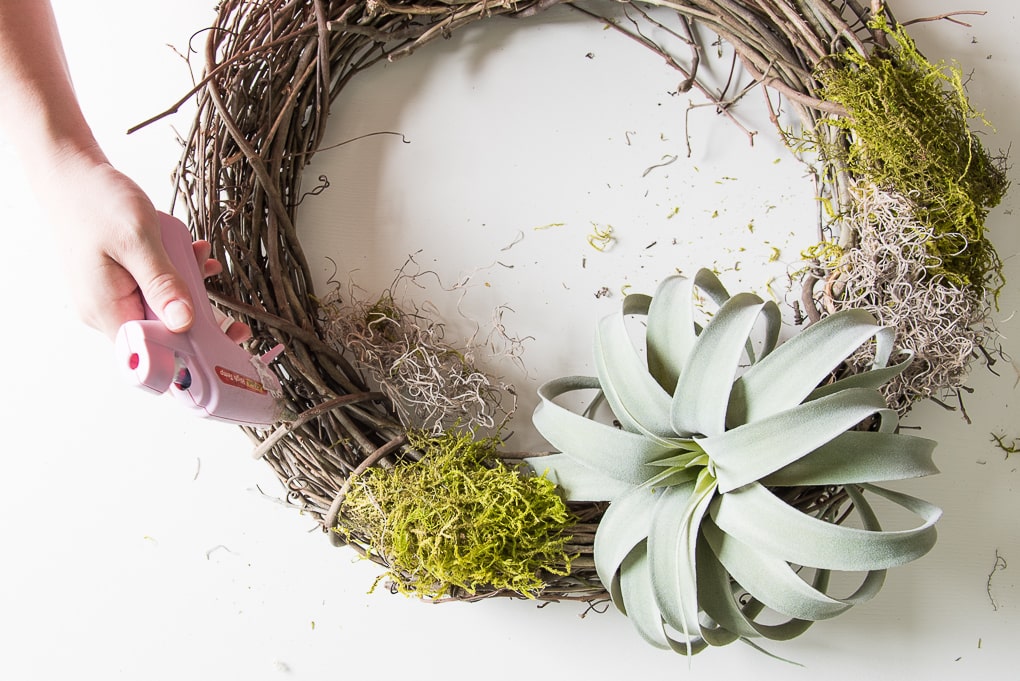
I found that I didn’t really need to use a ton of hot glue to get the moss to stay. Moss naturally clumps and sticks together, so once part of it was glued, the rest just stayed in place.

Now, you could leave your wreath just like this! It’s really nice and neutral with just the moss and air plant. This would be so pretty for fall.
But because I wanted this wreath to be for summer, I decided to add some brighter colors and florals into the mix. So, I grabbed a faux floral stem that I had in my craft stash and cut off the buds.


Then, I decided to group them all together right next to the air plant.
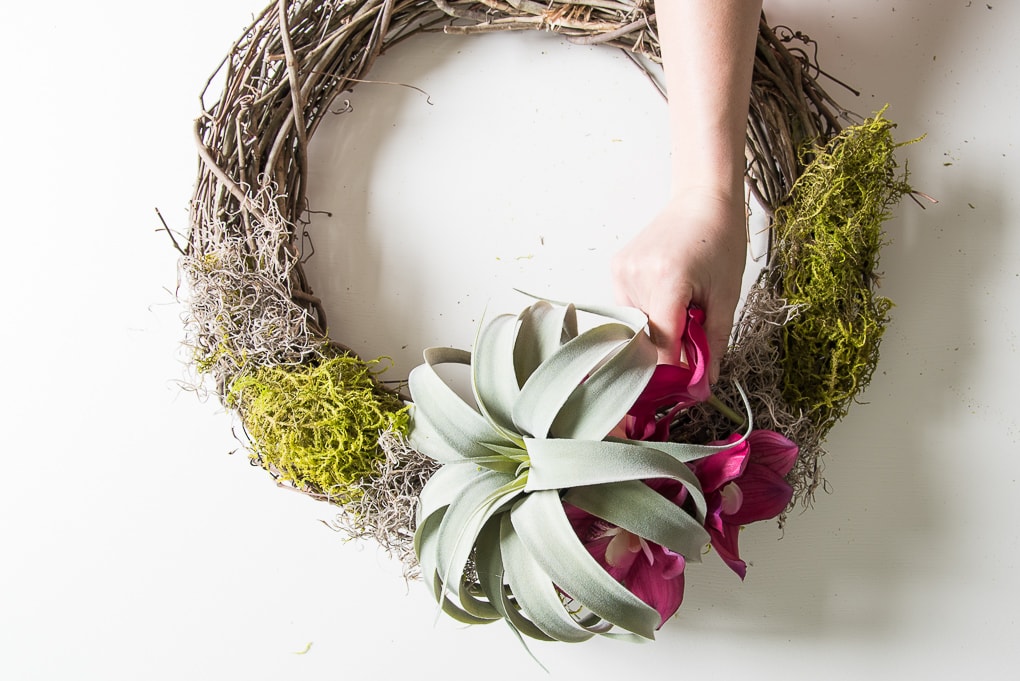
I played around with putting the floral buds all over the wreath or grouped together in pairs around different sections. But ultimately, I liked the look of grouping them all in one place for a pop of color.
To attach them to the wreath vines, I added some hot glue directly to the floral stems and then tucked them into the wreath vines.

They fit really nicely right behind a section of the air plant and on the side of the wreath.
To finish off the wreath, I decided that I wanted to add just a little more moss. But this time in a different color.

I found this darker brown moss that’s a little denser than the other moss. I decided to add it on top of some of the other sections to give the wreath some more depth and texture.

This time, I used smaller sections of the moss to add a little variety.
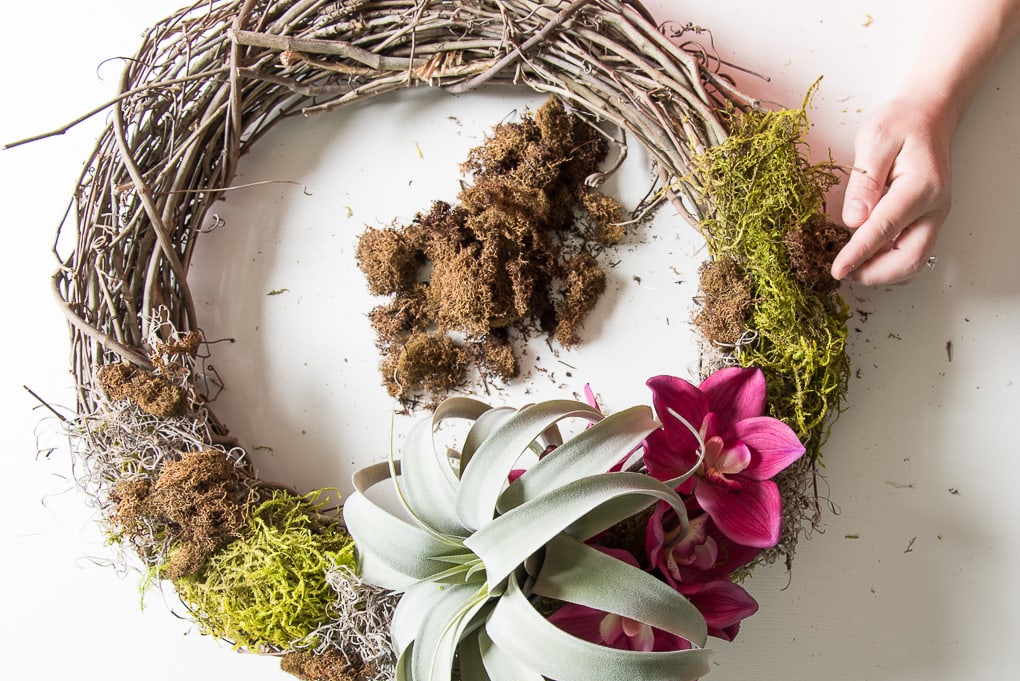
Once everything was glued in place, my wreath was finished! It really is as easy as that.
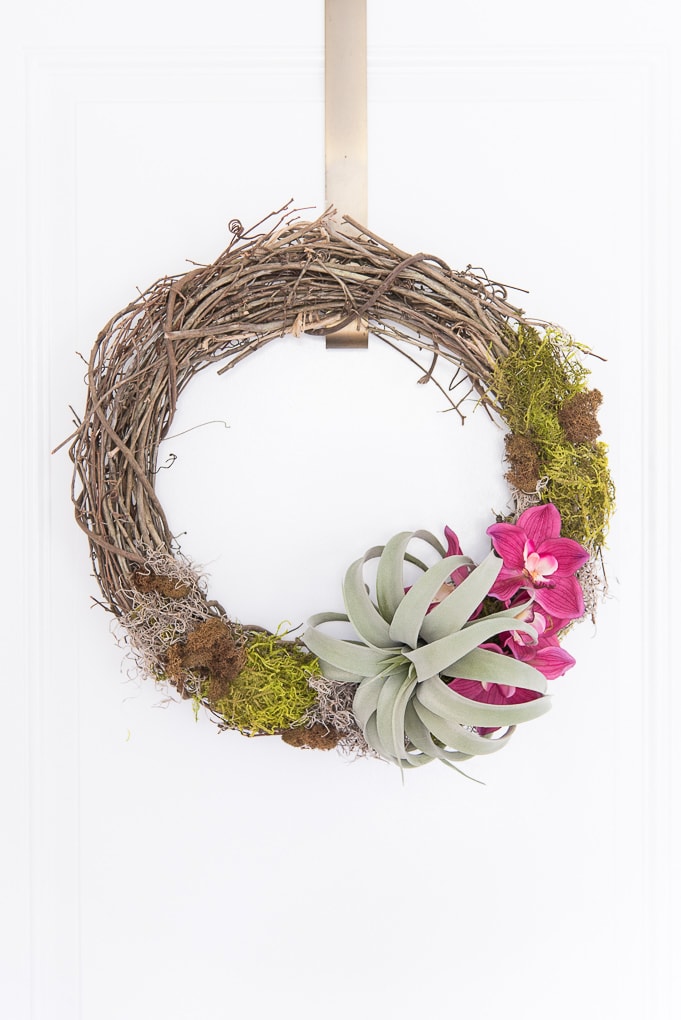
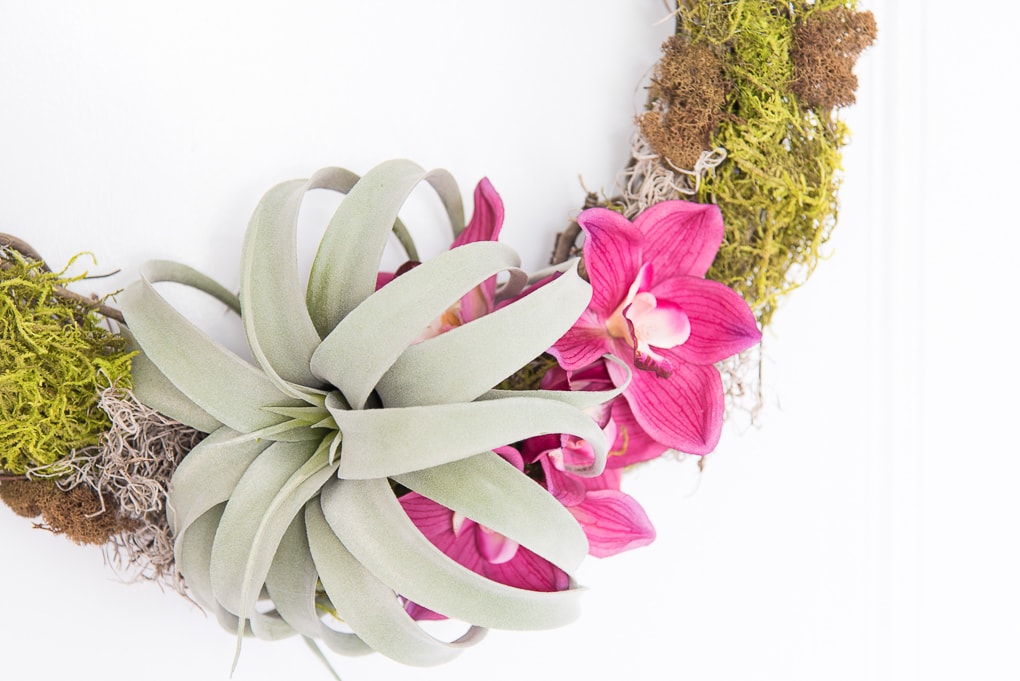
This is one of those DIY projects that you can’t get wrong. All you have to do is add florals and greenery until it starts to look good. And, if it starts looking bad, you can always take off the stems and adjust or start over.
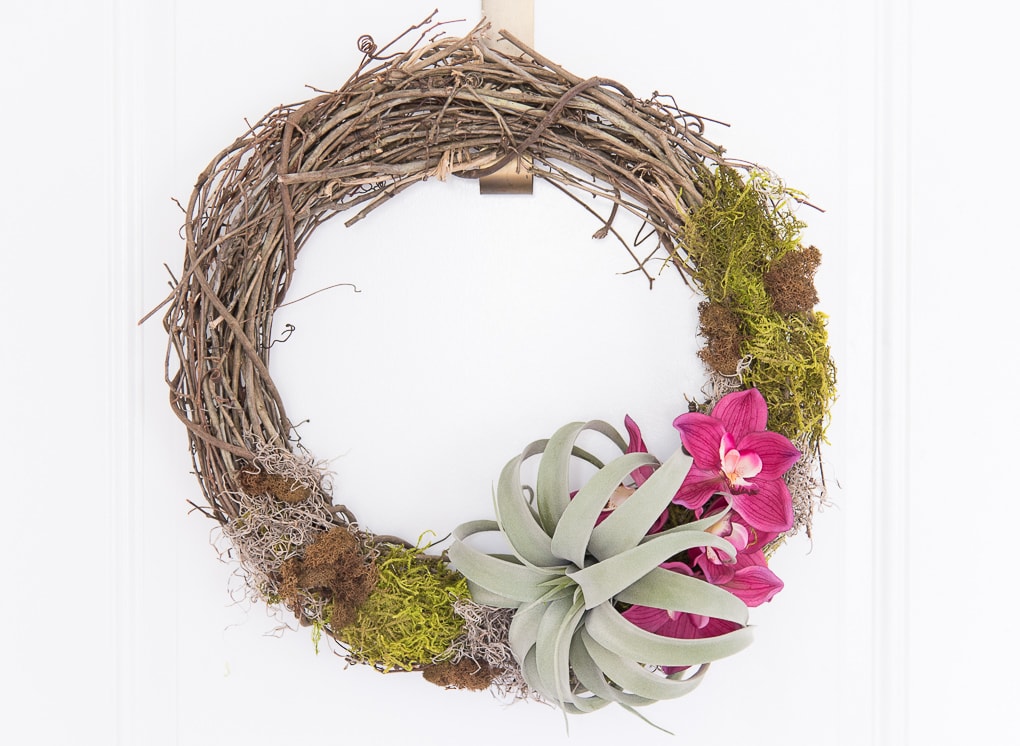
I love how the air plant stands out as the focal point on this wreath. Air plants are such striking and unique looking plants. I find them really fun to decorate with.

This would be the perfect weekend DIY project, or even a girls craft night project! I’m always looking for easy craft projects that I can make with friends.

I hope that you give this project a try. And if you do, be sure to take a picture to share with me! I would love to see your versions of this DIY air plant wreath. Be sure to tag me on Instagram –> @keystoinspiration.
Have a great week!








2 Comments