Create a modern easy DIY trick or treat sign using the reverse canvas technique.
Want more fall decorating ideas? You can see all of my fall posts here.
This post contains affiliate links for your convenience. For more information, see my disclosures here.
There is a beautiful decor sign that I’ve been eying for a while. I think it’s so pretty, modern, and would be so fun for Halloween. It’s this Trick or Treat sign that you’ve probably seen around the internet at some point.
I love the look of the sign, but I couldn’t justify the cost. Especially for a holiday that isn’t really my favorite – Halloween.
Halloween as a holiday is not even close to the top of my favorites list.
Sure, I love fall, but Halloween has always felt a little off to me. I’m really not into the scariness and darkness.

Last year, I started seeing all kinds of fun, not-so-scary, modern Halloween decor on Instagram. I had never thought about decorating for Halloween because I assumed it would always be dark and scary.
But these ideas got me thinking about how I could incorporate some fun and whimsy into our home decor without making it feel scary.
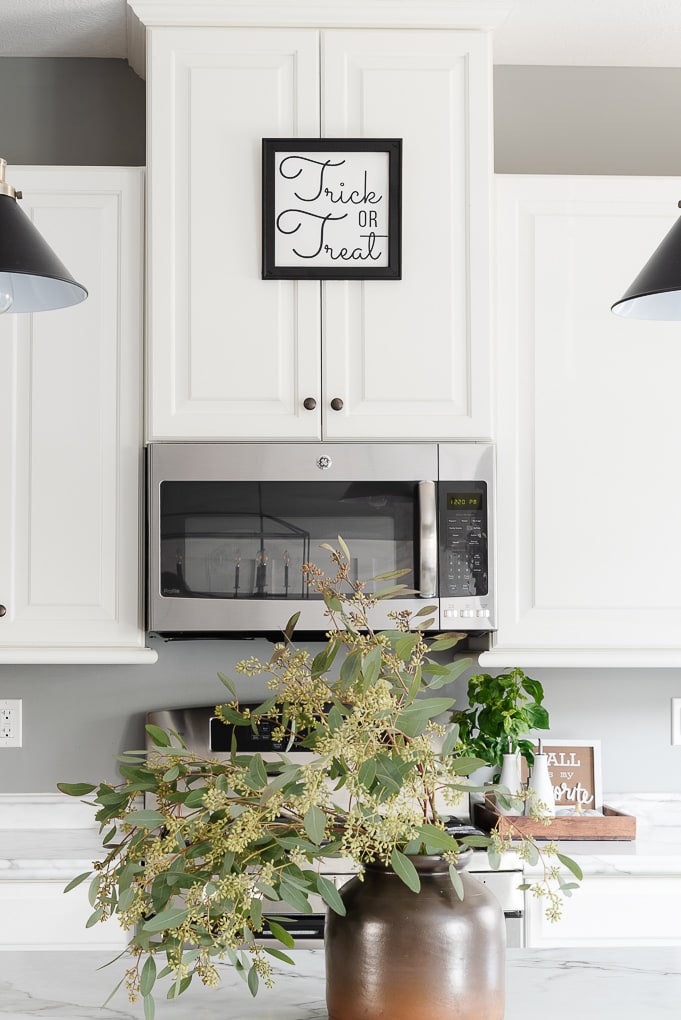
The trick or treat sign was something that I thought would fit well into my home without being scary.
I decided to DIY a version of the sign using supplies that I already had. And I wanted to use a technique that I’ve never done before but always wanted to try – the reverse canvas technique.
The reverse canvas technique is a way that you can take a basic canvas and turn it into a framed sign or artwork.
I had a bunch of random canvases floating around my craft closet because I always grab them when they go on sale. Since I already had the basic supplies, I was able to make this sign without spending any money! And that’s a win for me.
Here’s how you can create the easy DIY trick or treat sign for your home.
How To Make Easy DIY Trick or Treat Sign Using The Cricut
Materials
Tools
- Cricut Machine (You can use a Cricut Explore or a Cricut Maker for this project)
- Standard Grip Cutting Mat
- Cricut Fine-Point Blade (comes with all Cricut Machines)
- Cricut Weeder Tool
- Cricut EasyPress or Iron
- Exacto Knife
- Staple Gun
How to Cut Out The Project Using The Cricut
First, you will need to download the Trick Or Treat SVG file.
Get the Free Trick Or Treat SVG File

Start by opening Cricut Design Space and creating a new project.
Upload the SVG File
Then, upload the SVG file by selecting the Upload button and then Upload Image. Next, drag and drop or select the SVG file you want to upload.
After the SVG is uploaded, add the image to your design canvas.
If you need a little more help uploading SVG files, you can learn more in this post.
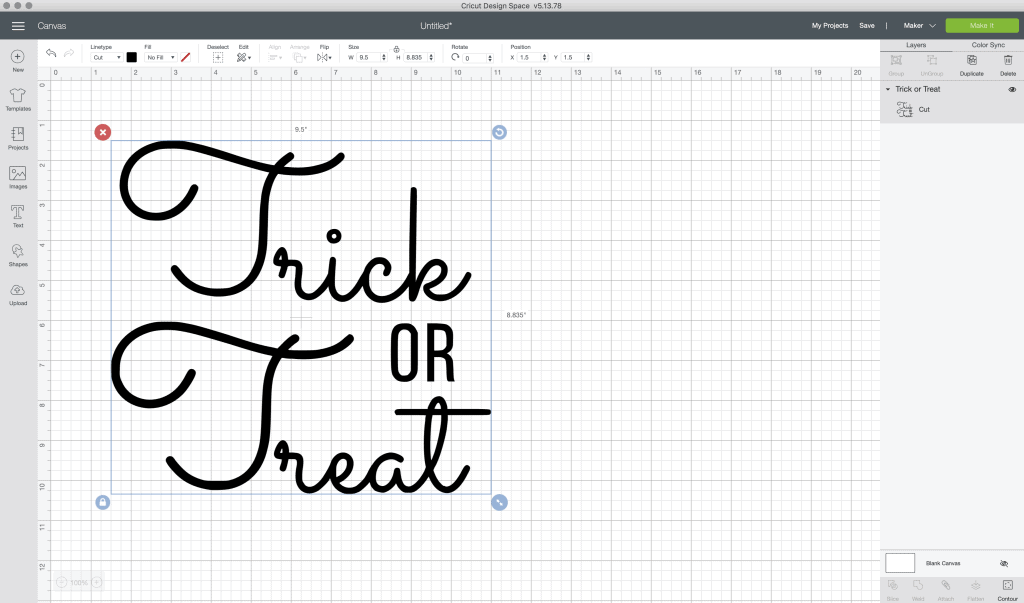
The SVG file will already be sized properly if you are using a 12”x12” square canvas like I am. The image will be 9.5” wide, which is the right size to fit within the reverse canvas frame.
Make It
Now it’s time to make your project!
Click on the Make It button in the upper right of the screen.
The first screen you will see is the Mat Preview Screen. This will show you all of the different mats needed for your project. Each mat represents another piece of material.
For this project, there is only one material being used.
When cutting iron-on vinyl, you will need to mirror the image. This is because iron-on vinyl must be placed shiny side down on the cutting mat. If you want your design to be cut out the correct way, you will need to select the mirror setting.
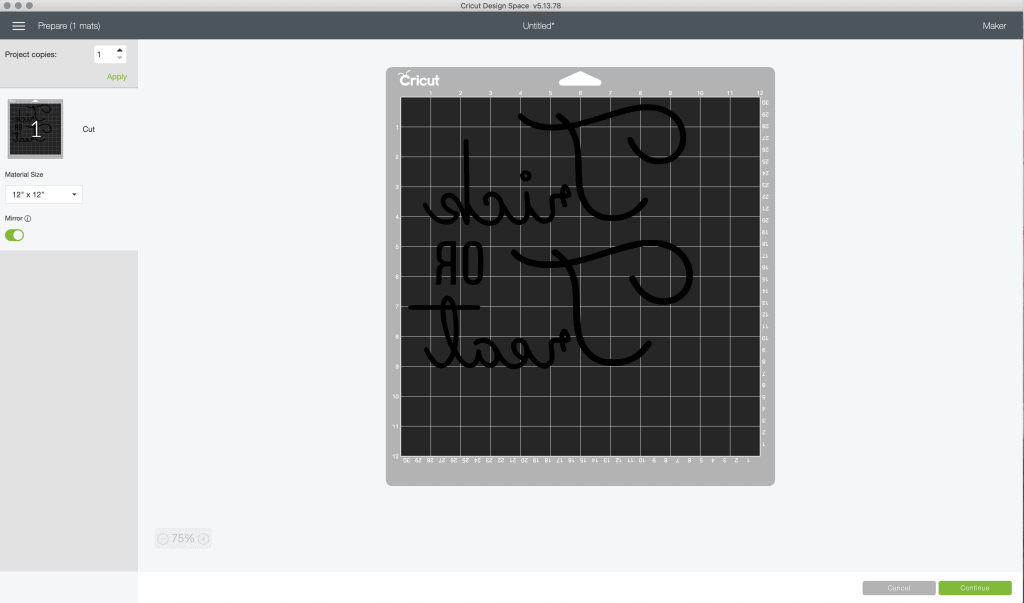
On the left side of the Mat Preview Screen, select the Mirror toggle switch so that it turns green. This will invert your image design for cutting.
Click on the Continue button in the lower right of the screen.
Connect your Cricut machine. Then, adjust the settings as follows.
Material: Iron-On
Pressure: Default
Tools: Fine-Point Blade
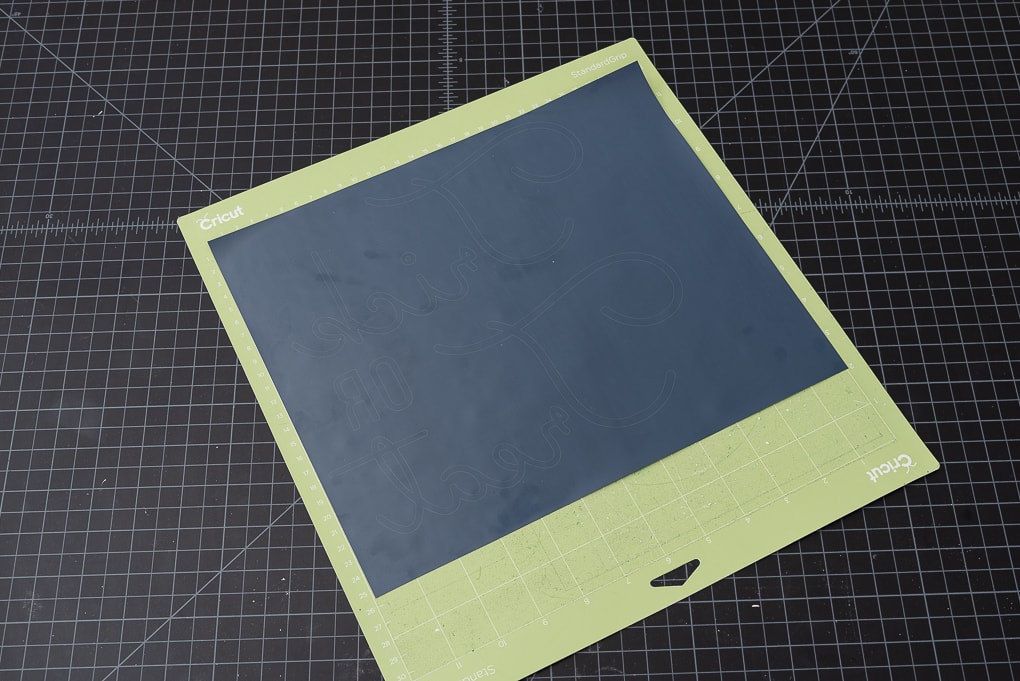
Place the iron-on vinyl shiny side down onto the standard grip cutting mat. The shiny side is actually the iron-on transfer sheet.
Load the standard grip cutting mat with your iron-on vinyl into the machine. Then, press the flashing Go button to begin the cutting process.
How to Assemble The Project
Prepare the Canvas
Once all of your pieces are cut out, it’s time to assemble the project.
The idea of a reverse canvas is to use the wooden frame that’s under the white canvas as the outer frame for your project.
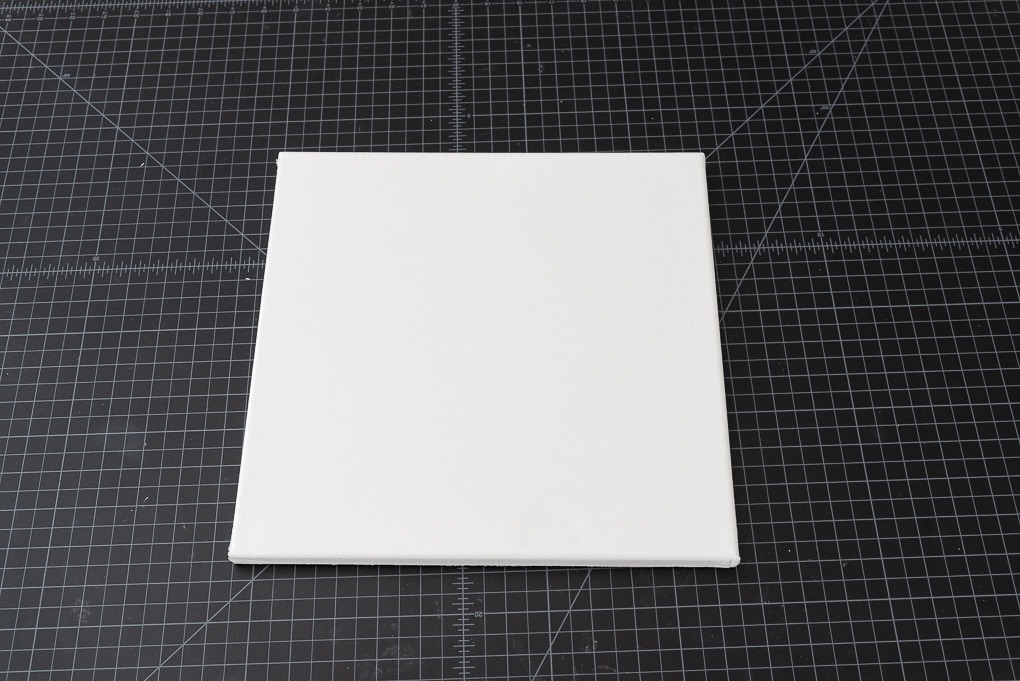
I guess I always knew there was wood inside of the canvas, but I never thought of it as a frame. But to my surprise, there’s actually a usable frame inside of those canvases.
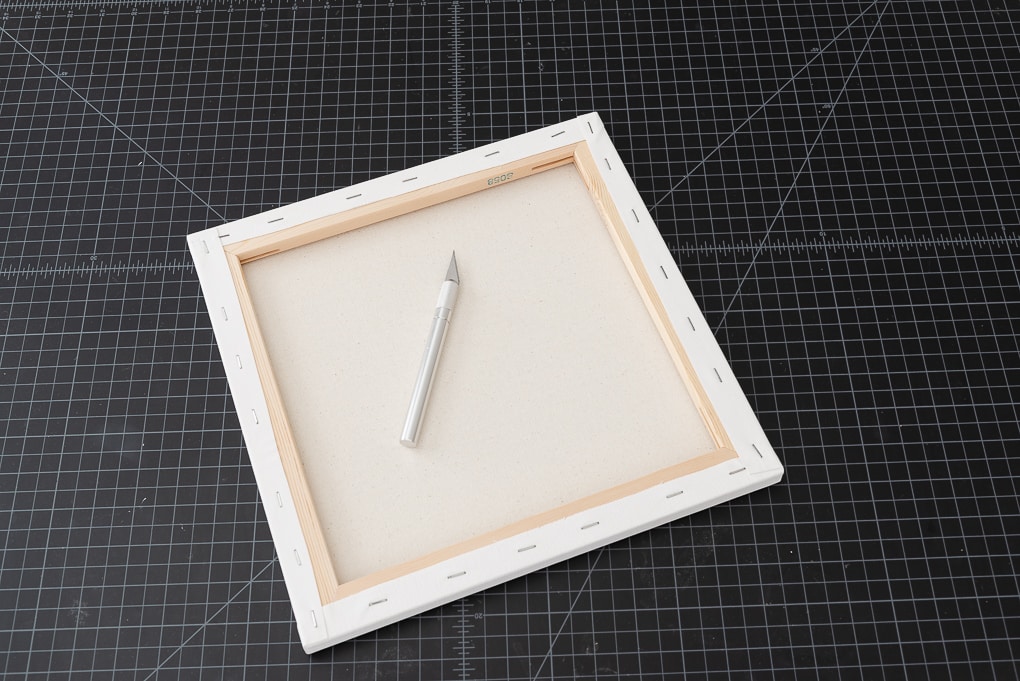
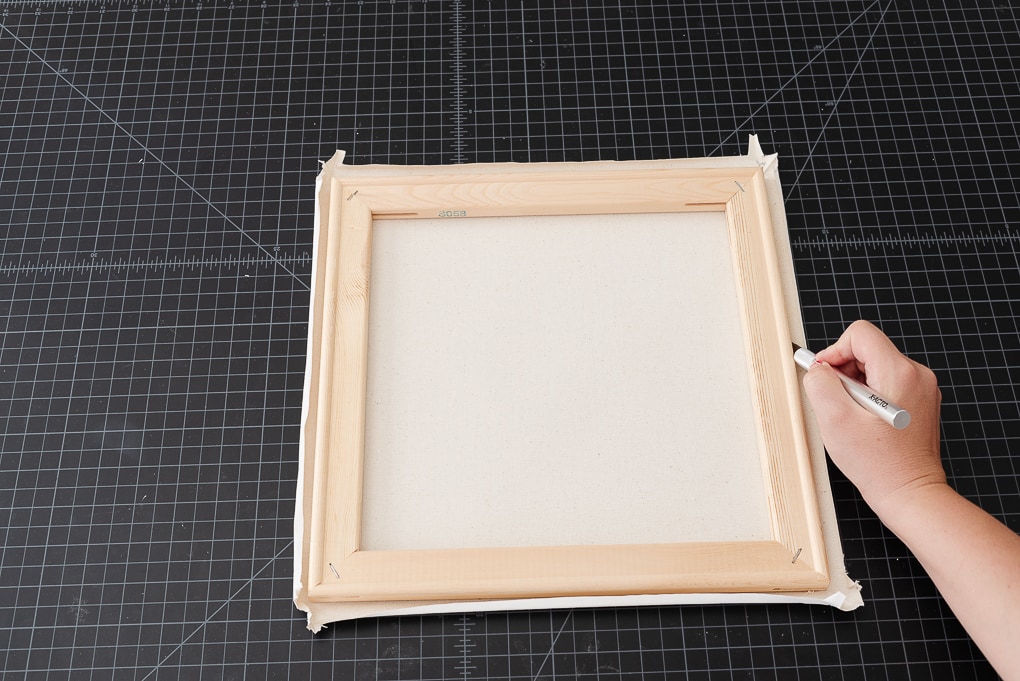
To get that frame out, you will need to remove the canvas material. Take an exacto knife and slice around the canvas along the wooden frame.
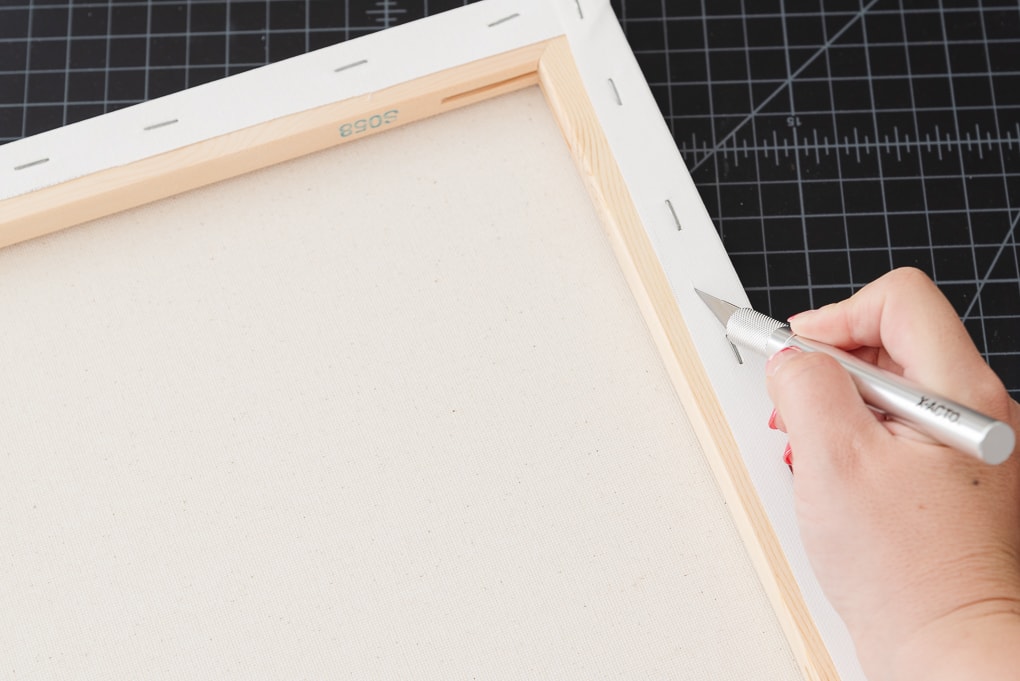
Once you slice around the whole thing, the canvas will come free from the frame.
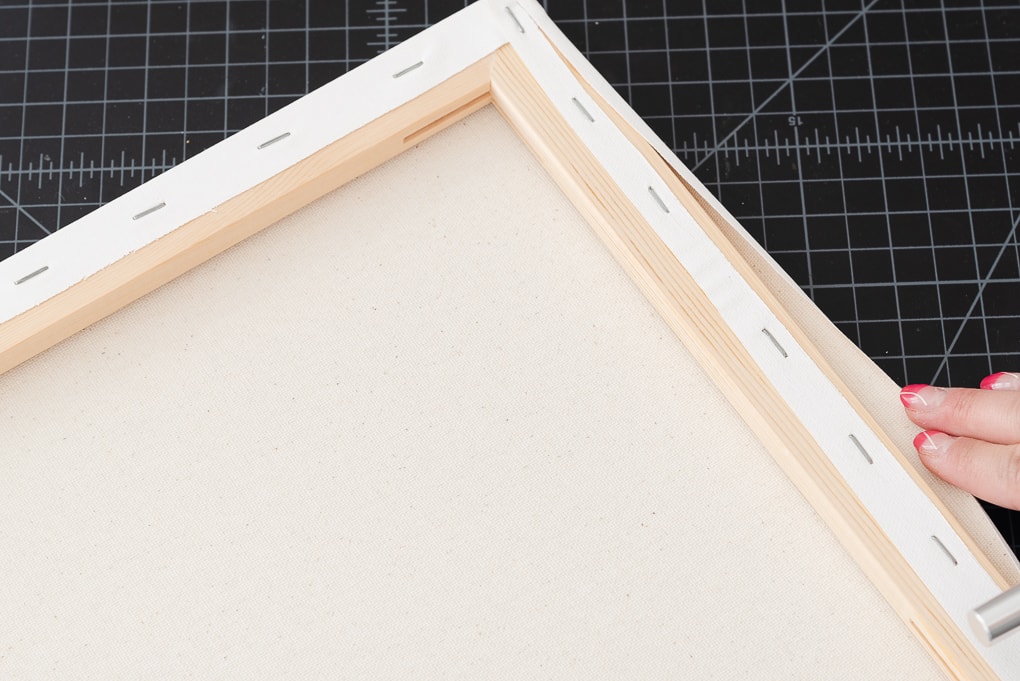
The remaining canvas that is still attached to the frame can be removed, or you can just leave it there. You aren’t going to see it once you finish your project.
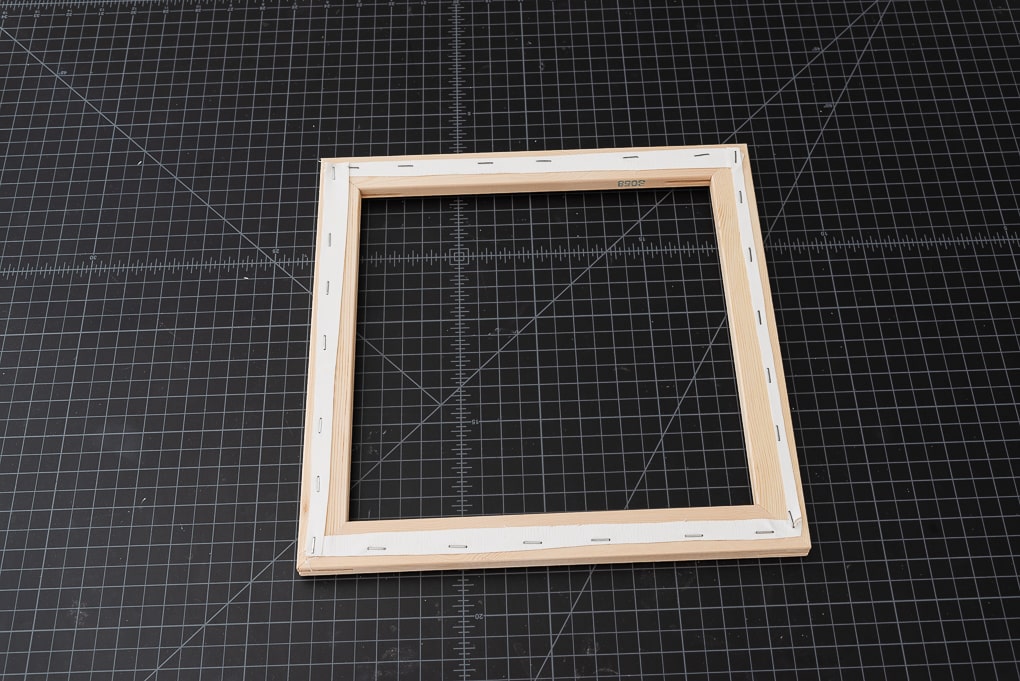
Next, you will need to trim down the canvas material to fit inside your new frame.
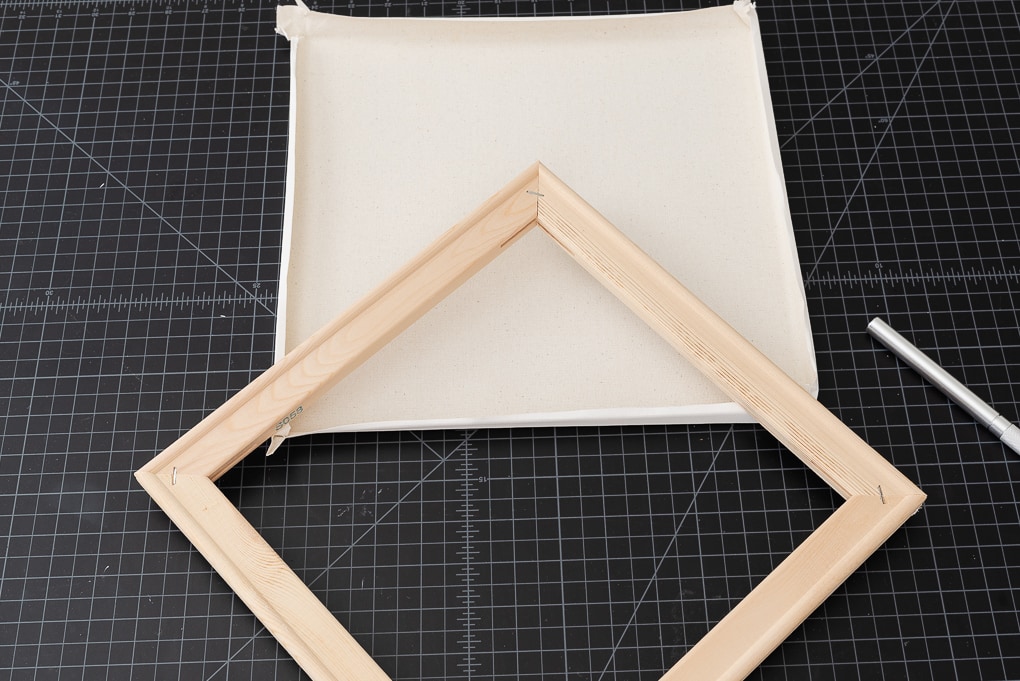
Lay the frame over the canvas material and use it as a guide to cut away excess canvas. Keep trimming until the canvas fits completely inside the frame.
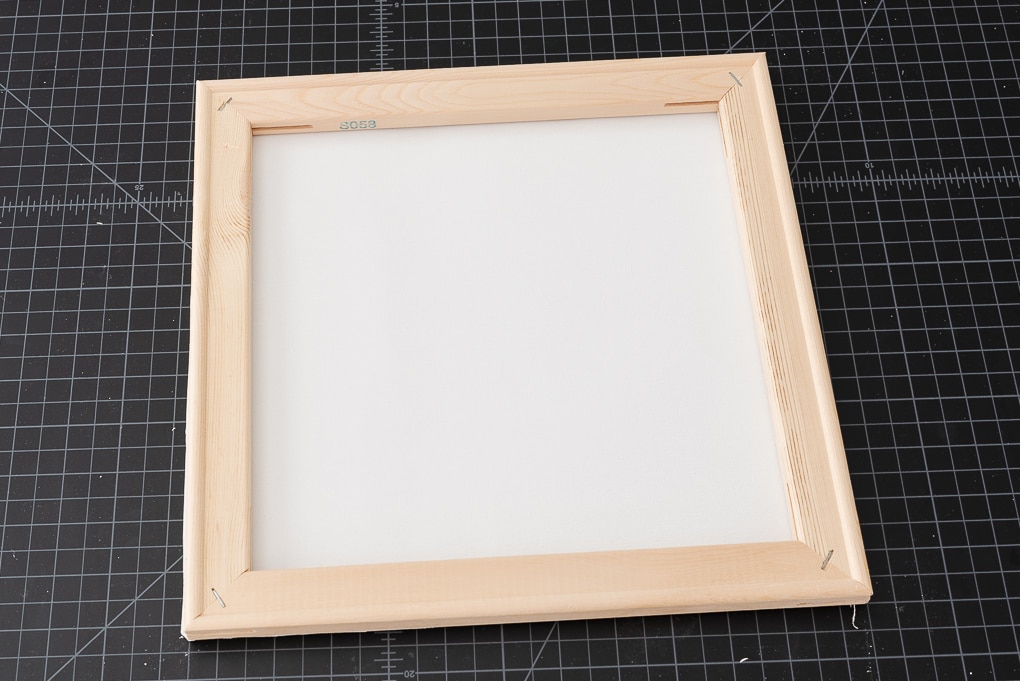
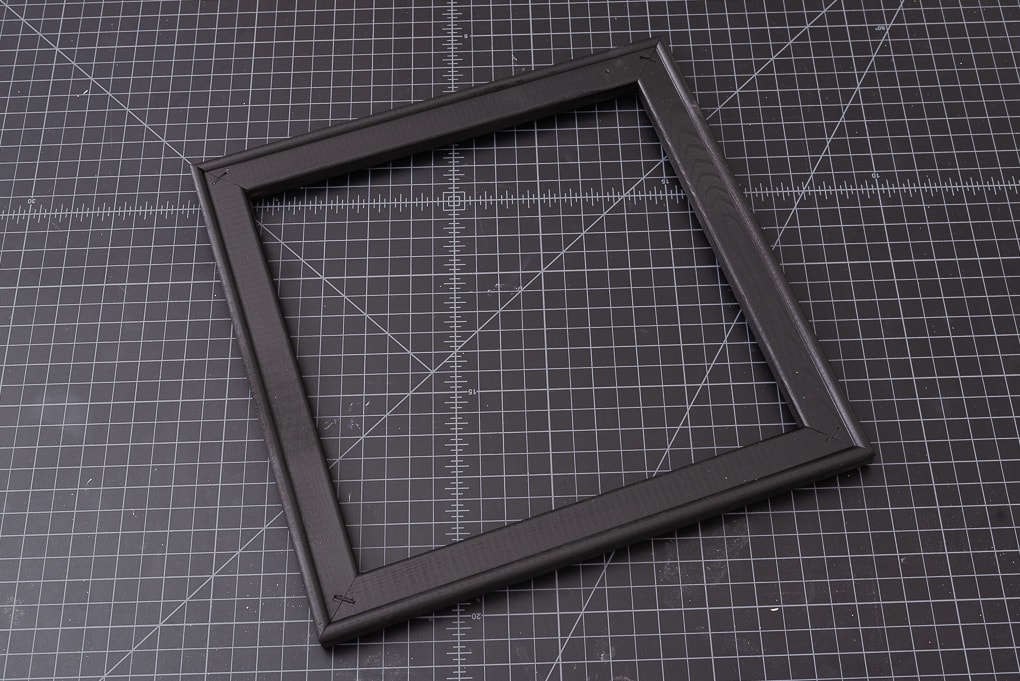
Next, it’s time to prepare the frame. You can keep it the natural wood color – which I think is really pretty. But I decided to spray paint it matte black.
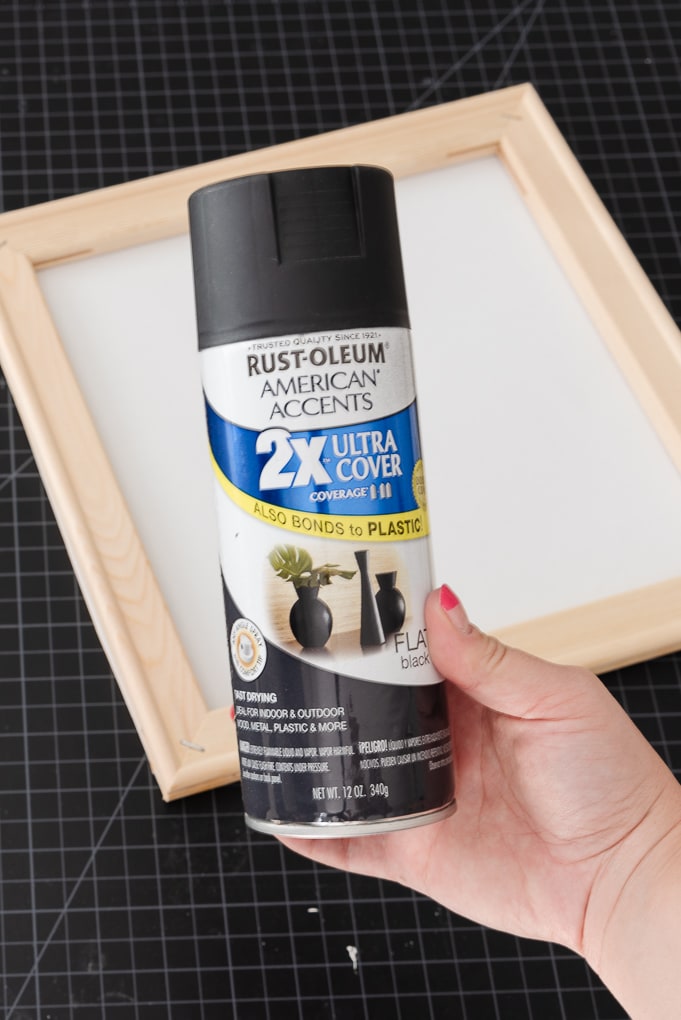
I let the frame dry and then it was time to assemble everything.
Attach the Vinyl
Before you can assemble the sign, you will need to weed the iron-on vinyl design to remove the extra material. The goal is to leave only the iron-on vinyl for the design image behind.
Use the weeder tool to pick up the vinyl off the iron-on transfer sheet and easily remove it. After all of the extra iron-on vinyl is removed, you should be left with just the design on the iron-on transfer sheet.
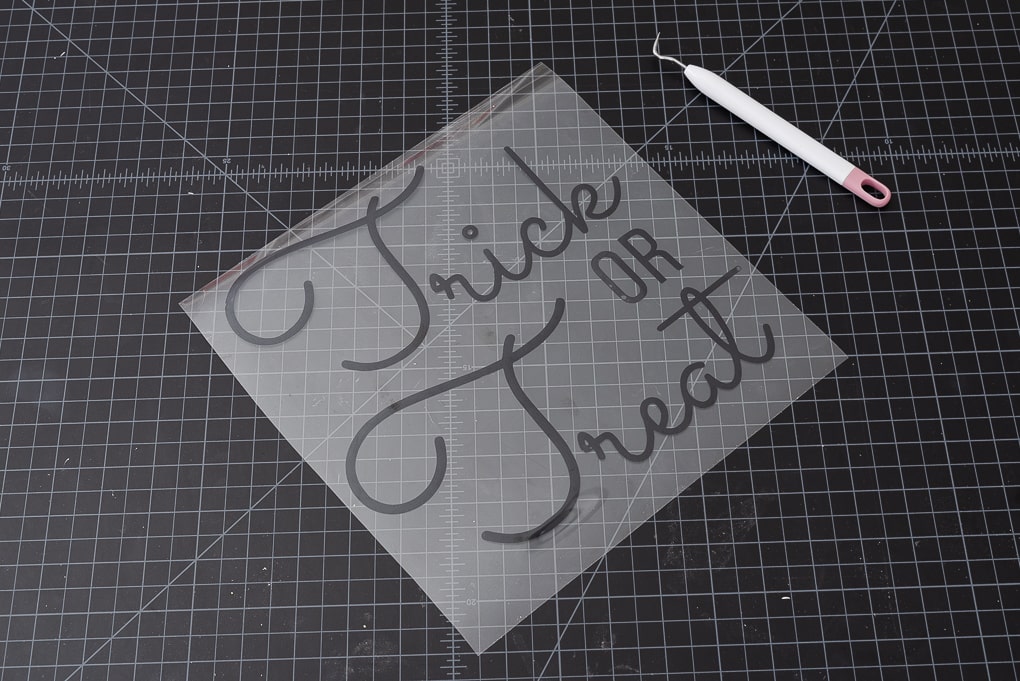
Now your iron-on design is ready for transfer.
The best tool for transferring iron-on vinyl onto your design surface is the EasyPress.
It provides even heat to your entire design which helps it to adhere better. It also comes with a built-in timer and online interactive guide so you know exactly what settings you need for each project.
I like to use the EasyPress mat too so that I have a convenient heat-resistant surface.
If you don’t have these tools, you can also use an iron and an ironing board.
Place the canvas on the EasyPress mat and use the online Cricut EasyPress Interactive Quick Reference Guide to determine the settings and instructions that you need for your project.
Place your iron-on vinyl design onto the canvas and center it. I used the frame as a guide for this.
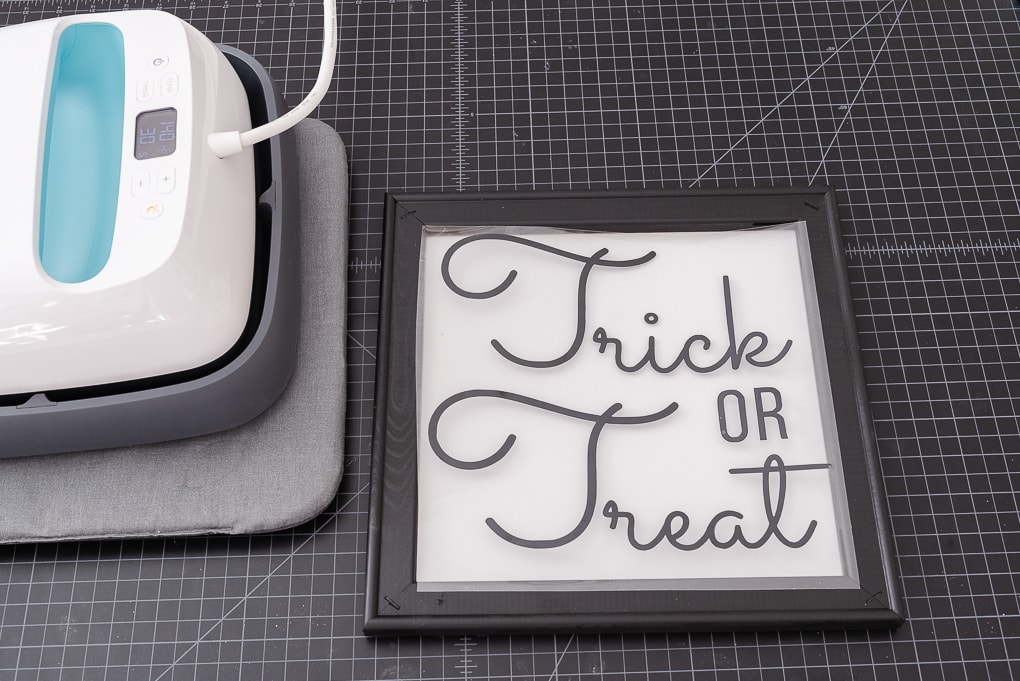
Once I found the location for the design, I removed the frame so that I could fit the EasyPress onto my design completely.
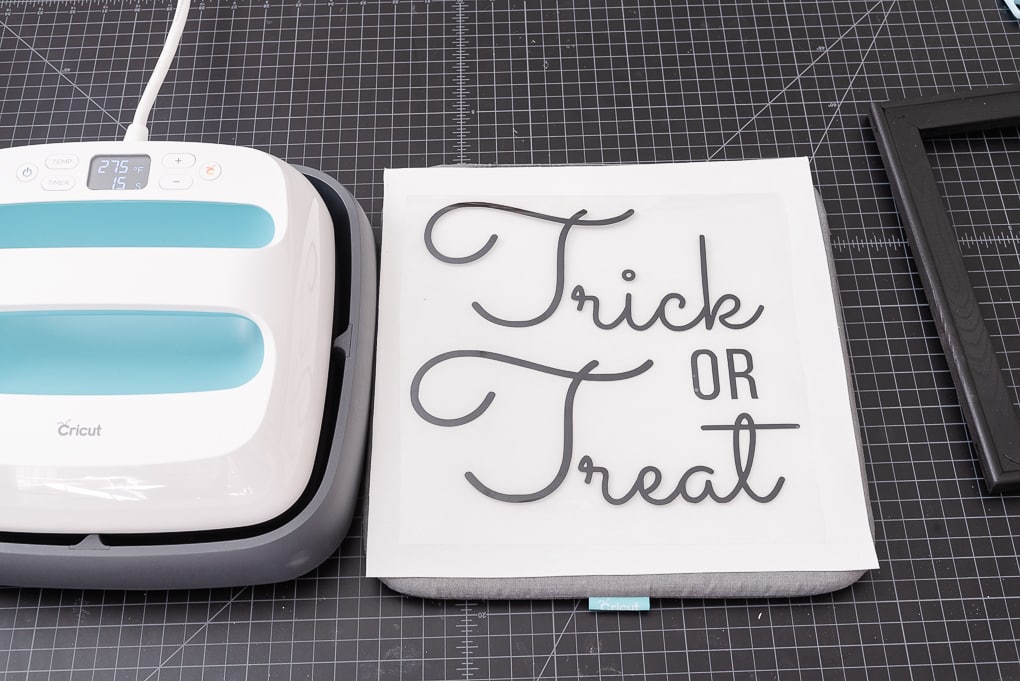
Then, apply heat using the EasyPress and gentle pressure for 30 seconds.
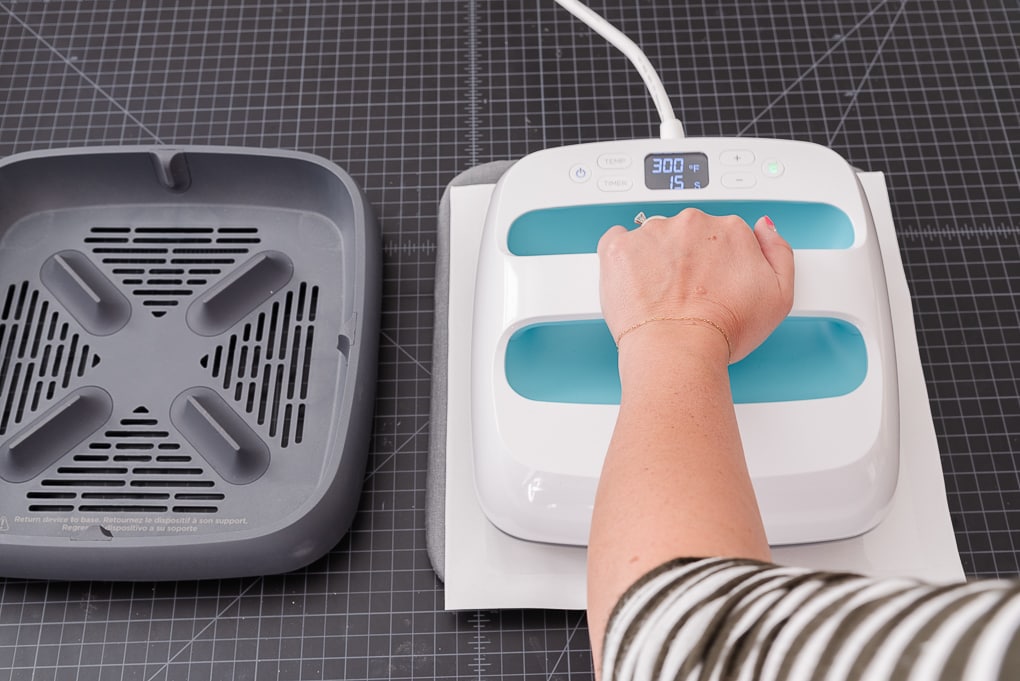
Because this project is slightly larger than the EasyPress, I moved the EasyPress around over my design to make sure all of the design had heat applied.
Then, flip the canvas over and use the EasyPress to apply heat to the back for 15 seconds.
Flip the canvas over again and peel off the iron-on transfer sheet while it’s still warm.
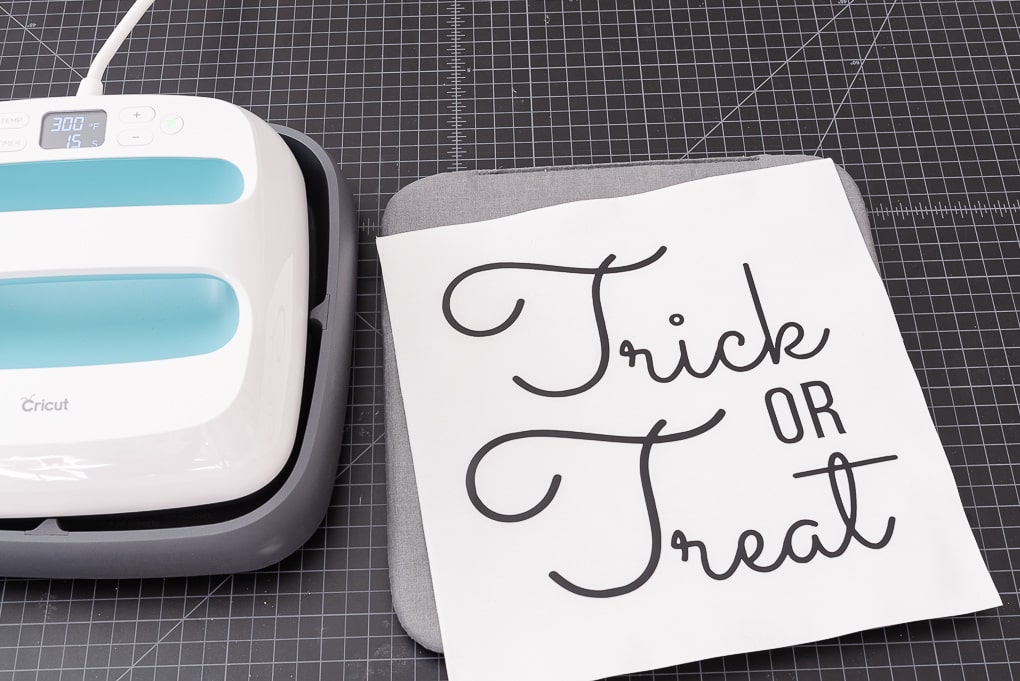
Then, attach the canvas to the frame using a staple gun. Make sure to pull the canvas tight so you don’t have any gaps.
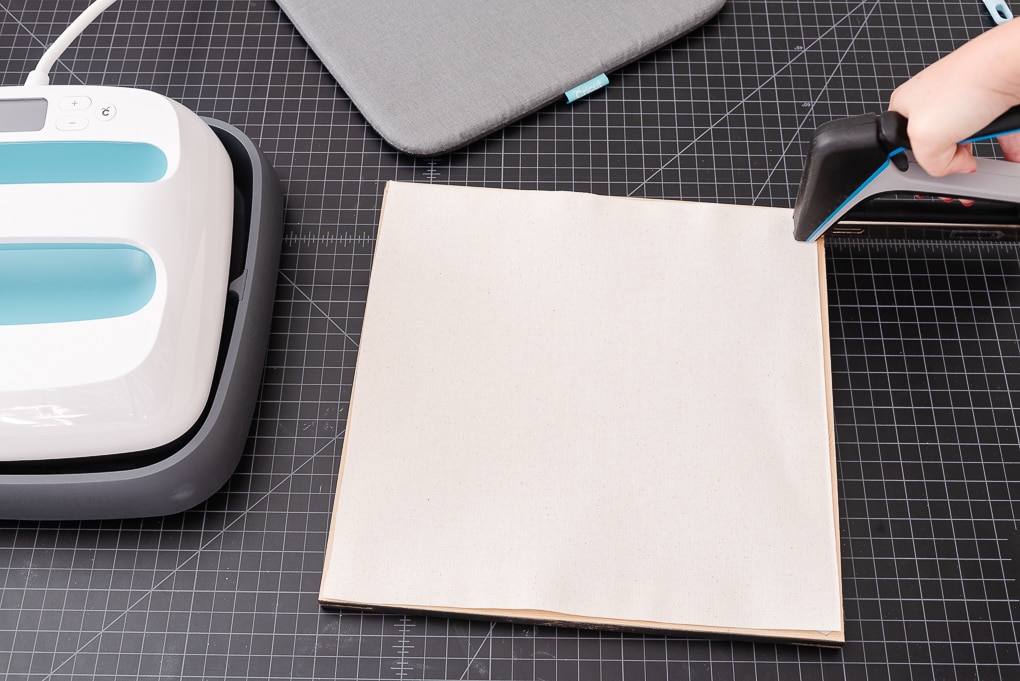
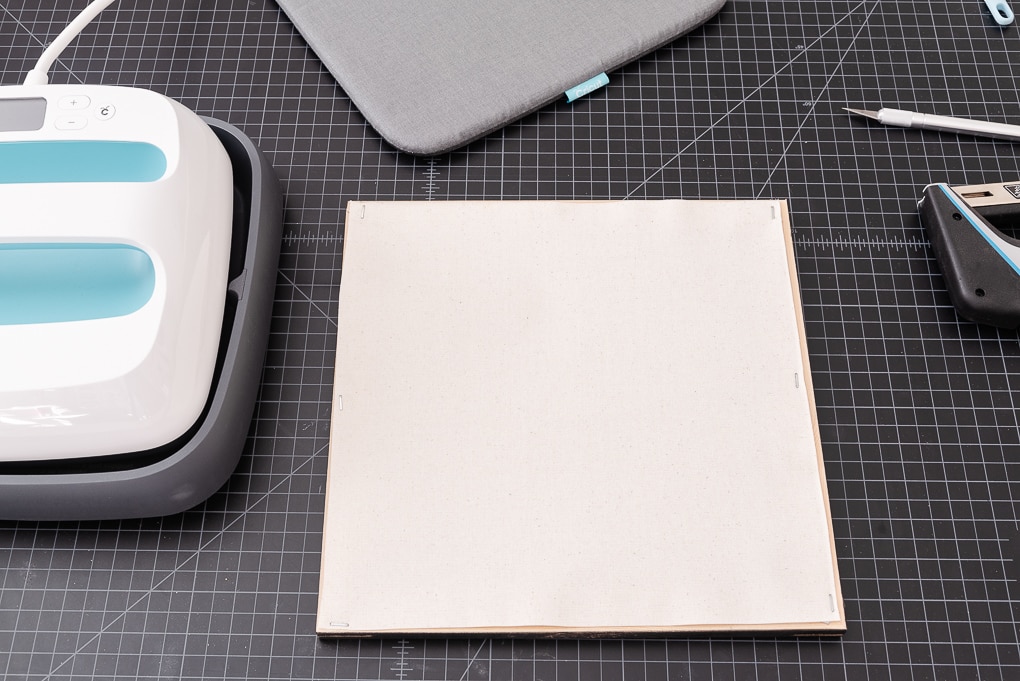
Now your DIY Trick Or Treat sign is ready!
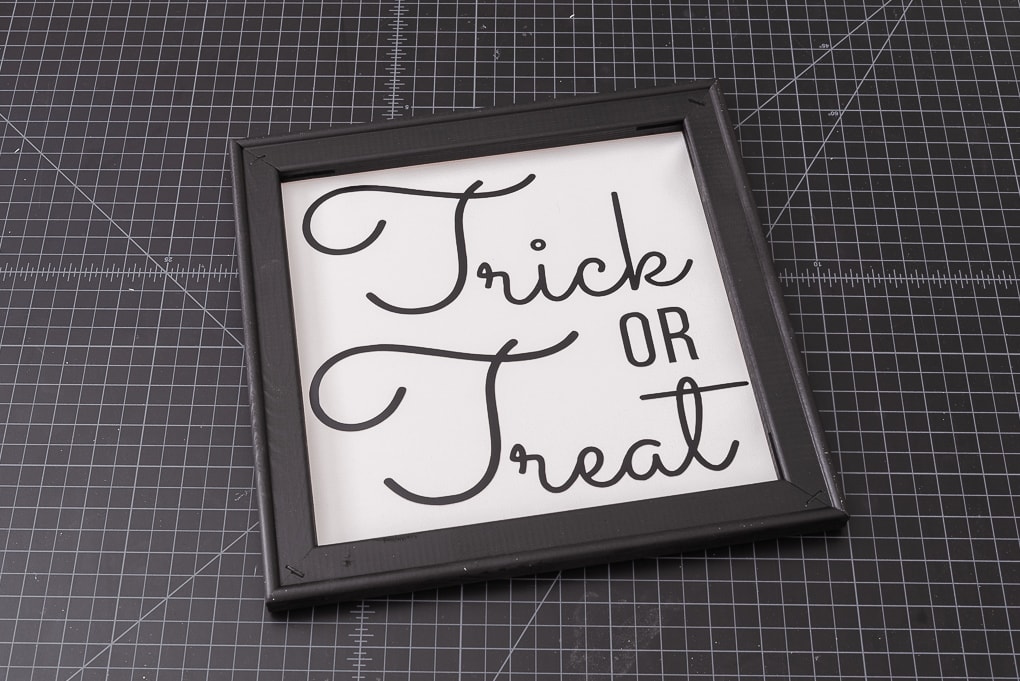
I love that this sign is a nod to the original inspiration and gives me the same look for less.

I used a smaller canvas that I had on hand, so it turned out smaller than I had originally wanted.
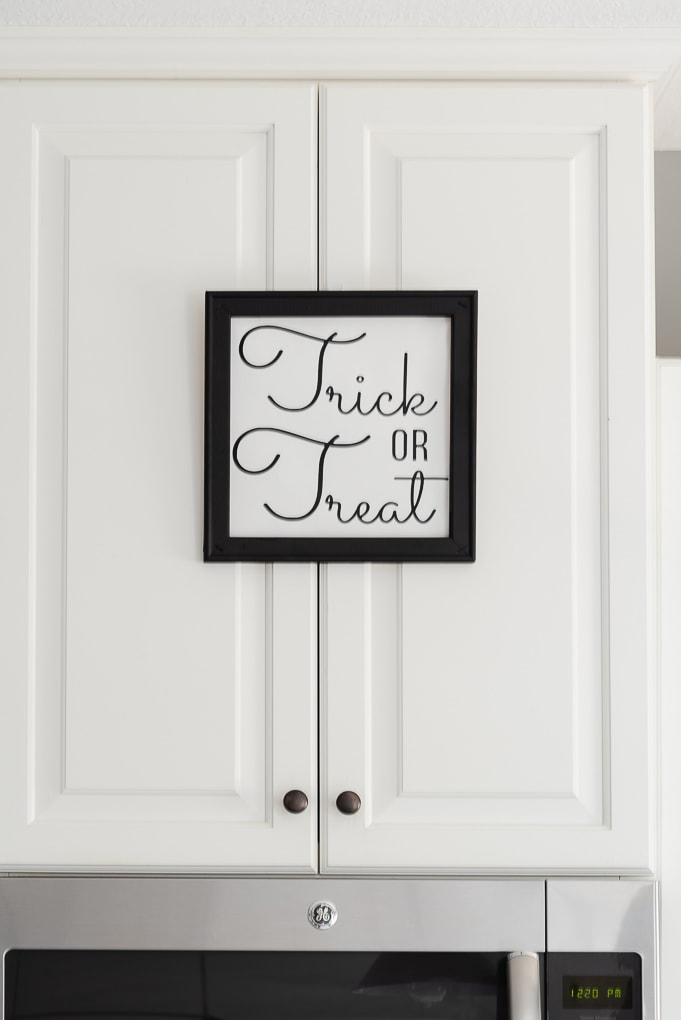
But, I could always re-do this in the future with a larger canvas to create a much larger sign. Since the project was so easy, I will probably do that next year.

For now, I love this little sign! I hung it up in my kitchen using a 3M hook and some wire on the back of the sign.
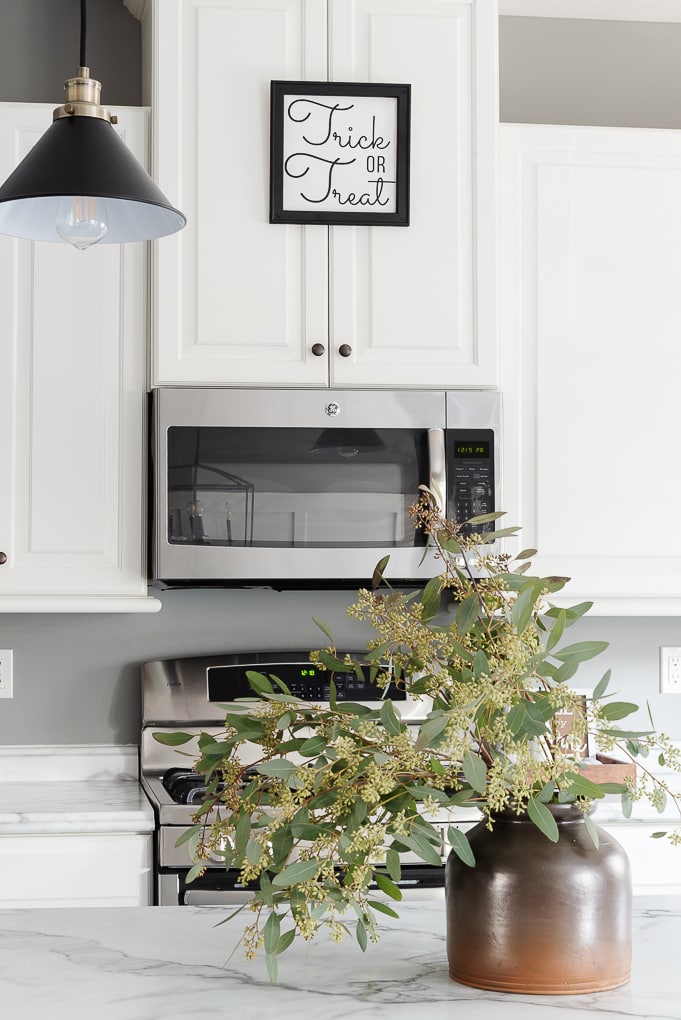
I hope you love this project! If you use it to create some whimsical but not scary decor in your home, tag me on Instagram here.
Happy Halloween!


