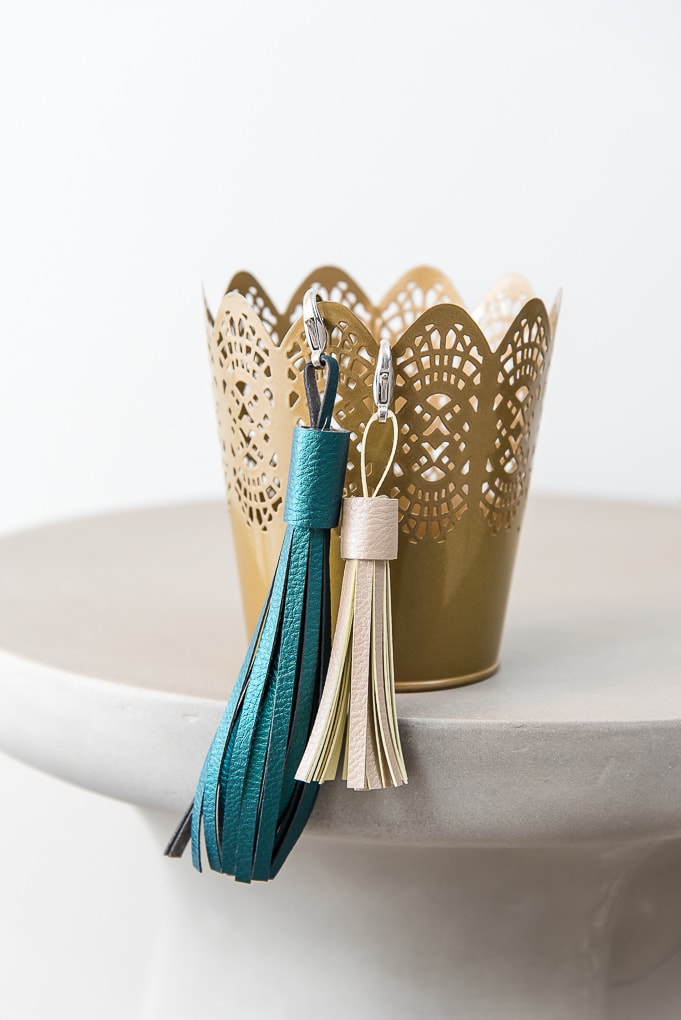
Learn how to make easy leather tassels using the Cricut Explore or Cricut Maker. These keychains make the perfect gift or accent for your holiday decor.
Welcome to Have Yourself A Very Cricut Christmas: 25 Days of Homemade Holiday Crafts!
Each day in December, I’ll be sharing a new Christmas project that you can make using your Cricut. It’s going to be a blog version of an advent calendar! Come back every day to get a new “gift.”
Today’s gift is a Leather Tassel.

Leather tassels are cute, trendy, and in my opinion are just fun. I’ve seen so many leather tassels in stores as keychains or even decorations.
I love the look of the leather tassel, but I didn’t want to spend a ton of money for a small keychain. Cricut makes a faux leather material that looks just like the real thing. And the best part is, you can cut it using any of the Cricut Explore machines.
You’re going to love these Leather Tassels. Here’s how to make them!
How to Make a Leather Tassel Using The Cricut
This post contains affiliate links for your convenience. For more information, see my disclosures here.
Materials:
- Leather Tassel SVG file
- Cricut Faux Leather (I used a variety of different colors for this project)
- Clasp Hook
Tools:
- Cricut Machine (You can use a Cricut Explore or a Cricut Maker for this project)
- Strong Grip Cutting Mat
- Cricut Fine-Point Blade (comes with all Cricut Machines)
- Cricut Applicator and Remover Tool Set
- Cricut EasyPress or Iron (both optional)
- Cricut EasyPress Mat or Ironing Board (both optional)
- Hot Glue Gun and Hot Glue Sticks
How to Cut Out The Project Using The Cricut
First, you will need to download the Leather Tassel SVG file.
Get the Free Leather Tassel SVG File

Start by opening Cricut Design Space and creating a new project.
In the project files, there are two different sized leather tassels — small and large. They are each in separate SVG files. You can use either one or both when creating this project. I’m going to show you how to make both sizes.
Upload the SVG File
Then, upload the SVG file by selecting the Upload button and then Upload Image. Next, drag and drop or select the SVG file you want to upload.
After the SVG is uploaded, add the image to your design canvas.
If you need a little more help uploading SVG files, you can learn more in this post.
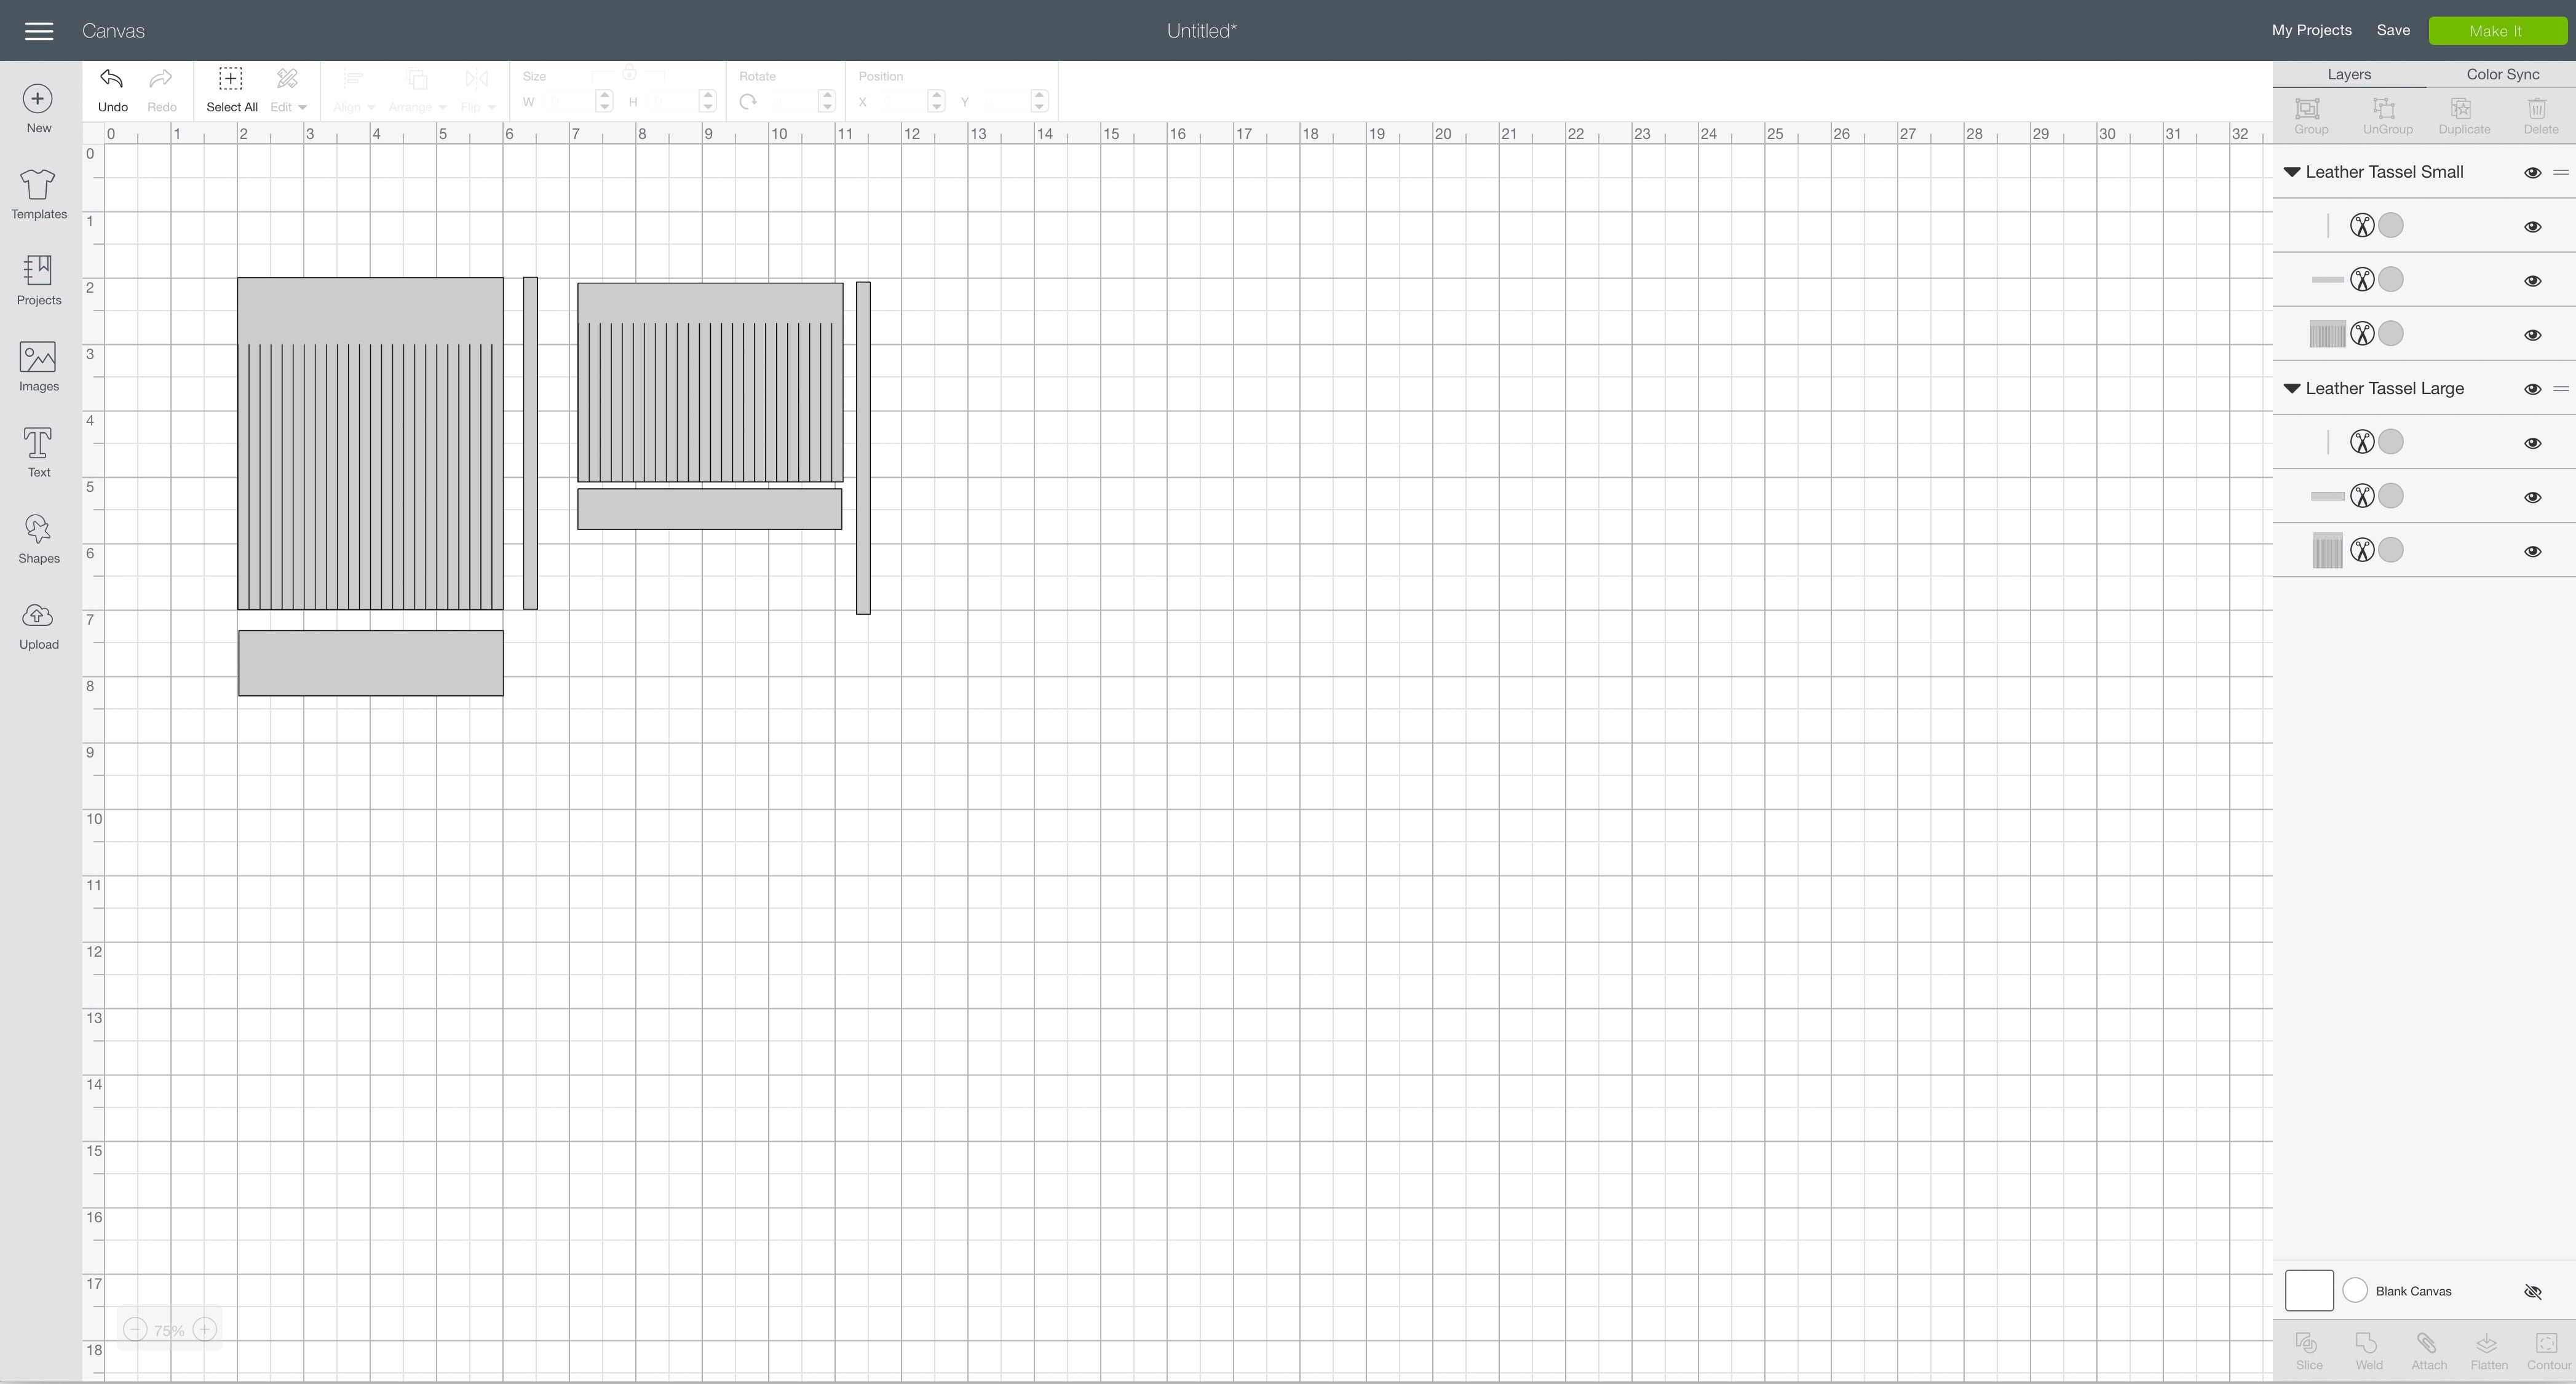
The SVG files will already be sized properly for this project. I’ve uploaded both the small and the large size leather tassels and put them both onto the design canvas.
Make It
Now it’s time to make your project!
Click on the Make It button in the upper right of the screen.
The first screen you will see is the Mat Preview Screen. This will show you all of the different mats needed for your project.
For this project, there is only one material being used.
Click on the Continue button in the lower right of the screen.
Connect your Cricut machine. Then, adjust the settings as follows.
Material: Faux Leather
Pressure: Default
Tools: Fine-Point Blade
Load the strong grip cutting mat with your material into the machine.
When cutting faux leather, you will want to place the material face down onto the mat. The smooth side will be on the mat with the “fuzzy” side facing up.
Then, press the flashing Go button to begin the cutting process.
When the machine is done cutting, remove the faux leather from the cutting mat.
This can be tricky with the strong grip cutting mat. I recommend using this applicator and remover tool set to attach and remove the faux leather from the cutting mat.
How to Assemble The Project
Once all of your pieces are cut out, it’s time to assemble the project.
I find that whenever I cut faux leather, it tends to stay curled after the pieces are cut out. Because you are making a tassel, you don’t want the fringe to be curled. This step is optional, but I think it creates a nicer finished project.
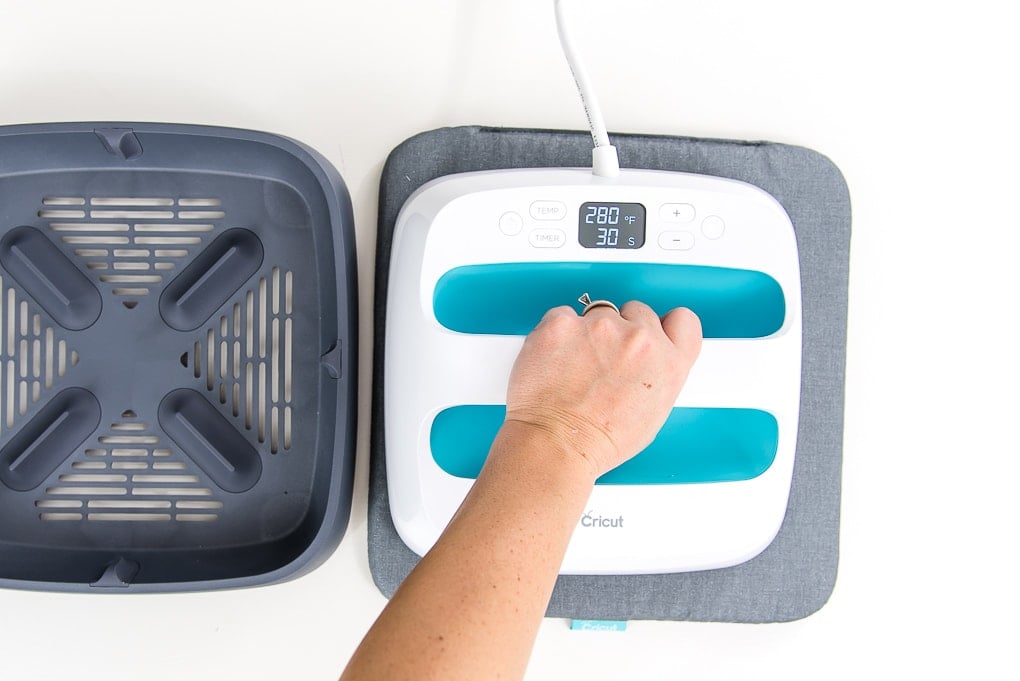
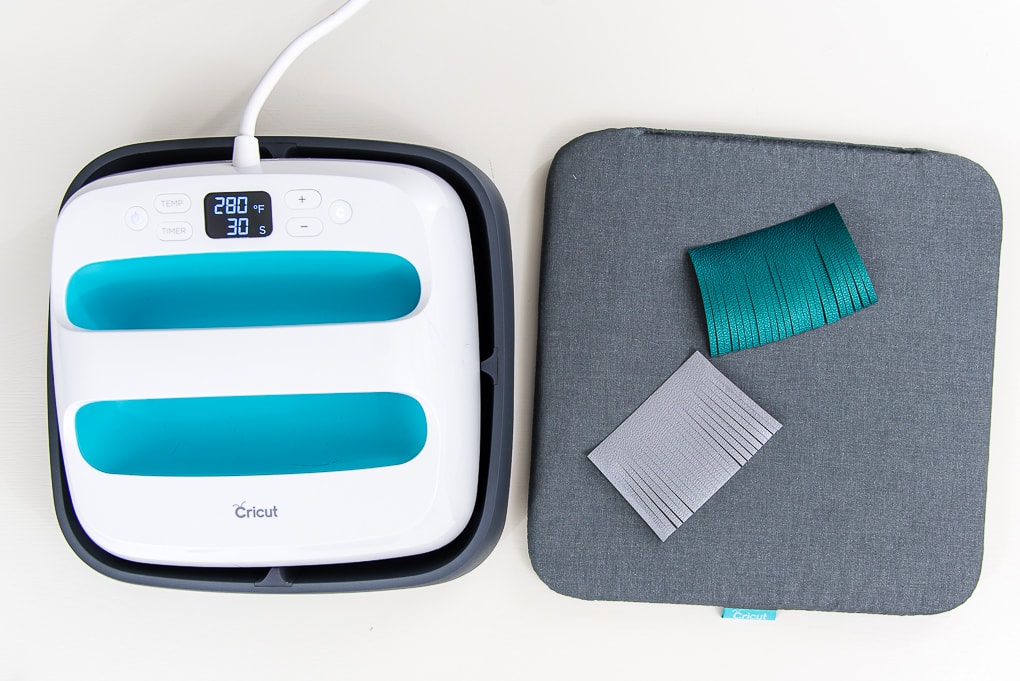
I decided to flatten the fringe pieces of faux leather using the EasyPress.
I also like to use the EasyPress mat so that I have a convenient heat-resistant surface.
If you don’t have these tools, you can also use an iron and an ironing board.
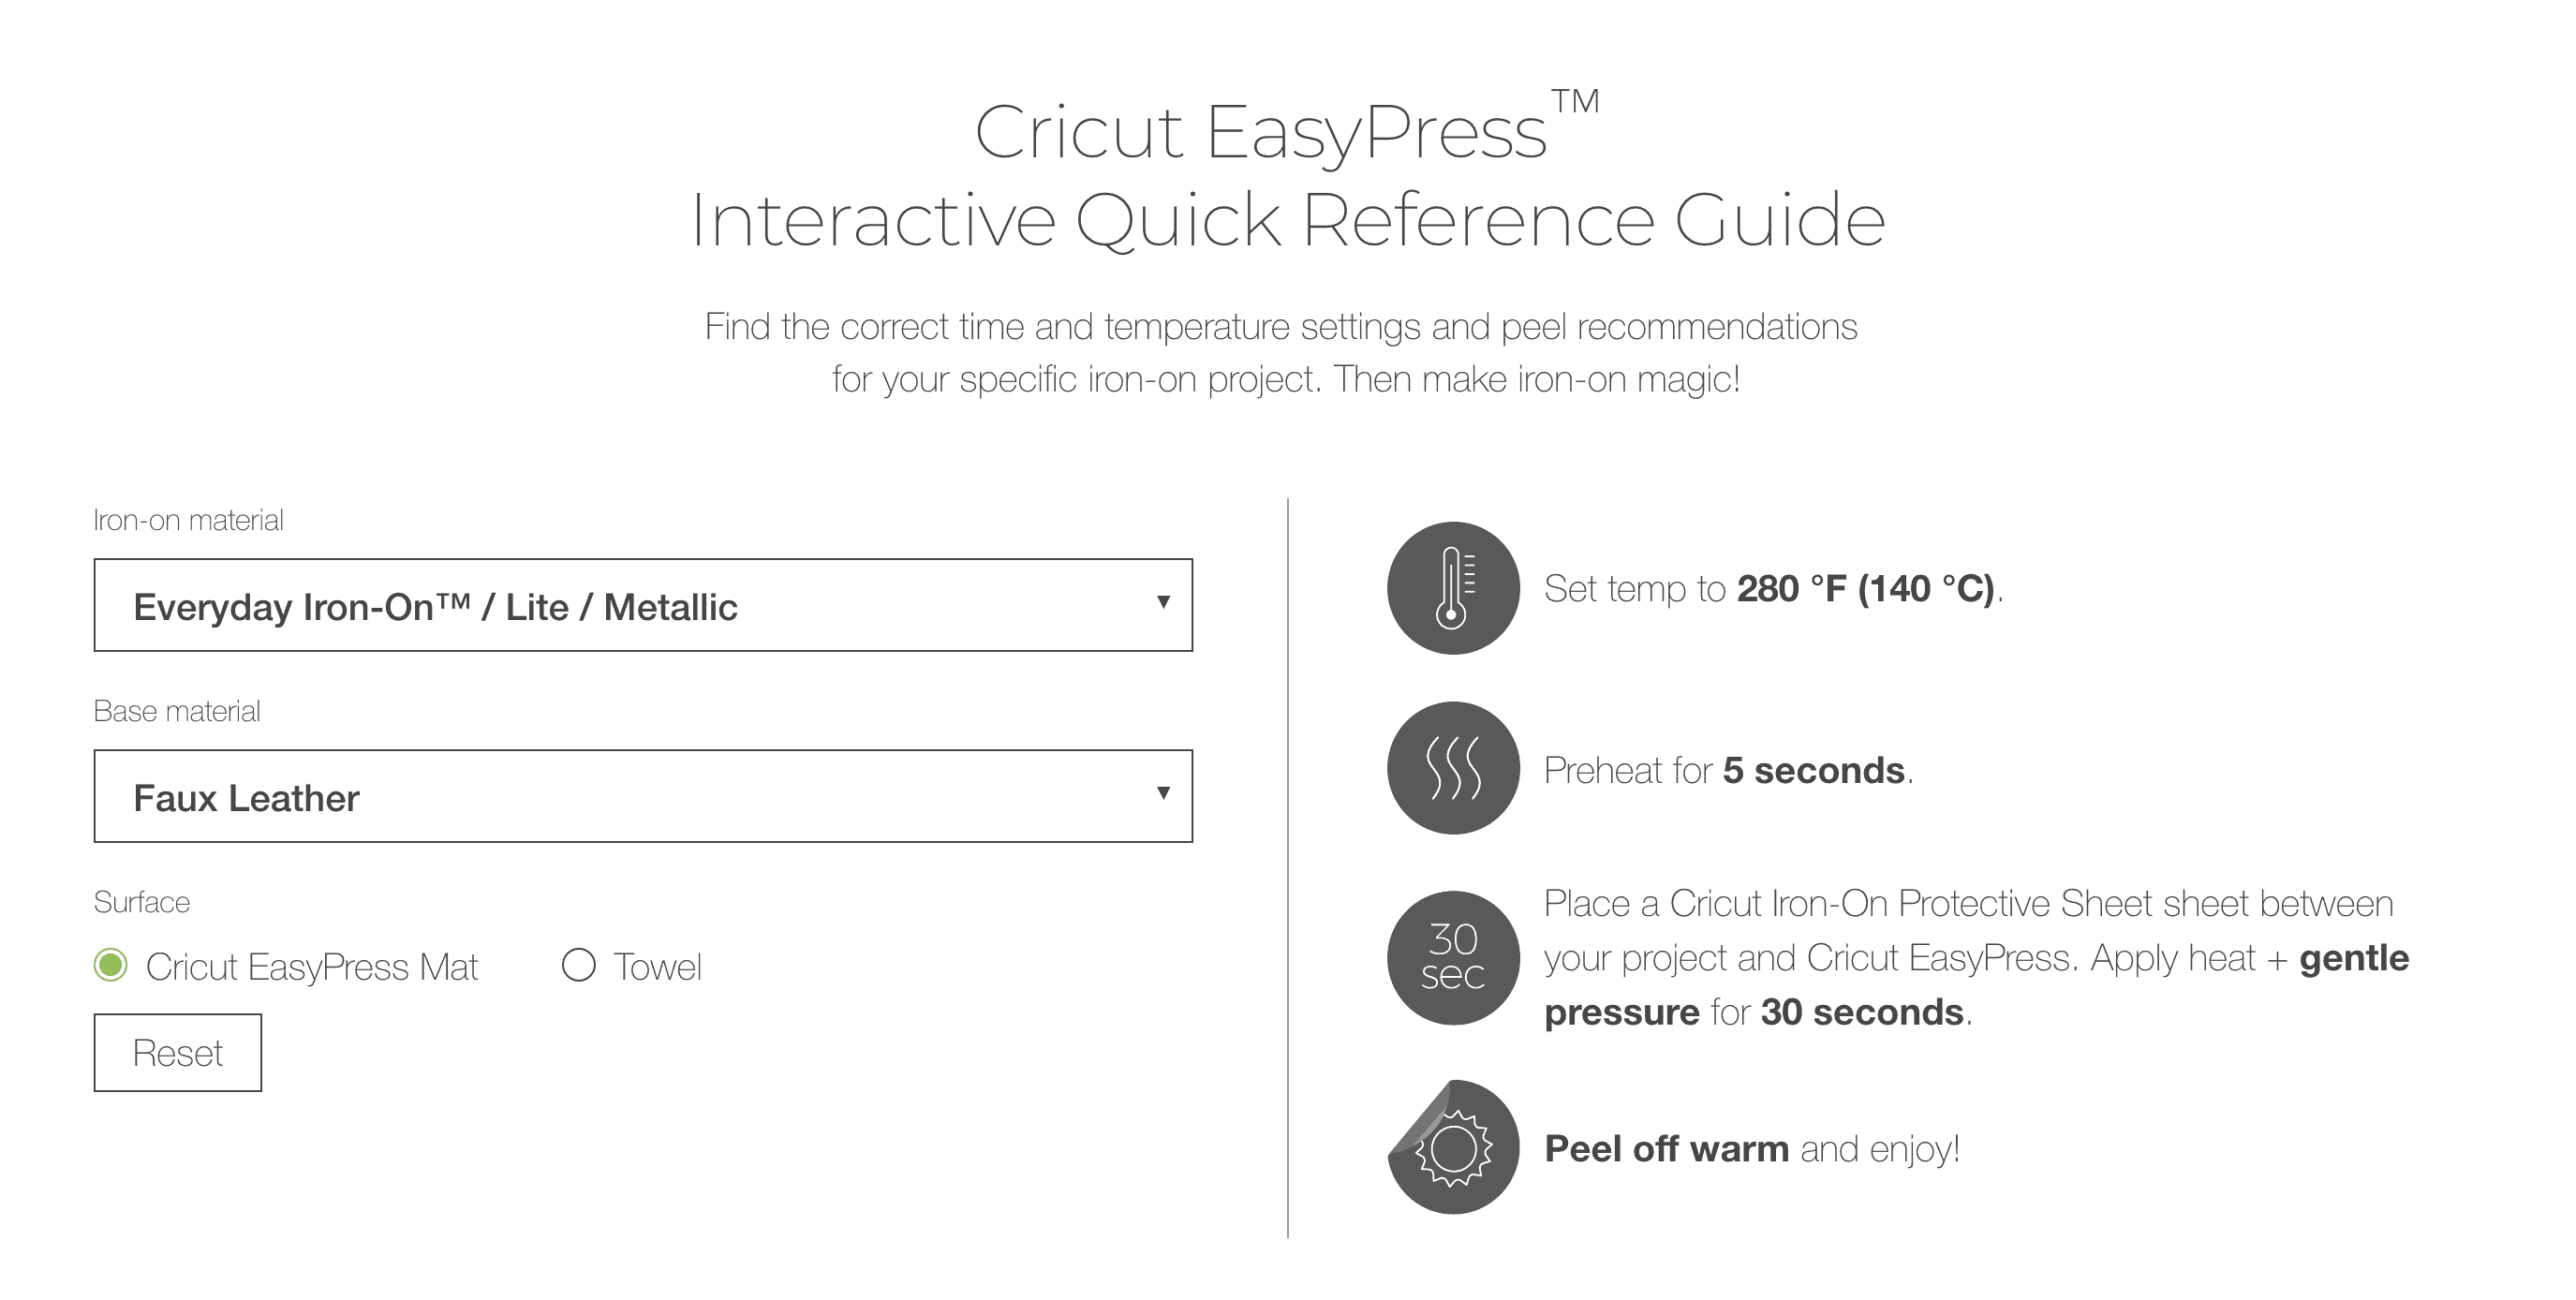
Place the faux leather pieces on the EasyPress mat and use the online Cricut EasyPress Interactive Quick Reference Guide to determine the settings and instructions that you need for your project.
Here are the settings that I used for this project.
Set the temperature on the EasyPress to the recommended setting.
Then, gently apply heat to the faux leather for a few seconds.
You don’t need to leave the EasyPress on for the full recommended time since you are only flattening it. You aren’t actually attaching iron-on vinyl to the faux leather.
Once all of your pieces have been flattened, it’s time to assemble the tassels.
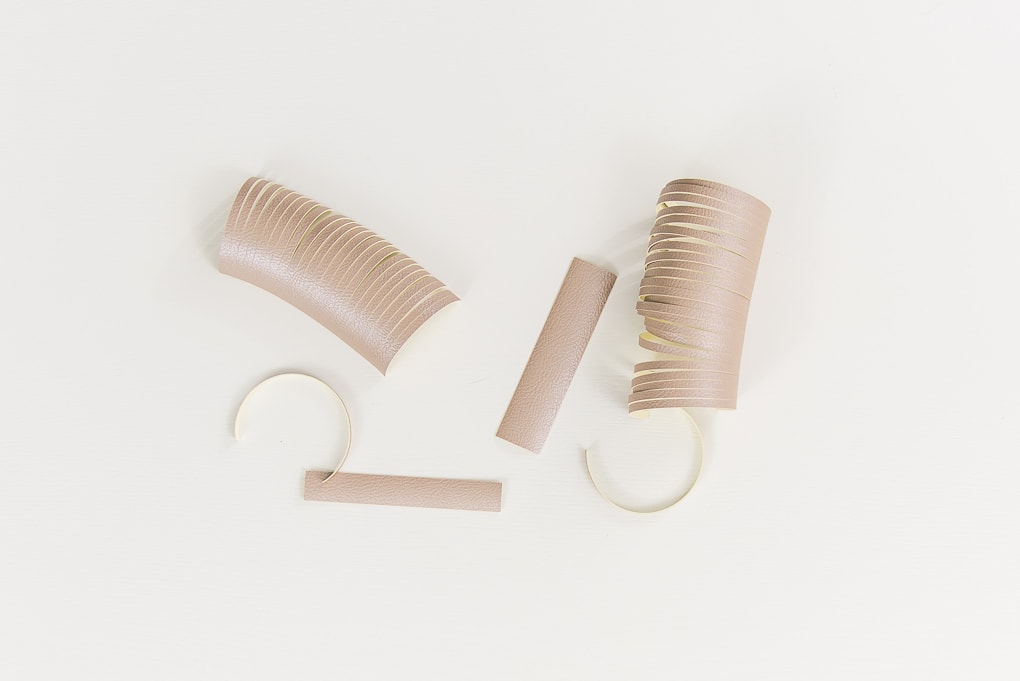
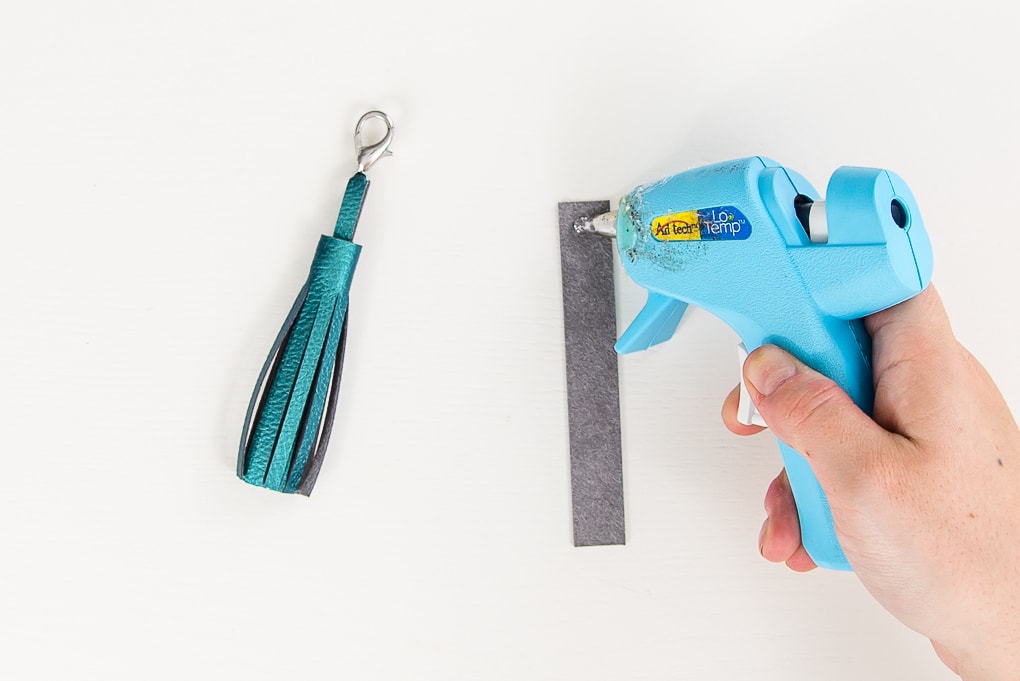
Each tassel has three pieces – the fringe, the keychain loop, and the wrap.
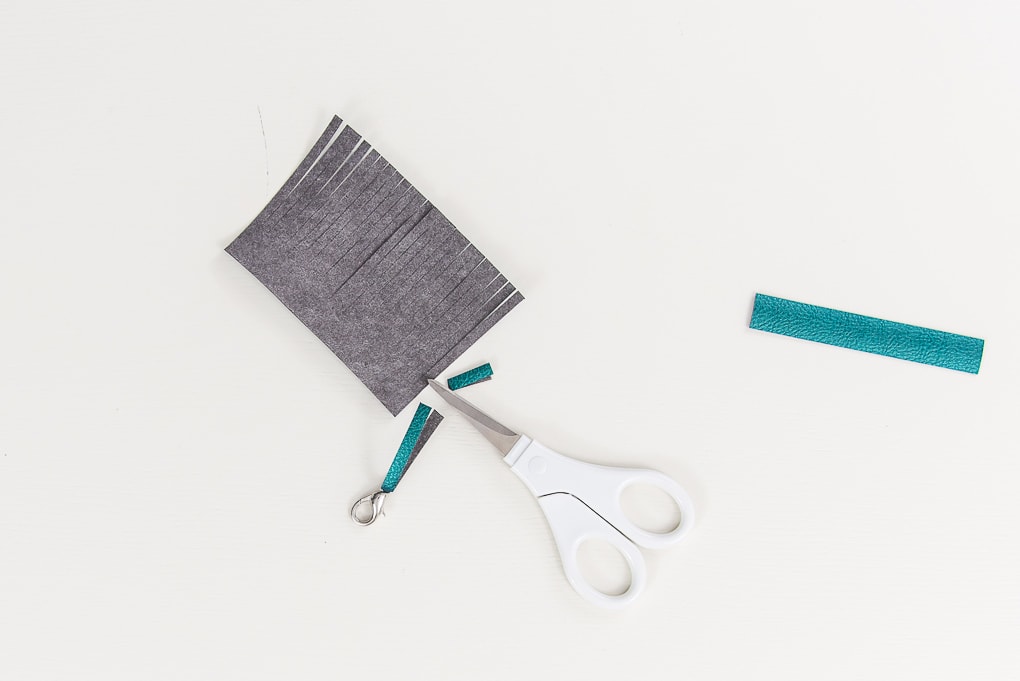
Start by taking the keychain loop and a small clasp hook. Thread the leather through the loop at the end of the clasp hook (you may have to bend it slightly).
Then, adjust it until the ends match up. Cut the keychain loop to whatever size you want. You can decide based on your preference of how you want the tassel to look.
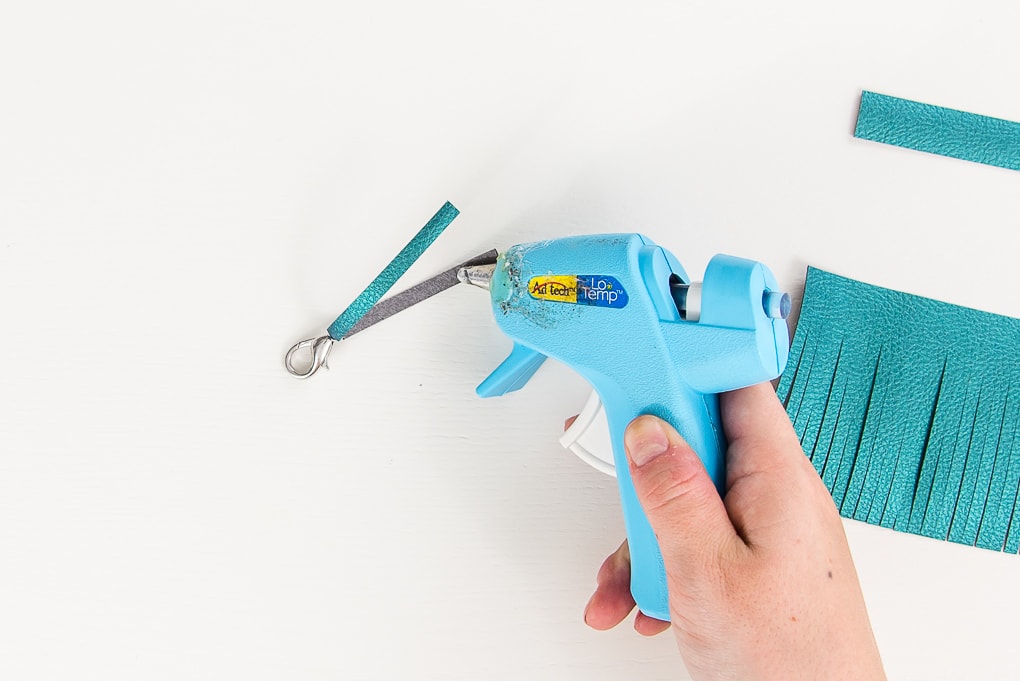
Then, use some hot glue to attach the ends of the keychain loop together.
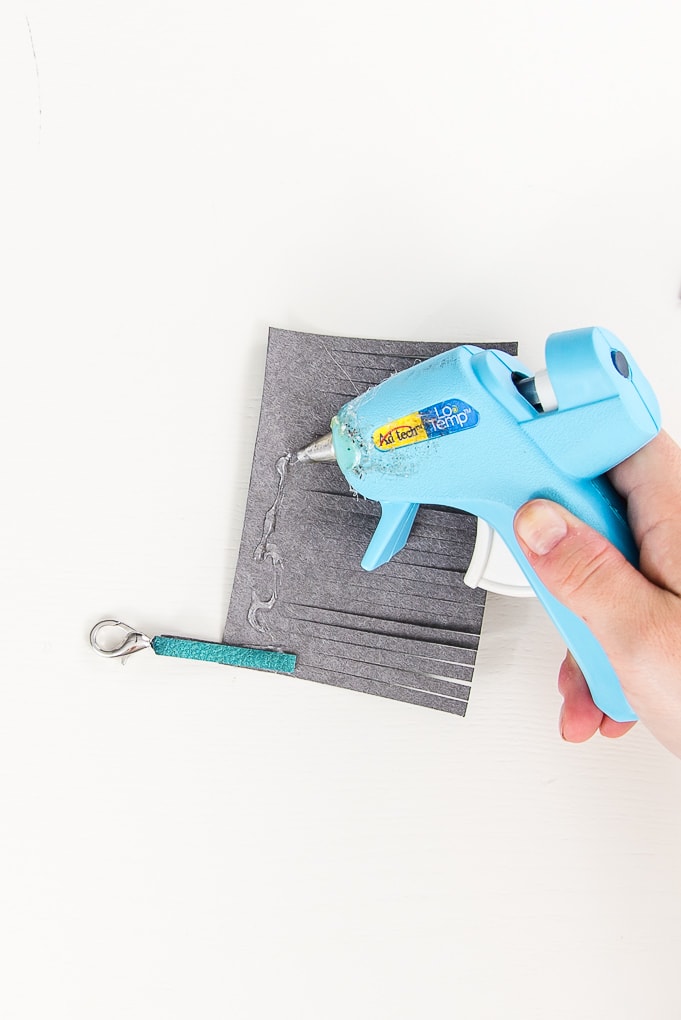
Take the fringe piece and place it face down on your work surface. Use hot glue to attach the assembled keychain loop to the end of the fringe piece.
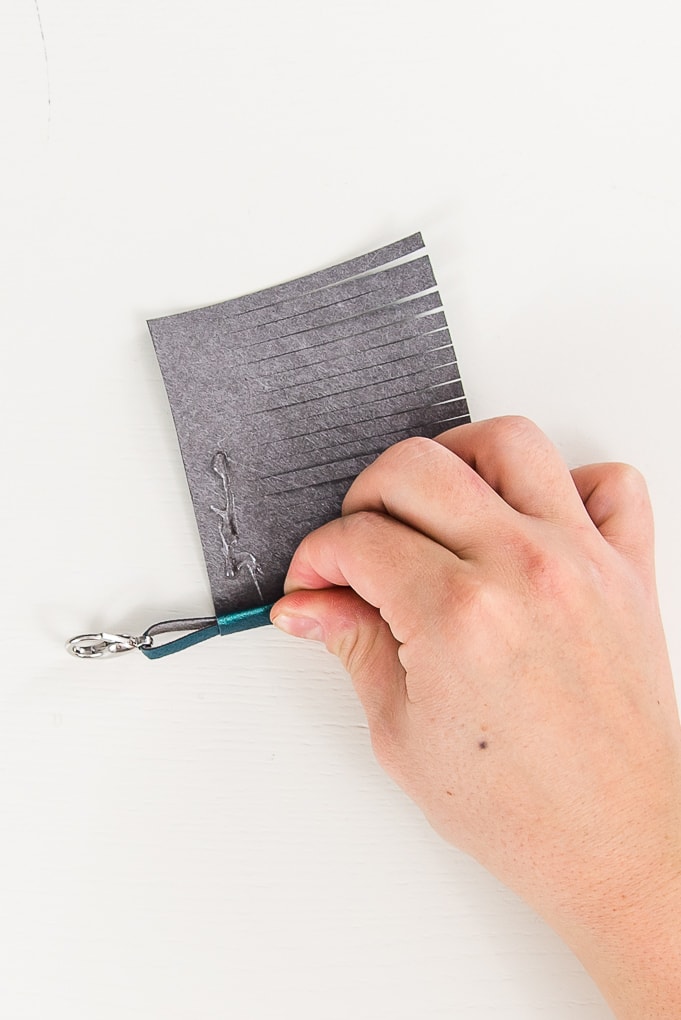
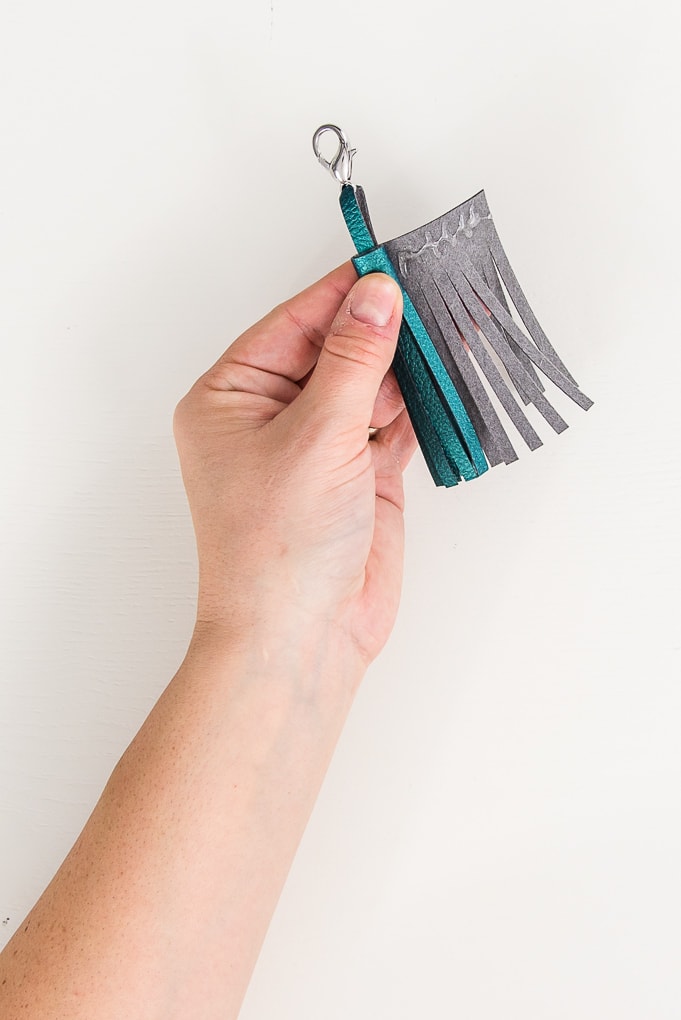
Add some more hot glue to the top part of the fringe piece and start rolling the fringe piece around the keychain loop.
Continue adding hot glue and rolling the tassel until all of the fringe is rolled together to create the tassel shape.
Next, take the wrap piece and add some hot glue to the end.
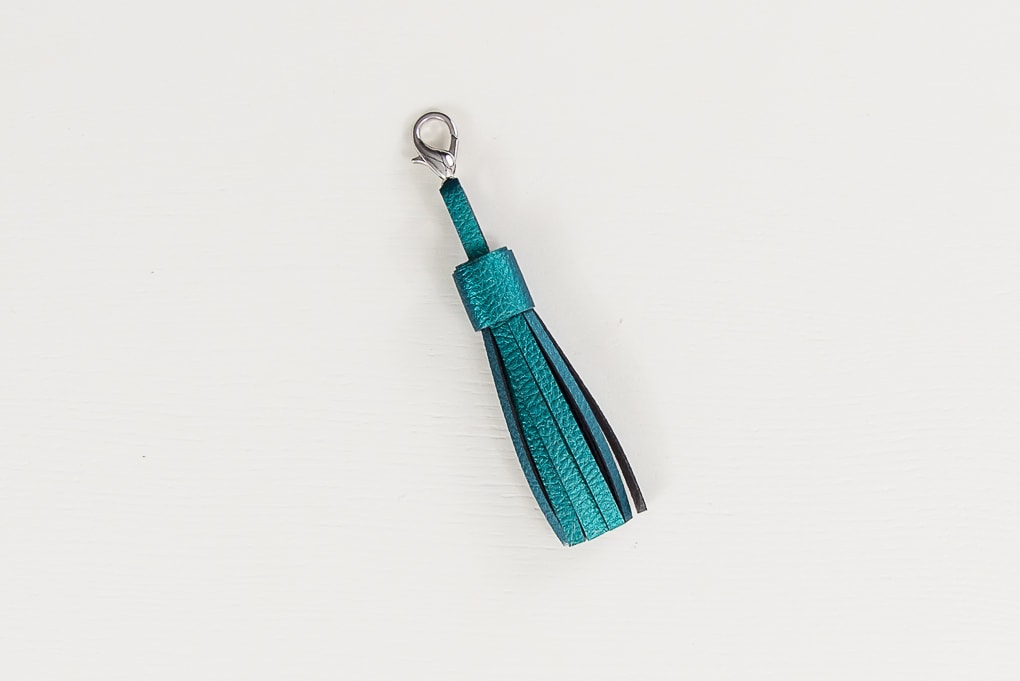
Place the wrap piece at the top of the tassel and attach it in place. Then, add hot glue to the wrap piece and wrap it around the top of the tassel to create a finished look.
Now your Leather Tassels are ready!
These make the perfect stocking stuffer or small gift. You can even add them as gift toppers to your Christmas presents.
I attached these tassels to our stockings for Christmas this year. But I am also going to use one on my car keychain.
I love how they turned out and that you can make just about any color you want.
I hope you love these Leather Tassels.
If you decide to make this project, I would love to see!
Tag me on Instagram. Use the hashtag #25daysofcricut so that we can all see each other’s projects too!
To see more projects from Have Yourself A Very Cricut Christmas: 25 Days of Homemade Holiday Crafts!, click here!
If you want to follow along and see all of the projects for Have Yourself A Very Cricut Christmas: 25 Days of Homemade Holiday Crafts!, you can bookmark this blog post and visit it each day to see the newest project.
>> Want to remember this? Save the Leather Tassels to your Pinterest boards by clicking here! <<
















This is such a cute project, thank you for sharing! I have a few old bags I was meaning to throw away for a while now, because they are all torn and worn out, but now I think I will get the best of them by trying your idea with my daughter, she loves all kinds of arts and crafts, and I think she will have lots of fun with this one, because it includes the usage of a glue gun (she is very fond of the one we have). These would look great as keychains.
I’m so glad I stumbled across this just in time for Christmas gifts! I did find that with my felted-back faux leather that the hot glue tended to not want to stick to the faux leather as much. But I scored it a bunch with a blade so the glue would seep in a bit more and now it sticks perfectly. Thank you!
YAY! I’m so glad this was helpful! That’s a great tip to get the glue to stick on a difficult fabric.
>> Christene