Welcome to January – the month of “fresh starts” and of course — organizing!
It feels like right when all the Christmas decorations come down, my attitude shifts into organization mode. I see all of the spaces and areas of our home that haven’t been working for us and I just want to fix them all!
Honestly, it can be a little overwhelming.
I mean everywhere I look, I see something that I just want to change. A drawer that is a mess, a cabinet that I can’t find anything in, a closet that has just become a jumble of things!
Can you relate?
I think we all have the best intentions when it comes to organizing our homes. We want to create spaces that work for our lives and families. But the path from where we are right now to the perfectly organized home we’re picturing in our heads isn’t always clear.
Where do you start? What do you need? How will you figure it all out? What if it just becomes a mess again? AHHH!!
The overwhelm begins and you just don’t even know how to start. Believe me, I know this feeling all too well.
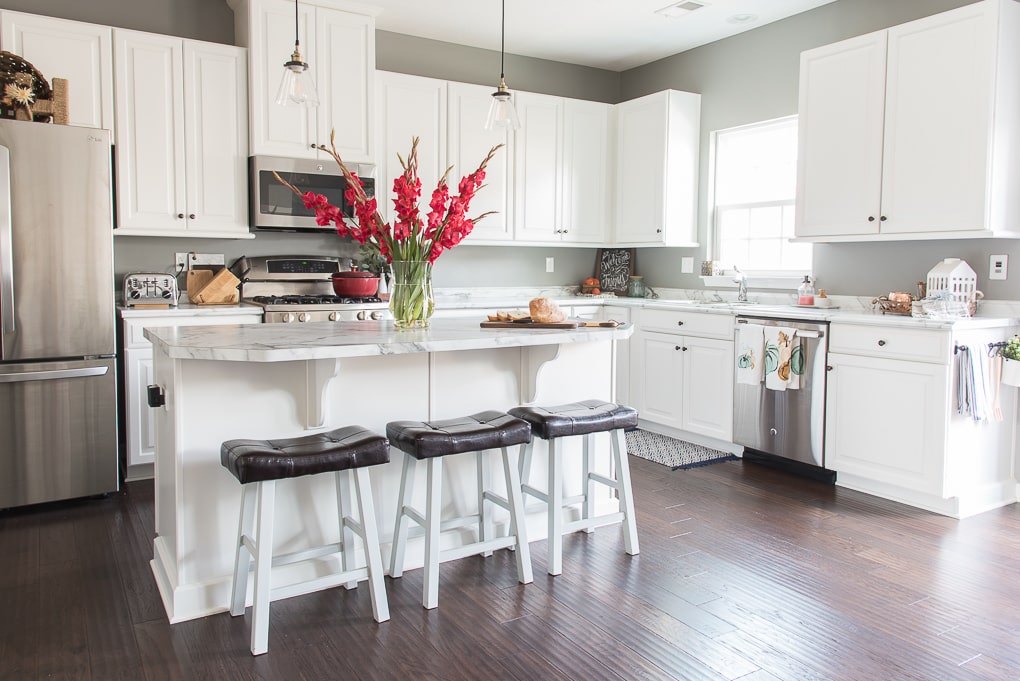
One of the biggest areas in our home that I want to get organized is our kitchen. And honestly, I’ve been putting it off for so long because I felt overwhelmed by the thought of tackling a project that big.
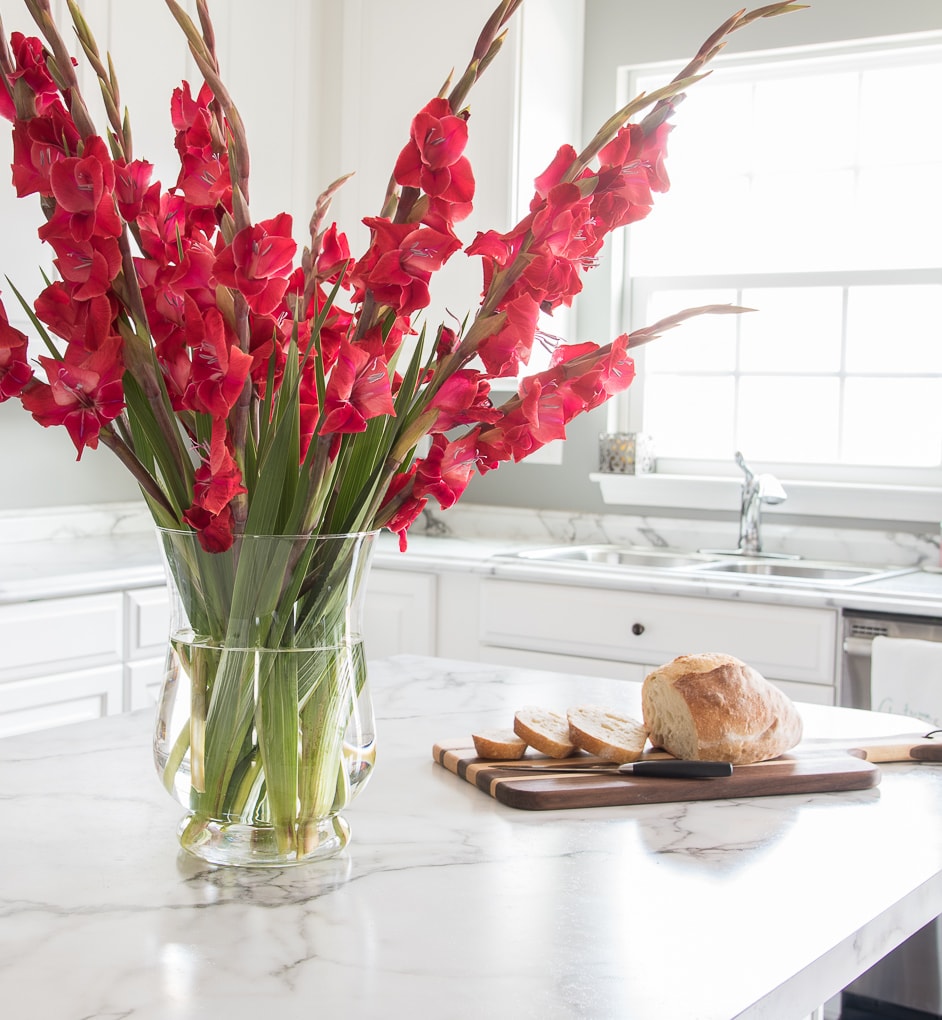
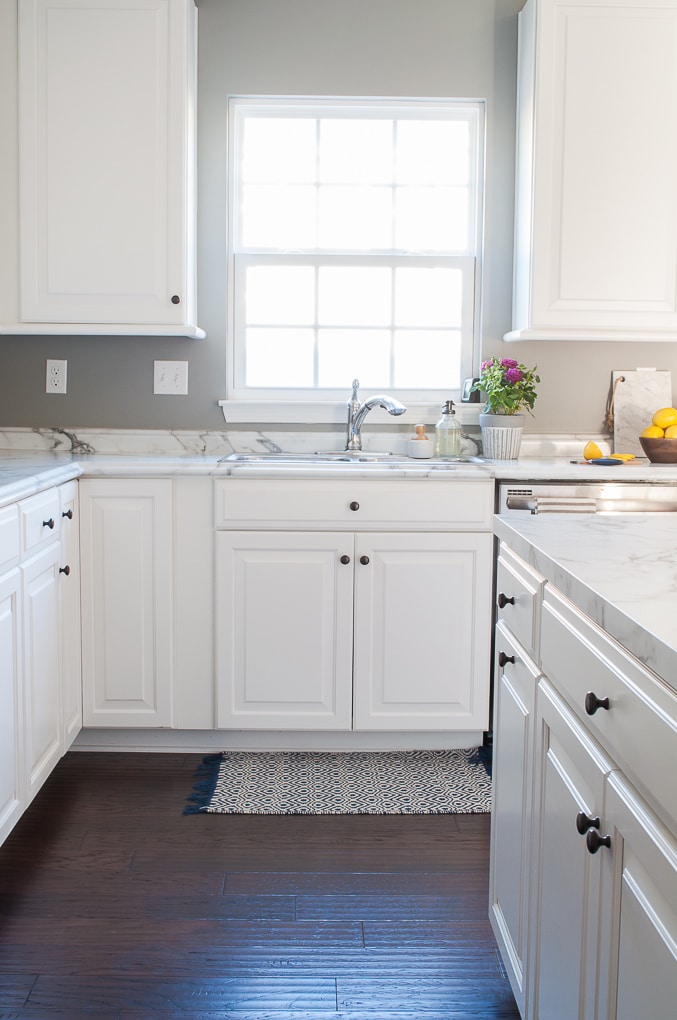
In the pictures I share on the blog, our kitchen looks like it’s pretty clean and organized. But what you don’t see is what’s inside the cabinets, drawers, and pantry. Because the kitchen is a space that we use every day, without any organization standards in place, it has started to become really disorganized.
Lately, it’s become a huge point of frustration for me. I can’t find things when I need them. I spend money on food that I didn’t realize we already had in the back of a cabinet. I struggle to get pans out of the cabinets without toppling everything over in the process. And these are just a few of the things that have been driving me crazy!

You see, we’ve never really set aside time to figure out how to organize our kitchen. When we moved in, we decided to live with the space for a while and see how we would use everything. This helped us to initially figure out where things should go, but it wasn’t a permanent solution. Over time because we didn’t have systems in place to keep things organized, the kitchen became kind of a mess.
Today marks the beginning of our Kitchen Organization Overhaul! Over the next few weeks, I’ll be sharing ideas, tips, and projects as we finally get our kitchen organized.
How to Get Organized When You are Overwhelmed
First, we’re going to tackle the feelings of overwhelm that so often come with organizing projects. Sometimes the spaces in our home can get so out of hand that we just have no idea where to start. Maybe we feel like the space is hopeless, or we just don’t have any solutions for how to make it better.
Overwhelm is something that can stop all of our good intentions and make us want to give up before we even start.
But, if we really want to get organized, we have to be able to look past our current overwhelm and just get started.
Here are 5 tips that helped me get through my feelings of overwhelm when I started our kitchen organization overhaul.
Tip 1 – Start with a Brain Dump
When I’m overwhelmed, there are normally a million thoughts and ideas swirling around in my head. For example, when I started our kitchen organization overhaul, I was trying to think about all of the things that would go into the project at once. As you might guess, this can easily lead to overwhelm.
Having lots of ideas is great, but it’s not great to just let all those ideas and thoughts stay in your head. There’s no way to keep track of them and you’ll find yourself forgetting things or getting frustrated with all of the details.

The best way to start an organizing project is to do a brain dump. It’s a very simple method that helps me get my thoughts out of my head and in front of me.
All you have to do is grab a piece of paper — really any piece of paper. Title it “Brain Dump” and start writing out all of the thoughts that you have related to your project.
Don’t worry about anything being perfect or even have complete sentences. Just start writing what you have been thinking about and getting it out onto paper. Normally I end up with a bulleted list of things.
This method will help you start to see all of the ideas and details in one place.
When everything is just in your head, you can’t easily figure out exactly how many ideas you have. There’s no way to get a good sense of how many different things you have been thinking about. That leads to feelings of overwhelm because your thoughts make it seem like there’s a never-ending list of things to do.
Getting all of your thoughts down on a piece of paper helps you to visually see your ideas, count how many ideas you have, and gives you a better sense of the scope of your project.
Tip 2 – Let Go of “Pinterest Perfection”
When you’re first starting an organizing project, you probably are looking for ideas and inspiration online. One of the best places to go is Pinterest because it’s really a never-ending source of great ideas!

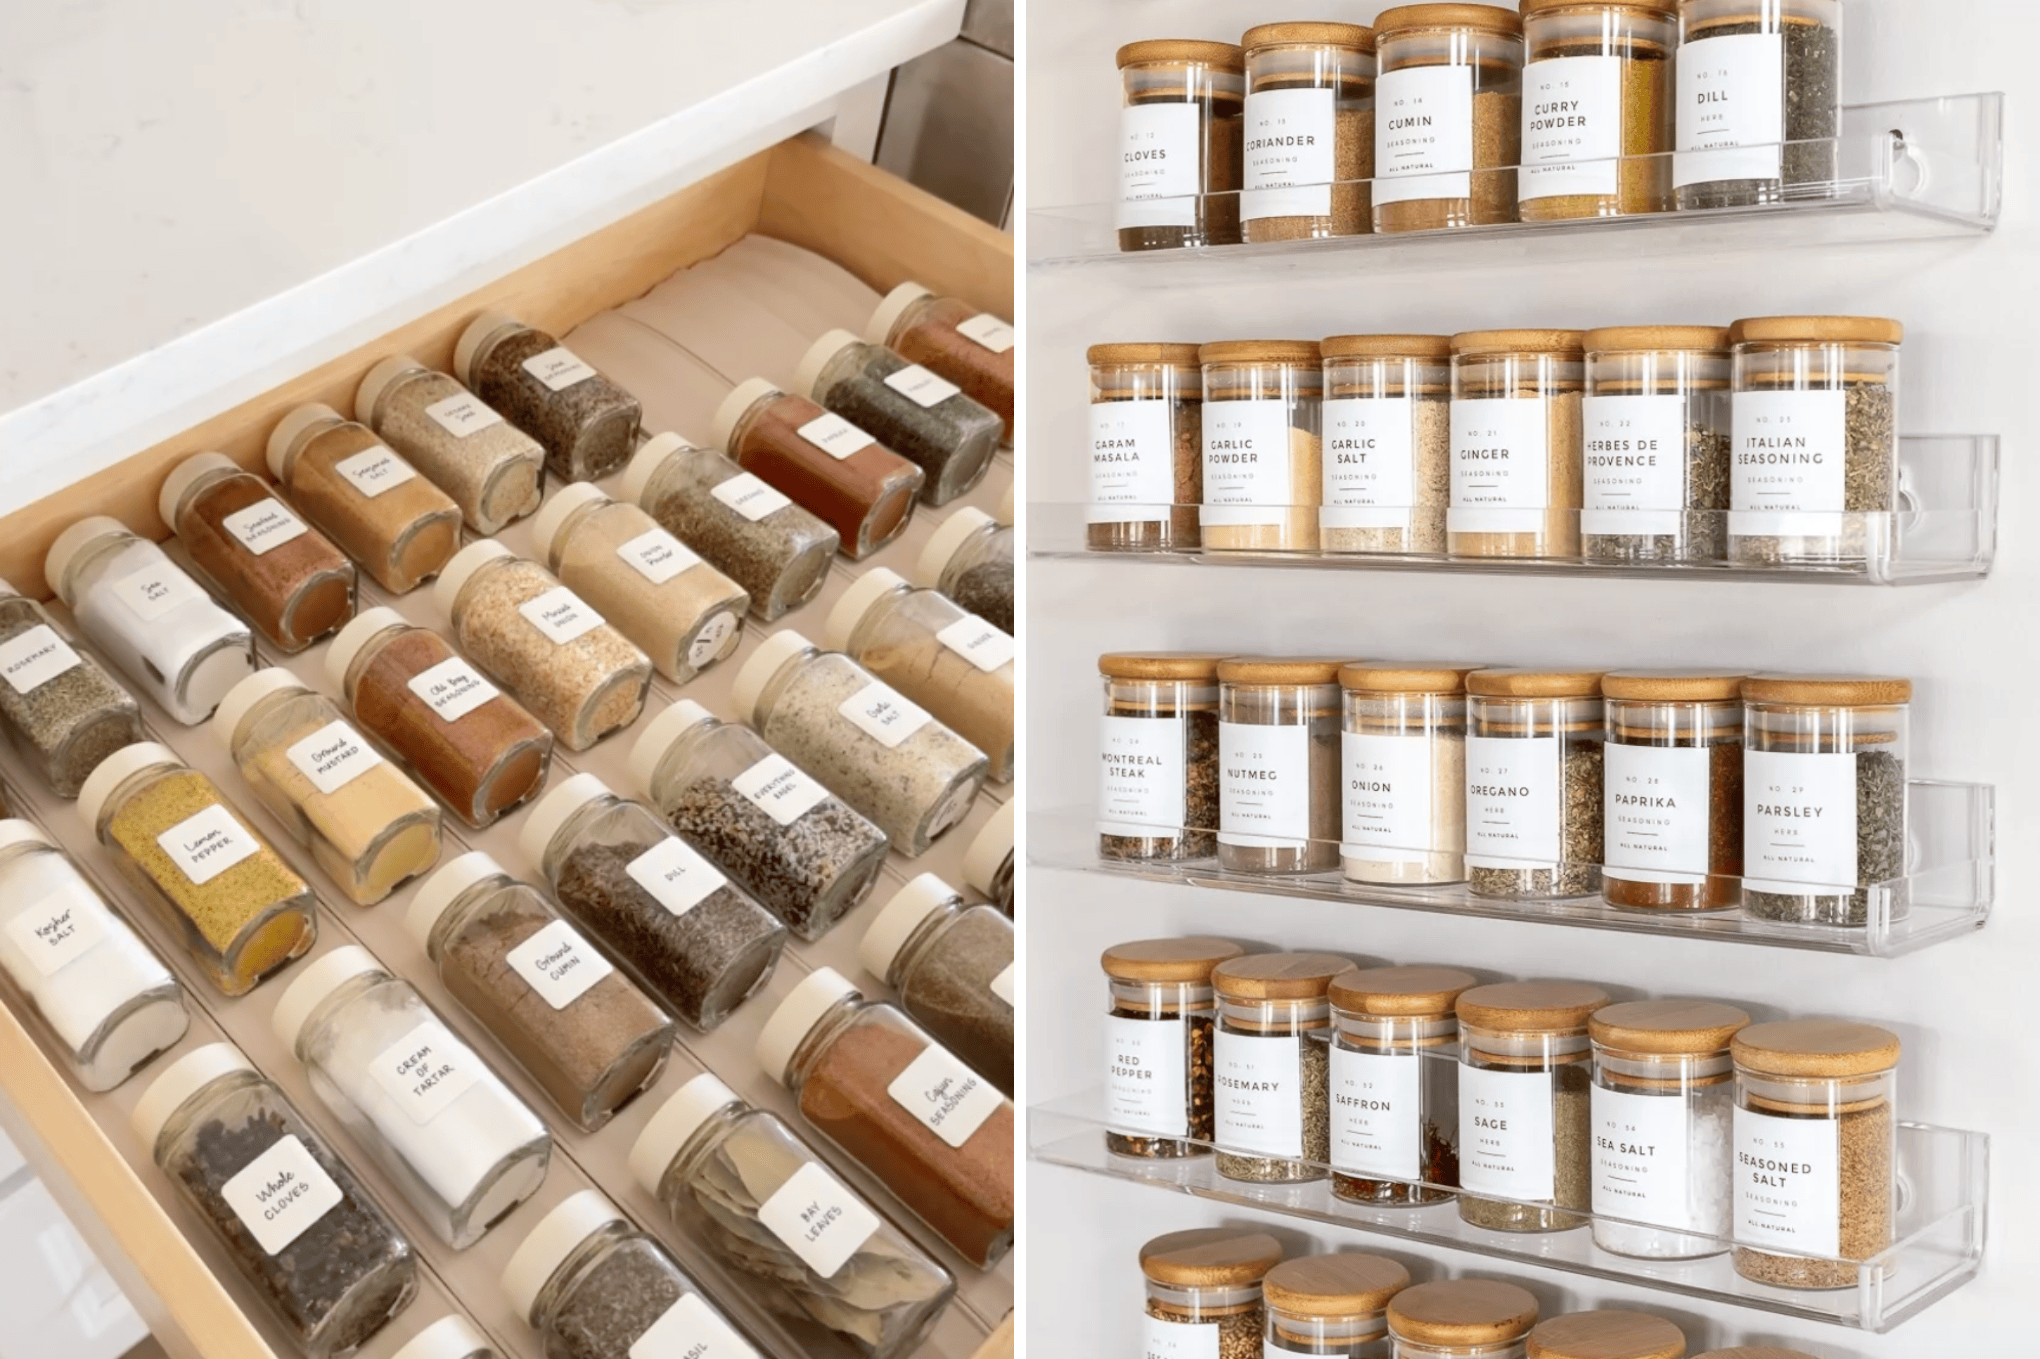
As much as I love Pinterest, when I’m starting an organizing project Pinterest can make me feel totally overwhelmed. That’s because on Pinterest, you’re seeing the ideal organizing situations.
For example, I recently saw a picture of these amazing organized kitchen drawers. They were deep drawers that had slots for things containers of flour, sugar, and other dry goods.
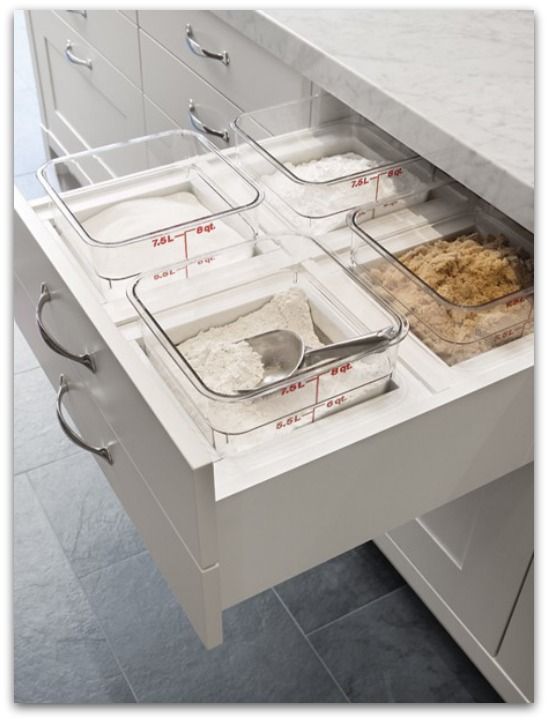
I would love to have a baking drawer like that in my kitchen, but the reality is I don’t have drawers that are deep enough to make something like that work.
Do that mean my kitchen will never be organized because I can’t make it look exactly like my inspiration pictures? No, of course not!
Pinterest is a great source of inspiration, but we have to let go of our expectations that everything we organize will look “Pinterest Perfect.” We all have different homes, different spaces, and different needs.
Instead of trying to make everything you organize look exactly like Pinterest, try approaching the pictures and ideas a little differently. Start picking out details in the photos that you really like and might be able to incorporate in another way in your space.
For example, in my inspiration picture from before, I like the idea of having dry goods like flour and sugar in large containers that make them easily accessible. So, I could try looking for better containers for my own kitchen.
Try to look at your inspiration pictures in a different way and see how you can incorporate small pieces of that space into your own.
Tip 3 – Empty and Purge Ruthlessly
Before you can actually start organizing a space, you need to get rid of some of the clutter that’s making it seem totally overwhelming. There’s no point in organizing a space if you are just rearranging all the clutter. You need to only keep the things that are actually useful and have a purpose.
My general rule is, if you aren’t using an item, or haven’t used it in a very long time, get rid of it.
As difficult as it can be to let things go, something we have to purge our spaces ruthlessly to make room for the things that really matter to us.
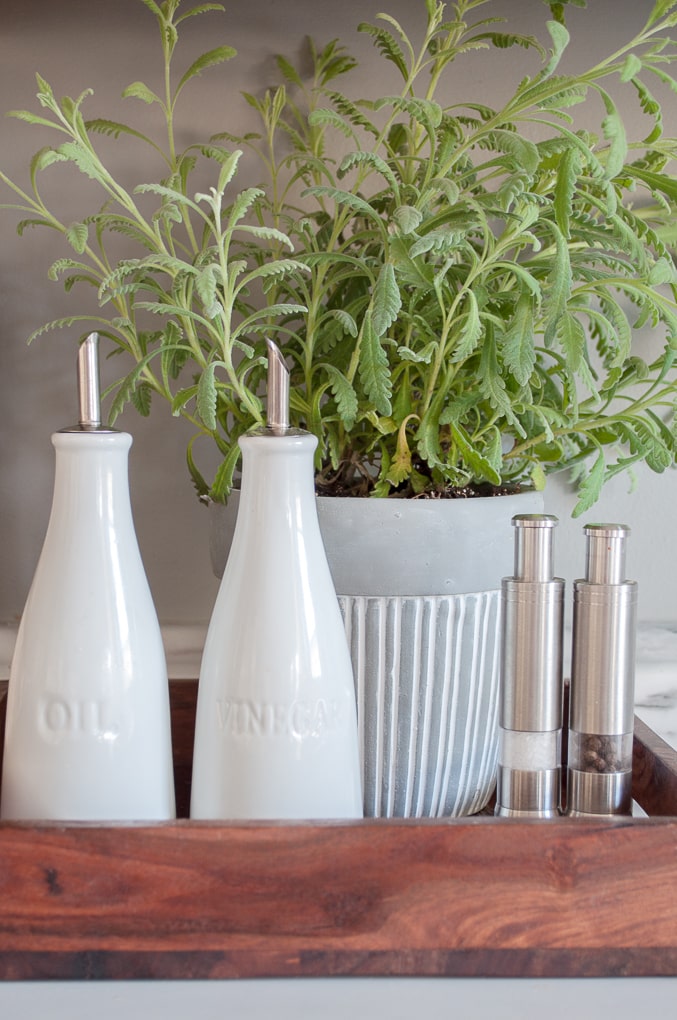
For example, when I was sorting through our serving dishes in our kitchen, I noticed that I had 5 different serving bowls. Three of them had no meaning to me and I never used them. They had literally just been sitting in a cabinet for years. So, instead of holding onto them, I kept the two that I really loved and used and got rid of the rest.
Physically getting rid of trash, clutter, and unused items can also help us to mentally feel less overwhelmed. As we clear out actual clutter, it helps us to think more clearly about how we want to organize the space.
So before you start trying to organize, empty out the space completely and start getting rid of things. Pair down what you have to what you will actually need. If an item doesn’t belong, find a better location for it in your home.
When you are done emptying and purging, you will have paired down your items to the essentials and you’ll feel a lot less overwhelmed by the magnitude of the project.
Tip 4 – Don’t Worry About Bins and Containers
Yes, bins and containers can be great tools to help you get organized. But when you are just starting on an organizing project, my tip is to not worry about them at all.
I’ve fallen into the trap before of buying all the containers before actually starting a project or feeling like I needed to have everything perfectly figured out before I could do anything else. And you know what ended up happening? I got overwhelmed and I never actually finished my project. I was stuck trying to find the bins and containers and never actually solved the root problem — organizing my stuff!
Instead of worrying about what pretty containers and labels you are going to use, try to organize what you have first. Lay all of the items out in the space where you think they should go and try to get a sense of how everything fits. Use this time to move things around, adjust, and try out different ideas.
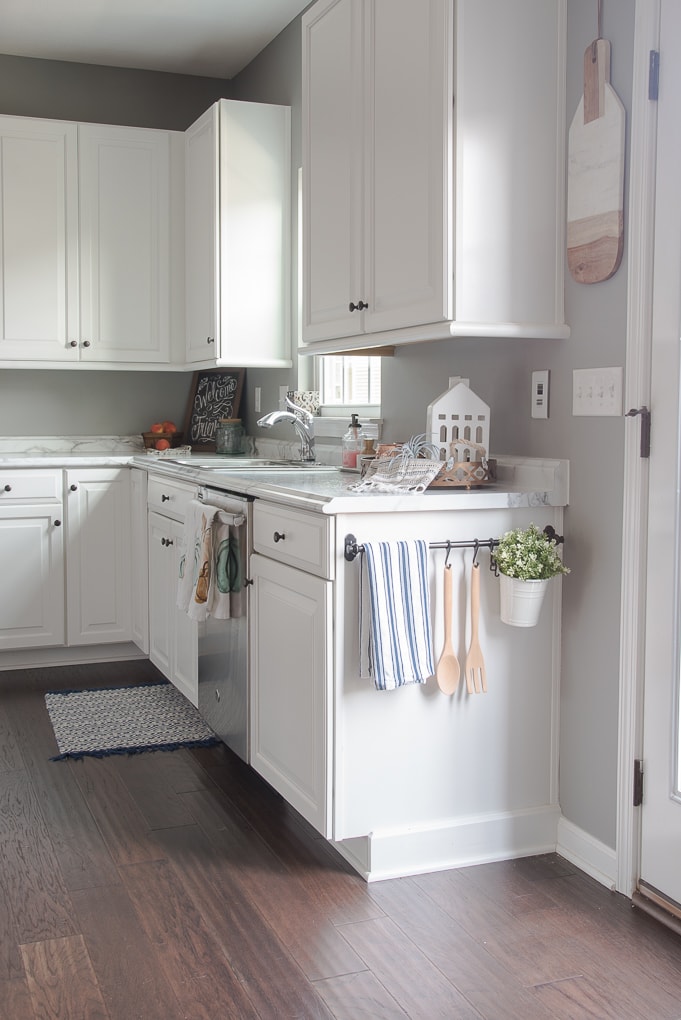
In our kitchen, I have been organizing our utensils and cooking tools by laying them out in the drawers. I don’t have any dividers, or container in there yet. Just the items in the empty drawers. I won’t leave the drawers like this forever, but for now, I’m not worried about making it perfect. I’m just trying to get started and make progress.
Bins, containers, and labels should be the finishing touches of an organized space — not the starting point.
Tip 5 – Tackle Your Project in Phases
I’m not going to lie, a lot of the overwhelm that I have when it comes to starting an organization project is that idea that I have to have it all done in one sitting. I always seem to think that I need to do everything all at once and that makes me feel defeated before I’ve even started.
Try to manage your expectations for a project and know that it most likely will not be done in one sitting. A lot of the large projects that you want to tackle may take a few days or weeks to finish. If you accept this going into the project, you can plan accordingly and you won’t feel like you’ve failed when your whole kitchen isn’t completely organized in one day!

Try to break up your organizing project into phases. Some ideas for phases can be:
Planning
In this phase, you are just getting your ideas onto paper or trying to think of solutions for your organizing problems. During this phase, you should try to identify the scope of your project. Are you going to organize the whole closet, or maybe just these few drawers in the closet?
Emptying and Purging
This is the phase where you start pulling everything out, getting rid of things you don’t use or don’t need, and creating a clean slate. This can sometimes take longer than you expect, so make sure you leave yourself time to get this done. Also, you might need to be ok with your space feeling like a mess for a while. It sometimes has to get worse before it gets better.
Trying Out Ideas
In this phase, you can try out some of your organizing ideas for each area. Start putting items back into the space and seeing how things fit. Adjust and redo things as you go. It’s ok if things aren’t perfect.
Living with the Solution and Adjusting
After you’ve come up with a solution for your space, try living with it for a few days. See if it’s easy to use or work with. Maybe there’s something frustrating about the arrangement that you didn’t notice at first. Tweak and adjust until you come up with something that works for your needs.
Making it Pretty with Bins, Containers, and Labels
Finally, once you have an organized solution in place, it’s time to add the pretty finishing touches. Corral items using bins or container. This helps to visually and physically separate items. Use labels to clearly indicate where things go. This will help you know where things should go back to after you take them out of the space. Overall, use this time to make the space look good!
I hope that these tips will help you get past those feelings of overwhelm and get started with your organizing project.
Stay tuned for more updates on our Kitchen Organization Overhaul.
Kitchen Organization Overhaul
How to Get Organized When You Are Overwhelmed (You’re here)
How to Plan a Kitchen Organization Overhaul in 3 Easy Steps
7 Things You Need to Get Rid of When Organizing Your Kitchen
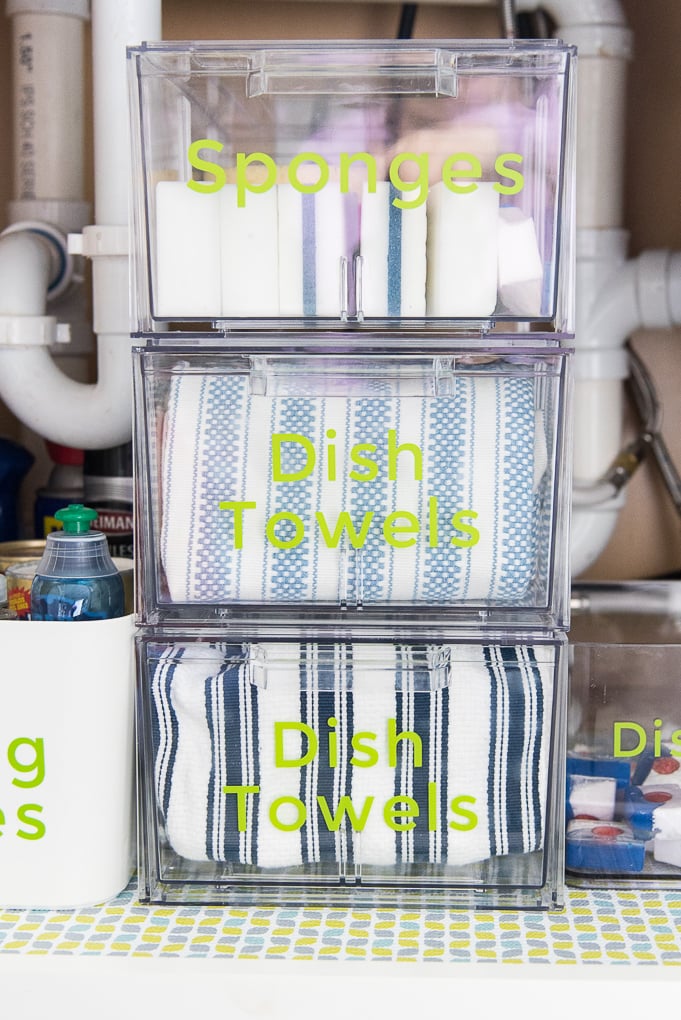
How to Organize Under the Kitchen Sink
Organized Kitchen Cabinets and Drawers {Part 1}


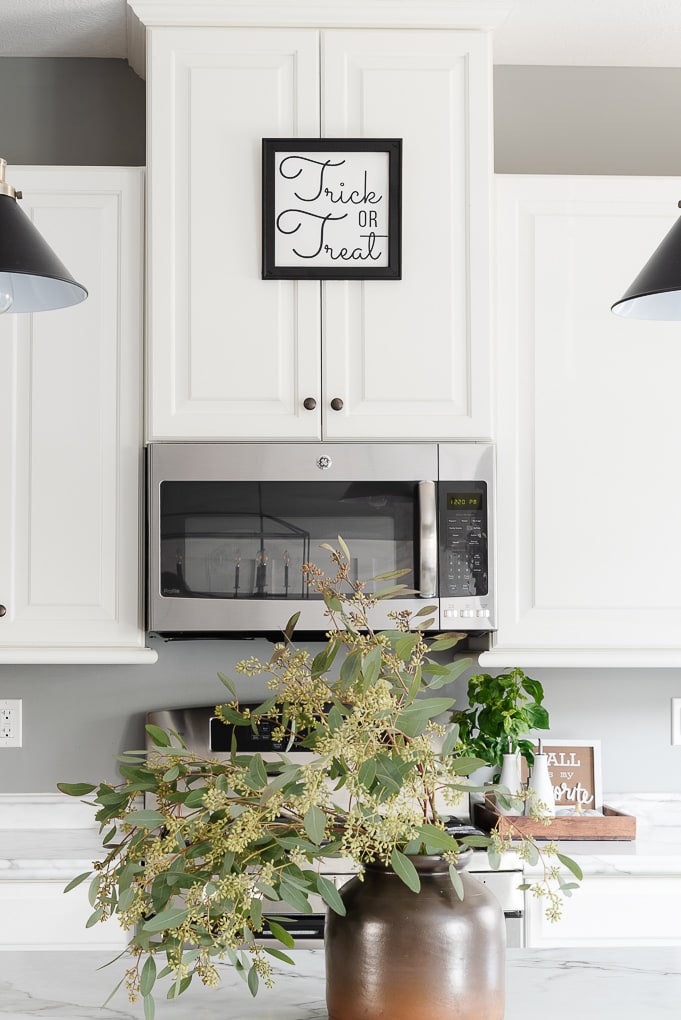
Wow, Christene, your kitchen is absolutely gorgeous, and you’re right – it does look like it’s perfectly organized! In fact, yours is one I’d see on Pinterest and long for mine to look just like it! We had our kitchen redone about 6 years ago and went from white to wood cabinets, so now, of course, I see your and all the other beautiful white kitchens and I long for white again! LOL! I have to say, though, that as I scrolled through your post, I was really hoping there would be a pic or two of your cabinet doors thrown open, revealing the mess within – if only to make me feel a little better about my own! (Maybe there’s another post like that somewhere on your site?) Love your tips, though. They came at the perfect time, as I’m just getting ready to clean out the pantry.
Hi Deb! Yes, there’s another post showing some of the before and afters of the cabinets and drawers. Please know – my home is not perfect! Lots of real life over here. Please check out this post to see some before and after organizing: https://www.keystoinspiration.com/organized-kitchen-cabinets-drawers-part-1/
>> Christene
I was wondering if there was an easier way to print out a lot of your awesome tips for getting organized & downsizing your place. I have limited things I can do in to this apartment. I do love reading all your blogs & I’m glad I found it. Thanks much.
My spouse and I will be finally be moving into our newly built home in the coming weeks. It’s a house that we’ve designed together, so it’s completely unique. It’s also the biggest place I’ll have lived in since moving out of my parents house! What am I going to do with all that wonderful space?! Anyway, thank you for this post. It’s a good jumping off point for organizing a brand new kitchen.