How to build a modern barn door for your home. Step by step instructions for building a craftsman style door and installing a barn door hardware kit.
I always envisioned added a sliding barn door in our master bedroom. I even had the perfect location for it too.
The door to our master bathroom was a builder basic door that swung into the bathroom. It constantly annoyed me because when it was open, it blocked the shower. And when it was closed, and the vanity drawer was open, you couldn’t open the door!
I looked at a few barn door options online, but they were all super expensive and totally out of our budget.
So instead of just buying one online, Ben and I decided that we could DIY one instead.
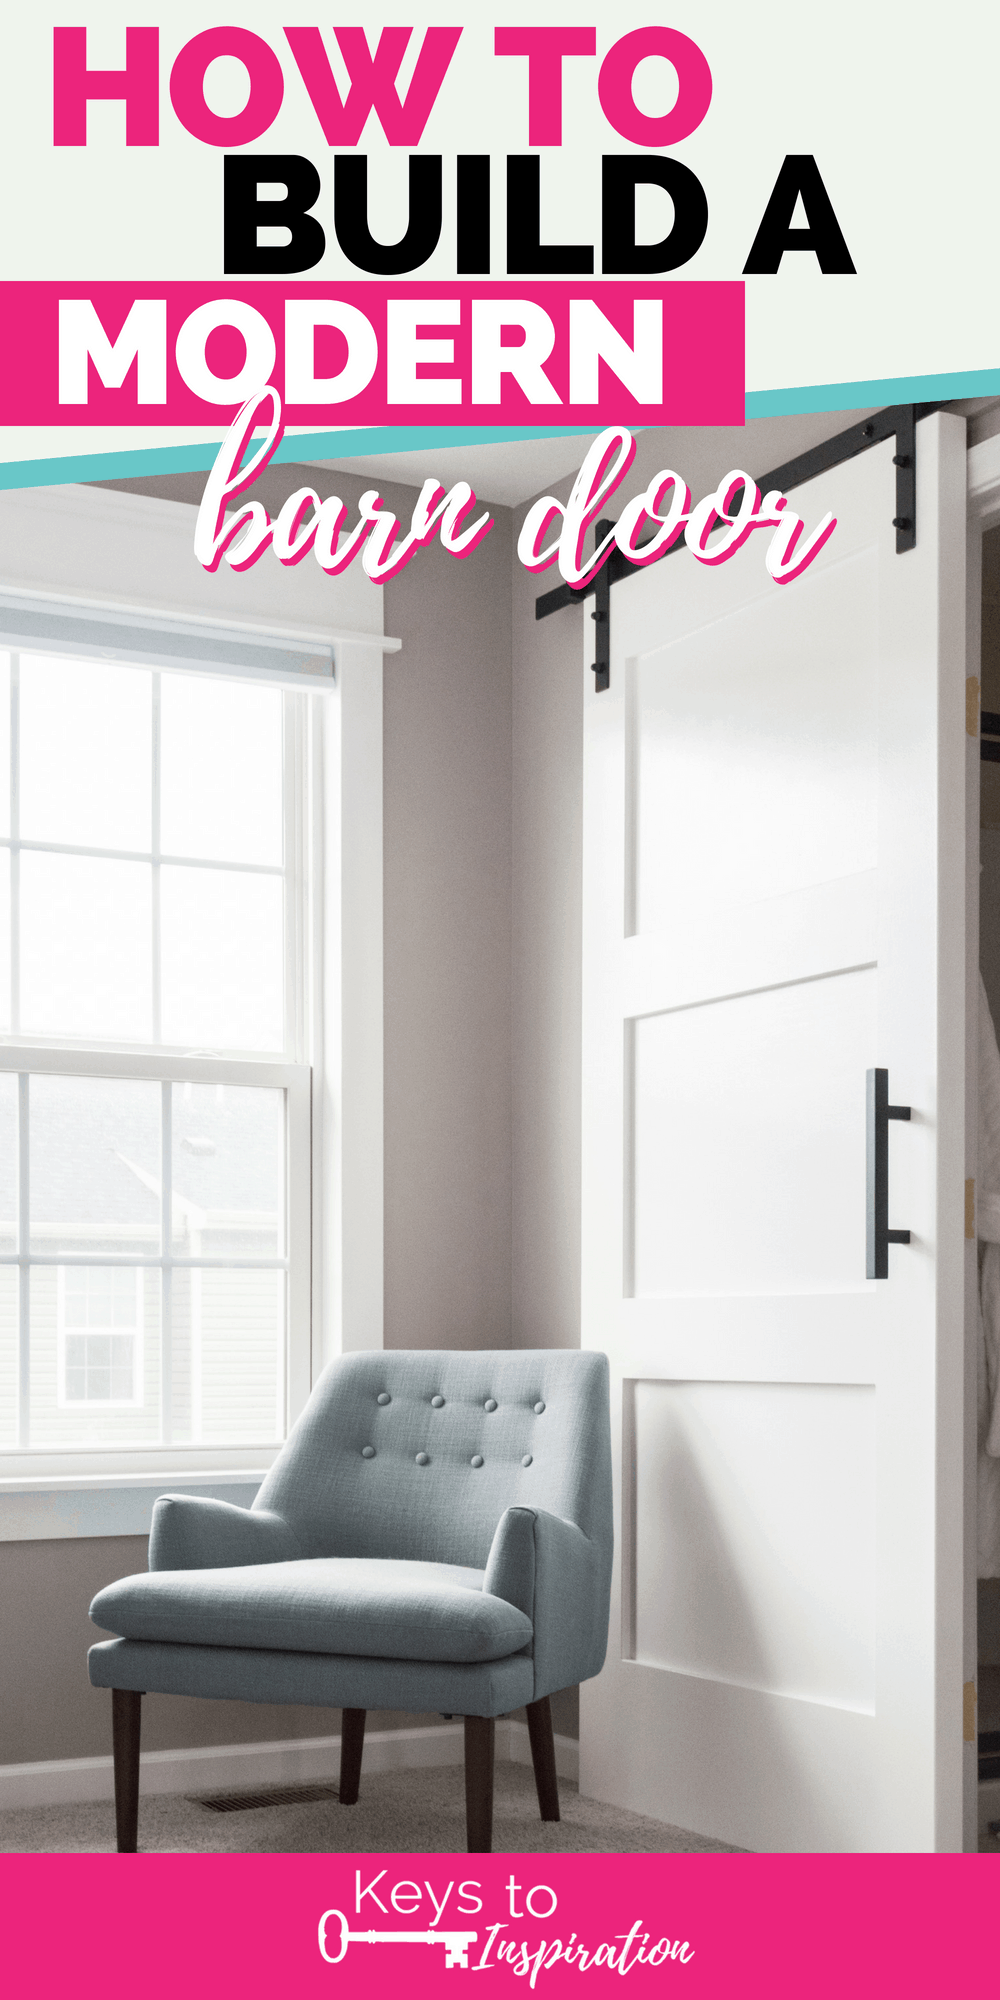
We looked at a few different designs online and decided that we could save a ton of money by making the door ourselves and using a barn door hardware kit.
And while building a door sounds like a complicated process, it actually wasn’t that difficult at all! I was honestly a little worried going into the project that we were in over our heads. But Ben reassured me that this was totally something we could tackle with our DIY experience.
Here’s how we build our own modern barn door.
If you aren’t interested in doing a full DIY barn door yourself, but still want to get the look for your home, I think you’ll love these barn doors. White Shanty makes a ton of beautiful, custom barn door options, so you can find one that fits with the style of your home. I love the look of this door – you can even get frosted glass. There are also more modern options that you can choose from. I really love this one! Check out White Shanty and find the perfect barn door for your home.
PS: I know this post is long. But, I promise that the DIY process really wasn’t that hard. There’s just a lot of explanation involved in order to show you in a blog post format exactly how we built it.
How to Build a Modern Barn Door
Materials:
- Barn Door Hardware Kit
- Handle Hardware Kit
- 1 Large Piece of ¾” Finishing Plywood
- MDF Boards 1×4, 1×6, and 1×2
- 1 6’ Piece of Oak Wood
- Drywall Screws
- Wood Putty
- White Paintable Caulk
- Wood Glue
- Primer
- White Semi-Gloss Paint
Tools:
- Miter Saw
- Circular Saw
- Kreg Rip-Cut Jig
- Hand Saw (optional)
- Drill
- Impact Driver
- Countersink Drill Bit
- Stud Finder
- Combination Square
- Sandpaper
- Brad Nailer
- Trim Router
- Wood Clamps
- Chisels
- Painting Tools
Building the Door
First, we needed to actually build the door. I really wanted a clean-lined and modern looking door. Not necessarily the typical “barn door” that you would see in a farmhouse style home.
After some browsing on Pinterest, I decided that a craftsman style door would look the best. I showed a few designs to Ben and he came up with a quick design for our master bedroom.

The first step was to create to door base. We decided to cut a large ¾” wide piece of finishing plywood to the door size.

Our door size was about 39” wide and 85” tall. We chose this size by measuring the outside of the door opening trim. Then, we added two inches to those dimensions so that the door would completely cover the trim.
To cut the plywood to size, we used a circular saw and the Kreg Rip-Cut Jig. This tool is designed to be a guide for a circular saw so you can get straight and precise cuts.


Once the door was cut to size, it was time to add the craftsman details. To get the look of craftsman trim on the door, we decided to use 1×4 MDF boards. First, we cut two MDF boards to the height of the door using a miter saw. These created the vertical trim pieces. Then, using the miter saw again, we cut smaller horizontal trim pieces.


At the bottom of the door, we wanted to have a thicker looking piece of trim. We couldn’t find MDF board that was the exact thickness that we wanted. So instead, we used a 1×6 board and a 1×2 board to beef up the base.
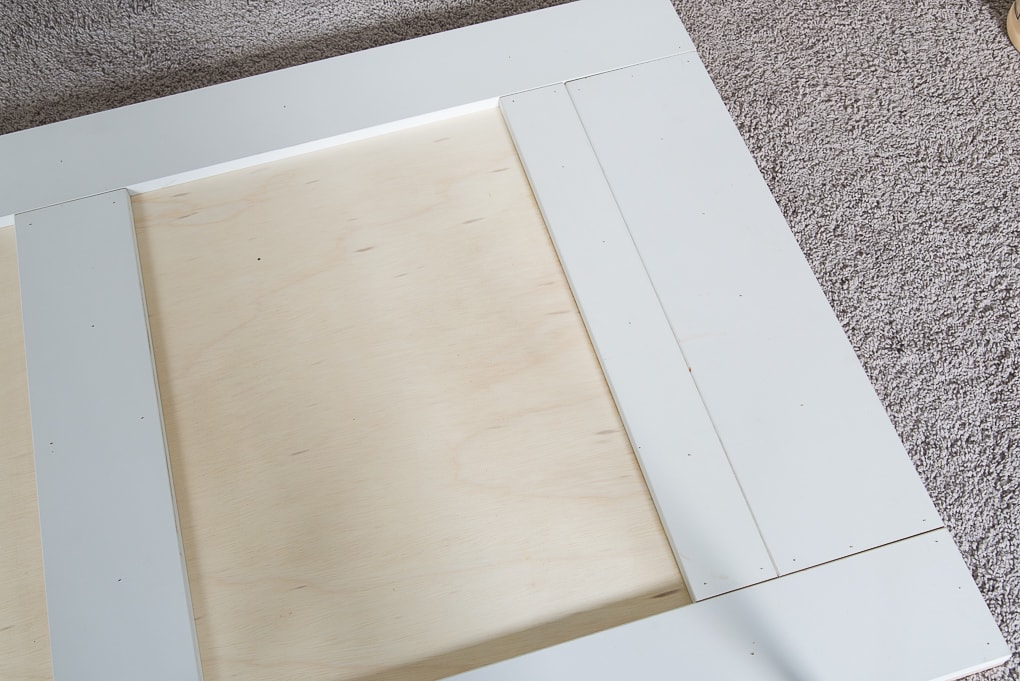
Once we cut enough trim pieces for both the front and the back of the door, it was time to attach them to the door base. We used wood glue on the back of each trim piece and then used a brad nailer to attach all of the trim to the door base.
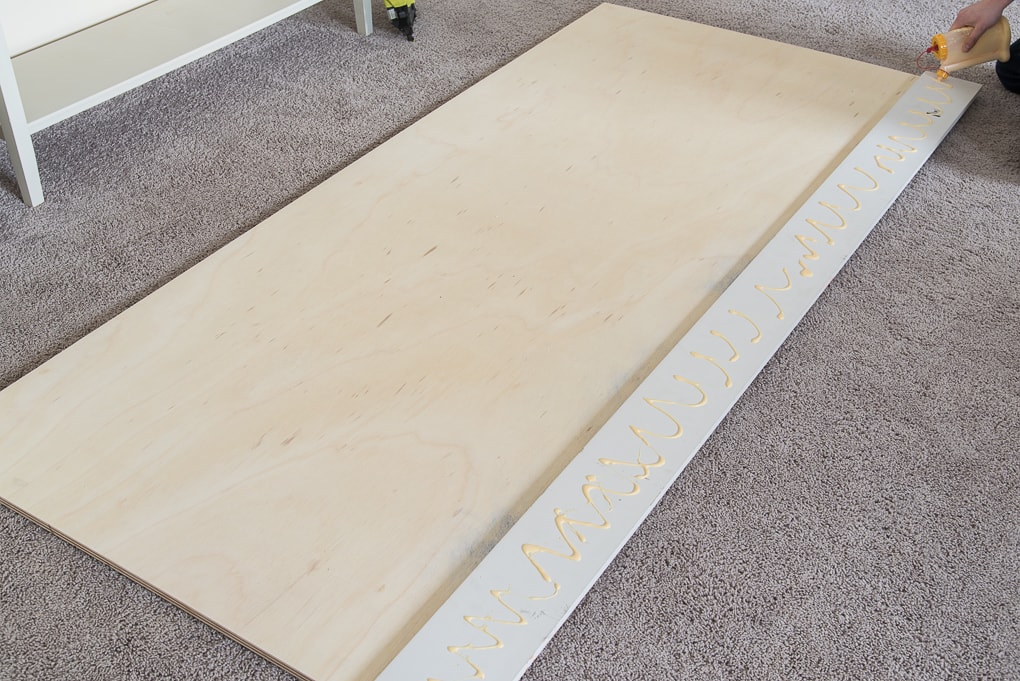

After the boards on the front of the door were secured, we flipped the entire door and repeated this process for the back of the door.
Next, it was time to prepare the door for priming a painting. The first thing we needed to do was fill all of the holes and gaps to create a seamless looking door.
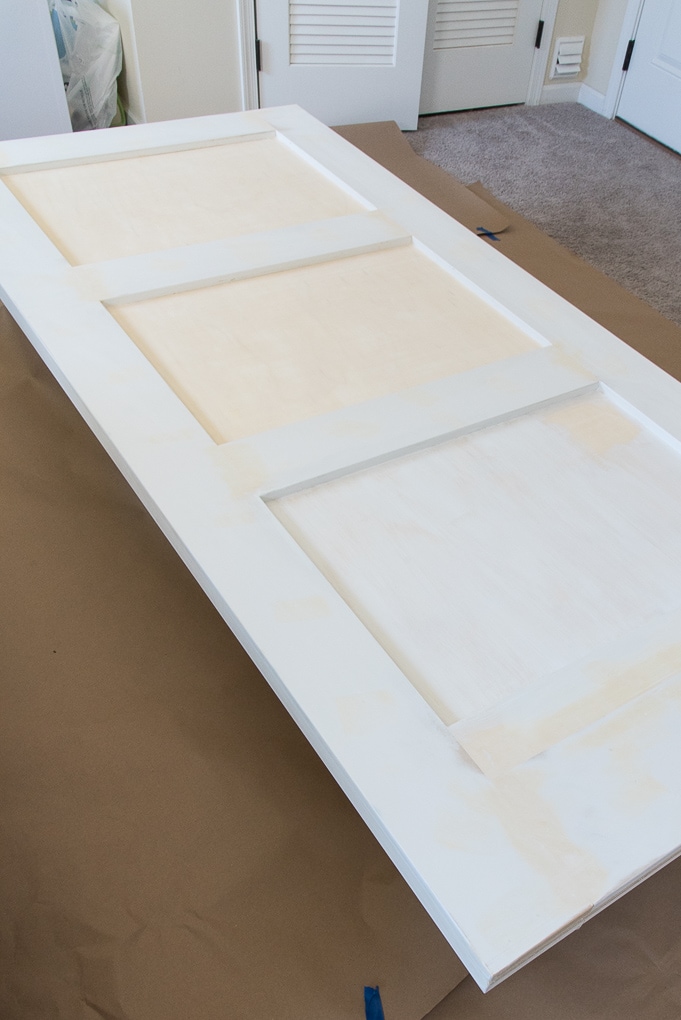
We used wood putty to fill all of the nail holes, gaps between trim boards, and the gap between the two boards that made up the bottom trim piece.
To fill the gaps between the trim boards and the door base, we used paintable white caulk. Once the putty and caulk had dried, we sanded the entire door so that it was smooth and ready for painting.
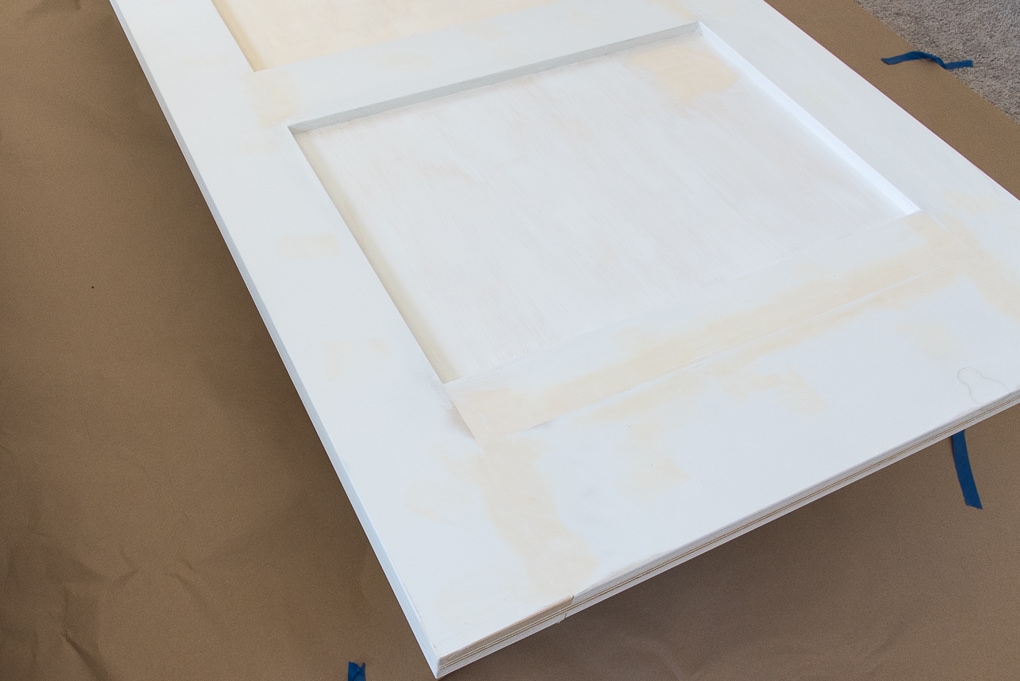
I put a coat of primer on the door first and let it dry. Then, I painted three coats of semi-gloss white paint on both sides of the door. I didn’t get any pictures of the painting process, but I did take a long time to paint each side of the door three times. But the results were worth the wait!
To paint the door, I used my favorite angled paint brush to get into the seams and corners of the door. For the rest of the door, I used a small roller to get a nice smooth finish.
Adding the Hardware
After the paint dried, it was time to add the hardware to the door. I choose this barn door hardware set because I loved the black finish and the modern squared look of the handle.
If you’ve ever shopped for hardware before, you know that it can sometimes get expensive. Especially for larger door handles like this!
I knew I wanted something that looked substantial against the huge door, but I didn’t want to spend tons of money. Thankfully, I found this budget-friendly set. The hardware is really nice in person and I love the weight of the handle. It feels sturdy like an expensive door pull, but at a much better price point.
Once we determined the location for the handle on the door, we marked where the screws needed to go.
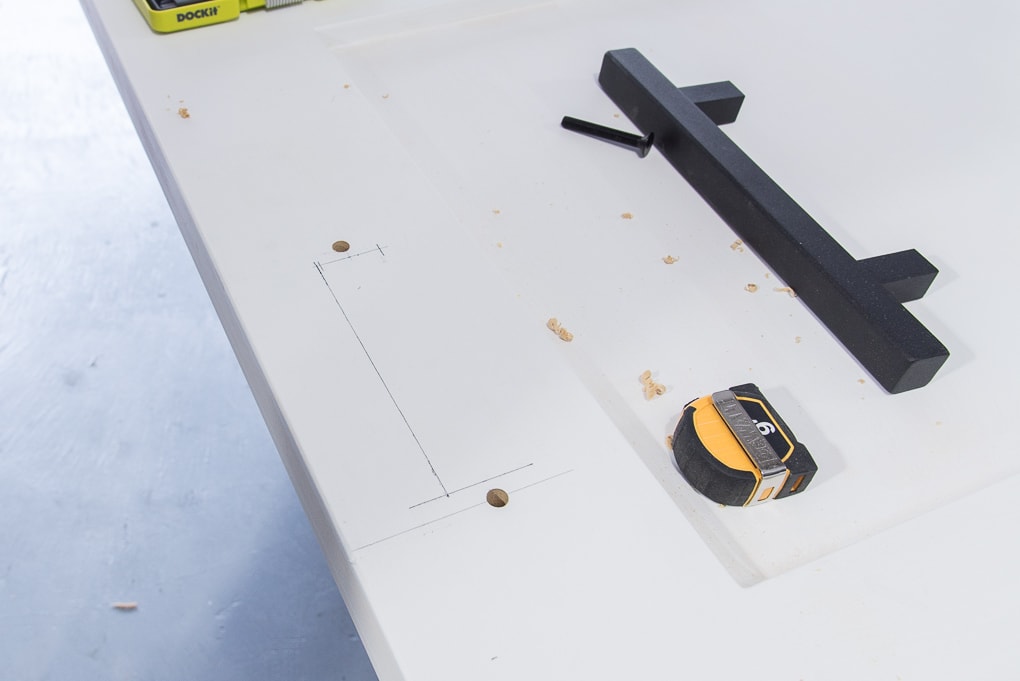
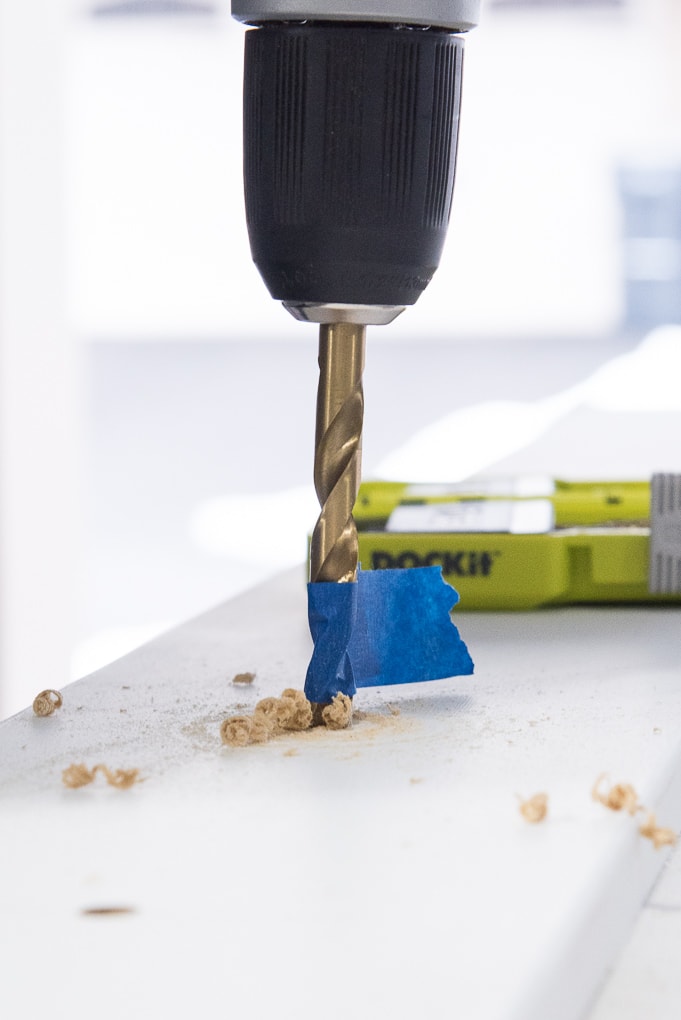
Instead of drilling all the way through the door from one side, we decided to drill halfway from either side. That way, we could make sure that the hole was straight and not at an angle through the door.
To make sure we only drilled halfway through, we used a piece of tape to mark the drill bit. Then, when we drilled the holes, we only drilled down until we reached the taped part of the drill bit.
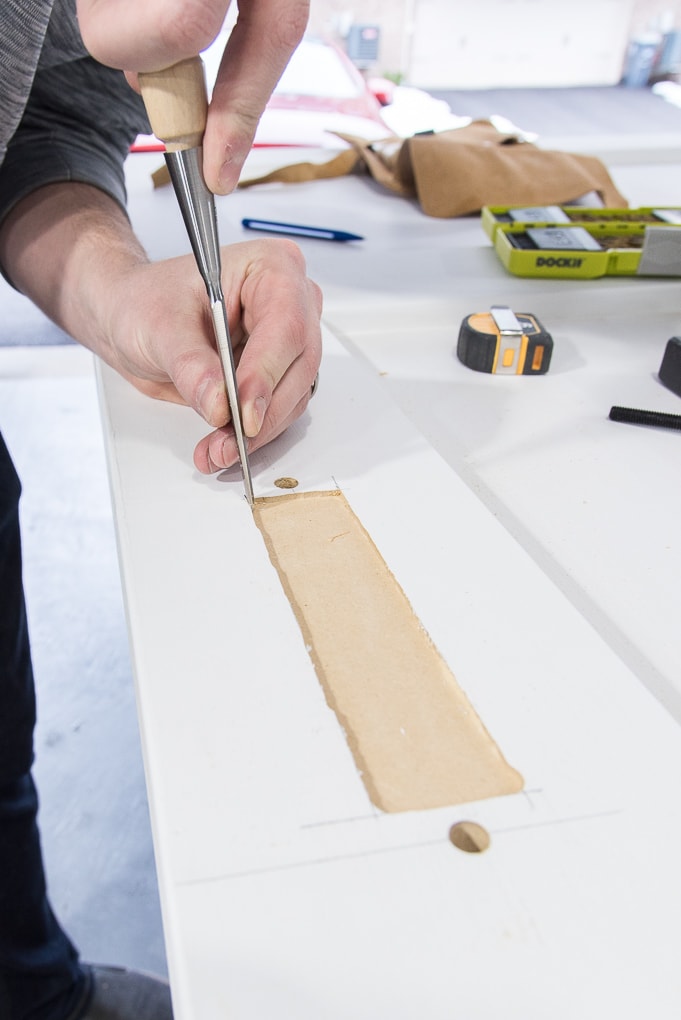
For the finger pull part of the hardware set, we needed to carve out some of the door to create a recess. We marked where the recess needed to be and used a chisel to carve out the recess for the hardware.
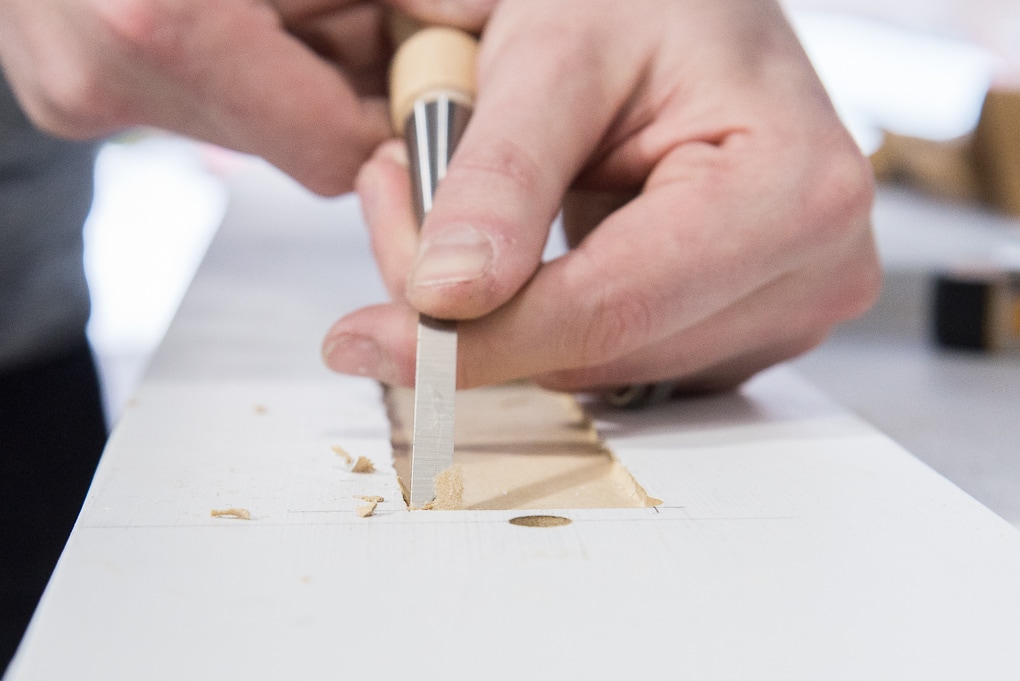
Then, we attached the door hardware using the screws that came with the hardware set.
Installing the Door
To hang the barn door we had to purchase a barn door hardware kit. Sometimes these kits can be really expensive, but we managed to find this kit for under $50! The nice thing about this kit is that it comes with step-by-step detailed instructions on how to install it in your home.
The kit comes with a few different parts:
- Rail
- Hangers
- Floor Guide
- Stoppers
First, we mounted the rail to the wall. For our barn door, we decided not to remove the trim around the existing door frame. So, in order to properly install the barn door rail, we needed to add a piece of wood behind the rail to extend it out beyond the trim.

We used a piece of oak that was 6 feet long and the same thickness as our trim. We decided to use oak instead of basic pine because it’s a sturdier wood. And since we would be mounting the door rail onto it, we needed it to be very sturdy.
The rail itself is 6’6” long. The piece of oak that we had was only 6’ long. So first, we needed to center the rail on the piece of wood.
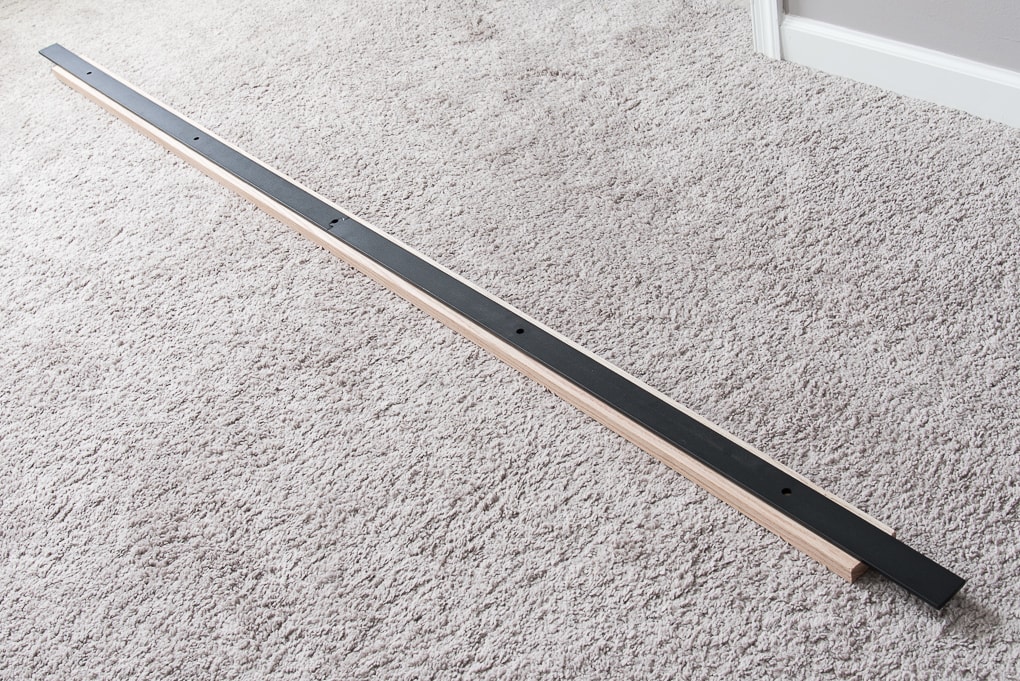
Once it was centered, we marked the rail holes on the wood. We used a combination square to mark the actual centerline of the holes so that once the rail was mounted, it would be completely centered on the board.

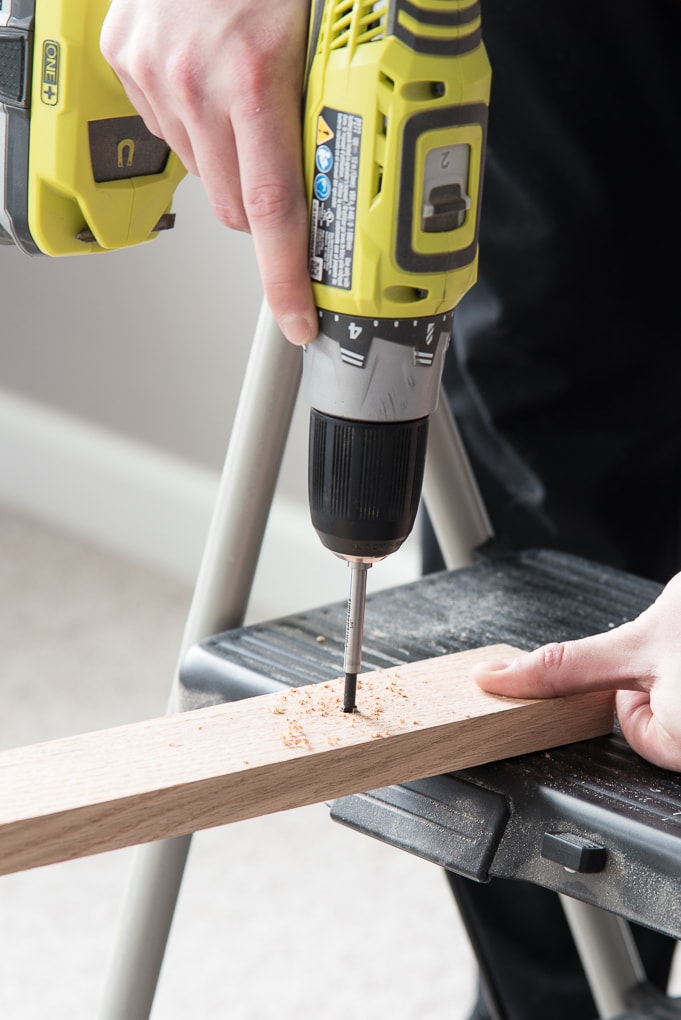
Next, we drilled pilot holes into the wood for the rail mounting screws. We used a drill bit that was smaller than the screws. This allowed the threads of the screws for the rail to hold onto the wood itself.
The barn door hardware kit comes with very detailed instructions about where to mount the rail in relation to the door opening. We determined where our rail needed to go on the wall and marked that location. For our door, the bar needed to extend 7-¼” past the door opening.
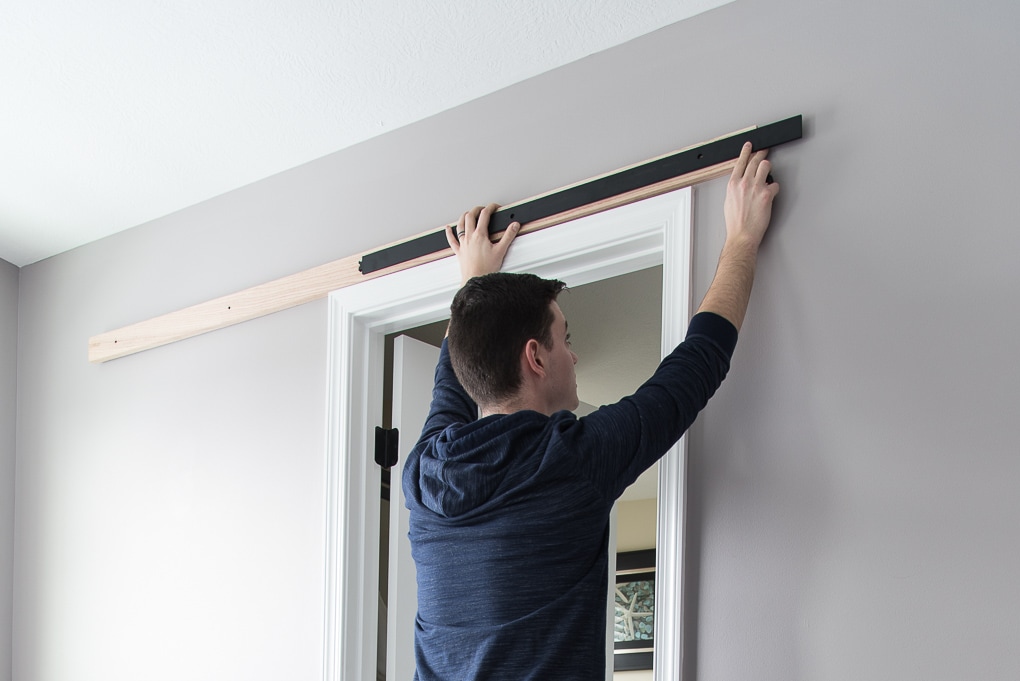
This helped us to figure out where we needed to mount the piece of wood first so that the rail would be in the correct location.
To mount the wood to the wall, we first used a stud finder to locate the studs. Once we found the studs, we marked their location on the wood. Then, using a countersink drill bit, we drilled holes in the wood. We decided to drill two holes vertically at each stud location.
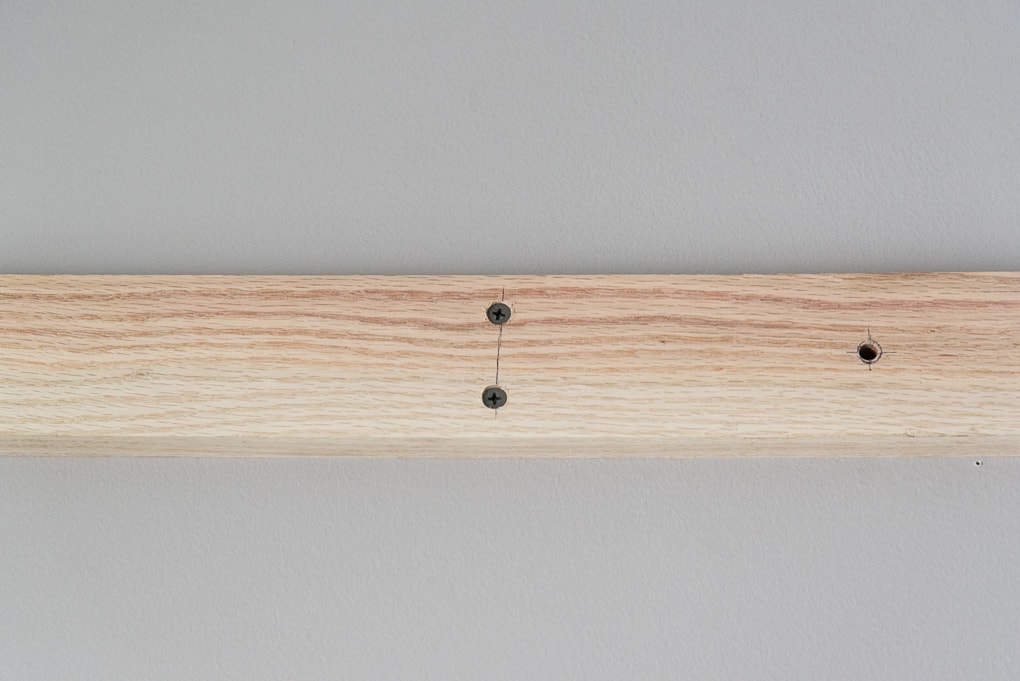
Finally, we used screws to attach the wood to the wall.

After it was attached, we used wood putty to fill in the screw holes. Once then dried, we lightly sanded and painted the wood the same color as the wall. (wall color is London Coach by Valspar).

Then it was time to attach the rail to the wood. Following the instructions from the hardware kit, we mounted the rail to the wood using the pre-drilled pilot holes.


Next, we attached the hangers to the door itself by following the instructions for the hardware kit.
Because our door was thicker than 1-¾”, the screws that came with the kit were not long enough. So, we had to buy longer screws at the store and spray paint them black to match the hardware. We took one of the hardware kit screws to Home Depot and had them help us find the same screw size but just longer.
The floor guide that came with the hardware kit is a little piece of plastic that keeps the door from swinging away from the wall. The guide has to fit into the bottom of the door, so we needed to create a channel along the center of our door. The floor guide is about ¾” tall so we needed to make our channel that same depth.
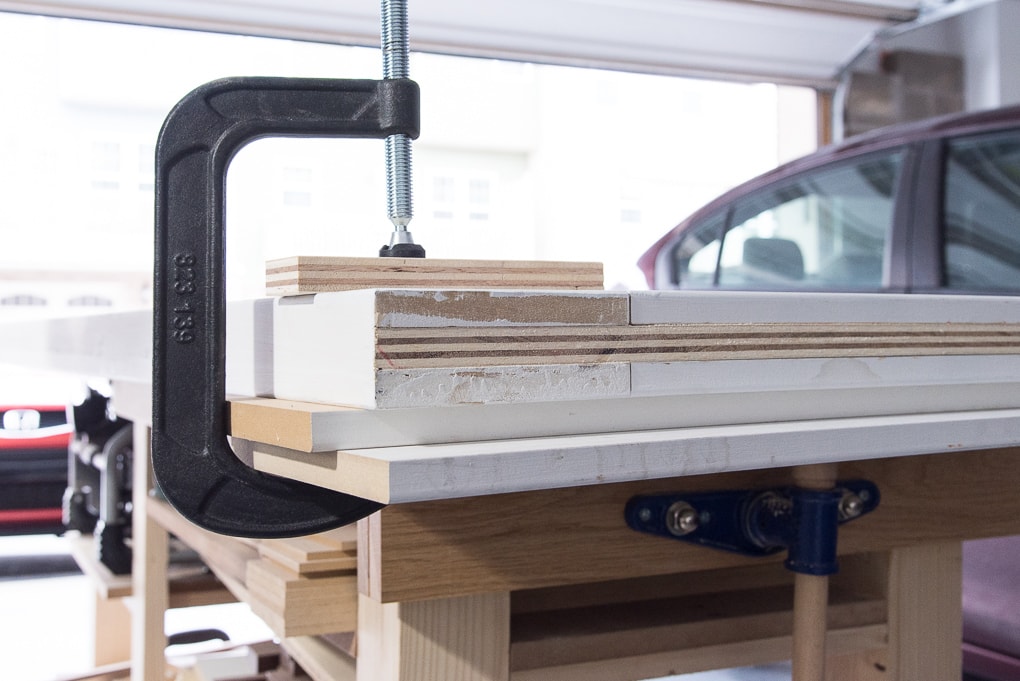
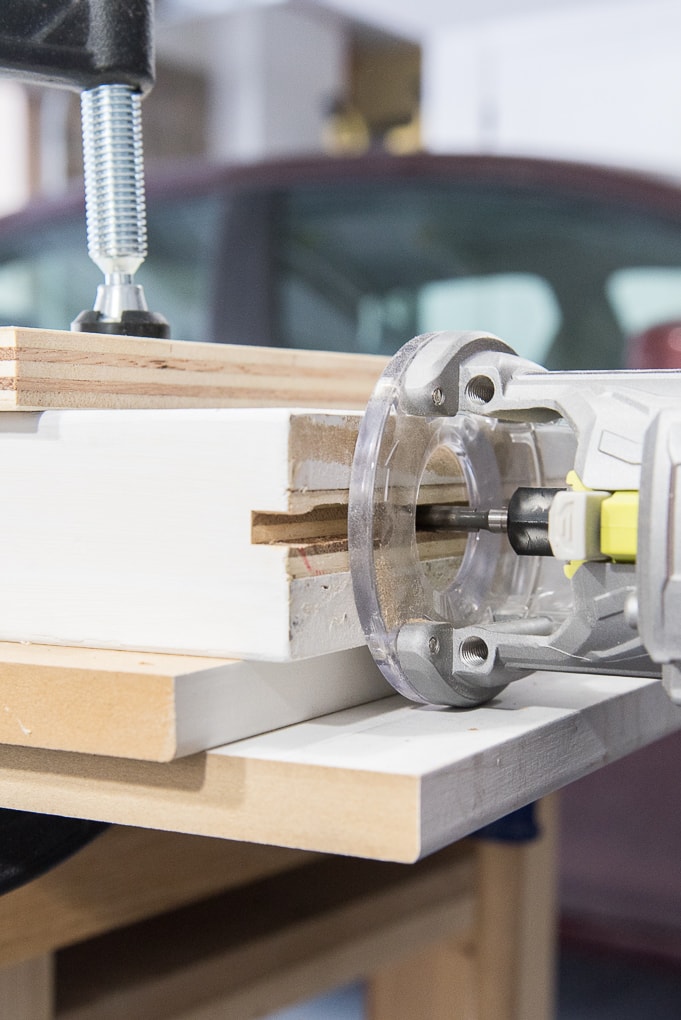
We used a trim router with a ¼” bit so that the channel would be ¼” wide. In order to keep the channel straight along the bottom center of the door, we used wood clamps and scrap wood to create a guide along the door. We tried different scrap wood spacers until we got the bit to be exactly in the center of the door.

The depth of ¾” for the channel is a lot of wood to cut out all at once. We ended up doing three passes to get the correct depth.
Because the plywood is made up of layers, the channel ended up being a little rough. But it didn’t have to be perfect. It just had to be straight and the correct depth.
Finally, we hung the door on the rail. The first time we tried this, we found out that our door was about ½” too tall and was dragging along the carpet.
This was definitely frustrating after doing all of that work and lifting the heavy door up two flights of stairs. Thankfully, we figured out a way to easily fix this on the spot. We used a hand saw to cut off about ½” on the bottom of the door. Then, we hung the door on the rail again, and it fit perfectly!
Once the door was able to slide along the rail, we figured out where the stoppers should go. We attached those to the rail according to the hardware kit instructions.
The last step was to install the floor guide. All we did was hold the door straight and then measure how far the center channel was away from the wall. With this measurement, we attached the floor guide to the floor using two wood screws.
And then we were done!

Once I finally stood back to admire the completed door I was in love! It’s perfect for our master bedroom!
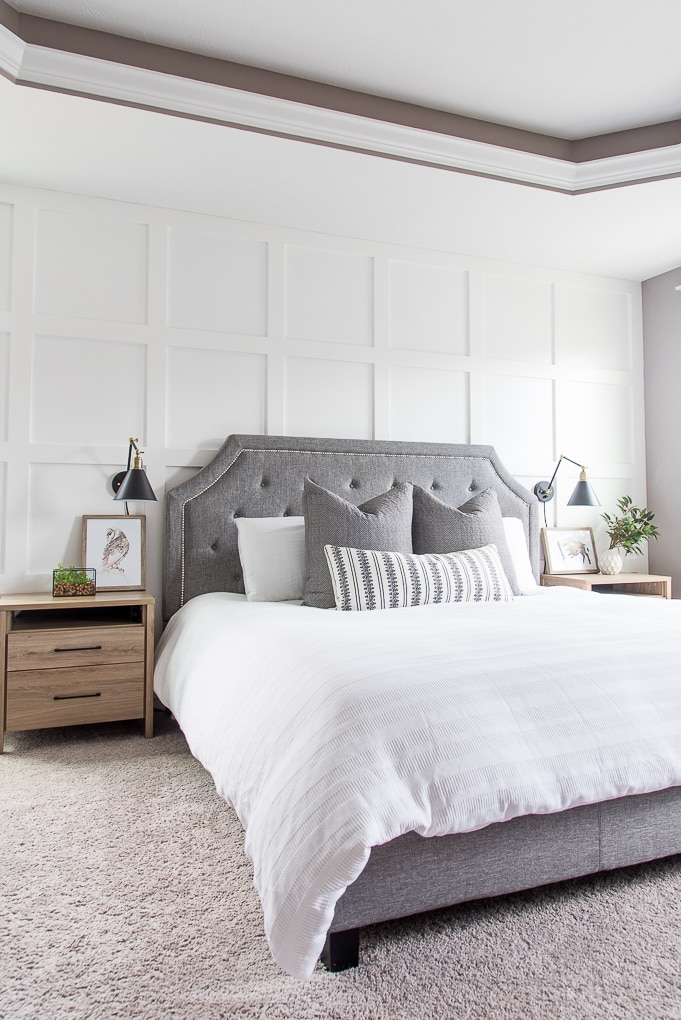
The style of the door compliments our grid board and batten wall. And the black hardware looks great against the bright white door.

We still have to patch and paint the hardware holes from the previous door. But besides that, our new modern barn door is complete! The best part is, I don’t have to worry about the bathroom door being in the way anymore.
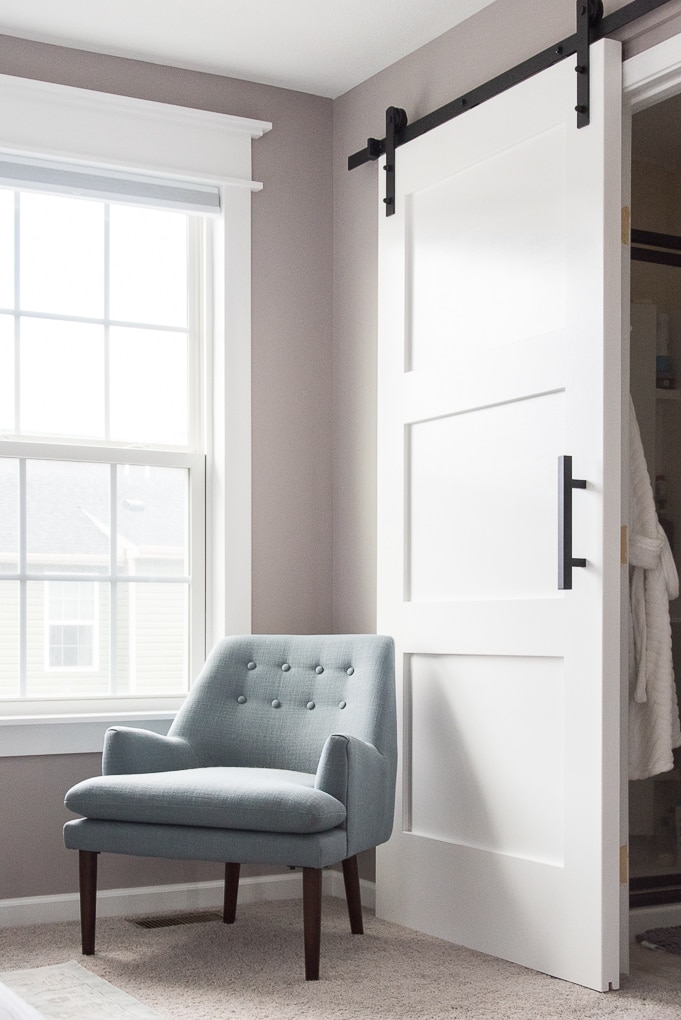
The barn door hardware works really well. It’s very smooth and the stoppers keep the door from slamming. Even though the door is pretty heavy on its own, it’s not difficult to slide on the rail at all.
Overall, this project cost us about $200. To buy a brand new barn door was around $800. So in the end, we saved ourselves a ton of money by going to DIY route.
I’m really happy with our DIY version of a modern barn door. And honestly, I think I might try and convince Ben to replace our closet door next!
We’ll see if he’s up for another project 
The master bedroom is getting closer and closer to being complete! Stay tuned for the full room reveal!




I love how these turned out! You did a great job. I wish I had the room for a door like that. Thank you for detailed instructions. If I ever get to make a door like this I’ll definitely use your tips. Thanks again Christene!
Thank you so much! I appreciate the kind words. I always feel like my posts end up being so long……but I love to add details!
Thanks for stopping by the blog.
>> Christene
This guide of yours would be perfect for my husband’s next DIY project. He loves improving our home and he spends every weekends to make some minor changes. He usually gets his plans from work but since you’ve already put up everything here, it would be a lot easier for him. Thank you!
Great job … It turned out so well …
Do visit us at Door Hardware website for more designer door handles, door knocker and more.
It looks so beautiful! I didn’t know it would look so elegant. Must convince the people in the house to change our doors! HAHAHA. Love this! xoxo
What size screws did you purchase for the hanging kit? I purchased 3” screws and I have the door up but it is hitting the door trim and won’t close Trying to find a resolution, should I take off trim? Smaller screw? Thanks!
Hey, unless your setup is different from ours, I don’t think the screw length has any effect on the distance the door sits away from the wall/trim. We had the same issue with trim which is why we had to add the oak “spacer” above the door to push the whole door assembly away from the trim. If I am misunderstanding the issue, just let me know, but I would look at increasing the thickness of the spacer that the hardware attaches to.
>> Christene
Hey Kim, I think you have the dome nuts on the wrong side of the door. We put the dome nuts facing out, and the thinner hex heads on the trim side…that might be the problem.
Hope this helps,
>> Christene
Looks great. I need to build the same type of door. I was wondering how you covered up the side of the plywood which it seems like would show once the door was hung. Did you just paint it?
Jared – yep we just primed and painted it.
>> Christene
I love your style door that you built! We are going to try to make this today. I had a question about the size of trim MDF boards. The computer diagram shows you using 1×6’s but in your blog post, you wrote 1×4’s. Which one did you end up using? Thanks!
Hi Stephanie! Sorry for the confusion there. For all of the door we used the 1×4. At the base we wanted the trim to look larger so we used a 1×6 and a 1×2 to beef it up. But we only used that at the bottom. I hope that makes sense
>> Christene
I am considering having a door made similar to this using the same plywood and style and rails, but my concern over time is this: Will the door warp or twist since the rails and styles are not joined? Have you had any feedback about the doors warping over time?