Add beautiful floating shelves to your home without spending a ton of money. These IKEA LACK shelves look amazing and were under $100, which makes this home DIY project super affordable.
Want more IKEA home improvement projects? Check out how to build a modern media center, how to create extra storage, and how to build a desk using kitchen cabinets.

This post contains affiliate links for your convenience. For more information, see my disclosures here.
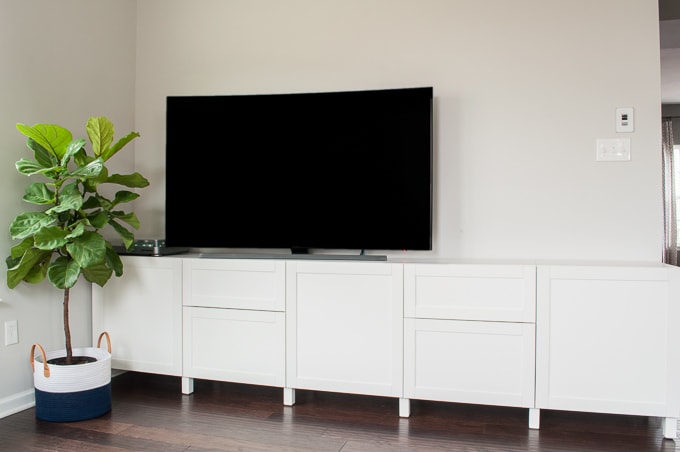
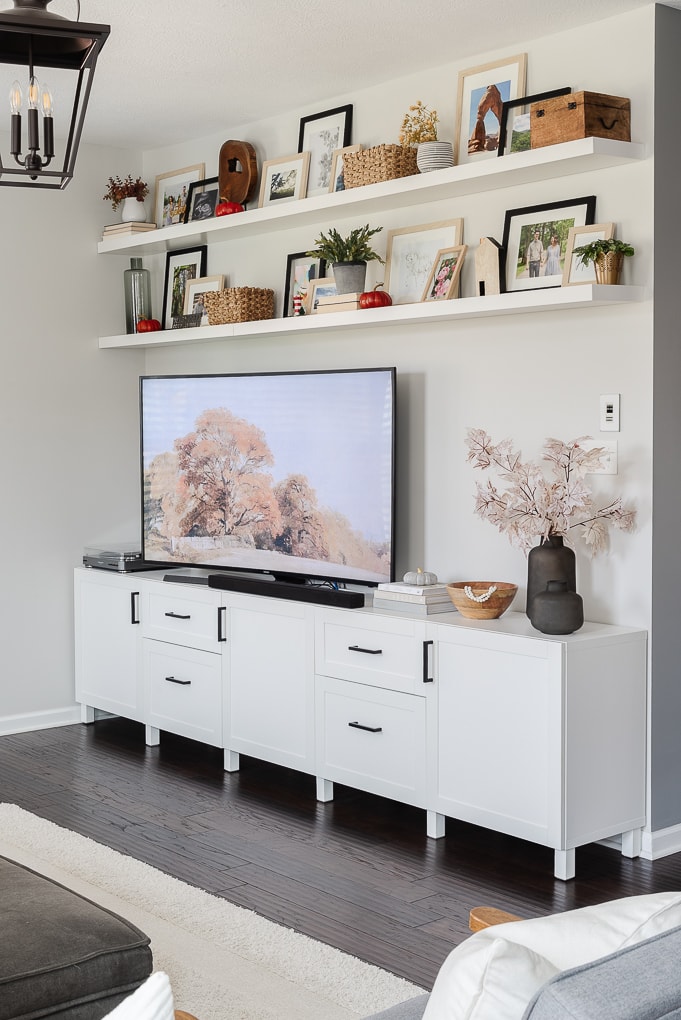
Ever since we added our media center to the living room, I’ve wanted to add shelves. The media center gave us a lot of storage and made this section of the living room look more intentional and complete. But the wall space above the media center always seemed really empty.

I thought about adding a gallery wall to this space, but each time I tried to plan one out it never seemed right.
So, I started looking at shelving that we could add to the wall area.
At first I wanted to add shelves that looked like a built-in media center. Something that would attach to the existing cabinets and extend everything towards the ceiling.
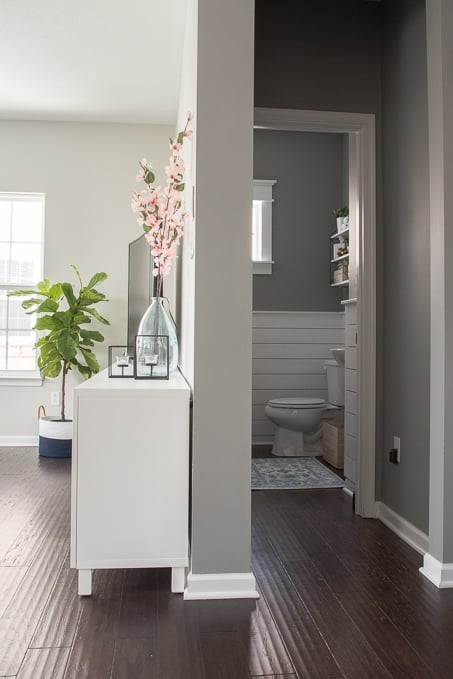
But since the media center is the first area you see when you come up the stairs, adding a large cabinet felt heavy. It would be like you were walking into a space with a giant wall in front of you.
That’s not what I wanted at all. Instead, I wanted the room to still feel open and airy.
Ultimately, I decided on something a little visually lighter – floating shelves.
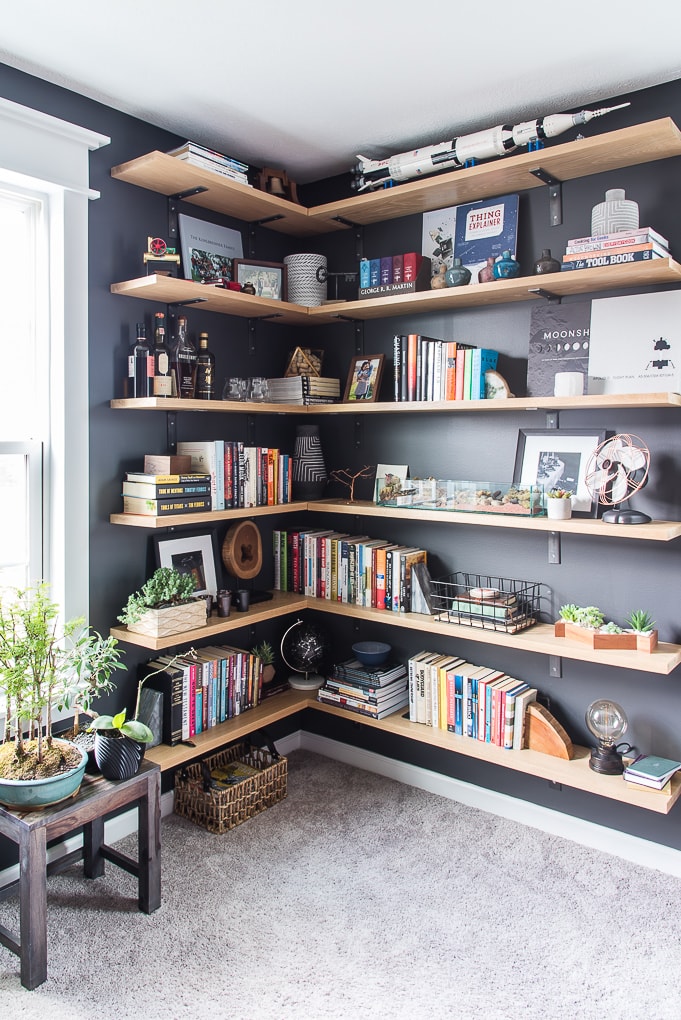
We’ve done floating shelves in the past in our home. First, we built our own versions in Ben’s office here. And then, when we rearranged his office, he decided to build his own floating shelves in the corner. You can see his new office tour here.
For the living room, I wanted something easy and quick that wouldn’t require us to do everything ourselves.
So I went with my go-to source – IKEA!

IKEA has a great collection of floating shelves that come in a variety of different colors and sizes. They are called the LACK series shelves. Not only are they super affordable, but they also are really easy to install.
Let me show you how we added these floating shelves to our living room.

How to Build Beautiful Floating Shelves
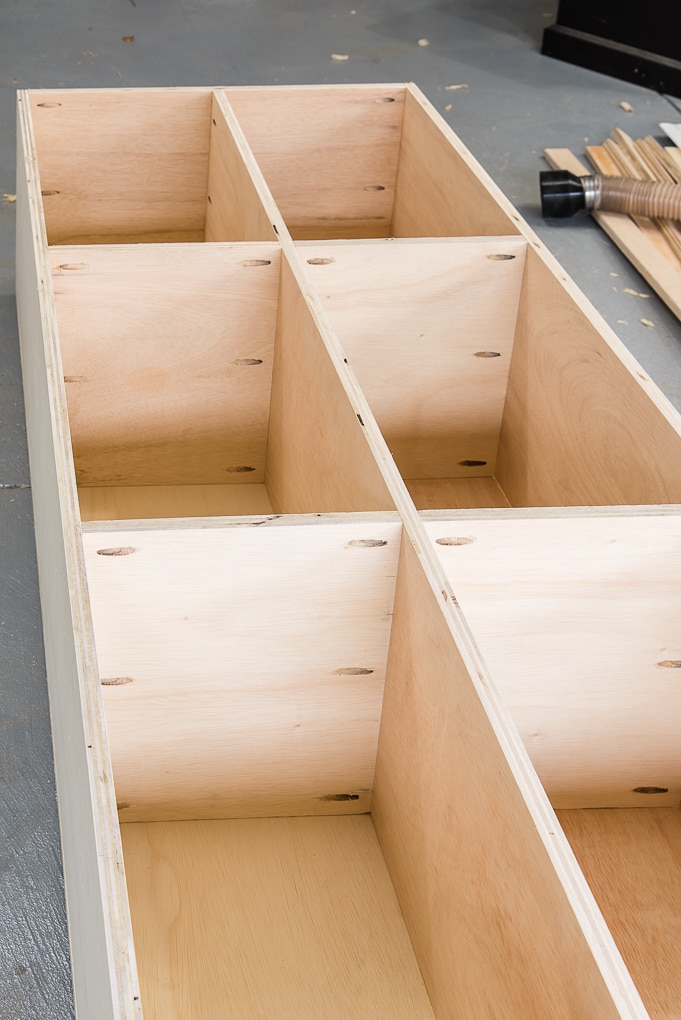
One thing that is convenient about this wall in our living room is that it’s the exact right size for many of IKEA’s products. When we built our media center, we found out that the BESTA cabinets would fit perfectly against this wall.
The same thing happened with the LACK shelves. We choose two sizes to create a full wall of floating shelves. The longer shelf was the 74.75” length. The shorter shelf was the 43.25” length.
I purchased two of each size shelf so that we would have two large floating shelves above the TV and media center area.
The total price was just under $100!

Installing the shelves was really easy. First, we used a laser level to mark off the location on the wall for each shelf.
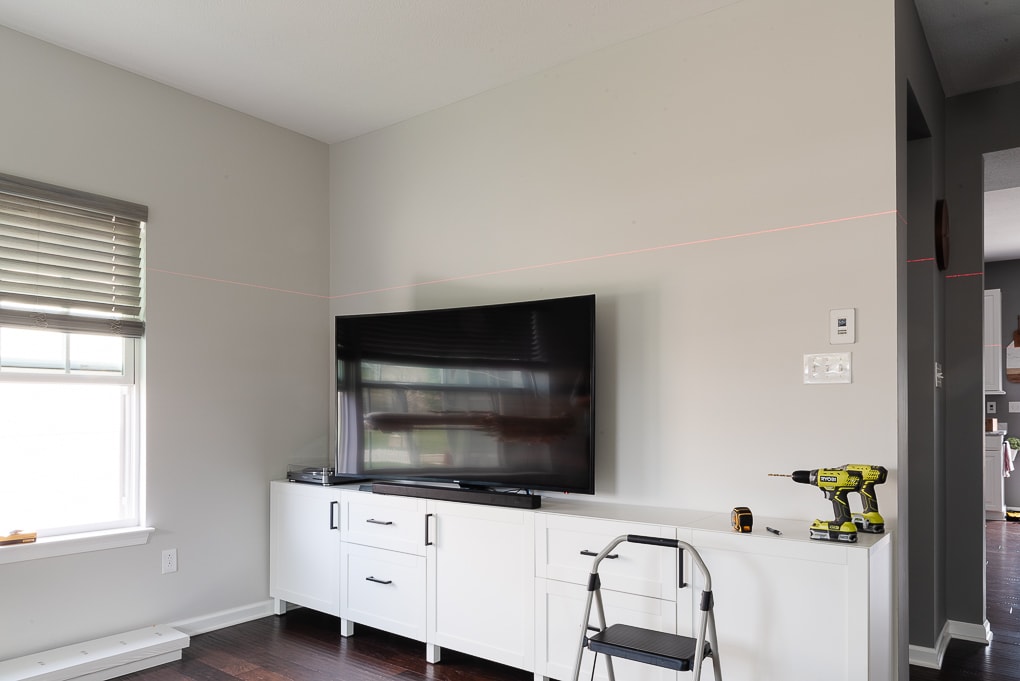
The laser level sounds fancy, but it’s not complicated at all. It’s a great tool to have in your home for any type of project.

We attached the level to the wall on the opposite side of the room.

Then, we adjusted it to create a level line on the media center wall. This allowed us to mark off the floating shelves locations using a pencil.

After the locations we marked, we installed each shelf.
We attached the smaller shelf first on the left side.
To attach the shelves to the wall, you first install a metal bracket.

After it’s securely attached to the wall, the shelf just slips over the bracket and you attach the two pieces together with some screws along the back of the shelf.

It’s really easy!


Once the shelves were installed, you could tell where the gap was between the two different sizes.

To make the shelves look like one complete piece, we attached them together using a few mending plates.
On the lower shelf, we installed the mending plates toward the back of the shelves against the wall. That way, you wouldn’t be able to see the plate.

On the upper shelf, it wasn’t as big of a deal, because that shelf is so high up on the wall. You can’t really see anything from the ground so no one would notice the plates. We attached the mending plates evenly spaced on the upper shelves.

To match up the two shelves and get rid of the uneven gap, we tightened mending plates down using screws. We made sure to use a level to get the shelves to match up as close as possible.
They aren’t perfect, but it’s barely noticeable. And once I decorate the shelves, it will be even less noticeable.
Once the shelves were attached together, we were done.

We now have beautiful, floating shelves in our living room. These shelves make this wall look so much more complete. I love how they add lots of interest but they still have a light feeling and don’t overwhelm the space.
I can’t wait to decorate these floating shelves! I have so much room to add pictures, art, and other decorative objects. I love shelf styling, so this is going to be so fun!
Stay tuned to see how I decorate these floating shelves in our living room. I am so excited to show you the finished look!


I’m looking to do this exact thing in my living room also!
How did you get the two different shelves to butt up against each other? Was there a specific measurement from one plate to another that you used?
Hi – On the ground place the shelves against each other with the plates inside of them. Them measure the distance from mounting hole to the other mounting hole. Then you can measure that out on the wall and mark the hole locations. This should allow you to butt them up against each other.
>> Christene