Gallery Wall Layout Ideas to Display Your Family Photos
Creating a gallery wall on a blank wall is a popular trend in home decor. By selecting meaningful pieces to display, you can make a statement about your interests, memories, and the things that matter most to you.
Whether you prefer to use family photos, a piece of art, or a combination of both, a gallery wall is an easy way to display your memories in a creative way in your home.
Minimalist gallery walls are a popular choice because they offer a clean and simple look that can fit with any home decor style. Their timeless look is both simple and beautiful, so you won’t have to worry about it going out of style anytime soon.
Minimalist gallery walls are characterized by clean lines and a simple, cohesive color palette. Typically, minimalist gallery walls feature frames in all the same size, instead of different sizes.
By using frames in the same color scheme and keeping the arrangement simple, you can achieve a sleek and modern look that will fit with any home decor style.
One of my design ideas for my home office was to include a large family photo gallery wall as a focal point.
My office is shared with the basement and entry to our home. I wanted it to have a welcoming and personal feel. And displaying family photos is a great way to achieve this.
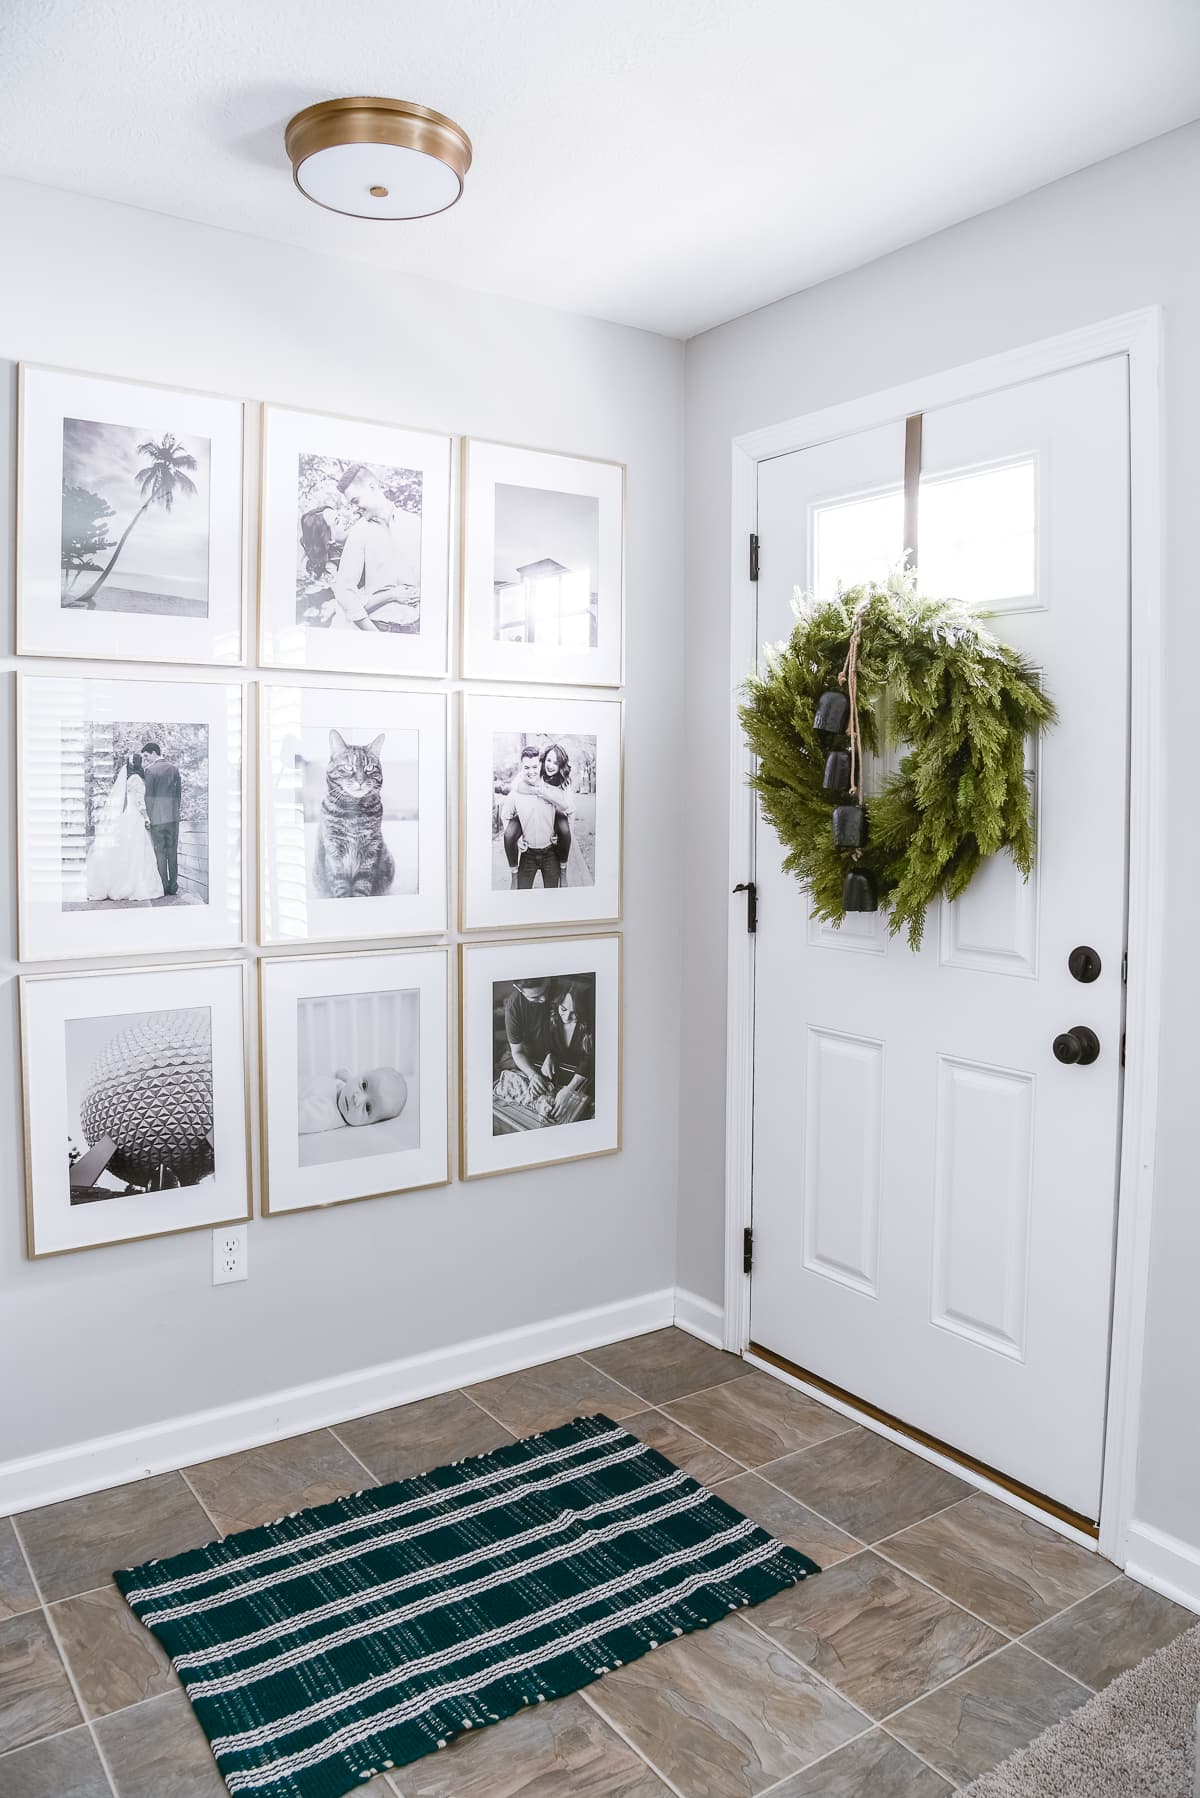
There’s a large empty wall next to our front door that’s perfect for a large-scale minimalist gallery wall. While it’s too narrow to fit a piece of furniture, it’s the perfect spot for a beautiful, impactful gallery wall
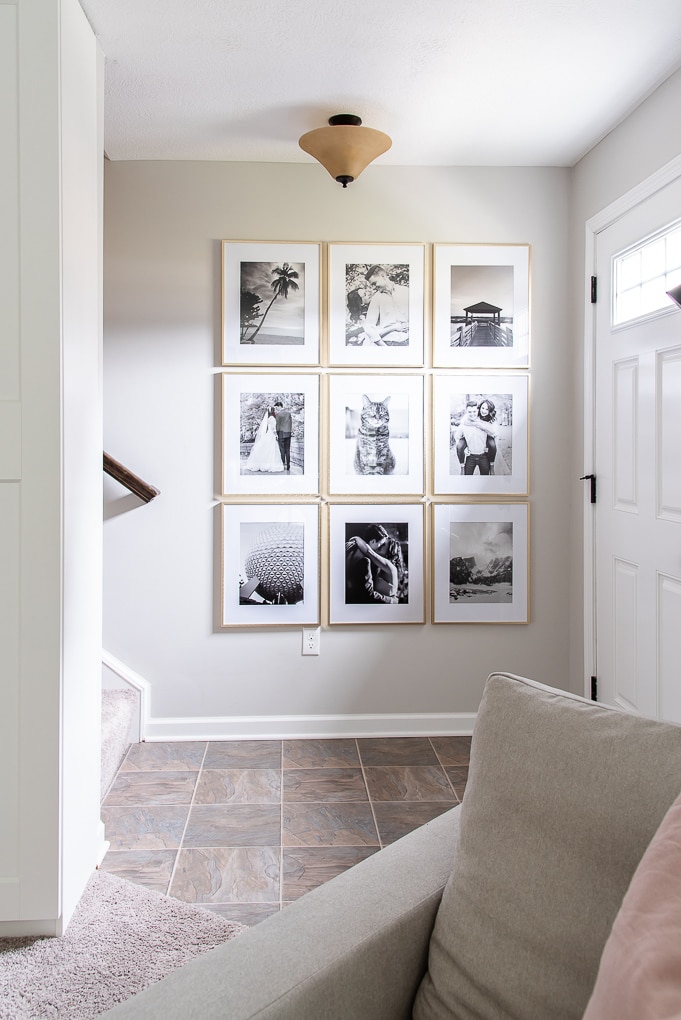
I’ve seen lots of beautiful gallery walls all over Pinterest. One gallery wall layout that really stood out to me was a simple grid design with gold frames.
I knew that this simple and classic design would be perfect for our home. Here’s how I created a minimalist gallery wall in our home.
This post contains affiliate links for your convenience. For more information, see my disclosures here.
How to Make a Simple Gallery Wall
Creating a simple gallery wall is an easy and modern way to display your favorite family photos and memories. To create a modern, DIY gallery wall, you will want to choose a gallery wall layout that is symmetric and evenly spaced. Also, keep in mind that using larger frames can make a more impacting and visually appealing gallery wall.
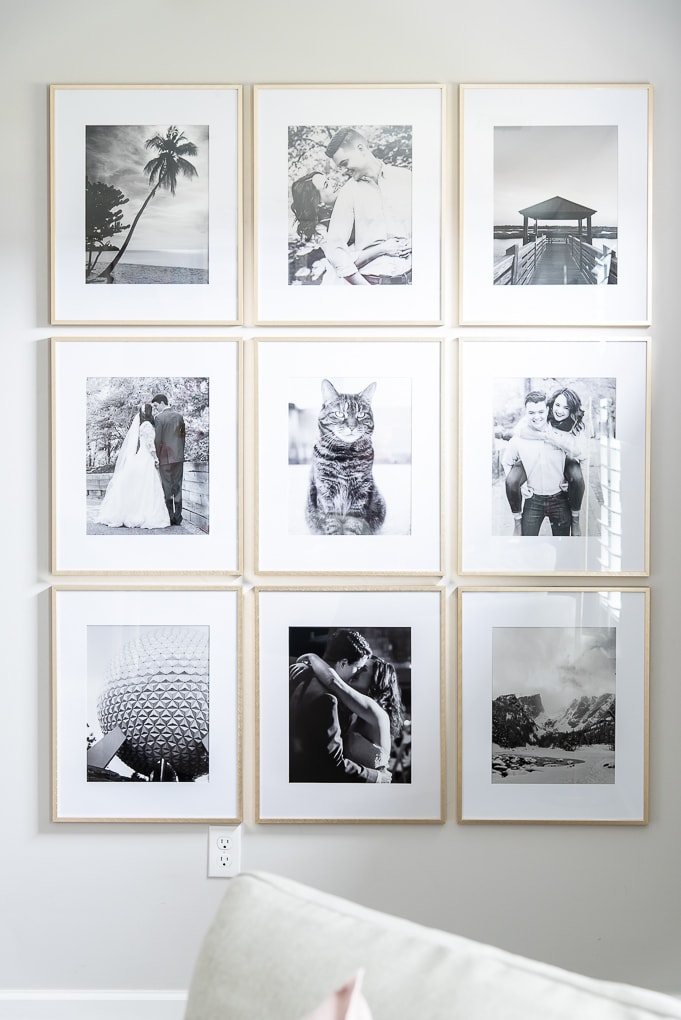
Here’s what you’ll need to create a DIY minimalist gallery wall in your home.
Materials
- Picture Frames – I decided to use 16” x 20” gold frames
- Photo or Prints
- 3M Strips (Command Picture & Frame Hanging Strips)
- Picture Hanging Nails
Tools
Planning a Gallery Wall
The first thing you’ll need to do is create a plan for your gallery wall. This is the easiest way to know what your gallery wall will look like and to minimize any mistakes when you start to hang all of the frames on the wall.
Make sure to consider scale when planning your photo wall ideas and opt for larger frames.
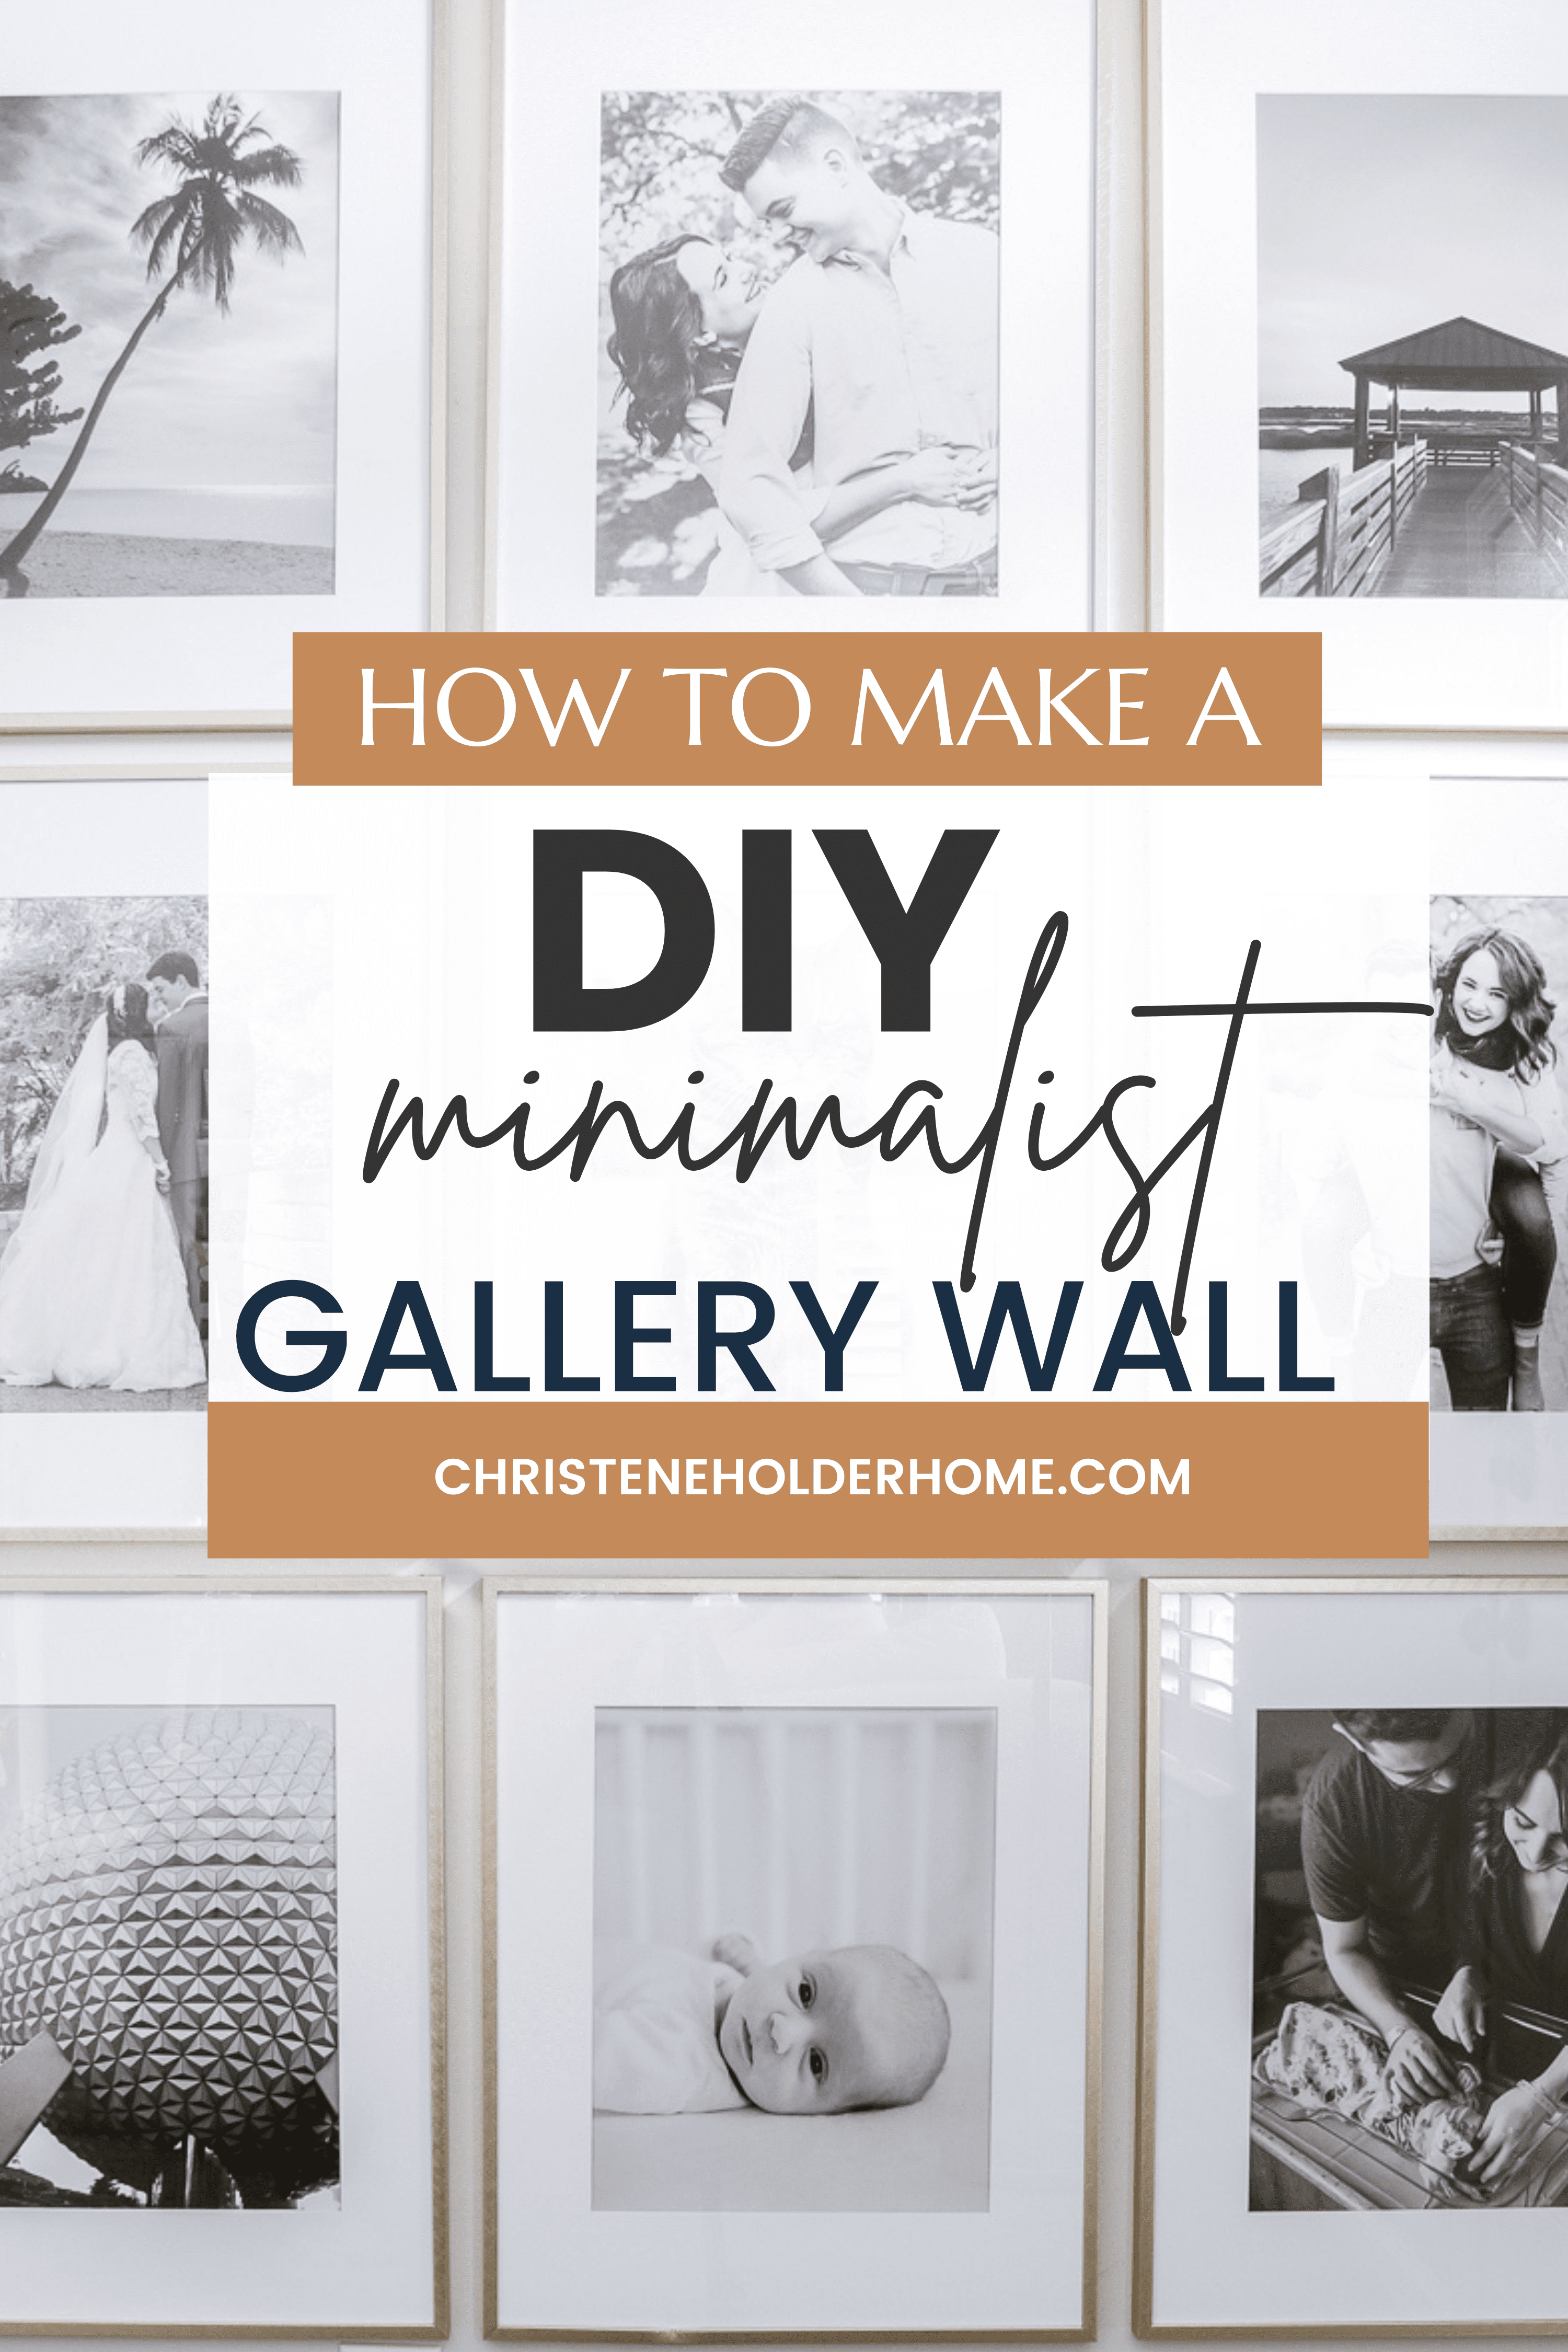
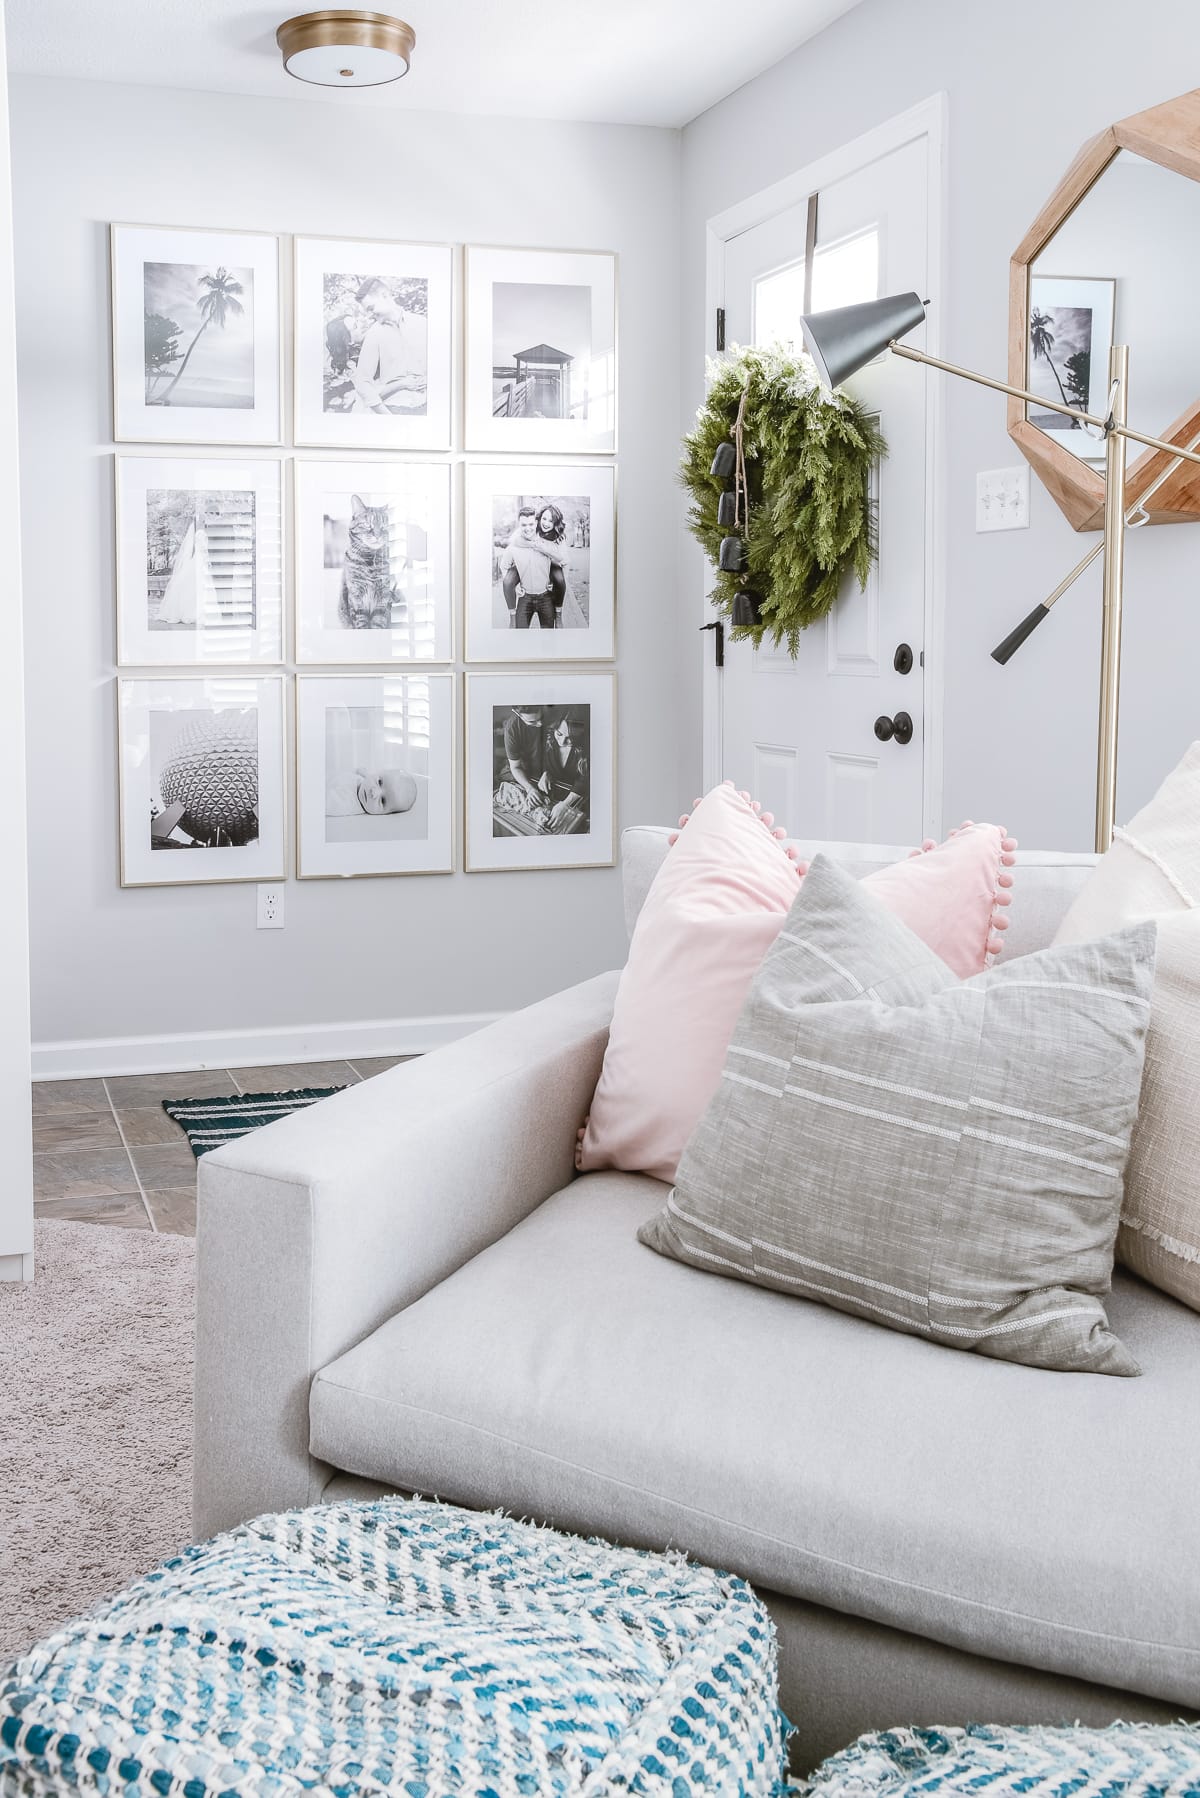
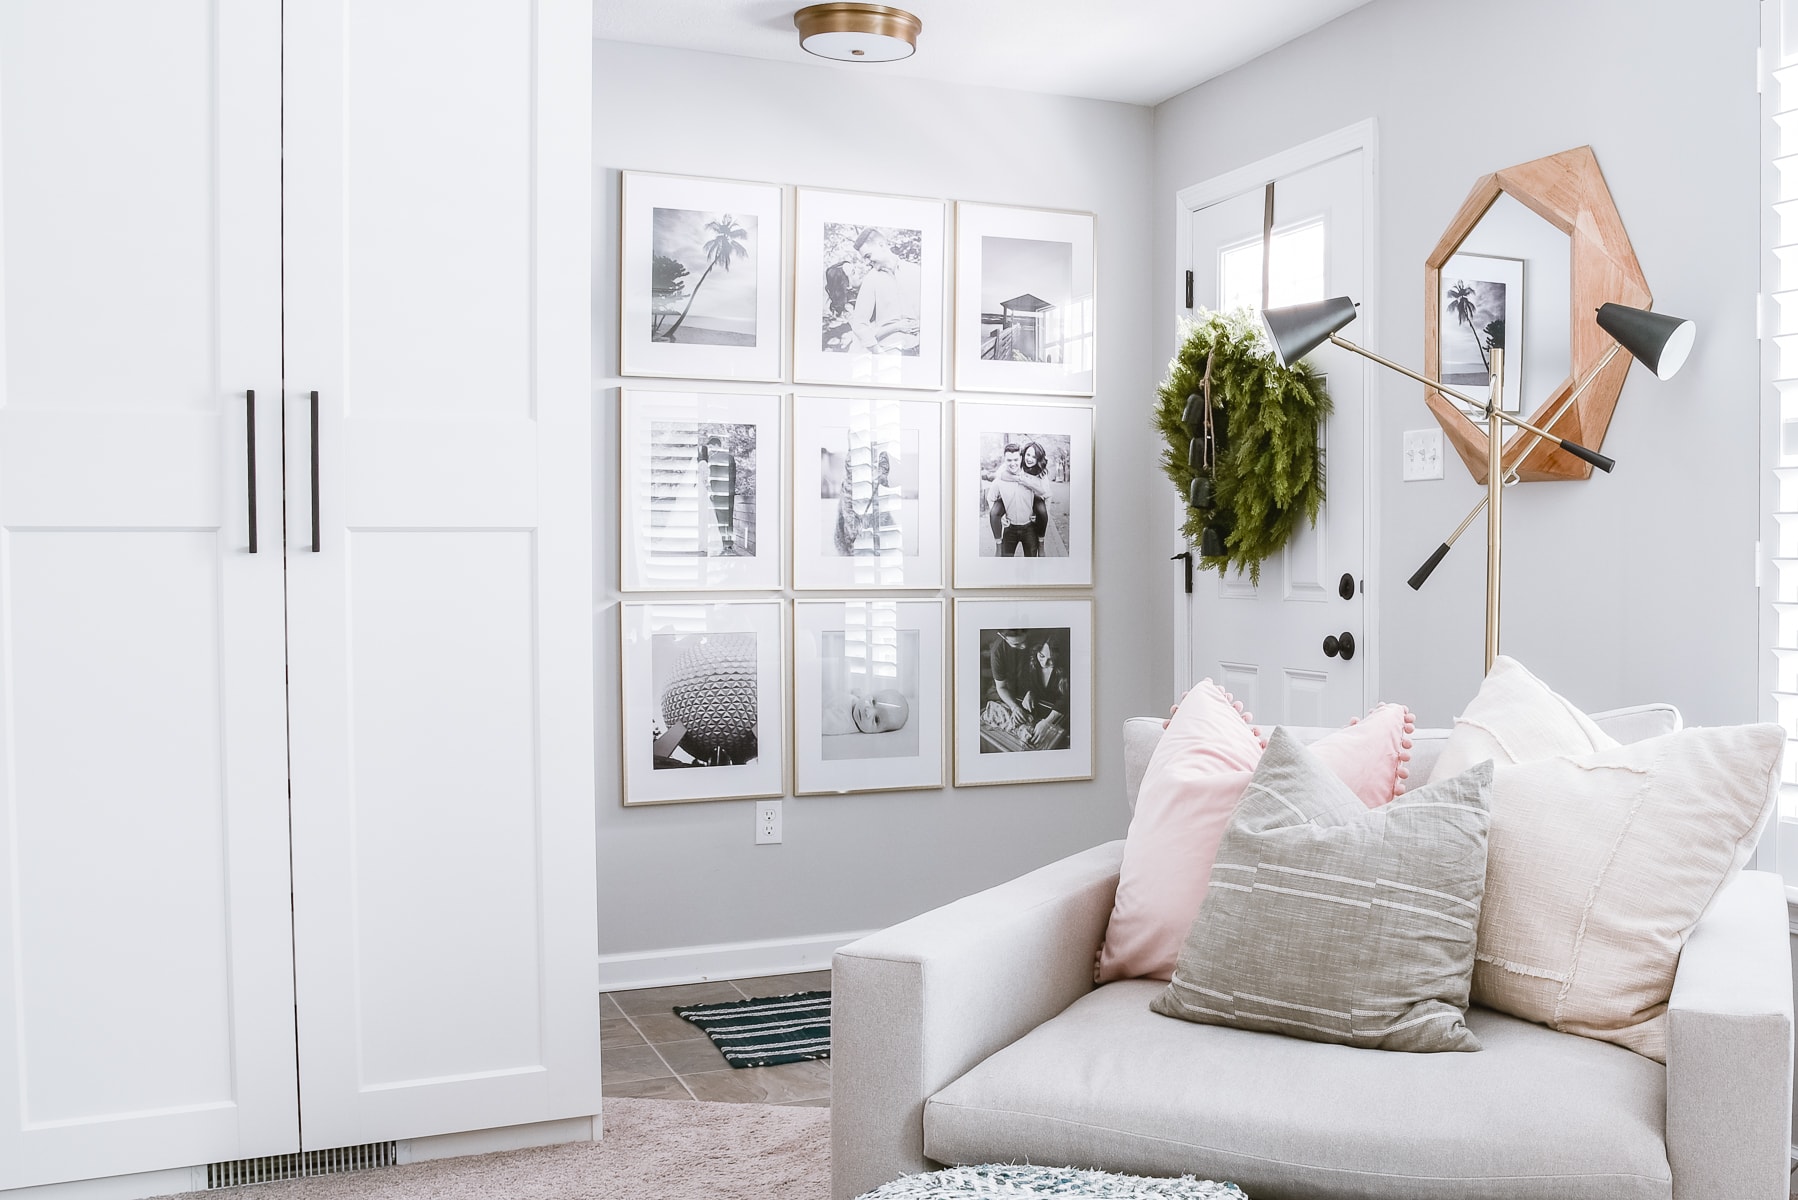
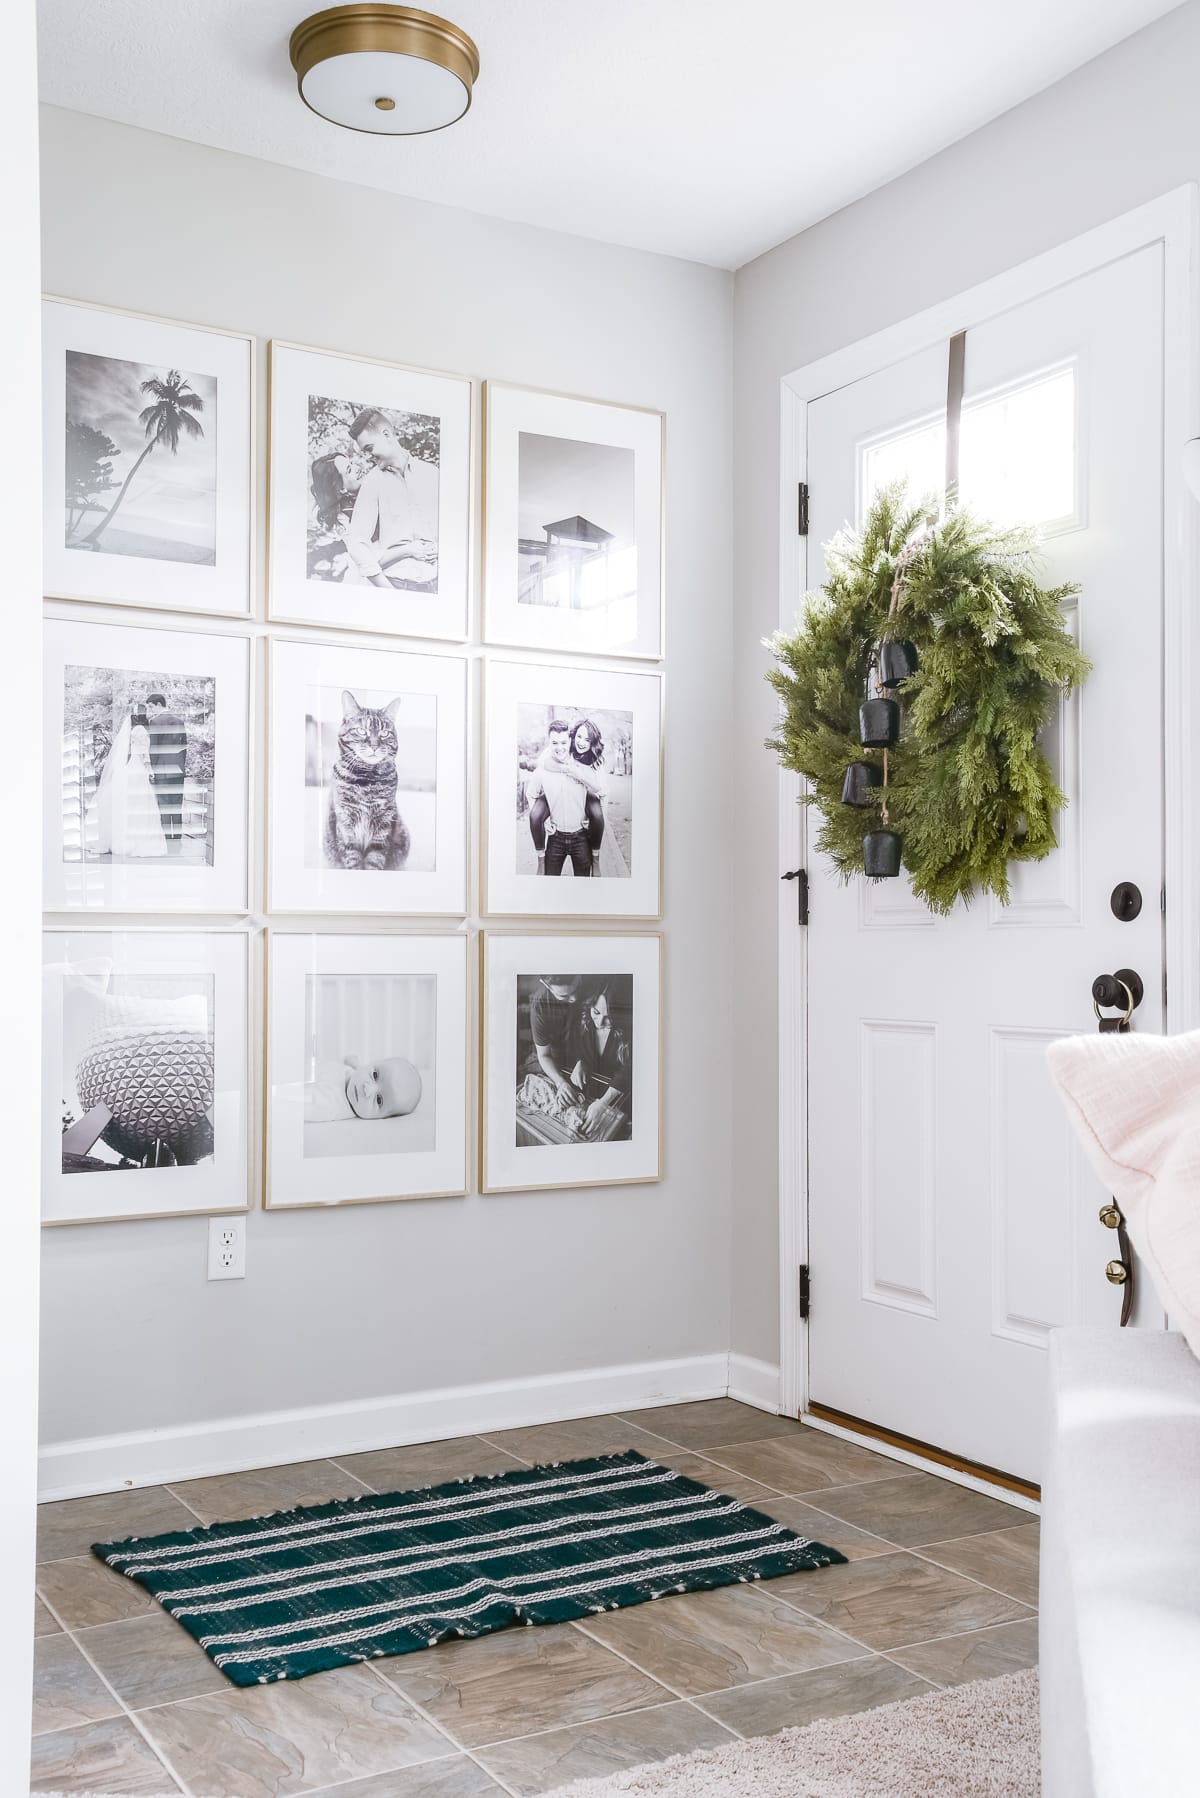
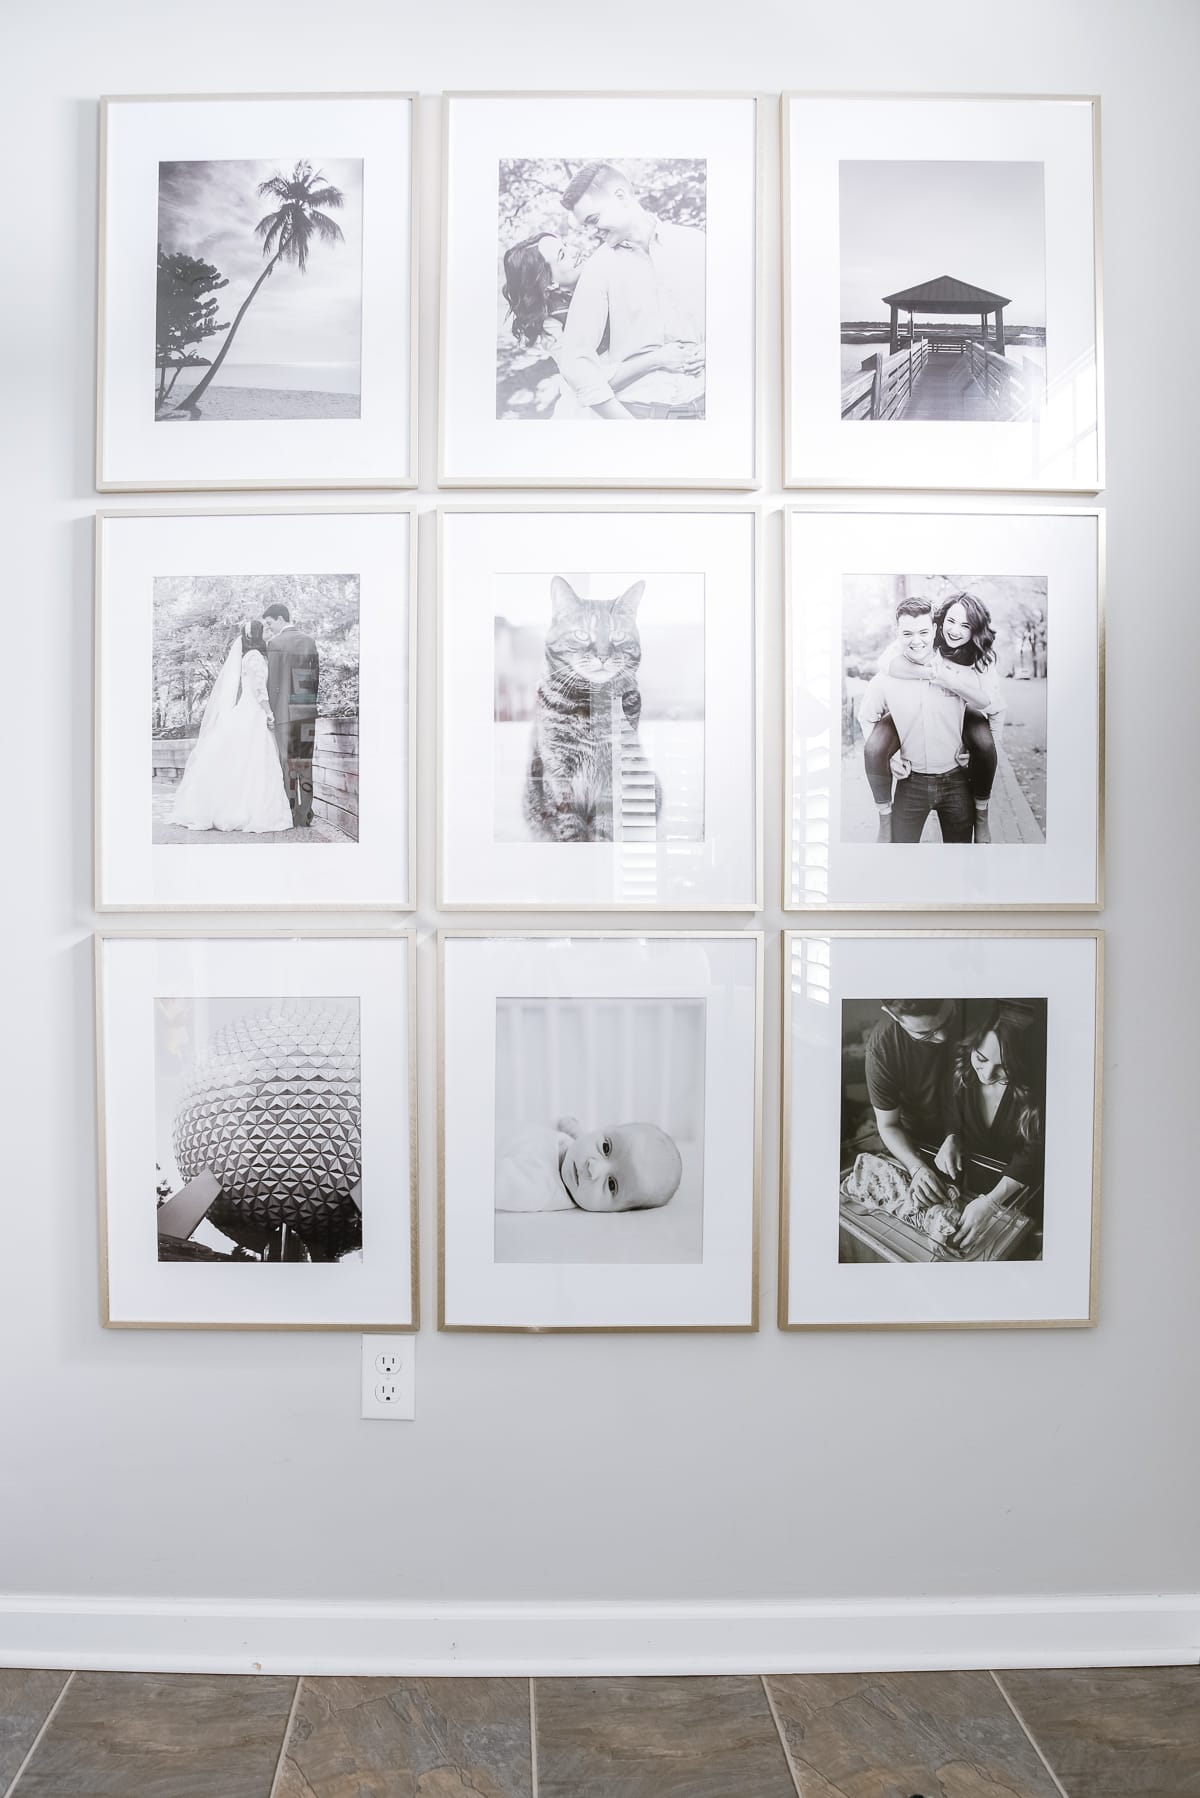
A 9-frame grid gallery wall design, stretching from floor to ceiling, is a simple and minimal layout that will have a large impact on your blank space. If you have a large wall, this type of layout is the best way to fill the space with wall art.
Using large frames is a designer hack that will make your gallery wall look custom and more impactful on the wall. It may seem large at first, but try and choose the largest piece you can for your wall space.
Measure the Wall Space
Measuring the wall space is a crucial step in creating your gallery wall.
Start by measuring the entire length and width of the wall you want to hang your frames on with a measuring tape. This will give you an overall idea of the size of the wall space.
Once you have these measurements, you can then move on to the next step of planning your gallery wall layout.
Decide on a Gallery Wall Layout
One of the most challenging aspects of creating a gallery wall is figuring out the best layout.
For a simple, minimalist design, you will want to create a symmetrical gallery wall layout. By arranging your picture frames in a grid layout, you can create a timeless and classic look that will still be in style for years to come.
For my simple grid design gallery wall, I decided to use 9 picture frames in a simple grid layout.
Decide on the Size of Frames
After measuring, and figuring out how many picture frames to use, you can then choose the sizing for your frames.
Choosing the right size for your frames is an important step in creating a beautiful gallery wall. The size of your frames will impact the overall look and feel of the wall, so it’s important to make the right choice.
Consider the size of the wall you will be hanging the frames on, and the layout you have in mind.
Larger frames tend to look more custom and impactful, creating a big impact or statement in any space.
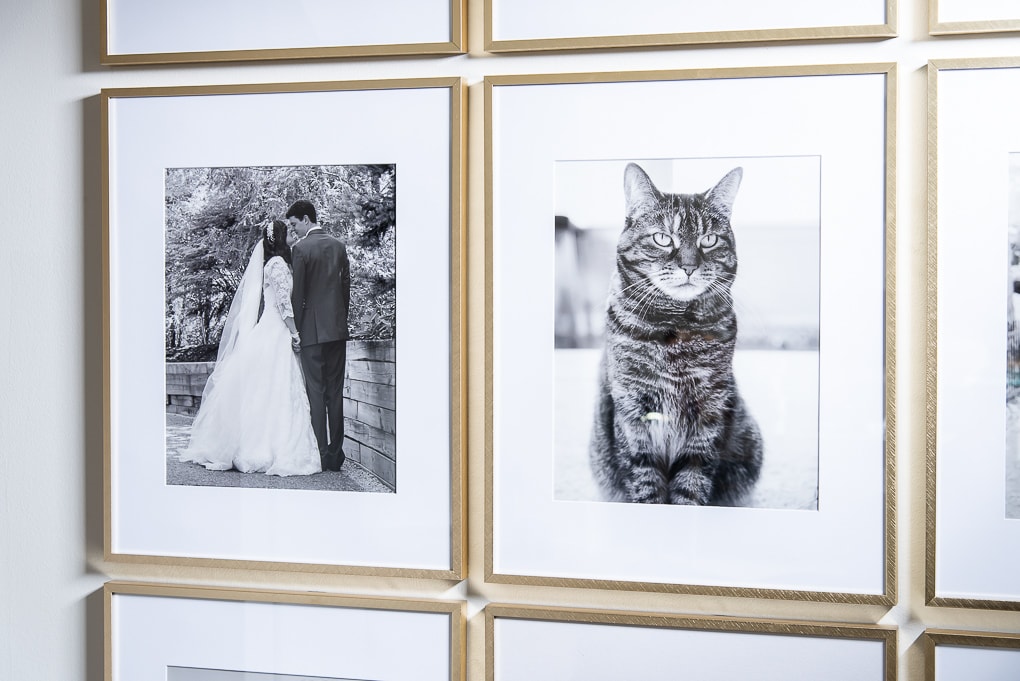
One of the biggest mistakes people make when designing a gallery wall is using too many small frames. This can create a cluttered and disorganized look and overall will make your gallery wall look poorly designed.
For my gallery wall, I used 16” x 20” gold picture frames. These ones have very simple frame styles, which fits with the minimal look I am going for in this space. These frames complement the design of my space and provide a clean, polished look.
Other color options include black frames for a bold, modern look or white frames for a fresh and airy appearance.
DIY Gallery Wall Ideas: Family Photos
Displaying family photos on a gallery wall is a meaningful and personal way to decorate your home. It allows you to showcase special moments, memories and milestones in a way that is unique to you and your family.
Family Photo Gallery Walls
Family photo gallery walls can also be customized to your home style, which makes them easy to incorporate into any space.
Whether you opt for black and white or color photos, or choose to display a mix of candid shots and professional portraits, creating a family photo gallery wall is an opportunity to tell the story of your family through images.
Determine the Photo Frame Matting
After choosing the photo frames for your gallery wall, consider different matting options for your photos.
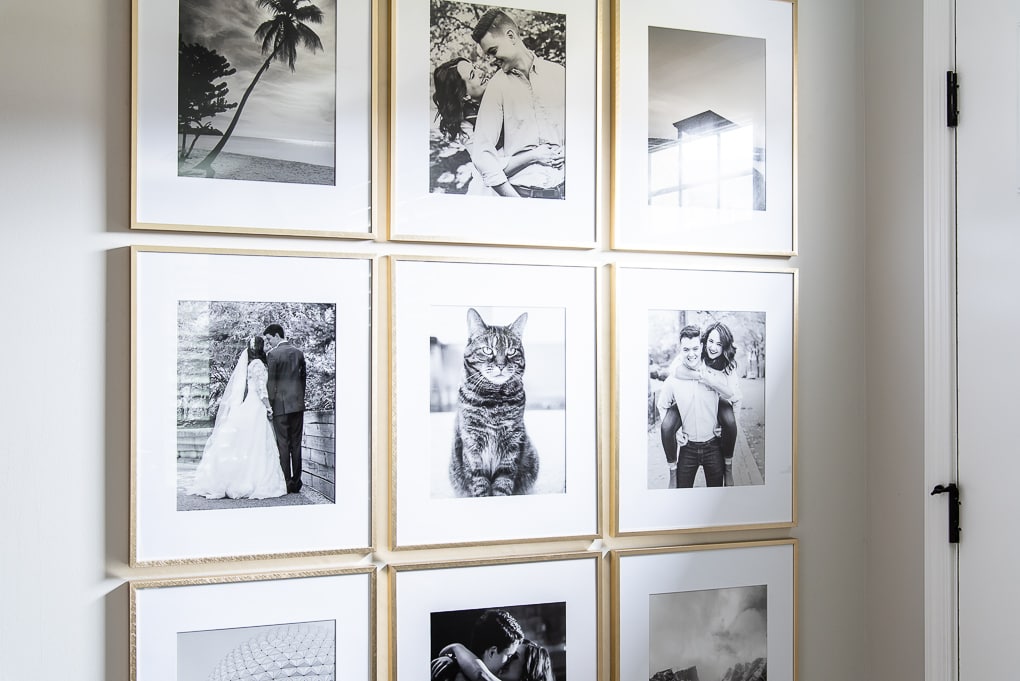
What is Matting in Photography?
Matting photos is the process of placing a photo inside a larger piece of paper or cardboard, creating a border or space between the photo and the frame. This border, or mat, creates a cohesive look in a gallery wall by providing a uniform look and border around each photo.
Most picture frames for gallery walls come with a mat. The frames that I purchased were sized to fit an 11” x 14” photo.
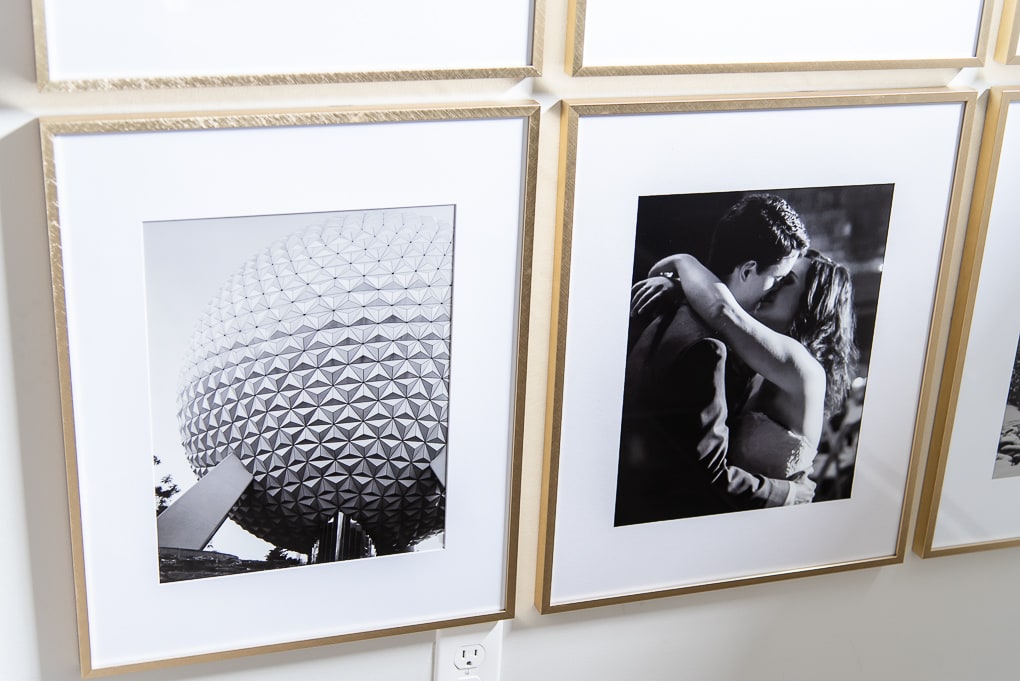
Matting photos can be done also DIY style using a matting kit. I did a full tutorial blog post on how you can create the matting for your own photos at home. You don’t have to be limited to the mat that comes with the frame you buy.
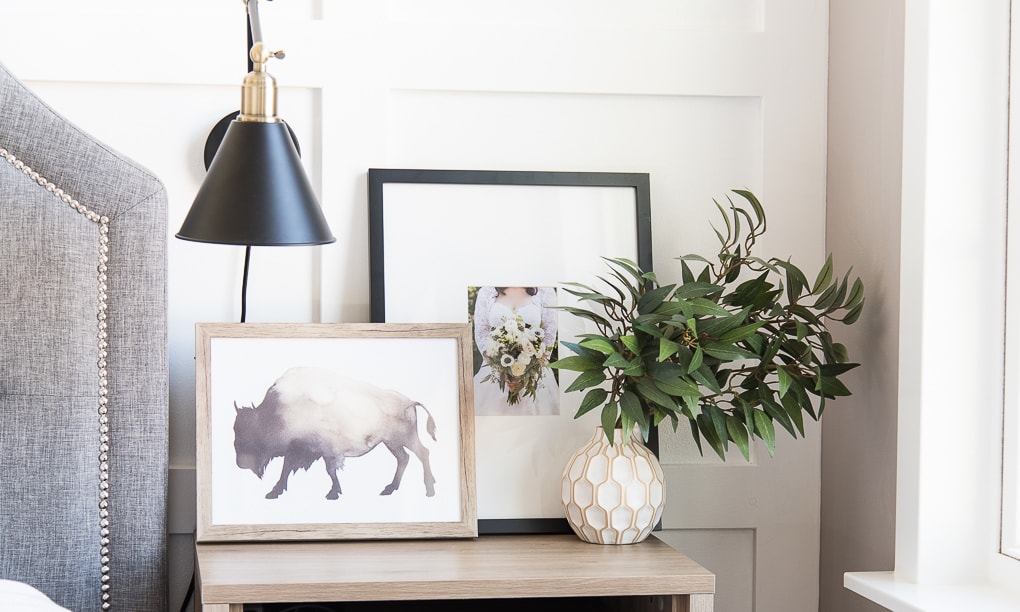
If you want to create a more modern look for your gallery wall, a large photo mat with a small image will look very pretty and classic. I love this type of look! I created a similar look in our master bedroom with these photos on our nightstands.
Related: How to Custom Frame Your Own Photos
Choose the Photos for Your Frames
Next is the fun part – selecting the photos for your DIY photo wall. This can be challenging as you might have many favorite photos to choose from.
Narrow it down to a few family photos that complement each other for your gallery wall. You can choose professional photos, candid photos, or a mixture of different styles in your photo wall.
If you are planning on printing the photos in color, try to find photos that have similar color schemes. If you plan on doing a black and white gallery wall, the original photo colors won’t matter as much.
Start by creating a folder on your computer and save any potential photos there. This will help you to start narrowing down your options.
Once you’ve selected a number of photo options for your gallery wall, it’s time to mock-up the wall and decide on the placement of each photo.
My go-to tool for creating mock-ups is Canva. This is a free online graphic design platform.
I created a free gallery wall template in Canva that you can access below.
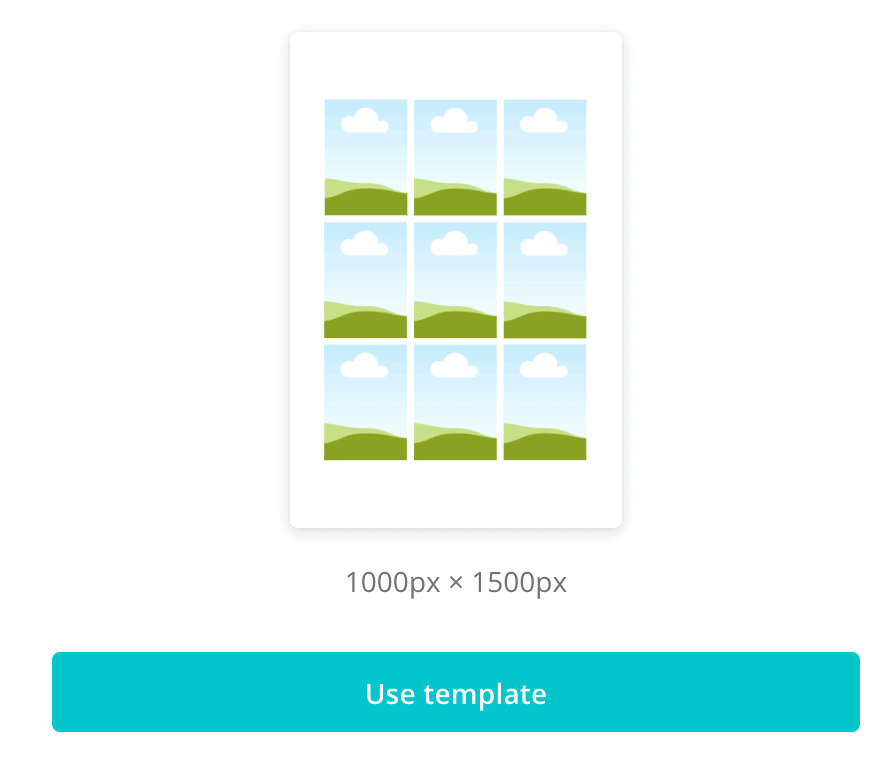
Get the Free Gallery Wall Mock-Up Template

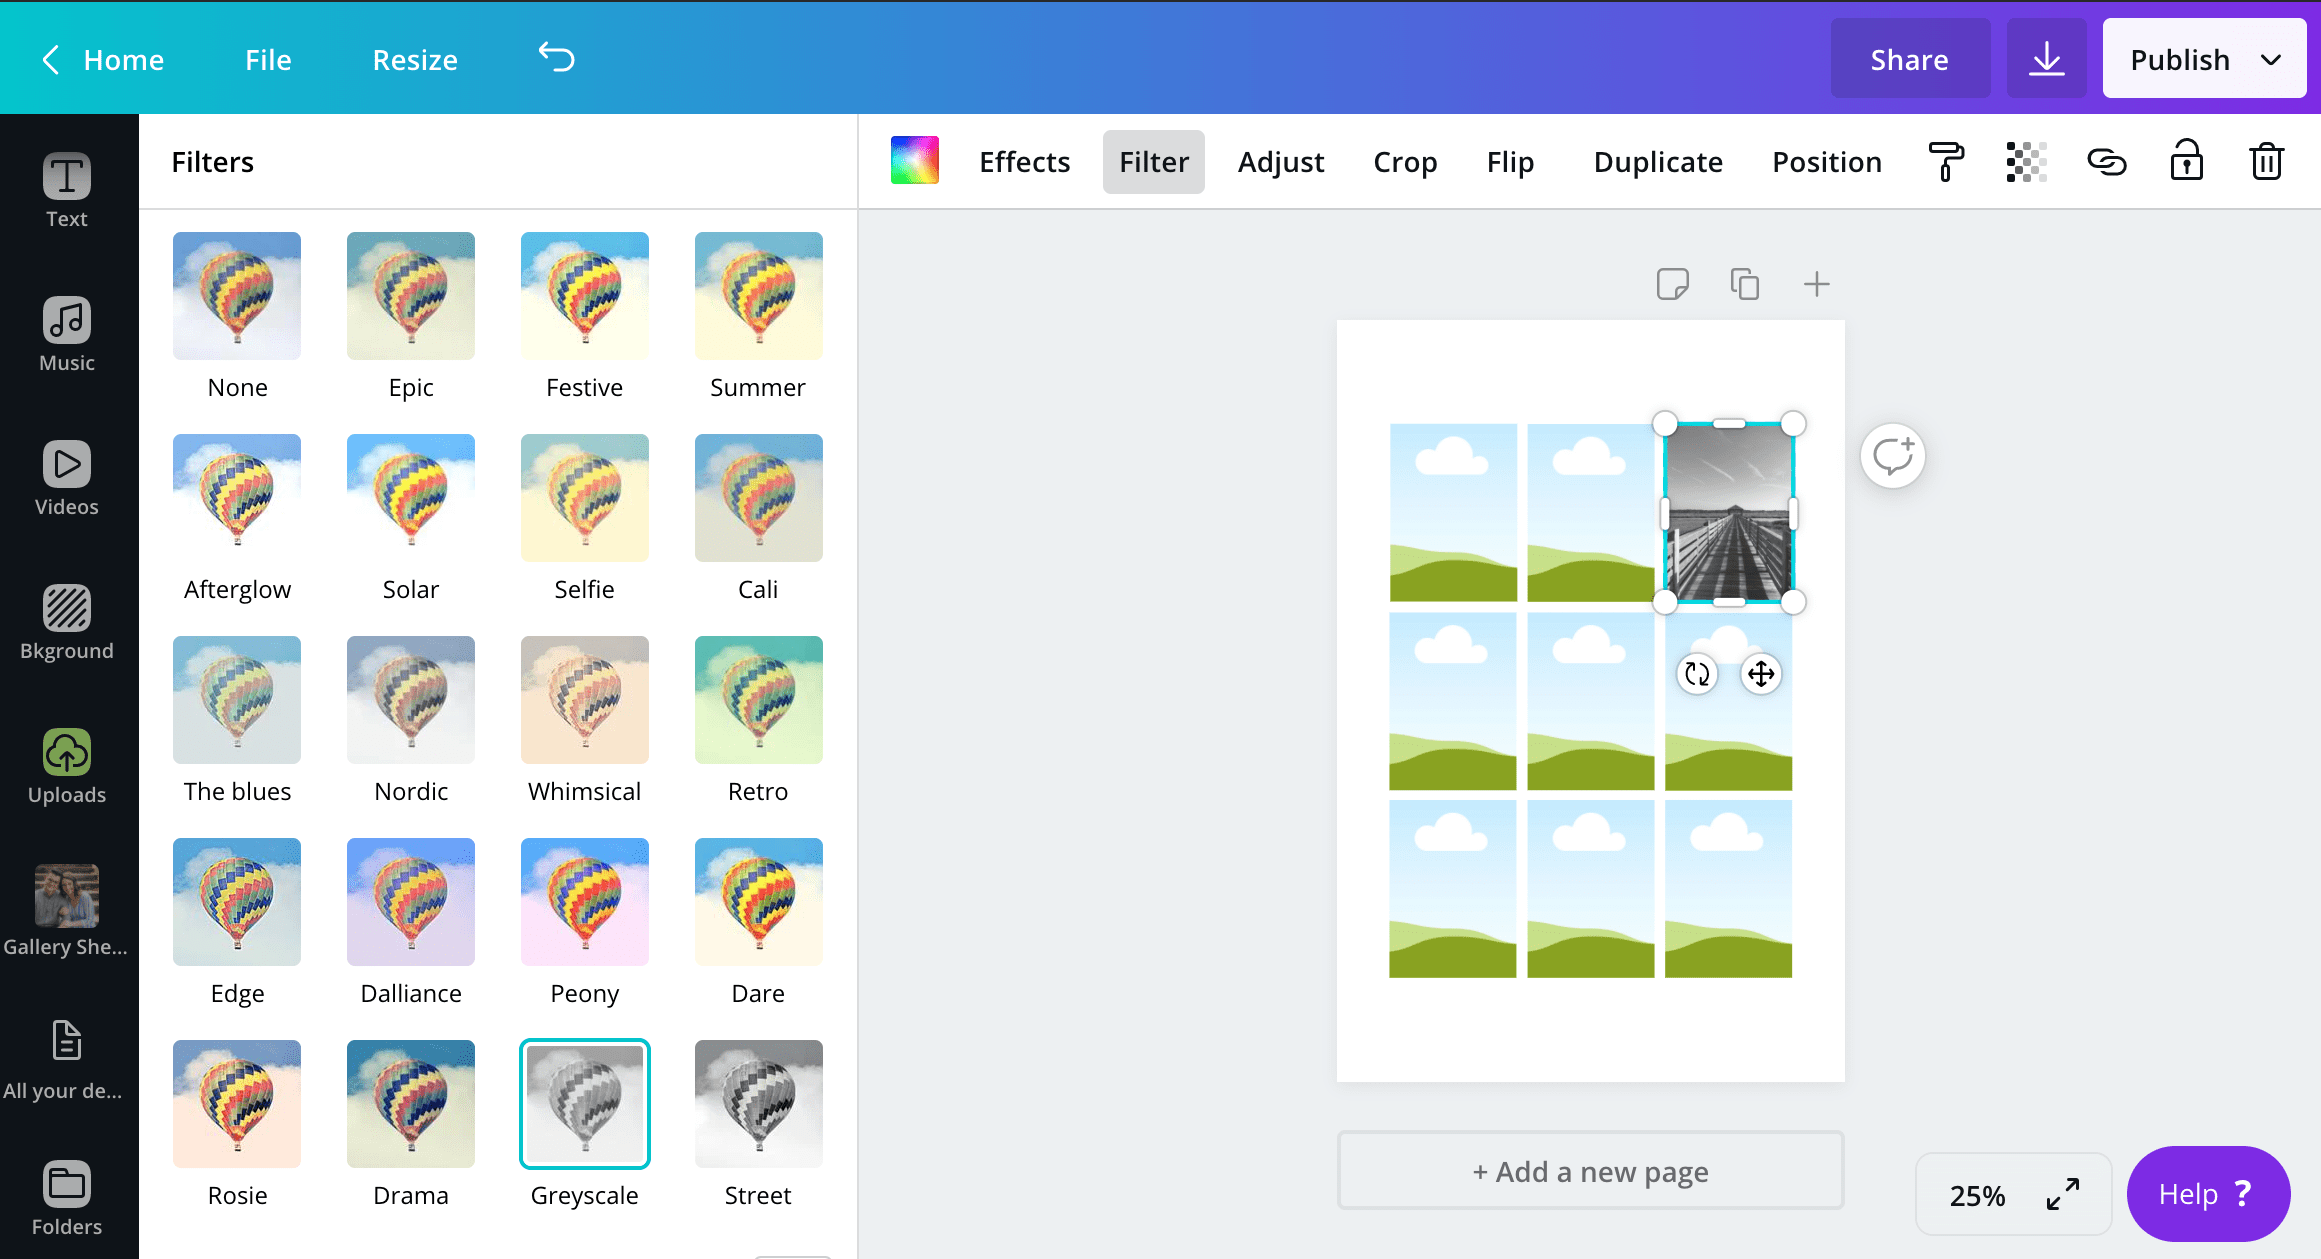
Once you have access to the gallery wall mock-up template, upload your saved photos into Canva. Then drag and drop them into the grid elements to visualize the layout.

You can swap out photos and adjust the placement until you’re satisfied with your gallery wall design. This is an easy way to visualize your gallery wall virtually before you order any photos or start framing anything.
For my gallery wall, I opted for a minimalist design with black and white images.
By making all the photos black and white, I can choose different photos that might not necessarily look cohesive together if they were in color.
Having the photos in black and white unifies them, giving the wall a cohesive gallery wall appearance.
It’s easy to change the photos in Canva to black and white by using the grayscale filter. This will help you see how the photos will look without color.
Printing Family Photos
Once you’ve settled on a gallery wall layout idea that you love, it’s time to print your photos.
If you have access to a printer at home, you can easily create high-quality prints using photo paper.
However, if you want a more professional looking quality print, consider using a photo printer that offers budget-friendly options.
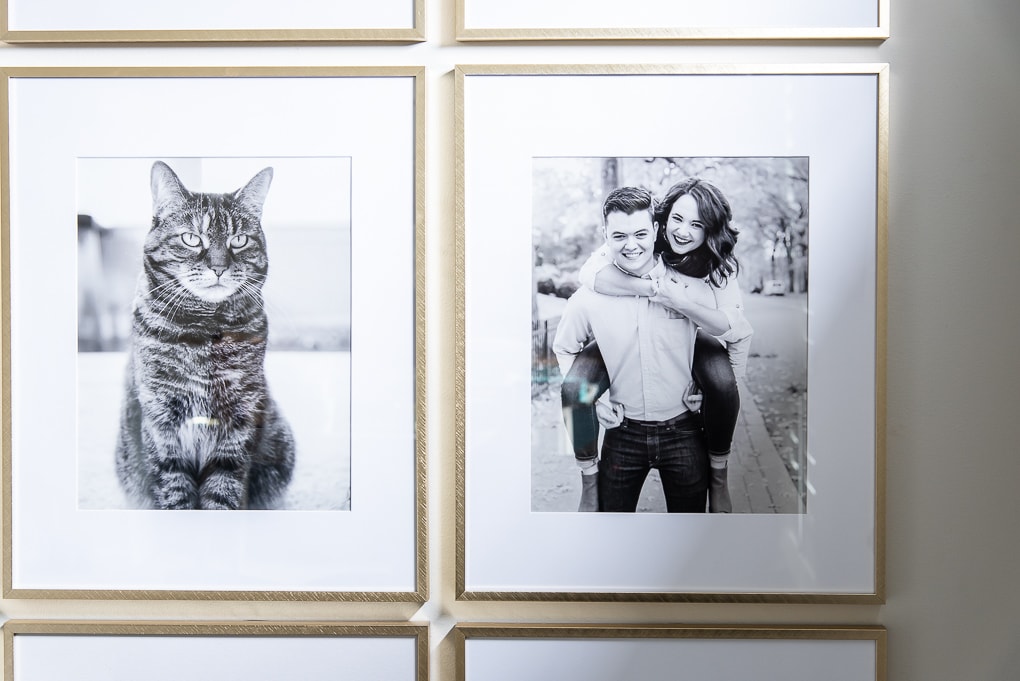
I personally use Nations Photo Lab and have been consistently impressed by their quality photo prints, affordable prices, and quick shipping.
Related: How to Print Family Photos on a Budget
Hanging The Gallery Wall
After you have your photos printed and framed, it’s time to hang the frames on the wall.
Before hanging your frames, it can be helpful to test out your arrangement with templates.
The best way to do this is to trace your frames onto kraft paper and cut them out. Then, attach the paper frames to the wall with tape before making any permanent changes.
I opted not to use paper templates and instead relied on measuring the spacing and marking the placement of each frame with a pencil.
To create that cohesive look for our gallery wall, we decided to keep a 1-inch gap between each frame.
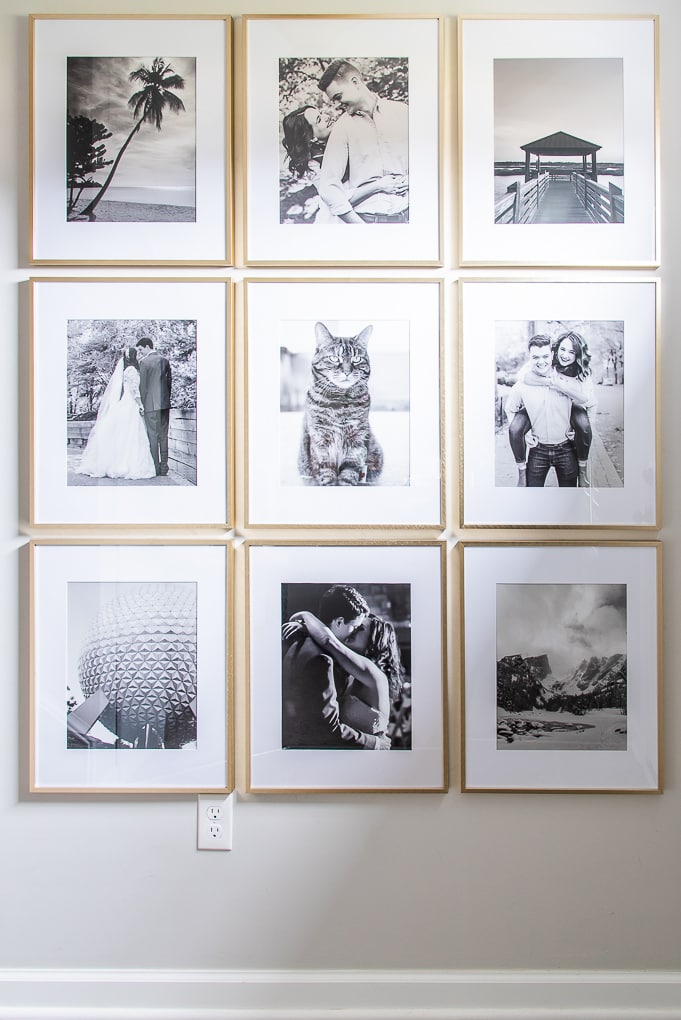
First, we centered the gallery wall on the wall by measuring and marking where each frame should go.
Then it was time to hang each frame. We used a measuring tape, pencil, and a hammer and nails to hang the frames in place.
As you hang each picture frame, make sure it is level by using a level tool.
To help stabilize the frames in our gallery wall, we used some 3M Command Picture & Frame Hanging Strips on the back of each frame.
This was an extra precaution to make sure that the frames didn’t fall off the wall if someone accidentally bumped into them.
DIY Minimalist Gallery Wall Finishing Touches
After all of the frames were hung on the wall, our family photo wall was complete!
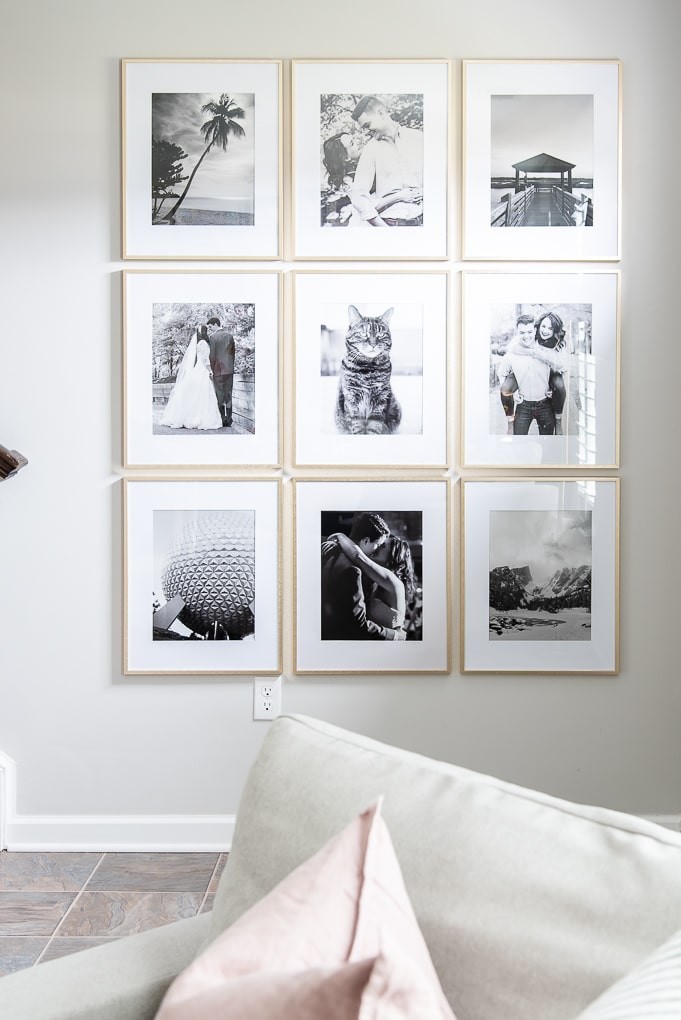
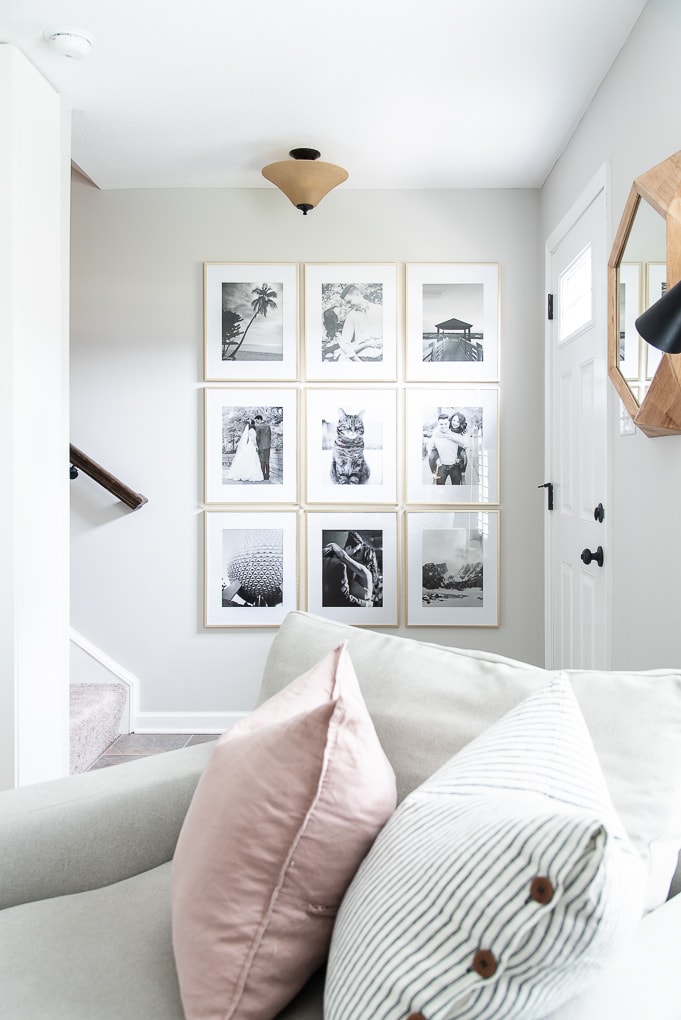
I love the way the gold frames complement the design of my office and how everything looks cohesive with the black and white photos.
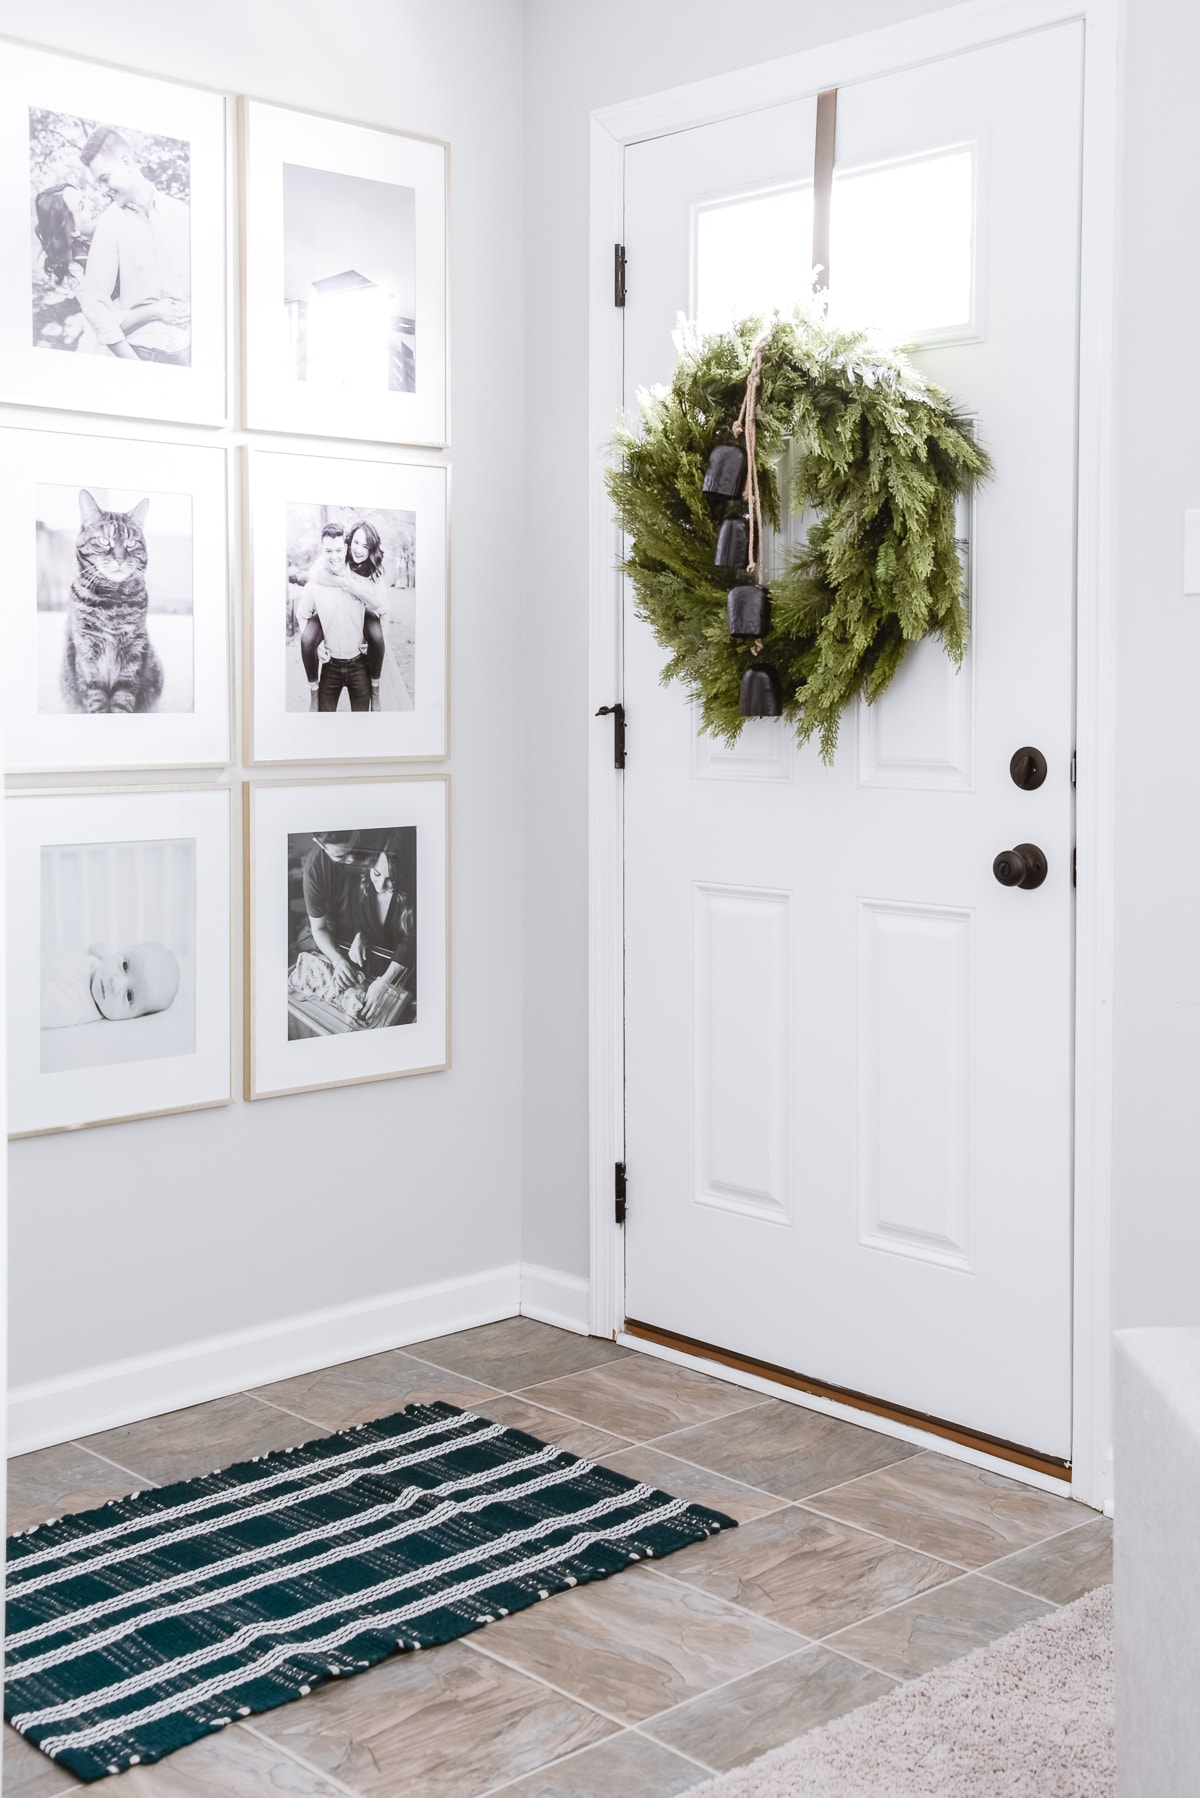
Every time we enter our home, we’re greeted by memories of special moments captured in our favorite photos. From our wedding day to memorable vacations and even our cat Widget, we selected a variety of pictures that hold meaning to us.
We originally created this gallery wall before I was pregnant. Now that we have our new baby girl Nova, we’ve updated a few of the frames with some of our new family pictures!
DIY Gallery Wall Ideas Final Thoughts
In conclusion, a DIY gallery wall is a perfect way to add a personal touch to your home decor.
Family Photo gallery walls are a great way to showcase your favorite memories in a unique and personalized manner. It’s easy to create a gallery wall that fits your home style and decor. And a large gallery wall is a great way to create visual interest and layers to your home decor.
Having your favorite family memories displayed on the wall is incredibly special.
I hope this inspires you to create your own personalized gallery wall in your home. So, gather your favorite images and get started on creating your own DIY gallery wall today!







Greetings! I love the modern gallery wall! When you print your photos, are they glossy or matte finish? I was looking into Shutterfly to print and it offers some different options on the finish of the photo. Not sure what would be best since it’ll be going into a frame. Will the glossy be too shiny and cast a glare in the frame, or will the matte look less professional? Curious on your thoughts here. Thanks!!
Hi Taylor,
I did print with a glossy finish and I think it turned out really well. It didn’t look too shiny or cause a glare.
>> Christene
Hello!
Love your gallery wall and am planning on bl/white photos in gold frames as well…..
But I’m struggling with how to deal with horizontal/ vertical photos that I love to fit in my frames which will be hung vertically.
Would appreciate advice!!!!
Ty
Hi – you can always crop a horizontal photo to be vertical. It really just depends on the photo and to see if it will look right.
Hope your gallery wall turns out great!
>> Christene
Which template did you select once you were in canva? Thanks
Hi – Here’s the link to the template that I created.
CANVA LINK
>> Christene
Hello! I love the gallery wall you created and bought the same frames to replicate it myself. My frames just just have one small sawtooth hanger in the middle of the frame, and I’m afraid they might shift and look crooked–or worse, fall and break– if they get bumped. Did you use two nails per frame? Or just one naill and the command strips? Was it easy to change the photos after the command strips were on?
Thanks!
Colleen
I did one nail per frame and then commend strips (the velcro ones) on either side. It is a little frustrating that they only have the one saw tooth hook. You could always buy additional hook hardware to add but it might be harder the way the frames are constructed. Not going to lie – these were slightly complicated because we had to use a small piece of wood and the command hook on the back because of the frame design. I still love how they look overall.
I have changed the photos and it hasn’t been a huge deal. Because I used the velcro strips I can just pull them off, replace the photos, and push them back onto the velcro. I think that’s worked well.
hope this helps!
>> Christene