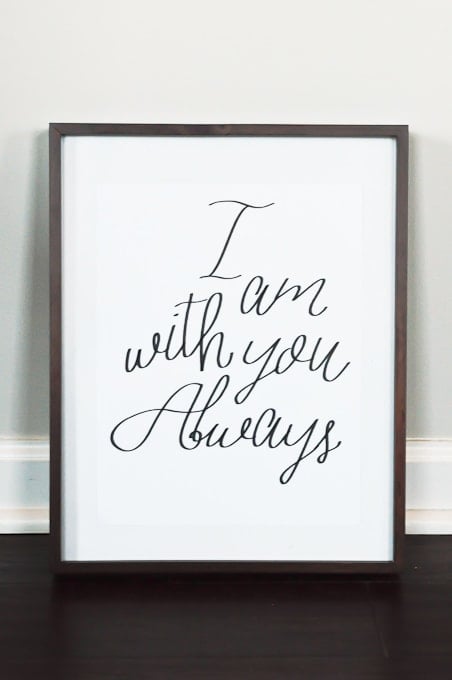
Learn how to create your own custom photos mats to make your picture frames look professional.
Did you know that you can custom frame your own photos at home? I always thought that to get a photo custom framed, you would have to go to the store and place a custom order. And when you custom order something, it always ends up costing a ton of money, right?
I’ve always avoided getting anything custom framed because I just couldn’t imagine paying tons of money for something like that. But that also meant I never really had the right size frame for my photos. I would just try to fit whatever picture I had into the frame somehow.
It wasn’t until a few years ago when Ben and I were creating a gallery wall in our apartment, that I learned about mat cutting.
To create a personalized gallery wall, I gathered a bunch of photos and other memorable objects that I wanted to frame. The only problem was, most of those photos and items weren’t standard photo sizes. So, the mat board wasn’t sized correctly for what we wanted to frame.
Ben looked online and found a mat cutter tool that you allows you to create your own custom photos mats at home. At first, the price seemed a little steep. But when we compared it to getting all of our pictures and items custom framed, the tool was much less expensive. We decided to invest in the tool knowing that we would get a ton of use out of it over the years.
We ended up using the mat cutter to create all of the photo mats for our apartment gallery wall. And, since then, we’ve used it to custom frame tons of photos for our home.
How to Custom Frame Your Own Photos
This post contains affiliate links for your convenience. For more information, see my disclosures here.
Materials:
- Compact Elite Mat Cutter
- White Mat Board
- Picture Frame
- A Photo of your Choosing
- Pencil
- Tape
Custom mat cutting might seem complicated at first, but it’s really easy once you get the hang of it. Instead of just writing about the process, I decided to make a video. This video will give you a quick overview of how to use the tool to create a custom photo mat.
In order to create a custom photo mat, there are a few measurements that you need to take. Instead of trying to explain the measuring and cutting process for creating custom picture mats, I created a free workbook for you to use for your own custom framing projects.
In the workbook, there are step-by-step instructions for measuring your photo and figuring out the mat sizing. All you have to do is fill in the blanks as you go through the workbook. Then follow the instructions to cut your custom mat board for your picture frame. It’s super easy!
You can get your workbook for free.
Get the Free Workbook: Custom Frame Your Own Photos

Alright, now it’s time to break down the steps of the mat cutting process. There are a few measurements that you need to make before you start cutting the mat board. You can see all of those measurements in the picture below.

PS: The workbook walks you through exactly how to figure out and calculate all of these measurements and numbers for your picture and frame.
Step-By-Step Instructions
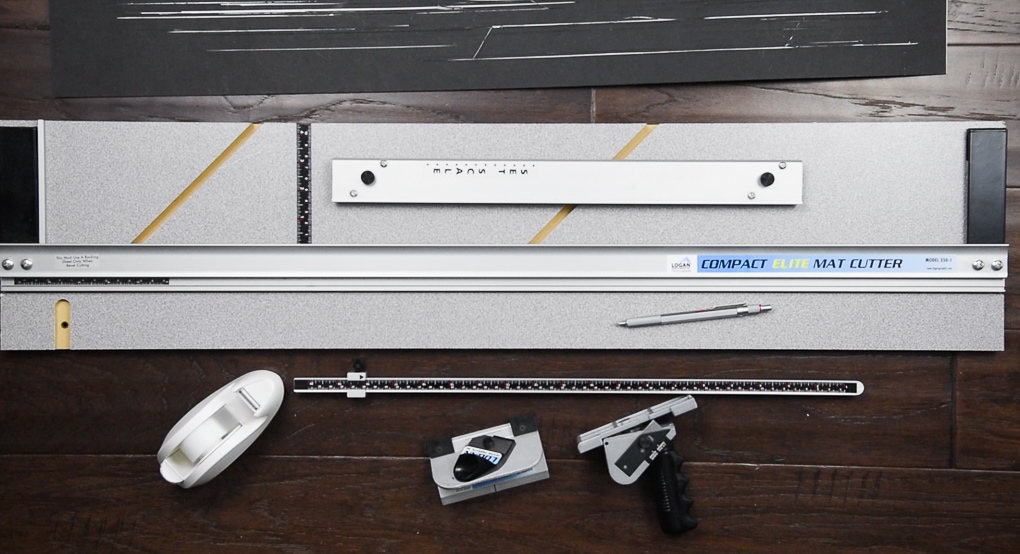
First, you will need to cut the mat board to the size of your picture frame. Attach the measuring bar to the compact elite mat cutter. Then, adjust the guide on the measuring bar to the mat width.

Place a piece of mat board on the mat cutter and use the straight cutter to cut it to the desired width. To use the straight cutter, hook it into the track on the mat cutter. Press down and pull the blade along the track to cut the mat board.


Next, adjust the guide on the on the measuring bar to the mat height. Rotate the piece of mat board and use the straight cutter to cut it to the desired height.
After you have cut your mat board to size, flip it over so that it is face down. This is the side that you will be marking to create guidelines.

Slide the set scale onto the mat cutter. Position the set scale so that the left side (the side with the arrows) is set to the width guideline spacing.

Then, place the mat board against the mat cutter and the set scale so that the long side is against the set scale. Use a pencil to create the first width guideline.

Repeat on the opposite side of the mat board to create the second width guideline.

Next, position the set scale so that the left side (the side with the arrows) is set to the height guideline spacing.
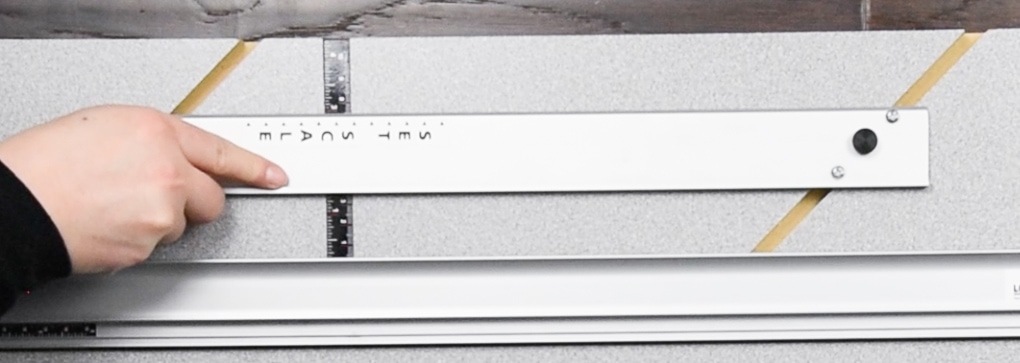
Then, place the mat board against the mat cutter and the set scale so that the short side is against the set scale. Use a pencil to create the first height guideline.
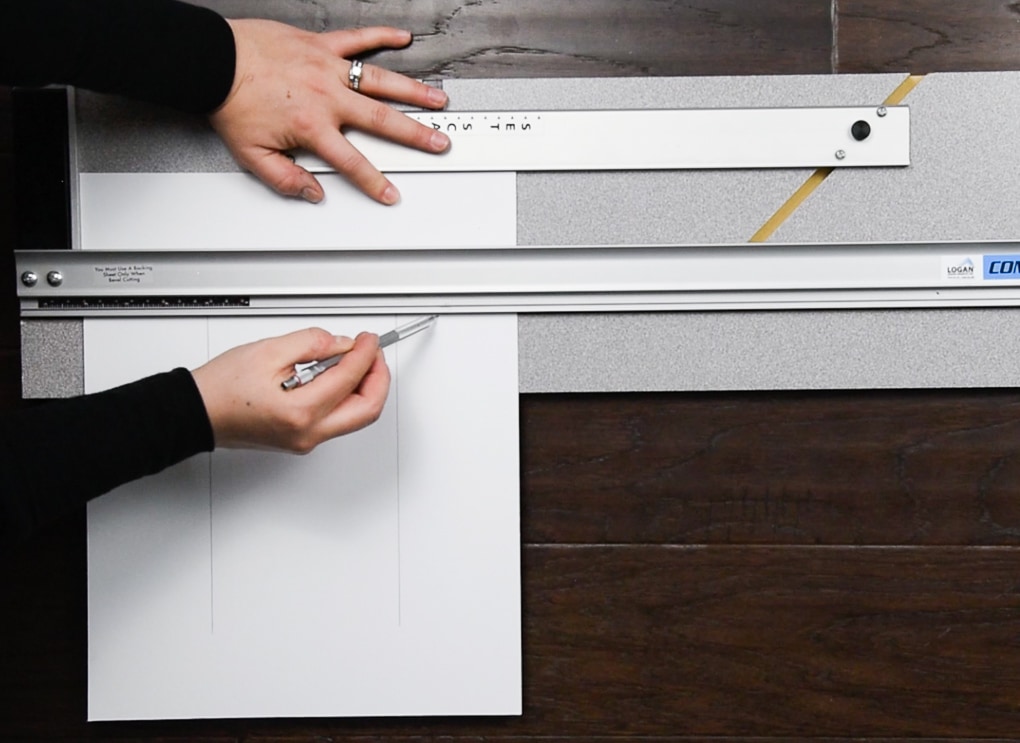
Repeat on the opposite side of the mat board to create the second height guideline.
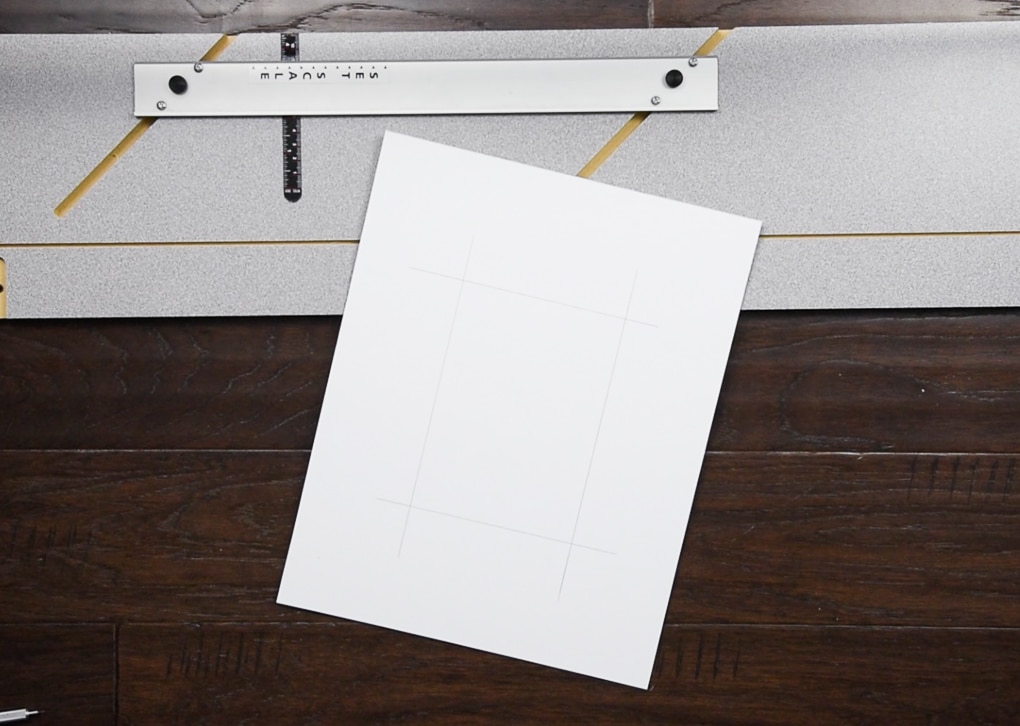
Now it’s time to cut the beveled mat cutout. This is the inner part where the picture will actually go. To do this, you will be using the beveled cutter.
First, place the mat board back against the mat cutter and the set scale so that the short side is against the set scale. The set scale is already adjusted to the height guideline spacing. Place the cutting board underneath the mat board.

To use the beveled cutter, hook it into the track on the mat cutter. Match up the line of the beveled cutter to the guideline on the mat board.
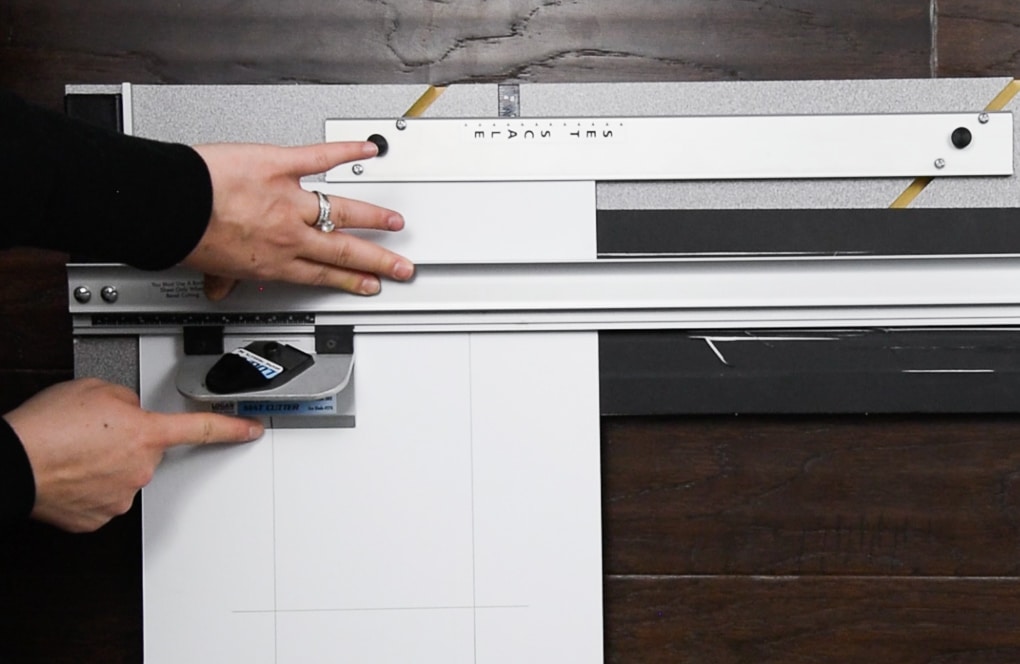
Press down and push the blade along the track to cut the mat board. Stop cutting when the line on the beveled cutter matches up with the opposite guideline on the mat board. This will create the first width mat cutout.

Repeat on the opposite side of the mat board to cut the other beveled width mat cutout. Once both width mat cutouts are complete, you can move on to cutting the height mat cutouts.
Position the set scale so that the left side (the side with the arrows) is set to the width guideline spacing.
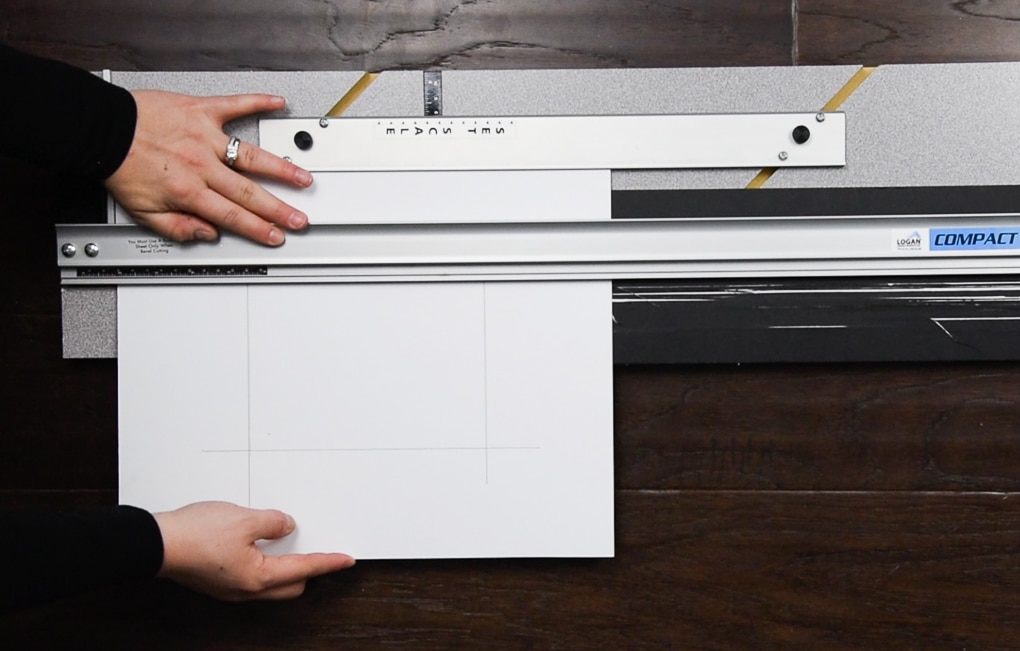
Place the mat board against the mat cutter and the set scale so that the long side is against the set scaled. Use the beveled cutter to cut the guidelines.
Match up the line on the beveled cutter to the guideline on the mat board. Press down and push the blade along the track to cut the mat board. Stop cutting when the line on the beveled cutter matches up with the opposite guideline on the mat board.


Repeat on the opposite side of the mat board to cut the other beveled height mat cutout. Once both height mat cutouts are complete, the inner mat cutout should fall out from the overall mat board.


Use tape to attach your picture to the back of the mat board.
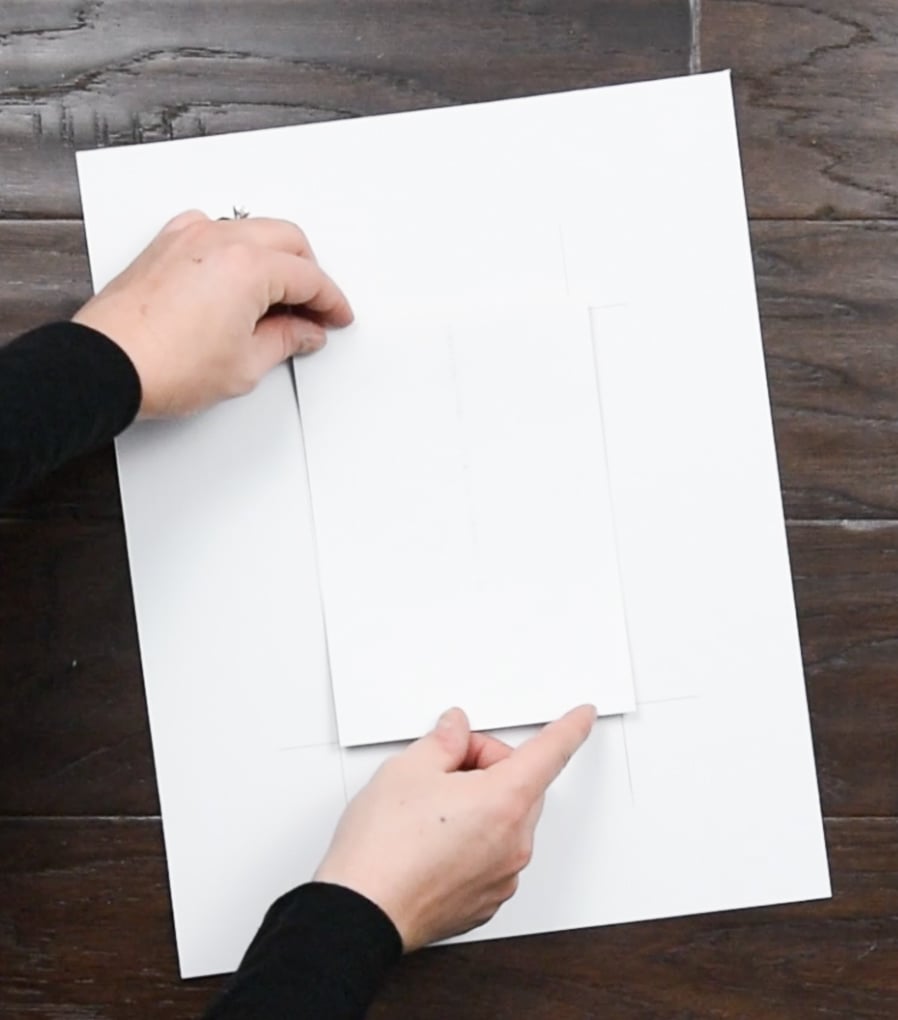
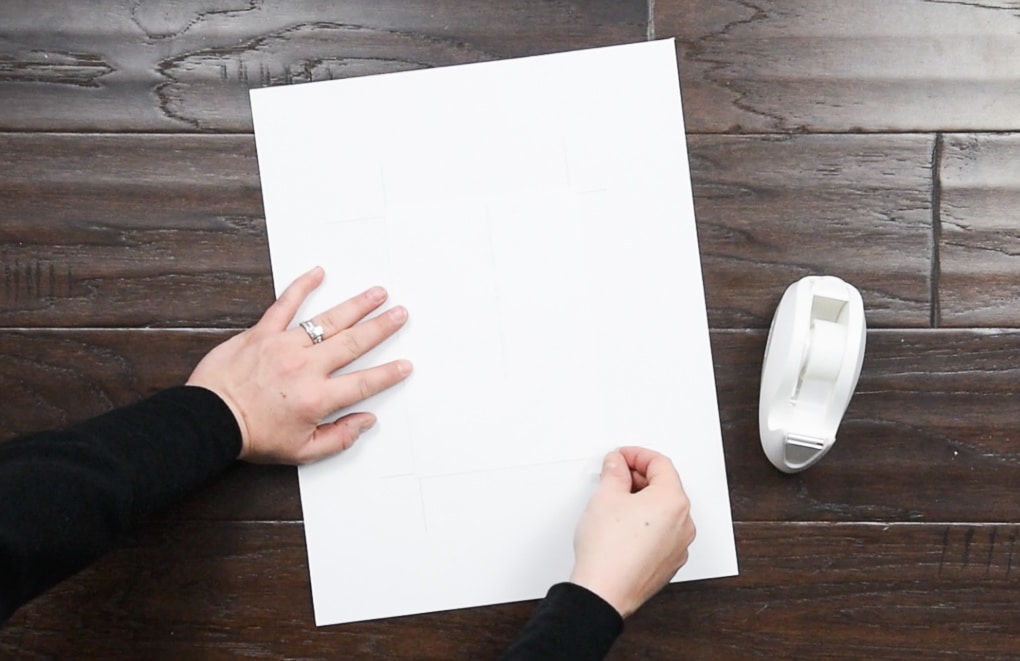
Finally, replace the existing mat board in your picture frame with your new custom picture mat.
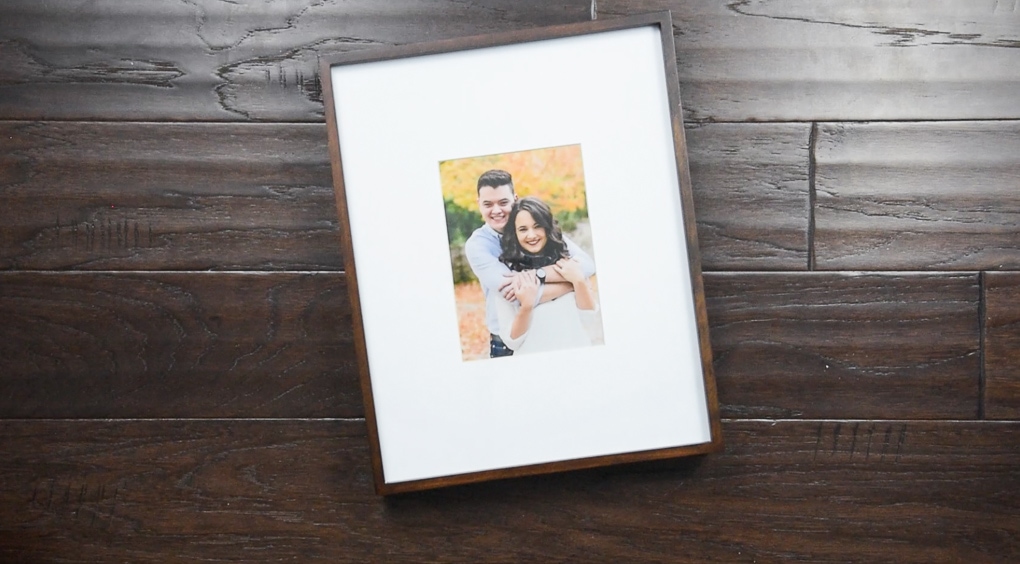
Our latest custom framing project was actually for some photos that for our nightstands in our master bedroom. I wanted to create a clean, modern look by framing smaller photos in a larger frame. This creates a custom frame look with lots of white space.
I can’t wait to show you how they turned out when I share our full master bedroom reveal.


