We’re back into project mode in our master bedroom makeover. One of the main projects that we needed to finish was the window trim for all three windows in the room.

When we installed the grid board and batten wall, we build the window trim into that feature wall. However, we never finished adding trim to the other two windows. So, for a long time, they looked like this.

Kind of sad in comparison to the beautiful window on the feature wall.
Well, we finally decided to finish these two windows. And I couldn’t be more excited about it!
Craftsman window trim might look complicated at first, but it’s really easy to install. You don’t even need to make any special angle cuts. It’s one of the easiest trim styles to add to your home and it makes such a huge impact in a room.
How to Install Easy Craftsman Window Trim
This post contains affiliate links for your convenience. For more information, see my disclosures here.
Materials:
- 1×6 Pine Boards
- 1×4 Pine Boards
- 1×2 Pine Boards
- 1×3 Pine Boards
- Wood Glue
- 1.5” Brad Nails
- Wood Putty
- Caulk
- Primer
- White Semi-Gloss Paint
Supplies:
- Miter Saw
- Hand Saw
- Brad Nailer
- Tape Measure
- Sandpaper (120 Grit)
- Crowbar
- Scraper Tool
- Combination Square
- Carpenter’s Pencil
- Handy Paint Pail
- Paint Brush
Prep Work
Before we could start adding trim to our windows, we first needed to remove the existing trim. Our townhome is a builder grade house, so all of the windows came with a window sill and a small apron piece. Other than those two pieces, there was no other trim on the windows.
To prepare the window for new trim, we first used a crowbar to pry off the existing apron trim.
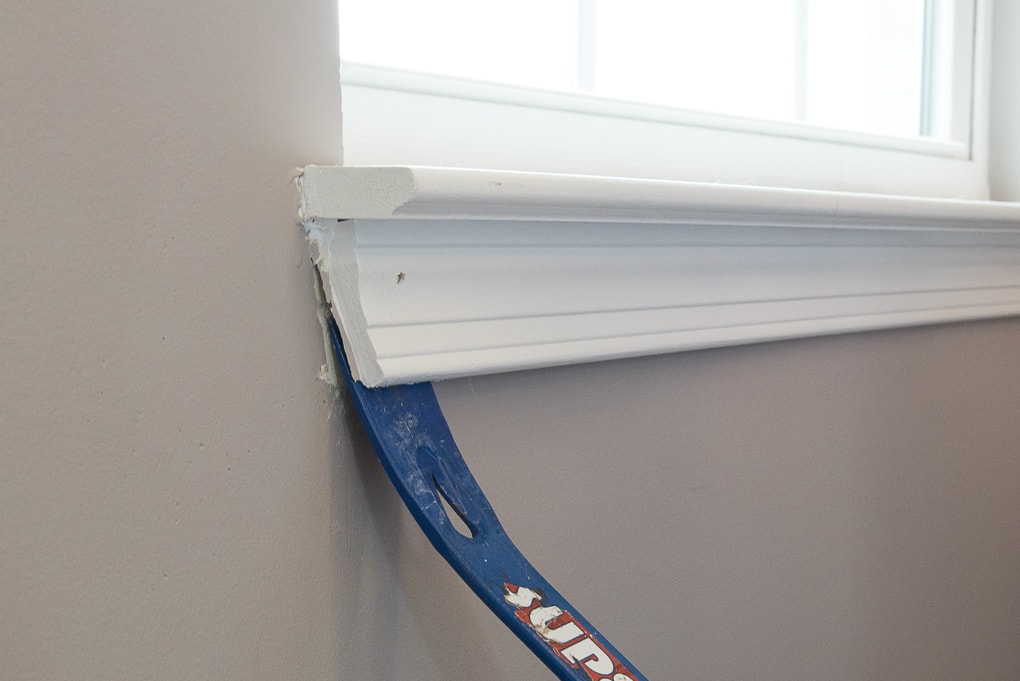
Then, we used a scraper tool to cut into the caulk between the window and the sill. This allowed us to completely remove the sill.

After these two pieces were removed, we were left with this not-so-pretty sight.

We used the scraper tool and a vacuum to clean up all of the loose pieces and extra caulk.
Next, we measured and cut out all of the trim pieces for the window. To get the correct piece sizes for your window, you have to do some measuring up front. Once you have some basic measurements, it’s really easy to figure out all of the piece sizes. Then, all you have to do is cut them to length using a miter saw.
Instead of trying to explain the measuring and piece sizes here, I thought that I would create a free workbook for you to use on your own craftsman trim project.
In the workbook, there are step-by-step instructions for measuring your window and figuring out all of the piece sizes. All you have to do is fill in the blanks as you go through the workbook. Then follow the instructions to cut out your trim pieces. It’s super easy!
You can get your workbook for free.
Get the Free Workbook: Easy Craftsman Window Trim

There are 7 pieces that make up the craftsman window trim:
- Sill
- Apron
- Side
- Top
- Header
- Crown 1
- Crown 2
The sill is the only piece that requires a little bit of extra cutting.

Once we took the measurements for our window, we used a carpenter’s pencil to mark the upper corners of the sill piece. Then, using a hand saw, we cut out the corners to create a window sill.


You’ll find more instructions on cutting the sill piece in the free workbook.
Assembly
After all of the pieces were cut out of the different sized pine boards, it was time to assemble everything.
We started by installing the window sill first. We attached the sill piece to the window frame using wood glue and a brad nailer.
After attaching the sill, we added the apron piece. In order to get the apron piece centered on the window, we used a combination square to measure 1” inwards from the edge of the sill piece. We marked that measurement on the wall using a carpenter’s pencil.

Then, we placed the apron piece in line with those markings. Using wood glue and a brad nailer, we attached the apron piece to the wall underneath the sill.

Next, we attached the two side pieces to the wall on either side of the window.

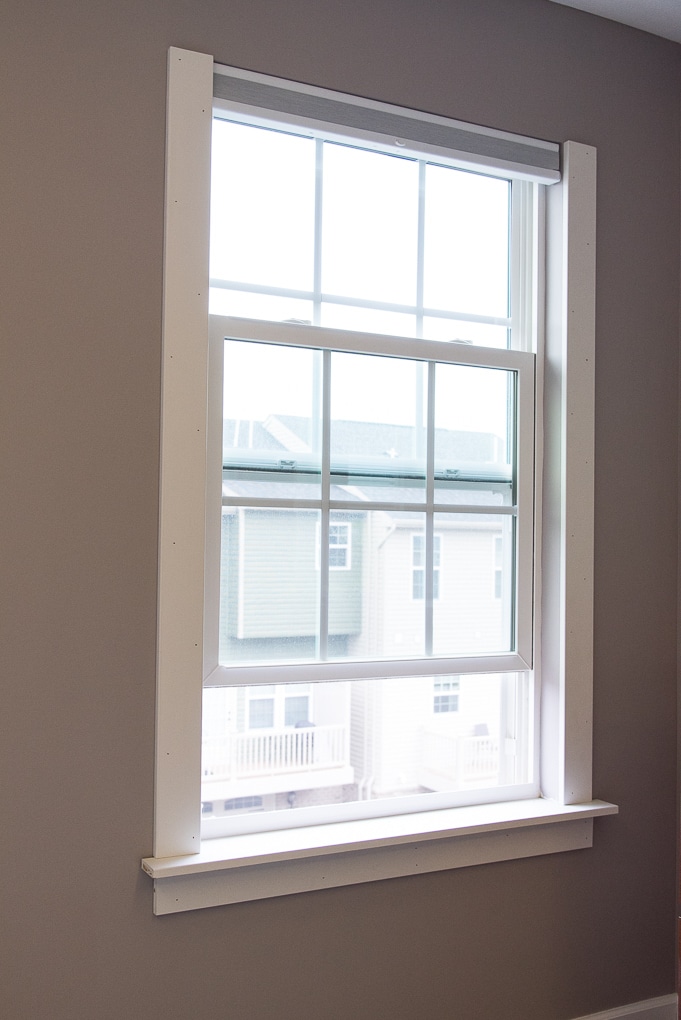
Then, it was time to attach the top piece. To get the top piece centered on the window, we used a combination square to measure 1” outwards from the edge of each side piece. We marked that measurement on the wall using a carpenter’s pencil.
Then, we placed the top piece in line with those markings. The top piece is attached so that the 2” side is facing down, and the 1” side is facing out. This creates a nice trim detail.

After attaching the top piece, we then attached the header using the same method that we used to attach the apron piece.
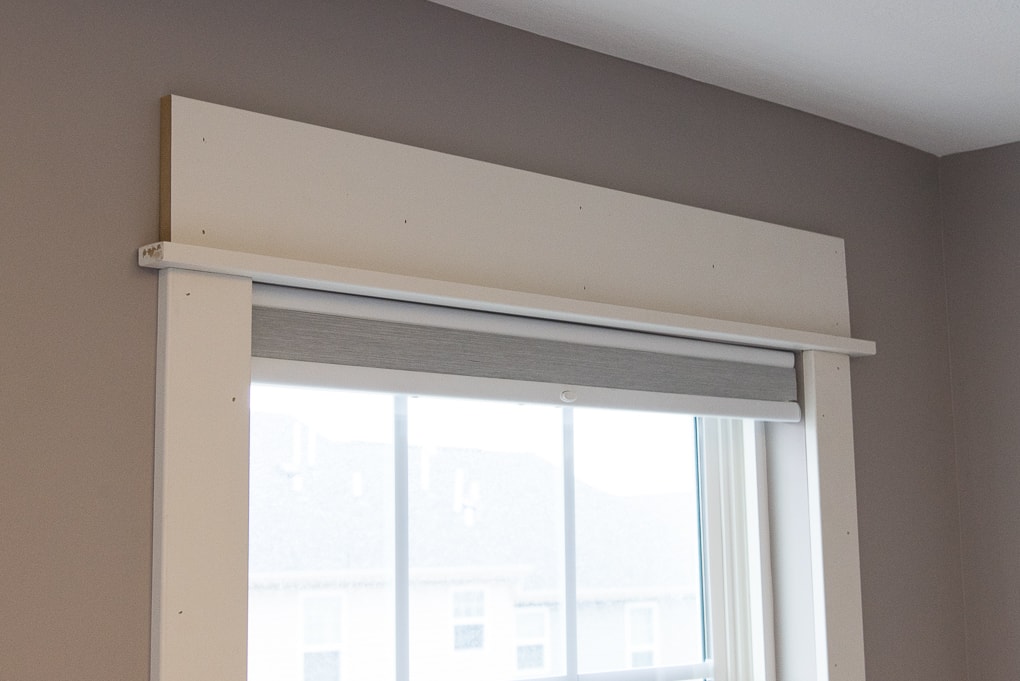
Finally, we attached the two crown pieces to the top of the window trim using a brad nailer for the crown 1 piece and wood glue for the crown 2 piece. The crown pieces are attached just like the top piece. The 2” and 3” sides are facing down, while the 1” sides are facing out.
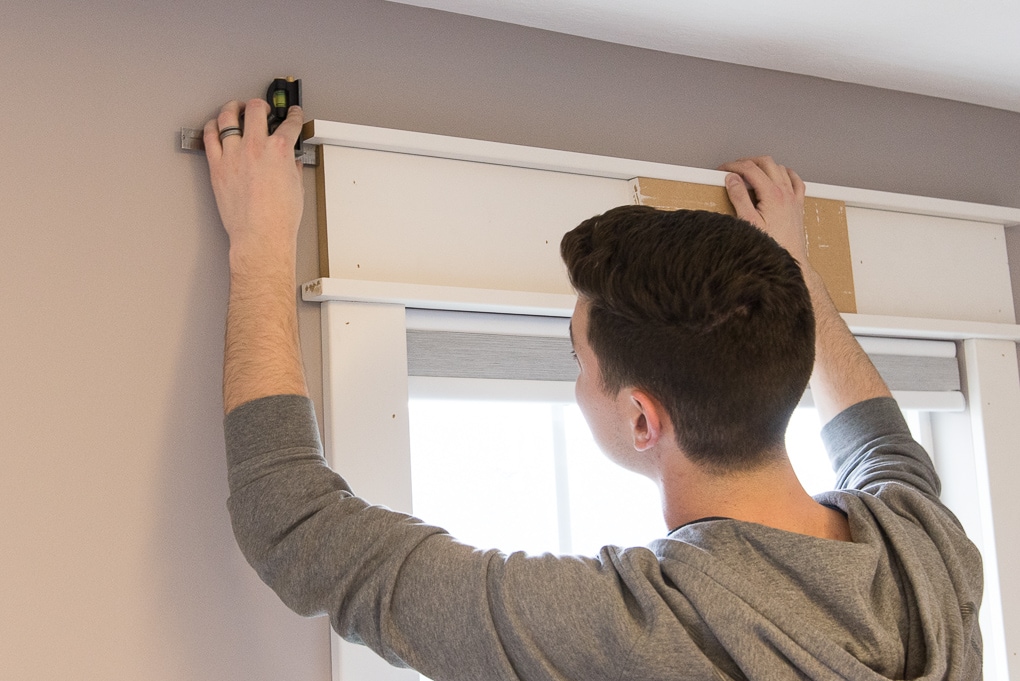
I didn’t get a picture of the crown 2 piece at the very top, but you will see it in the finished photos.
Finishing
Once all of the pieces were attached, we used wood putty and caulk to fill in any gaps and nail holes. After the putty and caulk had dried, we sanded everything down so that we had a seamless finish.
To finish the trim, we used one coat of primer and 2 coats of white semi-gloss paint.
PS: I used this handy paint pail and this paintbrush! They are my favorite painting tools!
Once the paint was dry, the windows were finished!


I just LOVE the look of craftsman trim on the windows! It makes the whole room look so much more finished. Adding trim to our windows not only makes a huge impact on the overall look of the room, but it also makes the windows look even bigger.

The master bedroom is getting closer and closer to being complete! Stay tuned for a few more projects and then later, the full room reveal!




Hi Christene,
I love this look and we have done this in all of the windows of ours house. It turned us from looking ‘builder grade’ to way beyond. Thanks for the inspiration!
There is an error on your worksheet. The side piece was are not the length of the window height. The are the window height minus the height of the sill. I hope this helps future users.
Happy DIYing!
Hi Mark! Thank you so much for letting me know about the error. I have updated the workbook to correct that issue. Glad that you found the post helpful.
>> Christene
How I can get the work book
Hi – just click on the image and a pop-up form for you to sign up for my email list will appear. I’ll then send it right to your inbox.
>> Christene
pls send me your book
Thanks
László
Exelent idea and fitout
Thanks
I can’t tell in your pictures but did u use a 1/4″ reveal around your windows as I’ve seen in other window trim tutorials? Not sure of it’s purpose and why some use it and some don’t.
Wonderful job, you are a source of inspiration for me ¡
Thank you for the instruction! I like the little touch of the 1×3 on the very top. Takes the trim from normal/common to nice.
I just picked up $3K’s worth of trim to do my whole house. I think your workbook is going to be a lifesaver. Thanks for sharing your experience.
I still had your page open, so I thought I’d tell you I just finished a total of FOURTY windows and doors using your drawing. Installed baseboard in a 2000sf house, too. I’d been putting all this off for years, having nothing but studs and framing to look at. The change in my home and my feelings about being home is dramatic. Thanks again for taking the time to post your experience.
Oh, geeze. I thought I had typed this in, but hadn’t. Your readers might like a quick tip regarding finishing. Pine has knots and knots bleed through and leave rough spots in the finish. Take the time to fill the knots with drywall mud. Don’t worry about wood putty unless you have a hole on the edge of the board you can’t hide. Then wood putty. Put the mud on as smoothly as possible, so you only have a light sanding. Then use BIN Zinsser’s shellac based primer. It’s pretty much the only thing that will not bleed through. If you can still see the knots, spot prime them. Then a good coat of BM’s Cabinet Coat (dries the hardest paint on the market) should do it. Shellac primer cleans up with household ammonia or even Windex. Easy peasy for an amazing finish to this great trim look!
¡Very inspirational! I will surely apply all explained here 🙂
Hi!
I see a miter box in the list of supplies, but I can’t figure out where in the directions to use it. Could you please assist? 🙂
Love these plans! I think even a complete novice like me can figure this out!
Hi Leah – yes hopefully it’s super easy to follow so even newbies can do it too.
I listed a Miter Saw – which is used to cut each of the trim pieces to the correct measured length. I searched the post and didn’t see a miter box in there. Hope this helps.
>> Christene