Learn how to install removable wallpaper. It’s the perfect way to add an accent to a room or for a temporary design change.
Want more easy home upgrades? Check out how to easily upgrade a builder grade shower, DIY soft close kitchen cabinets, and modern media center hardware.
Welcome to week 3 of the One Room Challenge. If you missed the past few posts, I’m joining in with a group of other bloggers on a room makeover challenge.
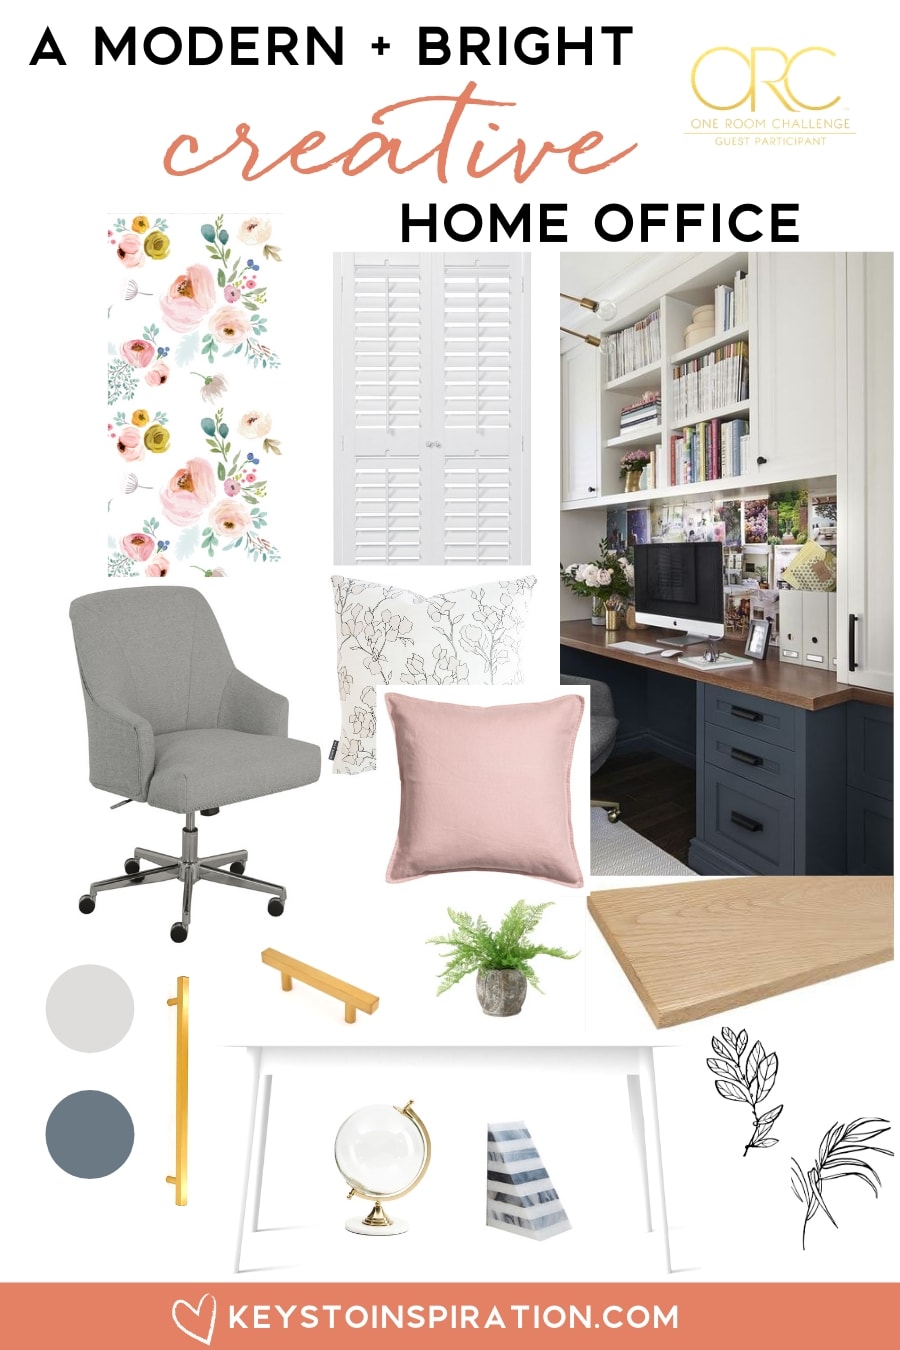
I’m working on my modern and bright creative home office, and you can see my design plan here.
Last week I shared how I designed and built a desk using IKEA SEKTION cabinets. The built-in desk is really coming along, but I’m still working on the painting of the installation. So, this week, I decided to share one of the easier projects in the room makeover — the wallpaper.
This post contains affiliate links for your convenience. For more information, see my disclosures here.
You may remember from my design plan that I had some pretty floral wallpaper mixed in with all of the other design elements. I really wanted to incorporate a pattern somehow. I loved the idea of adding removable wallpaper to the back of the desk area. It would be sort of like an accent wall for my office.
When I mentioned that I wanted to wallpaper in my new office, Ben started telling me what a pain it is because everything gets wet, and the glue is slimy, and it’s just a mess! And then, when you want to take it down, you have to sit there and scrape it off the walls. It’s such a hassle.
And believe me, I knew what he was talking about. I remember when wallpaper was all the rage. We would go to the store with my parents and they would have those big books of wallpaper samples. I can still remember what they smelled like! Please leave me a comment if you know what I’m talking about.
I also remember what a hassle it was to install — and also remove!
Wallpaper has come a long way from the kind you remember in the 90s. Today, there are tons of beautiful, modern patterns to choose from. And, there’s also the option to use removable wallpaper.
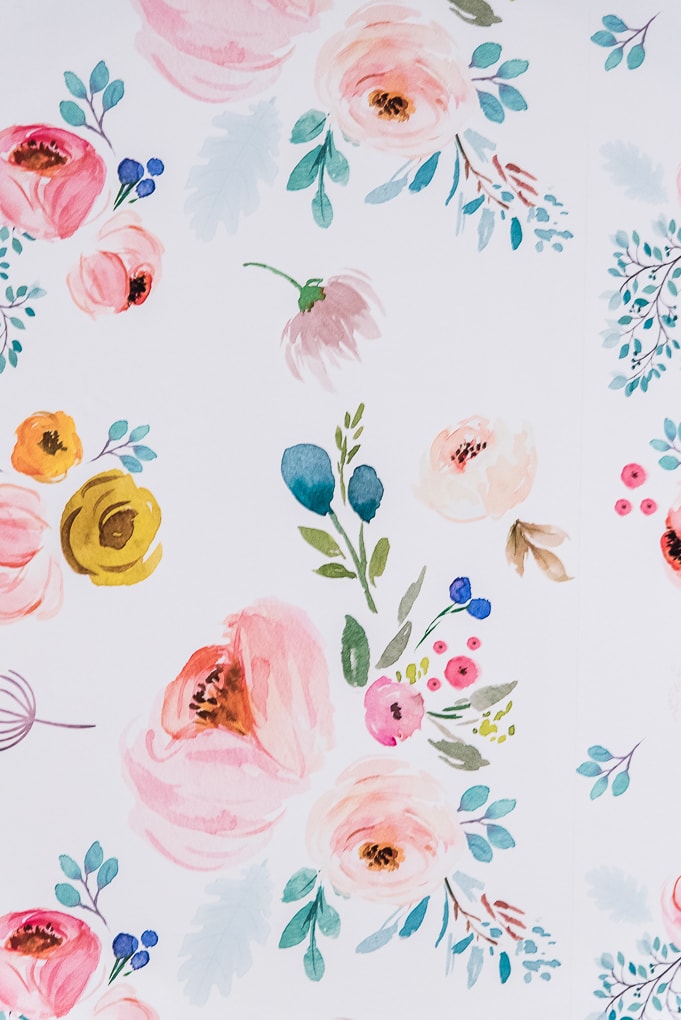
Removable wallpaper is basically just a big sticker of wallpaper that you place on your wall. It’s the easiest and least messy way to add wallpaper to your home.
Ben was much more into the wallpaper idea once I told him I was planning on using removable wallpaper.
Earlier this week, I shared some of my favorite removable wallpaper patterns. You can see my favorites here.
There are lots of great places to find removable wallpaper, but this store is my favorite. They have tons of options to choose from and have great reviews. All of the peel-and-stick wallpaper from this store is completely removable and repositionable.

Every roll of wallpaper from this store comes in a fixed width of 24”. Then, you can choose what length you need in order to fit your space.
Before ordering, I measured the area that would be the back of my built-in desk. The back wall area was about 6 feet wide and 4 feet tall. So, I ordered three rolls that were each 4 feet long. Here’s the wallpaper pattern that I ordered.

Let me show you how easy it was to install.
How to Install Removable Wallpaper
Prepare the Wall
First, you will need to prepare the wall where you will be installing the wallpaper. Make sure the wall is clean and there are no damaged areas. If there are, you will need to fix these before starting the installation.
If you are installing wallpaper on a darker wall, you might want to paint over it first in a lighter color. This is especially true if your wallpaper has a light background. You don’t want that dark wall color to be seen through the wallpaper. My wall was already a light gray, so I didn’t have to do any painting.
Draw a Level Guideline
Next, you will need to draw a guideline on your wall. You will want to make sure this guideline is level so that your wallpaper design is straight on your walls.

Because houses are almost never perfectly level, you can’t really trust the trim or the edges of the walls to be square. You will need to create either a horizontal or vertical (or both) guideline using an actual level.
Since I was only installing wallpaper on a portion of the wall, I used a level to create a horizontal guideline.
Prepare the Wallpaper
Before I could start hanging the wallpaper, first I had to re-roll the paper. If you order from Spoonflower, you will need to re-roll the paper so that the top edge is on the outside of the roll.
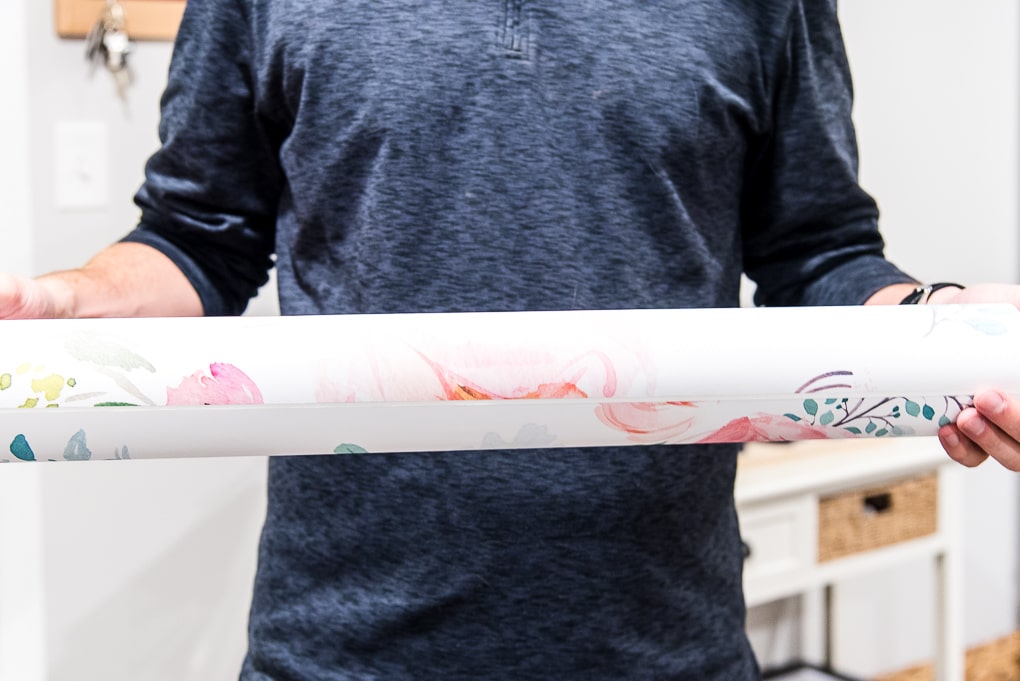
Install the First Panel
This part is easier if you have someone to help you out. Always start installing from the top left corner of the area you are wallpapering.
Take the first roll of wallpaper and peel away a few inches of the backing from the top. Don’t peel away all of the backing yet!
Line up the edge of your wallpaper with the guideline on the wall. Once you get it level, apply pressure to stick the top edge of the wallpaper to the wall.
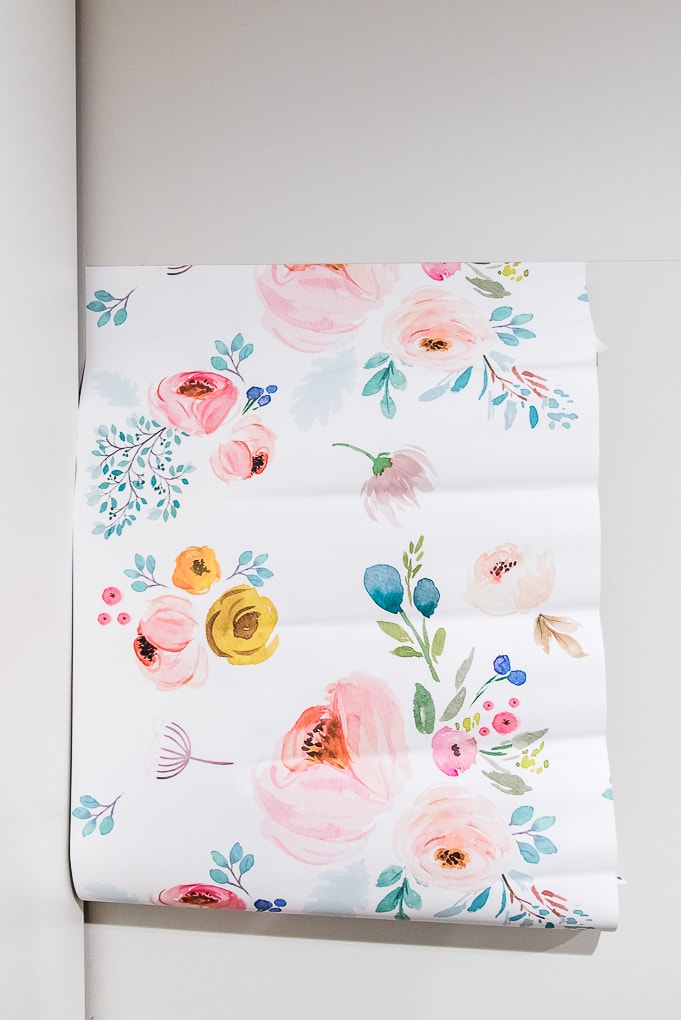
Then, step back and take a look at the position. Make sure it looks level and like it’s in the right place. This top edge placement will anchor the wallpaper in place for the rest of the install.
If you need to adjust, you can slowly peel the paper back from the wall and reposition.
If everything looks good, you can continue to peel the backing away from the wallpaper and press it to the wall.
Go very slow and smooth the wallpaper as you go with a squeegee (this little tool comes with your wallpaper order). The squeegee is perfect for pushing out any air bubbles that you get as you are sticking the wallpaper to the wall.
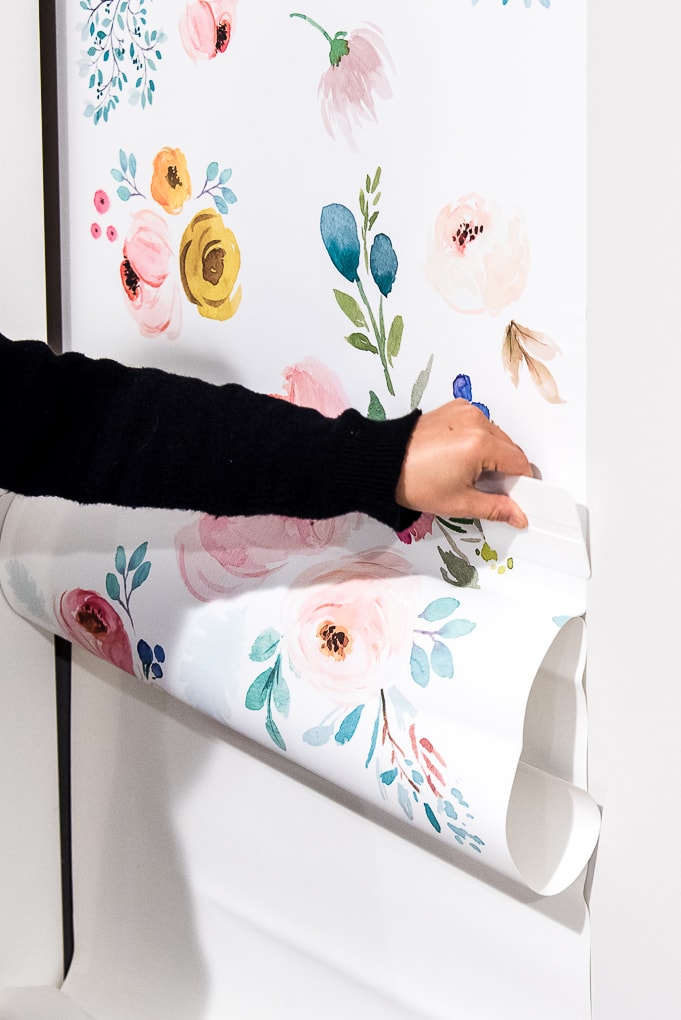
I found it easiest to have Ben slowly peel the backing away as I used the squeegee to press it into the wall. I always pressed the center of the design in first and then worked my way out so that the air bubbles moved to the edge of the wallpaper.

Install the Remaining Panels
After you have the first panel installed, it’s time to install the overlapping panels. This is how your design gets that repeating look so that the pattern lines up perfectly.
To install the second panel, you will need to overlap the first panel by about ¾”. You are going to be overlapping the right side of the first panel with the left side of the second panel.
Hold the second panel up to the wall and peel away a few inches of the backing from the left side.
Then, visually match the pattern from the first panel to the second panel. Once you have the pattern matched up, apply pressure to stick the top left edge of the wallpaper to the first panel.

After you have the top left side matched up, you will repeat the process that you did for the first panel. Match the top edge of the wallpaper to the guideline on the wall. Again, work slowly and use the squeegee as you go to get rid of any air bubbles.
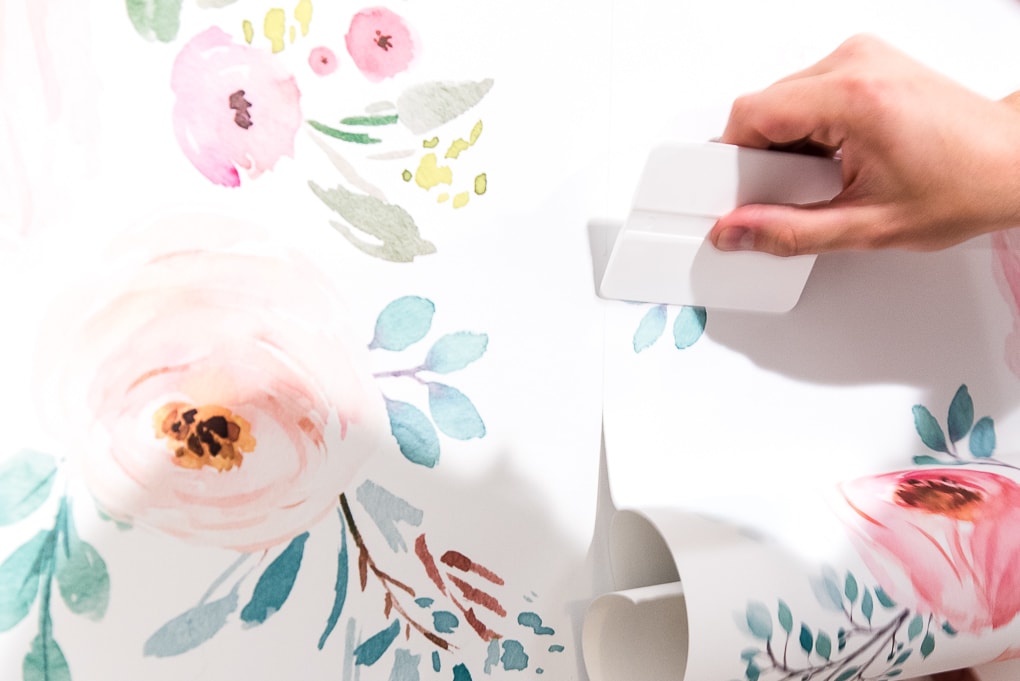
Continue working your way down the panel and make sure the pattern matches as you go on the left edge of the second panel.
If you need to cut away excess wallpaper, just use a sharp utility knife to carefully cut the wallpaper.
Repeat this process for as many removable wallpaper panels that you have.


Check Out Your Beautiful Wallpaper!
Once you have installed all of the panels for your space, you can step back and admire your work!

Installing removable wallpaper is such an easy way to upgrade a space. Honestly, I thought it was going to be difficult, but I was surprised at just how easy it was to put up.

Here’s the completed wallpaper area of my built-in desk. It may look a little weird right now, but it will be surrounded by the desk surface below and the bookshelves above. Once everything is in place, it’s going to look so great!

Even though it’s not complete yet, I’m loving how everything looks. The wallpaper is so pretty!
Stay tuned for more updates on the built-in desk. I’m almost done with the painting process, and I can’t wait for you to see how everything looks!

If you’d like to see how the other bloggers are doing with their One Room Challenge spaces, you can do so in this link up.
You can follow along as we transform (a section of ) our basement into my modern and bright creative home office via the links below:
Planning a Modern and Bright Creative Home Office {One Room Challenge Week 1}
How to Build a Desk using IKEA SEKTION Cabinets {One Room Challenge Week 2}
The Best Removable Wallpaper Patterns
How to Install Removable Wallpaper {One Room Challenge Week 3} (You’re Here)
How to Paint IKEA SEKTION Cabinets {One Room Challenge Week 4}
DIY Bookshelves for a Built-In Desk {One Room Challenge Week 5}
Modern and Bright Creative Home Office Reveal {One Room Challenge Week 6}


This looks gorgeous Christene!! I love the pattern that you chose, and it looks so easy to install. Can’t wait to see the room come together! 🙂