Gingerbread House Decorating Ideas
The holiday season is here, and what better way to embrace the festive spirit than by creating your very own gingerbread house?
Making gingerbread houses has always been one of my favorite things to do during Christmas time.
It’s a tradition that holds a special place in my heart, because we used to make gingerbread houses every year growing up.
Back then, my mom would bake our traditional gingerbread house from scratch, cutting out the walls from gingerbread dough using paper templates she made herself.
The process was a labor of love, and it included a trip to the bulk candy store where we would pick out a variety of candies for our houses.
It was a big project and it was always so much fun!
However, as times have changed, so has the way we make gingerbread houses.
Today, there are convenient kits available, making this fun holiday activity even easier.
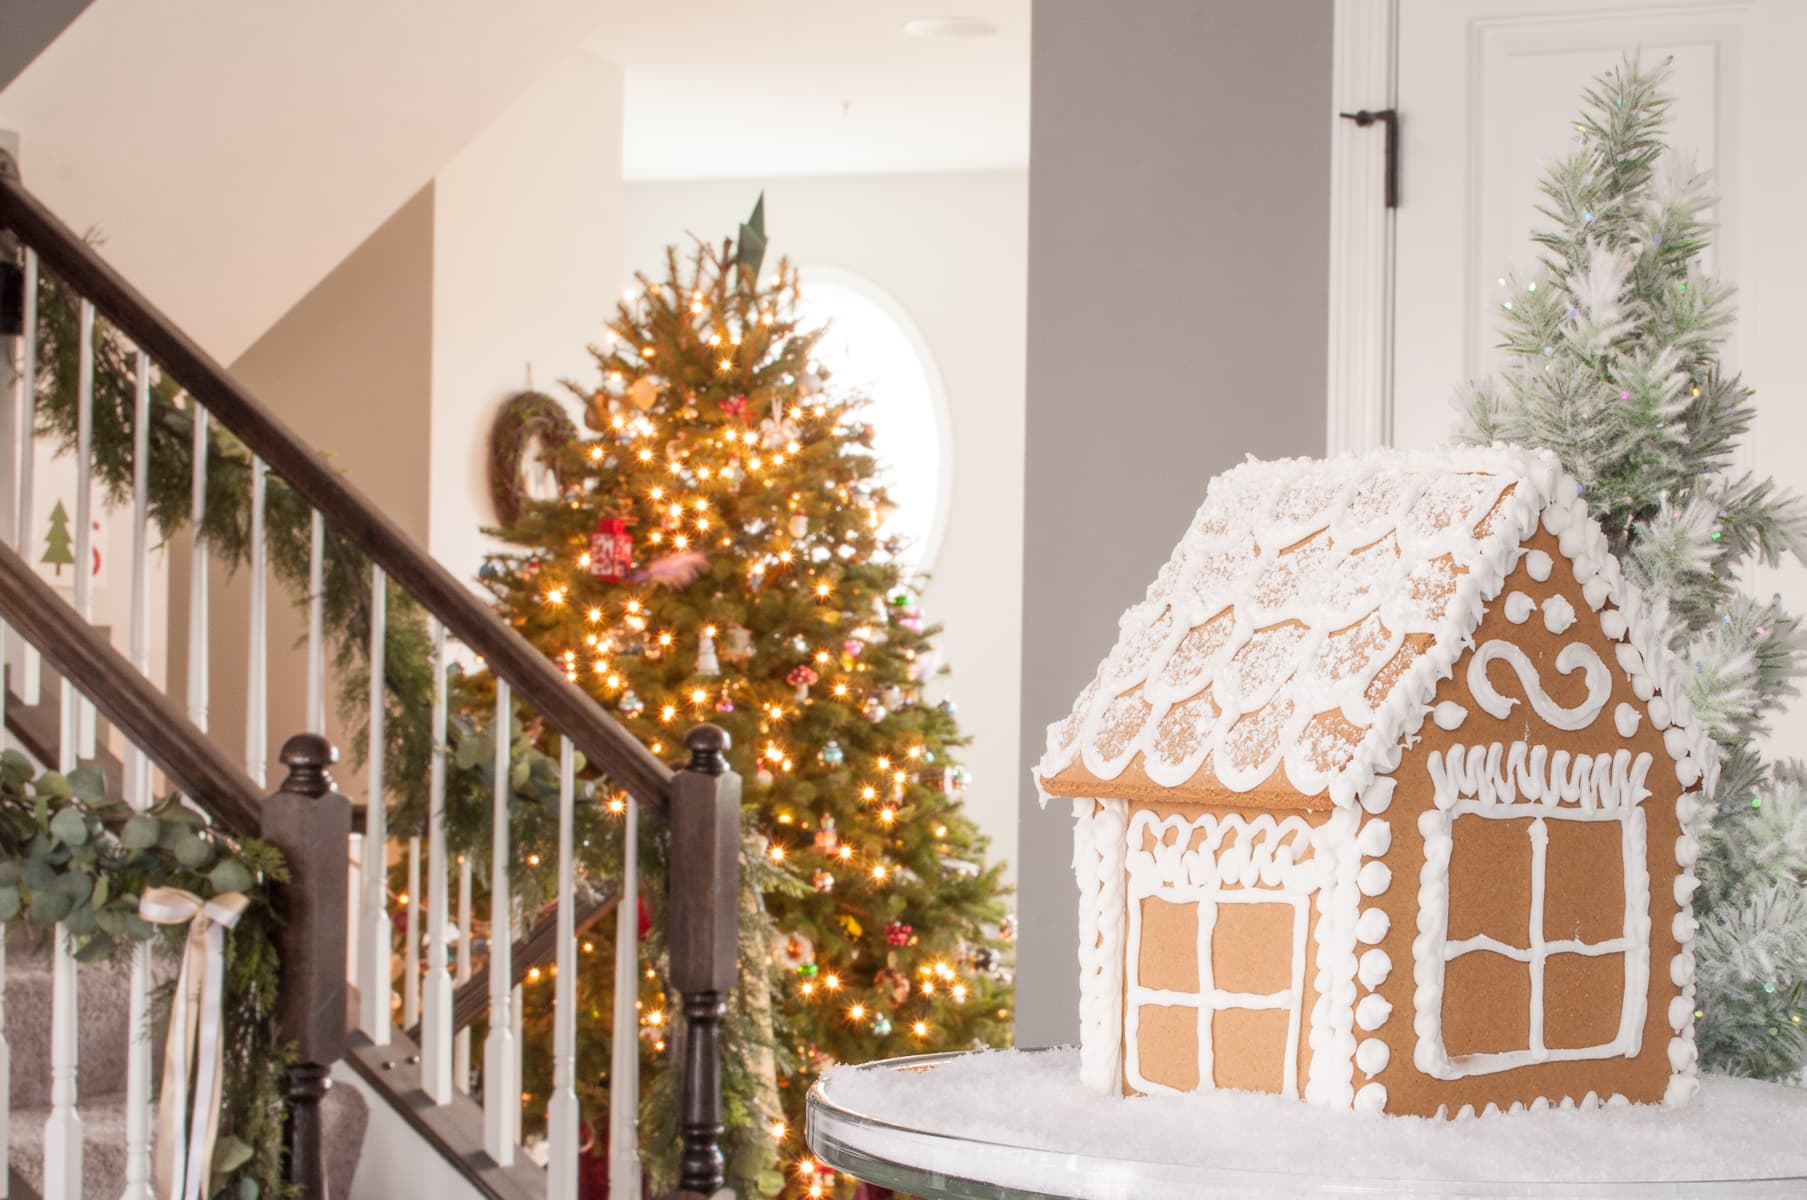
Using a gingerbread house kit can be a lifesaver, saving you time and effort.
In this post, I’ll share my experience creating a stunning gingerbread house using a store-bought kit, focusing on an all-white aesthetic.
This post contains affiliate links for your convenience. For more information, see my disclosures here.
Using a Gingerbread House Kit
Creating your gingerbread house doesn’t have to be a daunting task. With a good quality gingerbread house kit, you’re already halfway there.
Choose the Right Kit
There are lots of different gingerbread kits out there. Choose a kit that suits your taste. Whether it’s a classic design or a modern twist, kits come in various styles to match your preference.
Prepare the Work Area
Lay out all the components on a flat surface. This could be your kitchen counter or a dedicated baking sheet.
Assemble with Care
Follow the kit’s instructions for assembling the gingerbread cookies. Most kits provide a gingerbread house template for easy construction. Some kits even come pre–assembled in the box.
Gingerbread house kits are one of the best things during the holiday season. It saves you time and energy so you can focus on the fun part – decorating!
SHOP KITS
Aesthetic Gingerbread House Designs
Now, let’s get into the exciting part – decorating your gingerbread house!
There are so many gingerbread house ideas out there. But, the key to achieving an aesthetic, all-white gingerbread house look lies in the icing and piping techniques.
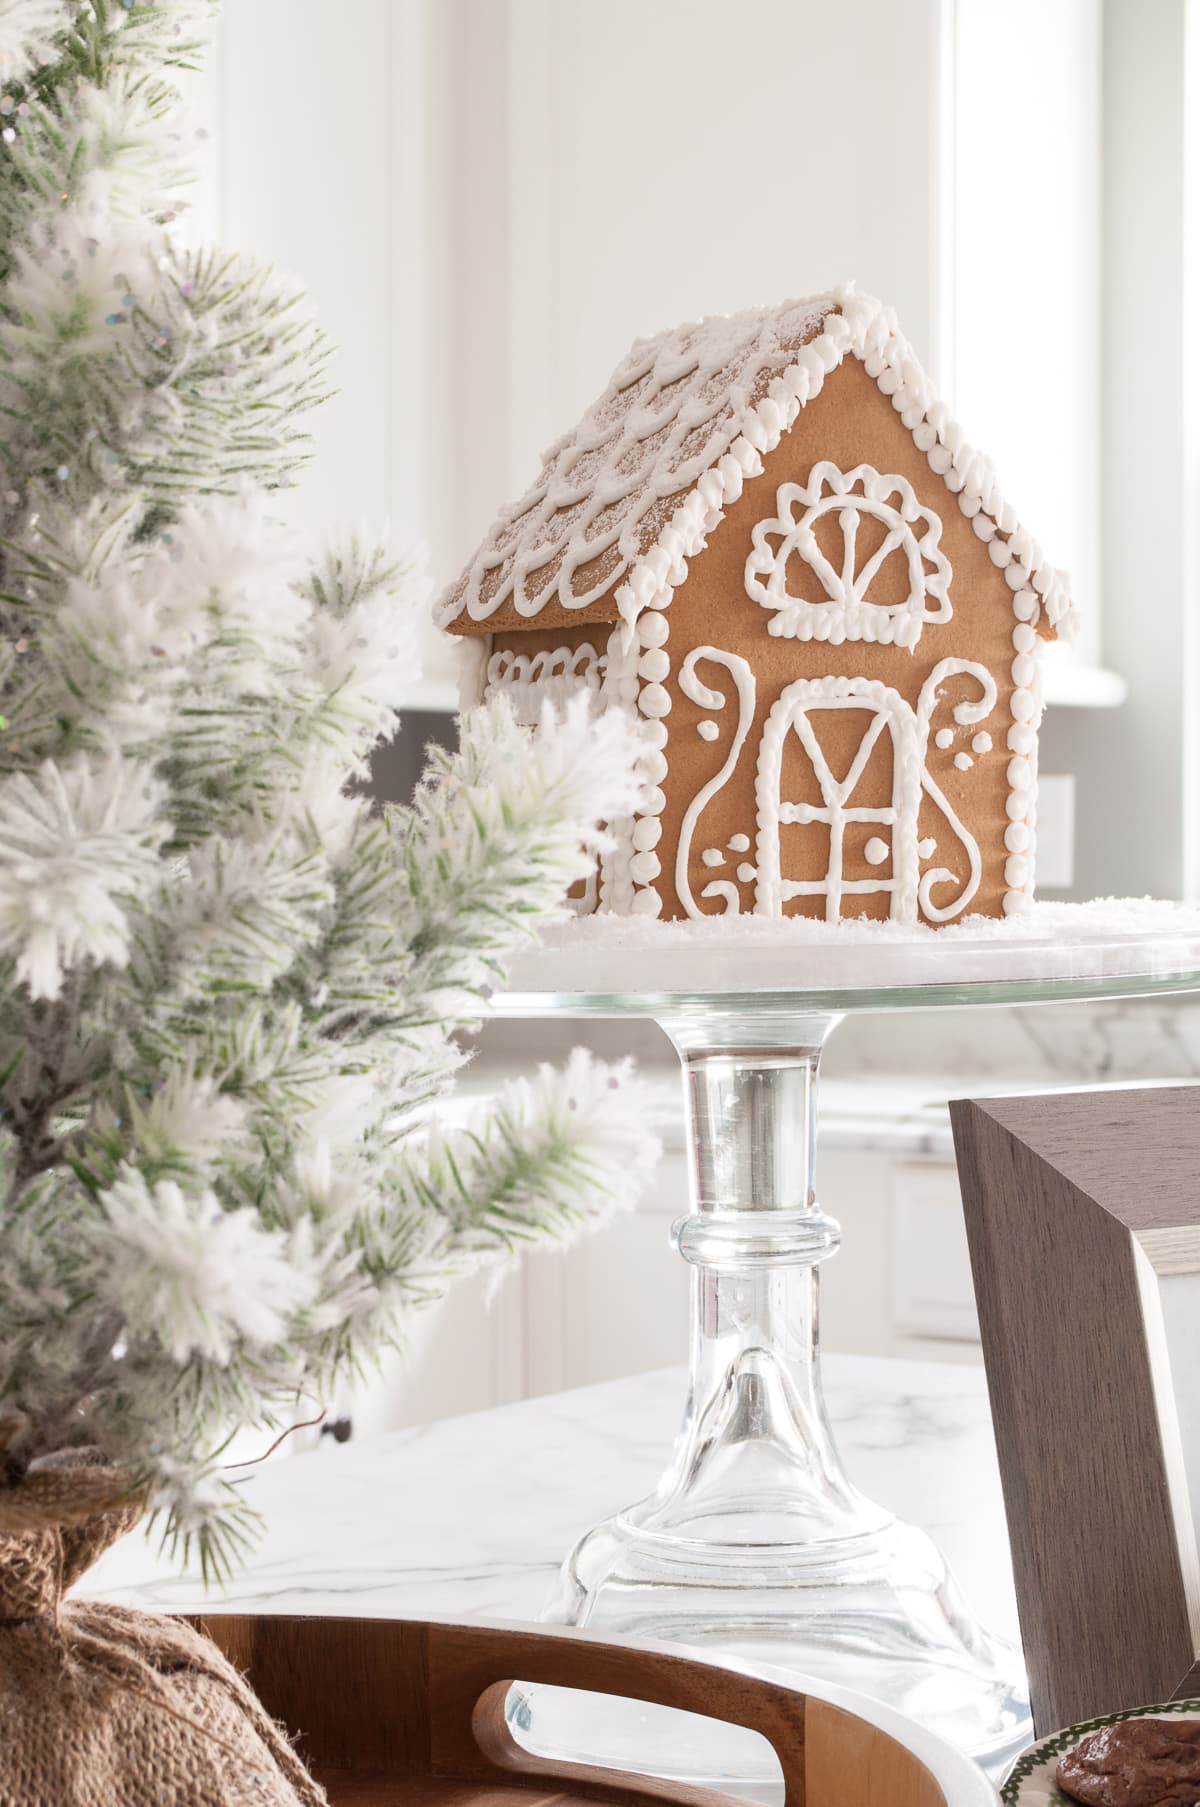
5 Piping Techniques for Crafting an Aesthetic Gingerbread House
Decorating a classic gingerbread house is an art, and the right piping techniques can turn it into a masterpiece.
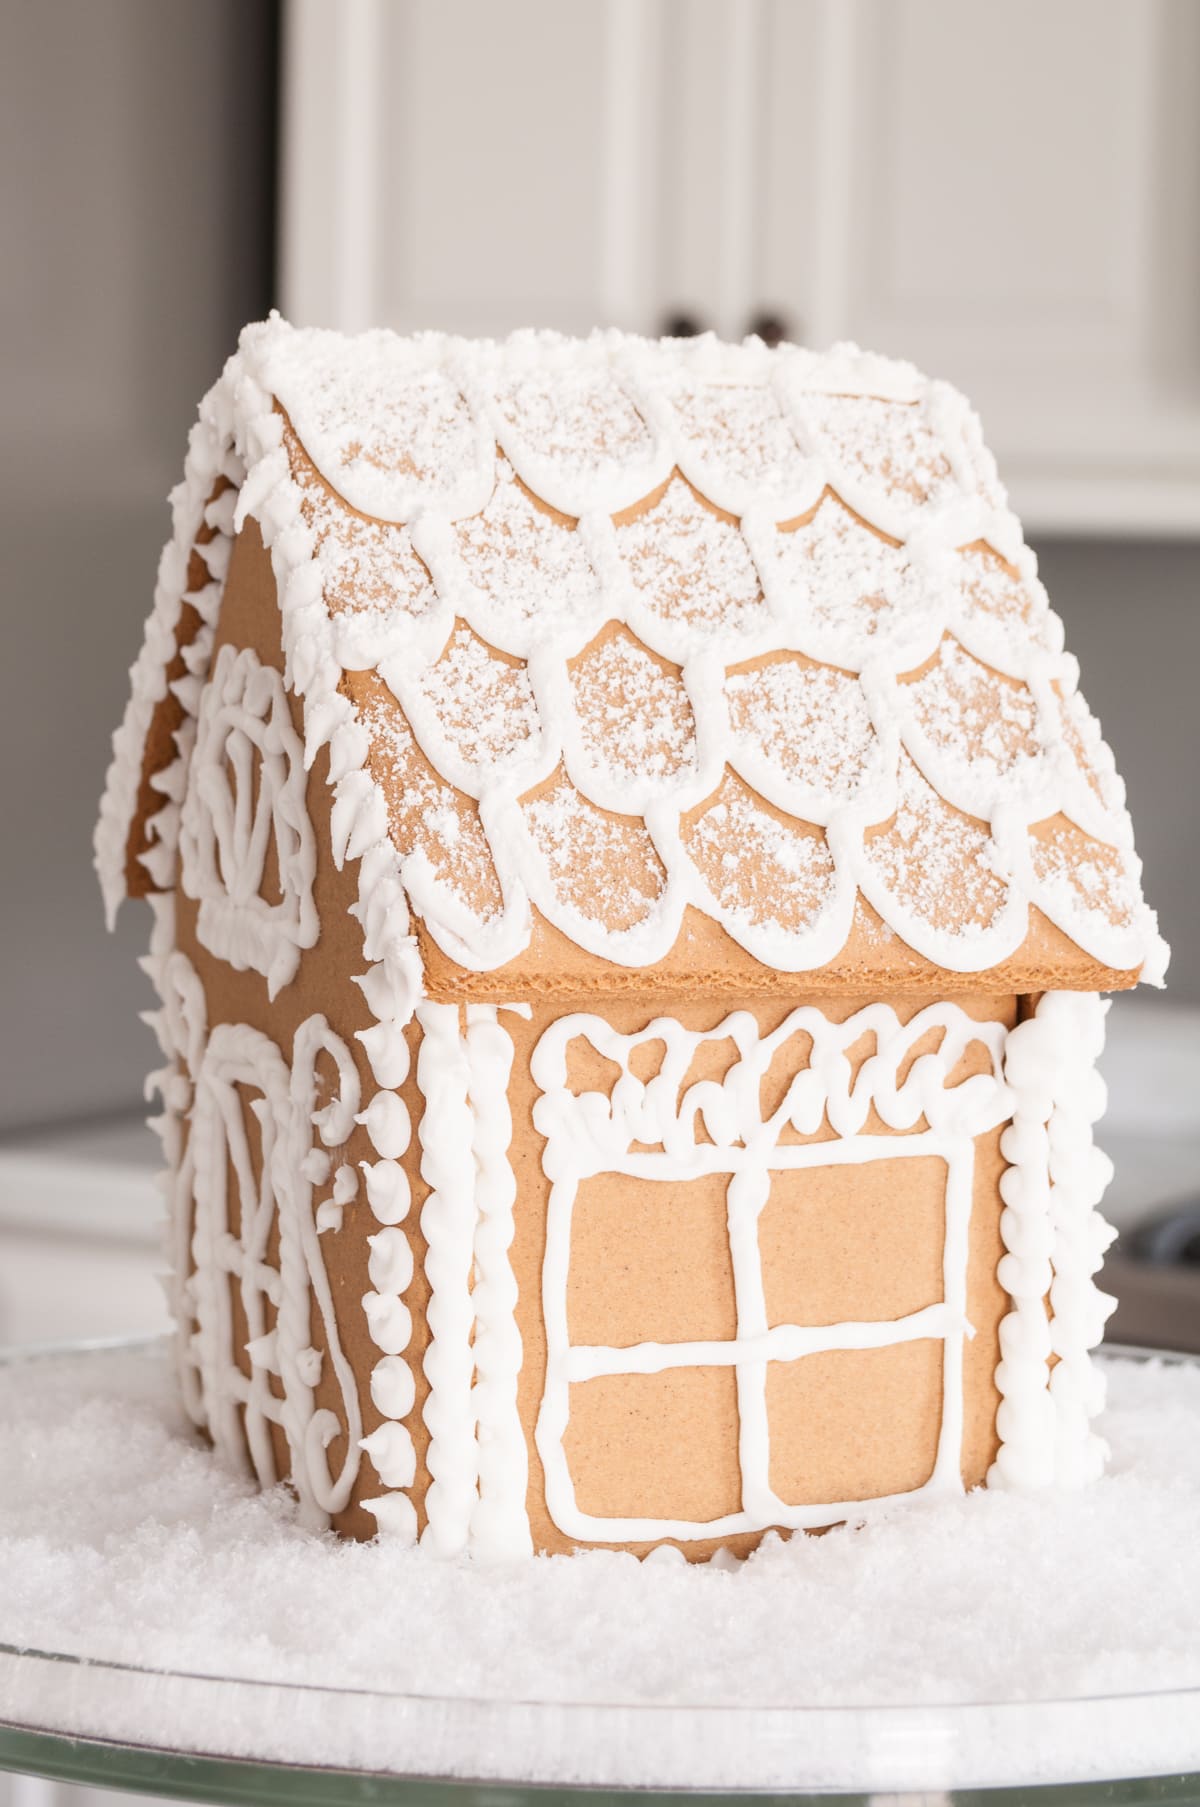
Here are five piping techniques that will help you create a beautiful, aesthetic gingerbread house:
SHOP SUPPLIES
1. Cover the Seams
Begin by covering the seams between gingerbread pieces.
Using a piping bag filled with white icing, carefully pipe along the edges where the pieces meet.
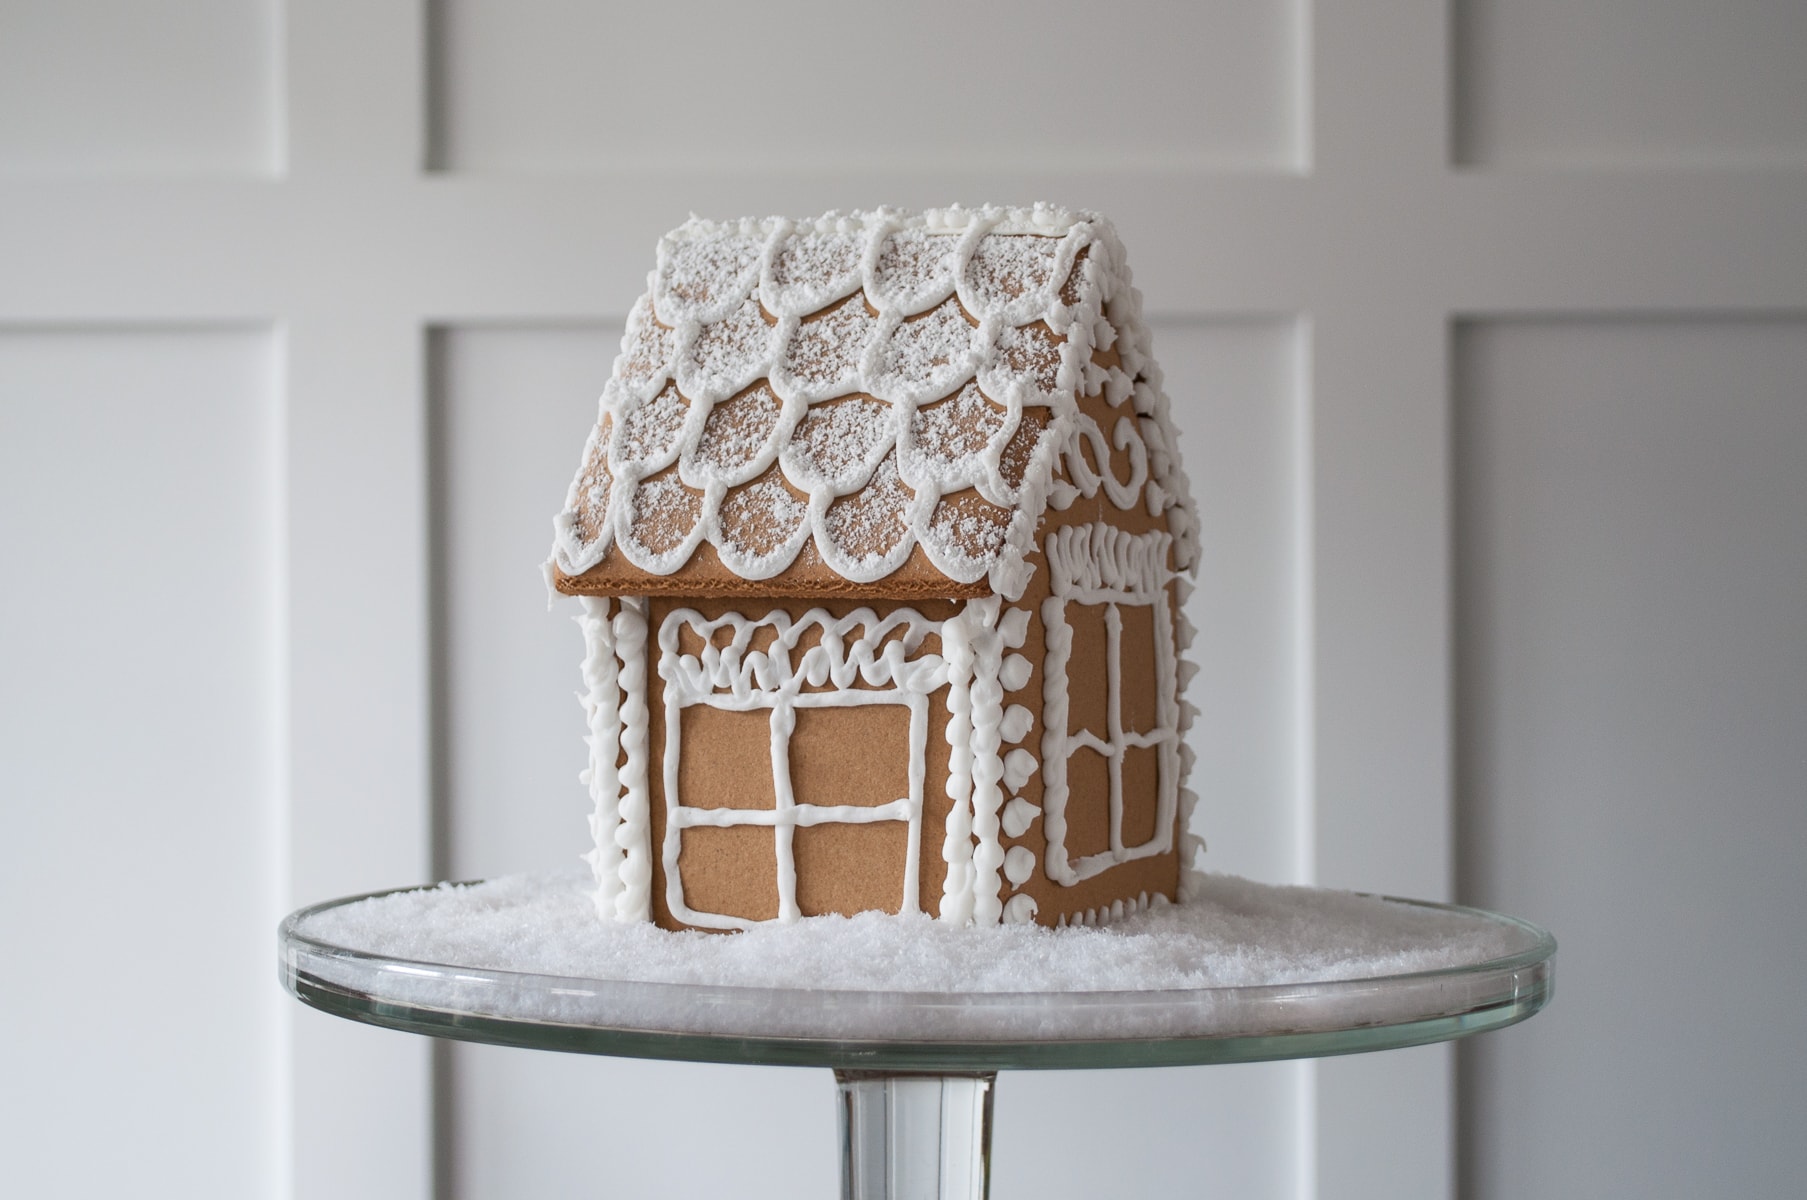
This not only hides the joints on the entire house, but also provides a clean, finished look.
The contrast of bright white against the brown gingerbread adds a touch of sophistication.
2. Embellish Windows & Doors
Bring your gingerbread house to life by piping intricate details on windows and doors.
Use a piping bag with a small tip to create patterns such as arched tops for doors and rounded or rectangular windows.
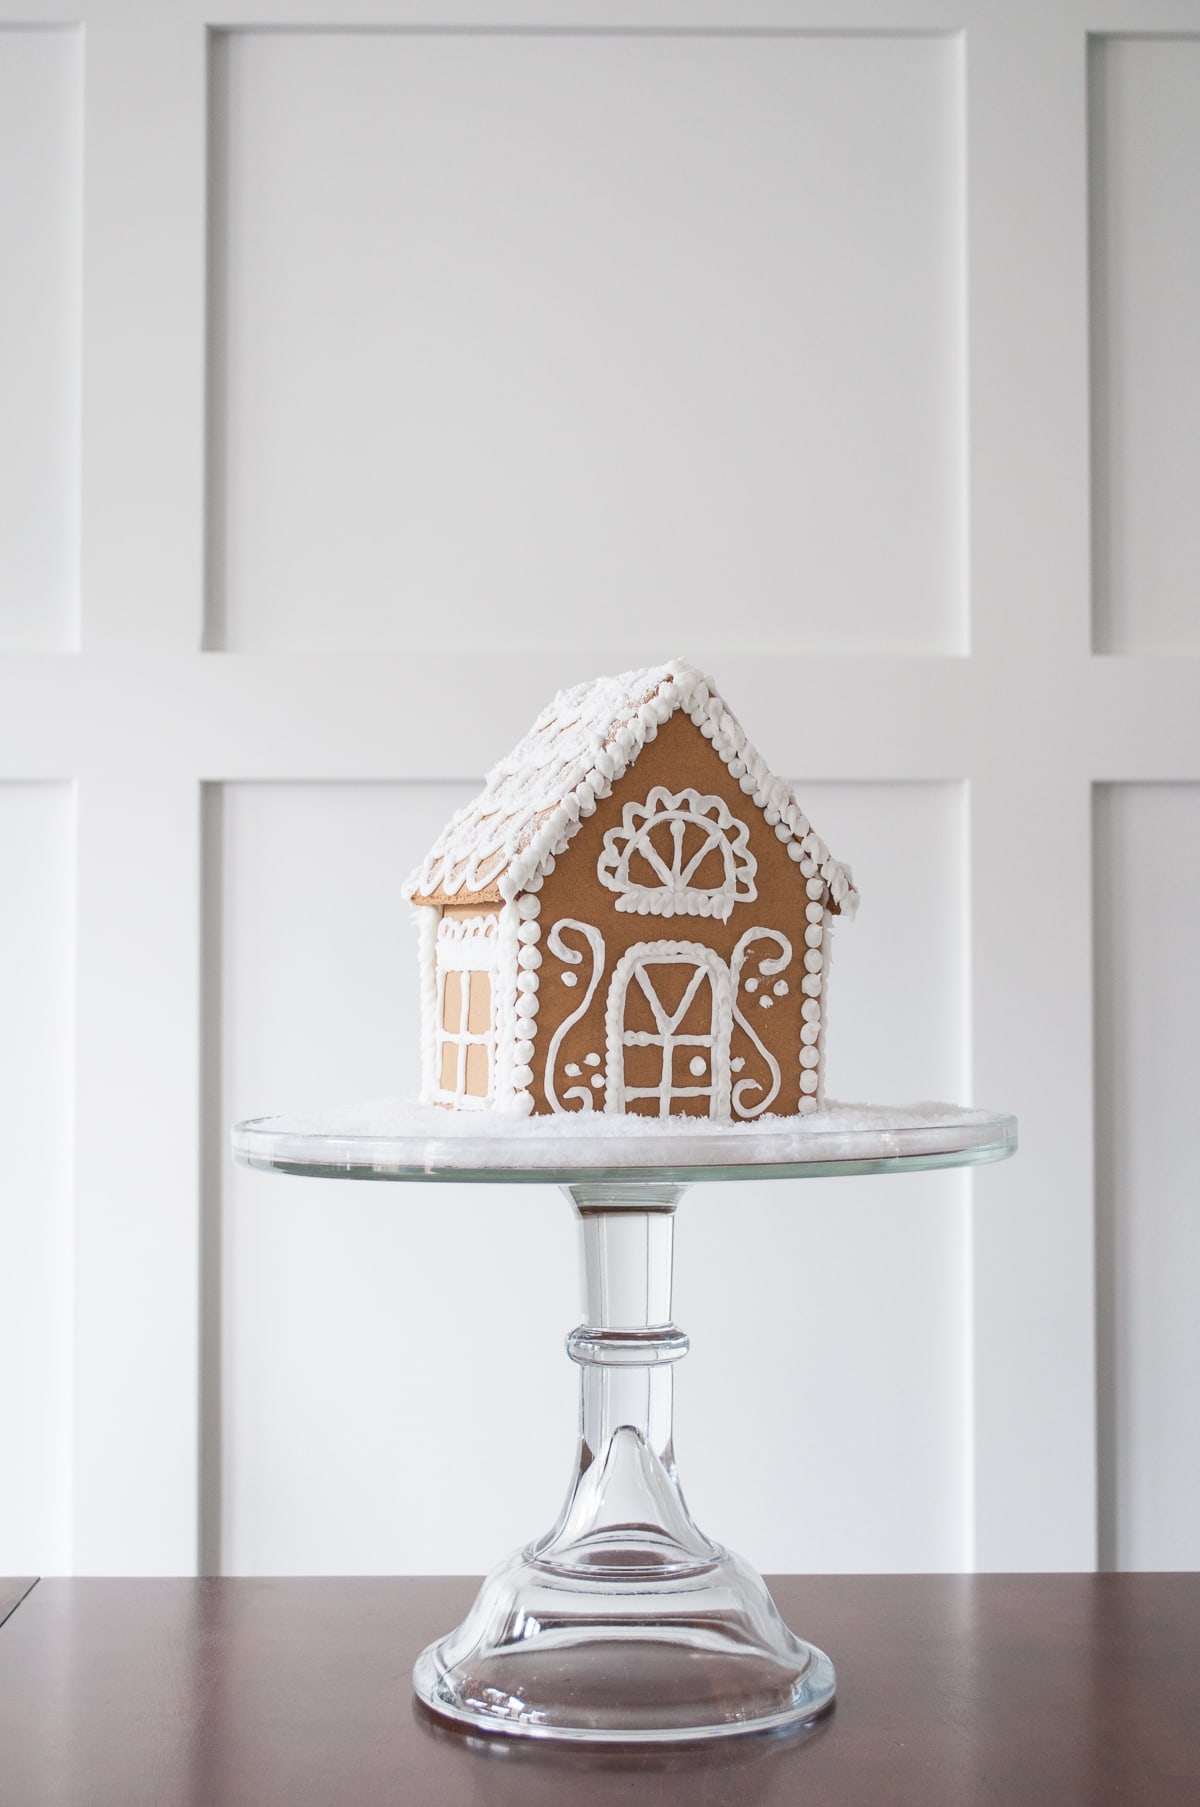
Add extra flair with embellishments like mullions, frosting dots, and unique piping around the door to distinguish these key features.
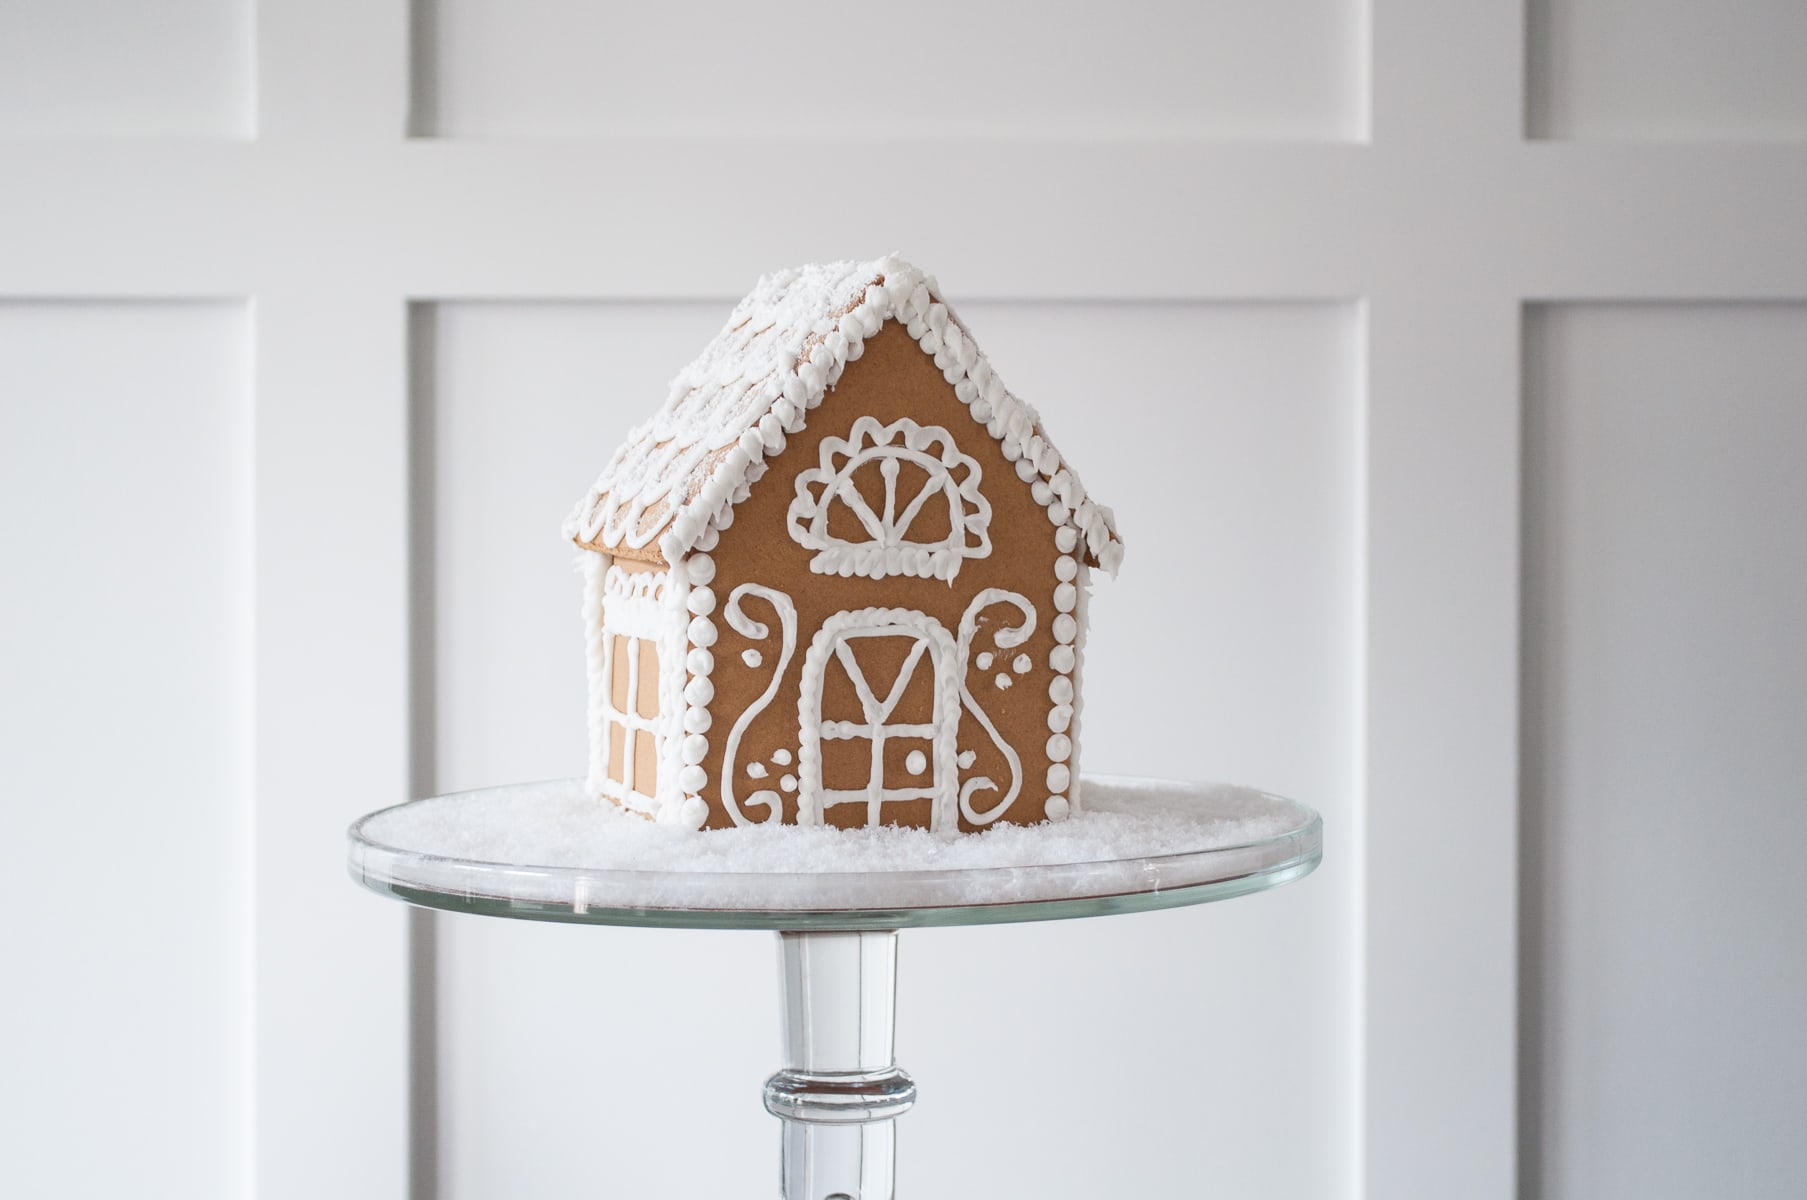
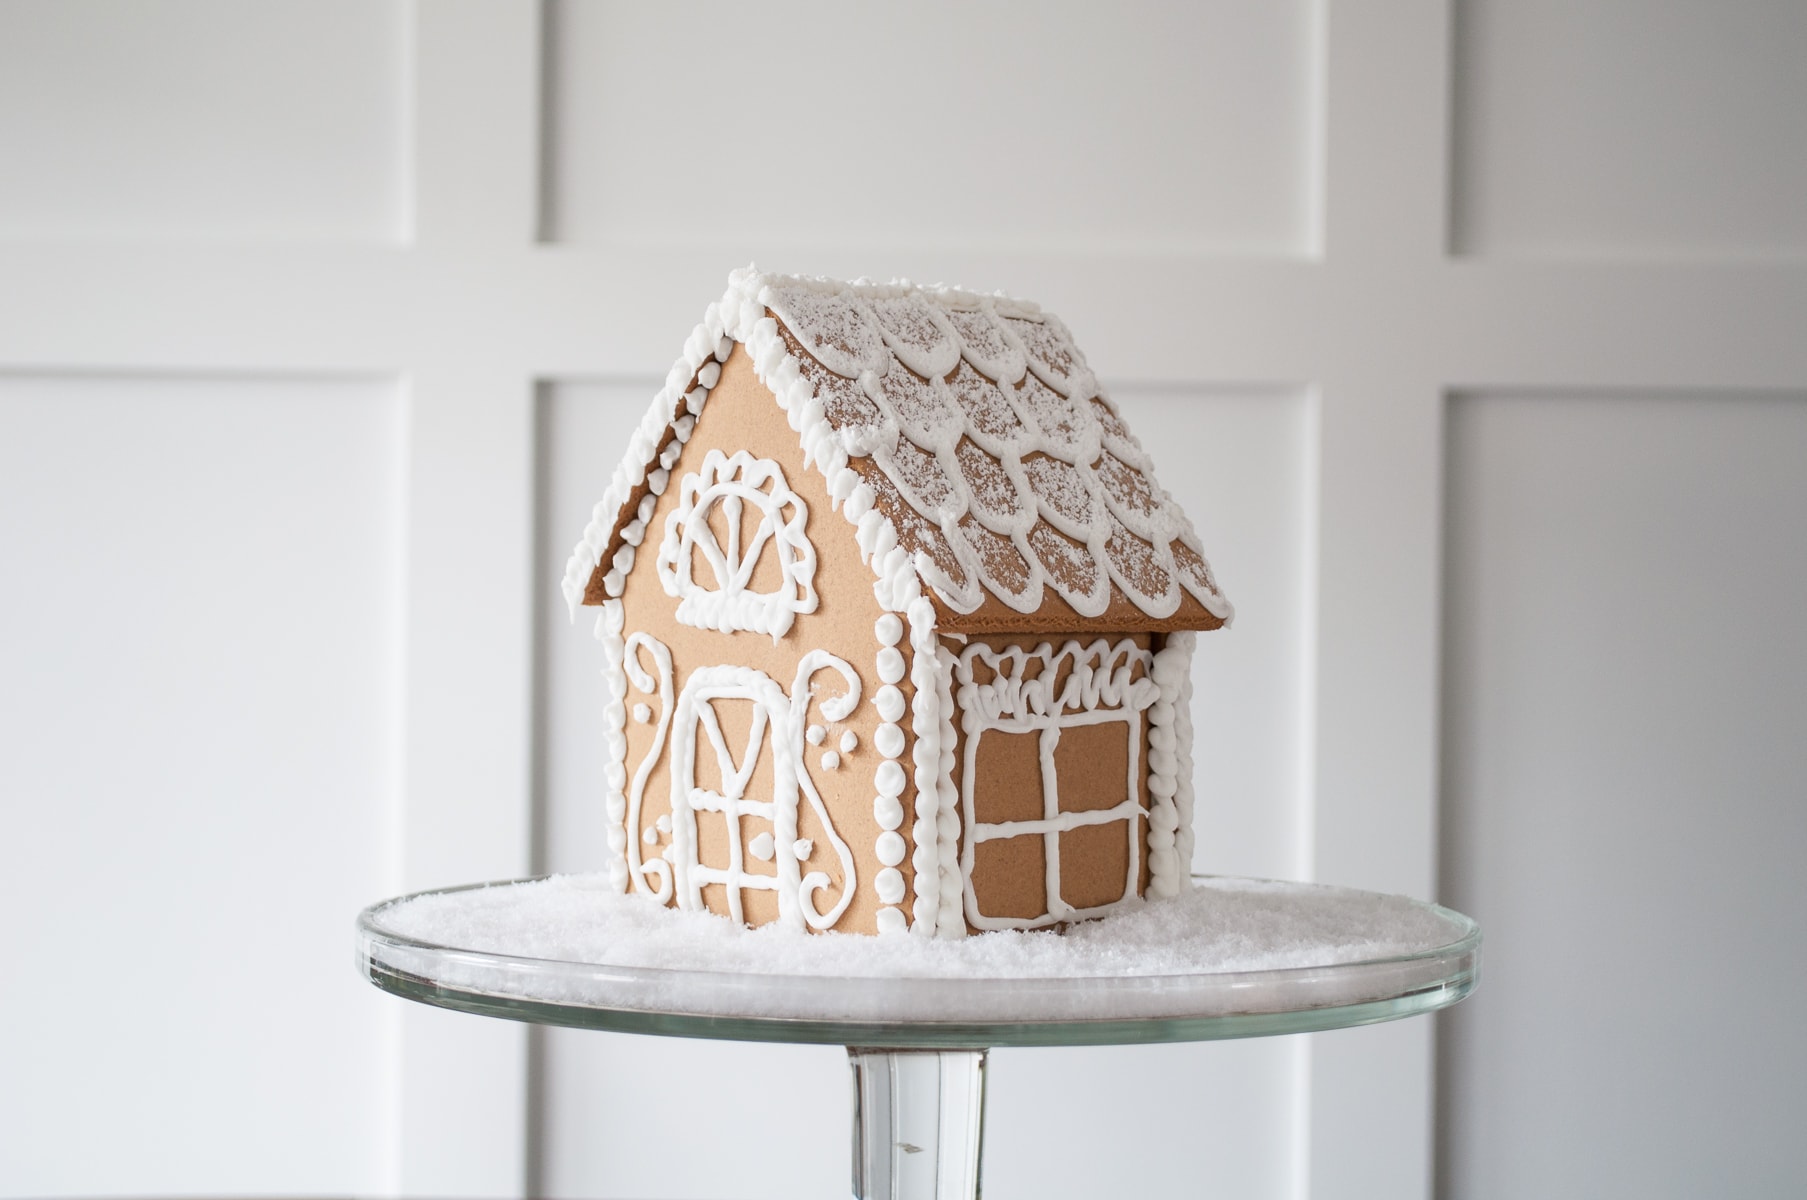
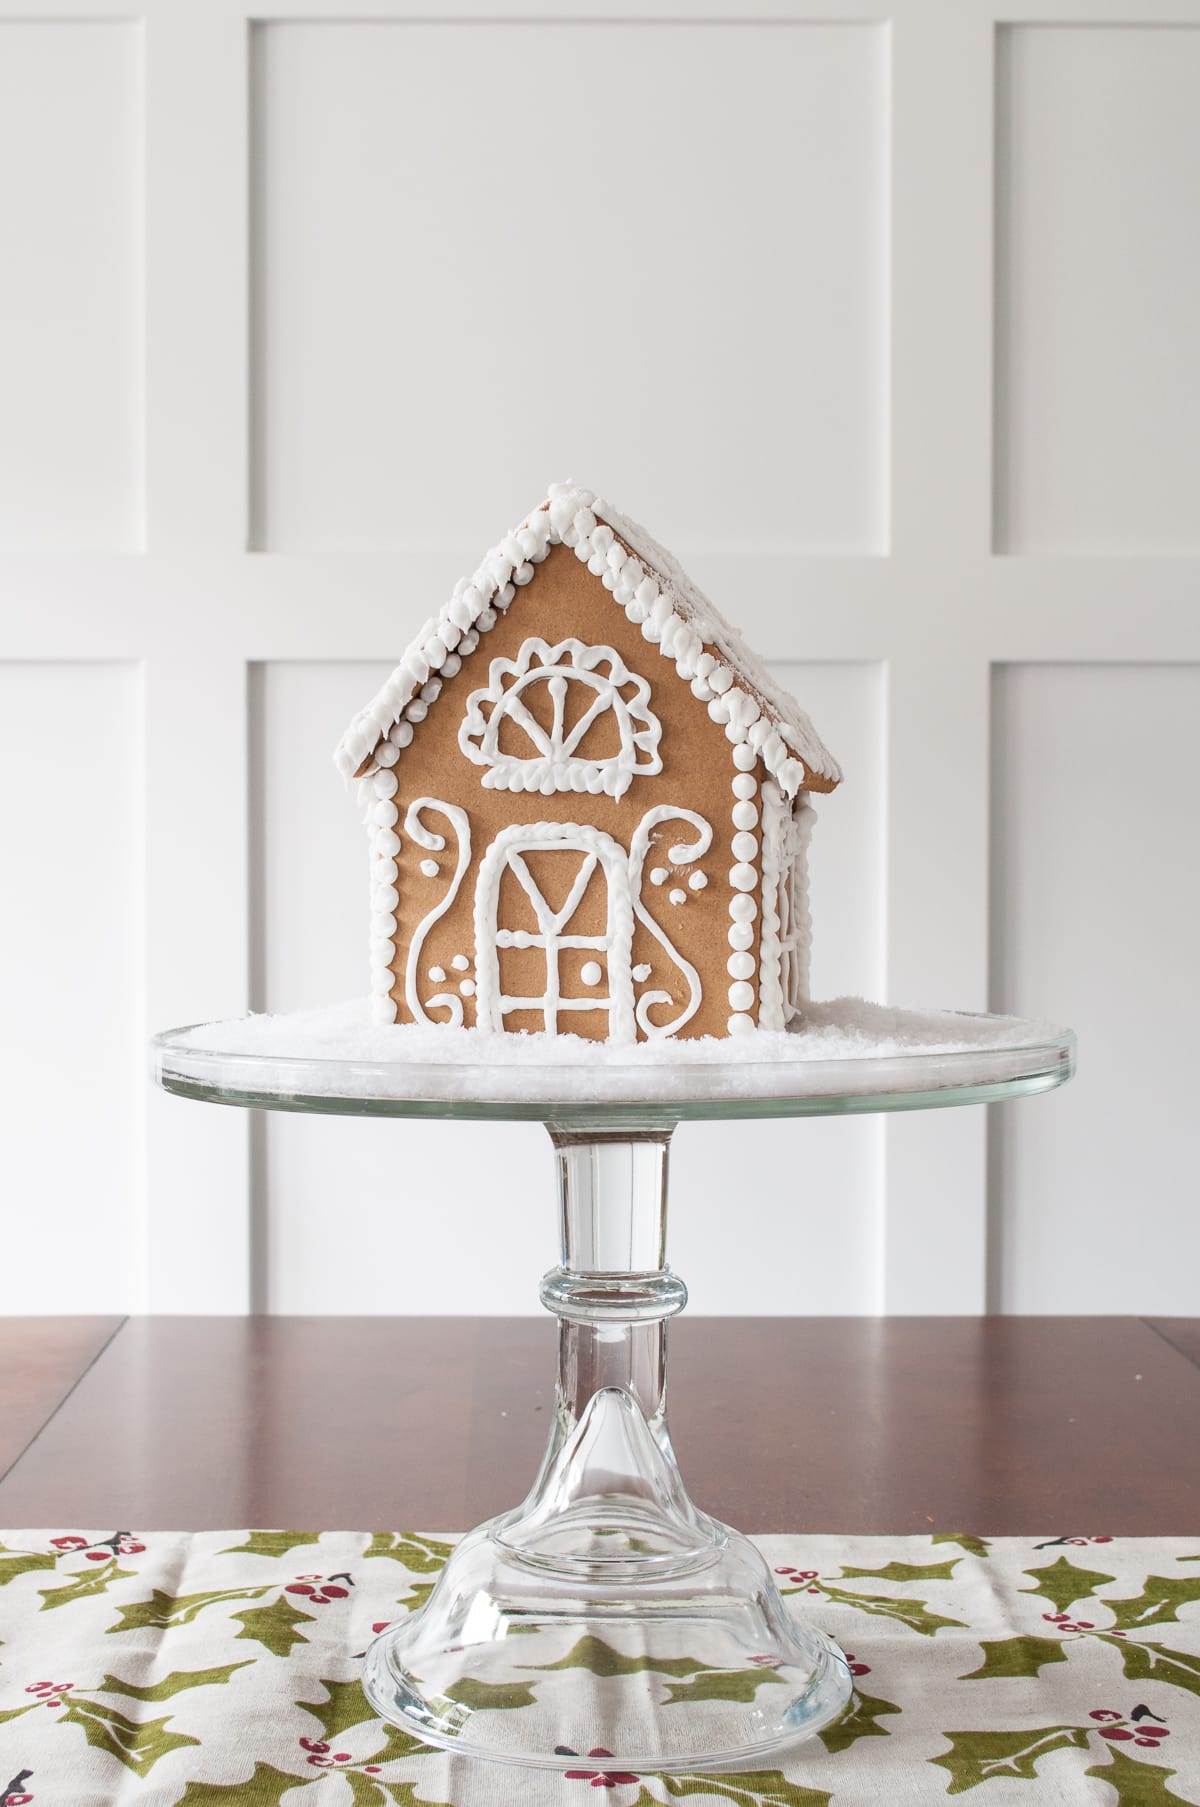
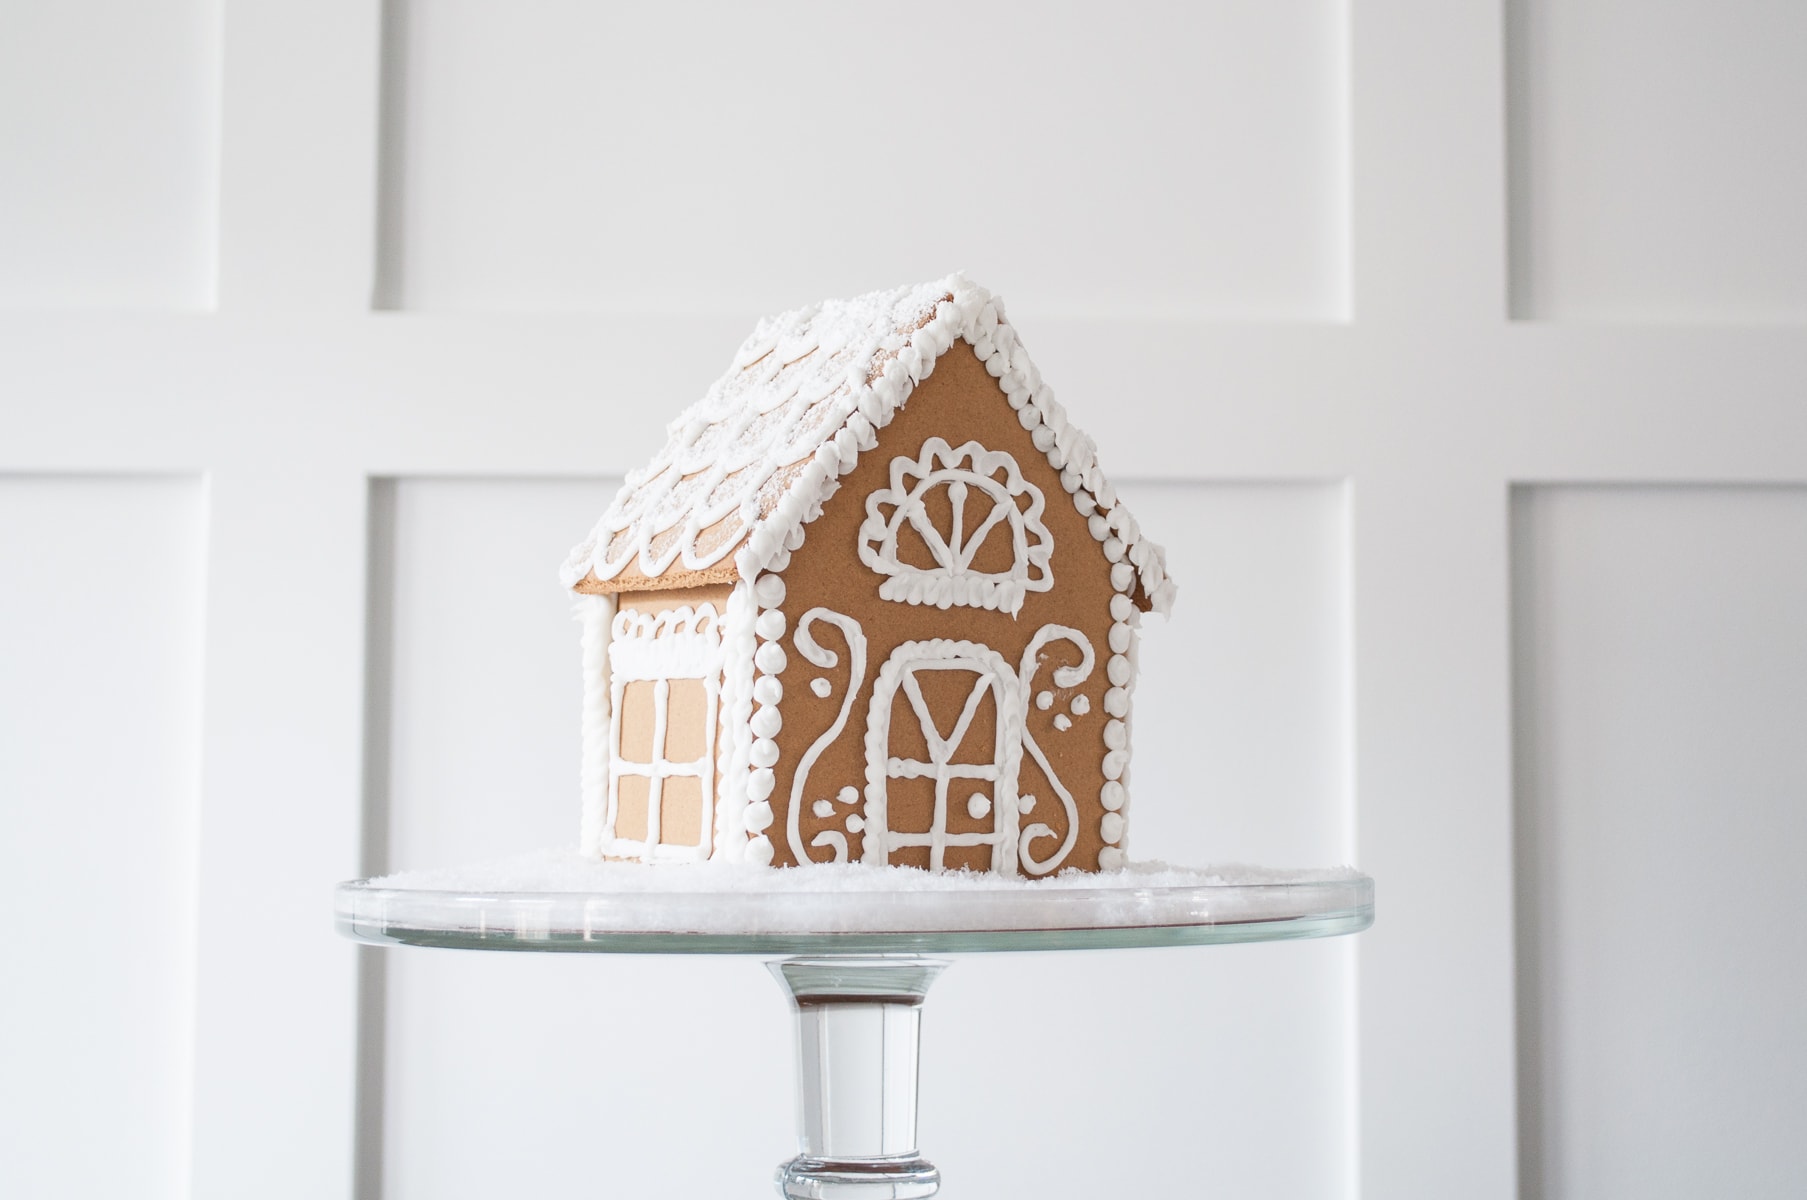
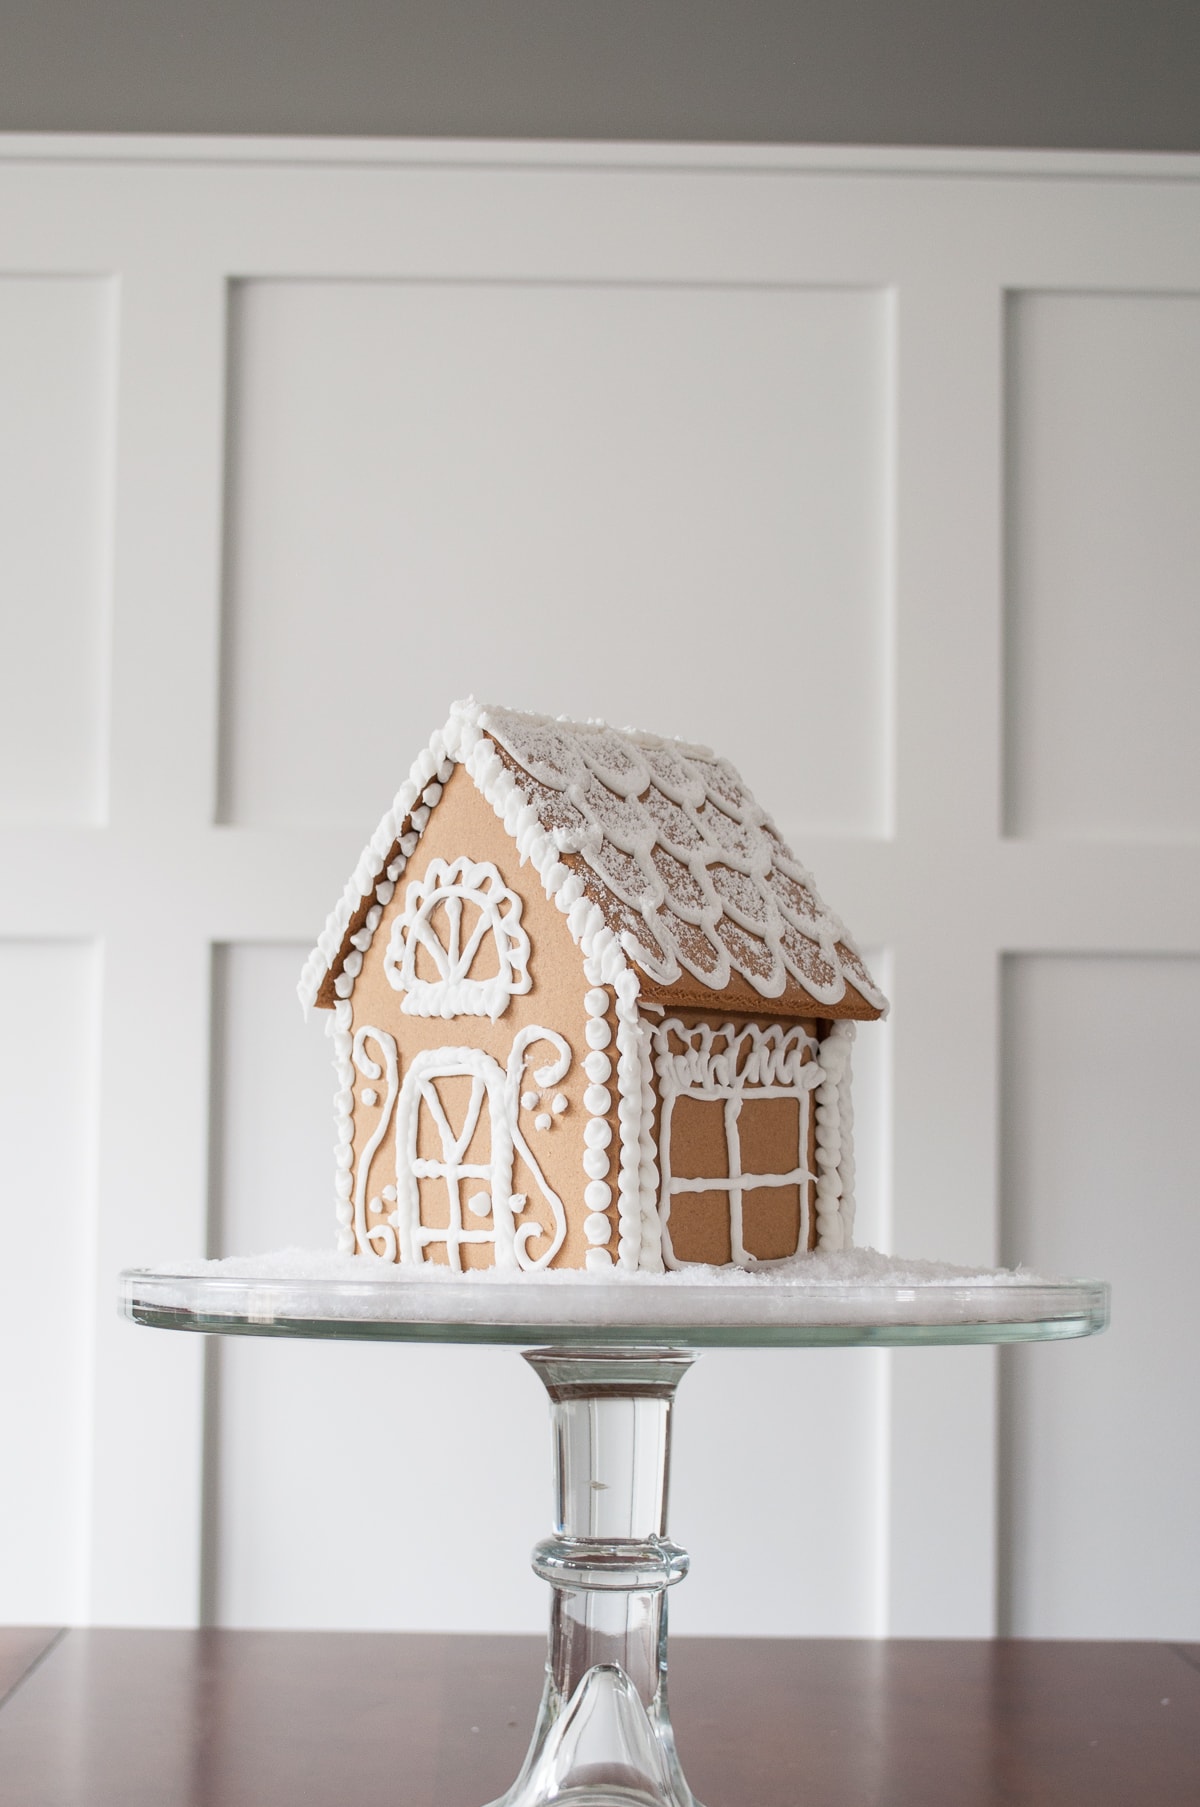
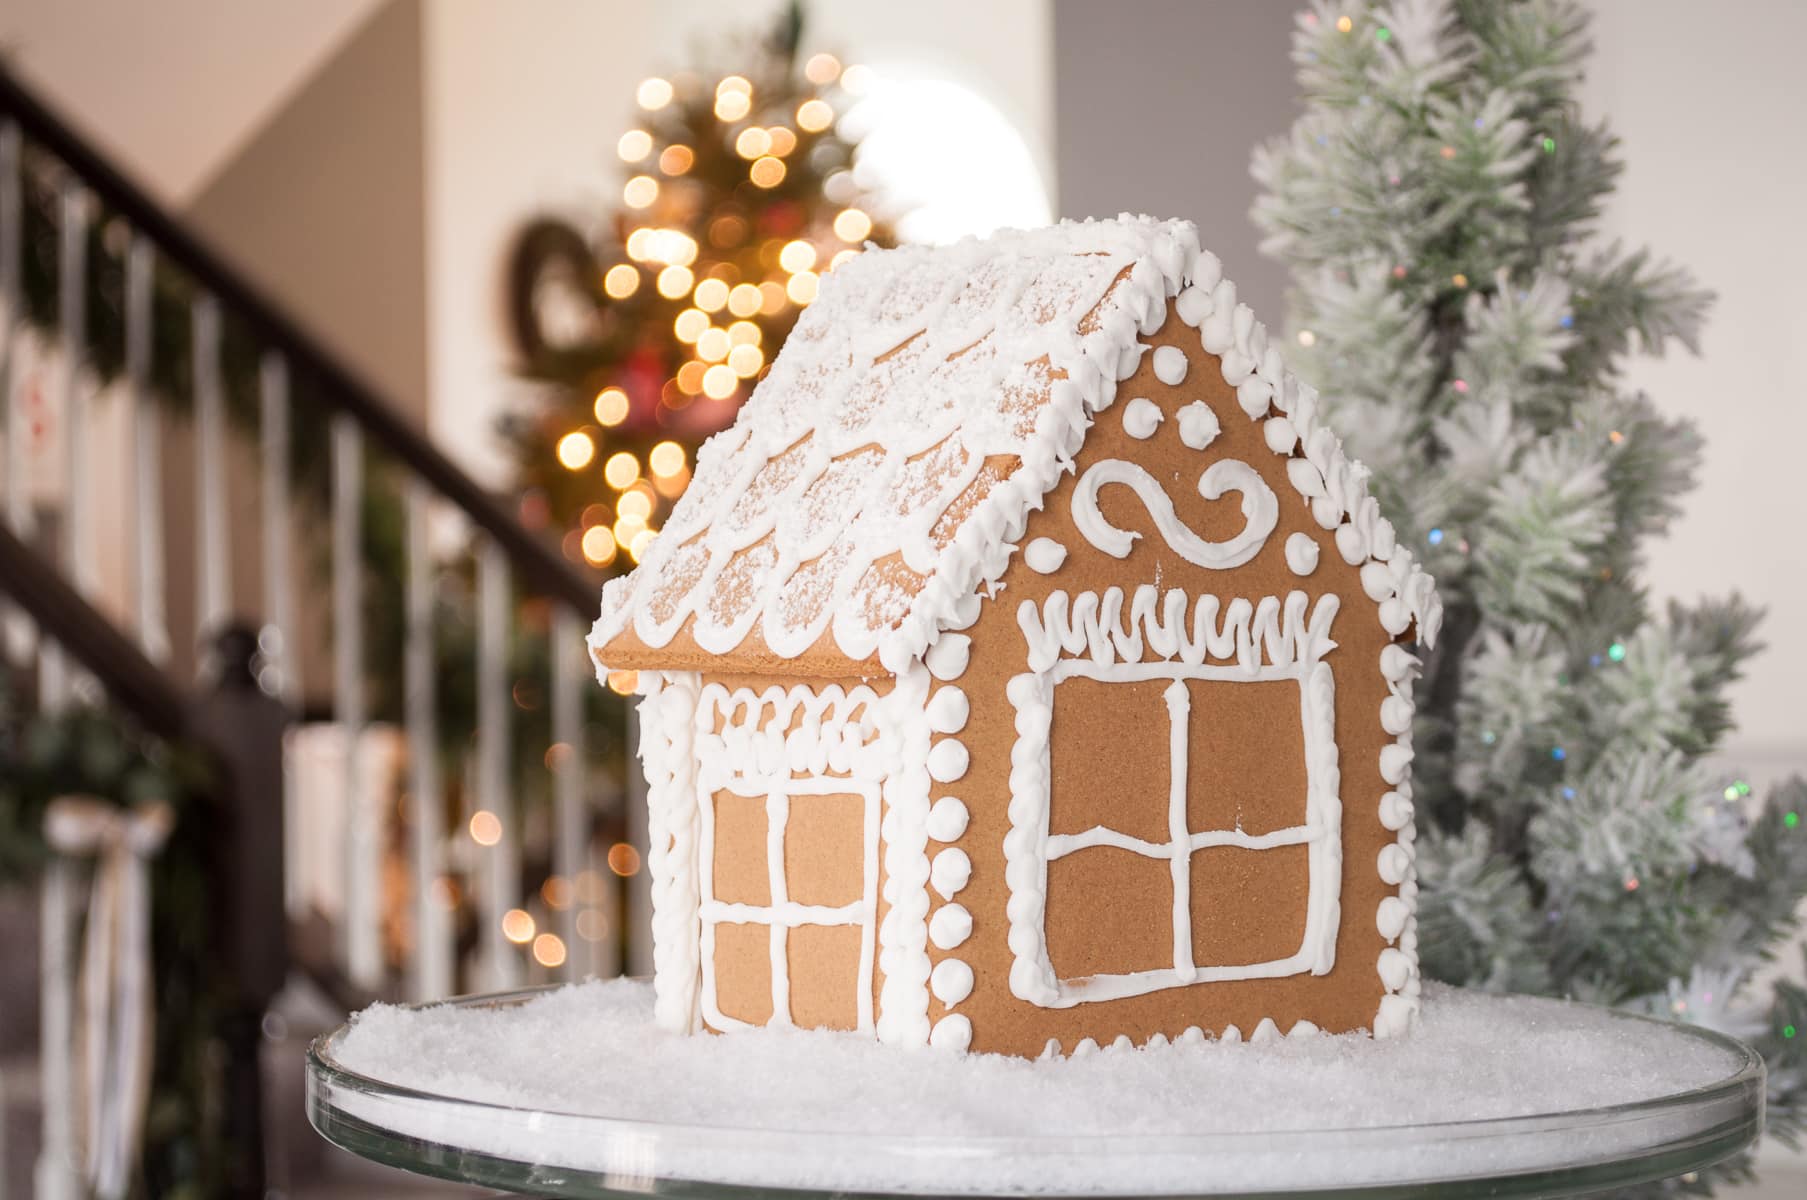
For the door on my house, I went with an arched top. I also added mullions at an angle inside the door and a small dot of frosting as a door knob.
Around the door, I piped another layer of frosting with a different look to distinguish the door from the details. This added an extra something to the door to create some interest and texture.
For the window on the front of the house, I created a rounded window. I added a different embellishment of looped frosting around the top of the window to add a different element and look to the design.
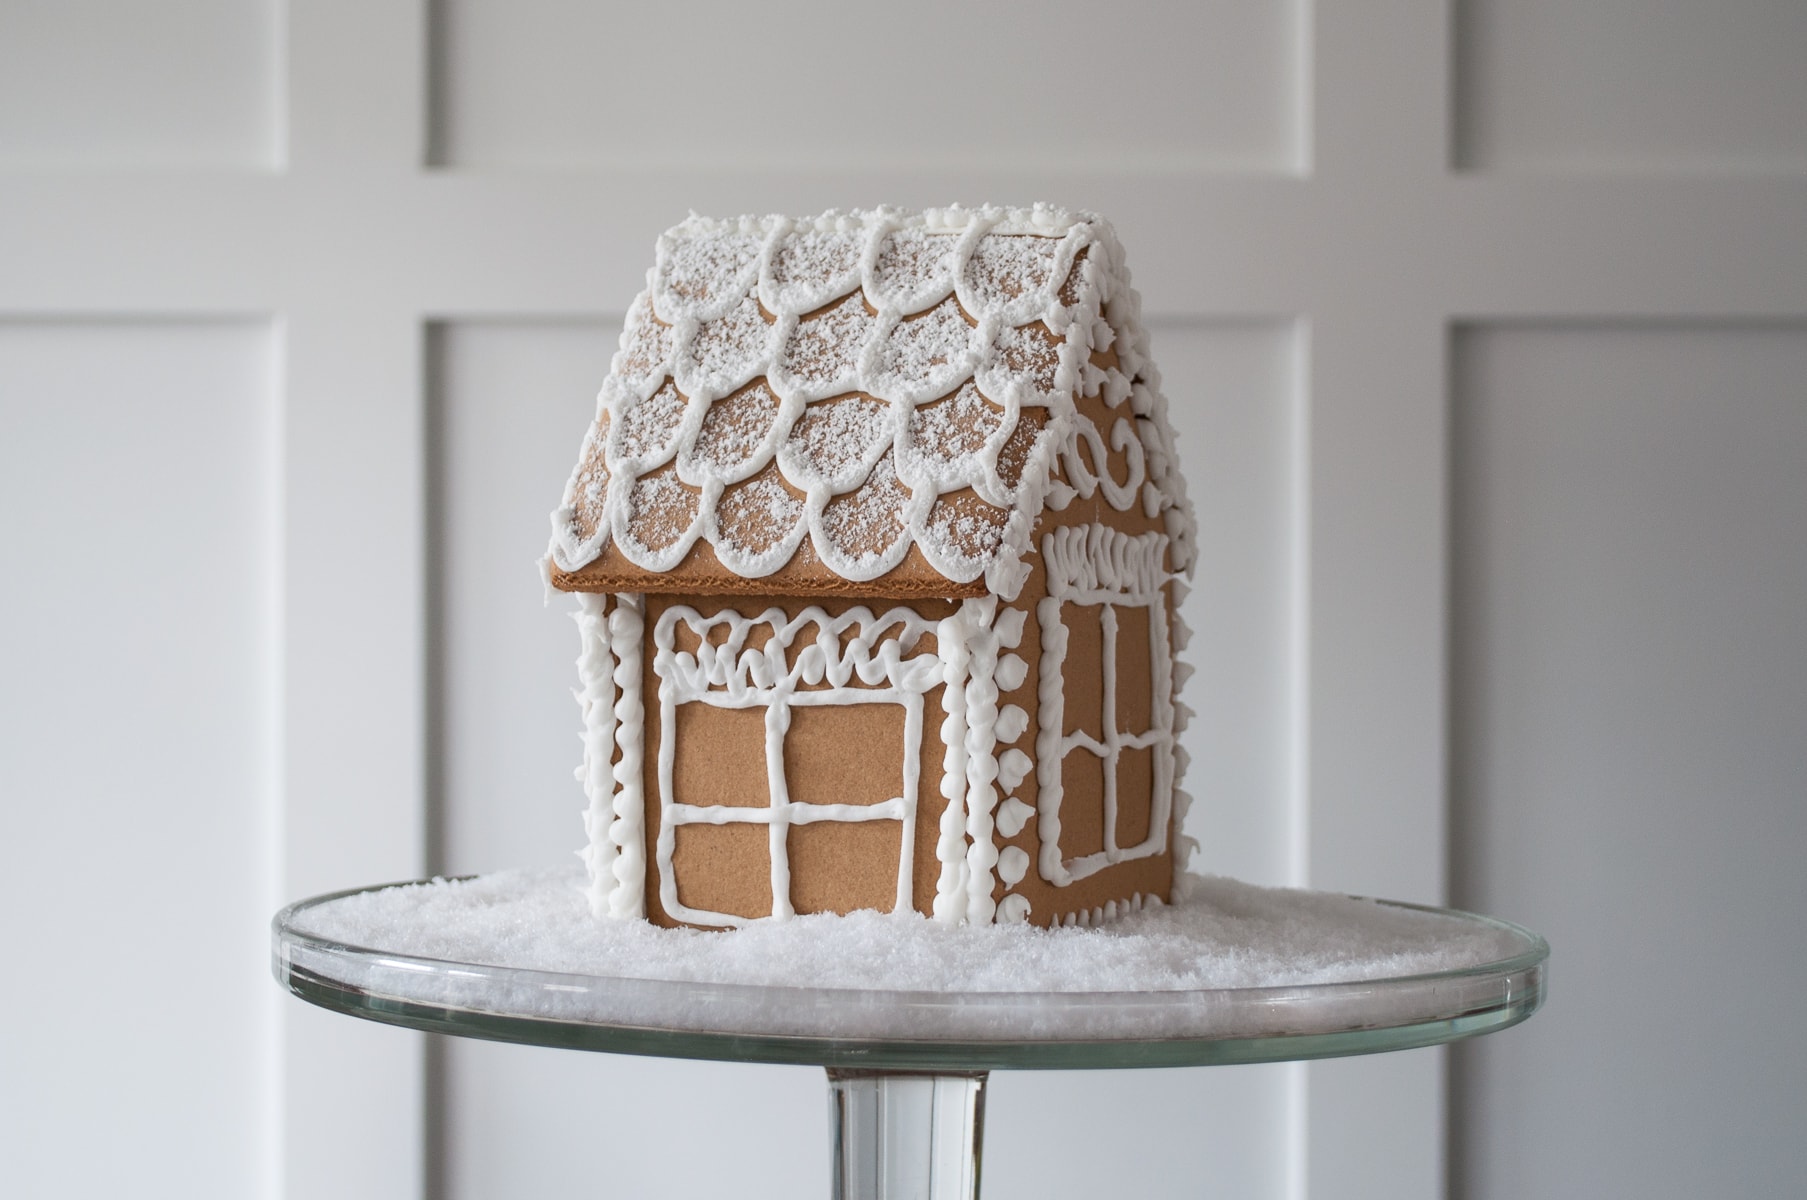
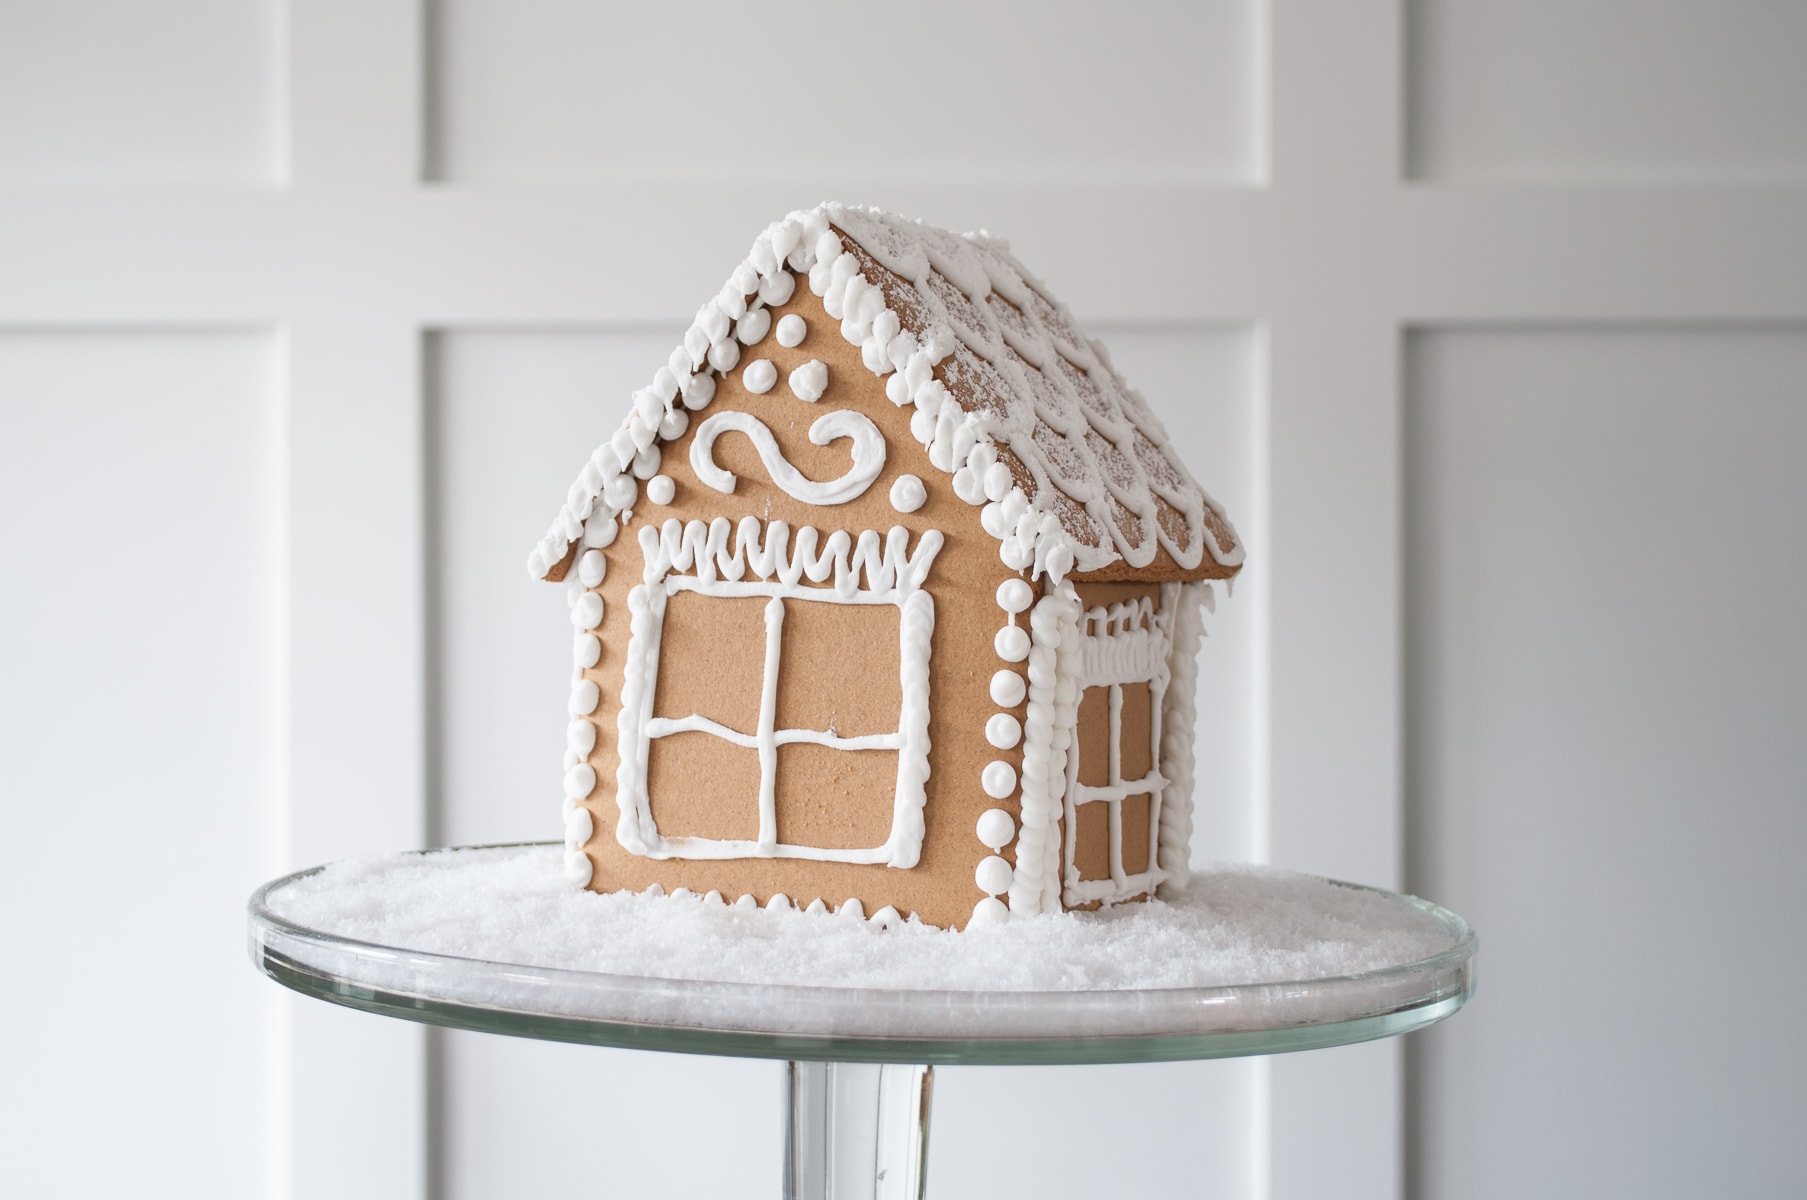
For the windows around the sides of the house, I went with a simple rectangle design with basic mullions.
But then, I beefed up the tops of the windows with some back and forth vertical piped frosting to give the illusion of trim.
I also added some looped frosting to the tops of the windows for even more detail.
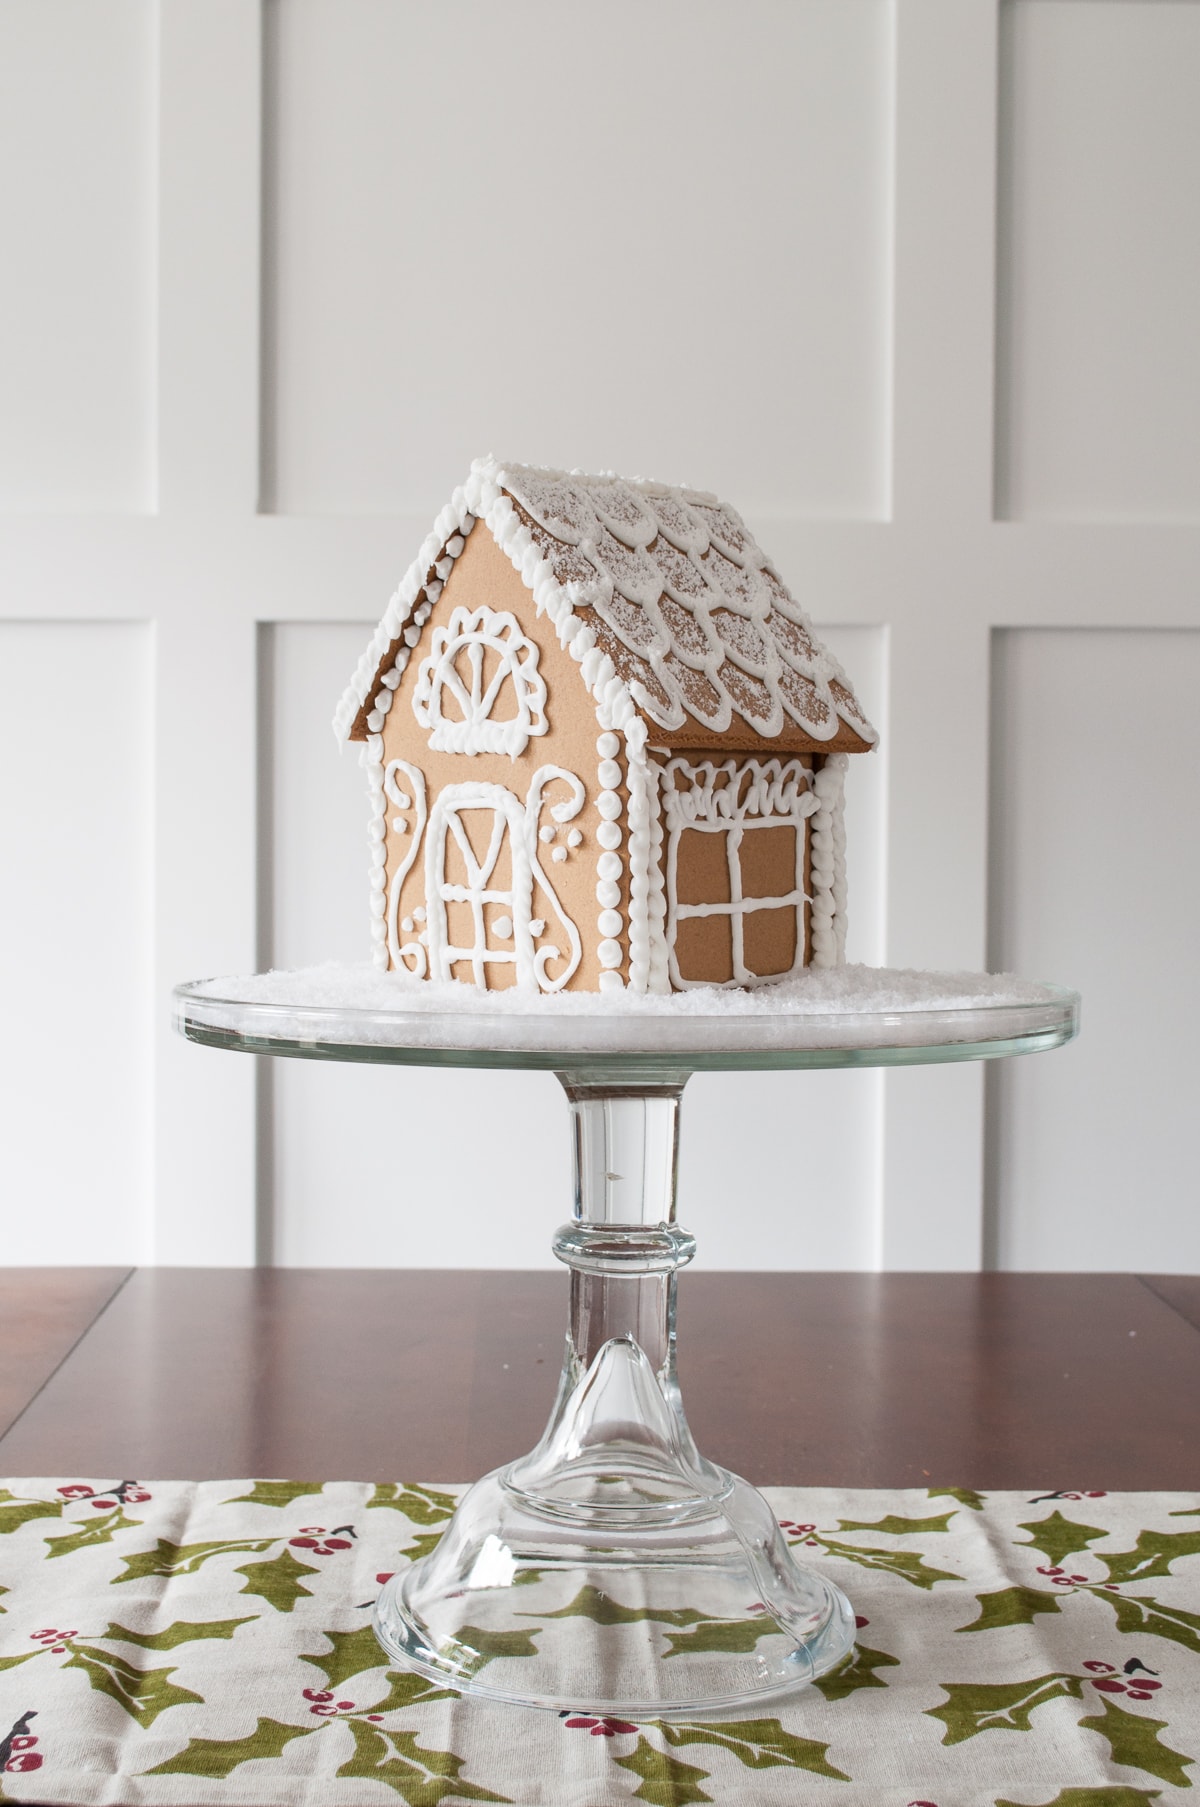
3. Add a Patterned Roof
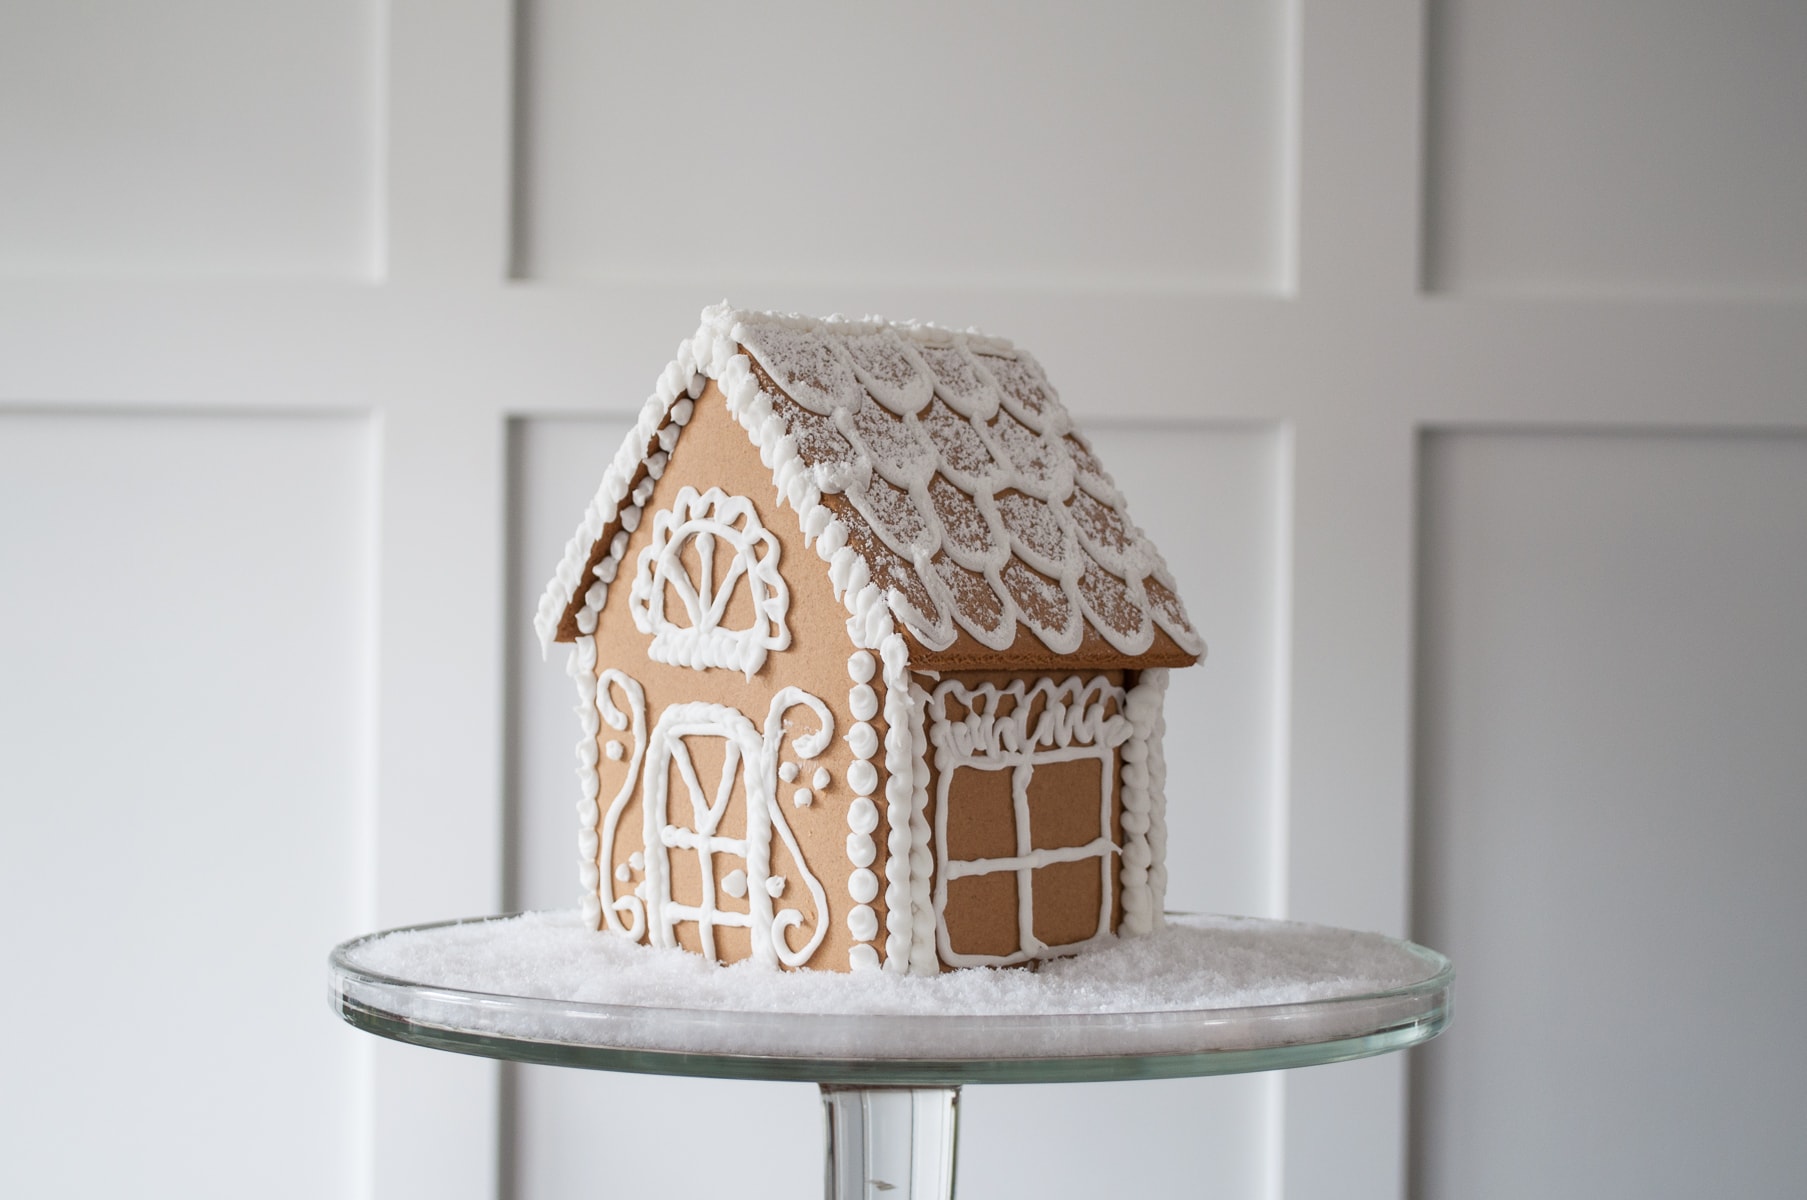
For a classic gingerbread roof touch, outline the roof with intricate patterns using your piping bag.

Think about replicating the charm of old-world cottages, and don’t be afraid to experiment with different shapes and designs.
Using a thicker icing consistency, pipe a pattern resembling shingles or tiles onto the roof surface.
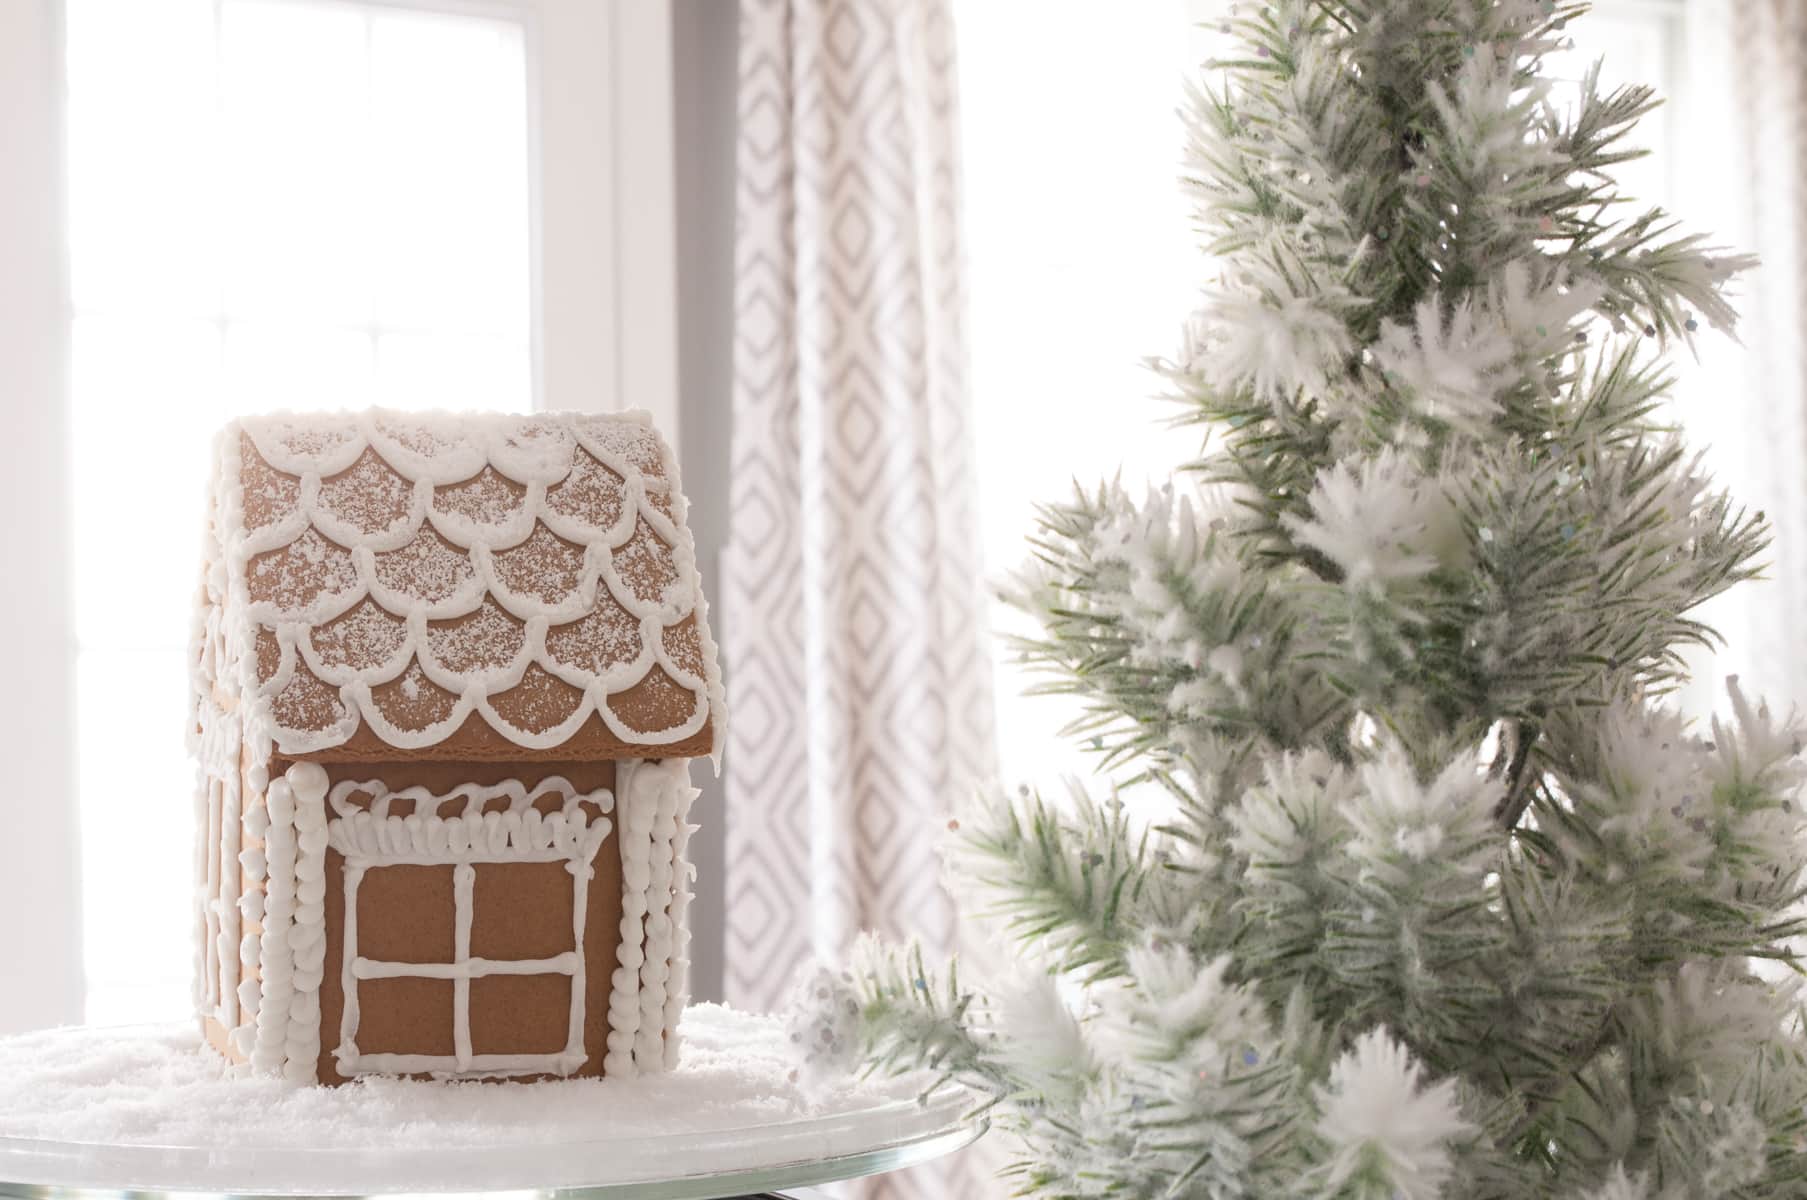
Start at the top and alternate the placement as you move down each row.
This simple yet effective technique adds texture and visual interest to your creation.
4. Add Flourishes
The next step was to add even more detail with flourishes.
Are you seeing a pattern here?
Detail adds textures, textures are interesting to look at, and interest makes for a pretty looking gingerbread house.
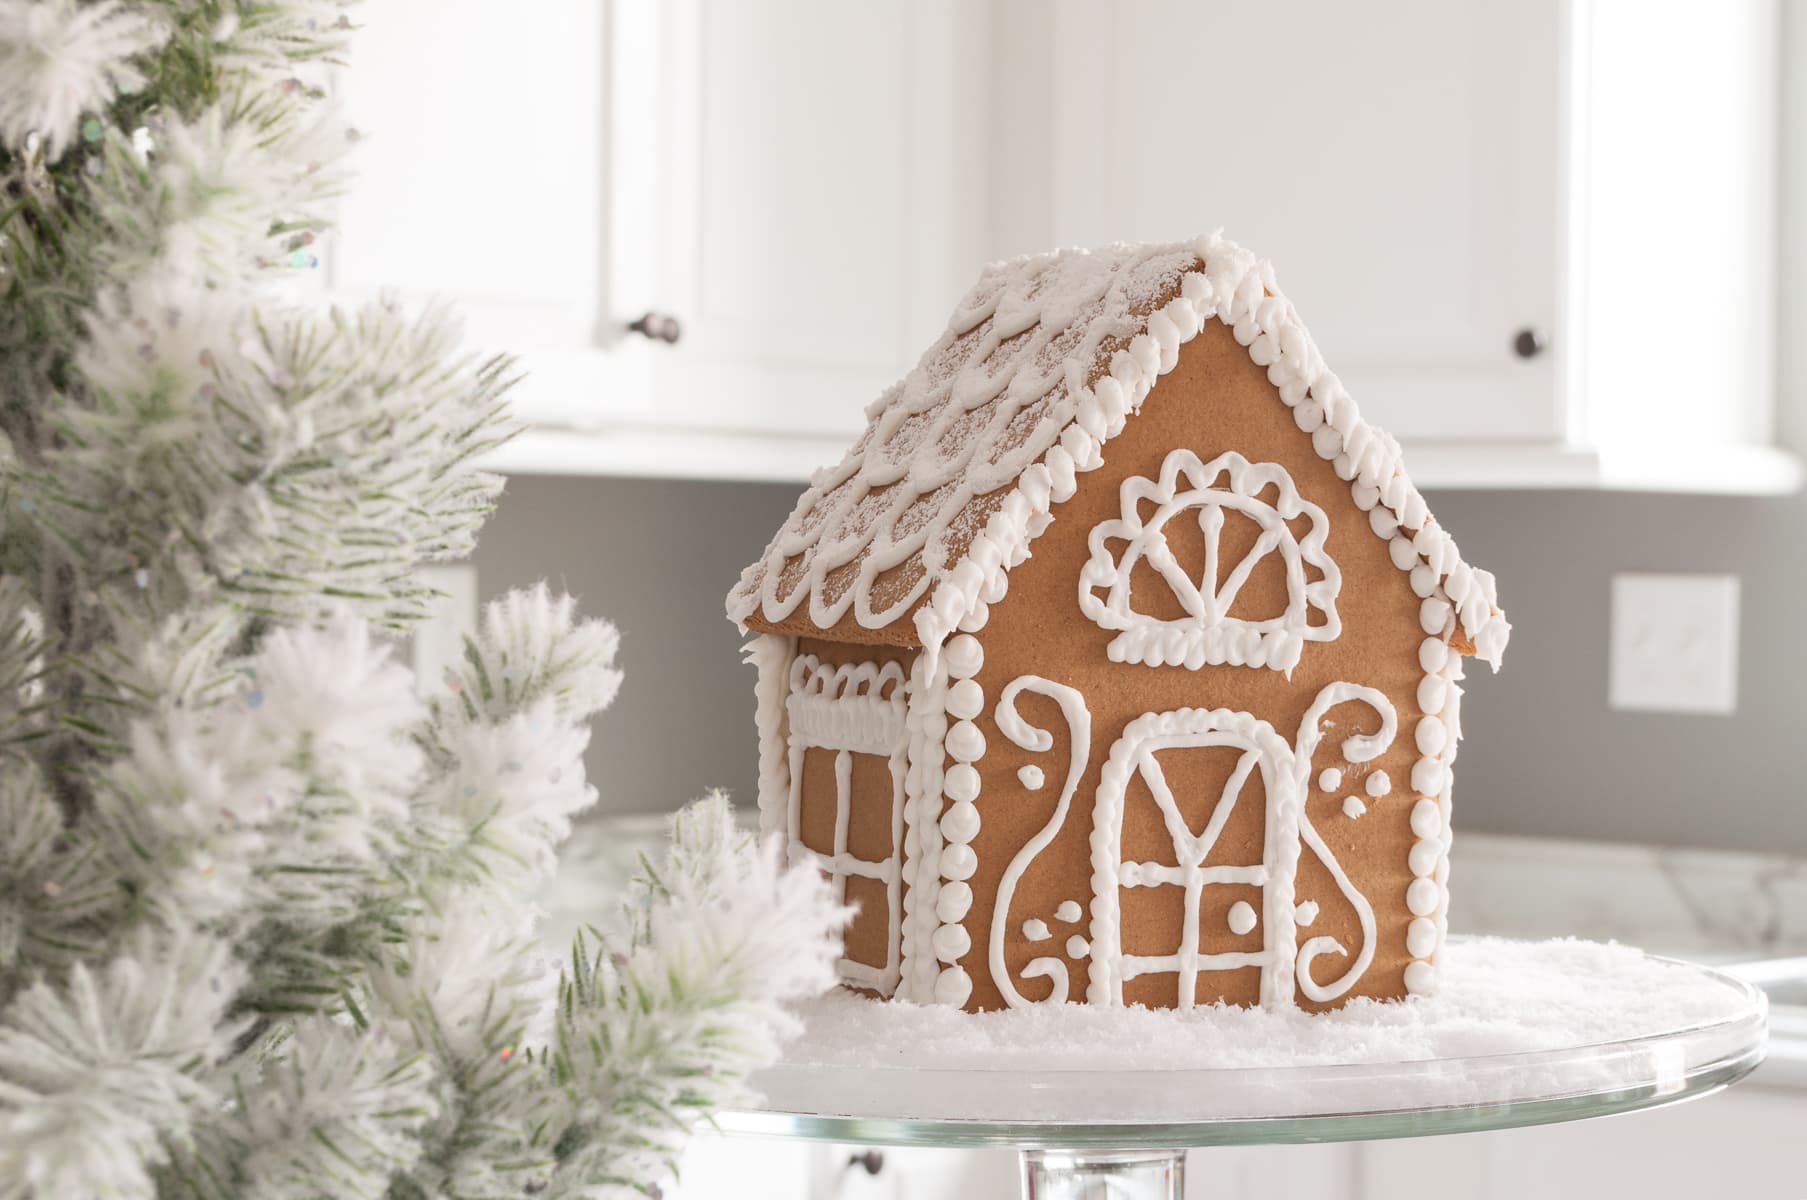
Using your piping bag, create whimsical swirls next to the front door or in configurations on the back of the house.
The first flourishes that I piped onto the house were the swirls next to the front door. They added a fun whimsical element along with a few frosting dots.
On the back of the house, I added a few more swirls in different configurations. You can add frosting dots to resemble Christmas lights along the house roofline.
Next, I added the icicles to the front and back of the house.
I wanted the icicles to hang from the roof pieces, so I piped short bits of frosting directly onto the edge of the roof.
Once I could tell that the frosting was attached, I quickly moved my hand downwards pulling the frosting into a point. This made the frosting drip look like little icicles.
I repeated this until I covered the front and back rooflines of the house.
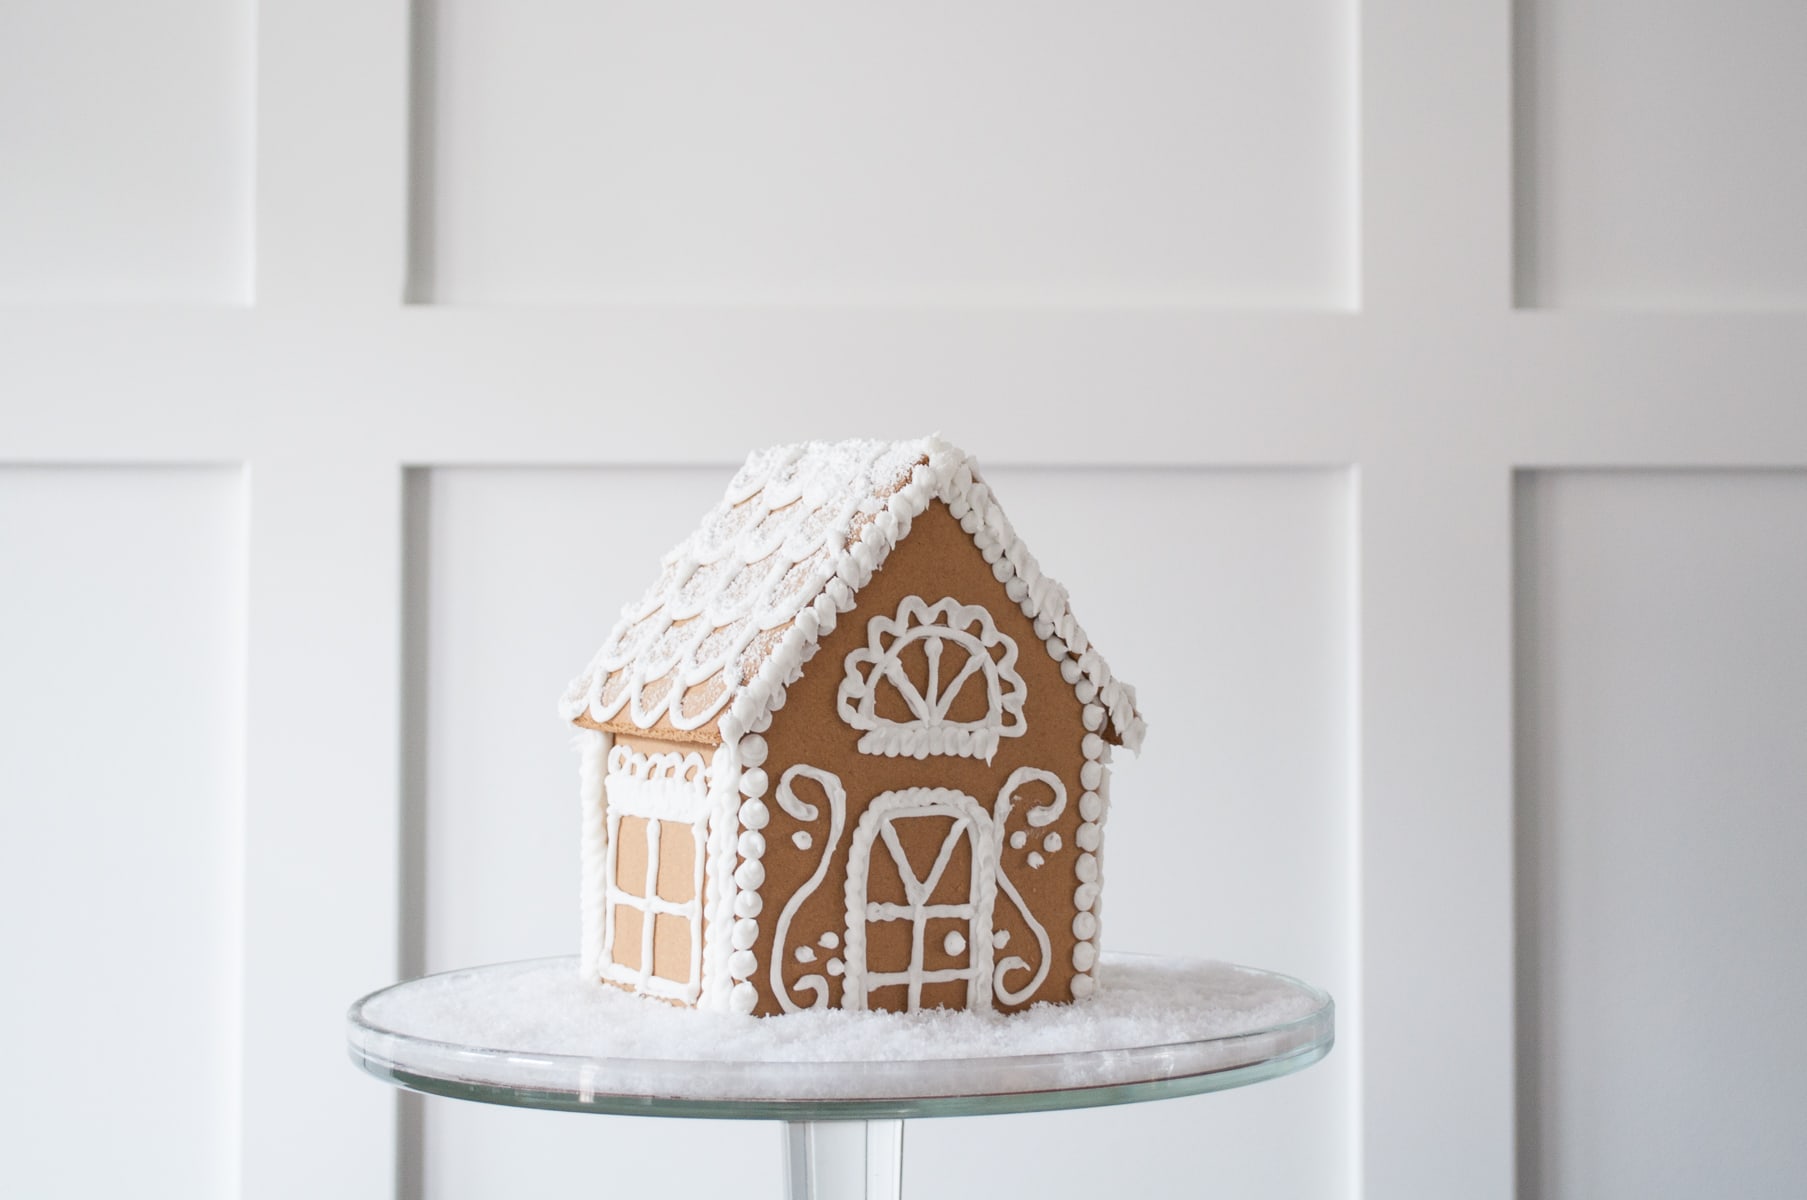
Introduce variety by piping dots and swirls in different styles, adding a playful and decorative touch that sets your gingerbread house apart.
5. Add Fresh Snow with Powdered Sugar
For the finishing touch, simulate a snowy scene with powdered sugar.
Dust the roof and edges with powdered sugar to give your gingerbread house a snowy, winter wonderland feel.
Use a sifter to disperse it gently over the roof of your gingerbread house.
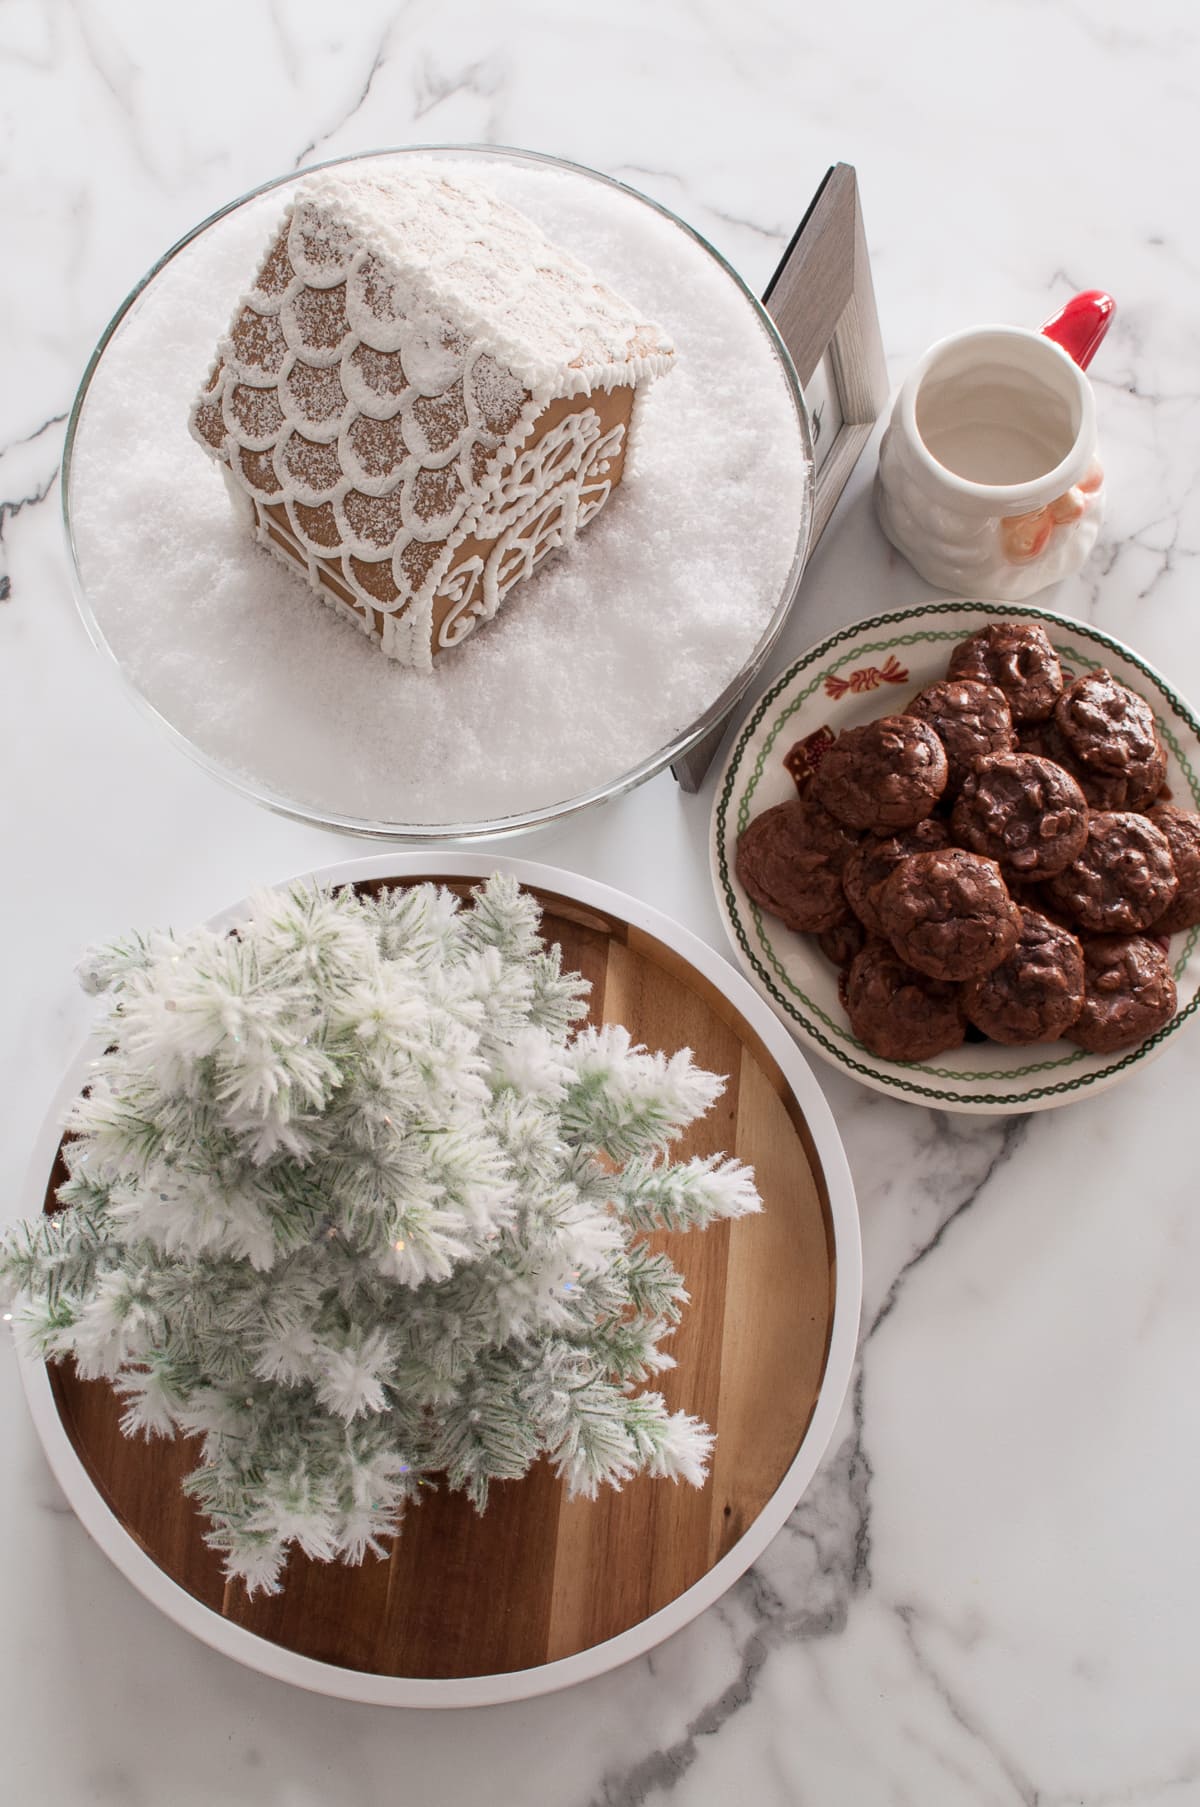
This not only adds a touch of magic but also brings the entire creation to life.
The contrast of white “snow” against the gingerbread backdrop completes the enchanting aesthetic.
Around the bottom of the house on my cake stand, I covered the cardboard base with fake snow that’s made for mini Christmas village displays.
This stuff fills in really well and looks great!
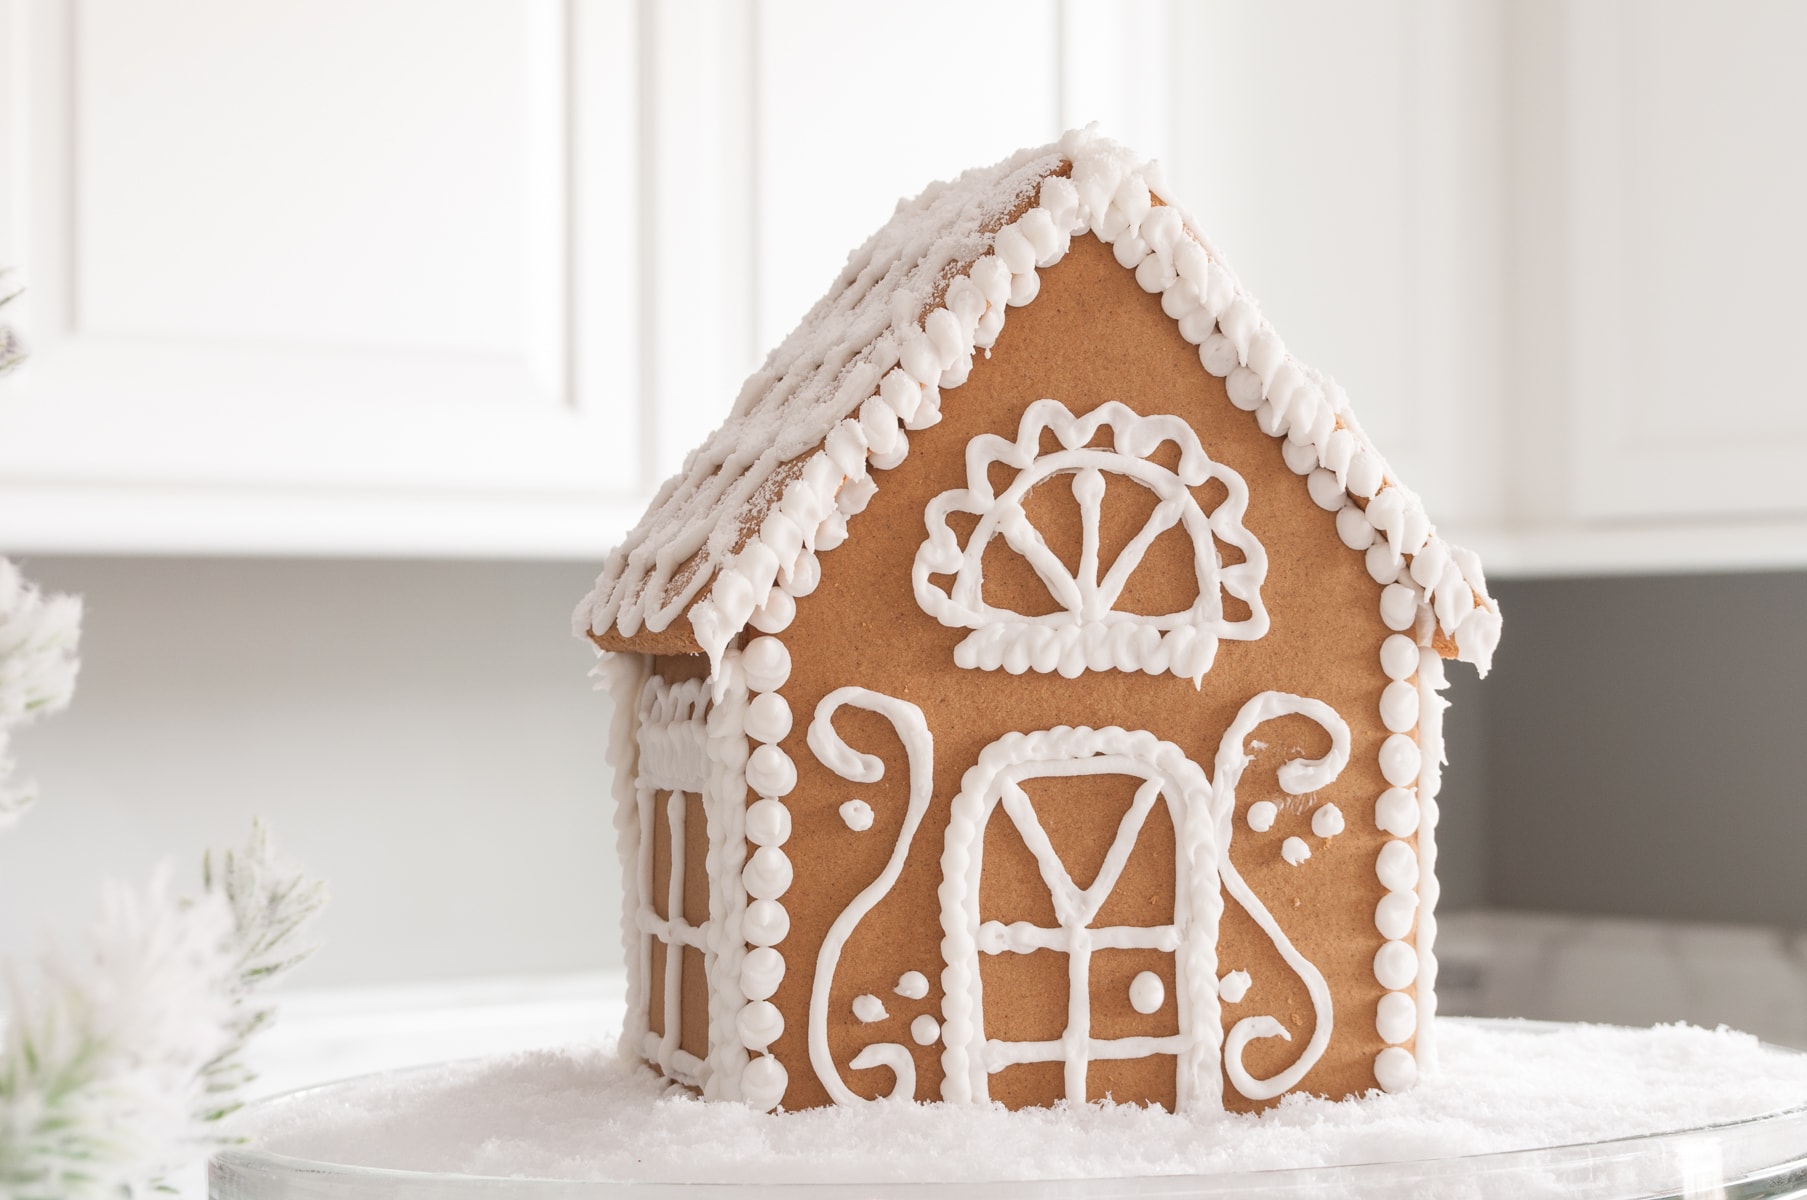
Mastering these five piping techniques will turn your gingerbread house into a work of art.
Experiment with different patterns, colors, and embellishments to create a festive masterpiece that reflects your unique style.
Best Gingerbread House Icing
The best gingerbread house icing is royal icing.
Royal icing is a staple in the world of baking and decorating, known for its smooth finish and ability to harden.
It’s made from confectioners’ sugar, egg whites (or meringue powder), and sometimes lemon juice.
Royal icing acts as both glue and decorative element.
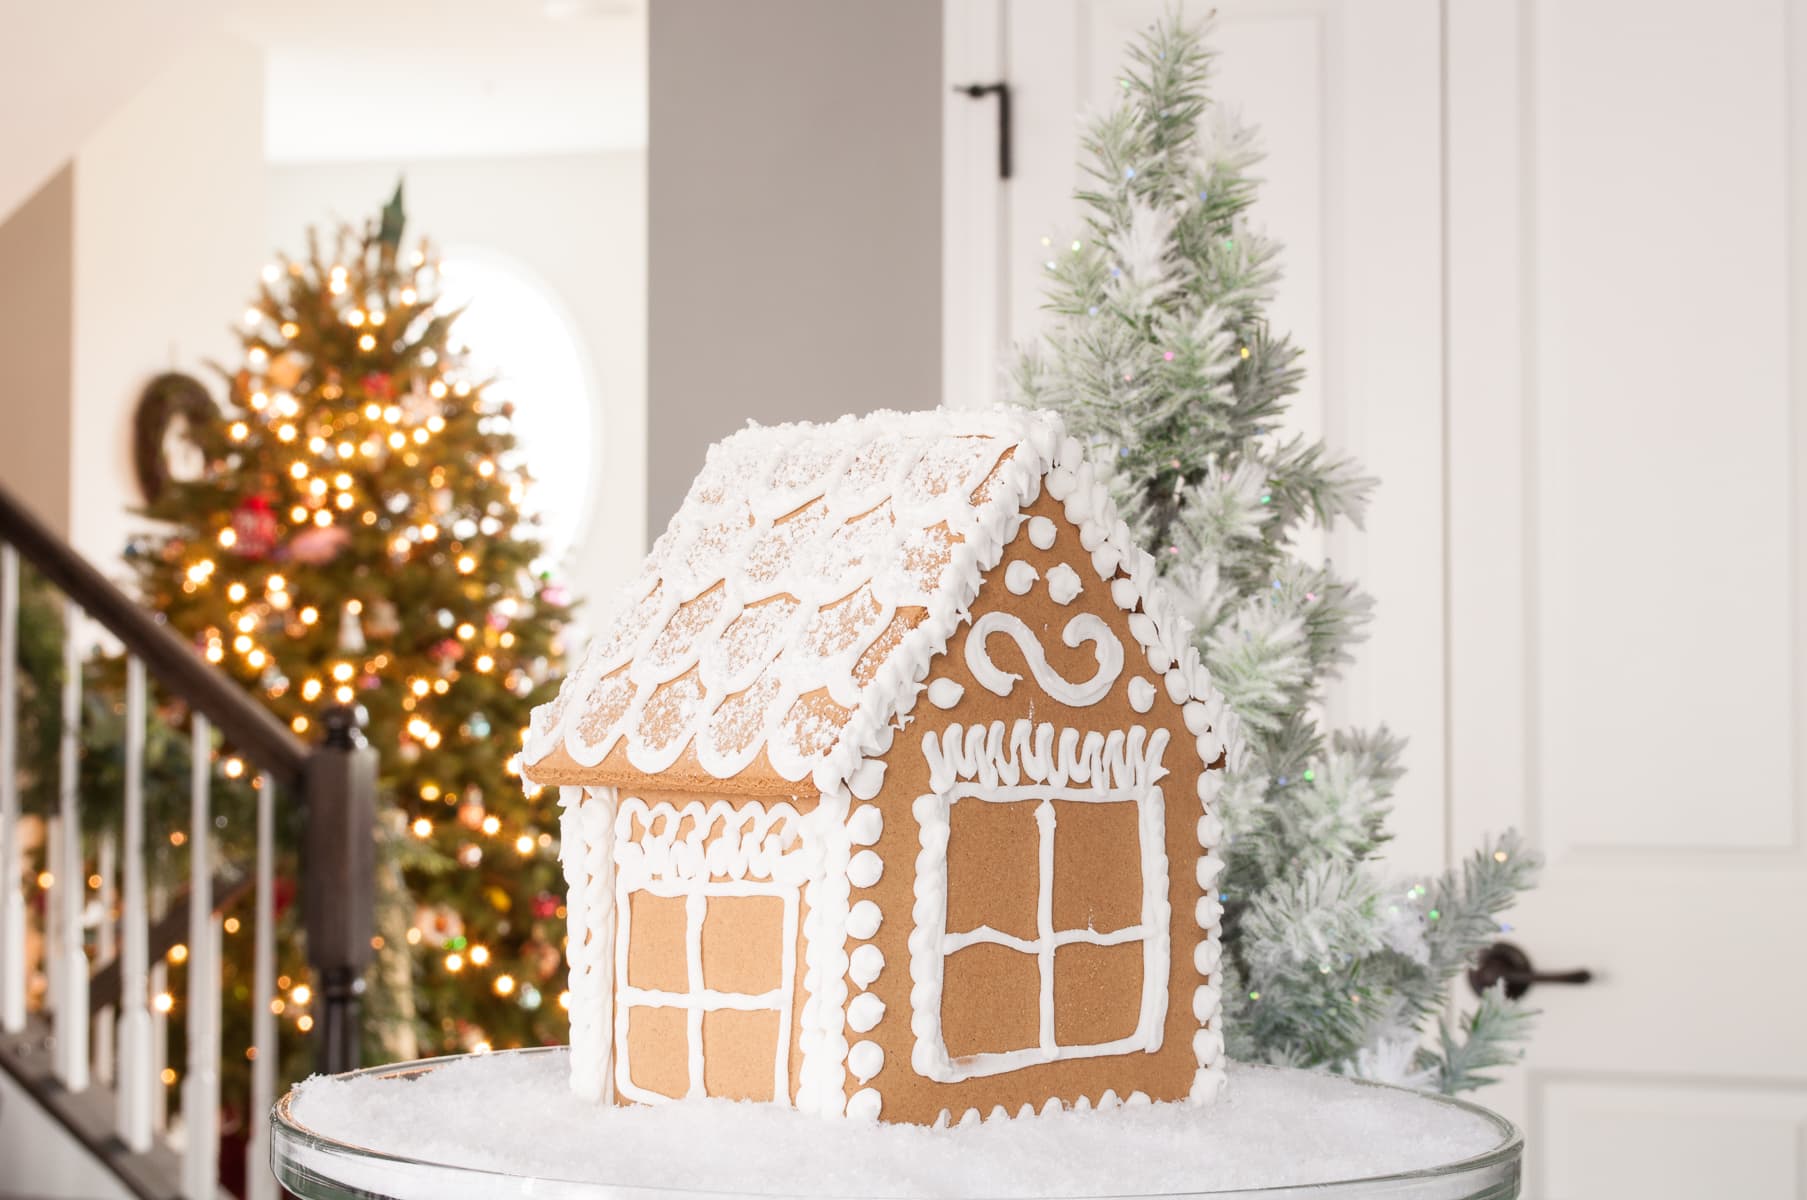
Its stiff consistency allows for intricate piping, making it ideal for creating details like snowflakes, borders, and delicate patterns on gingerbread houses.
Once dried, royal icing not only adds structural stability but also a professional, polished look to your festive creations.
Opt for a high-quality white icing. You can either make your or use store-bought options for convenience.
I recommend keeping your icing at room temperature so that it’s easy to pipe.
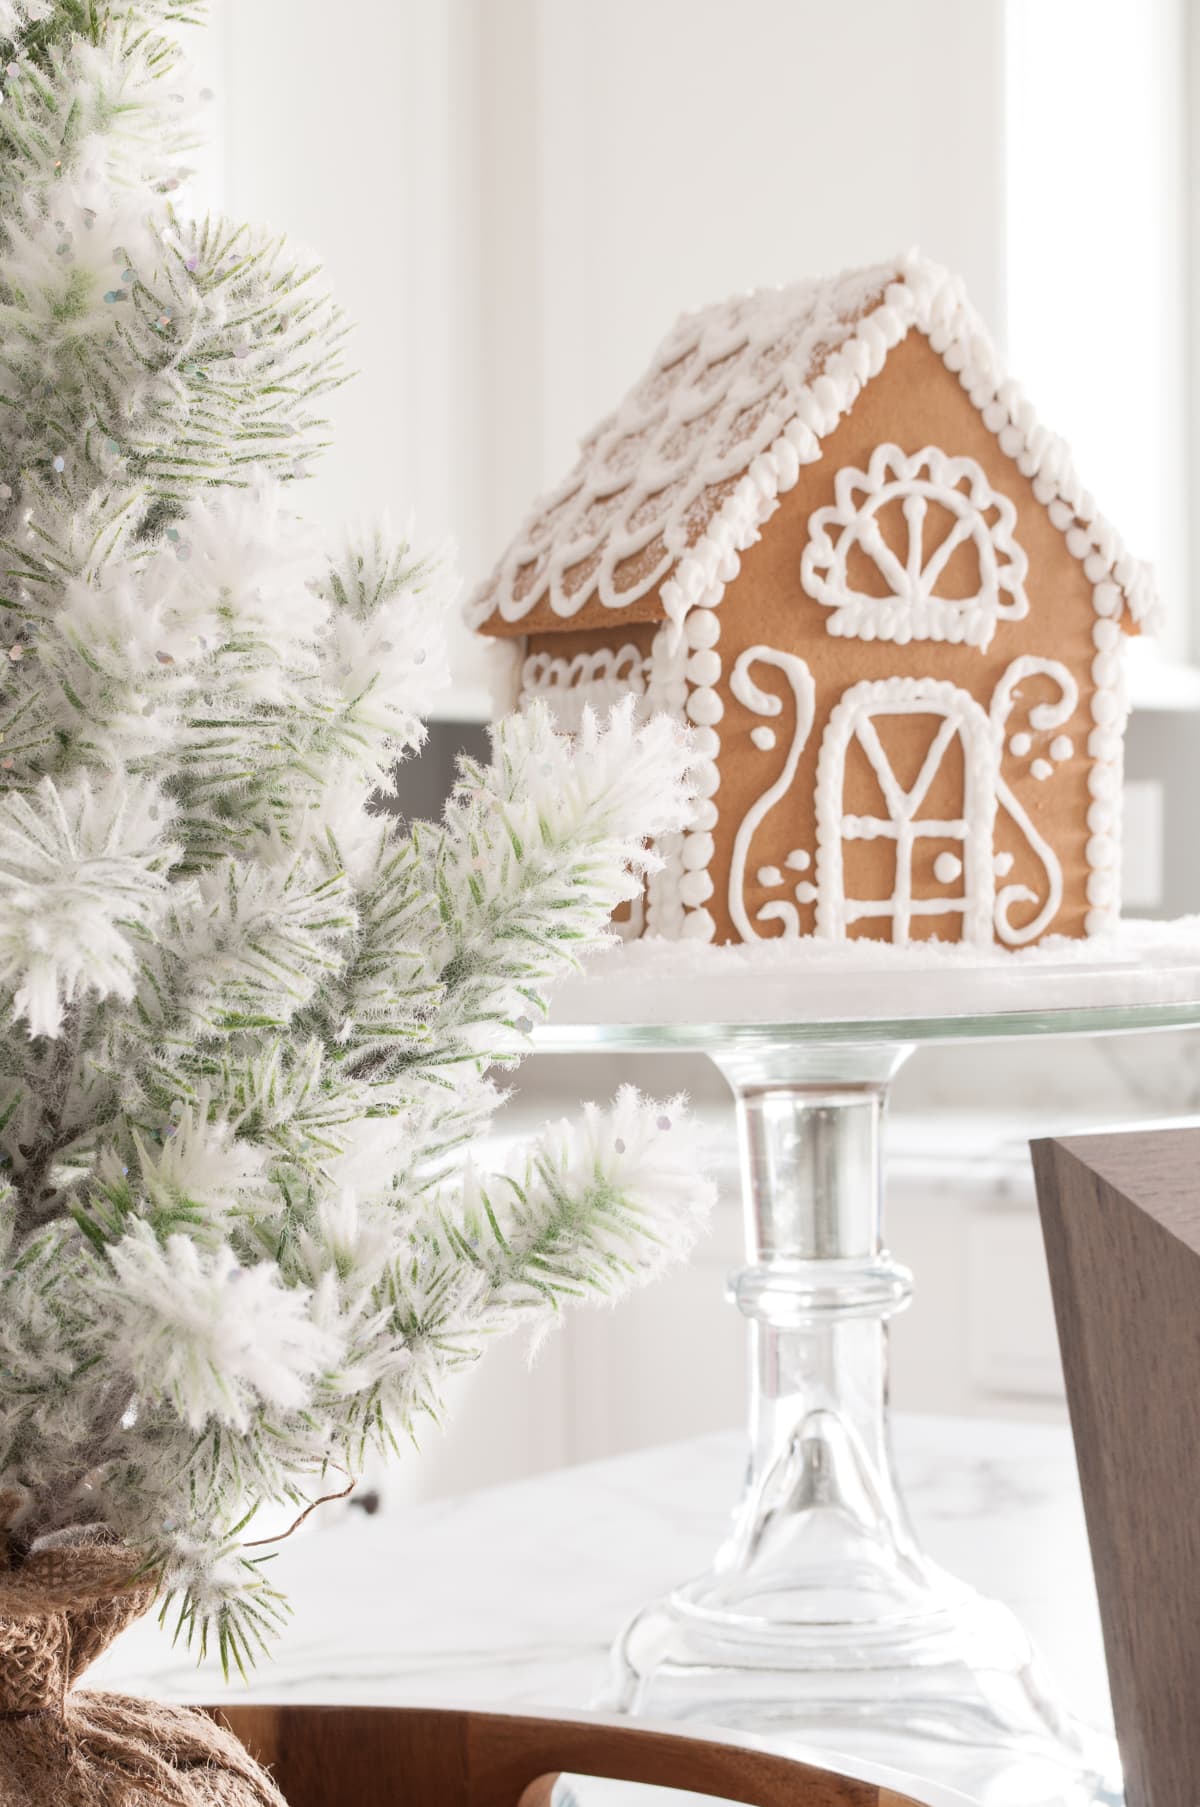
Best Gingerbread House Piping Bags
Choosing the right piping bag can make all the difference when crafting the perfect gingerbread house.
The best piping bags for gingerbread houses offer a combination of flexibility, durability, and ease of use.
Look for bags made from food-grade materials, ensuring they can handle the thick consistency of royal icing without splitting or tearing.
A sturdy, reusable piping bag will allow you to create intricate designs.
Investing in quality piping bags ensures that your gingerbread house decorating experience is not only enjoyable but also looks beautiful!
Tips for Decorating Your Gingerbread House
Embrace the charm, not the perfection, in decorating your gingerbread house.
Anyone can make a beautiful gingerbread house, regardless of skill level.
Here are some of my best tips that I learned when creating my all-white gingerbread house.
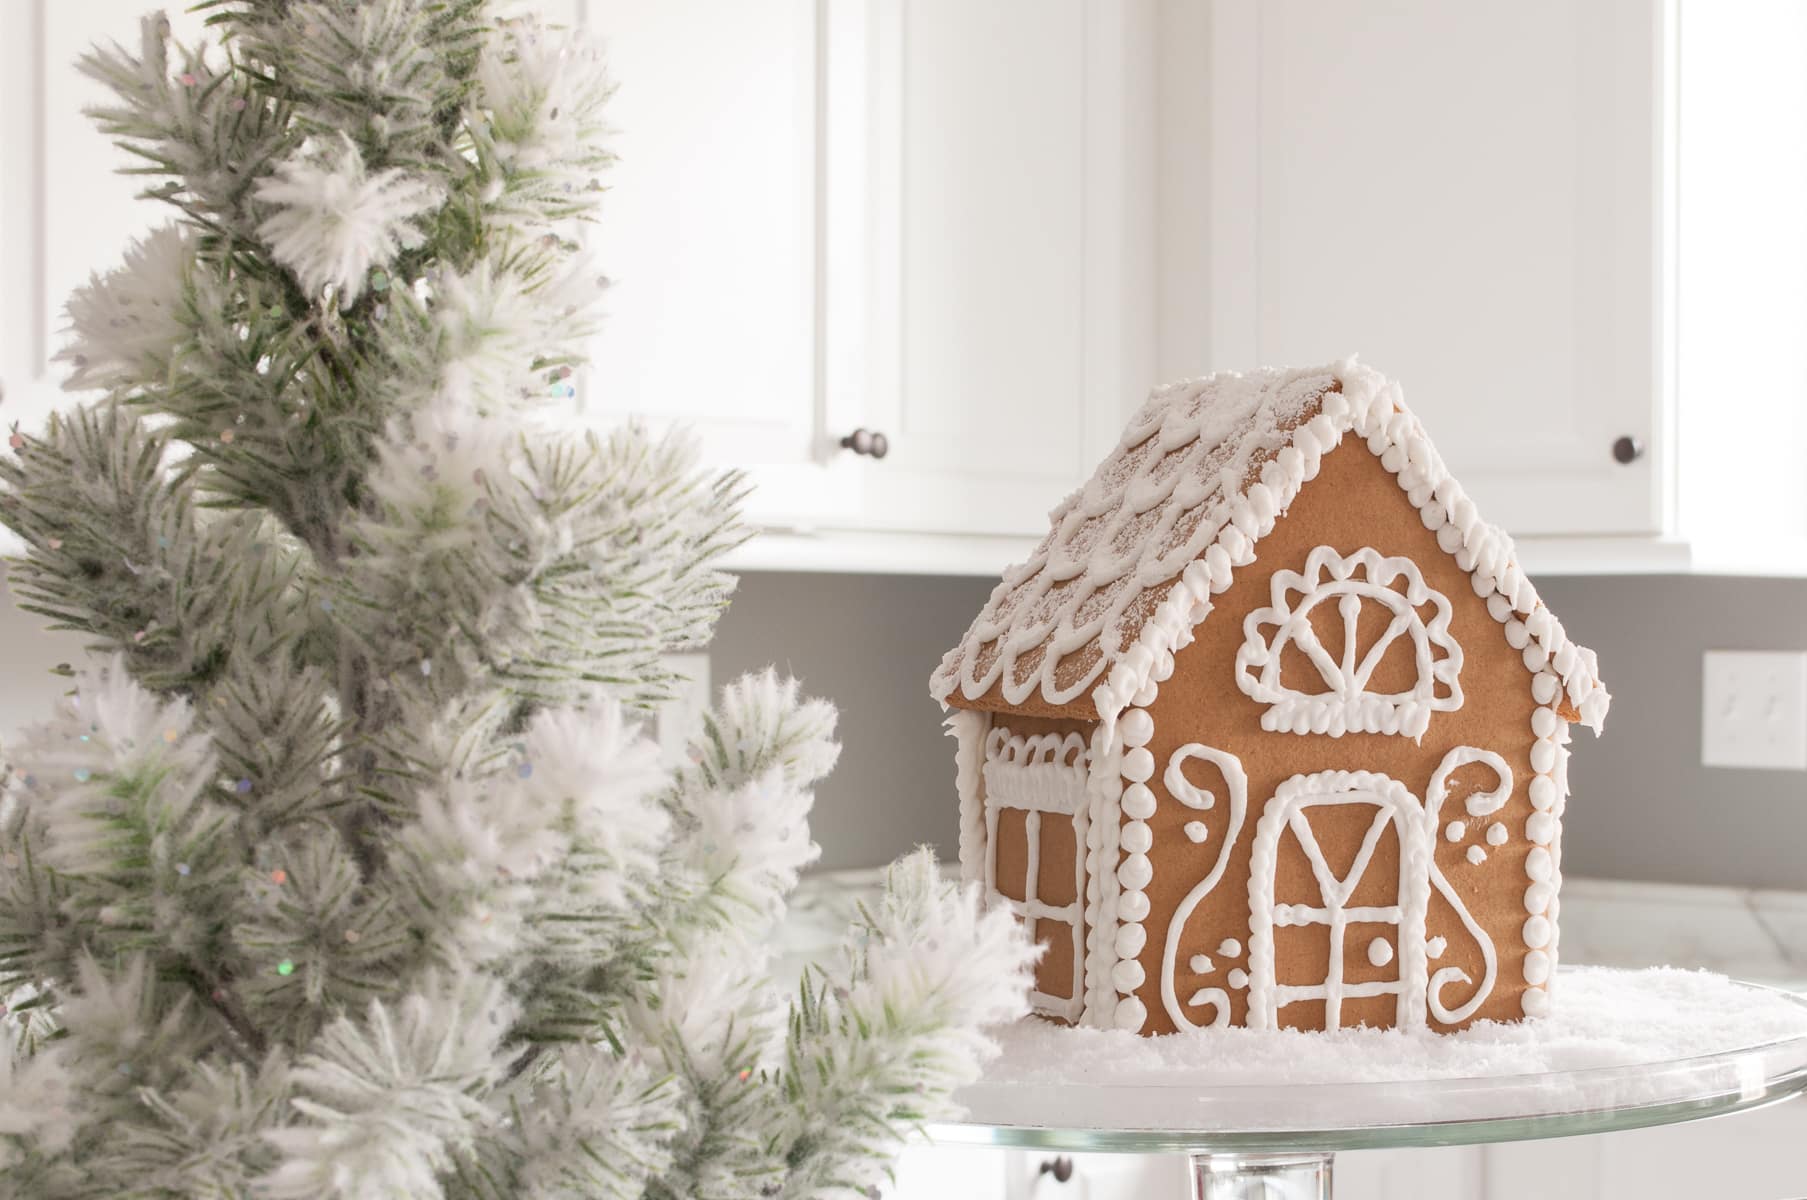
It Doesn’t Have to be Perfect
From far away in the photos, my gingerbread house looks great, doesn’t it?
But guess what, when you get up close you can definitely tell that it’s NOT perfect.
My frosting lines aren’t all straight, there are flourishes that look like a little kid doodled on the side of the house, and I don’t even think everything is level!
But guess what, it doesn’t really matter. All of the details and textures together create enough interest that the gingerbread house looks cohesive and intentional.
Keep Everything Uniform
By choosing to use only white frosting and no other colors or candy on the house, I created a uniform look that helps make everything look professional.
I also tried to keep most of my frosting lines similar widths.
That way I didn’t have large splotches of frosting in one spot and tiny string of frosting in another.
Similar widths make the details on the house look unified.
Leave Some “Brown Space”
This is definitely a wintry white gingerbread house, but you can still see a lot of the gingerbread cookie base.
That’s because the “brown space” matters!
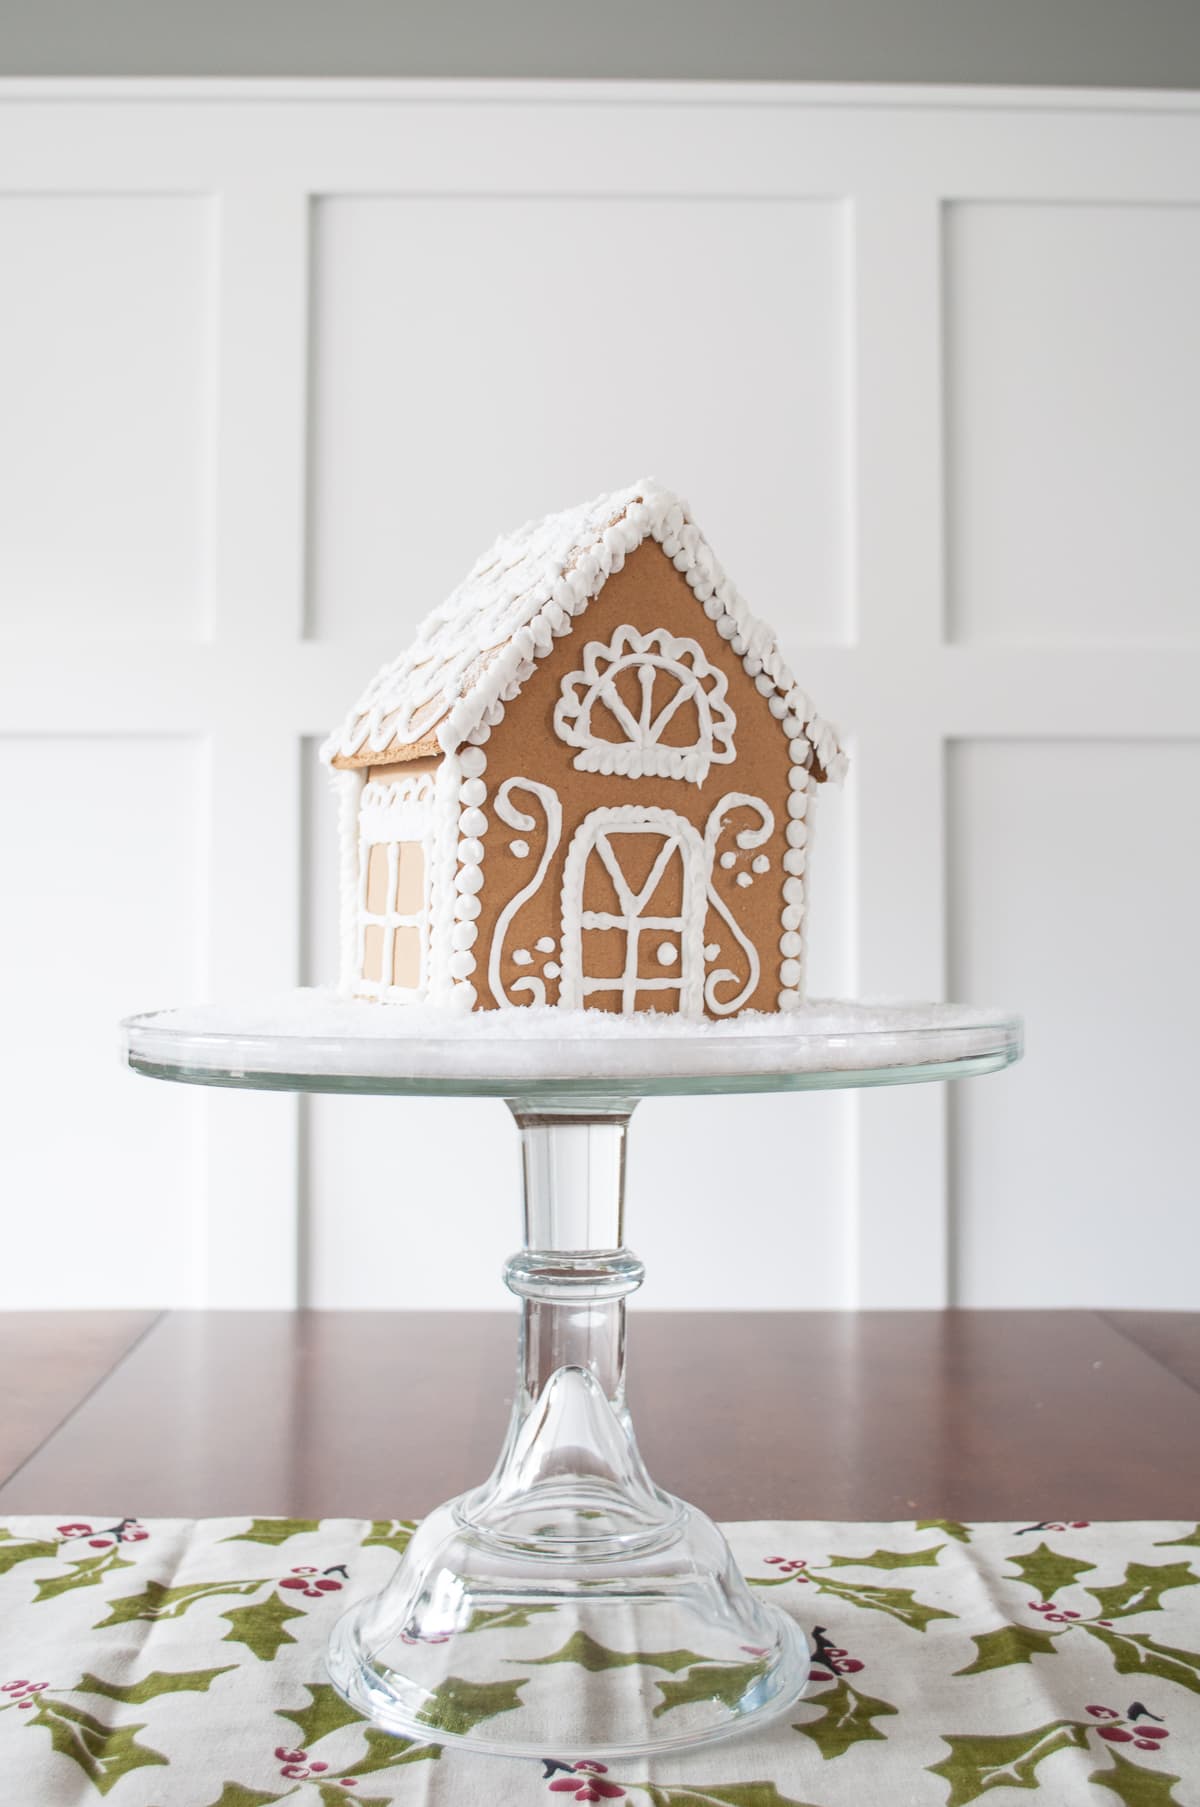
Just like how white space matters in photos or graphics, “brown space,” or letting the base cookie show through all the frosting, creates balance and is pleasing to look at.
The brown gingerbread cookie provides great contrast for the white frosting and makes all the details pop.
So, don’t worry about covering the house completely with frosting – leave some “brown space” showing.
FAQ: Answering Your Gingerbread House Questions
Can I use a different color scheme for my gingerbread house?
Absolutely! Feel free to experiment with different colors to match your preferred theme. For example, a pretty color scheme would be a pastel gingerbread house.
How do I store my gingerbread house after decorating?
To preserve your masterpiece, store it in a cool, dry place. Placing it in an airtight container can also help maintain its freshness.
Can I use royal icing for my gingerbread house?
Yes, royal icing is an excellent choice for gingerbread houses. It dries hard, providing a solid foundation for your decorations.
What if I don’t have a piping bag?
Improvise! You can use a ziplock bag and cut a small corner to create a makeshift piping bag.
Do you have any other decorating ideas for my gingerbread house?
Yes! You can enhance your gingerbread house with some additional details for that perfect finishing touch:
- Create pretty stained glass windows by melting crushed hard candies to create fake colorful windows.
- Attach candy canes and other decorative candies strategically for a festive touch.
- Add jelly beans to resemble colorful Christmas lights.
- Add little gingerbread men cookies to the scene.
- Use pretzel rods to resemble logs or tree trunks. You could even use pretzel sticks to line the walls, giving your house a log cabin look.
- Use ice cream cones covered in icing to resemble Christmas trees.
SHOP DECOR
Aesthetic Gingerbread House Final Thoughts
Creating an all-white aesthetic gingerbread house is not only a fun project, but also a fantastic way to express your creativity during the holiday season.
Making a gingerbread house is about embracing the festive spirit, enjoying the process, and creating memories that last a lifetime.
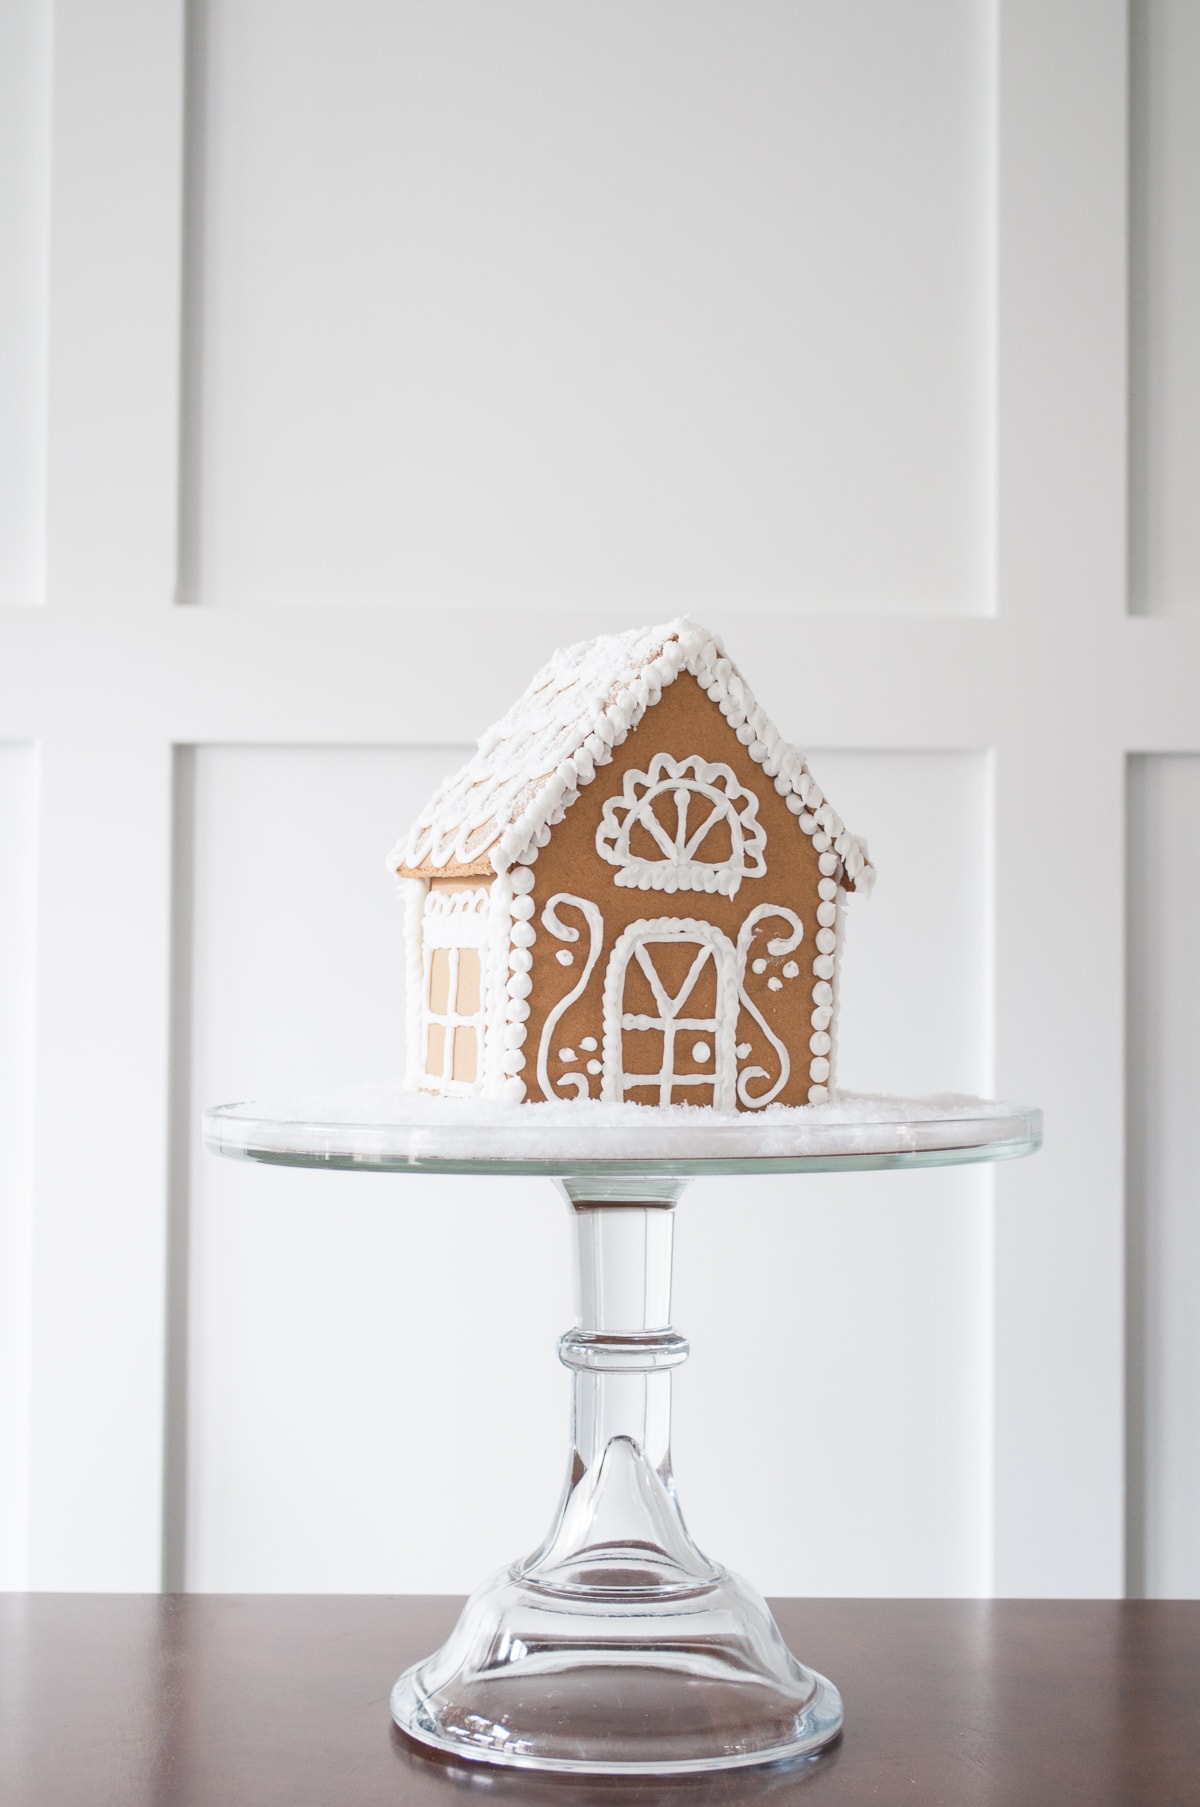
As you put the finishing touches on your gingerbread house, remember that there’s no right or wrong way to decorate.
Now that you’ve got these tips, go ahead and create your own beautiful gingerbread house. Happy decorating!


