This post contains affiliate links. For more information, see my disclosures here.
One of the first things that I wanted for our new pantry was clear containers for all my pantry staples. Previously, I had everything in multiple different types of containers. I wanted something more uniform.
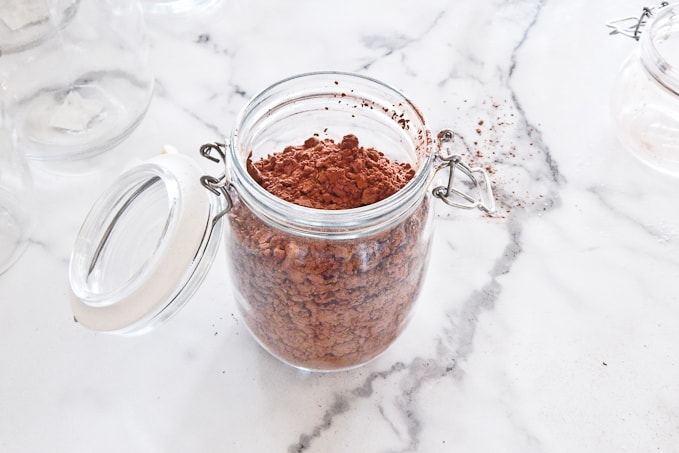
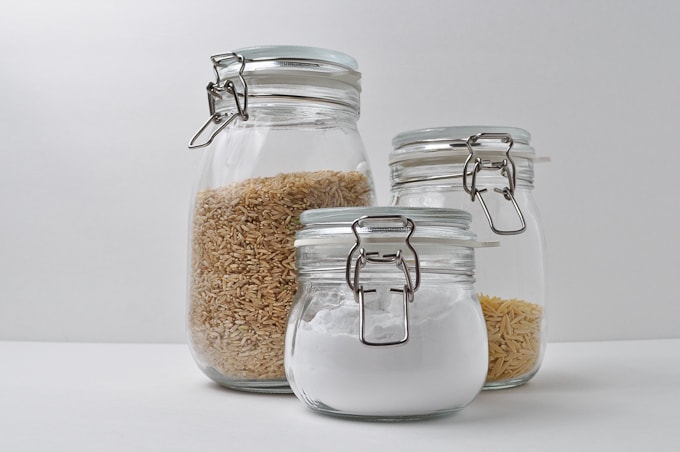
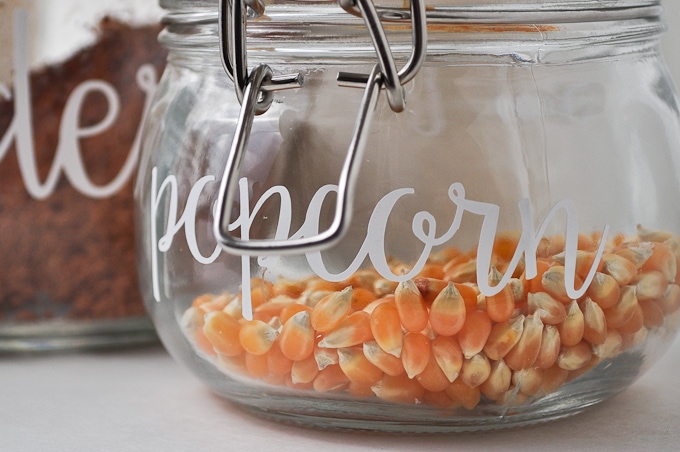
I found these glass jars at Ikea that come in three different sizes. Each one comes with a rubber gasket so that they stay sealed, which makes them perfect for holding pantry food staples. I got an assortment of all the sizes.
When I got them home I filled each one by emptying old containers and bags that I had laying around of staple foods. Once everything was in identical containers, it was already starting to feel so much more organized! Before they could go into the new pantry, my new glass containers needed some labels.
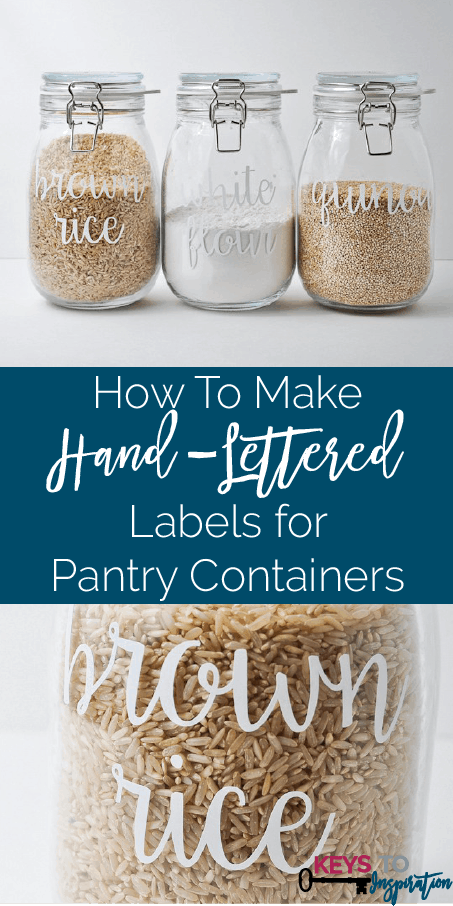
I decided to make some lovely hand-lettered labels for each container using my Cricut Explore, and I’m going to show you how easily you can make them yourself!
How to Make Hand-Lettered Labels for Pantry Containers
Materials:
- Cricut Explore Cutting Machine
- White Vinyl
- Transfer Tape
- This is the best value transfer tape that I have found – it’s 300 ft long!
- Weeder Tool
- Scissors
- Font of your choice
- I used “Daydreamer”
- Glass Jars
Related: Interested in Modern Pantry Label Cut Files? Check out this set!
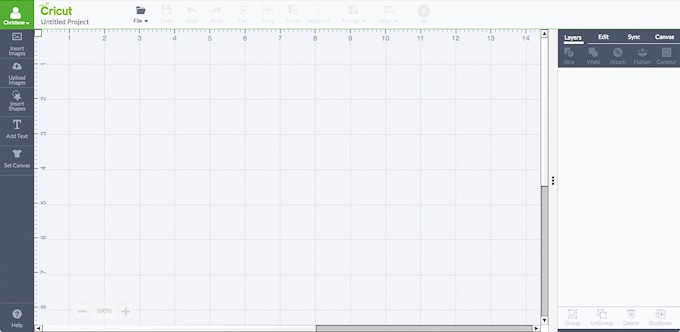
To start, you will need to login to the Cricut Design Space and create a new project.
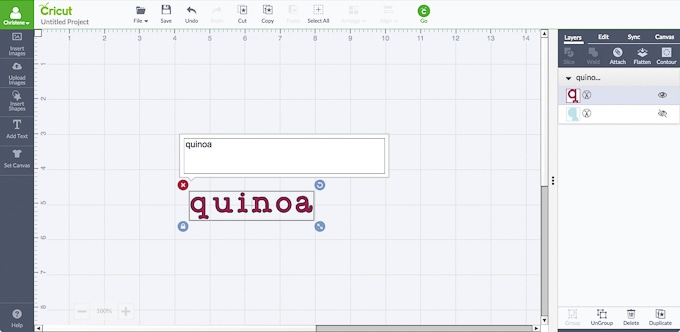
I wanted my labels to have hand-lettered look to them and to be a little relaxed feeling. I decided to use a script font called “Daydreamer” and to create each word using all lowercase letters. I selected the “Text” button to add a new word to my project.
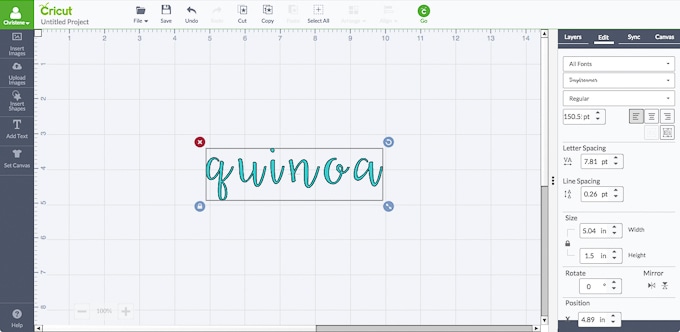
The Cricut Design Space defaults to a Cricut font so after typing in my label text, I went to the “Edit” tab and changed to font to “Daydreamer.”
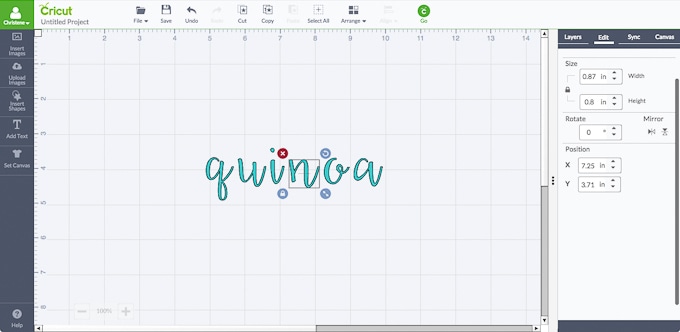
In order to make the word appear to be connected, like a true “hand-written” font style, I needed to manually connect each letter. I selected the button directly under the right-justify button. It shows an uppercase “E” and a lowercase “i” separated by boxes.
This made each letter of the word into a separate object that can be manipulated on its own. Once the letters were isolated, I dragged each one so that they overlapped and appeared to be a continuous stroke line.
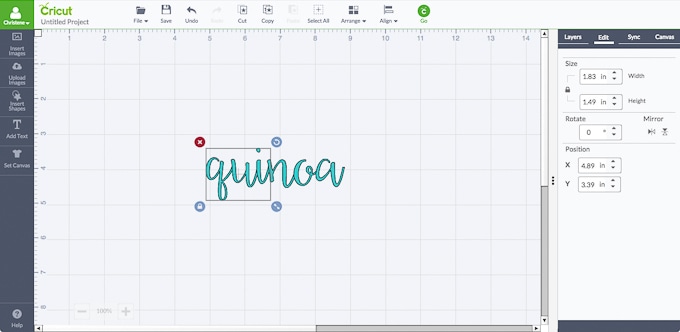
Once I got to this step, I still had lines where the letters overlapped one another, which meant that the Cricut would cut at those spots. To remove those cut lines I selected all of the letters by holding down command and clicking on each letter individually.
Once they were all selected, I went back to the “Layers” tab and selected “Weld.” Welding two objects in the Cricut Design Space will remove any cut lines that are creating when those images overlap. So, by welding each letter I created one joint image for the whole word, meaning that the Cricut would only cut the outline of the word. Using this technique, I created all of the words that I needed to make all my pantry labels.
Then, I cut all of the words out of the white vinyl using the Cricut Explore, making sure my dial was set to “vinyl.”
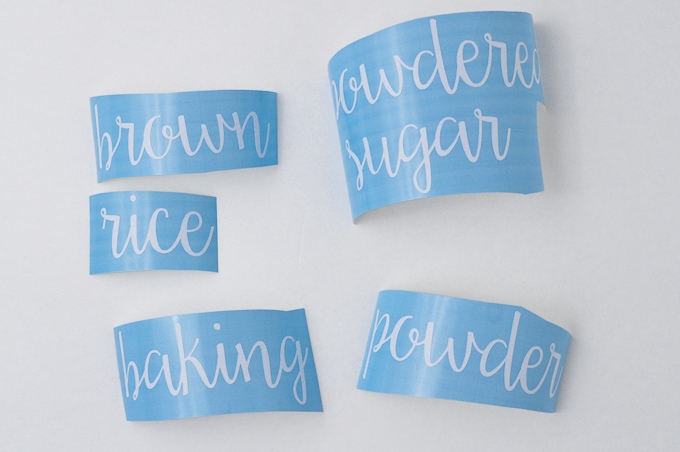
Once the Cricut was finished, I used my scissors to cut each word out individually. I found that it was easier to work with one word at a time than to try to work with a large sheet of words. Using the weeder tool, I removed all excess vinyl from each word. The weeder tool was especially helpful for the extra vinyl inside of the “loops” that were part of the font style.
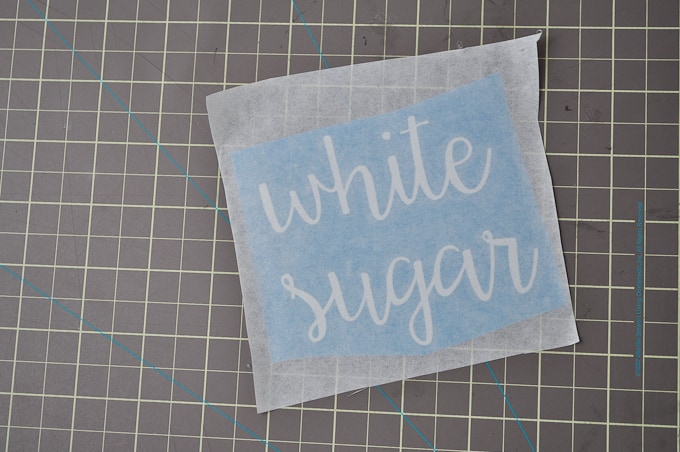
Once all of the words were ready to be placed, I cut out pieces of transfer tape to cover each word and applied it to the “right side.” To make sure the transfer tape “grabs” the words from the backing, I ran my fingers over each letter applying pressure as I went.
Then I peeled off the vinyl backing to reveal the “sticky side.” The transfer tape is partially transparent, so I was able to position the words on the containers.
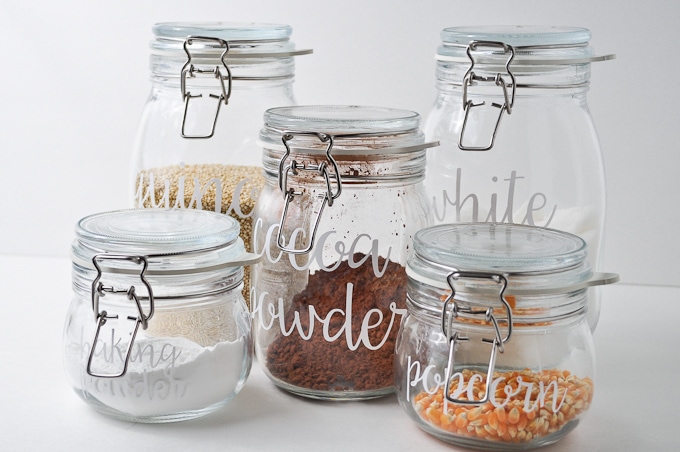
Once I had them in place, I used my fingers again to transfer the vinyl onto the containers. I carefully removed the transfer tape and uncovered the finished white vinyl.
To fit my Ikea containers, I came up with some general sizes so that the labels looked consistent on different sized containers and with different text. This was determined by if the text had “tall” letters or not. “Tall” letters were letters that extended beyond (either above or below) the overall height of the word. Some examples of “tall” letters were “f,” “g,” “h,” etc.
I noticed that some words were generally all the same size because there were no “tall” letters. One example was the word “cocoa.” All words that fit this type were sized to 1” in height.
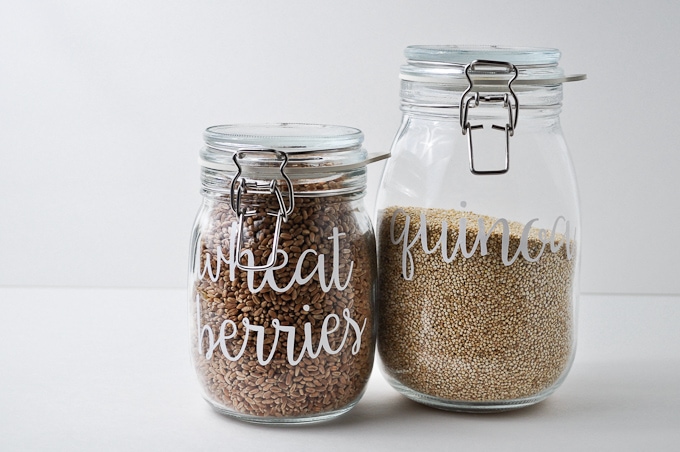
Other words had “tall” letter that extended either only above or only below. The word “wheat” had “tall” letters that extended only above. The word “quinoa” had “tall” letters that extended only below. All words that fit this type were sized to 1.5” in height.
There was another type of word that had “tall” letters in both directions. The word “flour” had extended height in both directions. All words that fit this type were sized to “2” in height.
Finally, for the smaller containers, there was not as much room to fit all of the words. All labels that went on the smaller container were sized to 1” in height.
I absolutely love how these turned out! The fact that the labels have a hand-written quality to them makes them both casual and whimsical.
Now that I have finished my first organizing project for 2016, I am so motivated to keep going! Have you been in a New Years organizing mood lately? What projects have you finished so far?













Hi there . Love your labels and the instructions.
However I am totally new , just starting out and this will be my first project . What I don’t understand is how do I get the font to show up in the cricut design space ? I k ow I have to purchase the font , but then what ?
Also , I only have access to an iPad . Thanks
Hi Simona!
Sorry this took me so long to get back to you. I haven’t used the Cricut App on an iPad for projects before, I’ve always just used my laptop. When you download a font, you have to install the .ttf file (which is normally in your downloads folder on the computer). Once the font is installed, you would need to close Design Space and open it up again. Once it has reloaded, the font should be available for use. Like I said, I have not tried this on an iPad, but I did some research and found an app that might allow you to install a downloaded font on an iPad. https://itunes.apple.com/us/app/anyfont/id821560738?mt=8 The app Any Font is $1.99 but it looks like it would allow you to install a .ttf file onto your device. I have not tried this myself, so you might have to do some more research. If it works as I am thinking, you would just need to install the font, then close the Cricut app (completely close) and relaunch it again and you should be able to use the new font. I can’t guarantee this will work, but it might be worth a try.
Good luck!
>> Christene
I so need one of these to get everything in my home organized and pretty.
what a great project. We don’t have an Ikea – yet. They are building one, I can’t wait!
Thanks for sharing your post with Creatively Crafty Link Party #CCBG.
Great project! Who doesn’t love an organized pantry? Thanks for sharing with us at Creatively Crafty…hope to see you again 🙂 #ccbg
Thanks so much Lydia! Organizing projects are the best – I feel so accomplished afterwards 🙂
>> Christene
Oh, I need to do this. So cute! 🙂
Thanks Courtney! Hope you have a great week! 🙂
>> Christene
These are really great and helpful! I’m always making things and putting them into mason jars. Labels are awesome for that!
You should share this post on my weekly linky : )
http://www.twentysomethinginthe2010s.com/peace-love-linkup-006/
Thanks Ashleigh! Yea these would be perfect for mason jars – probably would work best on the ones without a design in the glass.
Thanks for the invite to your weekly Peace Love Linkup – I’ll be sure to add it to my list 🙂
>> Christene
We have decided to feature this post in next link up, tomorrow at 6! Stop by, grab a button and share anything else you are working on : )
(Especially if it’s about mason jars!)
Thanks for featuring me Ashleigh! You made my day! I’ll be sure to stop by and link up again this week. Have a great weekend 🙂
>> Christene
These are so pretty! Just wondering though. I am reorganizing my baking and pantry today and this is perfect for what I need.Thanks so much for providing these!
Thanks Sarah! Yay I’m glad these are helpful. Good luck with your organizing project 🙂
>> Christene
I loved the font style of this pantry. Perfect choice for me. Thanks for sharing!
Really glad you loved it Dora!
>> Christene
Oh, nice…These kitchen labels are like matchmade for my kitchen jars. The font style is also cool.
I just started this project for my own pantry, but I haven’t had my Cricut very long and I have been trying to figure out the best way to do it and I keep changing my fonts. I love that font!! I am going to use it, too! I am doing my labels in black vinyl, but I hope they turn out as cute as yours!! Thanks for walking me through the steps!!
Yay!! I’m so glad this was helpful! I hope your pantry turns out great. Happy organizing 🙂
>> Christene
Beautiful and very concise tutorial thank you so much!