I know that you’ve seen them around lately. Those puffy, cute little fluff balls. You can find them on pillows, throw blankets, curtains, and baskets. You can even find entire garlands make out of them. Pom poms are everywhere in home decor right now!

This post contains affiliate links for your convenience. For more information, see my disclosures here.
Pom poms are definitely trendy right now and I’m a big fan! I think they are a cute way to make your home feel playful and fresh. Pom Poms have moved away from looking like kids craft projects. Now you can find them in all kinds of modern decor and inspiration!
The best thing about this trend is that you can add it to your home the DIY way! Creating pom poms is easy, and you can make your own version of your favorite home decor items in no time!
How to Make Perfect Pom Poms for Home Decor Projects
Materials
- Pom Pom Maker
- Yarn
- Scissors
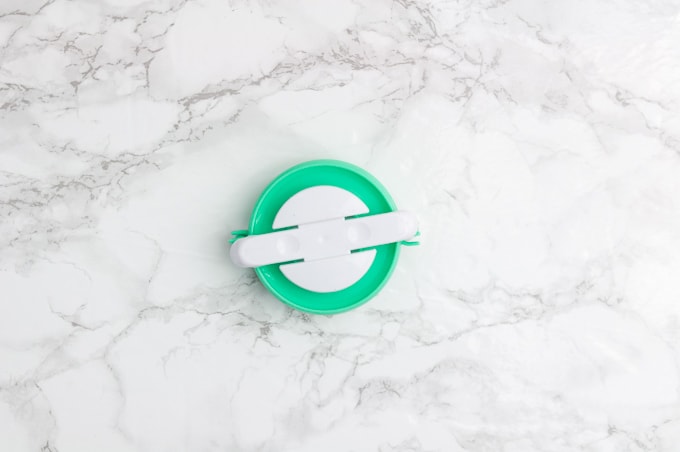
I found this pom pom maker online while I was browsing through Amazon one day! It creates the perfect pom poms that are the same size every time. The kit that I bought here came with 4 different sized pom pom makers, which is perfect to have on hand for future projects. Now I can make pom poms of any size depending on what project I’m working on.
At first this kit seems like it would be confusing to use, but trust me, I’ll walk you through every step. It’s a lot easier than you would think.
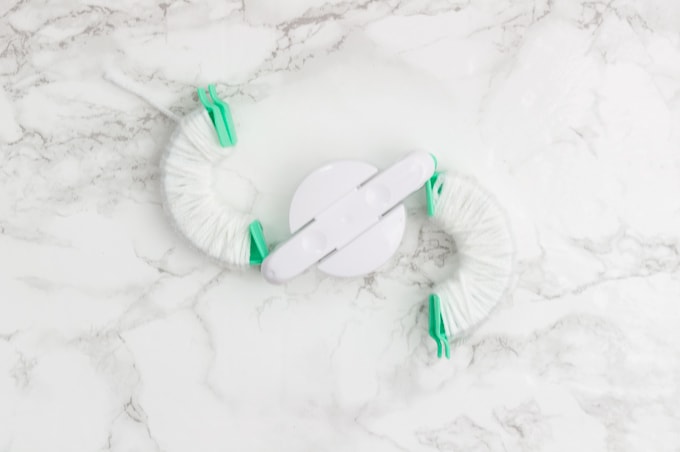
The pom pom maker has a few different parts – a white center piece and two green folding arms. To start, unfold the green arms so that the pom pom maker is stretched out like the picture below.
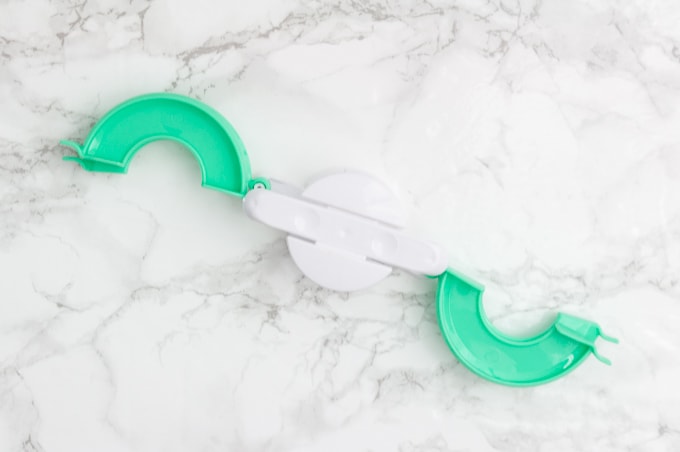
Then, start on one arm and wrap the yarn around both layers of the arm. It doesn’t need to be perfectly wrapped, the size of the arm keeps the loops even so your pom poms are consistent every time.
 Wrap the yarn around the arm so that you can no longer see the green color of the arm. Again, it doesn’t have to be perfect, but you want the yarn to be thick enough to create a puffy pom pom.
Once you’ve finished one arm, pull the yarn through the center piece and over to the other arm. Then repeat the wrapping of the yarn on the second arm.
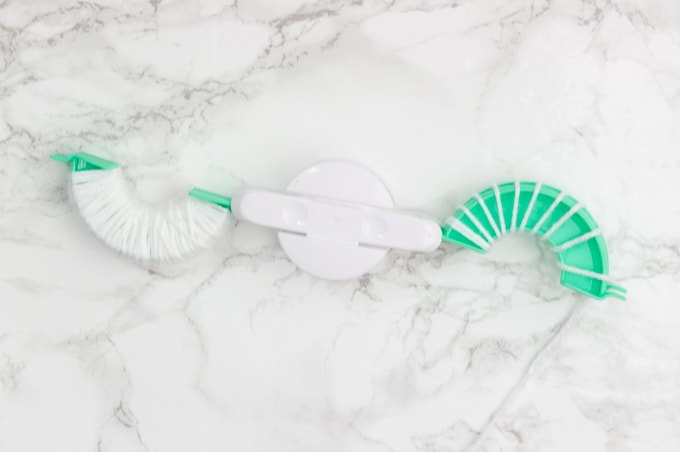
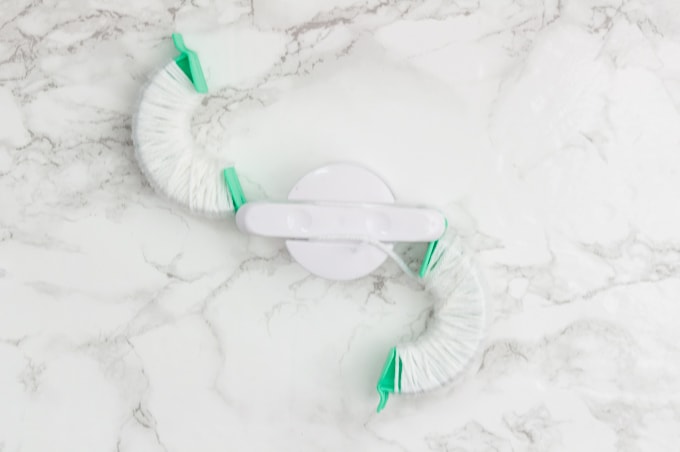
Once both arms are wrapped and thick enough so you can’t see the green through the yarn, fold the arms back into the center piece.
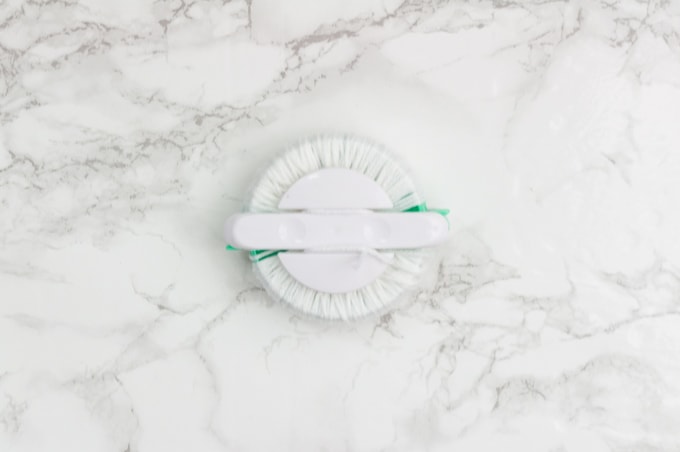
Next, take your scissors and cut the loops on each arm. The two pieces of each arm have a space between them so that you can cut down the middle.
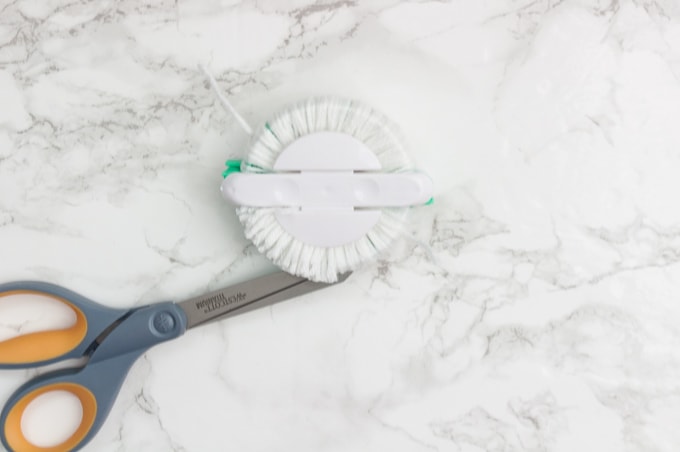
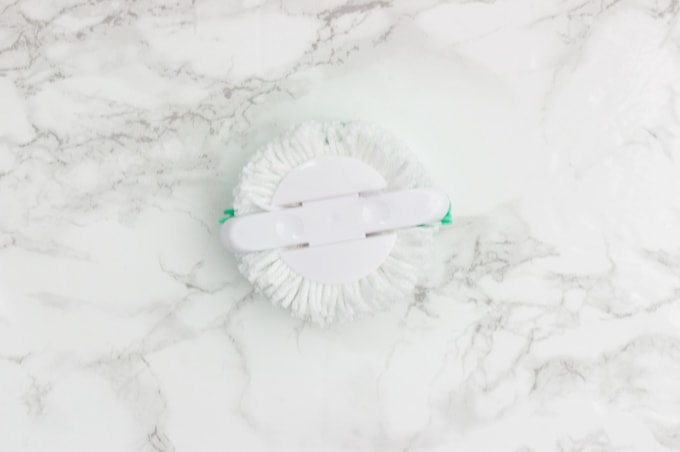
After you have cut both sides, take the remaining yarn and cut a piece that is big enough to go around the pom pom maker.
Wrap the yarn around the middle of the pom pom maker between the side of the arms. Tie the piece of yarn in a knot, making sure to pull it as tight as you can.
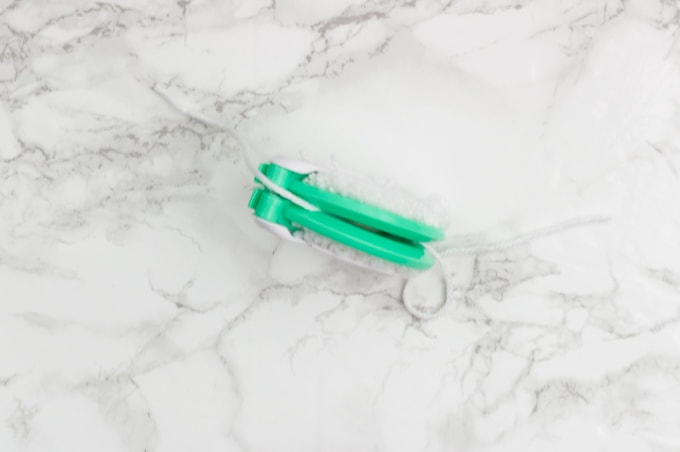
Once your knot is in place, open up the two arms again. Your pom pom will be left in the middle section.
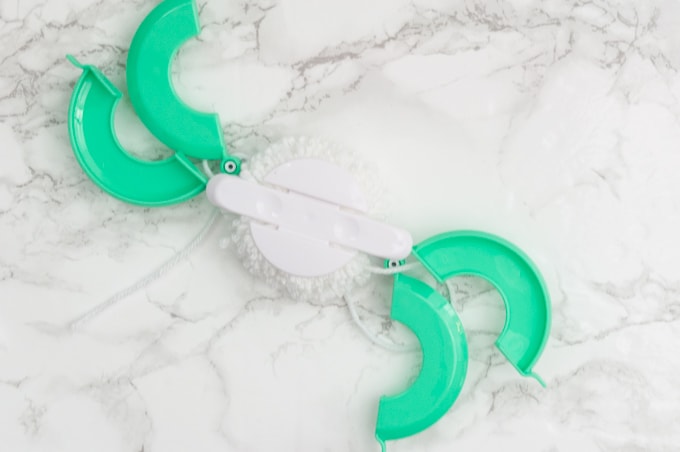
Next, pull at the center piece until the two sides of the pom pom maker come apart. This will release the pom pom.

Use your scissors to trim the pom pom and remove the extra long pieces. You want all of the pieces of yarn to be about the same length.

Tada! The perfect pom pom!

You can use the pom pom maker and the different sizes to create as many pom poms as you need for your home decor project.
Here’s a couple ideas for using these cute pom poms in your home decor.
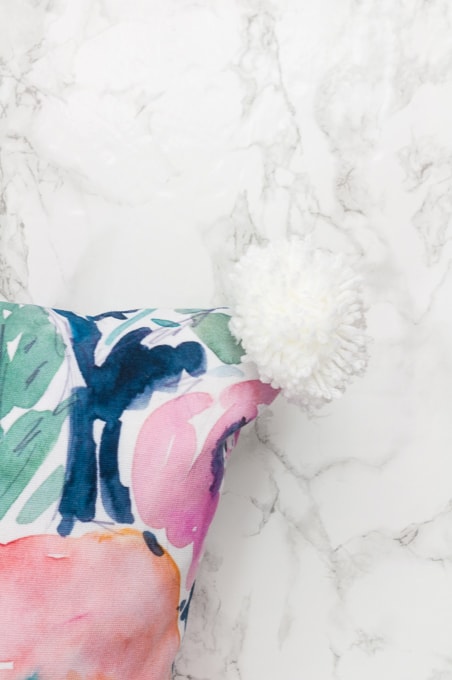
Use a needle and thread to attach a pom pom to each corner of a pretty throw pillow. And, if you don’t like to sew, you could also attach the pom poms using a little bit of hot glue.
Attach some pom poms onto the front of a basket to create a modern look.

I made three pom poms for the basket that holds my fiddle leaf fig tree, or “Figgy” as I like to call him!
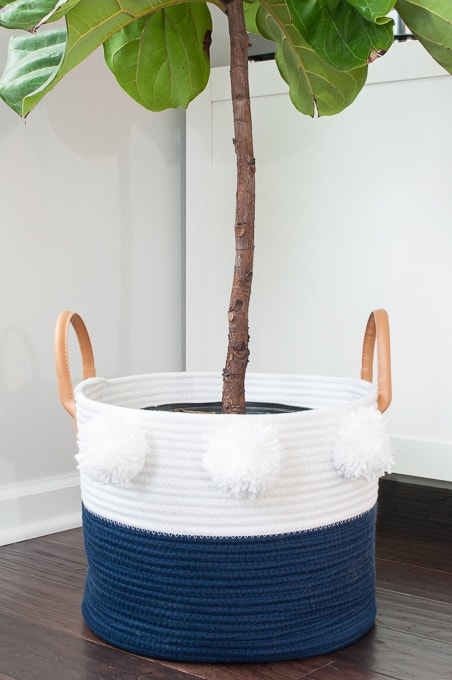
The pom poms make the basket look modern and fun! I love the extra bit of texture that they add.

For my next project, I want to create a bunch of pom poms and make a really cozy throw blanket! There are so many ways that you can incorporate pom poms into your home decor. And with this little tool, you can create as many perfect pom poms as you want!
Let me know what your favorite pom pom home decor item is! Also, if you grab this tool, I would love to hear all about the projects that you make with it.





10 Comments