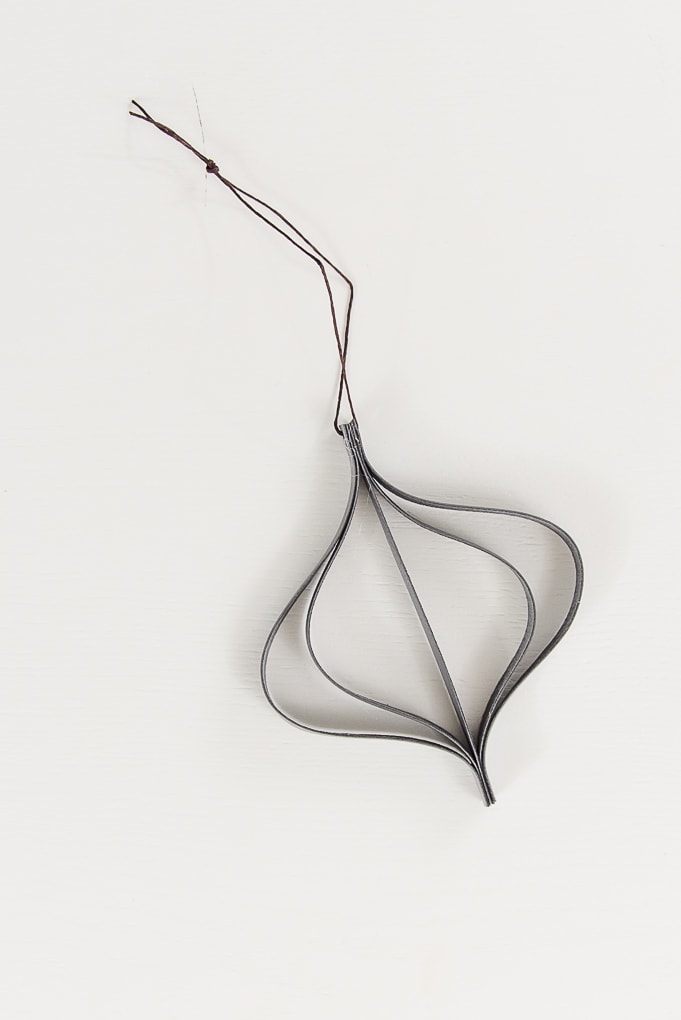
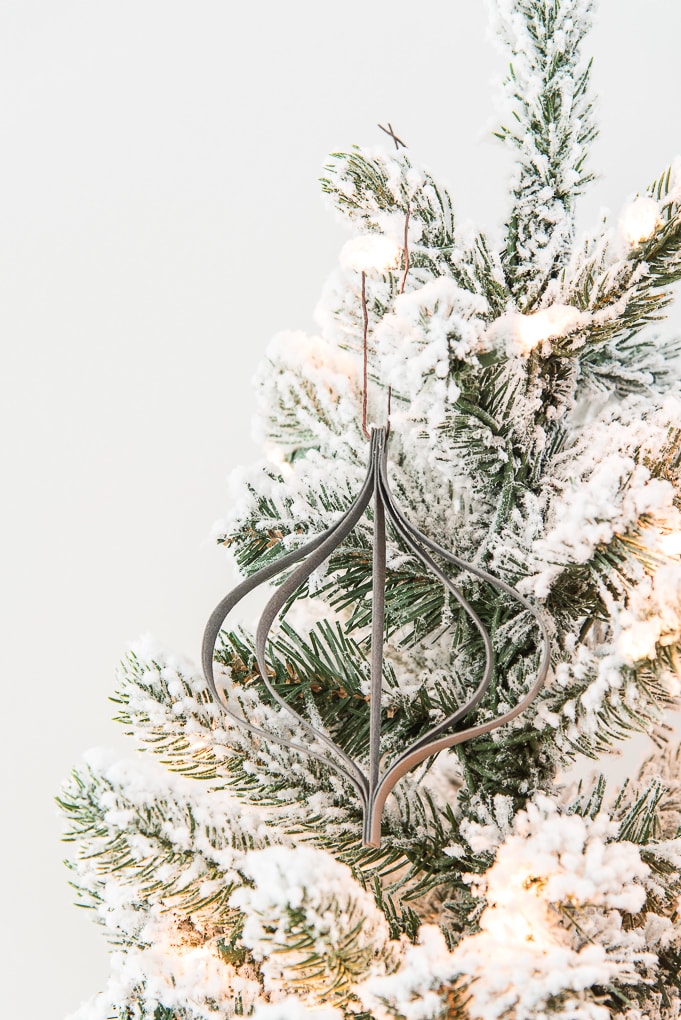
Create a simple and modern leather ornament using the Cricut Explore or Cricut Maker. This ornament is so pretty on a Christmas tree!
Welcome to Have Yourself A Very Cricut Christmas: 25 Days of Homemade Holiday Crafts!
Each day in December, I’ll be sharing a new Christmas project that you can make using your Cricut. It’s going to be a blog version of an advent calendar! Come back every day to get a new “gift.”
Today’s gift is a Leather Ornament.

If you’ve ever seen a picture of our Christmas tree, you will know that I have a thing for Christmas ornaments. I love to collect them! We have a wide variety of ornaments, but I also love to make new ornaments each year that we can add to our tree.
I love the simple look of modern ornament shapes. They look so pretty on a Christmas tree.
I designed this simple modern leather ornament as my first ornament for this 25 days of Cricut projects series. It’s quick and easy to make, so you will have no problem making a bunch for your tree.
You’re going to love this Leather Ornament. Here’s how to make it!
How to Make a Leather Ornament Using The Cricut
This post contains affiliate links for your convenience. For more information, see my disclosures here.
Materials:
- Leather Ornament SVG file
- Cricut Faux Leather (I used this silver gray color)
- String
Tools:
- Cricut Machine (You can use a Cricut Explore or a Cricut Maker for this project)
- Strong Grip Cutting Mat
- Cricut Fine-Point Blade (comes with all Cricut Machines)
- Cricut Applicator and Remover Tool Set
- Hot Glue Gun and Hot Glue Sticks
How to Cut Out The Project Using The Cricut
First, you will need to download the Leather Ornament SVG file.
Get the Free Leather Ornament SVG File

Start by opening Cricut Design Space and creating a new project.
Upload the SVG File
Then, upload the SVG file by selecting the Upload button and then Upload Image. Next, drag and drop or select the SVG file you want to upload.
After the SVG is uploaded, add the image to your design canvas.
If you need a little more help uploading SVG files, you can learn more in this post.
The SVG file will already be sized properly for this project.
Make It
Now it’s time to make your project!
Click on the Make It button in the upper right of the screen.
The first screen you will see is the Mat Preview Screen. This will show you all of the different mats needed for your project. Each mat represents another piece of material.
For this project, there is only 1 mat with all of the pieces needed for the ornament design.
Click on the Continue button in the lower right of the screen.
Connect your Cricut machine. Then, adjust the settings as follows.
Material: Faux Leather
Pressure: Default
Tools: Fine-Point Blade
Load the strong grip cutting mat with your material into the machine.
When cutting faux leather, you will want to place the material face down onto the mat. The smooth side will be on the mat with the “fuzzy” side facing up.
Then, press the flashing Go button to begin the cutting process.
Wait until all of your pieces are cut out.
Cricut Tip: If you need to adjust the location of an image on the mat, click on Edit Mat. You can drag the image around to any location you want on the mat.
When the machine is done cutting, remove the faux leather from the cutting mat.
This can be tricky with the strong grip cutting mat. I recommend using this applicator and remover tool set to attach and remove the faux leather from the cutting mat.
How to Assemble The Project
Once all of your pieces are cut out, it’s time to assemble the project.
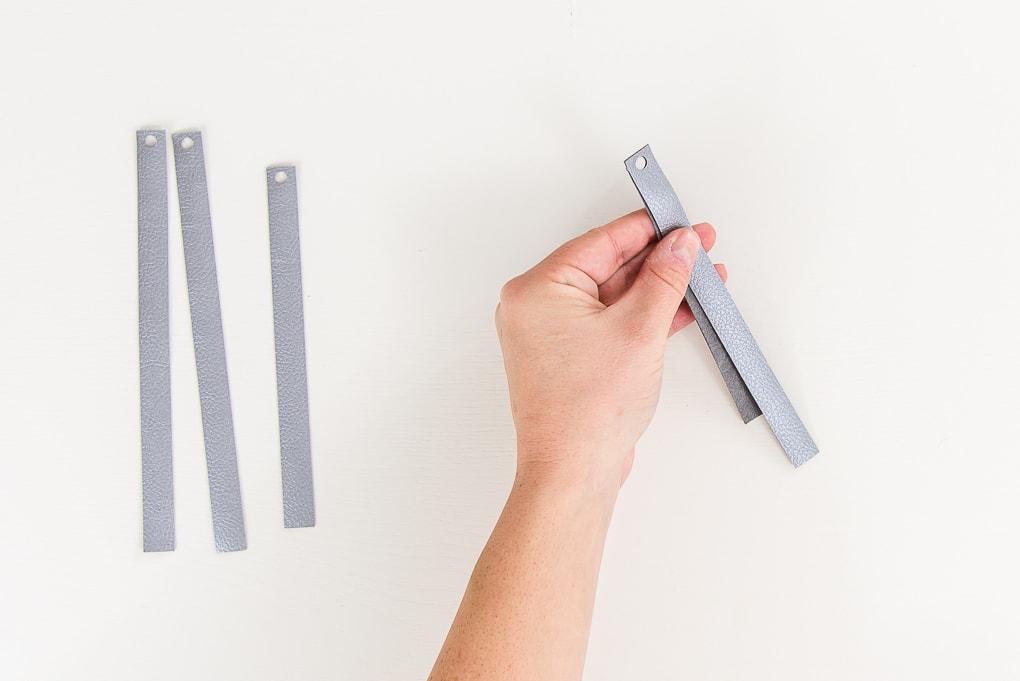
You will have 5 pieces of faux leather total for this ornament project. One piece is 5” long, two of the pieces are 6” long, and the remaining two pieces are 7” long. Each piece has a hole in the top so that you can add a string to hang the ornament. You will be using this hole to line up the pieces.
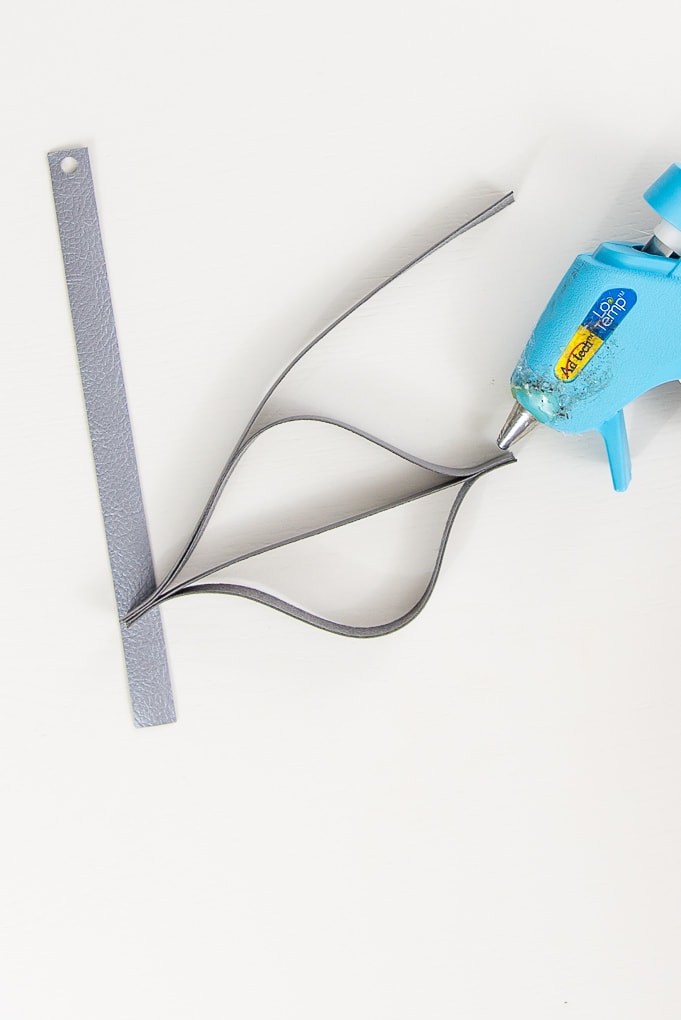
Start by taking the smallest piece, the 5” long piece, and one of the medium pieces, the 6” long piece. Use a hot glue gun to apply some hot glue to the top area around the cutout hole.
Attach the top of the 6” piece to the top of the 5” piece by lining up the holes.
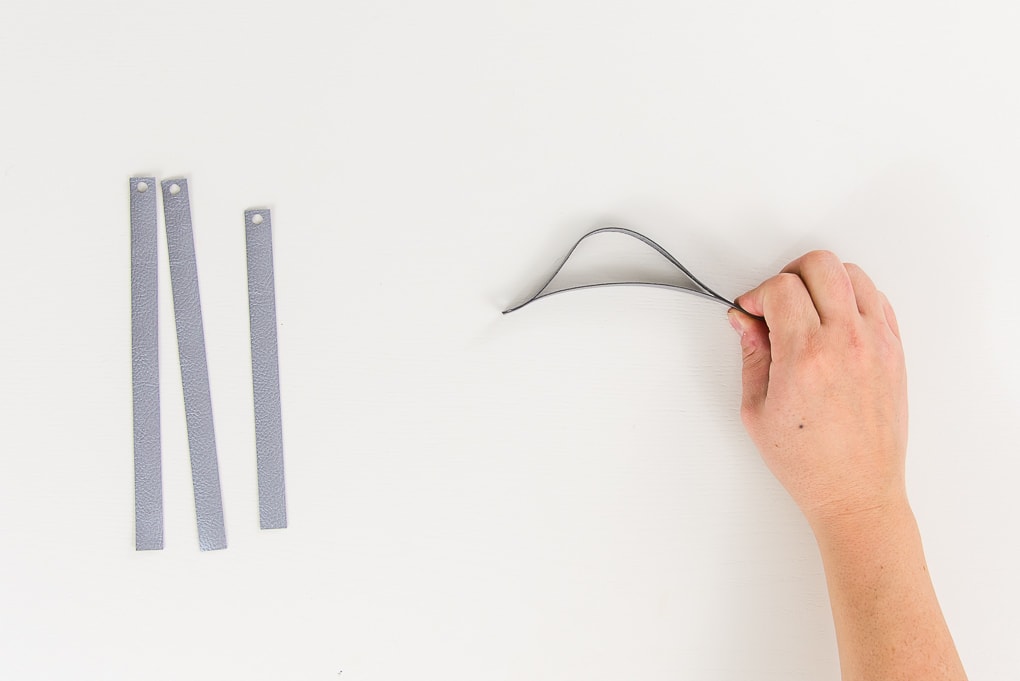
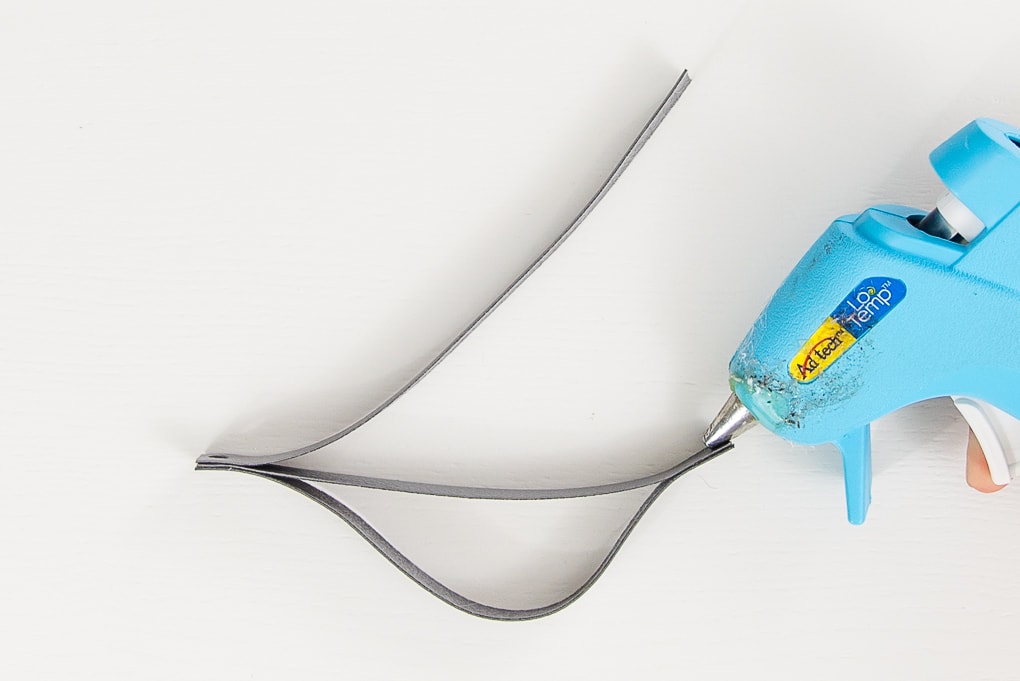
Then, bend the 6” piece slightly so that the bottom of the 6” piece matches the bottom of the 5” piece. Use hot glue to attach the bottoms together. This will naturally create a bend in the 6” piece which is part of the shape of your ornament.
Next, take the second 6” piece and repeat the process on the opposite side of the 5” piece. First, hot glue the tops together using the holes to line up the pieces.
Then, bend the 6” piece so that the bottom lines up with the bottom of the 5” piece. Attach them together using hot glue.
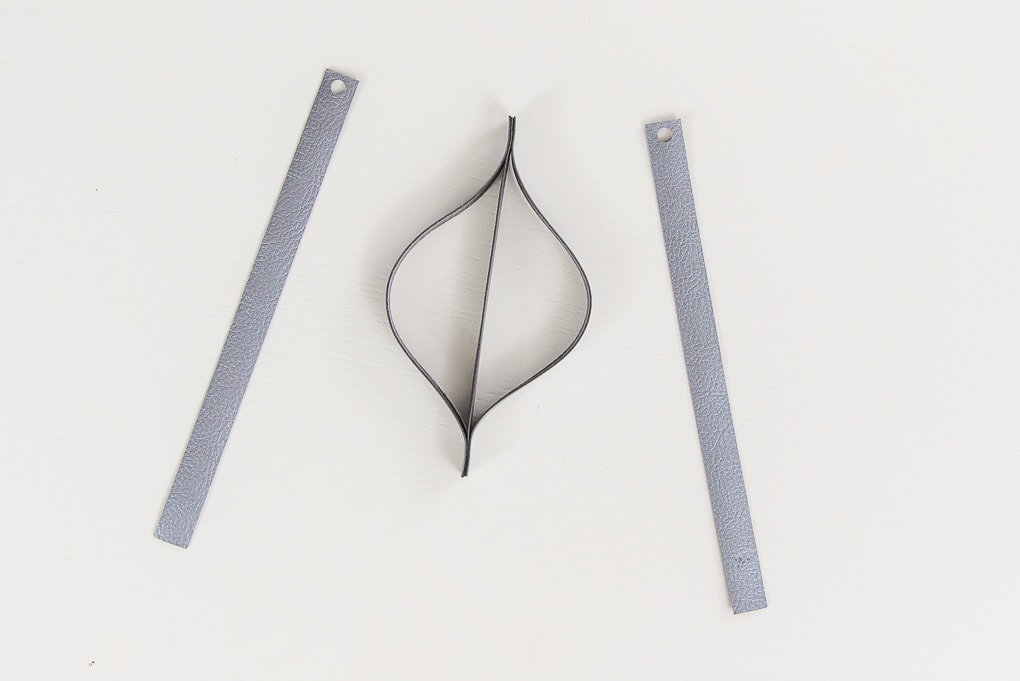
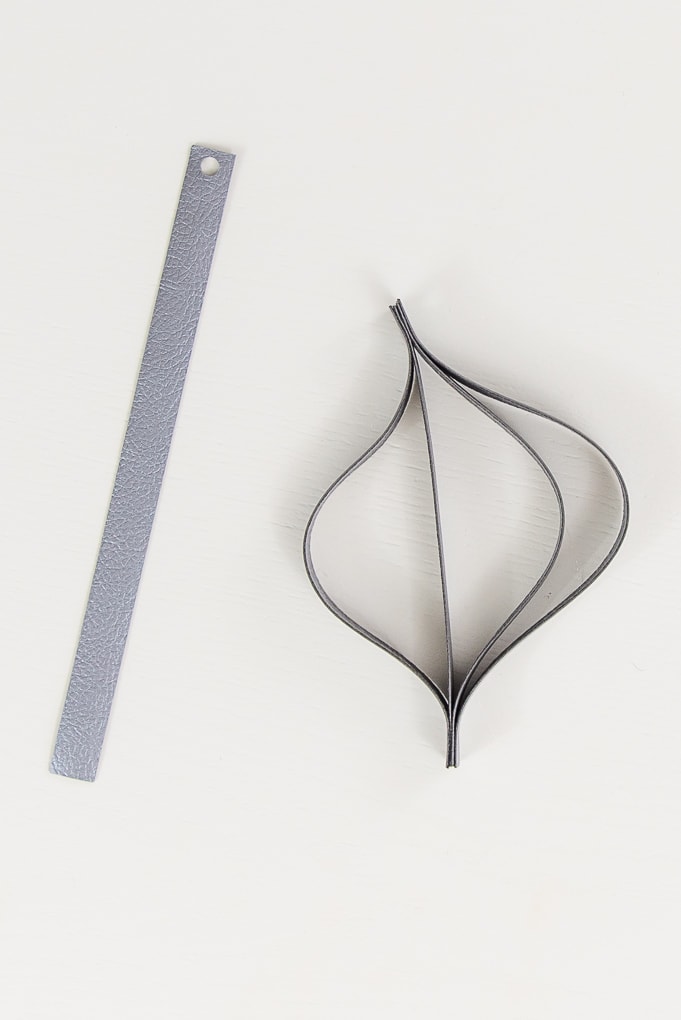
Now you have the middle part of your ornament complete. It’s time to add the outside parts.
Take both of the 7” pieces and repeat the attaching process like before.
First, attach the top of one piece to the top of your assembled middle ornament section using hot glue. Use the holes to line everything up.
Then, bend the 7” piece slightly so that the bottom of the 7” piece matches the bottom of the middle ornament section. Use hot glue to attach the bottoms together. This will naturally create a larger bend in the 7” piece which is part of the shape of your ornament.
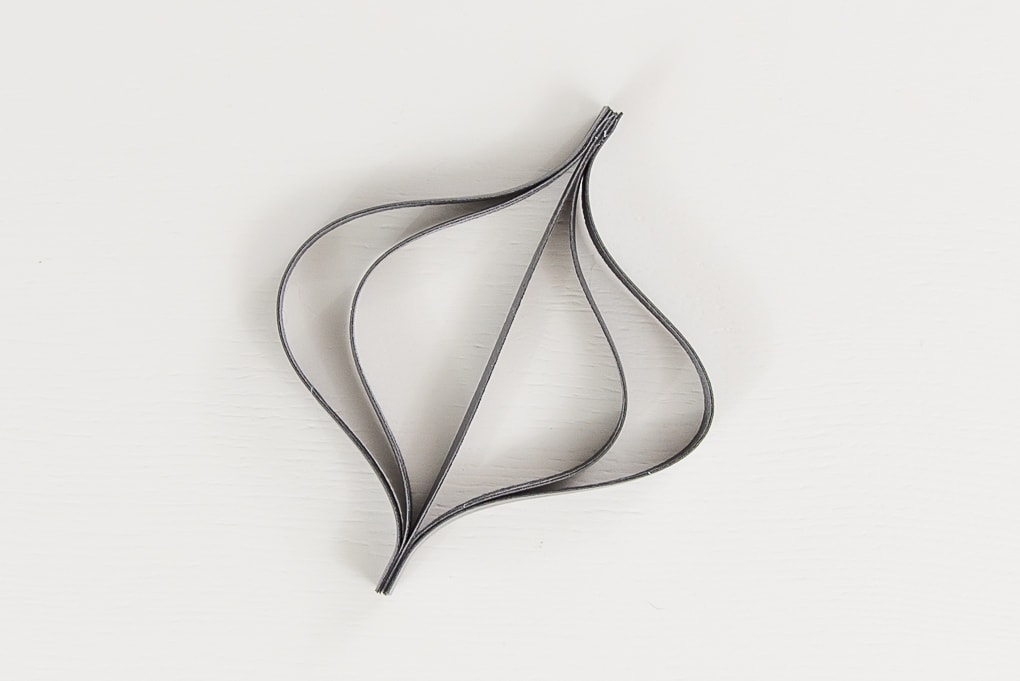
Take the second 7” piece and repeat the process on the opposite side.
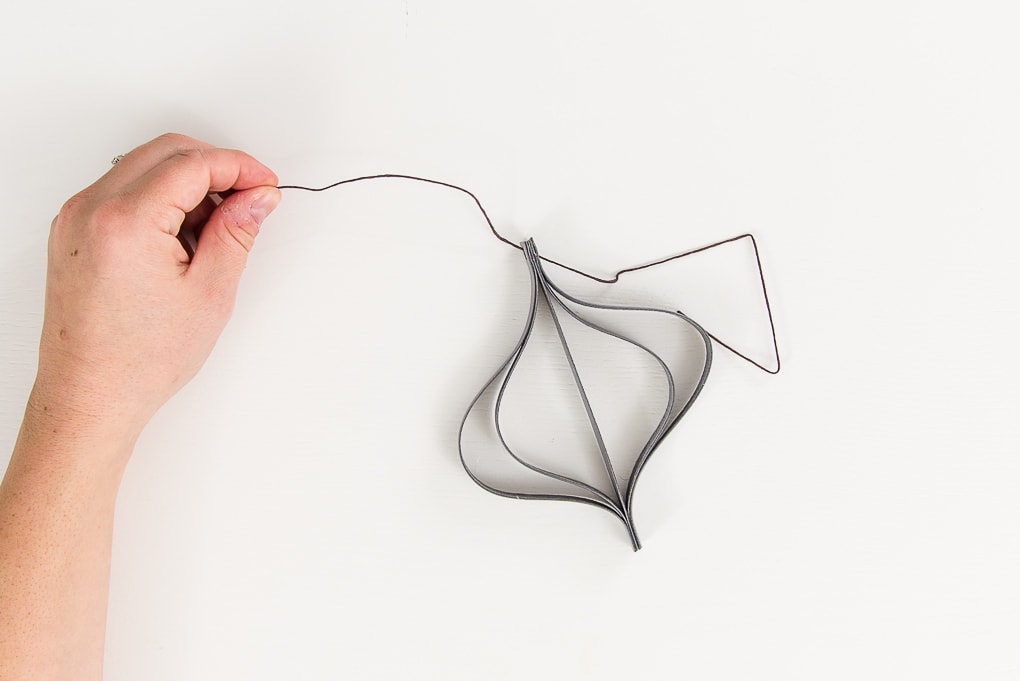
Finally, take a piece of string and loop it through the hole cutout at the top of your ornament. Tie the string in a loop to create an ornament hanger.
Now your Leather Ornament is ready!
This simple modern leather ornament is such a pretty decoration for a Christmas tree. I love the shape of it!
You can make as many of these as you want using different leather colors. Or, you can also make this just using paper.
I think this would also be a really cute gift topper to add to your presents this year. Then, the recipient can add it to their own ornament collection.
I hope you love this Leather Ornament.
If you decide to make this project, I would love to see!
Tag me on Instagram. Use the hashtag #25daysofcricut so that we can all see each other’s projects too!
To see more projects from Have Yourself A Very Cricut Christmas: 25 Days of Homemade Holiday Crafts!, click here!
If you want to follow along and see all of the projects for Have Yourself A Very Cricut Christmas: 25 Days of Homemade Holiday Crafts!, you can bookmark this blog post and visit it each day to see the newest project.
>> Want to remember this? Save the Leather Ornament to your Pinterest boards by clicking here! <<









4 Comments