Building a Custom Home from the Ground Up
Hey there, friends! I’ve been meaning to share the details of our custom home-building journey, and what better way than to share it with you like we’re catching up over coffee.
So, grab your cup, and let’s dive into the story of how we’re turning our dream home into a reality!
This is a very personal chapter of our lives – building a custom home for our family.
It’s a leap into creating a space that truly reflects our family’s needs and style.
I want to share with you the journey of bringing our dream home into reality.
In this post, I’m sharing a little bit of the background to our custom home build.
Then, I’ll be sharing an overview of the construction process.
Think of this blog post as a hub for all the custom home build content. I will be updating this post as we continue the build, so be sure to bookmark this for later.
FOLLOW ALONG ON INSTAGRAM
@CHRISTENEHOLDERHOME
Before the Build
Looking for Property
For a few years, we were on the hunt for the perfect piece of land to build a custom home. But land can be very hard to come by, especially in our area.
The main motivation? More space, a yard for the kids to play in, and a place where we could host gatherings.
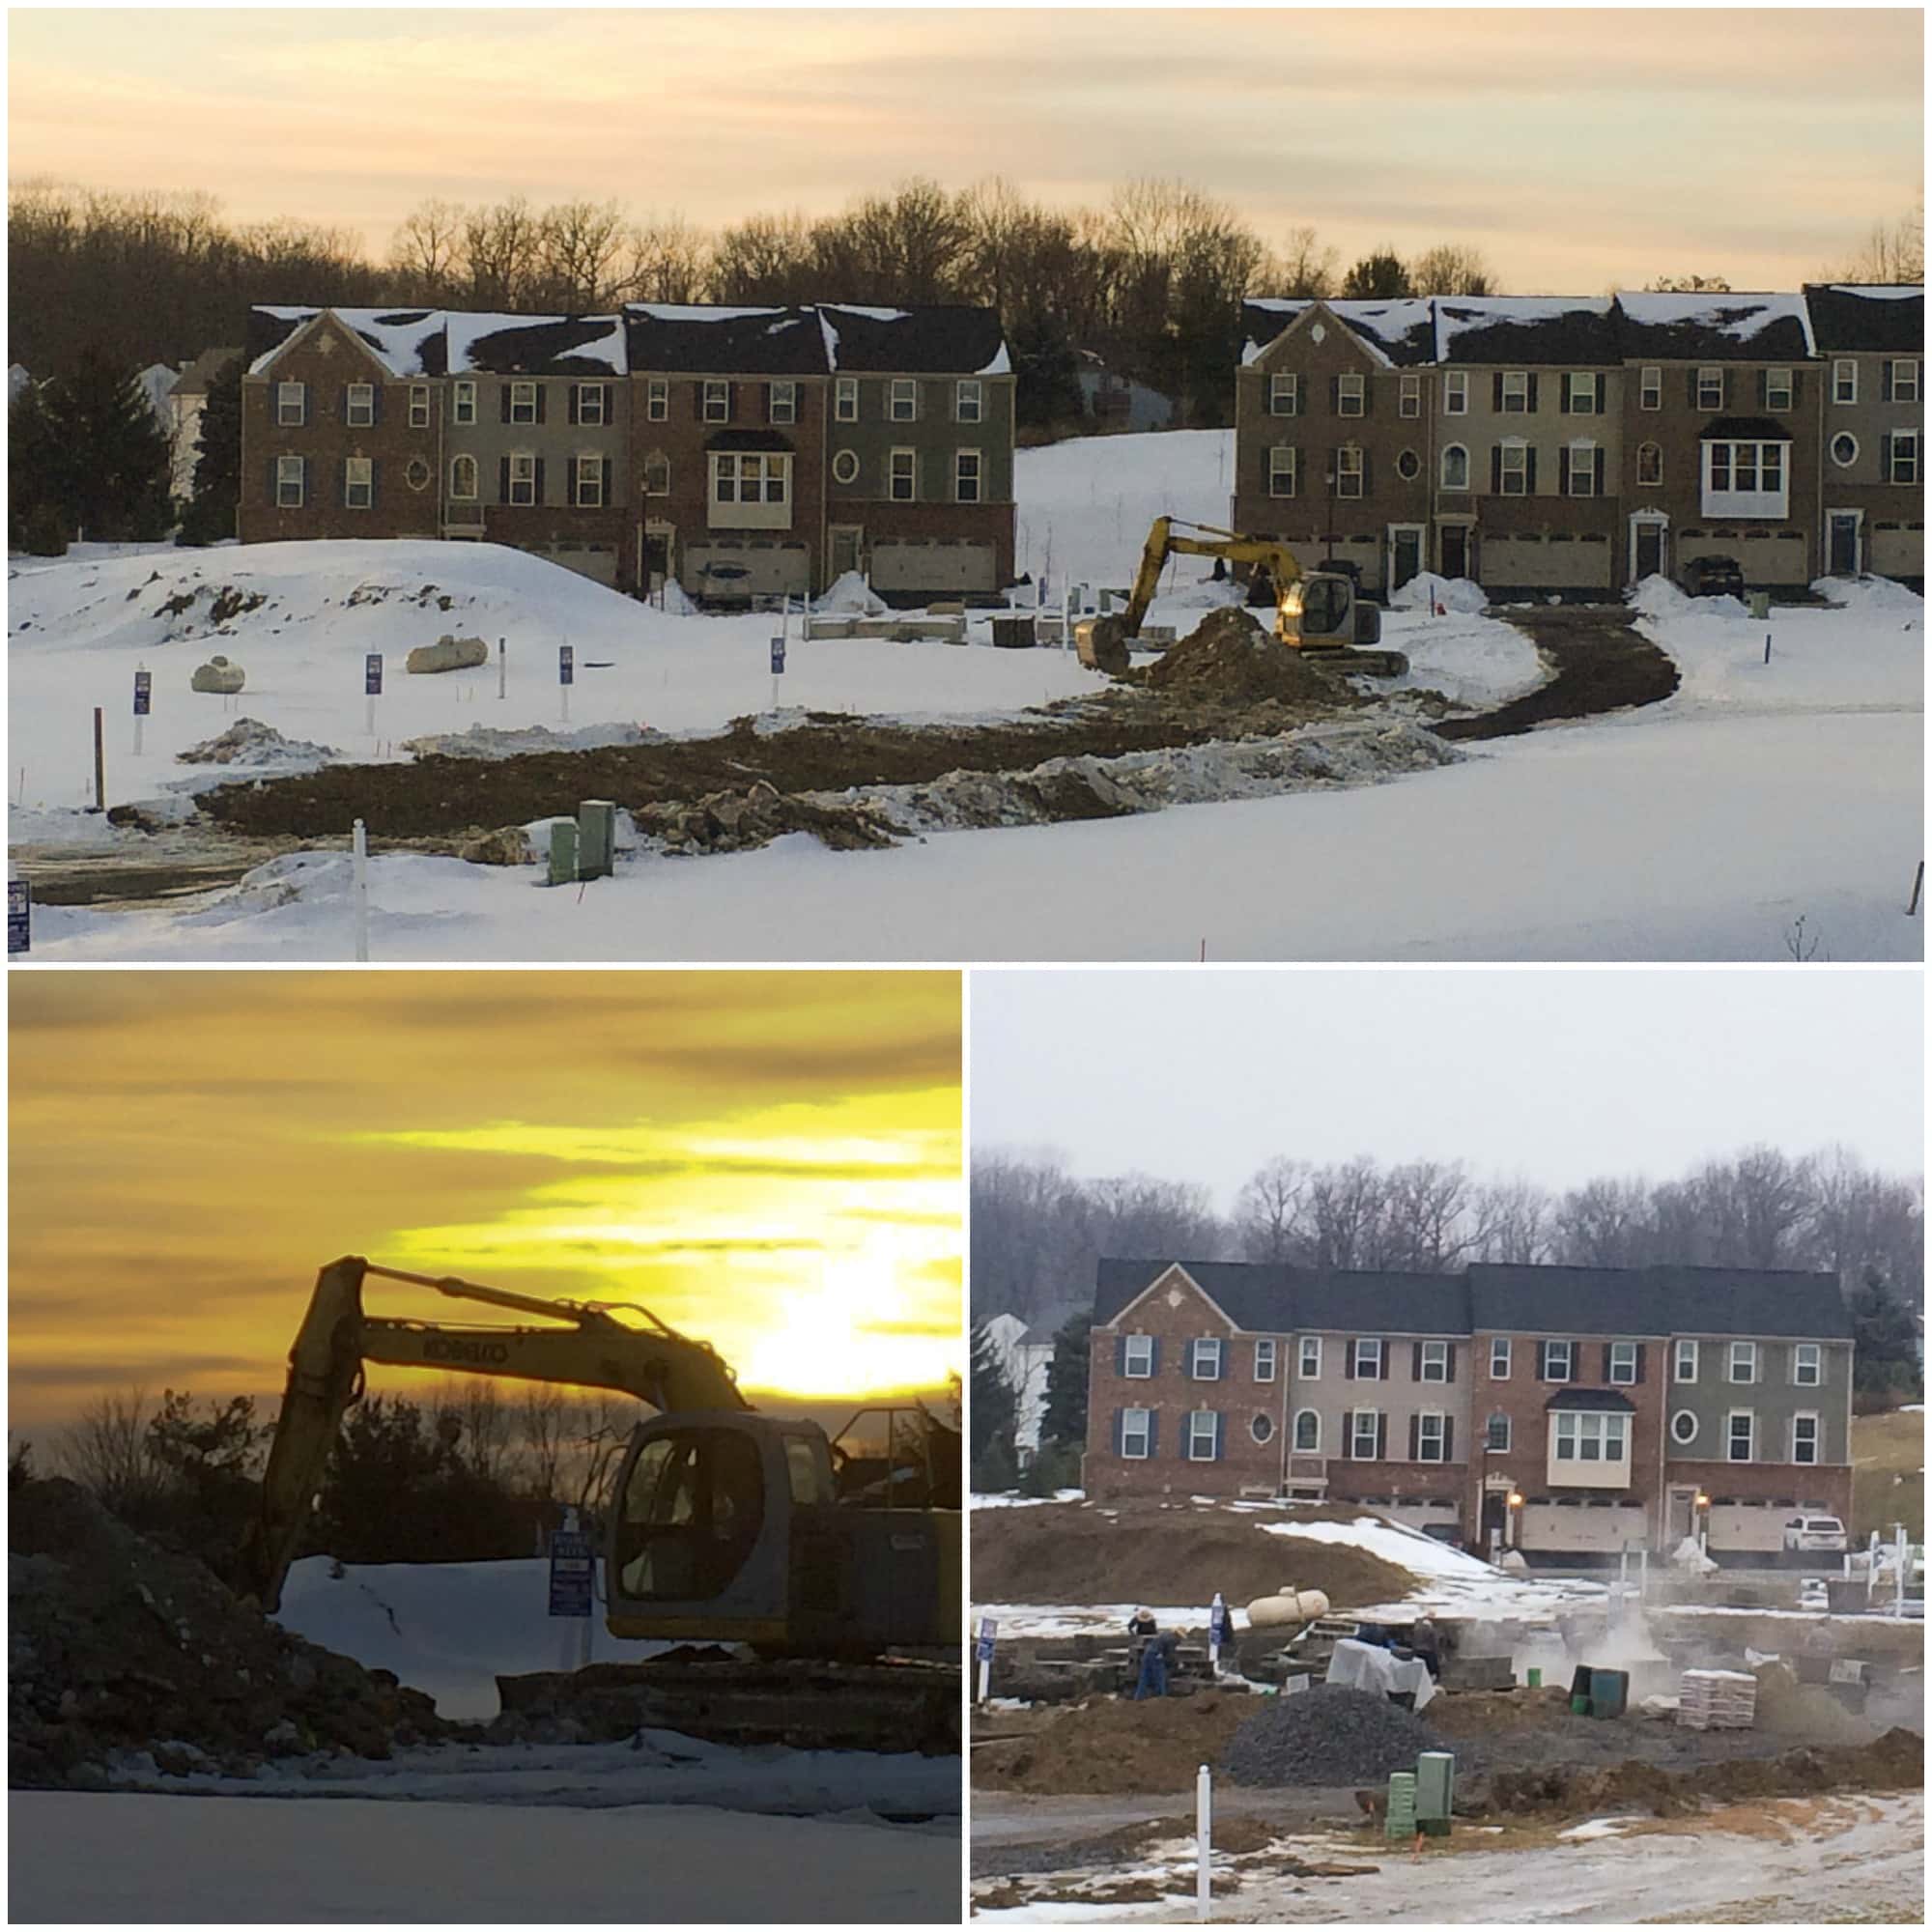
Our Townhome
Our townhome has served us well, but we’ve honestly outgrown it.
We originally built this townhome and have lived in it for almost 9 years now. But in this new stage of our lives, we knew it was time to move on.
Our townhome, though beautiful and cozy, lacks room for our growing family and hosting friends and family comfortably.
HOME TOUR
Our Townhome
Take a tour of our townhome. We built this home in 2015 and have lived here for the past 9 years.
Finding the Land
With the help of our realtor, we found a piece of land that initially seemed like it might be a stretch.
It was more acres and a tad pricier than our original plan. So we had a plan of visiting it just to “cross it off the list.”
But once we drove out to see it, we knew it was the spot for us.
The land is just over 2.5 acres, and is mostly “flat” for this area. It’s hard to find a property that isn’t very hilly around us. It sits right next to a horse farm and has beautiful views of the big sky!
It’s just outside a charming town, feels rural, yet close to amenities, and it’s part of a cozy 80’s neighborhood – a rare find these days.
Land Issues
Before we could even call the land ours, we had our share of challenges.
Drainage issues, perc testing, and designing a septic system were just some of what we had to figure out before we even purchased the land.
It took almost a year to sort it all out, including combining two lots into one.
There were moments we thought we might not be able to even build on the land. It was an emotional roller coater. But in the end, it all worked out, and here we are!
Breaking Ground
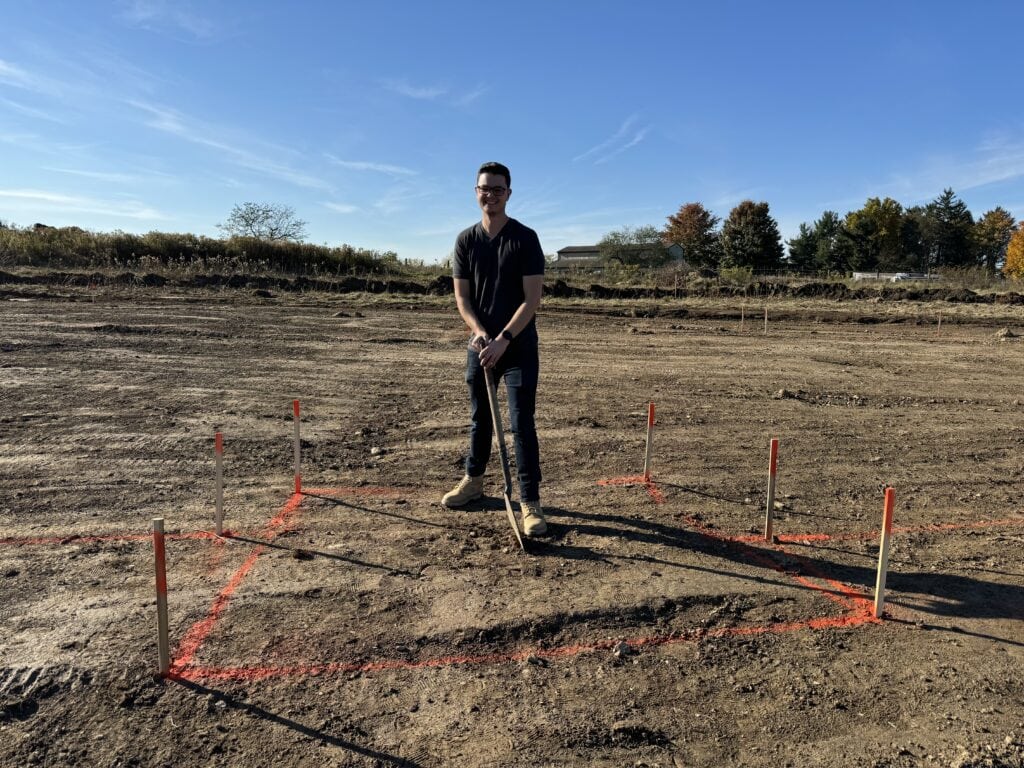
We officially broke ground in October of 2023.
The weather was surprisingly cooperative. It was a beautiful warm fall day.
Thankfully we broke ground without major water issues. Building on a lot with some water struggles gave us a lot of concern.
Once we actually got the excavator into the ground, we had a completely dry foundation dig.
Designing The Floor Plan
Dreaming up the design for the floor plan was such a fun process! But I’m not going to lie – it was a very long process.
The entire house design took over a year to finalize.
We designed the entire home ourselves with the help of a draftsman. We did not hire an architect or work off an existing home plan.
Floor Plan Must-Haves
When it came to creating the floor plan for our custom home, we wanted to blend functionality with the flow of family life.
After lots of dreaming and discussions, here are the items that made it to our must-have list:
- Open Concept Main Level
- Large Kitchen Space
- Two Islands: One for Storage and one for seating
- Large Utility Spaces: Pantry and Laundry Room
- Large Closets
- Dedicated Offices for Ben and Myself
- Playroom
- Vaulted Cathedral Ceiling Living Room
- Covered Backyard Outdoor Space
- Owner’s Suite with Spa Bathroom and Connected Closet
SketchUp
An essential tool that we used throughout the design process for our home was, and still is, SketchUp. It’s helped us to bring our home to life and really make informed decisions about the design.
I’ve always been a visual person and I knew that creating a house from scratch was going to be difficult. So being able to model the house in 3D before we built it was a game changer and helped us to make the best decisions.
With SketchUp, I was able to draw our floor plan and model it in 3D so that we can virtually walk through it.
It’s one thing to imagine a space by looking at a floor plan, but to see it come to life on the screen is a whole other story.
This tool gave me the ability to experiment and adjust as we were designing the house in the floor plan stage.
By 3D modeling, we could see how the house was progressing and decide where we wanted to make changes.
We followed this process throughout the floor plan design; iterating until we came up with a floor plan for the house that we loved!
Honestly, this was one of the best decisions we made for the house.
Because we had modeled the home in 3D, once we got through the framing stage of construction, we only made a couple of minor changes.
Nothing was a huge change and there were no major layout changes. I think the only thing we really changed was making the original cased opening to our closet into an actual pocket door.
I credit all of this to the fact that we used SketchUp through the design process.
SketchUp has also been great for communication with our builder and contractors.
Sharing a 3D model helps to make sure that we’re all on the same page and that what I’m picturing is fully understood. I even used it to fully design our kitchen cabinets on my own.
It’s been an invaluable tool for avoiding miscommunication and ensuring that our ideas are translated into reality as smoothly as possible.
How I Learned SketchUp
One day I was scrolling on Instagram and I got an ad for a course teaching you how to use SketchUp for interior design. The course covered how to get started and model and entire home from floor plan through adding finishes and design details.
The course is called SketchUp for Interior Design and it was created by The Little Design Corner.
If you are interested in this course, you can find the information below.
Construction
Building a custom home is a huge process because we are making every single decision.
We chose to work with a custom home builder. He is a truly custom builder and has no set floor plans to choose from. You basically just bring your designs and the land and he takes it from there.
Our builder operates on a cost-plus model, offering us transparency with the budget, and flexibility through the process.
This process is as hands-on as it gets. We’re involved in each step, from selecting materials to approving designs, ensuring our home truly reflects our vision.
Our daily visits to the construction site have become a routine, allowing us to monitor progress, make real-time decisions, and maintain a close relationship with the team bringing our home to life.
Since we didn’t hire a designer, I’m the one making all the design choices. This saved us a lot of money, but it’s also a big job.
I spend a lot of time thinking about what will look best in our house and making sure every decision will work with the overall vision for the home.
Being this involved is both overwhelming and incredibly rewarding.
The freedom to choose every detail means our home will be uniquely ours, but it also means facing the pressure of countless decisions and the fear of making mistakes.
But, seeing our choices come to life on-site is such an amazing experience.
This journey has taught us the importance of patience, research, and trust in our own decisions.
Through the entire construction process, we’ve grown an appreciation for the craftsmanship and complexity of building a custom home.
5 Stages of Home Construction
Foundation
The construction process started with clearing the land.
Then, we worked with a survey crew to set the house and draw the exact location where it would be built.
After the house location was set, then it was time to excavate. Digging the entire basement took 2 days.
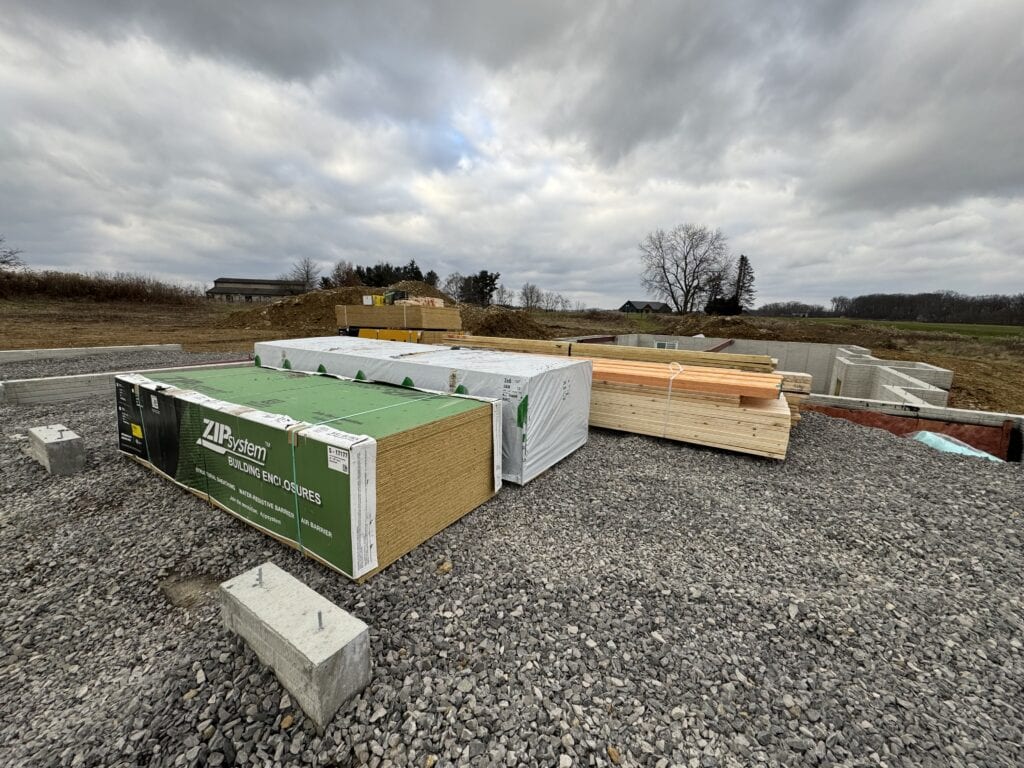
Next, it was time to create the house foundation. Our builder does a poured foundation, which means that the basement walls are solid concrete.
First, a crew came out to handle the footings, which are the base of the foundation. They mapped out where the footings needed to go and filled those outlines with concrete.
Next, another crew took over to work on the walls. They used large concrete molds to outline the basement of our house. Then, they filled the molds with concrete.
After the concrete dried and the molds were removed, we were left with solid walls — the very first physical piece of our new home.
It’s one thing to see plans on paper, but it’s entirely different to watch those plans start to become real, right in front of your eyes.
With the foundation set, our home has its first real footprint, and we’re more excited than ever to see it all come together.
Framing
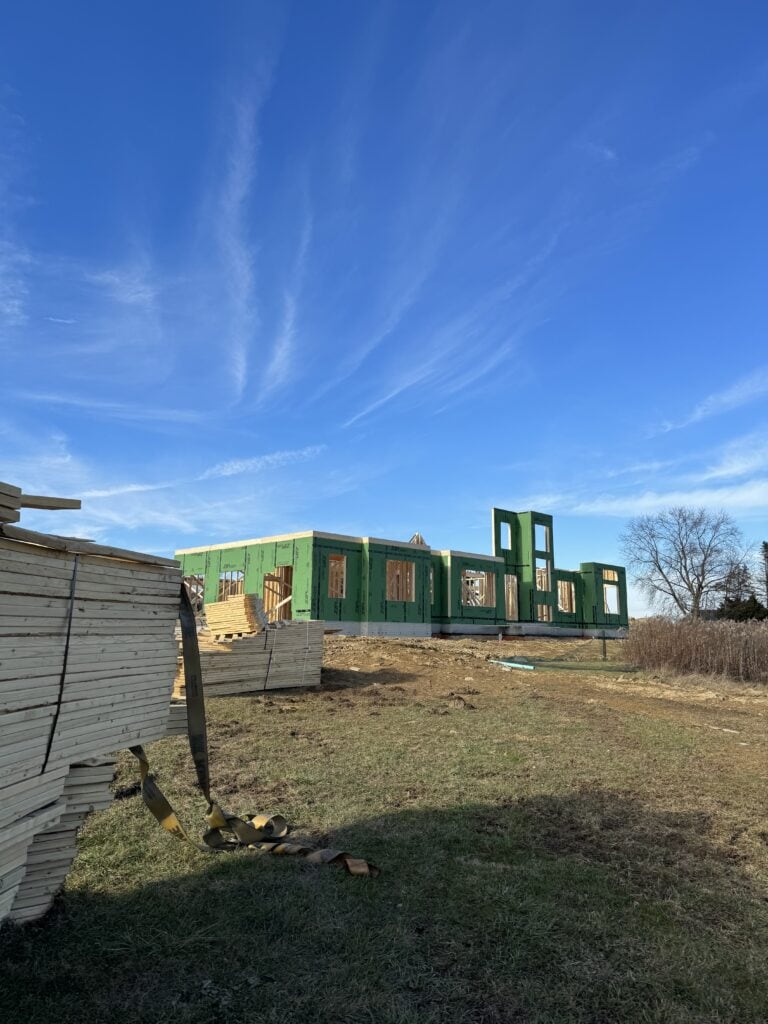
After the foundation was finished, framing was the next big step of the process. This is where we really began to see our house take shape and move fast.
The crew started by building the joists for the first floor on foundation. Then, they build each wall on-site, which was fascinating to watch.
One by one, they were lifted into place, like giant puzzle pieces finding their home.
Over the next few weeks, both the first and second floors were framed out. We were able to walk through a few times during this process and really see some of the interior structure take shape.
The real game-changer came when the roof trusses were added. Watching those trusses being hoisted and secured was so fun!
Once the roof was on, you could actually see the overall shape of our home for the first time.
To finish things off, the roofing team came to install the shingles.
After that the windows and exterior doors were delivered and installed by the framing crew.
Now the house was completely sealed and under roof.
The framing stage transformed our plot of land into a house-shaped reality.
It’s one thing to imagine the rooms and layouts, but another entirely to walk through your future home in the framing stage. It was such a great experience!
Mechanicals
Next was the mechanical stage of construction which was all about installing the essential systems that make a house functional.
First up was the HVAC team. They came in to install the heating, ventilation, and air conditioning systems.
Simultaneously, the plumbing crew started running the water lines throughout the house, setting up everything needed for sinks, showers, and toilets.
One of the most crucial parts of this stage was the electrical walkthrough.
We met with our builder and the electrician to decide the placement of every light, switch, and outlet.
This meeting was a big deal—it required a lot of prep on our end to make sure we covered everything we wanted. Thanks to our homework, we had a clear vision, which helped make this complex meeting a success.
Next, the electrician and his team started wiring the house.
The entire mechanical phase took a few weeks. After all of the mechanicals were set inside the house, it was time to connect the utilities from the street.
This involved getting an electrical connection to the house and getting a propane tank buried and connected.
Why was getting power and heat set up such a big deal? Well, because we were heading into the drywall phase.
Drywall is sensitive to environmental conditions. Without the right temperature and humidity levels, you can run into all sorts of problems, from delayed drying times to compromised structural integrity.
Essentially, we needed our house to be warm enough to ensure the drywall process would be successful.
Insulation and Drywall
With the mechanicals in place, our construction process moved into stages of insulation and drywall.
First up, the insulation crew arrived. They filled the walls and attic spaces with insulation.
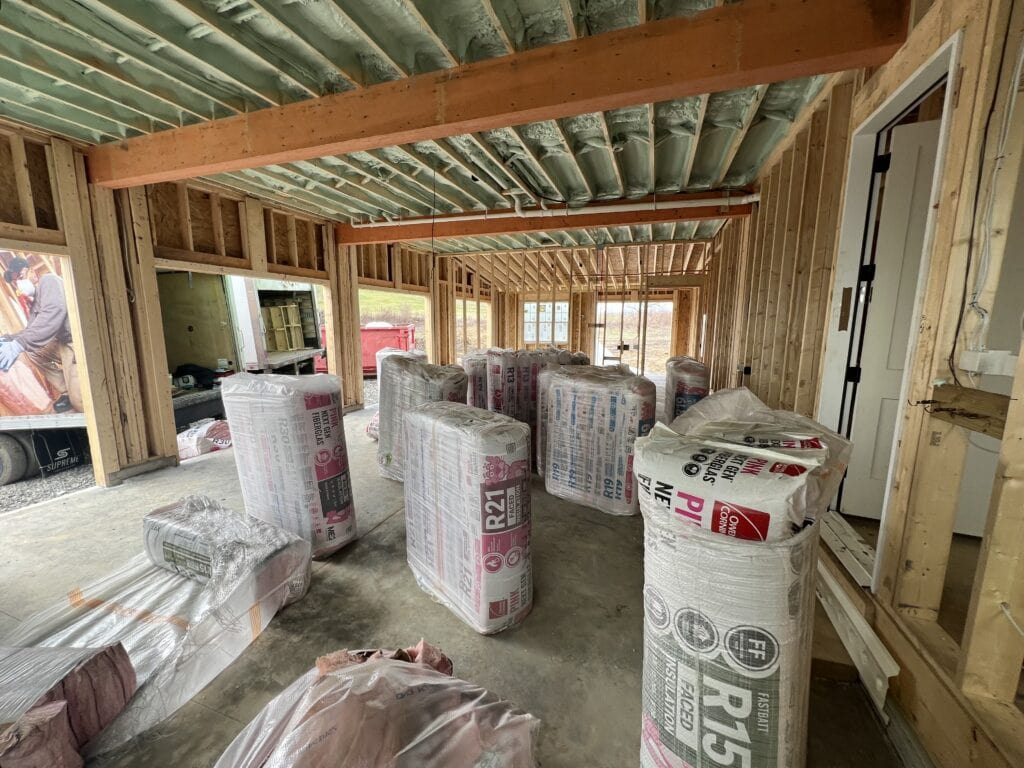
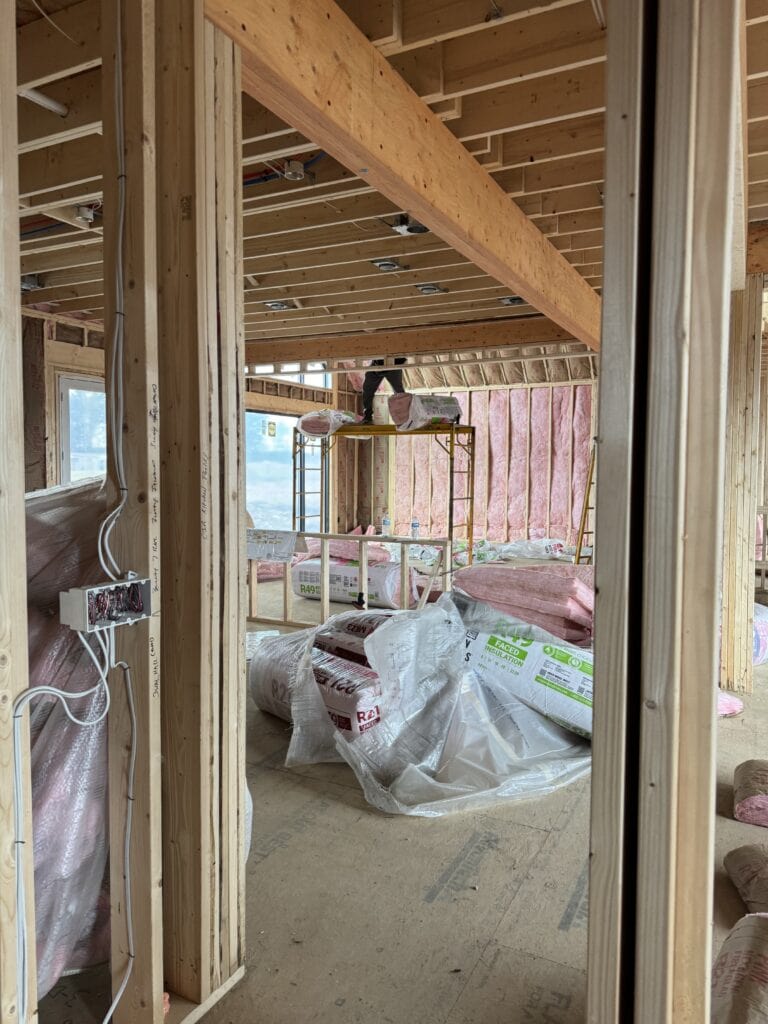
Then, the drywall crew came to start their work.
They began by attaching the drywall sheets to the framing throughout the house. This process only took a few days.
It’s the drywall finishing that really takes a long time.
After the drywall was up, they had to tape every seam and mud along the joints to cover everything.
It took multiple coats of mud to get a smooth surface. And between coats, everything had to fully dry.
The final step was sanding down the dried mud smoothed out any remaining rough edges or ridges.
The insulation and drywall stage was where our home really started to take shape. We had actual walls in place!
Finishing
We’re now currently in the finishing phase of our home build, the stage where our house truly starts to feel like a home.
This phase began with a trim walkthrough with our builder and the trim carpenter. We went through the house and decided where we wanted trim details.
Trim Work
Beyond the standard window, door trims, and baseboards, we decided to add some additional trim details throughout the first level.
We chose to wrap the open columns in trim and case the openings between rooms on the downstairs level.
There will also be a large trimmed feature wall in the stairwell will be a huge statement.
Additionally, we’re incorporating nickel gap wall paneling running vertically in the downstairs bathroom and the mudroom for texture and depth.
The living room and upstairs hallway will have faux wooden beams, bringing warmth and architectural interest into these spaces.
We also added a trim accent wall in our master bedroom.
Cabinetry
This is also the point in the build process where all of the custom cabinetry gets installed.
So far, we have the kitchen cabinets in place as well as 2 of the 3 bathroom vanities.
There’s a few other cabinet pieces that are still to come and others that will be installed once the flooring is in place.
Paint
Next up, the painters will come to paint all of the trim and the walls.
Flooring
Following the painting, we’ll move on to the flooring installation.
The main areas of the house will feature durable Luxury Vinyl Plank (LVP) flooring, providing a cohesive look throughout.
We decided to do carpeting just in our closets upstairs.
The upstairs bathrooms and the laundry room will have tile flooring.
Exterior
Another part of the finishing phase is the installation of the siding on the exterior of the house.
We have 3 different siding materials on the house: Stone, V-Groove Hardie Panels, and Stucco Hardie Panels.
Outdoor Spaces
Part of choosing the land that we did was because of the large outdoor space we will have.
In the future, we want to create some great outdoor spaces for our family.
Landscaping and the outdoor design is not included in our home build, so this will all come probably a year after we actually finish construction and move into the home.
The finishing phase is where the design details come to life, which I think is the fun part!
It’s been a lot of learning on my part and discovering my own style and aesthetic for the home.
In the process of selecting design elements, I’m navigating the delicate balance between incorporating trendy features and timeless aesthetics.
While I want our home to feel modern, I am also aiming for a design that will withstand the test of time.
It’s a balance between the latest trends and classic choices, creating a space that feels fresh and classic.
Conclusion
So, there you have it! Our home-building journey!
I can’t wait to share more as the home build continues.
I’ll be sharing a lot more of the design details as we get further into the construction process.
Are you ready to be part of our home-building adventure?
Sign up for my newsletter for updates.
Be sure to follow me on Instagram to see the most current updates to the home build.
Your support means the world to us, and we can’t wait to bring you along for the ride!


